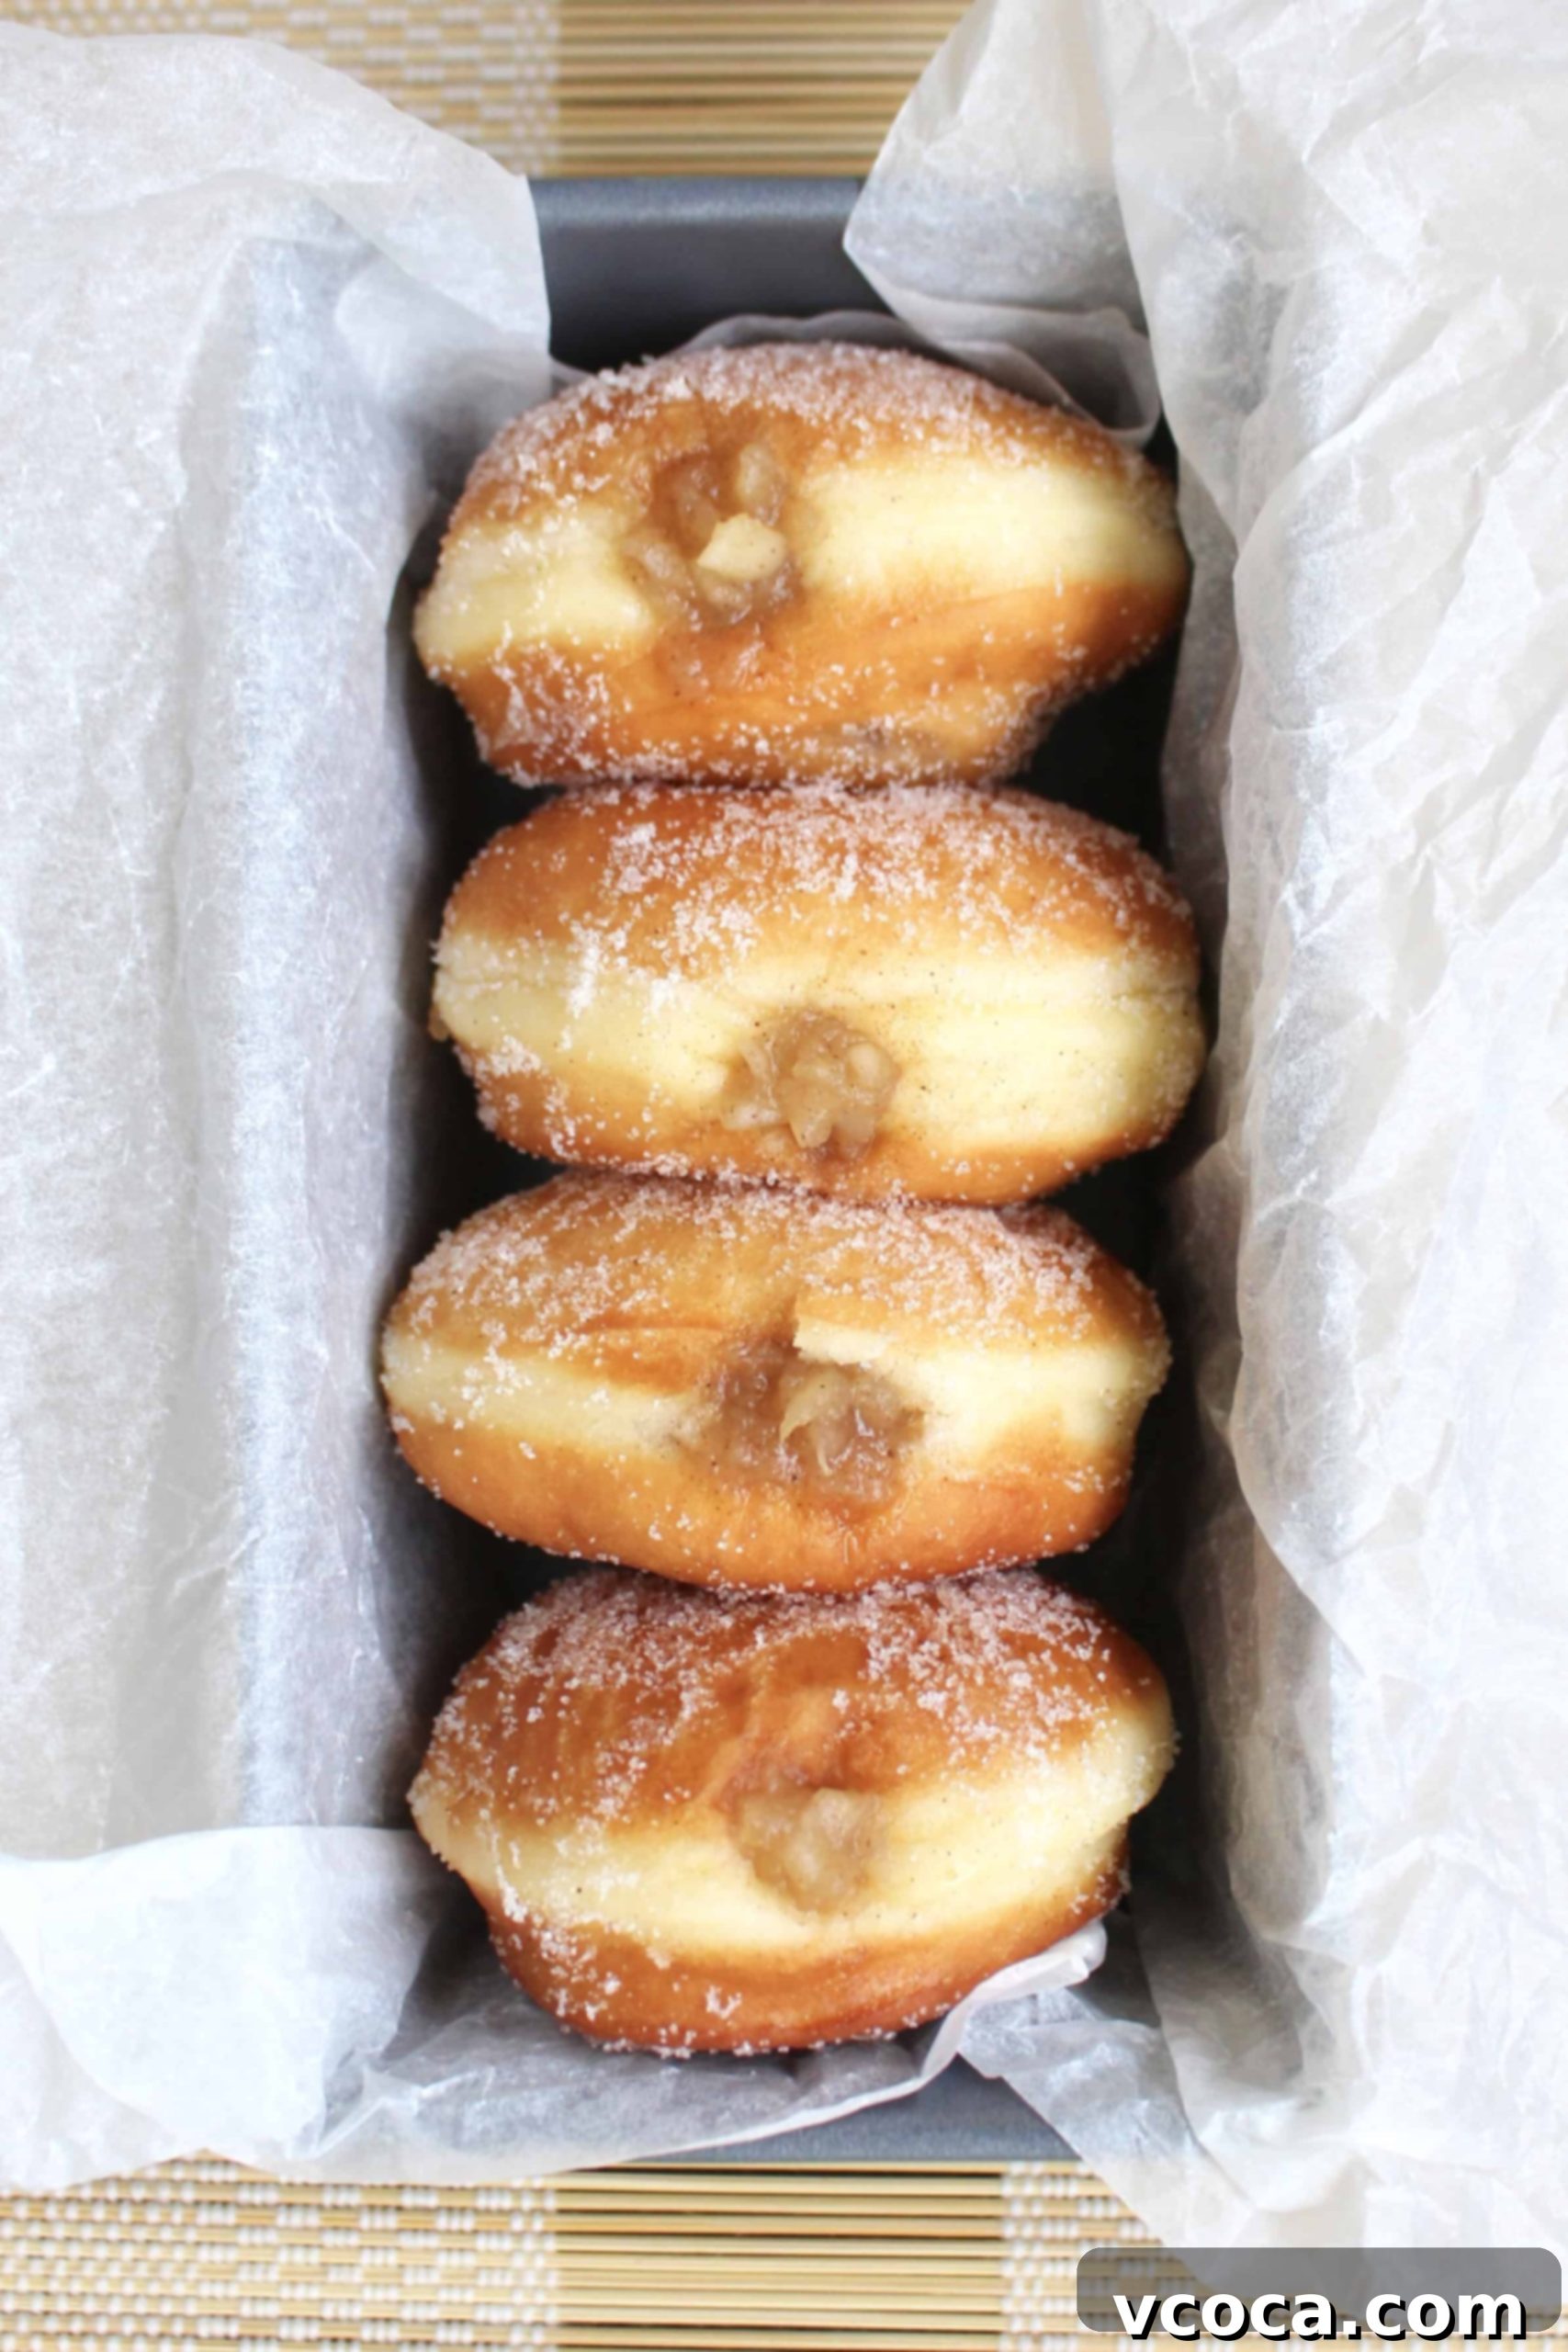
Homemade Apple Doughnuts: Your Ultimate Guide to a Fluffy, Spiced Autumn Treat
October is a truly special month, brimming with cozy vibes, crisp air, and an abundance of seasonal delights. Beyond being National Cookbook Month, it also proudly celebrates National Apple Month! While apple pie often takes center stage as the reigning champion of apple-based desserts, imagine capturing all that comforting flavor in a light, fluffy, deep-fried doughnut. Our apple doughnuts are precisely that – an exquisite fusion of tender, warm pastry and a richly spiced apple filling that’s simply irresistible. They’re the perfect way to embrace the flavors of autumn and celebrate National Apple Month in the most delicious way possible.
The Heart of the Doughnut: Crafting the Perfect Apple Filling
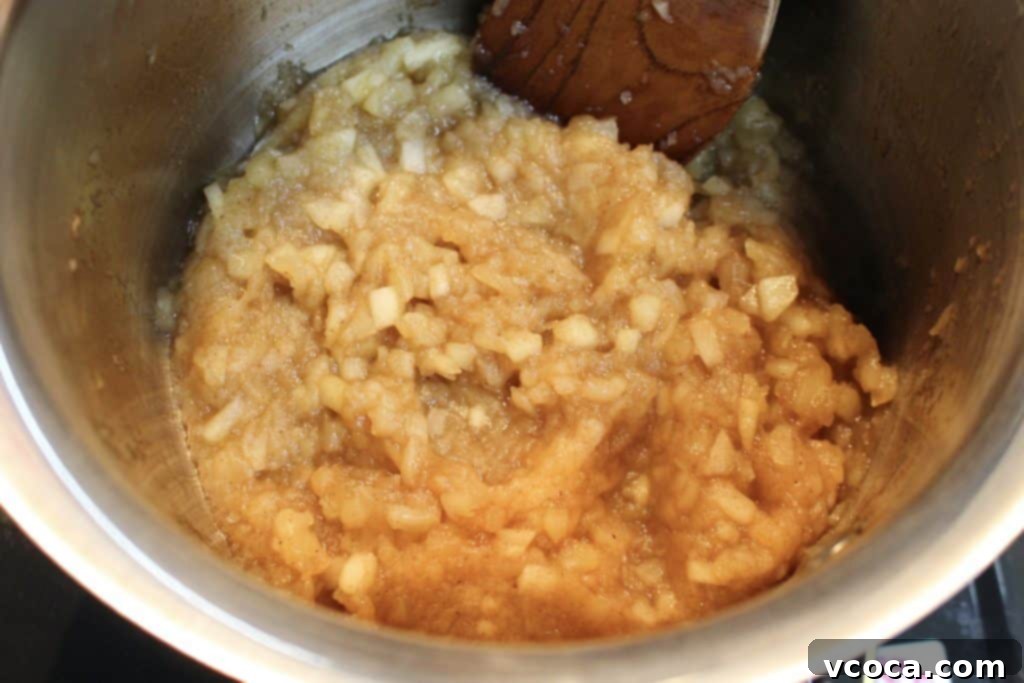
Every exceptional filled doughnut begins with an equally exceptional filling. For these apple delights, we create a warm, jammy apple concoction that truly embodies the essence of apple pie. The process is straightforward, ensuring that even novice bakers can achieve a gourmet result.
Selecting Your Apples for Optimal Flavor
The type of apple you choose significantly impacts the filling’s flavor and texture. For this recipe, I highly recommend using firm, tart apples, such as Kougyoku (Jonathan apples in some regions), Honeycrisp, Granny Smith, or Fuji. These varieties hold their shape well during cooking and provide a delightful tartness that balances the sweetness of the sugar and the warmth of the spices. Avoid overly soft or mealy apples, as they might turn to mush. Start by finely chopping your chosen apples; consistency in size will ensure even cooking.
Cooking the Spiced Apple Blend
Combine your finely chopped apples with sugar, fresh lemon juice, cornstarch, and a medley of warming spices in a small saucepan. The lemon juice isn’t just for flavor; it also helps prevent the apples from browning and adds a bright note that cuts through the richness. Cornstarch is key to achieving that perfect jammy consistency, thickening the filling as it cooks. As for spices, a classic blend of ground cinnamon, nutmeg, and clove creates that nostalgic apple pie aroma and taste. Cook this mixture over medium-low heat, stirring occasionally, until the apples soften and the mixture thickens into a beautiful, cohesive jam. This gentle cooking allows the flavors to meld and intensify.
Sweetness to Your Liking
The amount of sugar needed will vary depending on the natural sweetness of your apples. I suggest starting with about 3 tablespoons of light brown sugar, which adds a lovely caramel note. Once the apples have cooked down, taste the filling and adjust the sugar as needed. If your apples are particularly tart, you might want to add a bit more. Remember, you can always add more sugar, but you can’t take it away! Once you’re satisfied with the sweetness and consistency, transfer the filling to a bowl and let it cool completely. This cooling step is crucial; warm filling will melt your doughnuts or make them soggy.
Crafting the Perfect Dough: Bread Machine Simplicity & Beyond
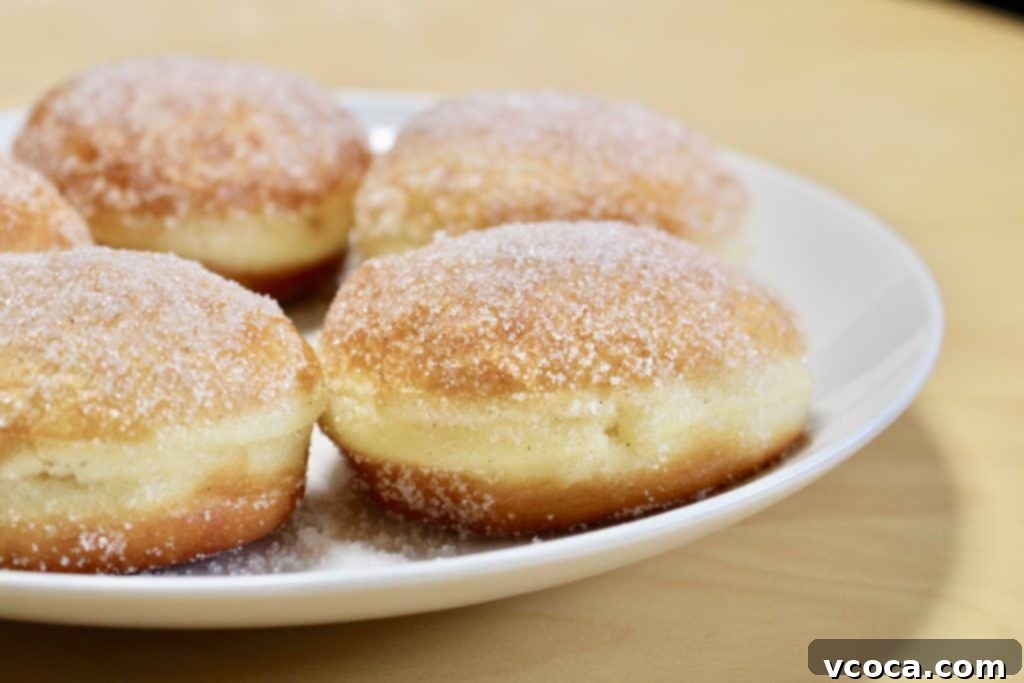
The foundation of a great doughnut is its dough: light, airy, and just a little bit chewy. Our doughnut base is a tried-and-true recipe, the same one I use for my classic homemade doughnuts and delightful blueberry cream cheese doughnuts. What makes this recipe particularly appealing is its incredible ease, especially if you own a bread machine.
The Magic of the Bread Machine
For me, the bread machine is a true game-changer. You simply toss all the dough ingredients – bread flour for structure, sugar for sweetness and yeast activation, salt for flavor balance, milk powder for softness, active dry yeast for the rise, butter for richness, egg for binding and tenderness, and water for hydration – into the machine. Set it to the ‘dough’ setting, press a button, and let the machine handle all the laborious kneading and initial rising. This allows you to focus on other tasks or simply relax, knowing the hard work is being taken care of. The typical dough cycle on a bread machine involves about 10 minutes of kneading, a 10-minute rest, another 10 minutes of kneading, and then a substantial 30-minute rise. This controlled environment is perfect for consistent dough development.
Hand Mixing or Stand Mixer Alternatives
If you don’t have a bread machine, fret not! This dough can absolutely be made by hand or with a stand mixer. The key is to achieve a smooth, elastic dough that passes the “windowpane test” – where a small piece of dough can be stretched thin enough to see light through it without tearing. Follow the same timing guidelines: knead until smooth (about 10-15 minutes by hand, 5-7 minutes with a stand mixer), allow it to rest briefly, knead again, and then let it rise in a warm place until doubled in size. Whichever method you choose, the goal is to develop the gluten sufficiently for that signature doughnut chewiness.
Looking for a different kind of apple treat? If you’re exploring gluten-free options, you might enjoy this apple fritters recipe, which offers a delicious alternative.
From Dough to Golden Perfection: Shaping and Frying Your Doughnuts
Once your dough has completed its first rise, it’s time for the exciting transformation into actual doughnuts. This stage requires a little care and precision, but the reward of freshly fried pastries is well worth the effort.
Rolling and Cutting
Gently remove the risen dough onto a lightly floured surface. Avoid over-handling, which can deflate the air pockets that give doughnuts their fluffy texture. Cover the dough with plastic wrap and let it rest for about 10 minutes; this allows the gluten to relax, making the dough easier to roll without springing back. Then, roll out the dough to an even thickness of approximately ½ inch (1.3 cm). Using a 3-inch (8 cm) round cutter, cut out your doughnut circles. You can re-roll the scraps gently to cut out more doughnuts, but be aware that these might be slightly tougher than the first batch.
The Second Rise: Proofing for Ultimate Fluffiness
Carefully place each cut-out doughnut onto individual squares of parchment paper. This prevents sticking and makes transferring them to the hot oil much easier. Cover the doughnuts loosely with plastic wrap and find a warm, draft-free spot for them to undergo their second rise. This “proofing” stage is crucial: it allows the yeast to produce more gas, creating an incredibly light and airy internal structure. Let them rise until they have visibly doubled in size – this could take anywhere from 30 minutes to an hour, depending on the warmth of your environment.
Achieving Golden-Brown Excellence: Frying Tips
While the doughnuts are proofing, prepare your frying setup. You’ll need a heavy-bottomed pot or a deep fryer filled with neutral oil (like vegetable, canola, or peanut oil). Heat the oil to precisely 356°F (180°C). An accurate thermometer is your best friend here; oil that’s too cold will result in greasy doughnuts, while oil that’s too hot will burn the outside before the inside is cooked through. Carefully lower one or two doughnuts at a time into the hot oil, using the parchment paper as a guide and then gently removing it. Fry each doughnut for about a minute and a half per side, or until it’s beautifully golden brown. The color should be even and inviting.
Draining and Coating
Once fried, use a slotted spoon or spider tool to remove the doughnuts from the oil. Place them immediately onto a wire rack lined with paper towels to drain any excess oil. This helps keep them light and prevents sogginess. While still warm – this is key – gently roll the doughnuts in granulated sugar. The warmth helps the sugar adhere and creates a delightful sparkly crust that adds an extra layer of sweetness and texture.
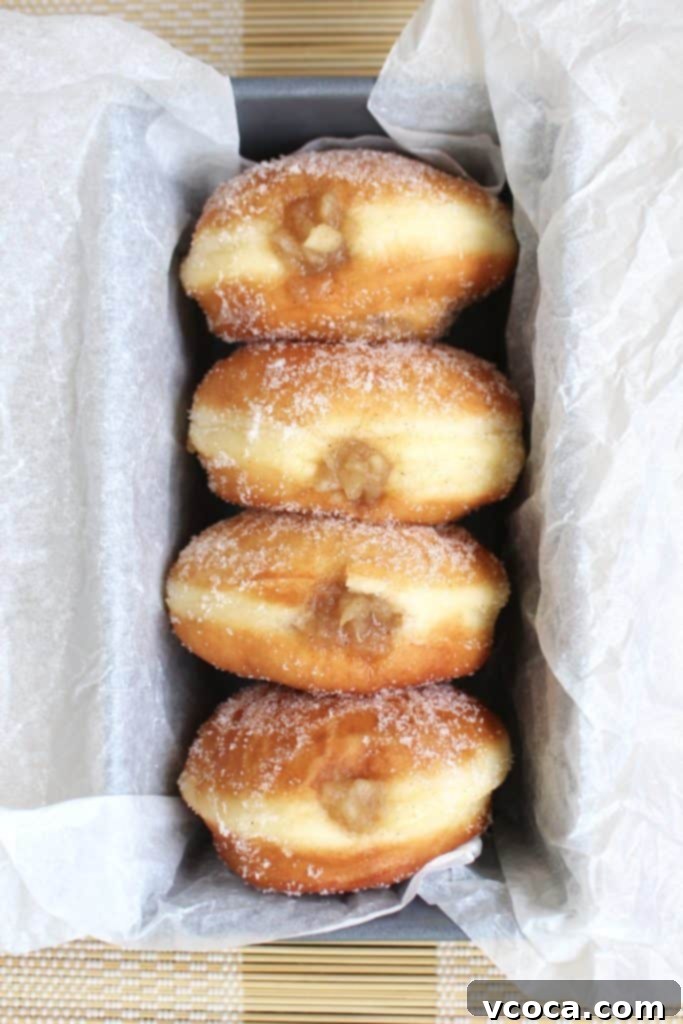
The Sweet Finish: Filling Your Doughnuts with Apple Goodness
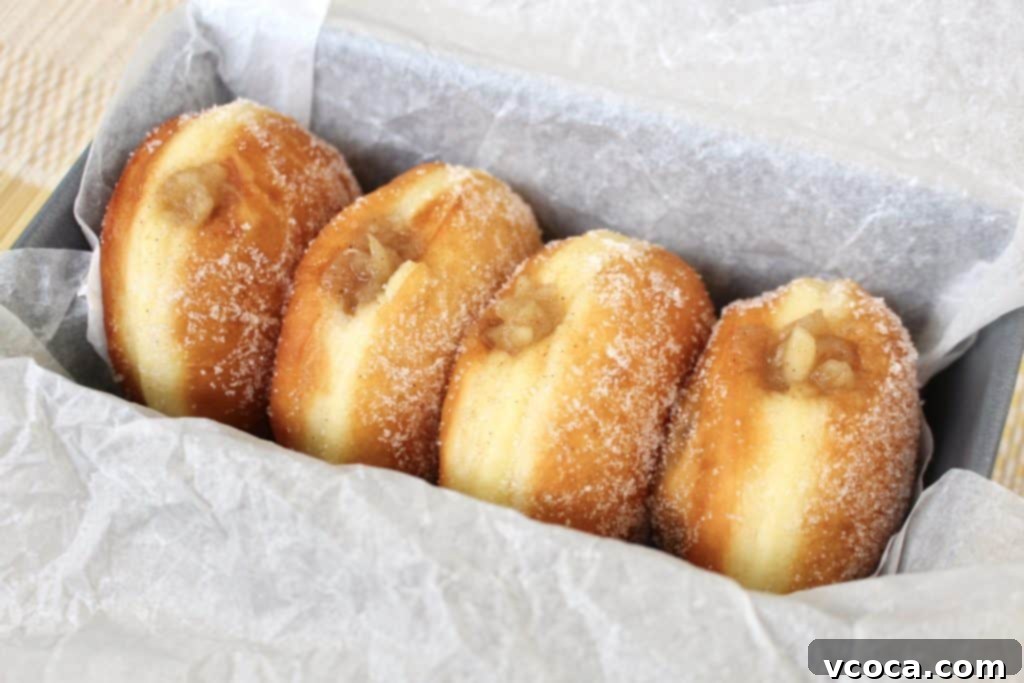
With your golden-fried, sugar-coated doughnuts ready, the final step is to inject them with that luscious, spiced apple filling. This is where the magic truly comes together, transforming a simple doughnut into an extraordinary treat.
Piping the Filling
Transfer your completely cooled apple filling into a piping bag fitted with a piping tip. Because our apple filling is delightfully chunky, you’ll need a larger piping tip to ensure smooth delivery without blockages. A wide star tip or a plain round tip with a generous opening works best. If you don’t have a specific piping tip, you can simply snip a larger corner off the piping bag.
Making Way for the Filling
To create a pocket for the filling, gently make a small incision or poke a hole into the side of each doughnut. A small paring knife or even a chopstick can work perfectly for this. Make sure the hole is just wide enough to accommodate your piping tip without tearing the doughnut excessively. Carefully insert the piping tip into the hole and gently squeeze the piping bag, filling each doughnut until it feels plump and weighty. You’ll get a feel for how much filling each doughnut can hold after the first few.
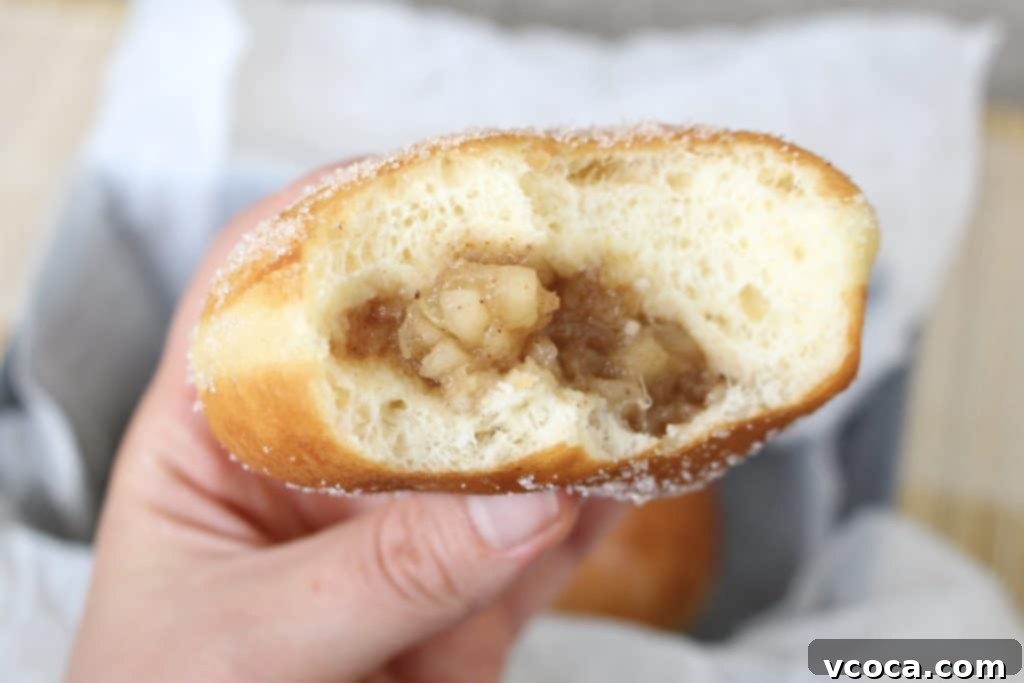
Why These Apple Doughnuts Are a Must-Try
These homemade apple doughnuts are truly a revelation. The dough is incredibly fluffy, achieving that perfect deep-fried tenderness that melts in your mouth. Paired with the warm, aromatic, and slightly chunky apple filling, each bite feels like a warm hug, reminiscent of a spiced apple pie but in a delightful new form. Unlike heavier, cream-filled doughnuts, the fruit-based filling keeps these surprisingly light, making them easy to enjoy without feeling overwhelmed. I’ve found myself reaching for more than one (okay, maybe three!) after dinner, they are that good.
Storage and Reheating
While best enjoyed fresh, these apple doughnuts can be stored in an airtight container at room temperature for up to 2 days, or in the refrigerator for up to 4 days. For optimal taste and texture, gently warm them in the microwave for a few seconds or in a low oven before serving. This revives the fluffy dough and warms the spiced apple filling beautifully.
Serving Suggestions
These apple doughnuts are fantastic on their own, perhaps with a cup of coffee or hot cider. For an extra treat, serve them with a dollop of vanilla ice cream, a drizzle of caramel sauce, or a sprinkle of powdered sugar. They make an ideal breakfast pastry, a delightful afternoon snack, or a comforting dessert after any meal. They’re also perfect for sharing at autumn gatherings, holiday breakfasts, or simply enjoying during a cozy evening at home.
So, as National Apple Month rolls on, consider adding these incredible homemade apple doughnuts to your baking repertoire. They’re a joyful celebration of seasonal flavors, combining the comforting warmth of apples with the undeniable deliciousness of a perfectly fried, fluffy doughnut. Will you be baking anything special to celebrate the season?
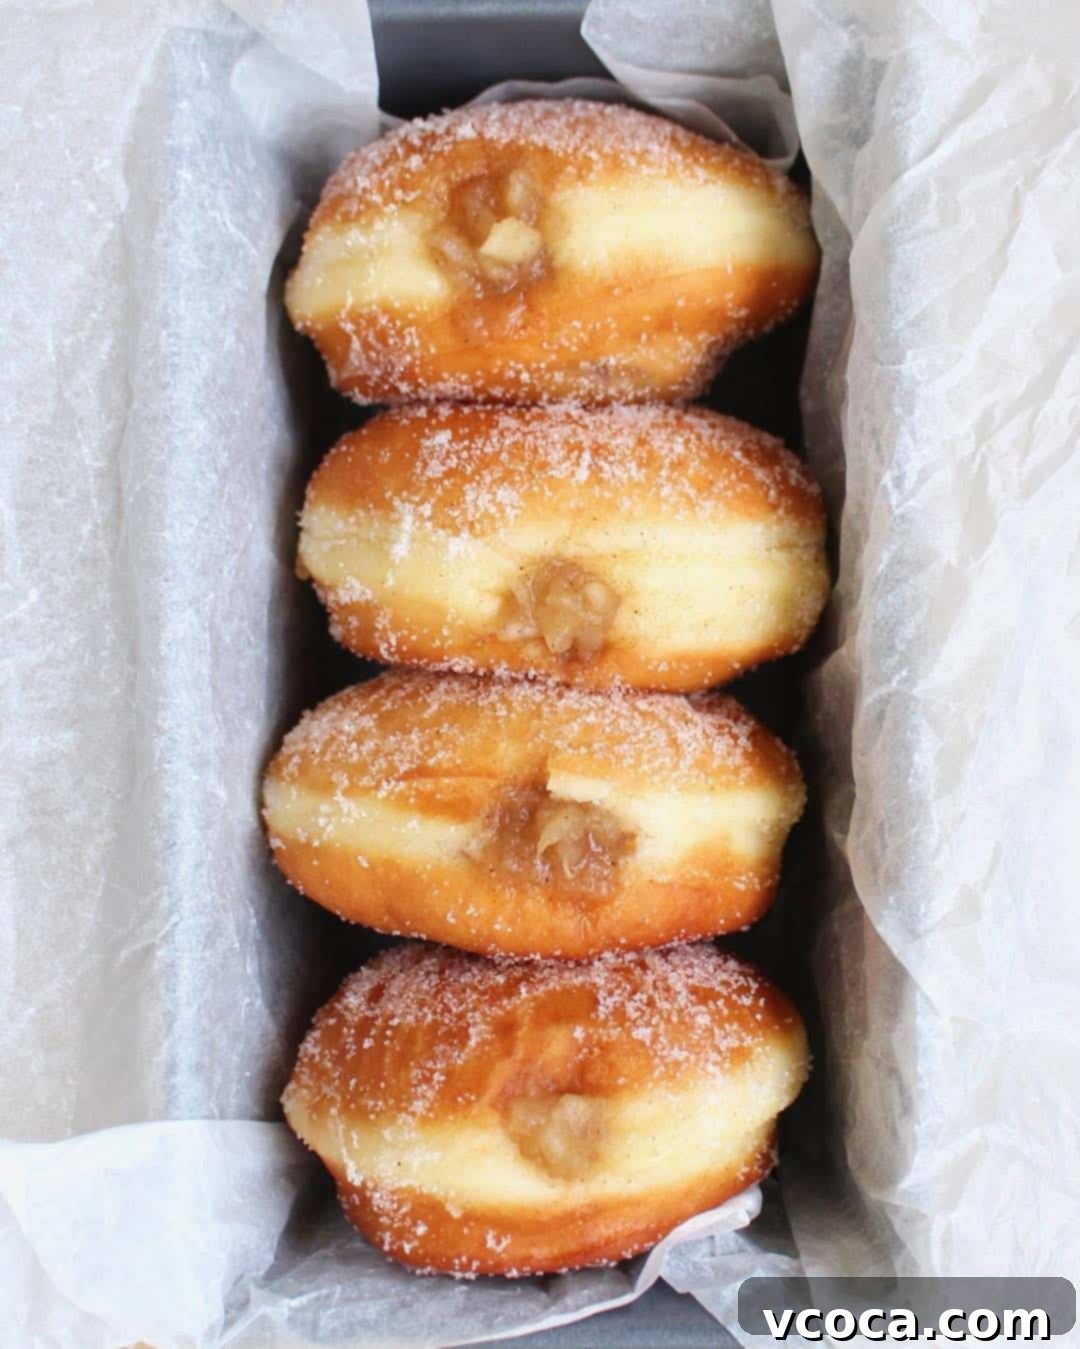
Apple Doughnuts
Print
Pin
Rate
Ingredients
Dough
- 2¼ cups (286g) bread flour
- 2½ tablespoons granulated sugar
- ½ tablespoon fine sea salt
- 1 tablespoon skim milk powder
- ½ tablespoon active dry yeast
- 2½ tablespoons (35g) unsalted butter
- 1 egg
- ½ cup (120ml) water
Apple Filling
- 3½ cups finely chopped apples
- 1 tablespoon lemon juice
- ¼ to ½ cup light brown sugar
- 1 tablespoon cornstarch
- ½ teaspoon ground cinnamon
- ¼ teaspoon ground nutmeg
- ¼ teaspoon ground clove
Instructions
Dough
-
Place the bread flour, sugar, salt, milk powder, yeast, butter, egg, and water into a bread machine and set it on the dough setting.
-
Take the dough out onto a floured surface, cover with plastic wrap and let it rest for 10min.
-
Roll it out to about ½in (1.3cm).
-
Cut out 3in (8cm) circles. Place the doughnuts on pieces of parchment paper, cover the doughnuts with plastic wrap, set it somewhere warm and let it rise again until it doubles in size.
-
Heat your oil to 356°F (180°C) and fry each doughnut about a minute and a half on each side. Take them out onto a wire rack lined with paper towels to drain any extra oil.
-
Coat the doughnuts with granulated sugar while they’re still warm.
Apple Filling
-
Put the finely chopped apples, 3 tablespoons of sugar, lemon juice, cornstarch, and spices in a small saucepan and cook over medium-low heat until the apples turn jammy.
-
Taste for sweetness and adjust as needed.
-
When finished cooking, pour it into a bowl and cool completely.
Assembly
-
Put the apple filling into a piping bag with a piping tip.
-
Using a chopstick, poke a hole into each doughnut.
-
Insert the piping tip and fill each doughnut with the apple filling.
