Homemade Blueberry Cream Cheese Buns: Fluffy, Sweet & Irresistible!
There’s nothing quite like the aroma of freshly baked sweet rolls filling your home, especially when they’re made with love for a special occasion. This recipe for Blueberry Cream Cheese Buns started as a fun birthday surprise for my dad, and it quickly became a new family favorite. While birthdays usually call for elaborate layer cakes or festive cupcakes, I wanted to try something different this year – something equally celebratory but with a comforting, homemade charm. And what could be better than soft, fluffy sweet rolls generously stuffed with the classic combination of tangy cream cheese and sweet blueberry jam?
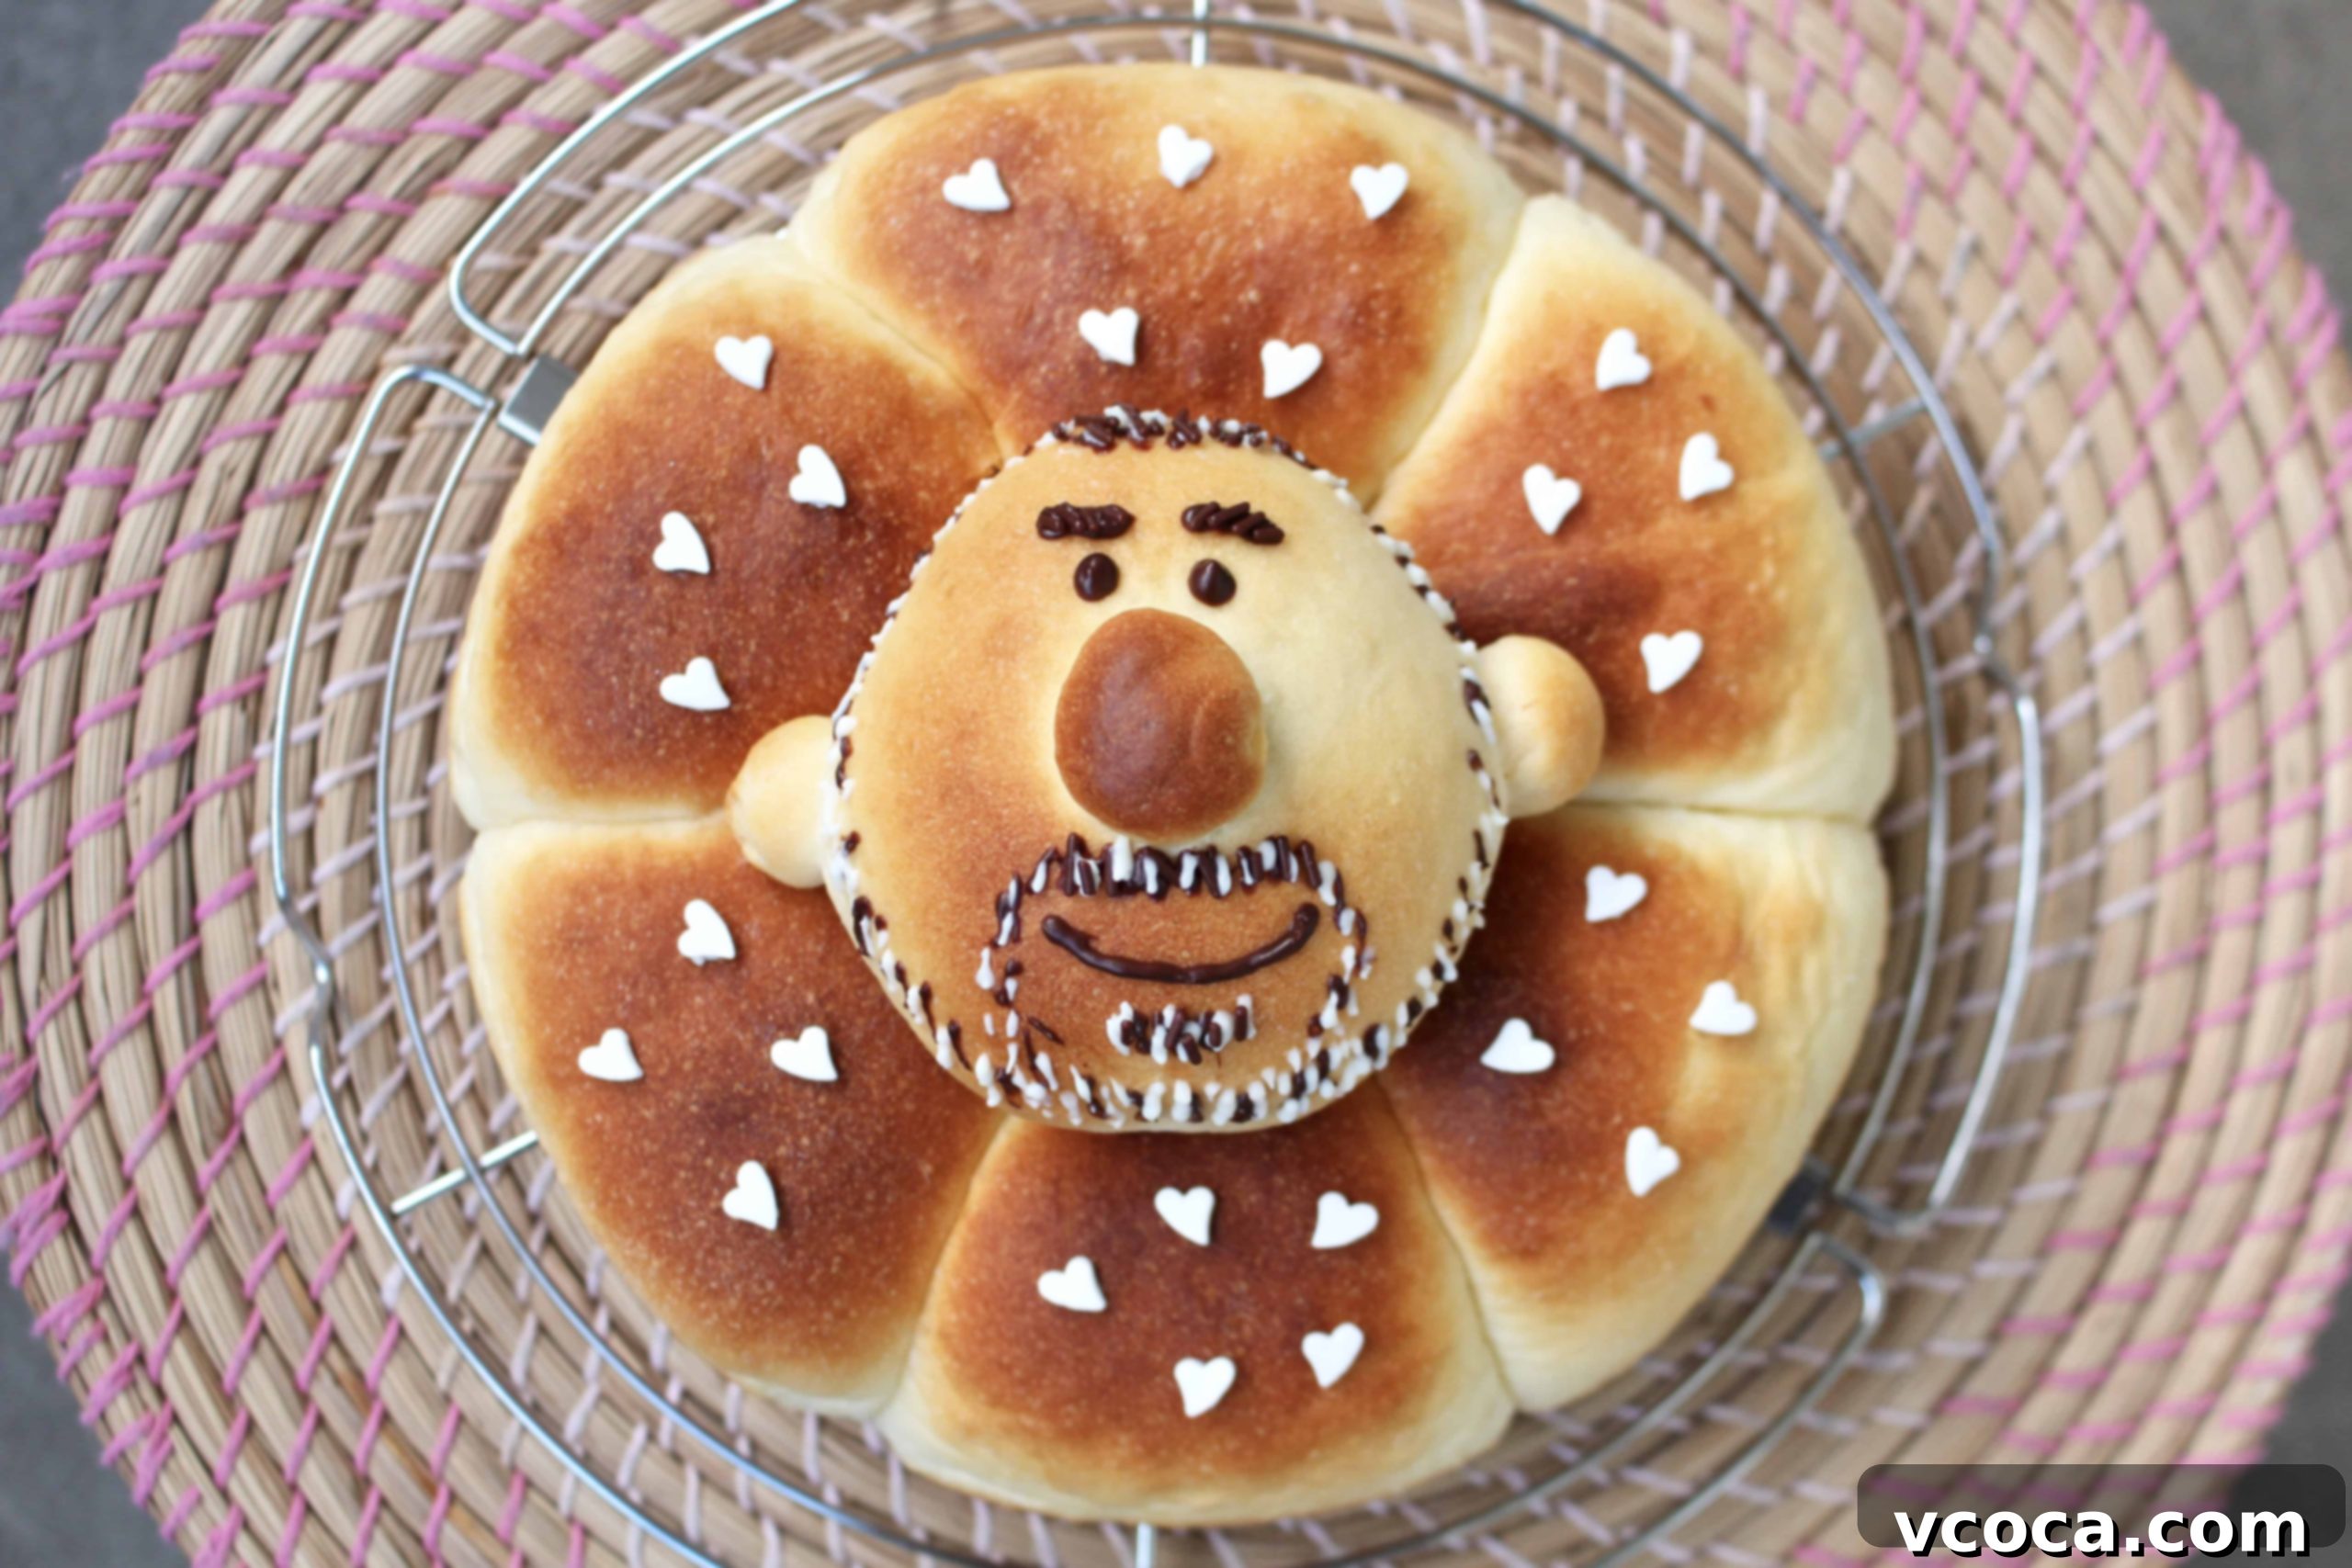
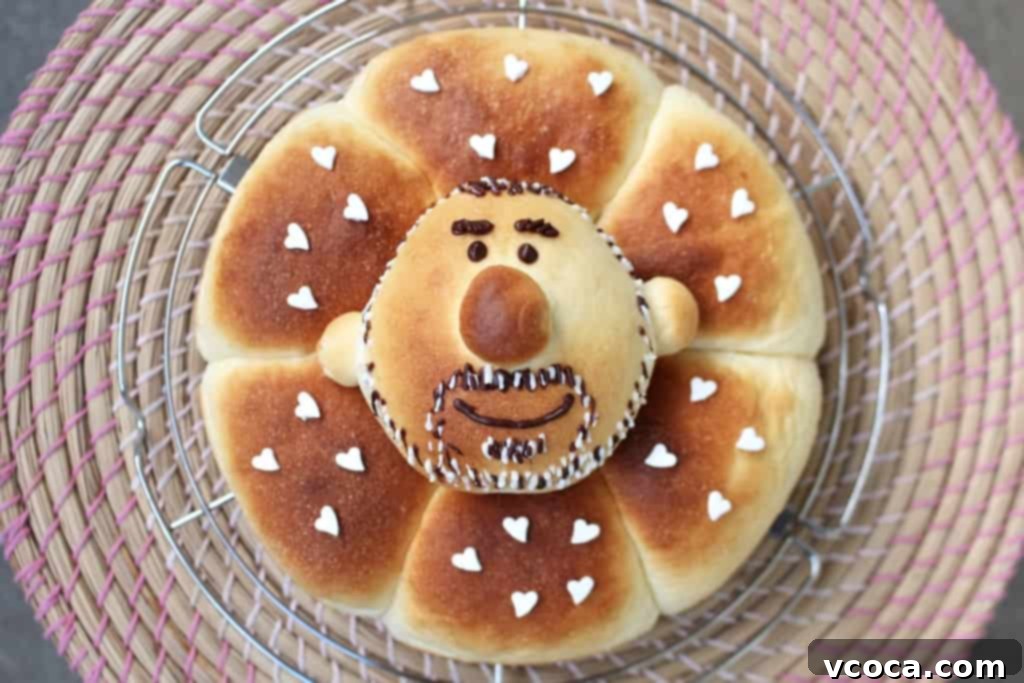
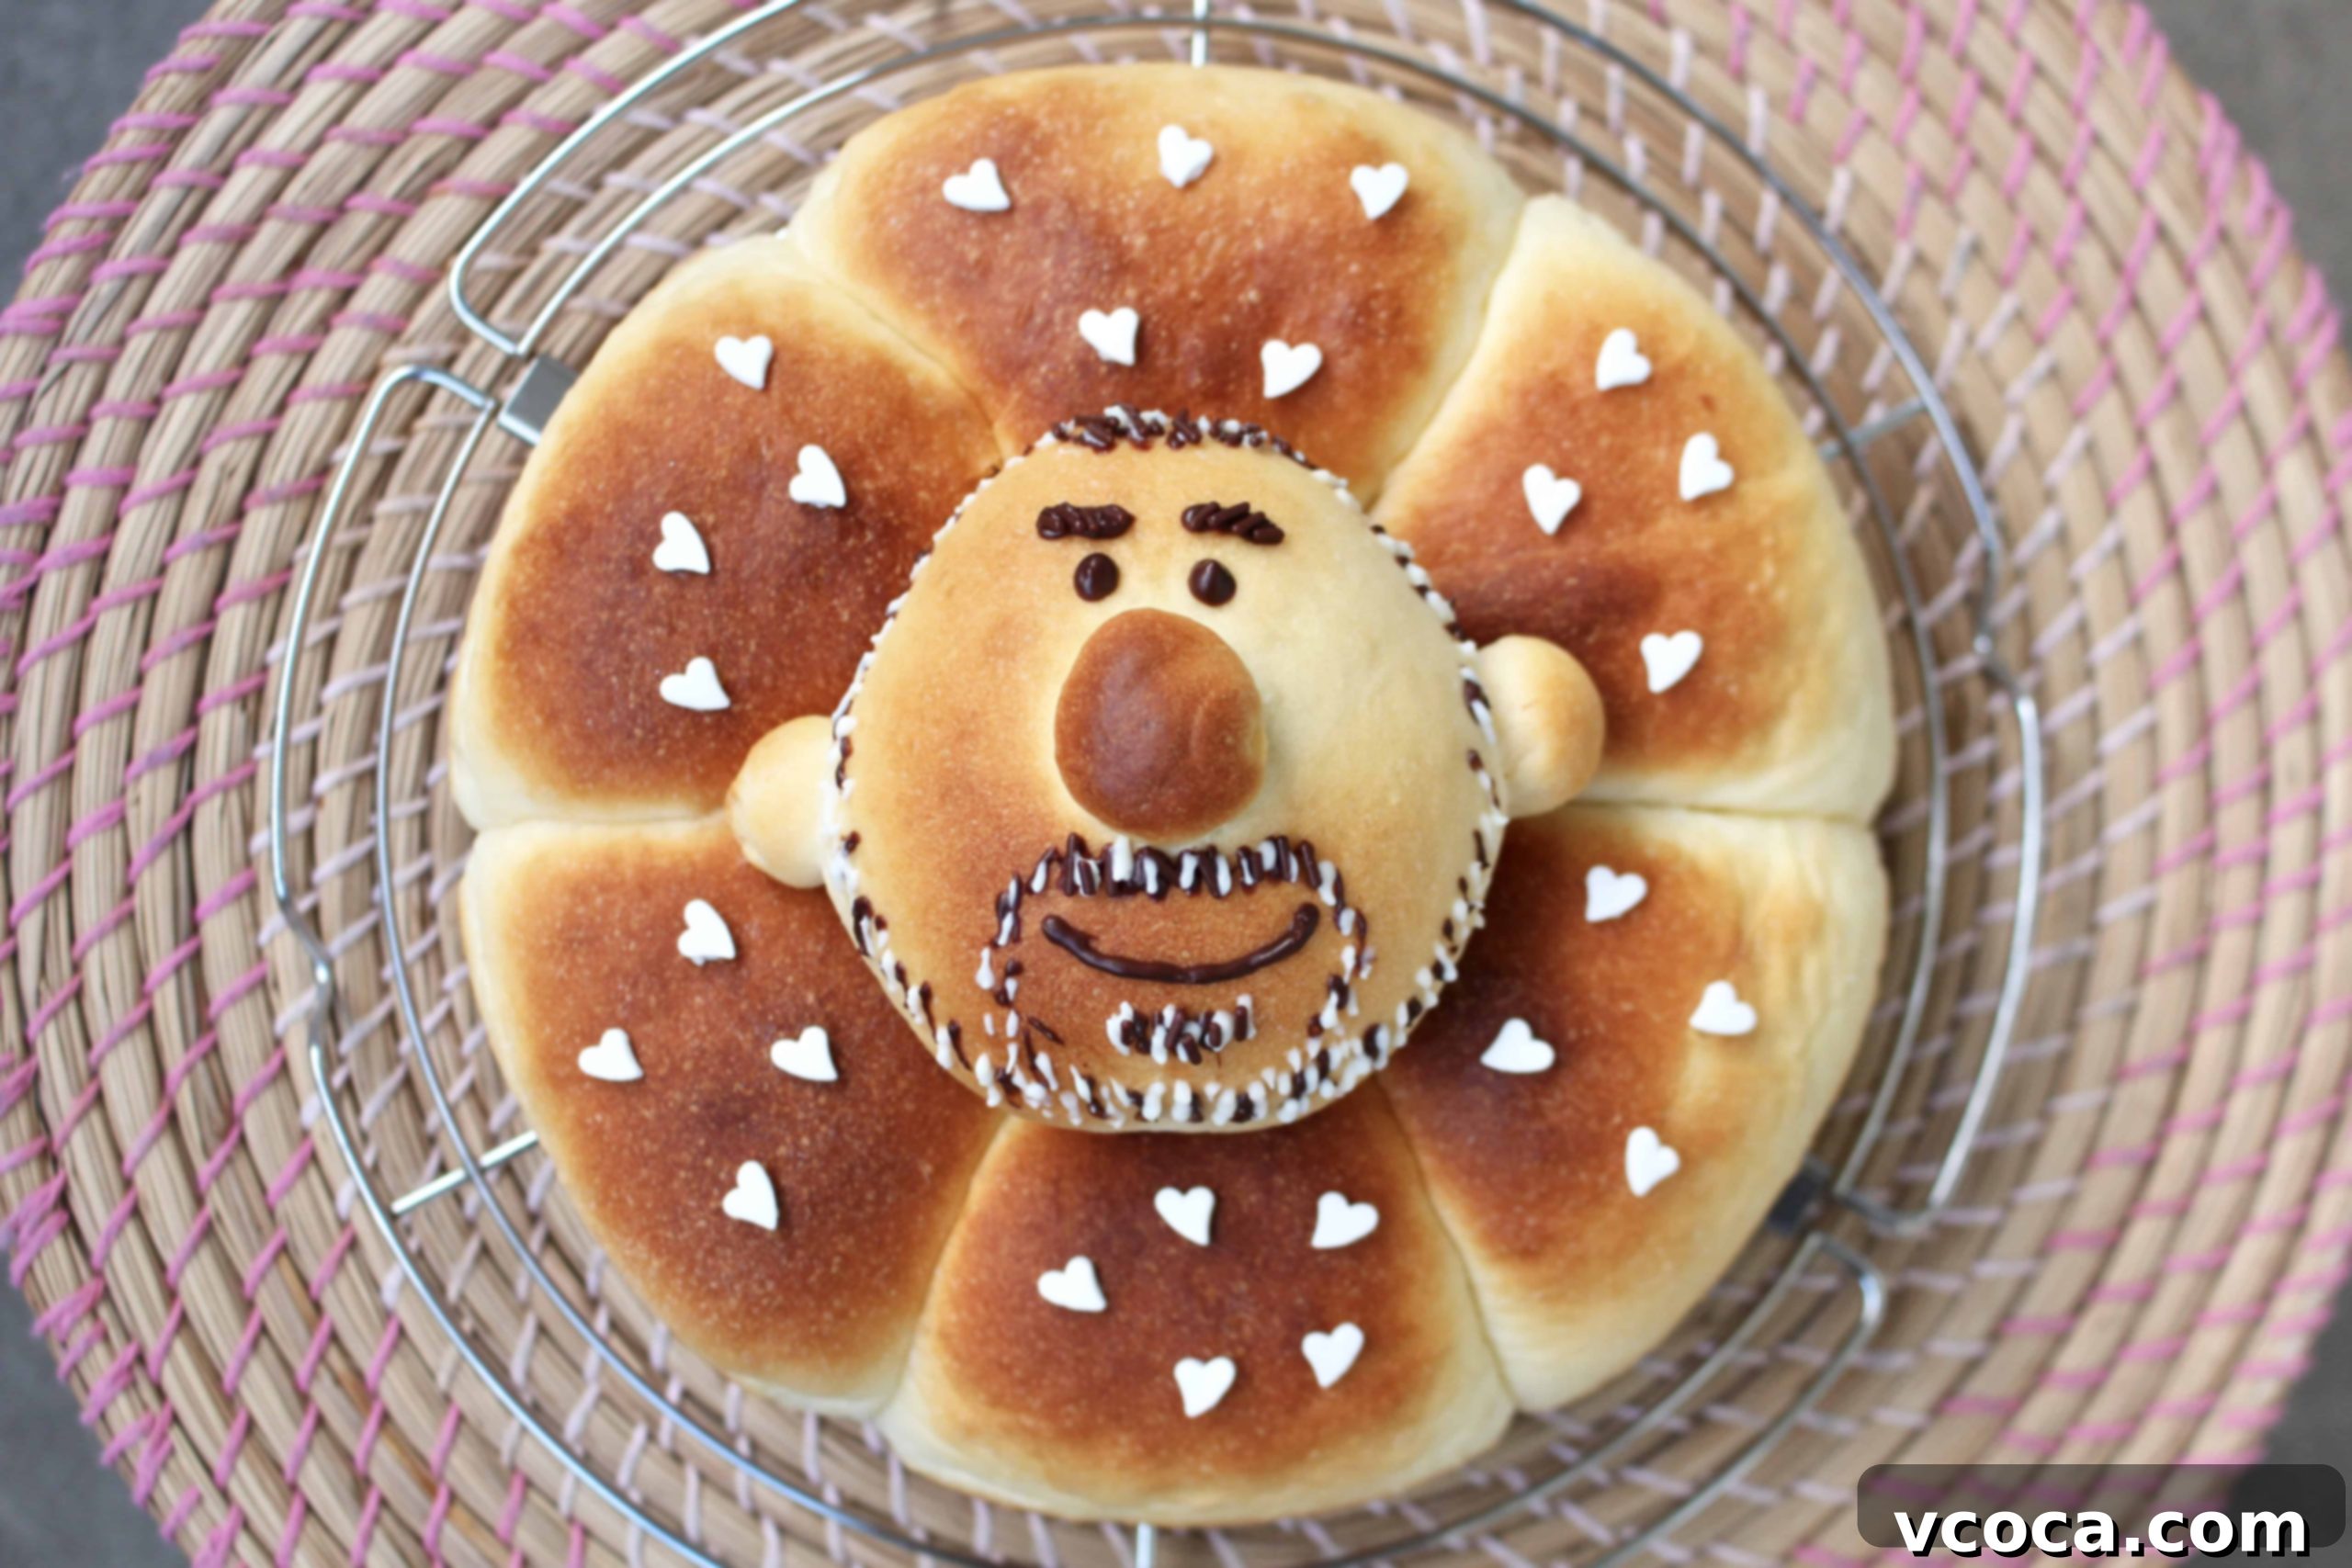
Using my go-to sweet roll dough as the foundation, I elevated these buns with two incredible fillings. The first is a vibrant blueberry jam, bursting with fruity flavor. The second, a creamy, slightly tart sweet cream cheese filling, reminiscent of a delicate cheesecake. The magic truly happens when these two fillings come together inside the soft, pillowy dough. And yes, you might be wondering about the bearded man bun in the photos! It was a playful nod to my dad’s birthday, transforming one of the buns into a personalized, edible tribute. Tristan and I brought these delightful buns to my parents’ place for an early celebration, and seeing my dad’s face light up (pun intended!) made all the effort worthwhile. These aren’t just buns; they’re a hug in edible form, perfect for sharing joy.
Crafting the Perfect Dough: Your Base for Irresistible Buns
The secret to these incredibly fluffy blueberry cream cheese buns begins with the dough. For convenience and consistent results, I often turn to my bread machine. Simply add all the dough ingredients – bread flour, fine sea salt, granulated sugar, butter, egg, milk, and active dry yeast – to the machine and set it on the dough cycle. The bread machine handles all the kneading and the first rise, freeing you up to prepare the delicious fillings. This hands-off approach makes homemade baking incredibly accessible, even on busy days.
No Bread Machine? No Problem!
If you don’t have a bread machine, don’t worry! You can achieve the same wonderful dough using a stand mixer with a dough hook or even by hand. Here’s a quick guide:
- Stand Mixer: In a large bowl, combine the warmed milk and yeast, letting it proof for 5-10 minutes until foamy. Add sugar, egg, melted butter, salt, and half of the flour. Mix on low speed until combined, then gradually add the remaining flour. Increase speed to medium and knead with the dough hook for 8-10 minutes, until the dough is smooth, elastic, and pulls away from the sides of the bowl.
- By Hand: Follow the same initial steps for combining ingredients. Once everything is in the bowl, turn the dough out onto a lightly floured surface and knead vigorously for 10-15 minutes. It’s a great arm workout! The dough should become smooth and elastic.
For both methods, after kneading, place the dough in a lightly oiled bowl, cover it with plastic wrap or a damp tea towel, and let it rise in a warm place for 1-1.5 hours, or until doubled in size. This first rise is crucial for developing the bread’s flavor and texture, resulting in those irresistibly soft buns.
Preparing the Luscious Fillings
While your dough is busy rising, you can whip up the simple yet decadent cream cheese filling. In a small bowl, combine softened cream cheese, sour cream, and granulated sugar. Mix until it’s smooth and creamy. The sour cream adds a slight tang and lightness, perfectly balancing the sweetness of the sugar and the richness of the cream cheese. This filling truly transforms the buns into a cheesecake-like experience, offering a wonderful contrast to the fluffy bread.
For the blueberry component, you’ll need about a quarter cup of blueberry jam. You can use your favorite store-bought jam for convenience, or if you’re feeling adventurous, a homemade blueberry jam would be absolutely divine. The choice is yours!
Pro Tip: Combine or Keep Separate? Some bakers prefer to combine the cream cheese mixture and blueberry jam to create a single swirl of flavor. This can simplify the filling process. However, I often keep them separate, adding about half a tablespoon of each to the center of the dough. This creates distinct layers of flavor and a beautiful visual when you bite into the bun. Experiment to see which method you prefer!
Assembling Your Blueberry Cream Cheese Buns
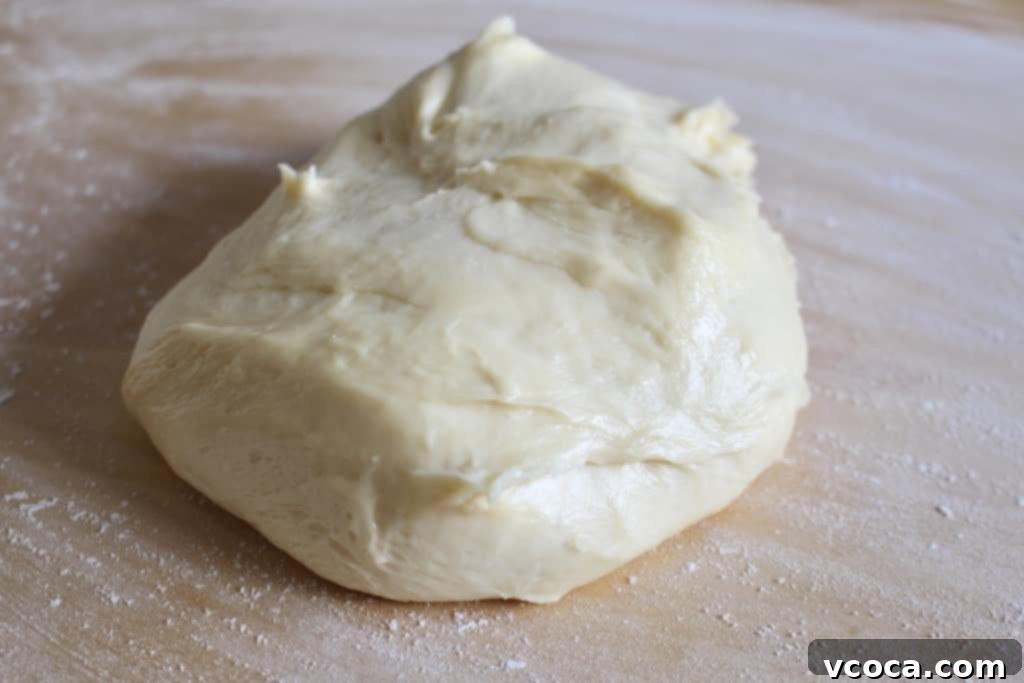
Once your dough has completed its first rise and is beautifully light and airy, it’s time for the fun part: assembly! Gently turn the dough out onto a lightly floured surface. My entire dough typically weighs around 19.8 ounces (560g), which I then divide into 7 equal pieces, each weighing approximately 2.8 ounces (80g). Uniform pieces ensure even baking. Keep the pieces you’re not actively working with covered with a damp tea towel. This prevents them from drying out, keeping them pliable and easy to handle.
Working with one piece of dough at a time, roll it out into a flat, roughly round or oval shape. Don’t roll it too thin, as you need enough dough to encase the fillings securely. Spoon about half a tablespoon of blueberry jam and half a tablespoon of the sweet cream cheese mixture onto the center of the dough. Be careful not to overfill, as this can make sealing difficult.
Now for the most critical step: wrapping it up! Carefully bring the edges of the dough together over the filling, meeting them in the center. Then, and this is where many home bakers (myself included, sometimes!) fall short, **pinch the ends completely shut**. Don’t just press them; really pinch and seal them tightly, forming a secure seam. If you don’t seal them properly, the delicious fillings can leak out during baking, leading to a sticky mess and less flavorful buns. Trust me, I’ve learned this the hard way!
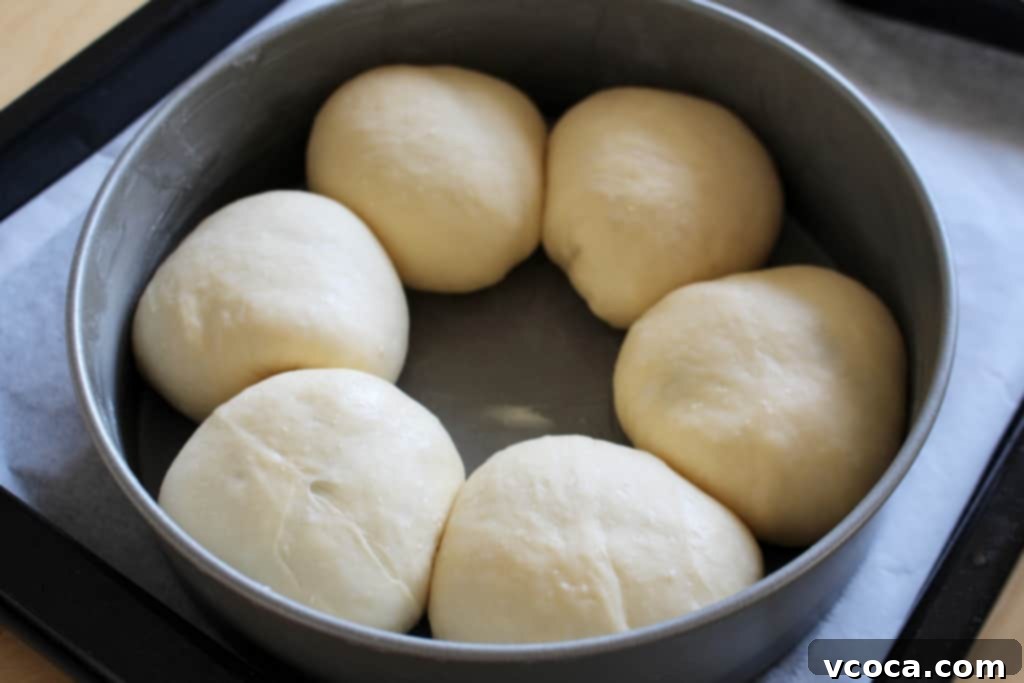
Once filled and sealed, gently shape each piece of dough into a neat ball. Arrange the first six stuffed buns in a buttered 8-inch round cake pan. A 9-inch pan or even a parchment paper-lined baking sheet would also work, but an 8-inch pan encourages them to rise together into a beautiful pull-apart shape. Cover the pan loosely with plastic wrap and let the buns rise for a second time, for about 30 minutes. This second rise, or proofing, allows the yeast to produce more gas, making the buns even lighter and softer.
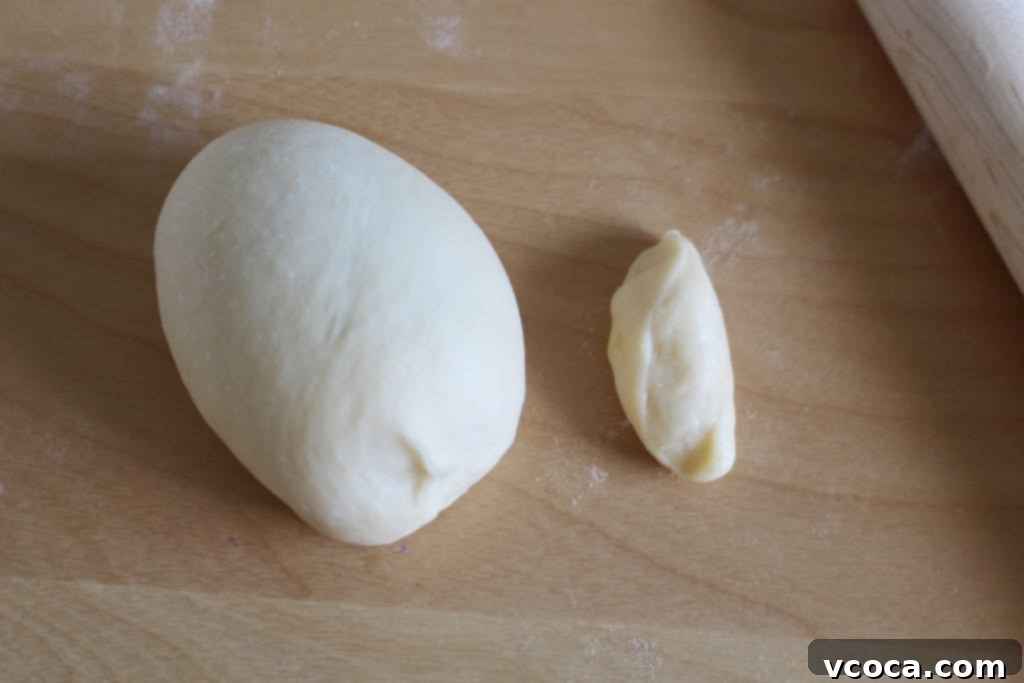
The Fun Part: Creating the “Dad’s Face” Bun (Optional!)
This is where we get a little whimsical! If you’re making these for a special person, why not personalize one of the buns? For my dad’s birthday, I decided to turn one of the buns into his face. For the seventh piece of dough, before you fill it, cut off a small portion and set it aside. This smaller piece will be used to form the nose and ears.
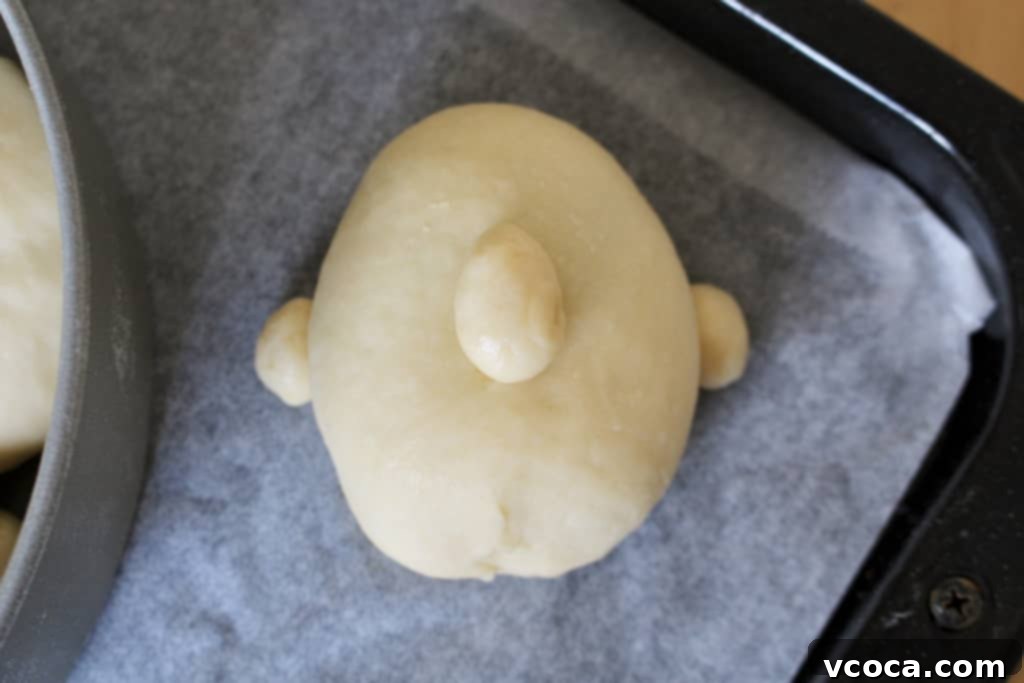
After filling the main portion of the seventh dough piece, form it into a slightly elongated shape that resembles a face. Use the reserved dough to sculpt a nose and two small ears. Lightly dampen the areas where you want to attach them, and they should stick quite well as the dough rises. Remember a key lesson I learned: when shaping the dough, aim for a slightly narrower shape than your desired final product. The dough will expand significantly as it proofs, so anticipating this growth will help you achieve the perfect proportions. Place this special face bun on a separate parchment paper-lined baking sheet, cover it loosely with plastic wrap, and let it rise alongside the other buns for about 30 minutes.
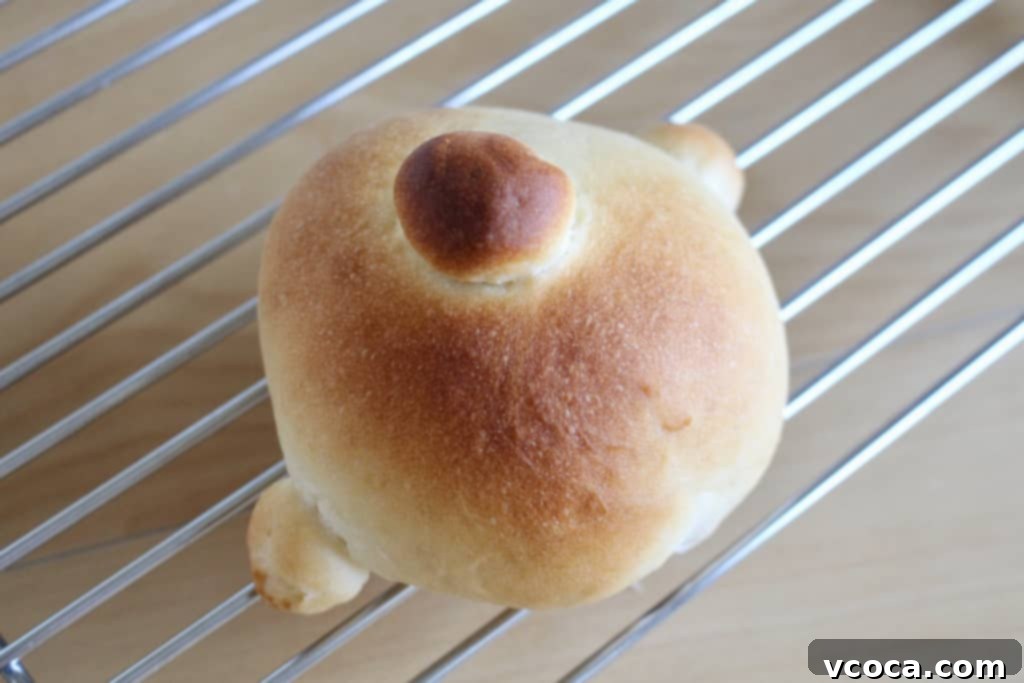
Baking Your Fluffy Buns to Golden Perfection
After the buns have had their second rise and look plump and ready, gently remove the plastic wrap. It’s time to bake! Preheat your oven to 392°F (200°C). This slightly higher temperature helps create a beautiful golden-brown crust while ensuring the inside cooks through and remains incredibly soft. Bake the buns for 15 to 18 minutes. Keep an eye on them; you’re looking for a lovely golden hue on top and a fluffy texture. If they start to brown too quickly, you can loosely tent them with aluminum foil.
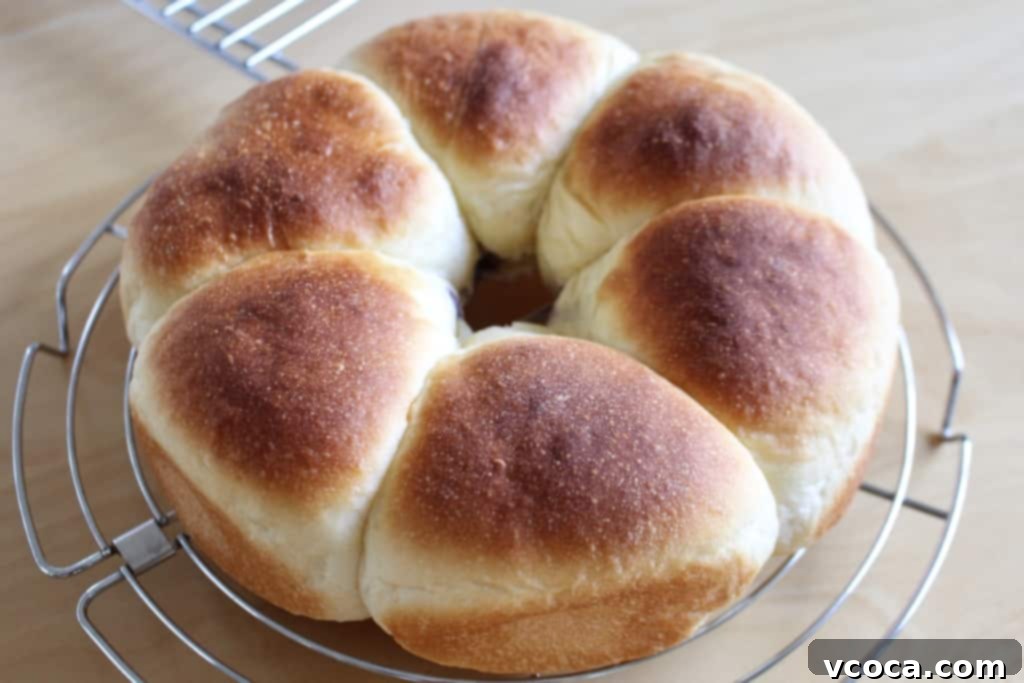
Once baked, carefully transfer the buns to a wire rack to cool completely. While they are tempting to eat warm, allowing them to cool slightly helps the fillings set and prevents them from being too messy. However, if you’re not planning any elaborate decorations, these buns are absolutely divine enjoyed warm, straight from the oven!
Decorating Your “Dad’s Face” Bun with Melted Chocolate

Now, back to our special “dad’s face” bun! Once it has cooled, you can bring it to life with melted chocolate. I used dark chocolate for the eyes, eyebrows, and mouth, giving it a playful definition. For the hair and beard, I combined both dark and white melted chocolates to achieve a slightly lighter, more nuanced shade. You can use a piping bag with a very small round tip, or even a Ziploc bag with a tiny corner snipped off, to draw on the features. This part is entirely customizable, so let your creativity flow!
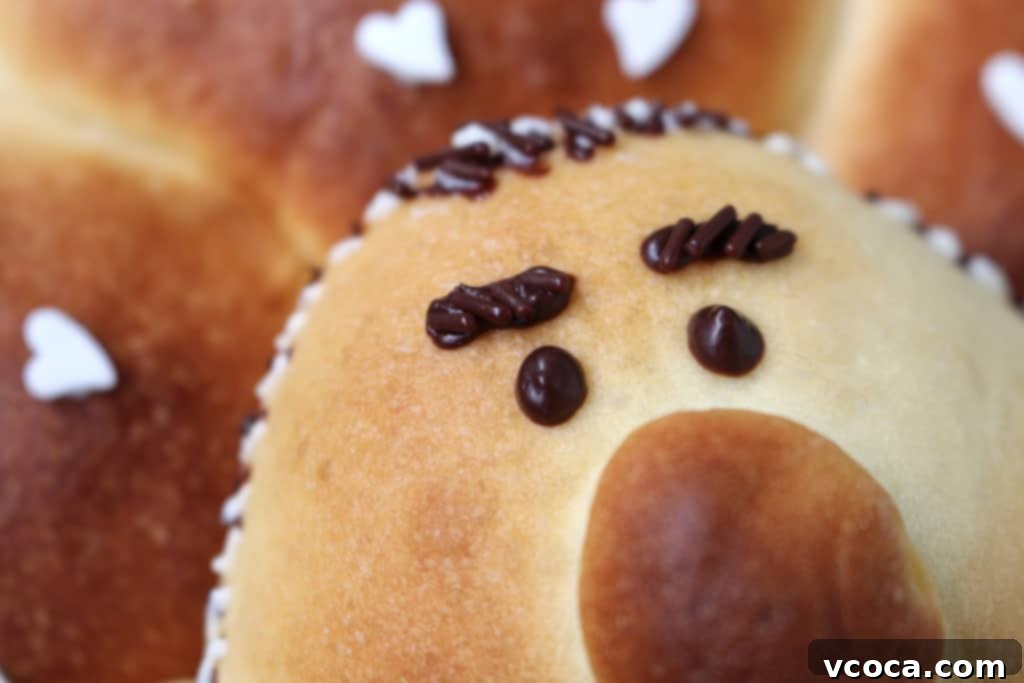
To give the beard an extra touch of bushiness and texture, I sprinkled some chocolate jimmies (sprinkles) on top of the still-wet melted chocolate. This little detail really brought the character to life!
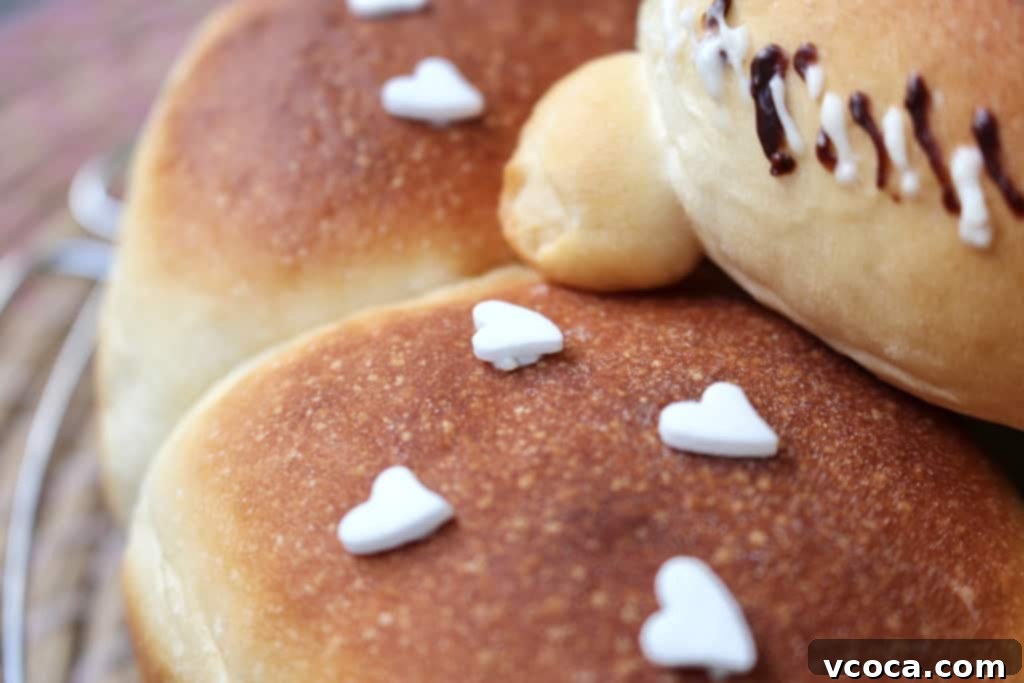
After placing the decorated “dad’s face” bun in the center of the ring of other buns, the overall presentation felt a little bare. To fill the space and add a touch of sweetness, I used leftover melted white chocolate to adhere some large white heart sprinkles around the base. It added a charming, festive touch to the entire arrangement.
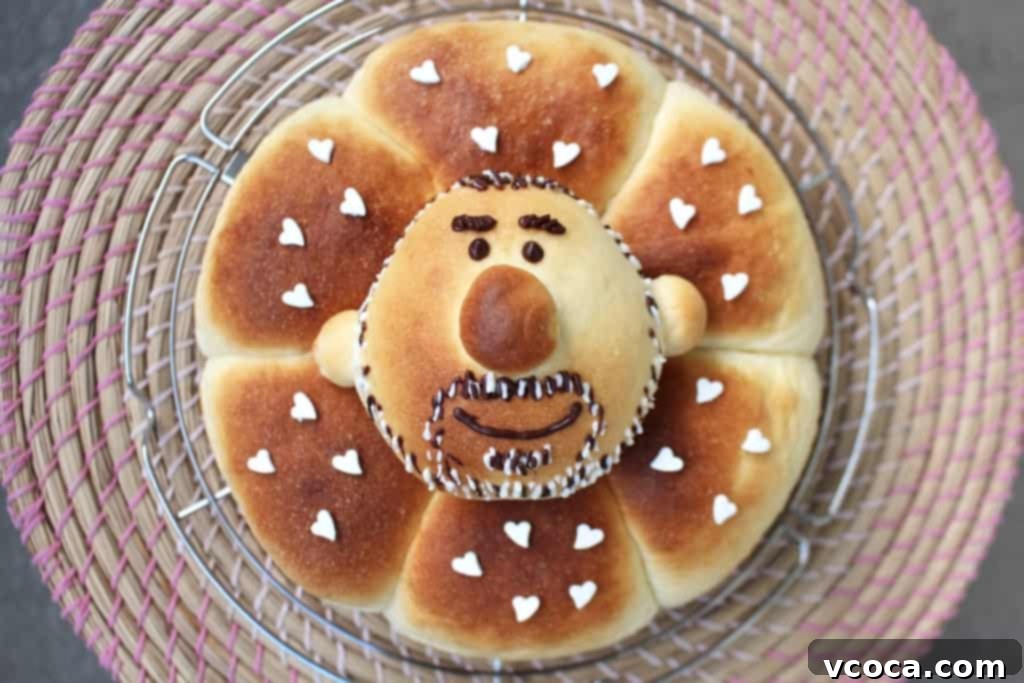
And there it was – my dad’s birthday centerpiece! While his face and nose turned out a bit rounder than I had initially envisioned (a lesson learned about dough expansion!), I was incredibly pleased with the overall result. It was a unique, heartfelt, and delicious tribute that brought a huge smile to his face.
A Birthday Feast to Remember
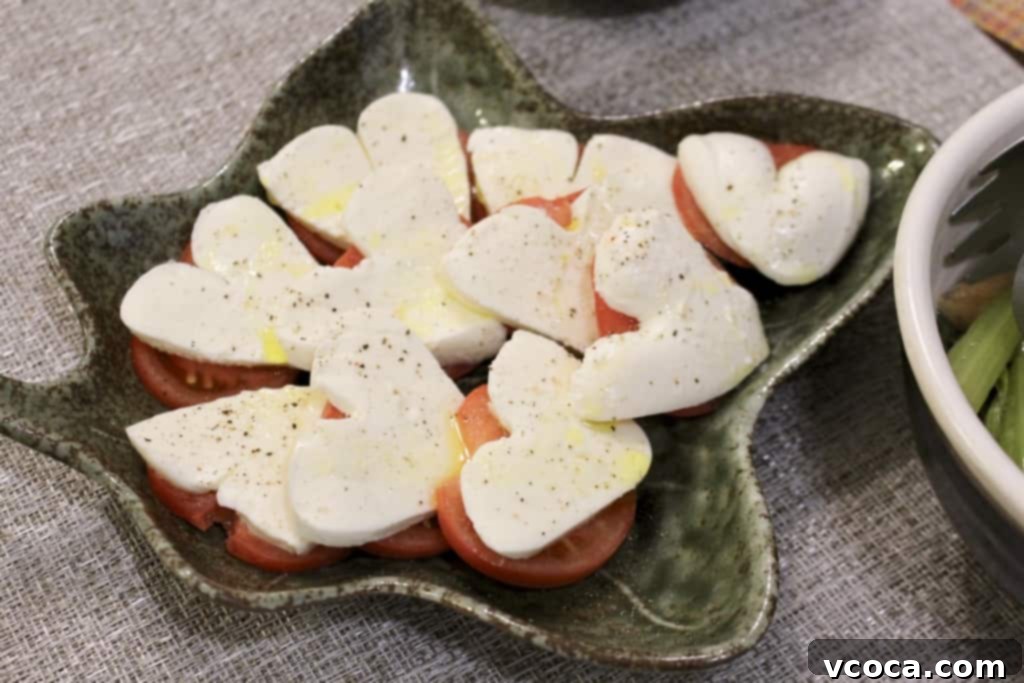
The blueberry cream cheese buns were the grand finale to a wonderful early birthday celebration. Our meal at my parents’ place was a delightful spread of various dishes, making the day even more special. We started with vibrant Caprese, featuring fresh tomato slices adorned with charming heart-shaped mozzarella, adding a touch of whimsy to the appetizer.
Next up was a steaming bowl of kasujiru, my absolute favorite Japanese soup. This comforting dish is made using sake kasu, the flavorful leftover solids from sake production, giving it a unique depth and warmth that is utterly satisfying.

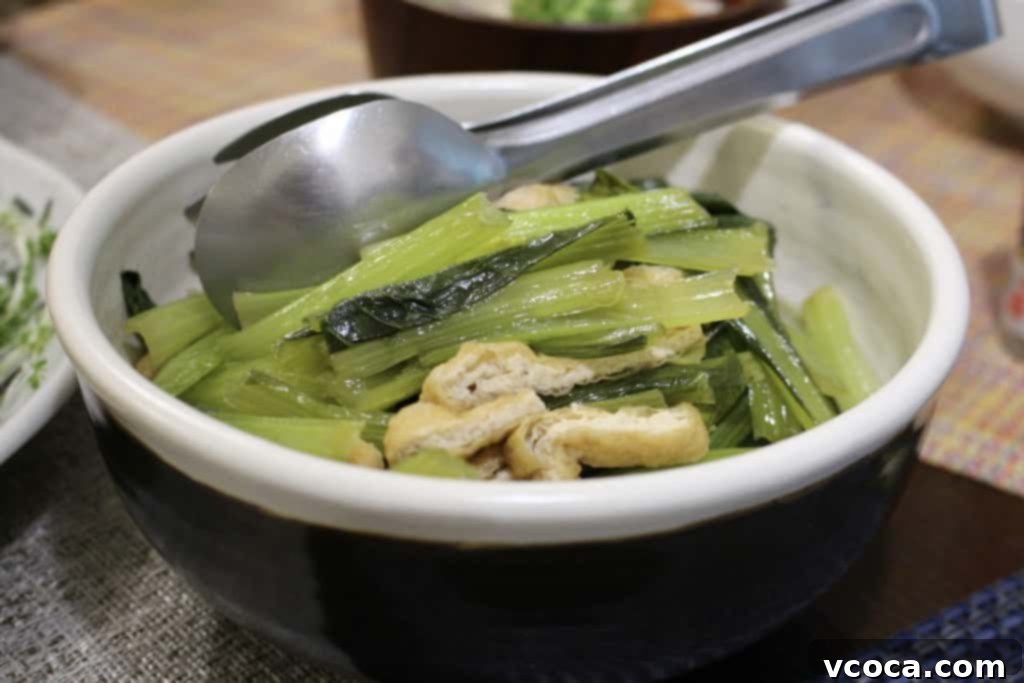
We also enjoyed a delicious side of stewed Japanese mustard spinach and aburaage (thin slices of deep-fried tofu), a wonderfully nutritious and flavorful complement to the meal.
And last but certainly not least, a visually stunning sushi bundt cake! This creative twist on sushi was both beautiful and incredibly tasty. Tristan and I were particularly thrilled, knowing we’d get to bring leftover sushi cake to work for lunch the next day!

Of course, the highlight for dessert was the glorious batch of blueberry cream cheese buns. As you can see from one of the cut-open buns, it truly underscores the importance of thoroughly pinching the dough shut. If you don’t, the jam can leak out and disappear, leaving you with less of that wonderful fruity burst! Knowing my dad would likely choose the special “face” bun, I made sure to give that one an extra generous dollop of filling.
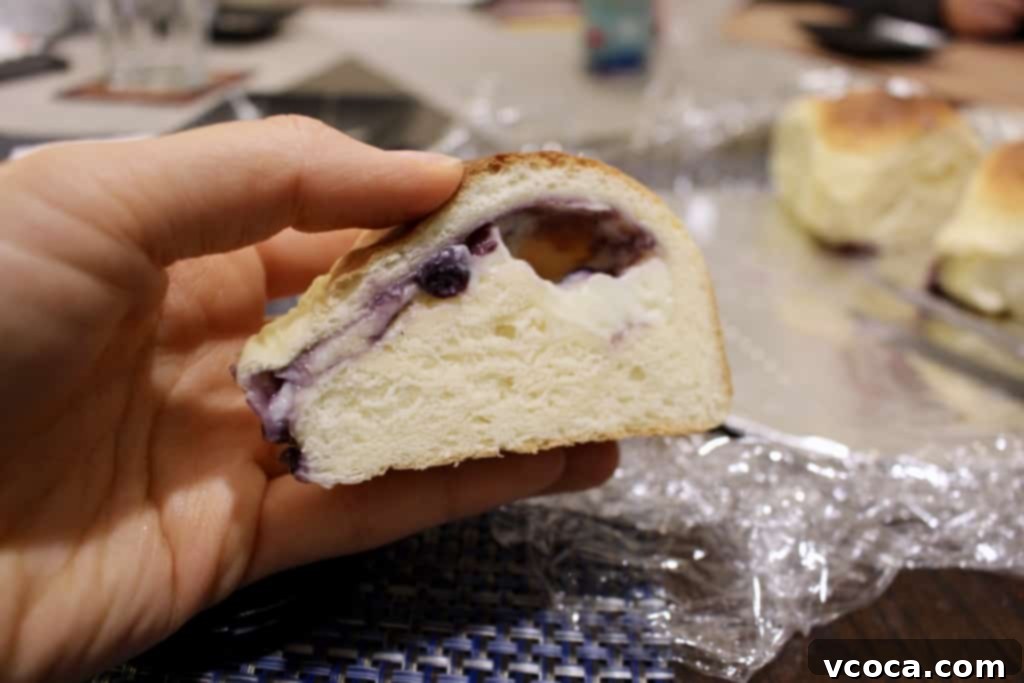
Although several hours had passed since they were baked, and they weren’t quite as fluffy as they would have been fresh out of the oven, these blueberry cream cheese buns were still absolutely delicious. The creamy filling, as mentioned, truly evokes the flavors of a cheesecake, and you simply can’t go wrong with the timeless combination of sweet blueberries and rich cream cheese. If you find yourself as obsessed with this flavor pairing as I am, you absolutely must try these blueberry cream cheese doughnuts!
While these buns were perfect for a birthday celebration, they don’t require a special occasion. Whether it’s a casual weekend breakfast, an elegant brunch, or just an everyday sweet treat, these homemade blueberry cream cheese buns are sure to impress. (Just remember, the “dad’s face” decoration is entirely optional!). They’re a wonderful way to bring warmth, comfort, and deliciousness to any day.
More Delicious Bread Recipes You’ll Love
If you enjoyed making these sweet rolls, you’ll definitely want to explore more of our beloved bread recipes:
- This moist banana bread recipe is a timeless classic and a definite keeper! It’s an adaptation of my mom’s cherished recipe, the very one I grew up eating.
- For those with dietary considerations, try my equally delicious gluten-free banana bread. It’s just as moist and flavorful, but without the gluten, making it a perfect alternative.
- And as the cooler fall months arrive, this gluten-free pumpkin bread is an absolute must-try. It’s perfectly spiced and ideal for satisfying those seasonal cravings for comforting baked goods.
Blueberry Cream Cheese Buns
Breakfast, Snack
Ai Willis
Print
Pin
Rate
Ingredients
Dough
-
285g
bread flour -
½
teaspoon
fine sea salt -
¼
cup
granulated sugar -
38g
butter -
1
egg -
½
cup
milk
(warmed if not using bread machine) -
1¼
teaspoon
active dry yeast
Filling
-
¼
cup
blueberry jam -
⅓
cup
cream cheese, softened at room temperature -
2
tablespoons
sour cream -
2
tablespoons
granulated sugar
Instructions
-
Add the dough ingredients into your bread machine and set it on the dough cycle.
-
While the dough is kneading, mix together the cream cheese, sour cream, and sugar in a small bowl, and set aside.
-
Preheat the oven to 392°F (200°C), grease an 8 or 9-inch round pan with butter and set aside.
-
Take the finished dough out of the machine, cover and let it rest on a floured surface for about 10 minutes.
-
Divide the dough into 7 equal pieces. Take one piece, roll it out, and spoon the fillings on the dough. Carefully wrap it up and pinch the dough completely shut. Make sure to keep the pieces of dough you’re not working with covered.
-
Put the stuffed pieces of dough into a buttered cake pan and cover with plastic wrap to let them rise for about 30 minutes.
-
Uncover the dough and bake them for 15 to 18 minutes. Take the bread out on a wire rack to cool completely.
Love this recipe?
Snap a photo and share tagging @aimadeitforyou or tag #aimadeitforyou!
