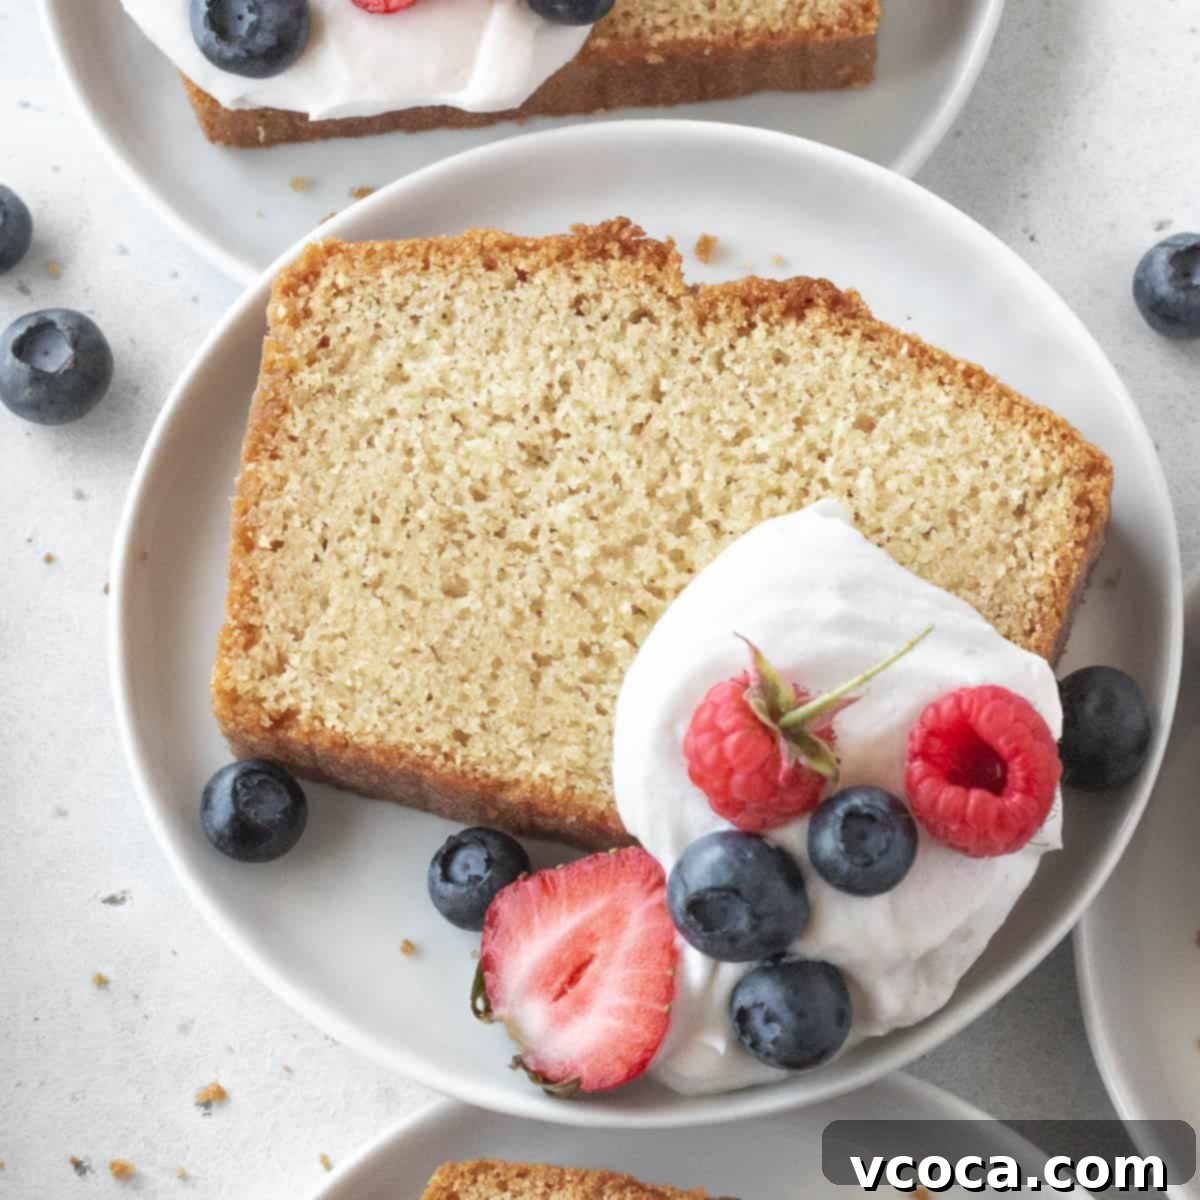
The Best Gluten-Free Pound Cake Recipe: Buttery, Moist, and Easy to Make
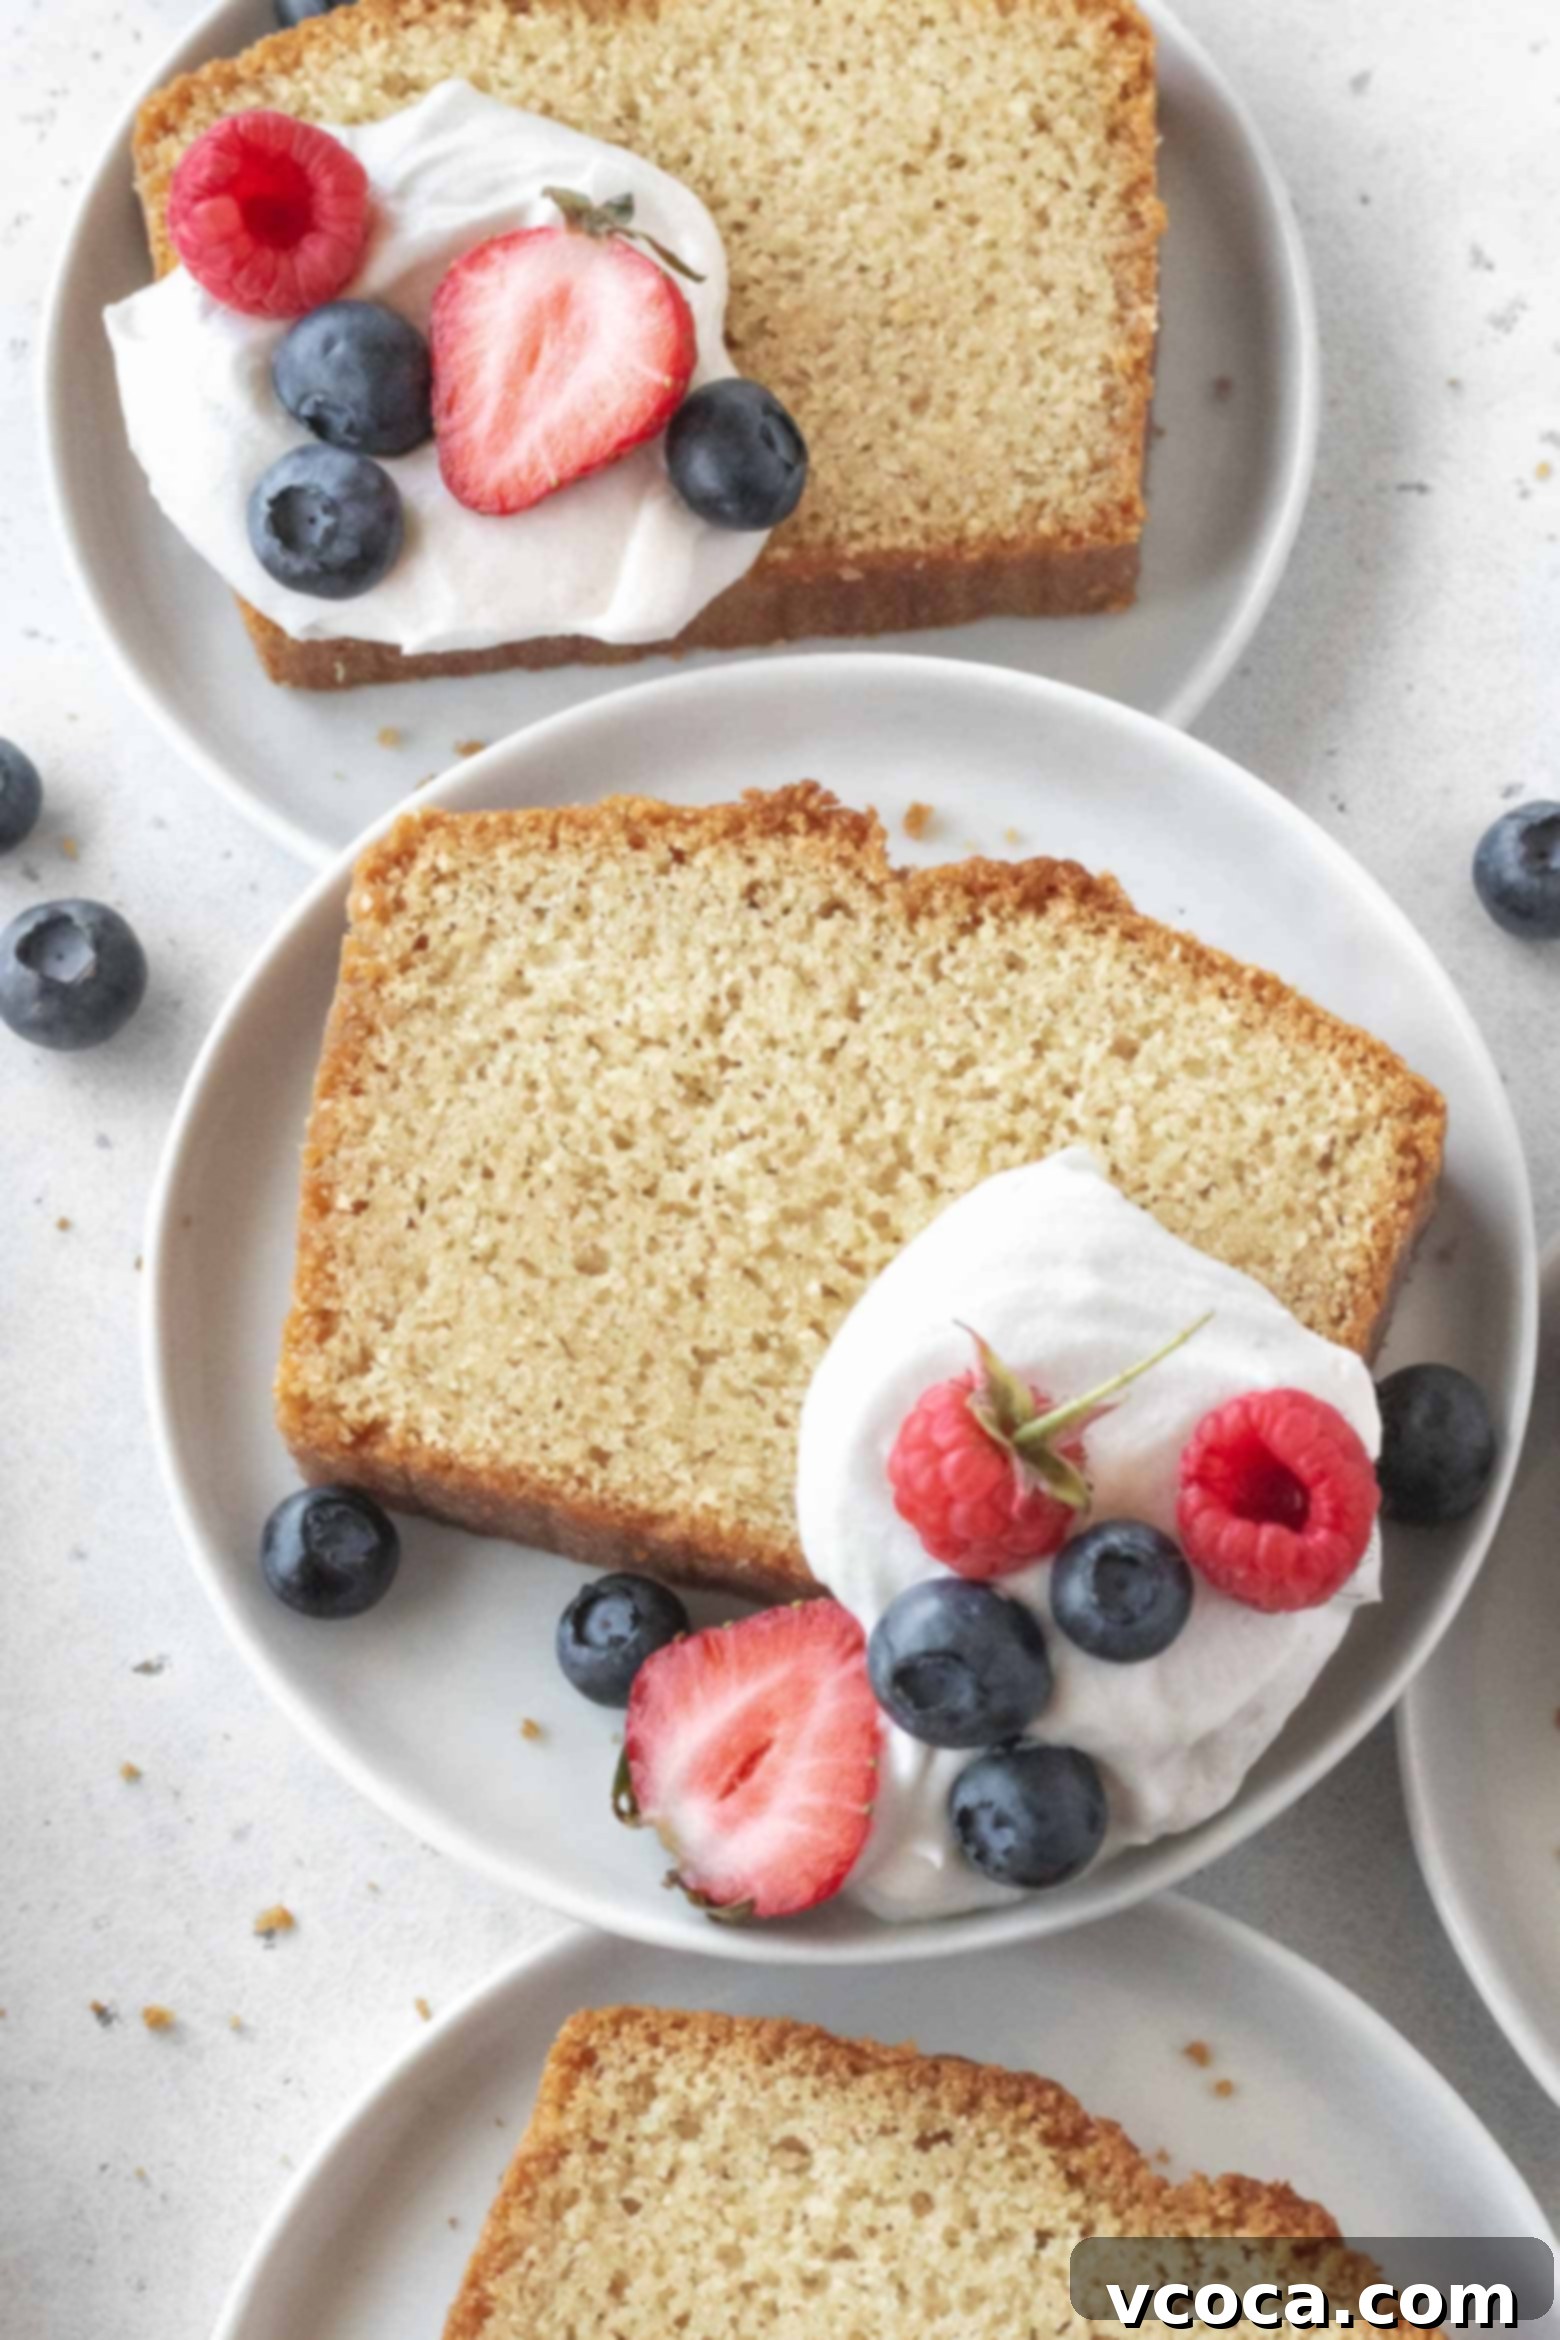
Craving a classic pound cake but need a gluten-free option? Look no further! This remarkable gluten-free pound cake delivers everything you love about the traditional version – a rich, buttery flavor, an incredibly moist crumb, and that satisfyingly dense texture. It’s a truly indulgent dessert that will have everyone asking for seconds, whether they follow a gluten-free diet or not. Perfect for any season, serve a generous slice with a dollop of fluffy whipped cream (or coconut whipped cream for a dairy-free twist) and a medley of fresh berries for an exquisite treat that’s surprisingly easy to achieve.
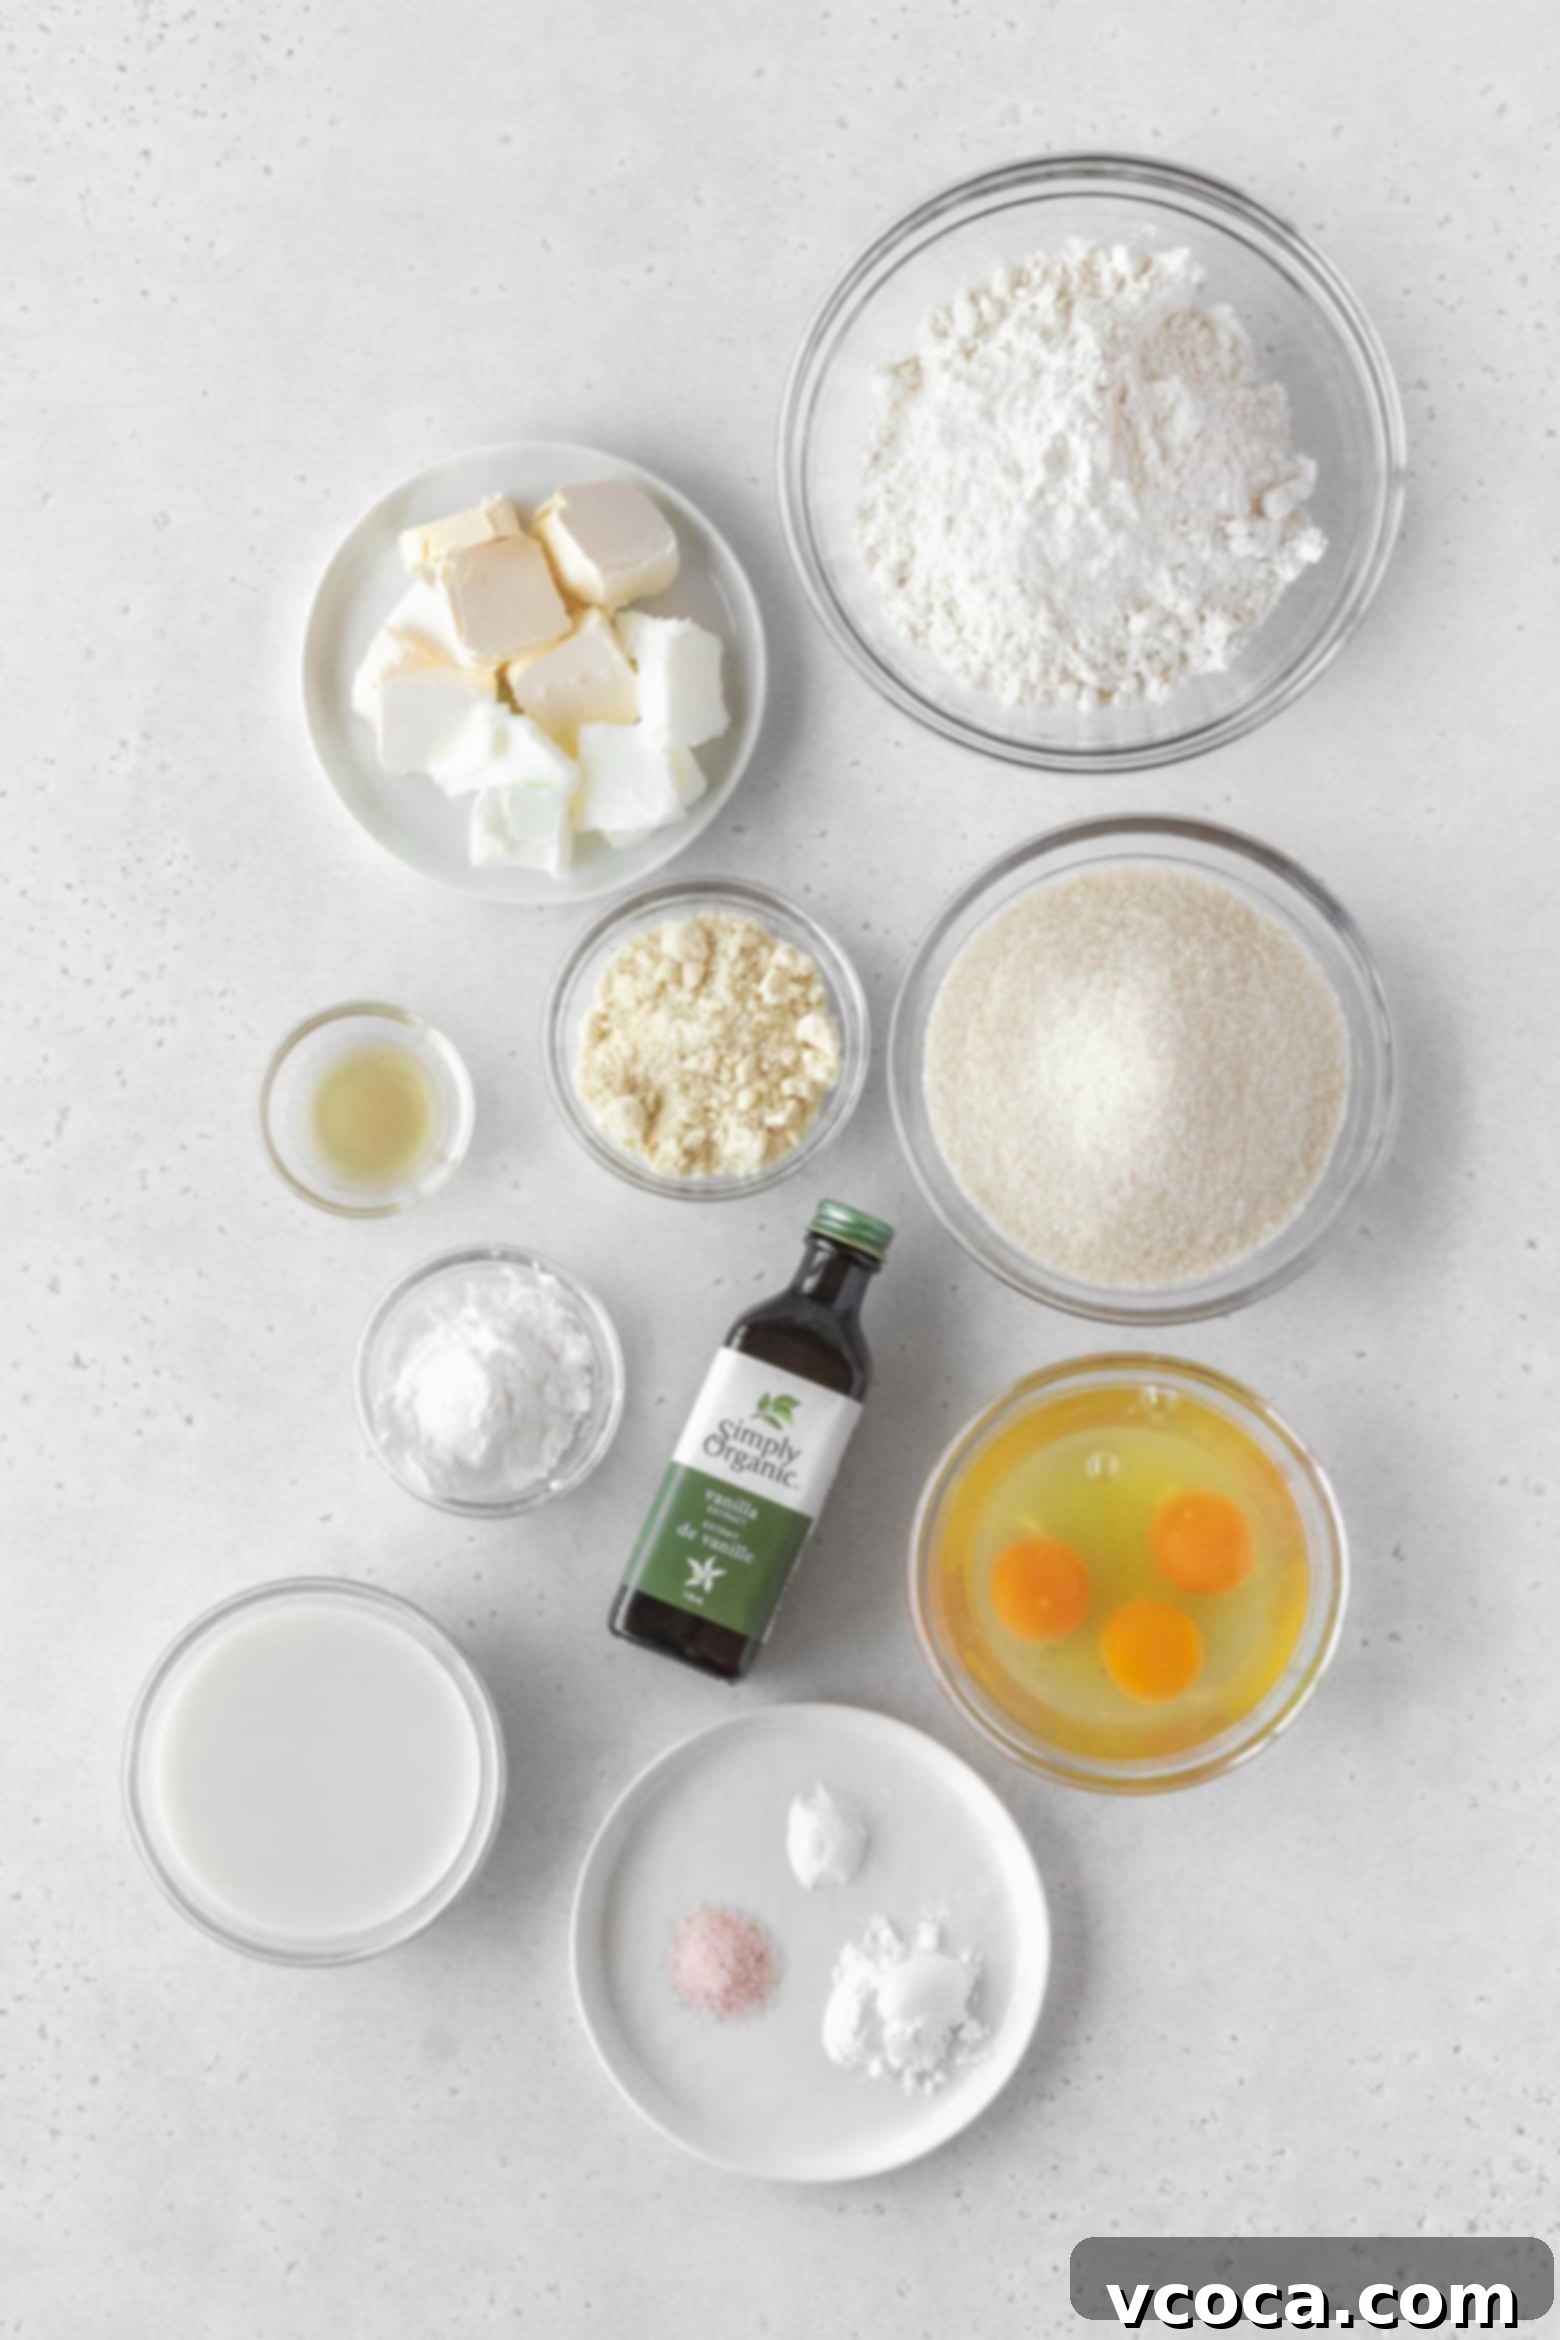
Essential Ingredients for Your Gluten-Free Pound Cake
Creating a truly magnificent gluten-free pound cake starts with understanding the role each ingredient plays. Here’s a breakdown of what you’ll need and why these components are vital for that perfect, buttery crumb.
- Gluten-free measure for measure flour blend. This is the backbone of our gluten-free pound cake. I specifically recommend a high-quality “1-to-1” or “measure for measure” blend. For this particular recipe, Bob’s Red Mill’s 1-to-1 baking flour was used due to its reliable performance and excellent texture contribution. These blends are formulated to mimic wheat flour as closely as possible, often containing a mix of rice flours, starches, and xanthan gum.
- Almond flour. Beyond just adding a delicate depth to the flavor, superfine almond flour is instrumental in achieving a wonderfully tender and moist crumb. Its high fat content helps prevent dryness often associated with gluten-free baking, ensuring your pound cake is rich and velvety. Using a superfine grind is key for the smoothest possible texture.
- Cornstarch. This might seem like an unusual addition, but cornstarch is a secret weapon in gluten-free baking. It contributes significantly to the bouncy, soft texture of this loaf cake, bringing it much closer to the delightful consistency of a classic, wheat-based pound cake. It acts as a tenderizer and helps with the overall structure.
- Salt. A pinch of salt is crucial in almost all dessert recipes. It doesn’t just make things taste “salty”; it enhances and balances the sweetness of the sugar, making the other flavors in the cake truly shine.
- Baking soda. This powerful leavening agent works in tandem with an acidic ingredient (like vinegar in this recipe) to create carbon dioxide bubbles, helping the pound cake rise beautifully and achieve a light lift despite its dense nature.
- Baking powder. As another key leavener, baking powder provides an additional boost, contributing to the cake’s overall rise and lending a subtle fluffiness that complements the dense crumb. This dual leavening system is essential for gluten-free cakes that lack the structural network of gluten.
- Butter. A pound cake without butter? Unthinkable! Butter is central to the rich flavor, golden color, and tender texture of this classic dessert. It contributes to the moistness and characteristic melt-in-your-mouth feel. Both dairy and high-quality vegan butter work perfectly here, just ensure it’s at room temperature for optimal creaming.
- Shortening. While butter provides flavor, shortening brings its own unique qualities. Combining butter and shortening helps create that desirable slightly crisp, golden crust on the exterior of the pound cake while keeping the interior incredibly moist and tender. This combination also contributes to a more stable crumb structure.
- Granulated sugar. Granulated sugar not only provides a clean, sweet taste but also plays a vital role in the cake’s structure and moisture. It creams with the fats to create air pockets, leading to a lighter texture, and it helps keep the cake moist by attracting and holding onto water molecules. You can also use organic cane sugar, but be aware it might subtly affect the final color of the pound cake due to its slightly less refined nature.
- Eggs. Large eggs are essential for this recipe. They act as a binder, emulsifier, and leavening agent. Eggs add moisture, richness, and help give the cake its structure, contributing to a stable and cohesive crumb. Ensure they are at room temperature for best results.
- Milk. Whether you choose dairy milk or a non-dairy alternative (such as almond or soy milk), make sure it’s unsweetened. Milk adds necessary liquid to the batter, contributing to the overall moisture and helping to create a smooth consistency.
- Apple cider vinegar. This ingredient is crucial for activating the baking soda, causing the chemical reaction that helps the cake rise. If apple cider vinegar isn’t available, white vinegar or freshly squeezed lemon juice can be used as effective substitutes.
- Vanilla extract. A generous amount of pure vanilla extract or vanilla bean paste is vital for infusing the pound cake with a warm, inviting aroma and a classic, comforting flavor profile. Do not skimp on quality here; it makes a noticeable difference.
Mastering Gluten-Free Flour for Perfect Baking
Navigating the world of gluten-free flours can initially feel daunting, especially if you’re new to it. The key to successful gluten-free baking, particularly for a recipe like pound cake where structure is important, lies in selecting and handling your flour correctly. Gluten-free flours behave differently from traditional wheat flour, so a thoughtful approach is essential to achieve that desired moist and tender texture.
When selecting a gluten-free flour blend, always look for those explicitly labeled as “measure for measure,” “cup for cup,” or “1-to-1.” These blends are specifically formulated to substitute traditional wheat flour in recipes with minimal adjustments. A good quality blend will typically incorporate a mix of sturdy flours like brown or white rice flour, or oat flour, to provide structure. It will also include lighter starches such as tapioca starch, potato starch, or cornstarch, which contribute to tenderness and a smooth mouthfeel. Crucially, most effective blends contain xanthan gum, an essential ingredient that acts as a binder, mimicking gluten’s elastic properties and preventing your baked goods from crumbling. If your chosen blend doesn’t include xanthan gum, you’ll need to add about ½ teaspoon per cup of gluten-free flour for optimal results.
Several brands consistently produce excellent results. My personal favorites include Bob’s Red Mill 1-to-1 Gluten-Free Baking Flour, King Arthur Gluten-Free Measure for Measure Flour, and Cup4Cup Wholesome Flour. Each has a slightly different composition, but they all perform reliably in pound cake recipes. A small but important note for those with additional dietary sensitivities: always check the ingredients list carefully. Some gluten-free flour blends, particularly Cup4Cup, contain milk powder, which is something to be aware of if you are also dairy-sensitive or vegan.
The Art of Measuring Gluten-Free Flour
Accurate measurement is paramount in baking, and it’s even more critical with gluten-free flours. The best and most consistent method for measuring any type of flour, including gluten-free varieties, is to use a kitchen scale. This eliminates variability and ensures you get the exact amount required every single time, leading to more consistent baking results. To use a scale, simply place your mixing bowl (or a separate container) on the scale, turn it on so it reads zero, and then spoon your flour directly into the bowl until you reach the specified weight in grams or ounces.
If a kitchen scale isn’t available, employ the “fluff and scoop” method for volume measurement. First, gently fluff the flour in its bag or container with a spoon to aerate it and prevent compaction. Next, lightly spoon the flour into your measuring cup until it’s overflowing. Do not pack the flour down, shake the cup, or tap it against the counter. These actions will compact the flour, causing you to add significantly more than intended. Once filled, use the back of a straight knife or a similar flat edge to level off the top of the measuring cup. Over-measuring flour is a common pitfall that can lead to a dry, dense, and crumbly pound cake, so precision here truly pays off.
Extending the Shelf Life: How to Store Gluten-Free Flour
Proper storage is essential to maintain the freshness and quality of your gluten-free flour blends. While most manufacturers suggest storing flour in a cool, dry place like your pantry, I have a preferred method that significantly extends its shelf life and offers additional benefits: freezing.
Storing gluten-free flour in the freezer is an excellent way to keep it fresh for longer periods. The low temperatures help prevent the natural oils in some of the grain components from going rancid, which can impart an off-flavor to your baked goods. Furthermore, freezing acts as a natural deterrent against pantry pests, ensuring no unwanted guests make a home in your flour. This is particularly beneficial for gluten-free flours which are often stored for longer durations if not used frequently.
When preparing flour for freezing, it’s important to transfer it from its original paper packaging (or any non-resealable bag) into an airtight container or a heavy-duty freezer bag. This protects the flour from absorbing moisture or odors from the freezer. Once you’ve removed the flour from the freezer for baking, work quickly to measure what you need and return the remaining flour to the freezer promptly. Allowing frozen flour to sit out for extended periods can cause condensation to form as it warms up, which can introduce moisture and lead to spoilage or clumping. After measuring, let your portion of frozen flour come to room temperature alongside your other ingredients before incorporating it into the recipe. This ensures all ingredients are at the optimal temperature for proper mixing and batter consistency.
Handy Substitutions for Your Pound Cake
While this recipe is crafted for optimal results, sometimes dietary needs or pantry availability call for a little flexibility. Here are some reliable substitutions:
- Butter. Feel free to use either unsalted dairy butter or a high-quality vegan butter substitute. Ensure whichever you choose is at room temperature for proper creaming.
- Shortening. If you don’t have shortening on hand, you can substitute it with refined (flavorless) coconut oil. Be aware that this may result in a slightly denser pound cake, but it will still be delicious. Avoid unrefined coconut oil as its distinct flavor may interfere with the classic buttery taste of the pound cake.
- Milk. Both whole dairy milk and unsweetened non-dairy milk (such as almond, soy, or oat milk) work well in this recipe. Just make sure it is unsweetened to control the sugar content of the cake.
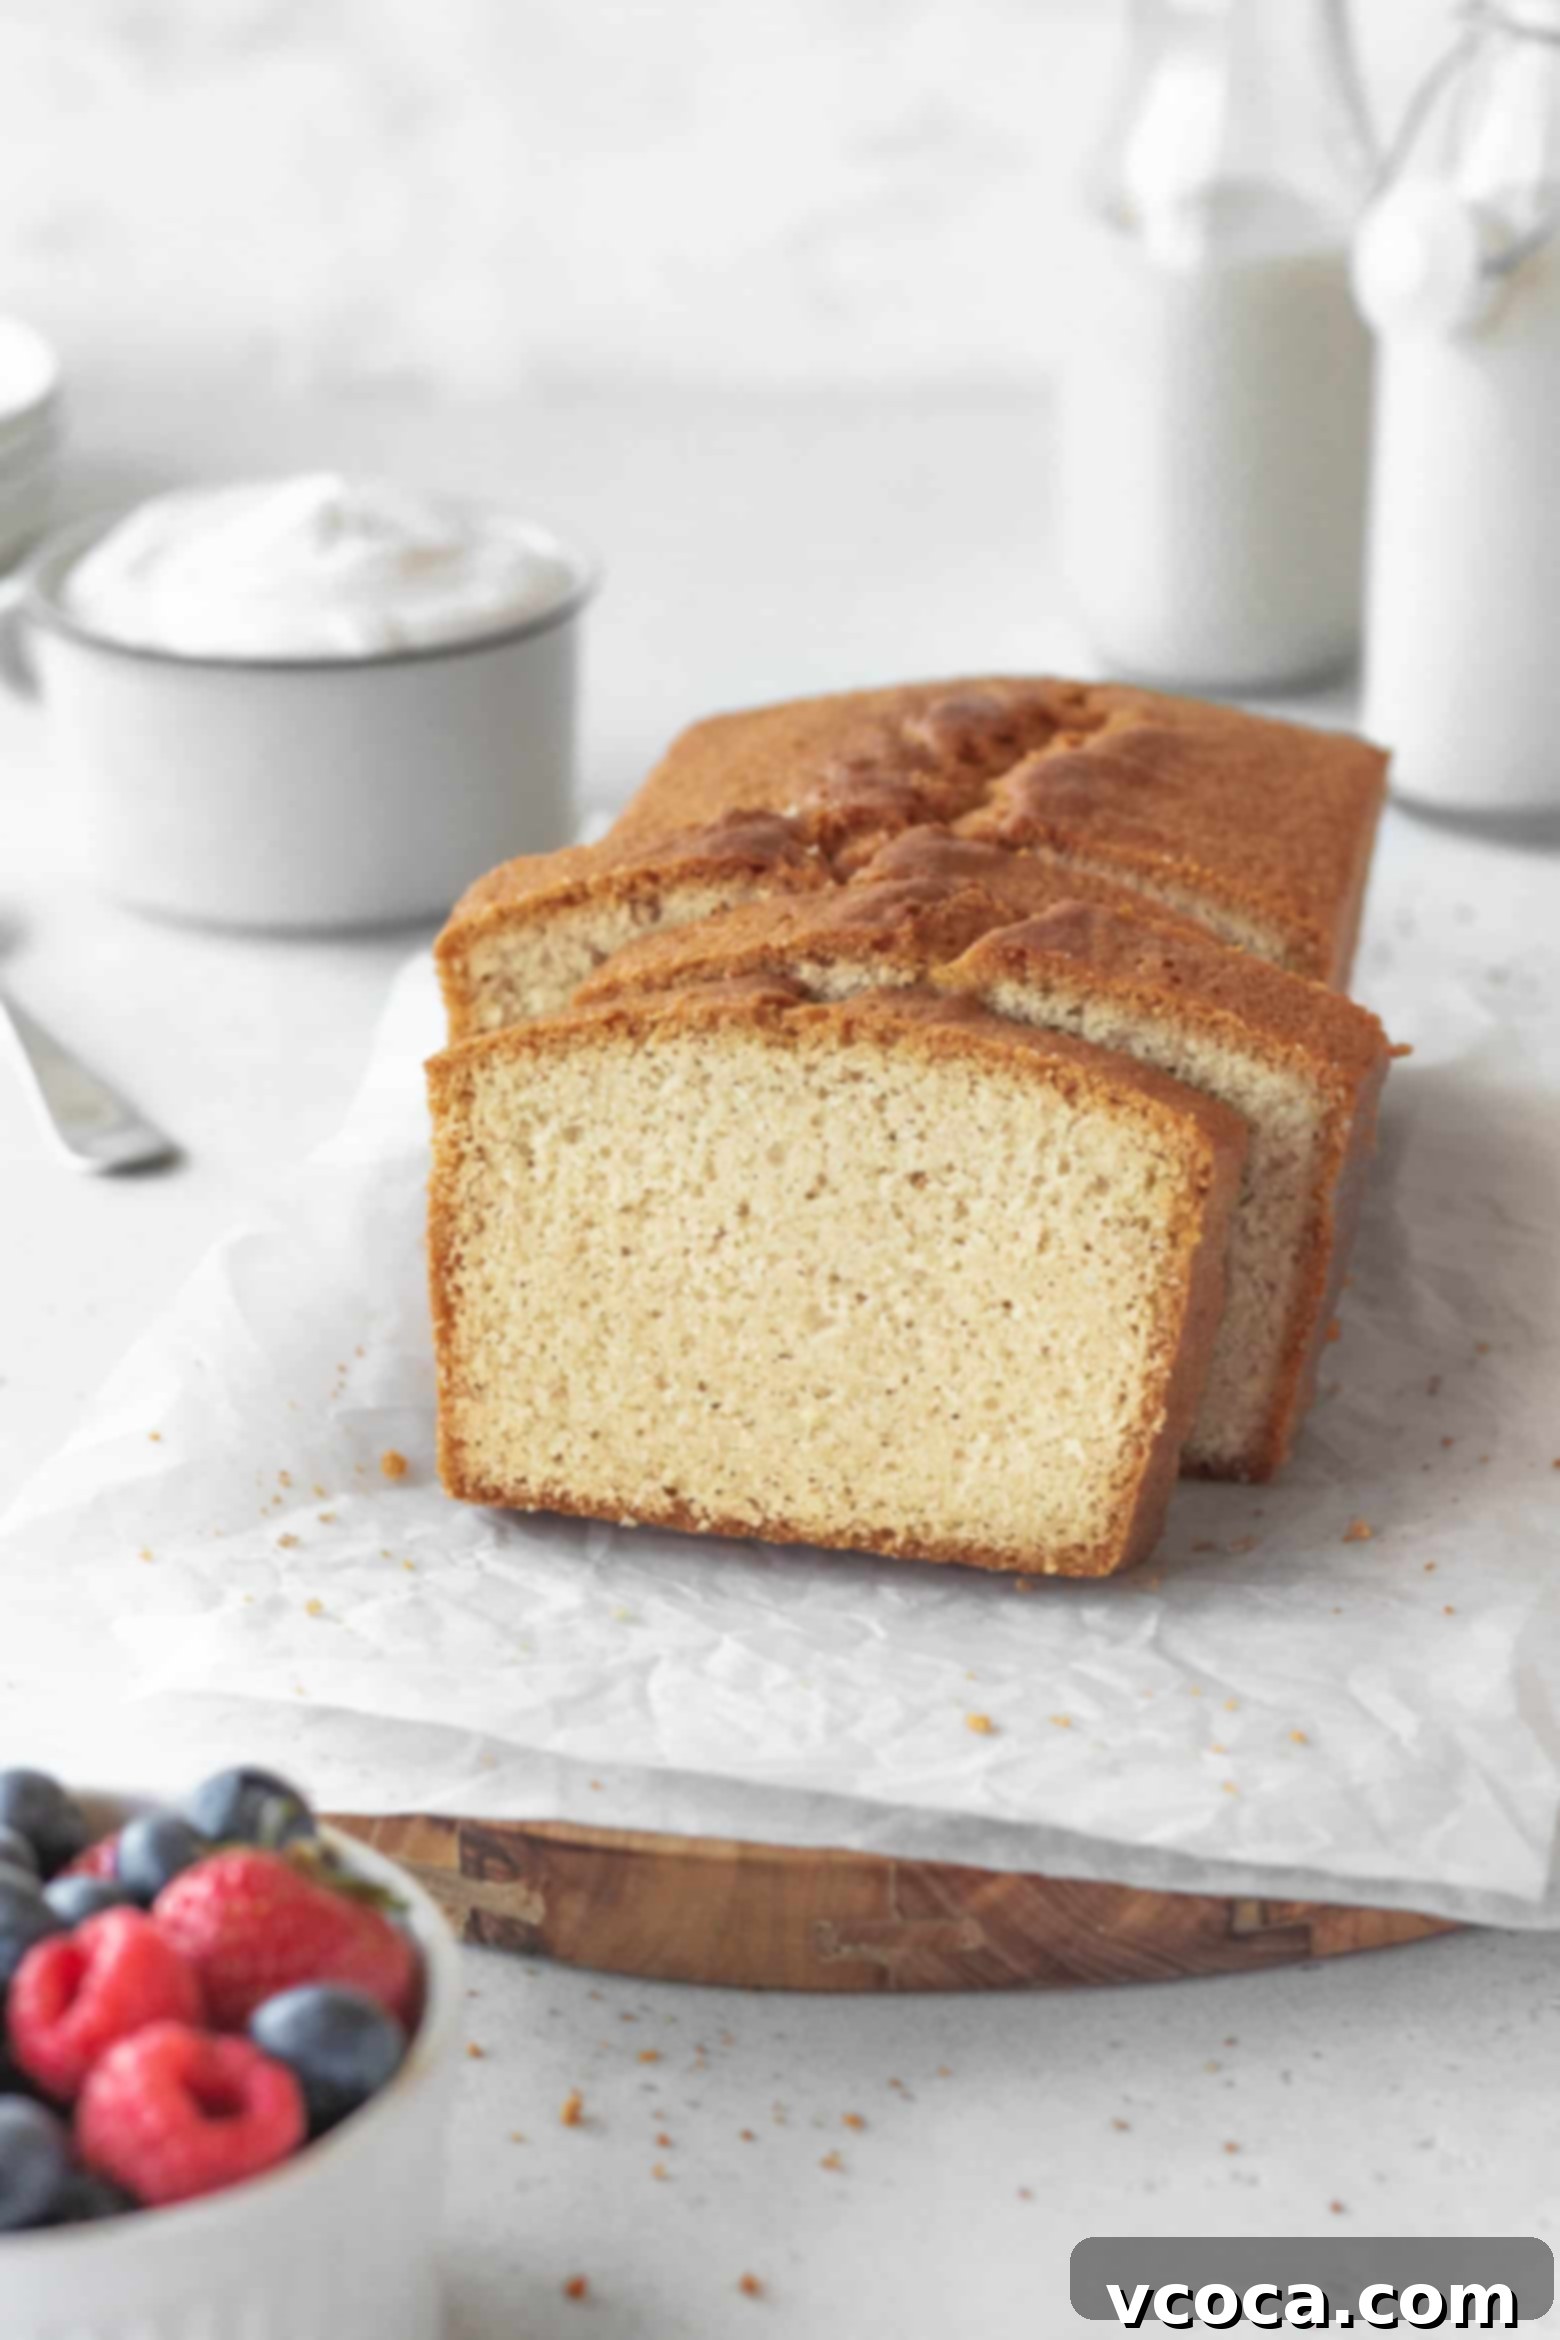
Step-by-Step Guide: Crafting Your Perfect Gluten-Free Pound Cake
Creating this delightfully moist and buttery gluten-free pound cake is a straightforward process when you follow these steps carefully. Attention to detail, especially regarding ingredient temperatures and mixing times, will ensure a perfectly textured loaf.
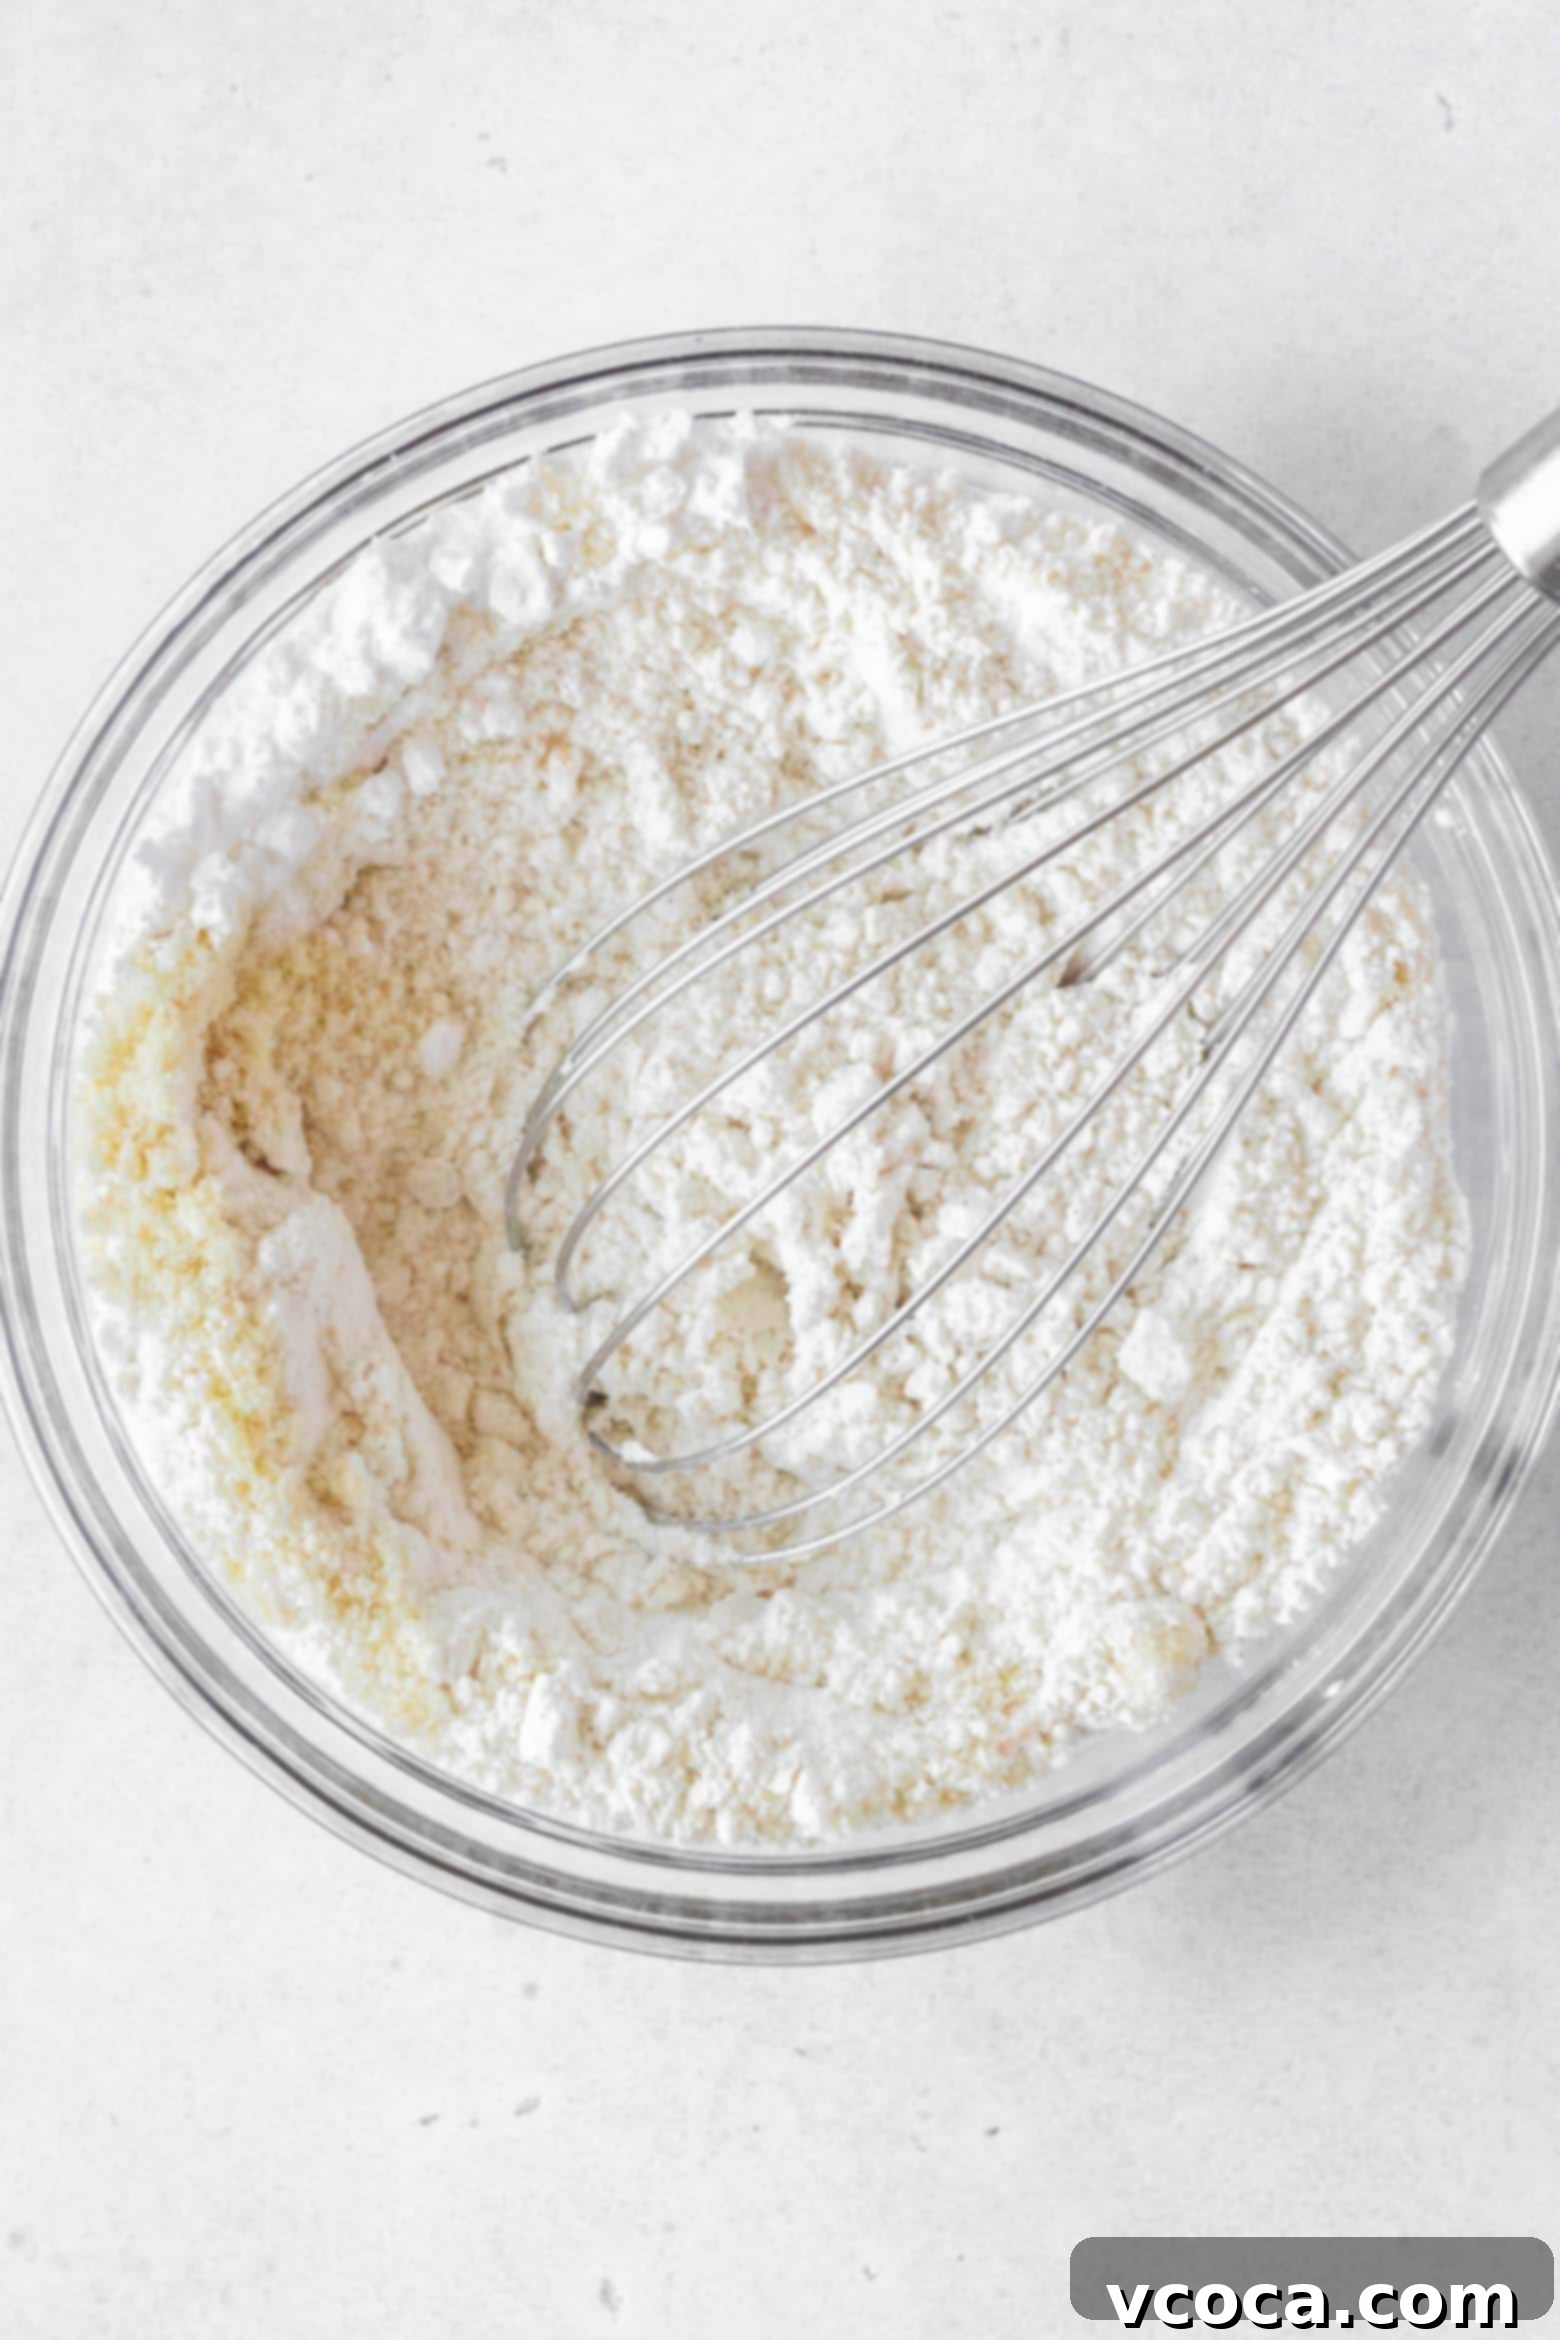
- Prepare the Dry Ingredients: In a medium-sized bowl, thoroughly whisk together the gluten-free measure-for-measure flour, superfine almond flour, cornstarch, salt, baking soda, and baking powder. Whisking ensures all leavening agents and flours are evenly distributed, which is crucial for a consistent rise and texture. Set this mixture aside.
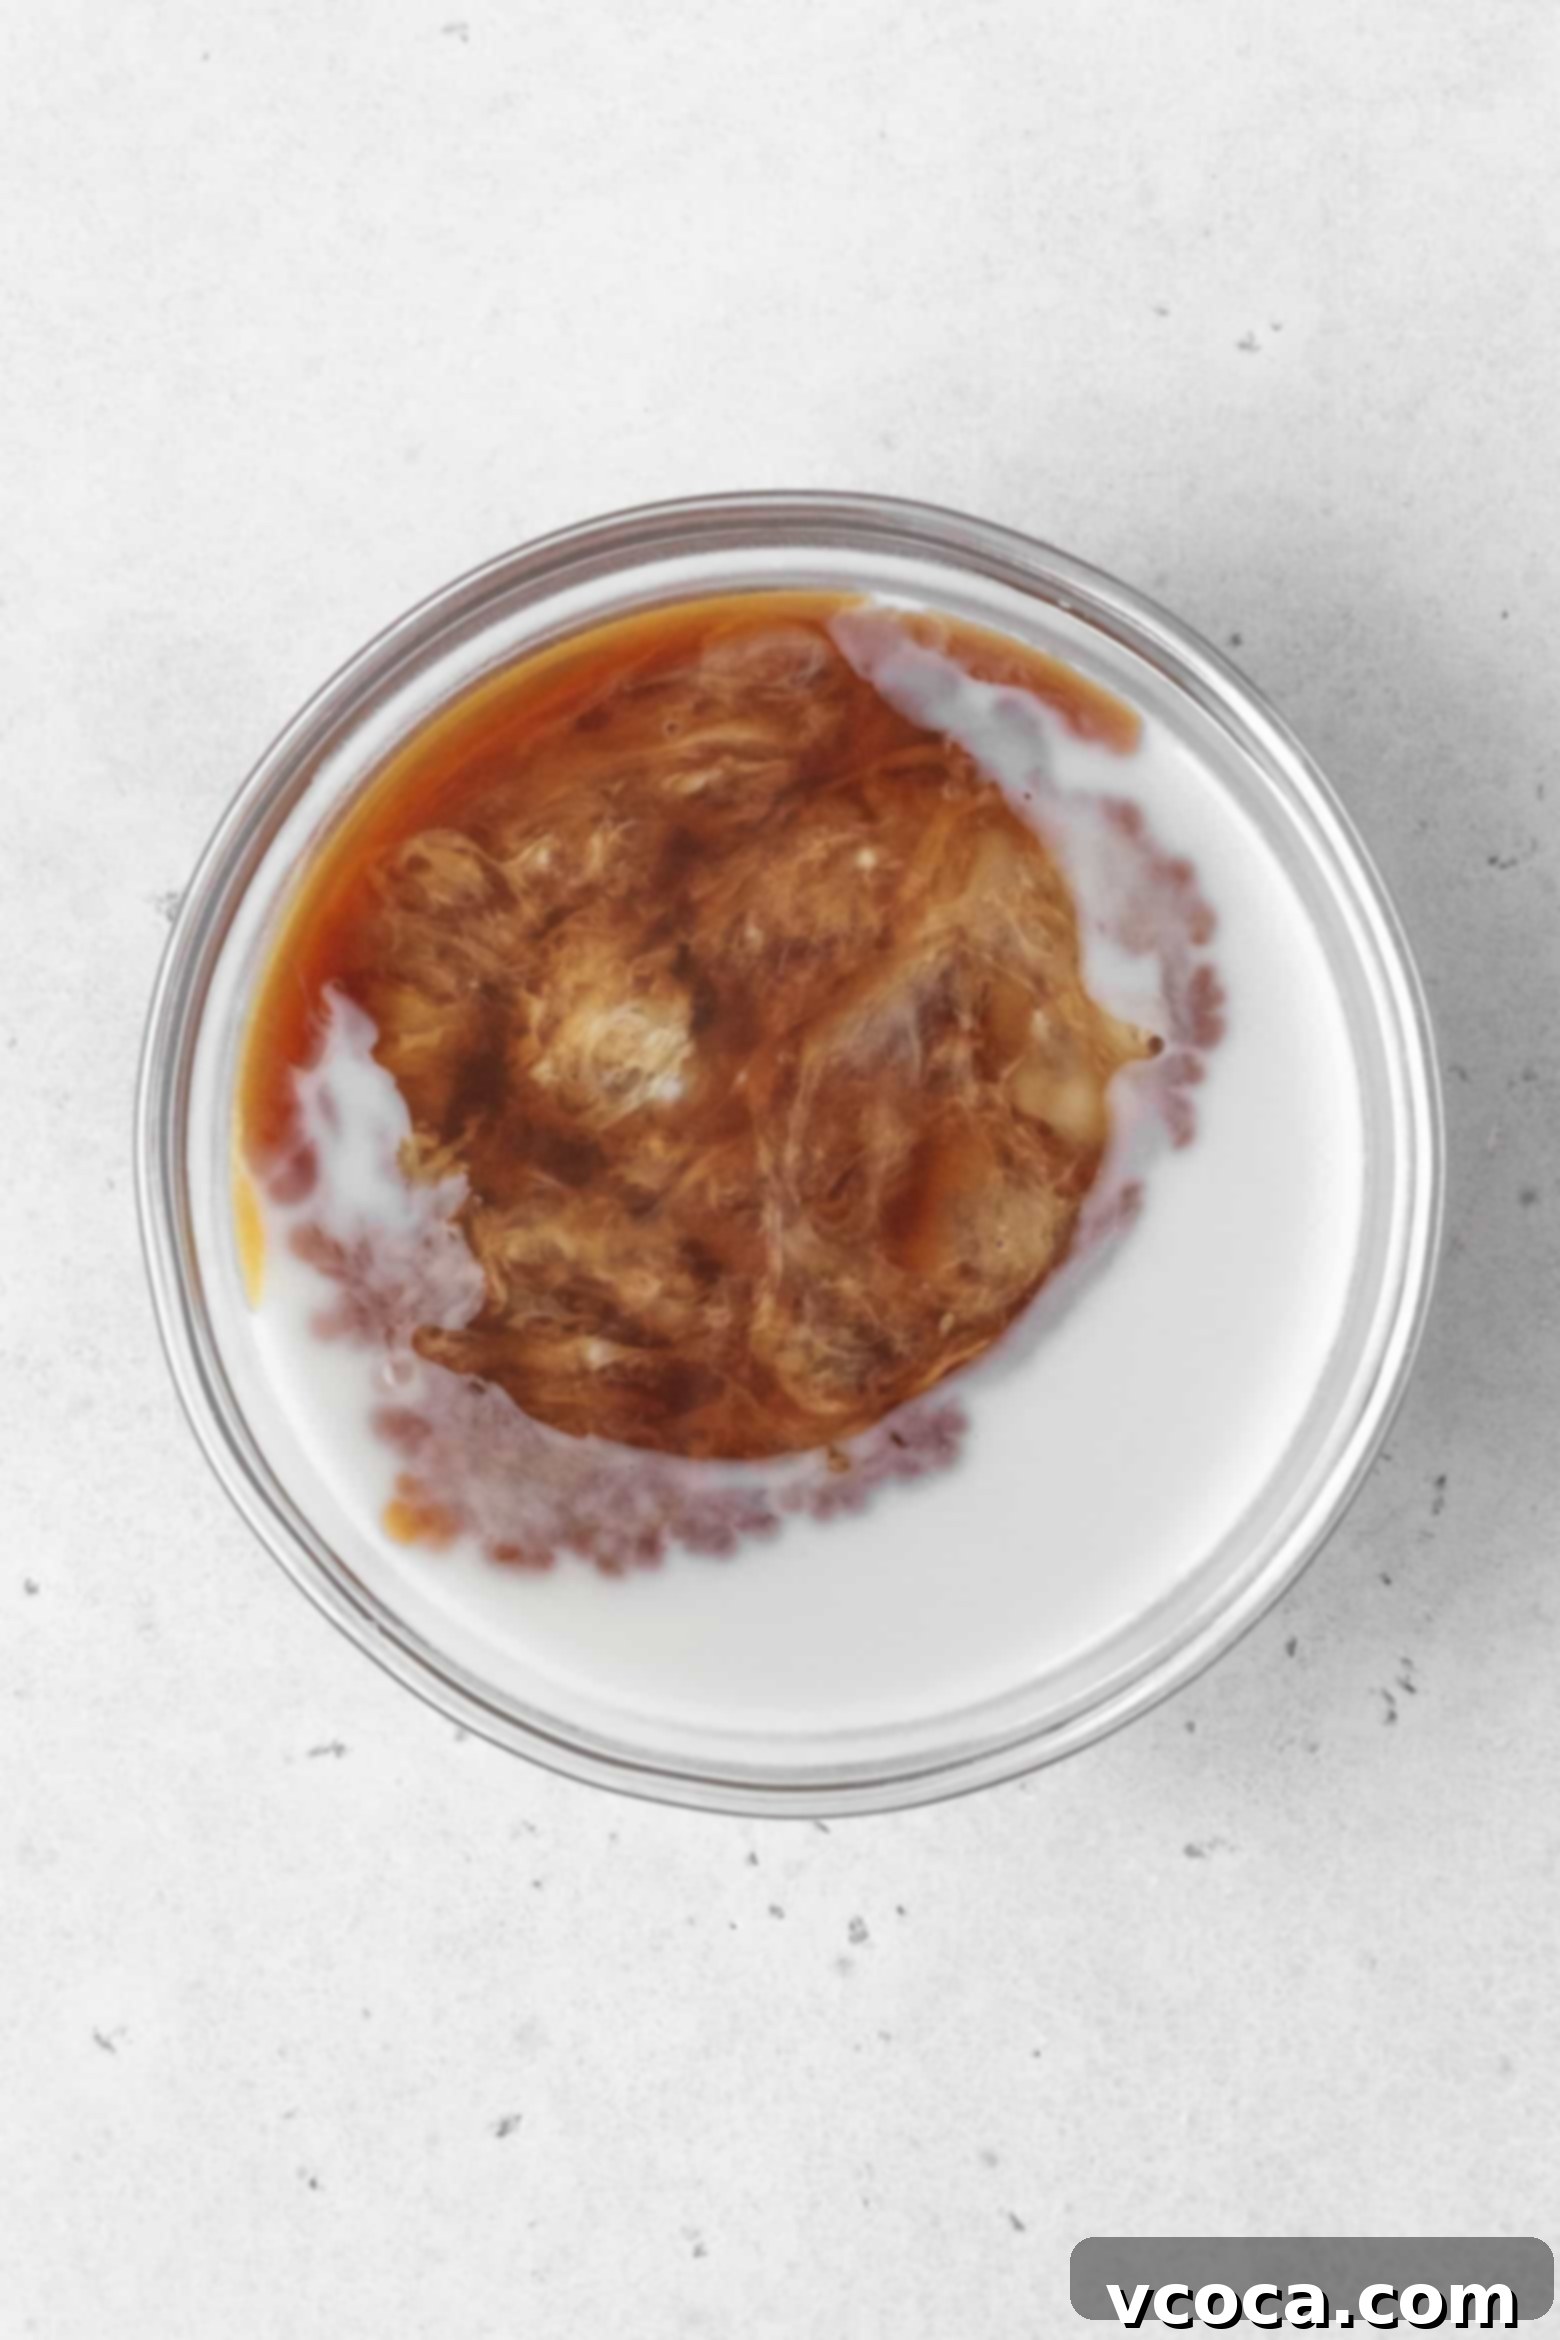
- Combine Wet Ingredients (minus fats and sugar): In a separate small bowl, combine the milk, apple cider vinegar, and vanilla extract. Give it a quick stir. The apple cider vinegar will immediately start to react with the baking soda once combined later, so having this ready is important.
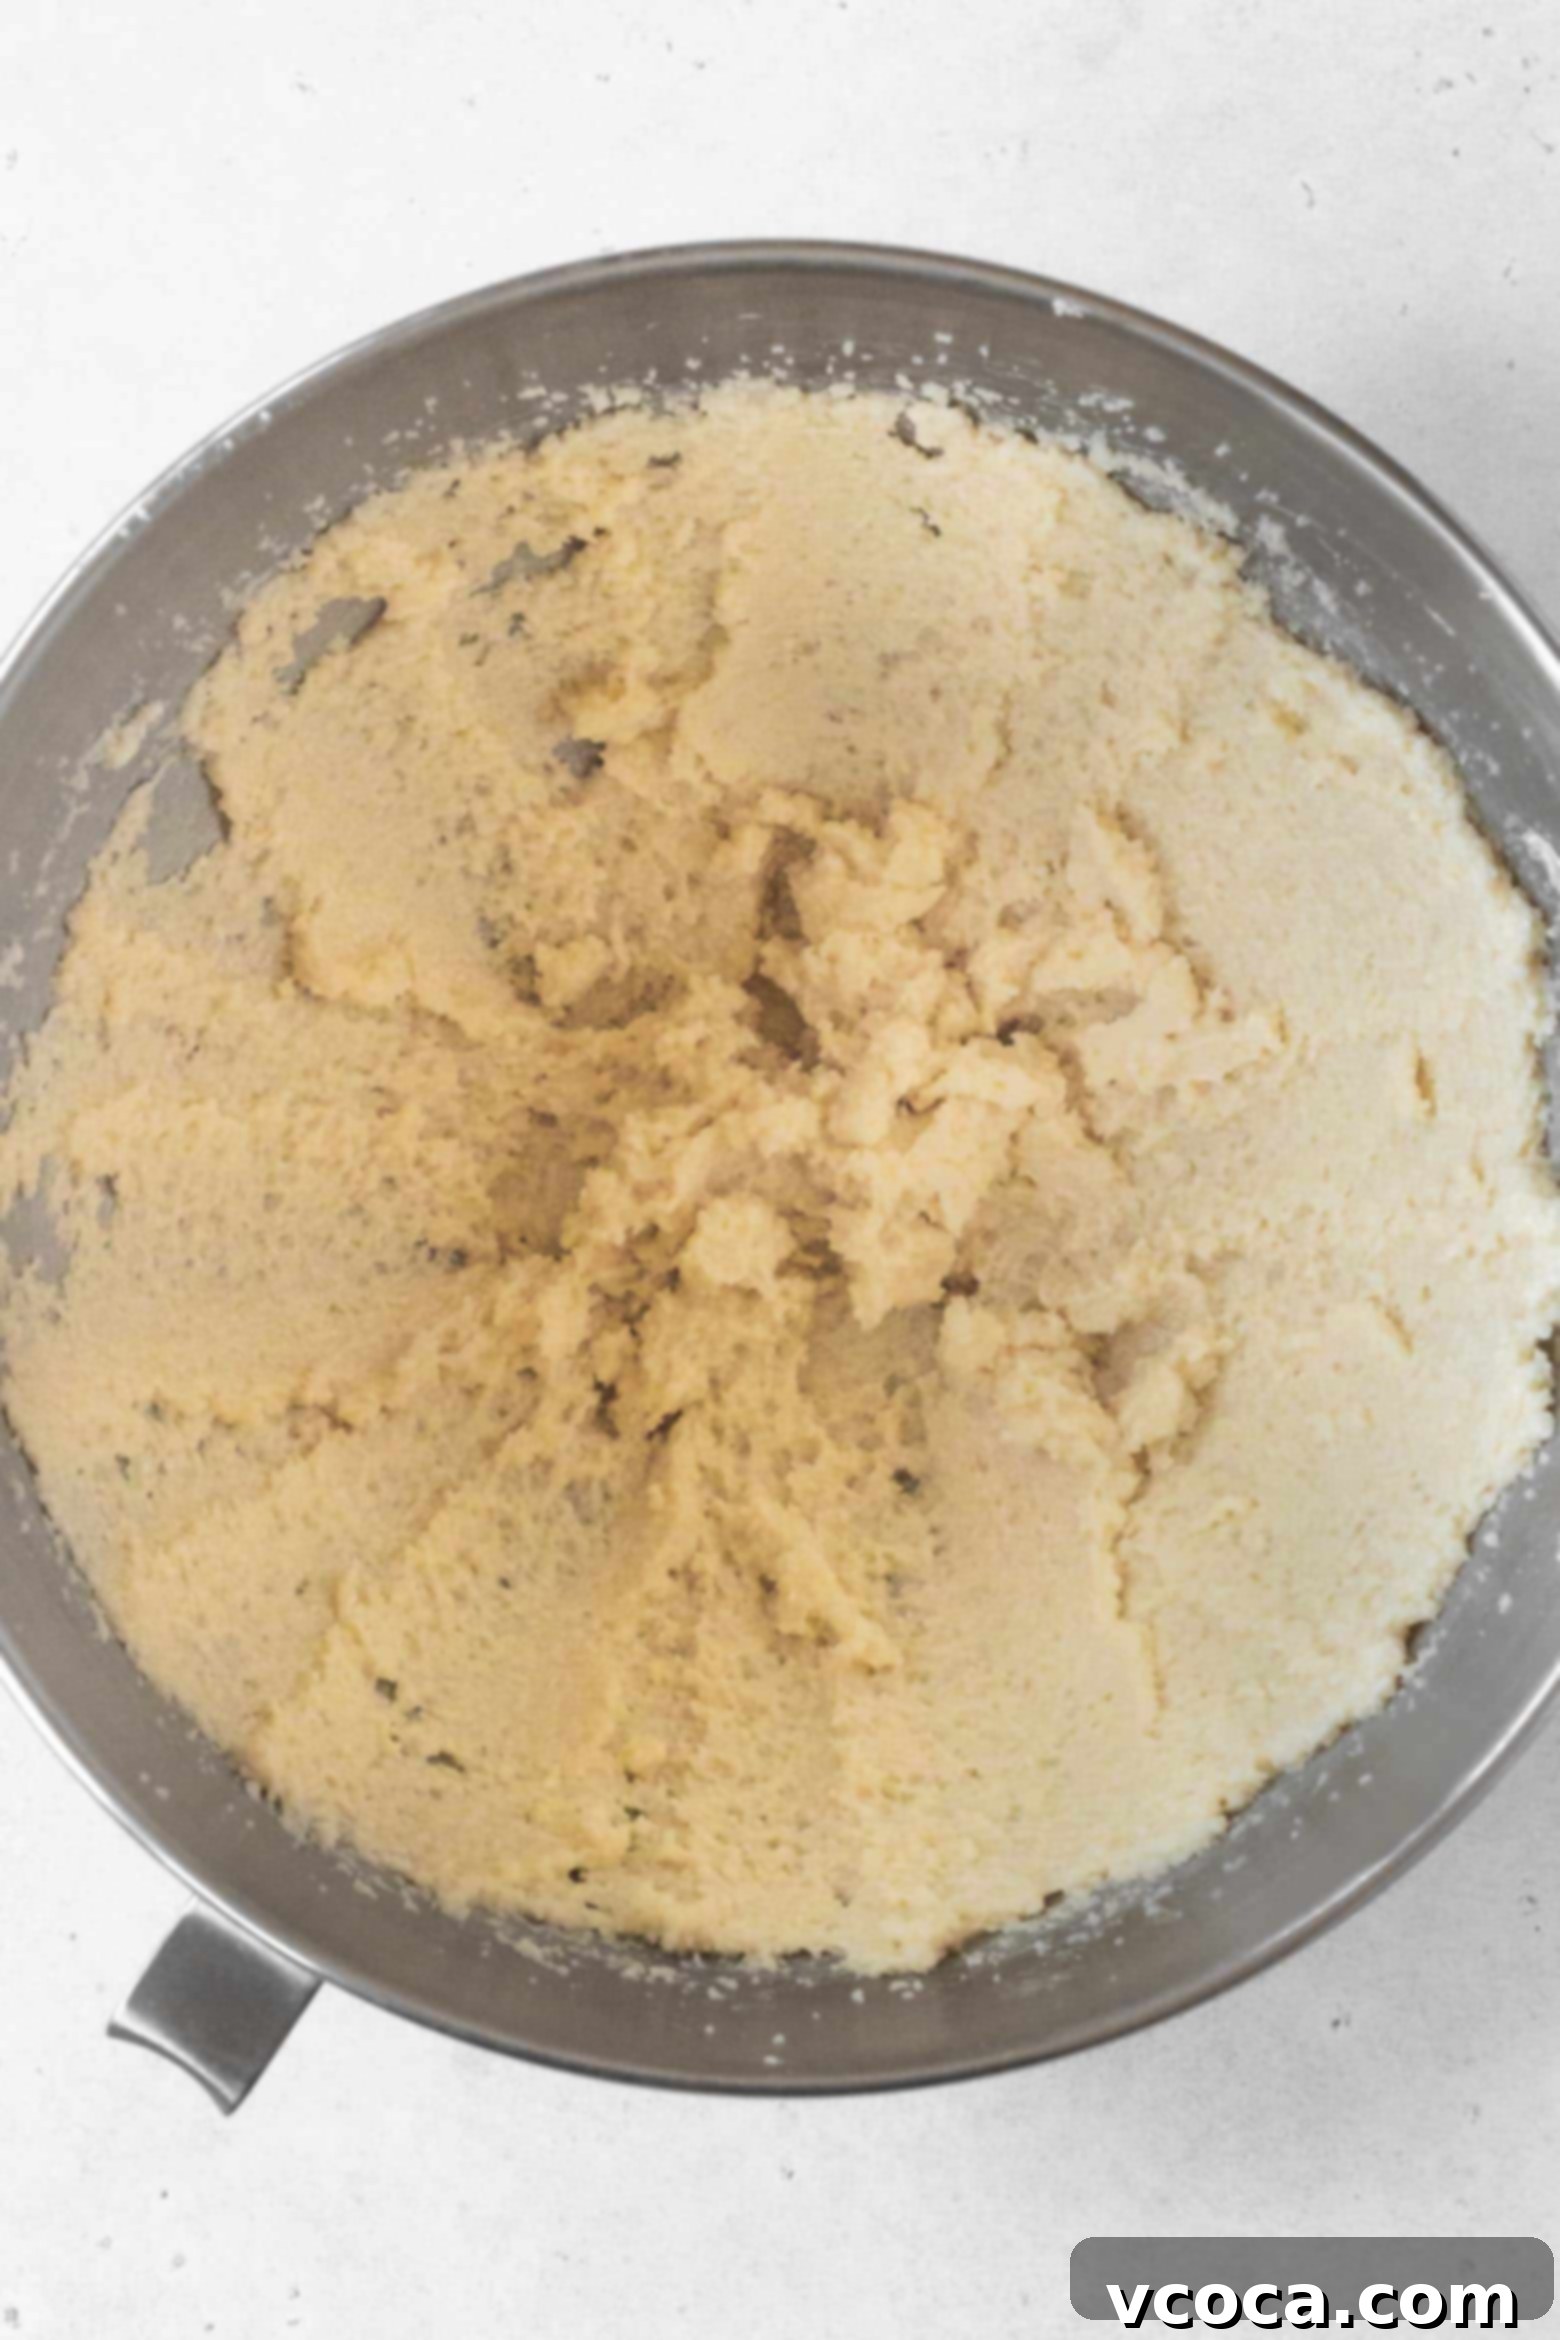
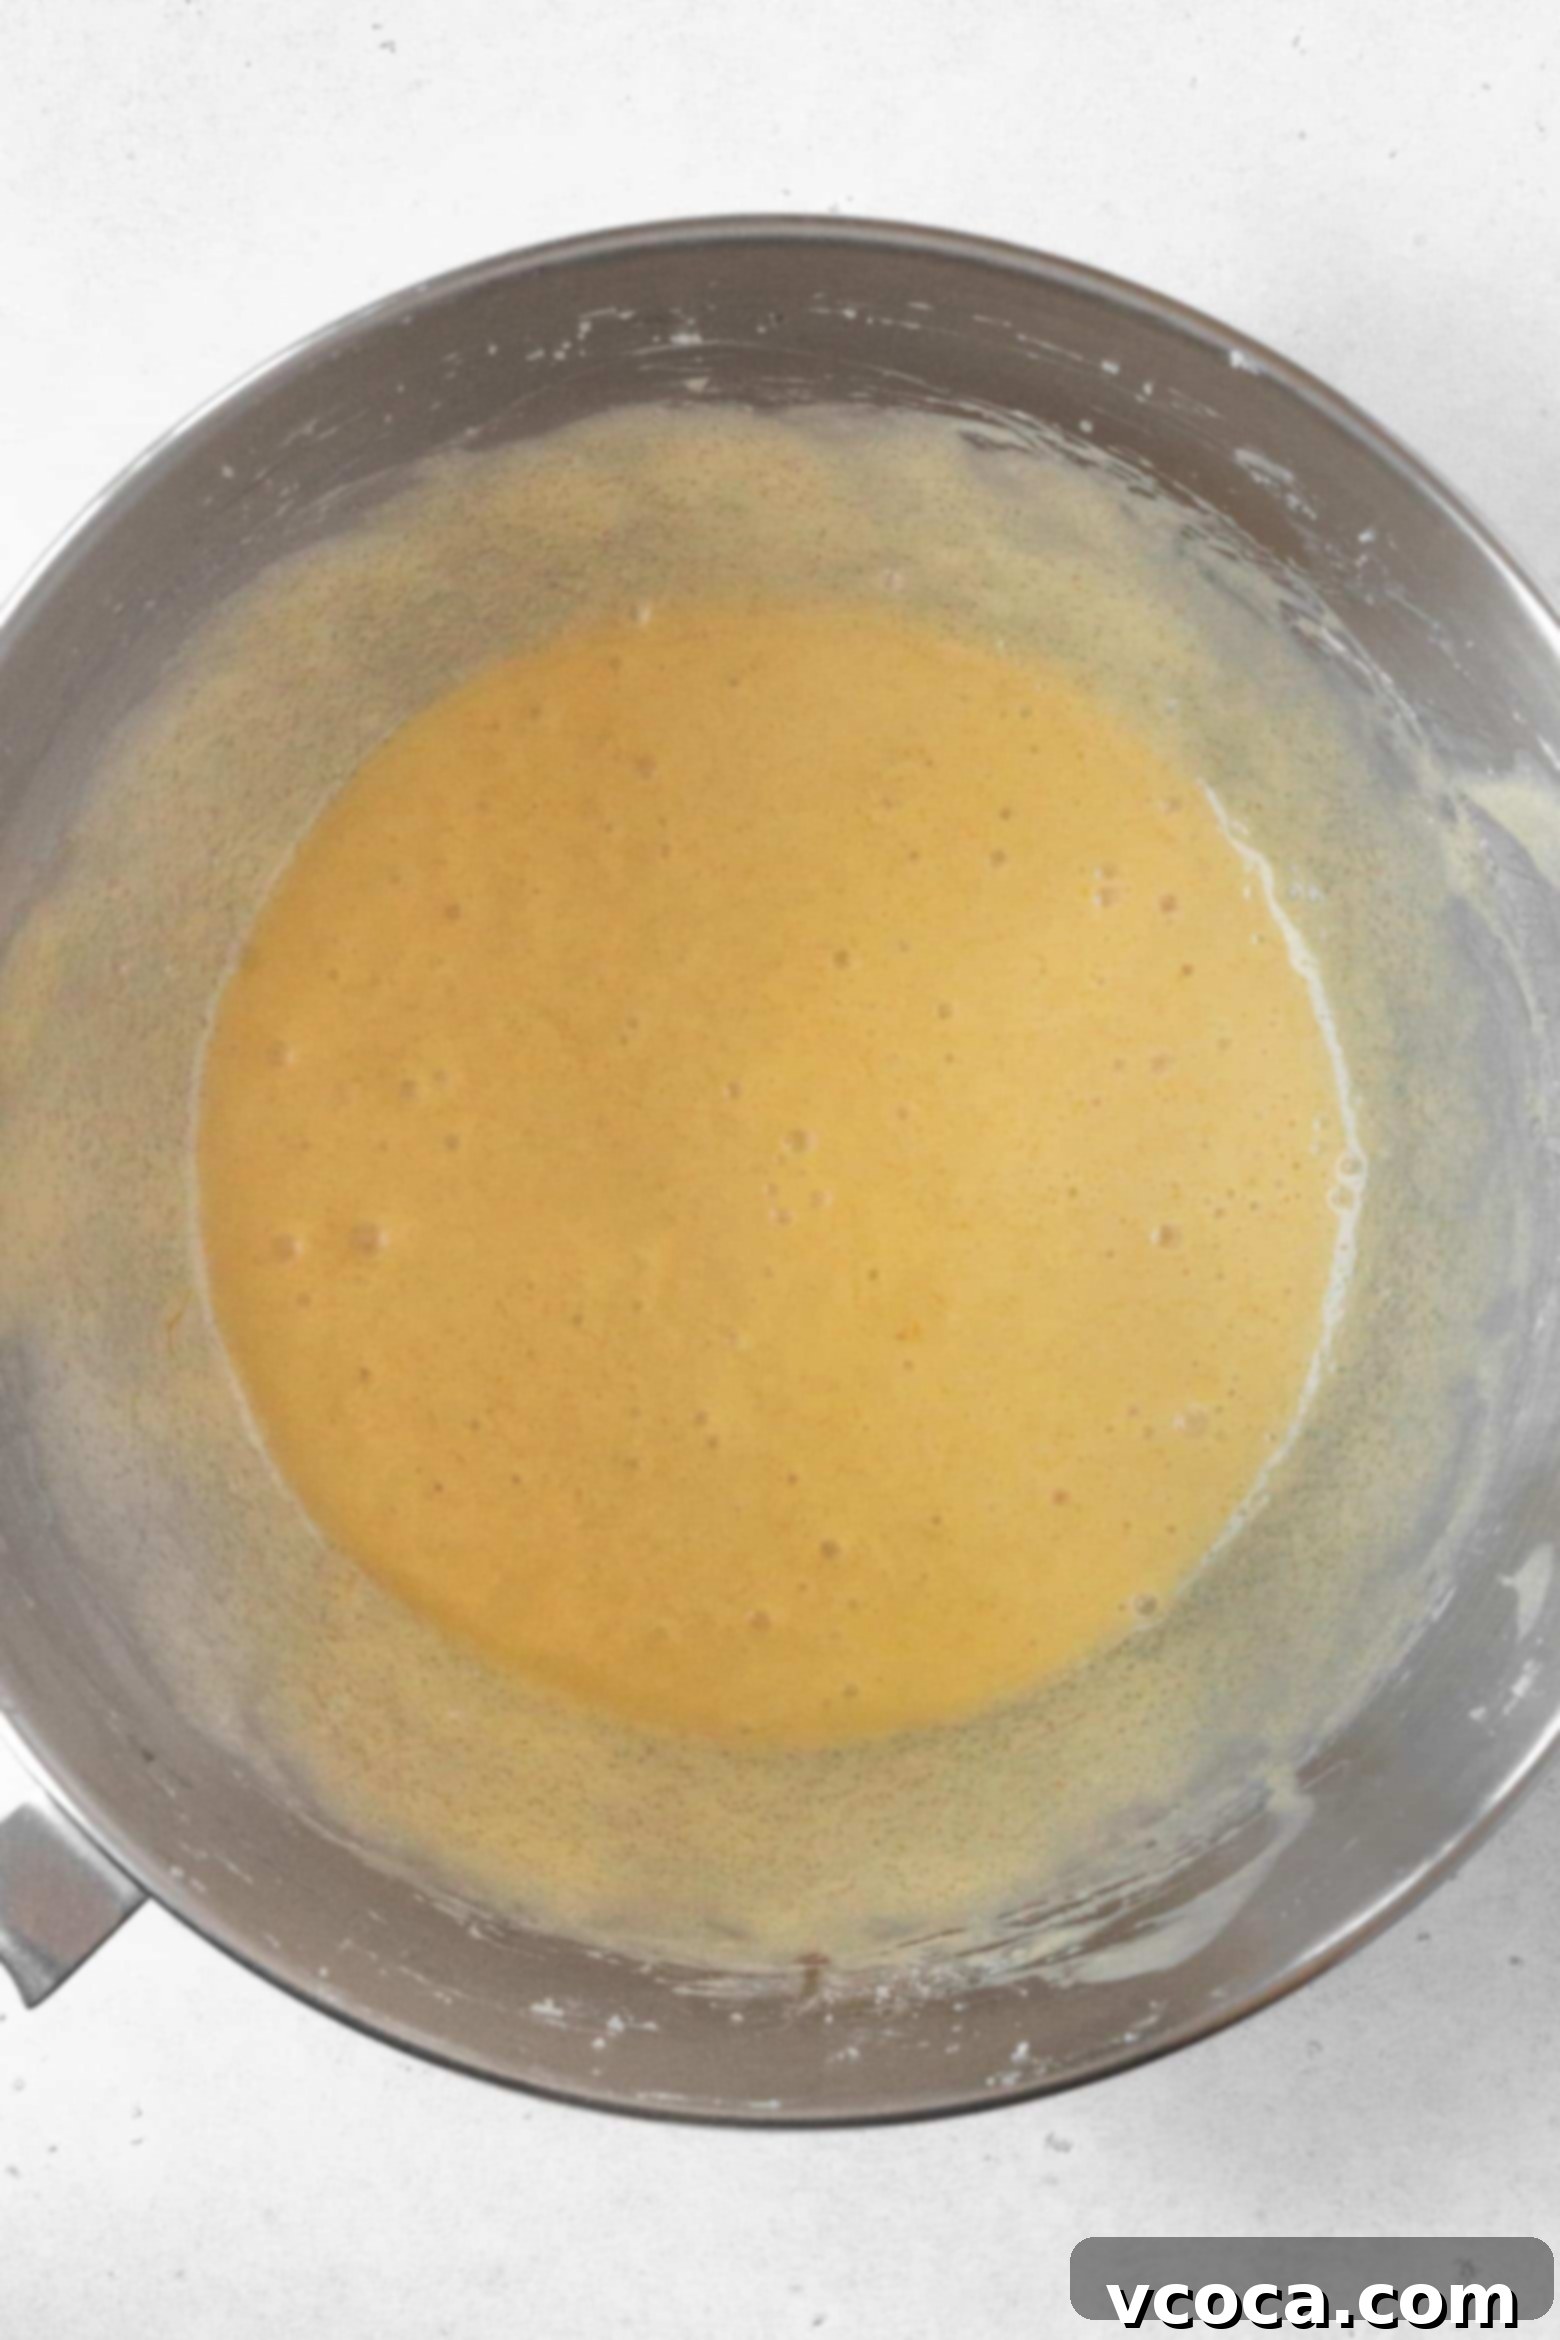
- Cream Fats and Sugar: In the bowl of a stand mixer fitted with a paddle attachment, combine the room-temperature butter and shortening. Beat on high speed for 3 to 4 minutes until light and fluffy. This step is critical for incorporating air, which contributes to the cake’s rise and tender texture. Next, add the granulated sugar and continue beating on high speed for another 6 minutes. The mixture should become very pale, light, and airy. Don’t rush this! Stop the mixer, scrape down the sides and bottom of the bowl with a spatula, and beat for an additional minute to ensure everything is thoroughly combined.
- Incorporate Eggs Gradually: With the mixer on medium speed, add the large eggs one at a time, beating well after each addition until fully incorporated. After each egg, pause to scrape down the sides and bottom of the bowl to ensure no unmixed batter remains. Adding eggs gradually prevents the batter from curdling and helps maintain its emulsion.
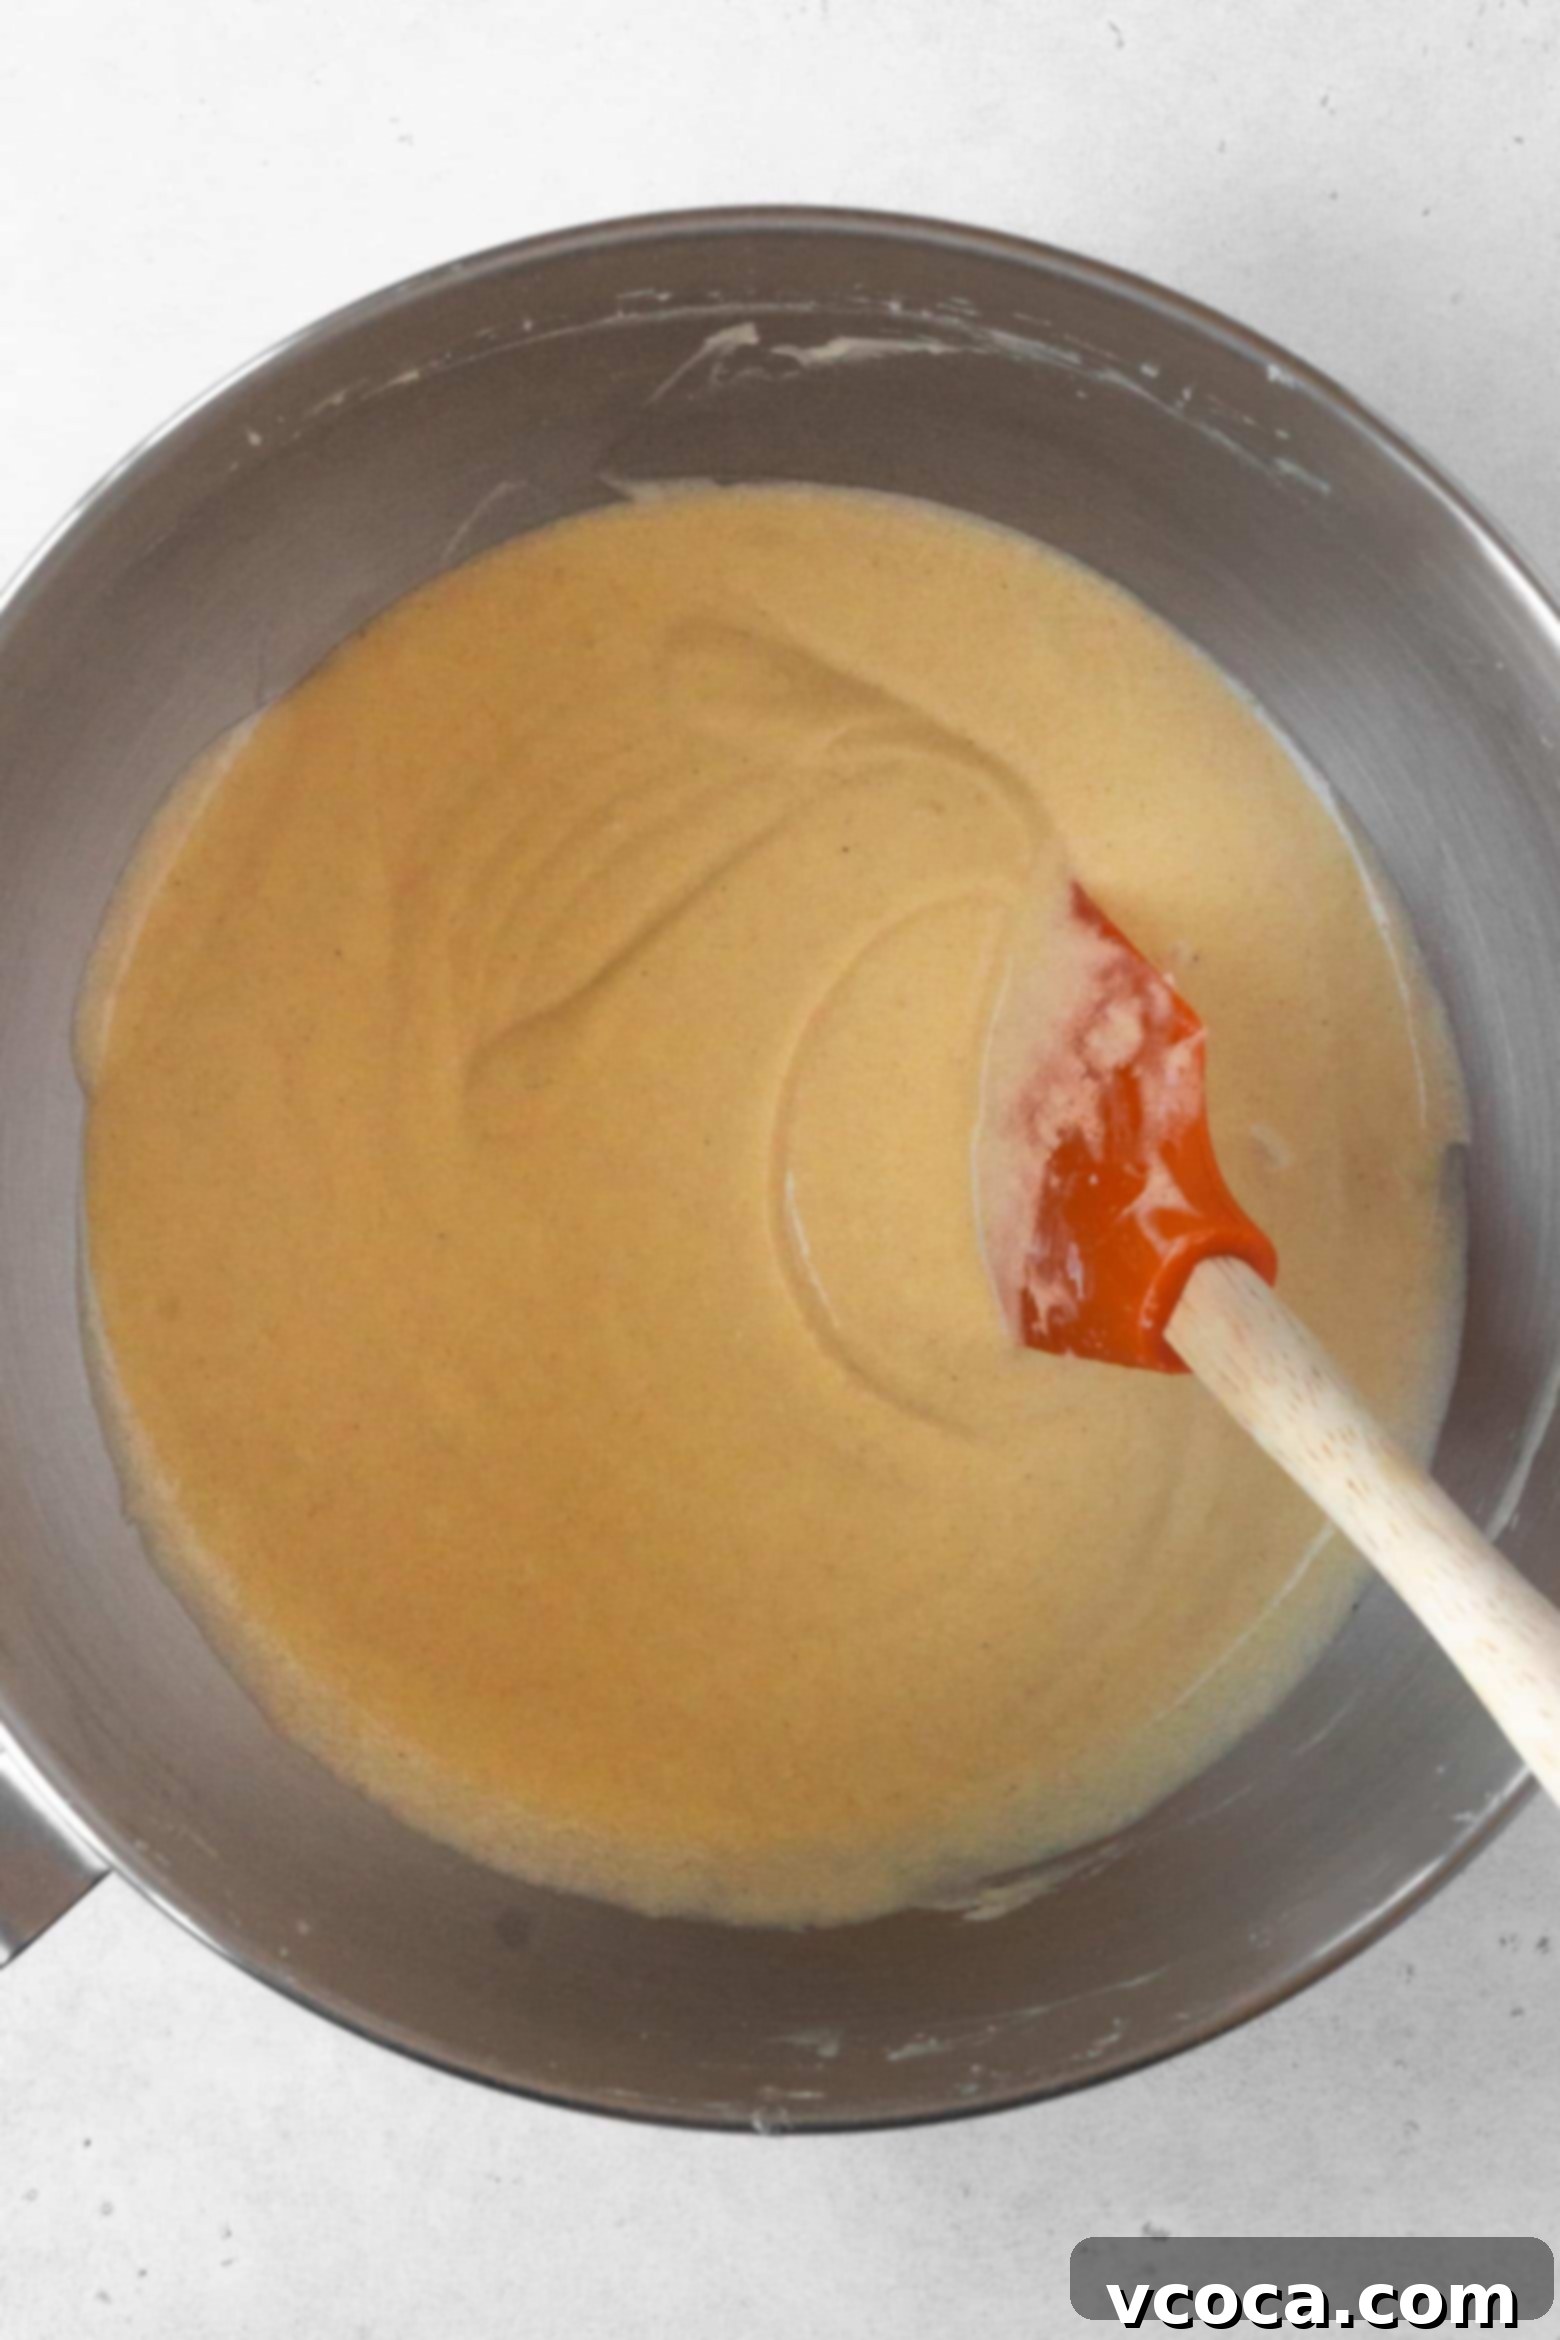
- Alternate Wet and Dry Mixtures: Now it’s time to incorporate the dry and wet ingredients. Add approximately one-third of the whisked flour mixture to the stand mixer and beat on medium speed just until the flour is incorporated. Overmixing can develop toughness even in gluten-free flours. Scrape down the bowl, then add half of the milk mixture. Beat again until just combined. Scrape the bowl once more, then repeat the process, ending with the remaining flour mixture. Always scrape the bowl between additions for a homogenous batter.
- Rest the Batter: After all ingredients are combined, give the bowl one last scrape to ensure the batter is smooth and free of any hidden pockets of flour. This is a crucial step for gluten-free baking: allow the batter to rest for at least 30 minutes at room temperature. This resting period gives the gluten-free flours time to properly hydrate, resulting in a much moister cake with a smoother, less gritty texture.
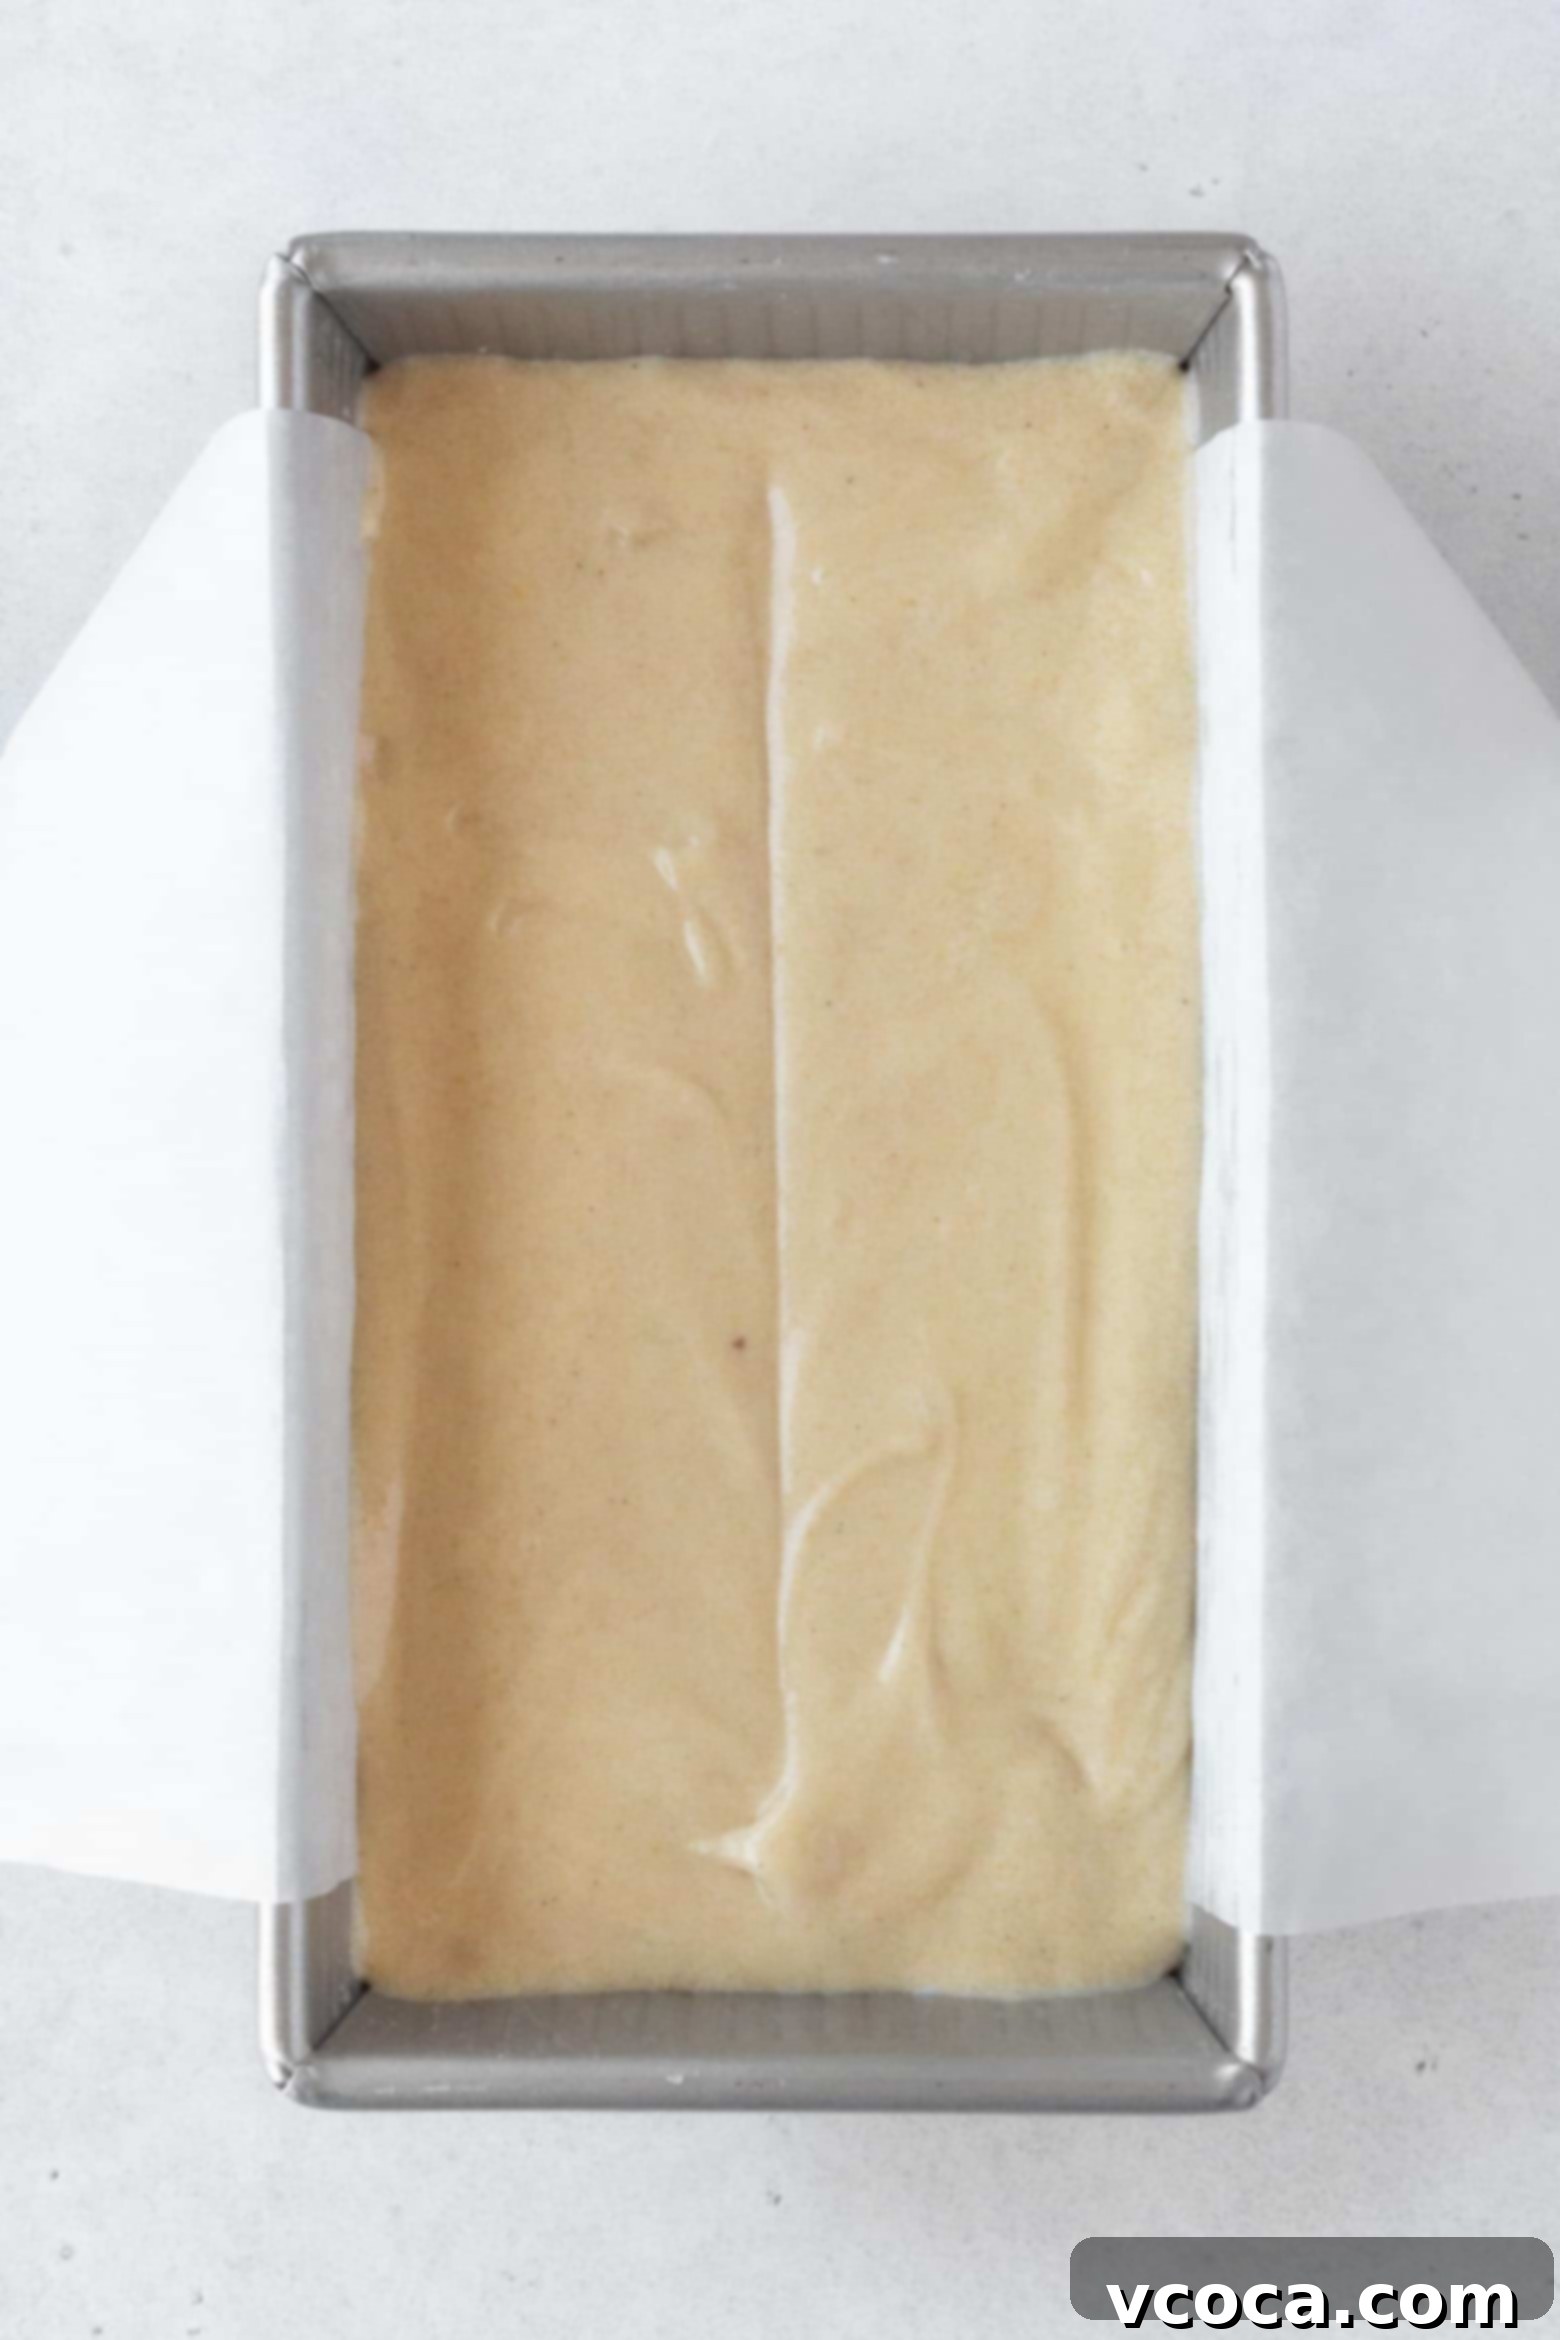
- Preheat Oven and Prepare Pan: While the batter rests and hydrates, preheat your oven to 350°F (180°C). Prepare an 8.5 x 4.5 inch loaf pan by thoroughly greasing it and then lining it with parchment paper, leaving an overhang on the longer sides. This parchment “sling” will make it much easier to lift the baked cake out of the pan.
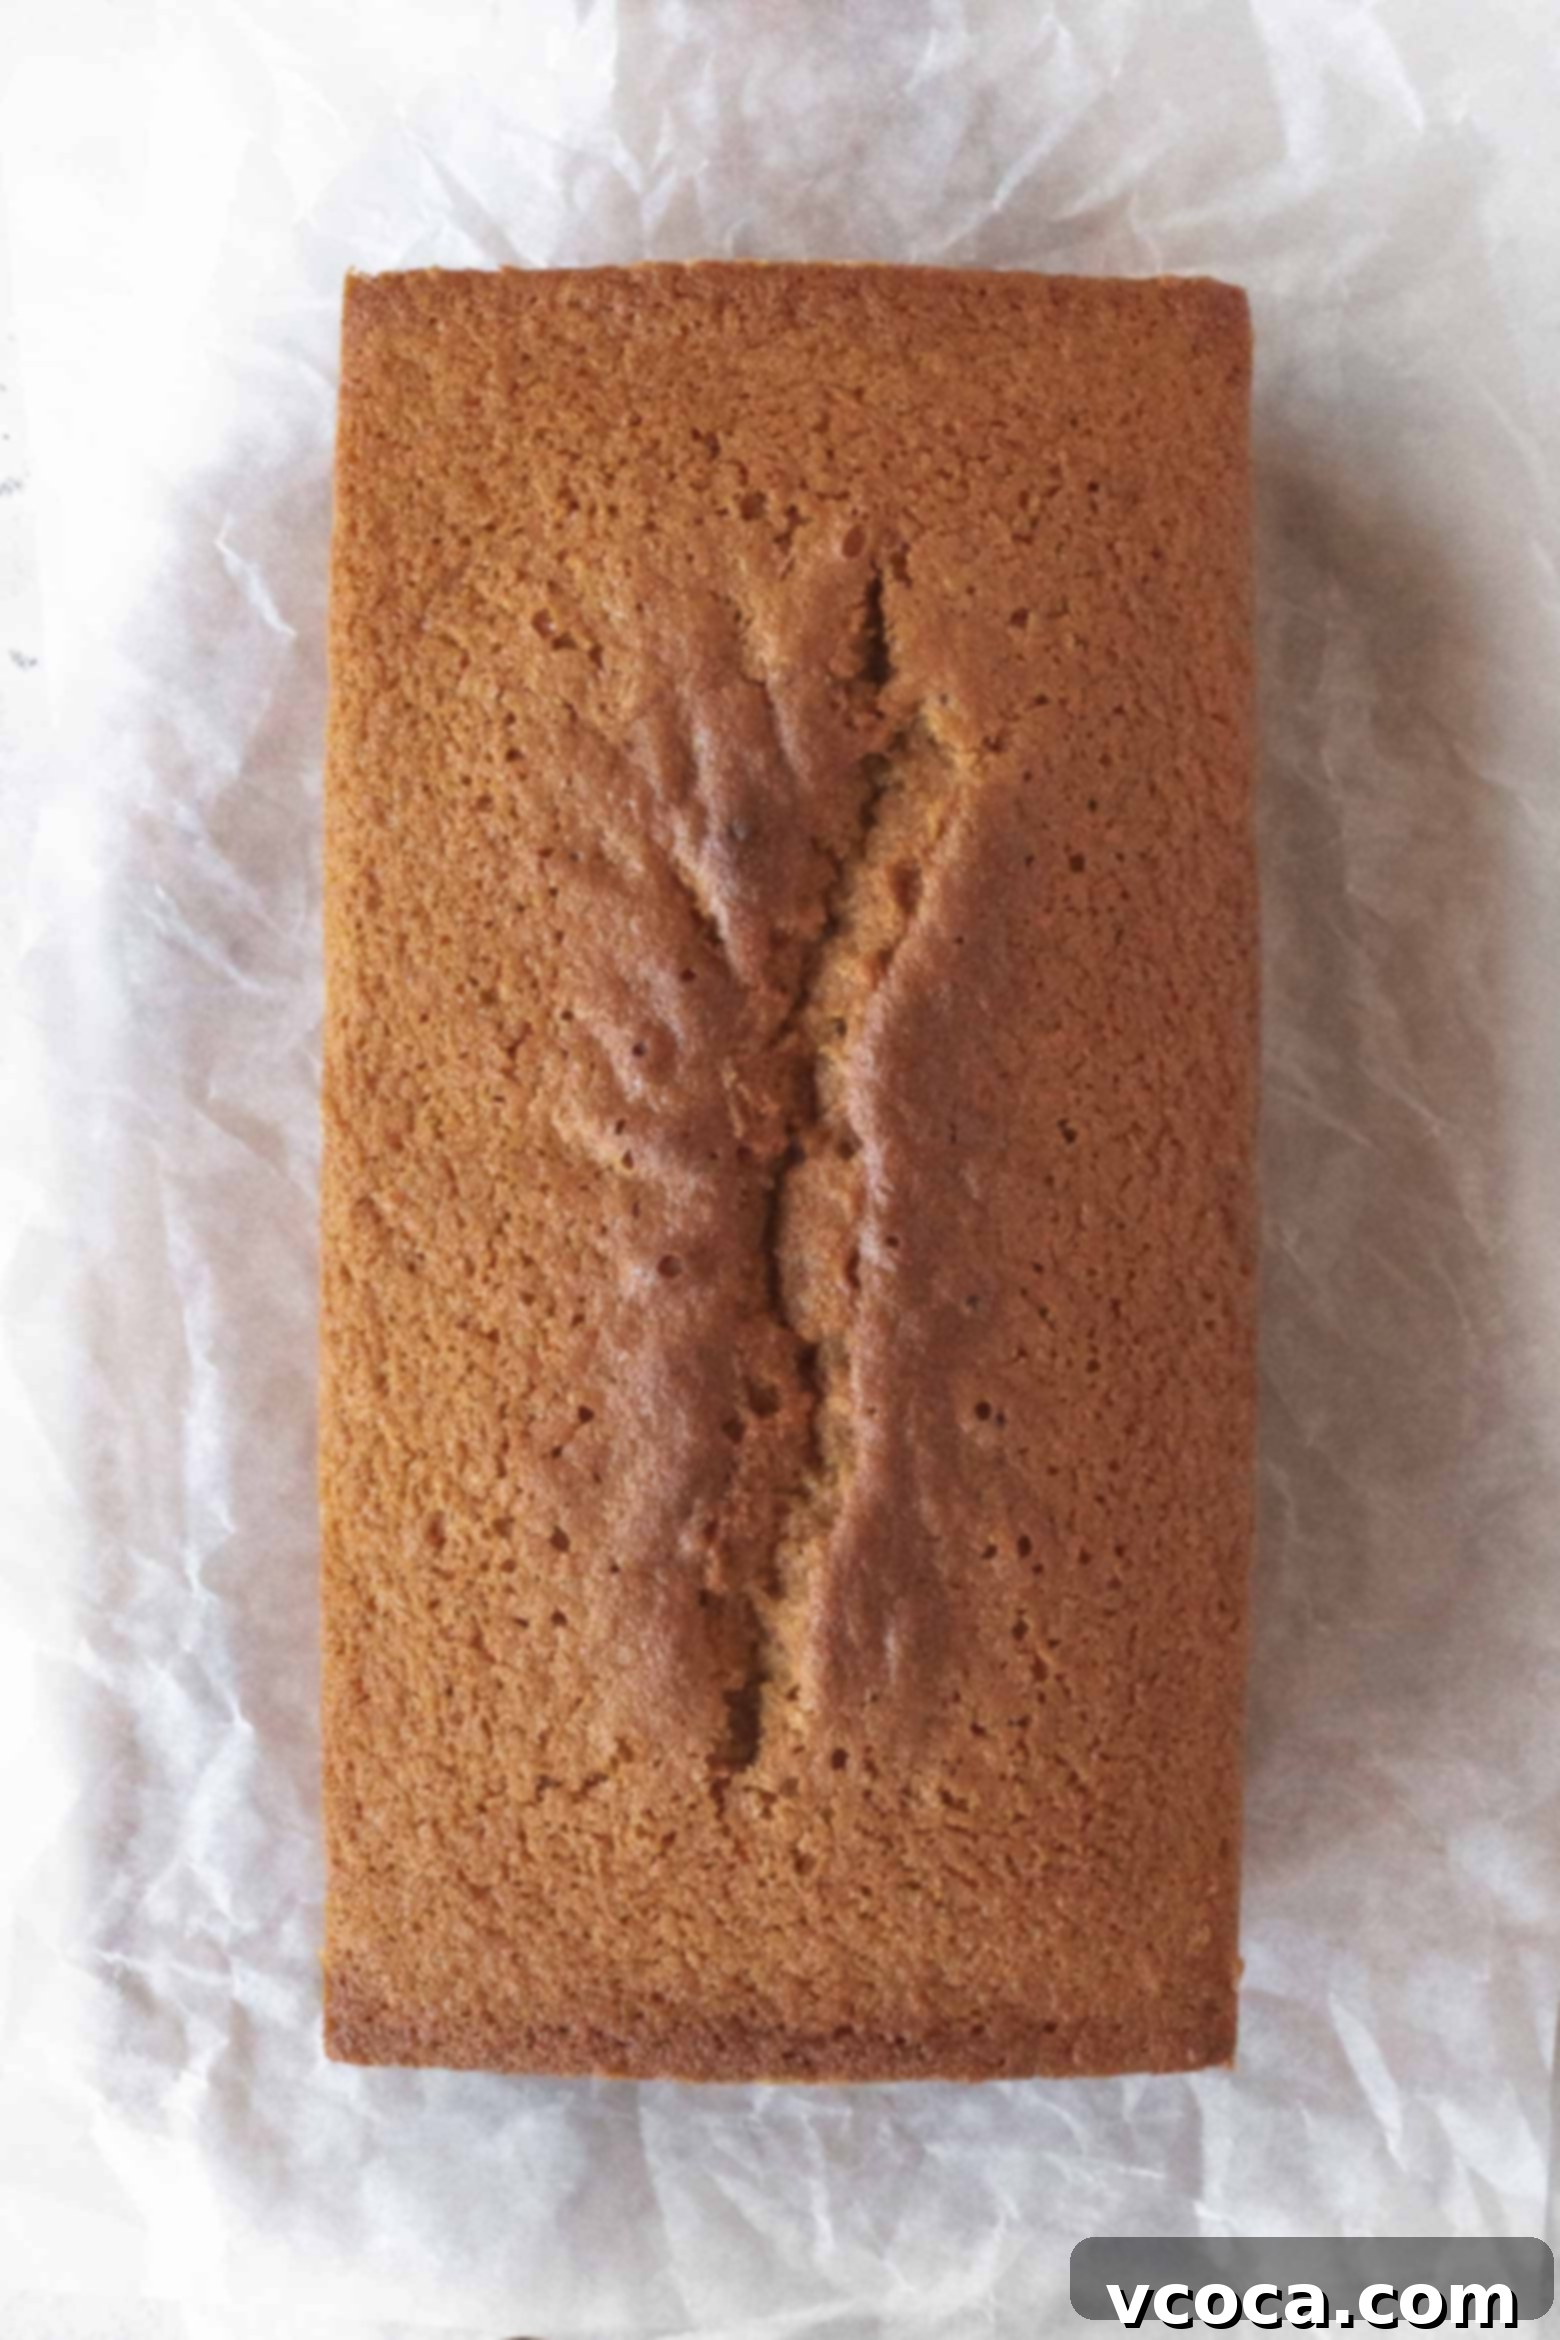
- Bake the Pound Cake: Gently pour the rested batter into the prepared loaf pan. Use an offset spatula or the back of a spoon to smooth the surface evenly. For that signature crack down the middle and a beautiful dome, you can lightly score a vertical line down the center of the batter with a knife before baking. Place the loaf pan in the preheated oven and bake for approximately 1 hour. Keep an eye on the cake; if the top starts to brown too quickly before the inside is cooked through (around the 40-minute mark), loosely tent the pan with aluminum foil to prevent burning. The cake is done when a wooden skewer or toothpick inserted into the center comes out clean or with moist crumbs attached, but no wet batter.
- Cooling Process: Once baked, remove the pound cake from the oven and let it rest in the loaf pan for 10 to 15 minutes. This allows the cake to set and firm up before handling. After this initial cooling, use the parchment paper overhangs to carefully lift the pound cake out of the pan and transfer it to a wire rack to cool completely. Allowing it to cool fully is essential for gluten-free baked goods, as the internal structure continues to set as it cools, preventing a gummy texture.
Pro-Tips for an Unforgettable Gluten-Free Pound Cake
Achieving a truly stellar gluten-free pound cake is all about mastering a few key techniques. These pro-tips will help you navigate common baking challenges and ensure your loaf is consistently perfect, moist, and delicious every time.
- Bring all ingredients to room temperature. This is perhaps the most crucial tip for any baking, especially for pound cake. Room temperature ingredients (butter, shortening, eggs, milk) emulsify much better, meaning they blend together smoothly and evenly. Cold ingredients can cause the batter to curdle or become lumpy, preventing the proper incorporation of air and fats, which impacts the final texture and rise of your cake. Plan ahead and take them out of the fridge at least an hour before baking.
- Cream the butter and sugar really well. The extensive creaming time – about 10 minutes in total – is not a suggestion, but a necessity. This process vigorously whips air into the butter and sugar mixture, creating a light, fluffy base. These tiny air pockets expand during baking, contributing significantly to the cake’s rise and tender, open crumb. Don’t shorten this step!
- If the batter curdles, turn up the speed of the stand mixer. Sometimes, despite your best efforts, if your eggs or milk are slightly too cold when added, the batter might appear curdled (a separated, lumpy texture). Don’t panic! Simply increase the speed of your stand mixer to medium-high for a minute or two. The increased agitation will usually force the emulsion to come back together, making your batter homogenous and smooth again.
- Let the batter rest. This step is often overlooked but incredibly important for gluten-free baking. Resting the batter for 30 minutes allows the various flours and starches in your gluten-free blend ample time to fully hydrate and absorb the liquid ingredients. This hydration prevents a gritty or dry texture in the final pound cake and results in a wonderfully moist and smooth crumb.
- Use a metal loaf pan. While glass loaf pans are common, they conduct heat differently than metal. Glass heats up slowly and retains heat for longer, which can lead to overbaked edges and a less pronounced dome on your pound cake. A light-colored metal pan, on the other hand, heats up more quickly and evenly, allowing the heat to penetrate the center of the loaf faster. This encourages a beautiful, higher dome and a more consistent bake throughout the cake.
- Score the surface of the batter. For that classic, elegant crack down the center of your pound cake, take a knife and gently score a vertical line down the middle of the batter after pouring it into the prepared pan and smoothing the top. This simple trick provides a controlled place for the cake to expand and crack as it bakes, resulting in that perfectly domed appearance.
- Let the pound cake cool completely. Patience is a virtue in gluten-free baking! Just like with many gluten-free baked goods, your pound cake will continue to “cook” and set its internal structure as it cools. Cutting into it while it’s still warm can result in a gummy texture and a cake that falls apart. For the best, most tender, and structurally sound slices, allow the pound cake to cool entirely on a wire rack before cutting.
- Add some mix-ins to switch things up. This versatile gluten-free pound cake is a fantastic canvas for various additions. Consider folding in a cup of chocolate chips or fresh blueberries for a burst of flavor. For a delightful citrusy twist, incorporate the zest of one or two lemons to create a vibrant gluten-free lemon pound cake. Feel free to experiment with other fruits, nuts, or spices!
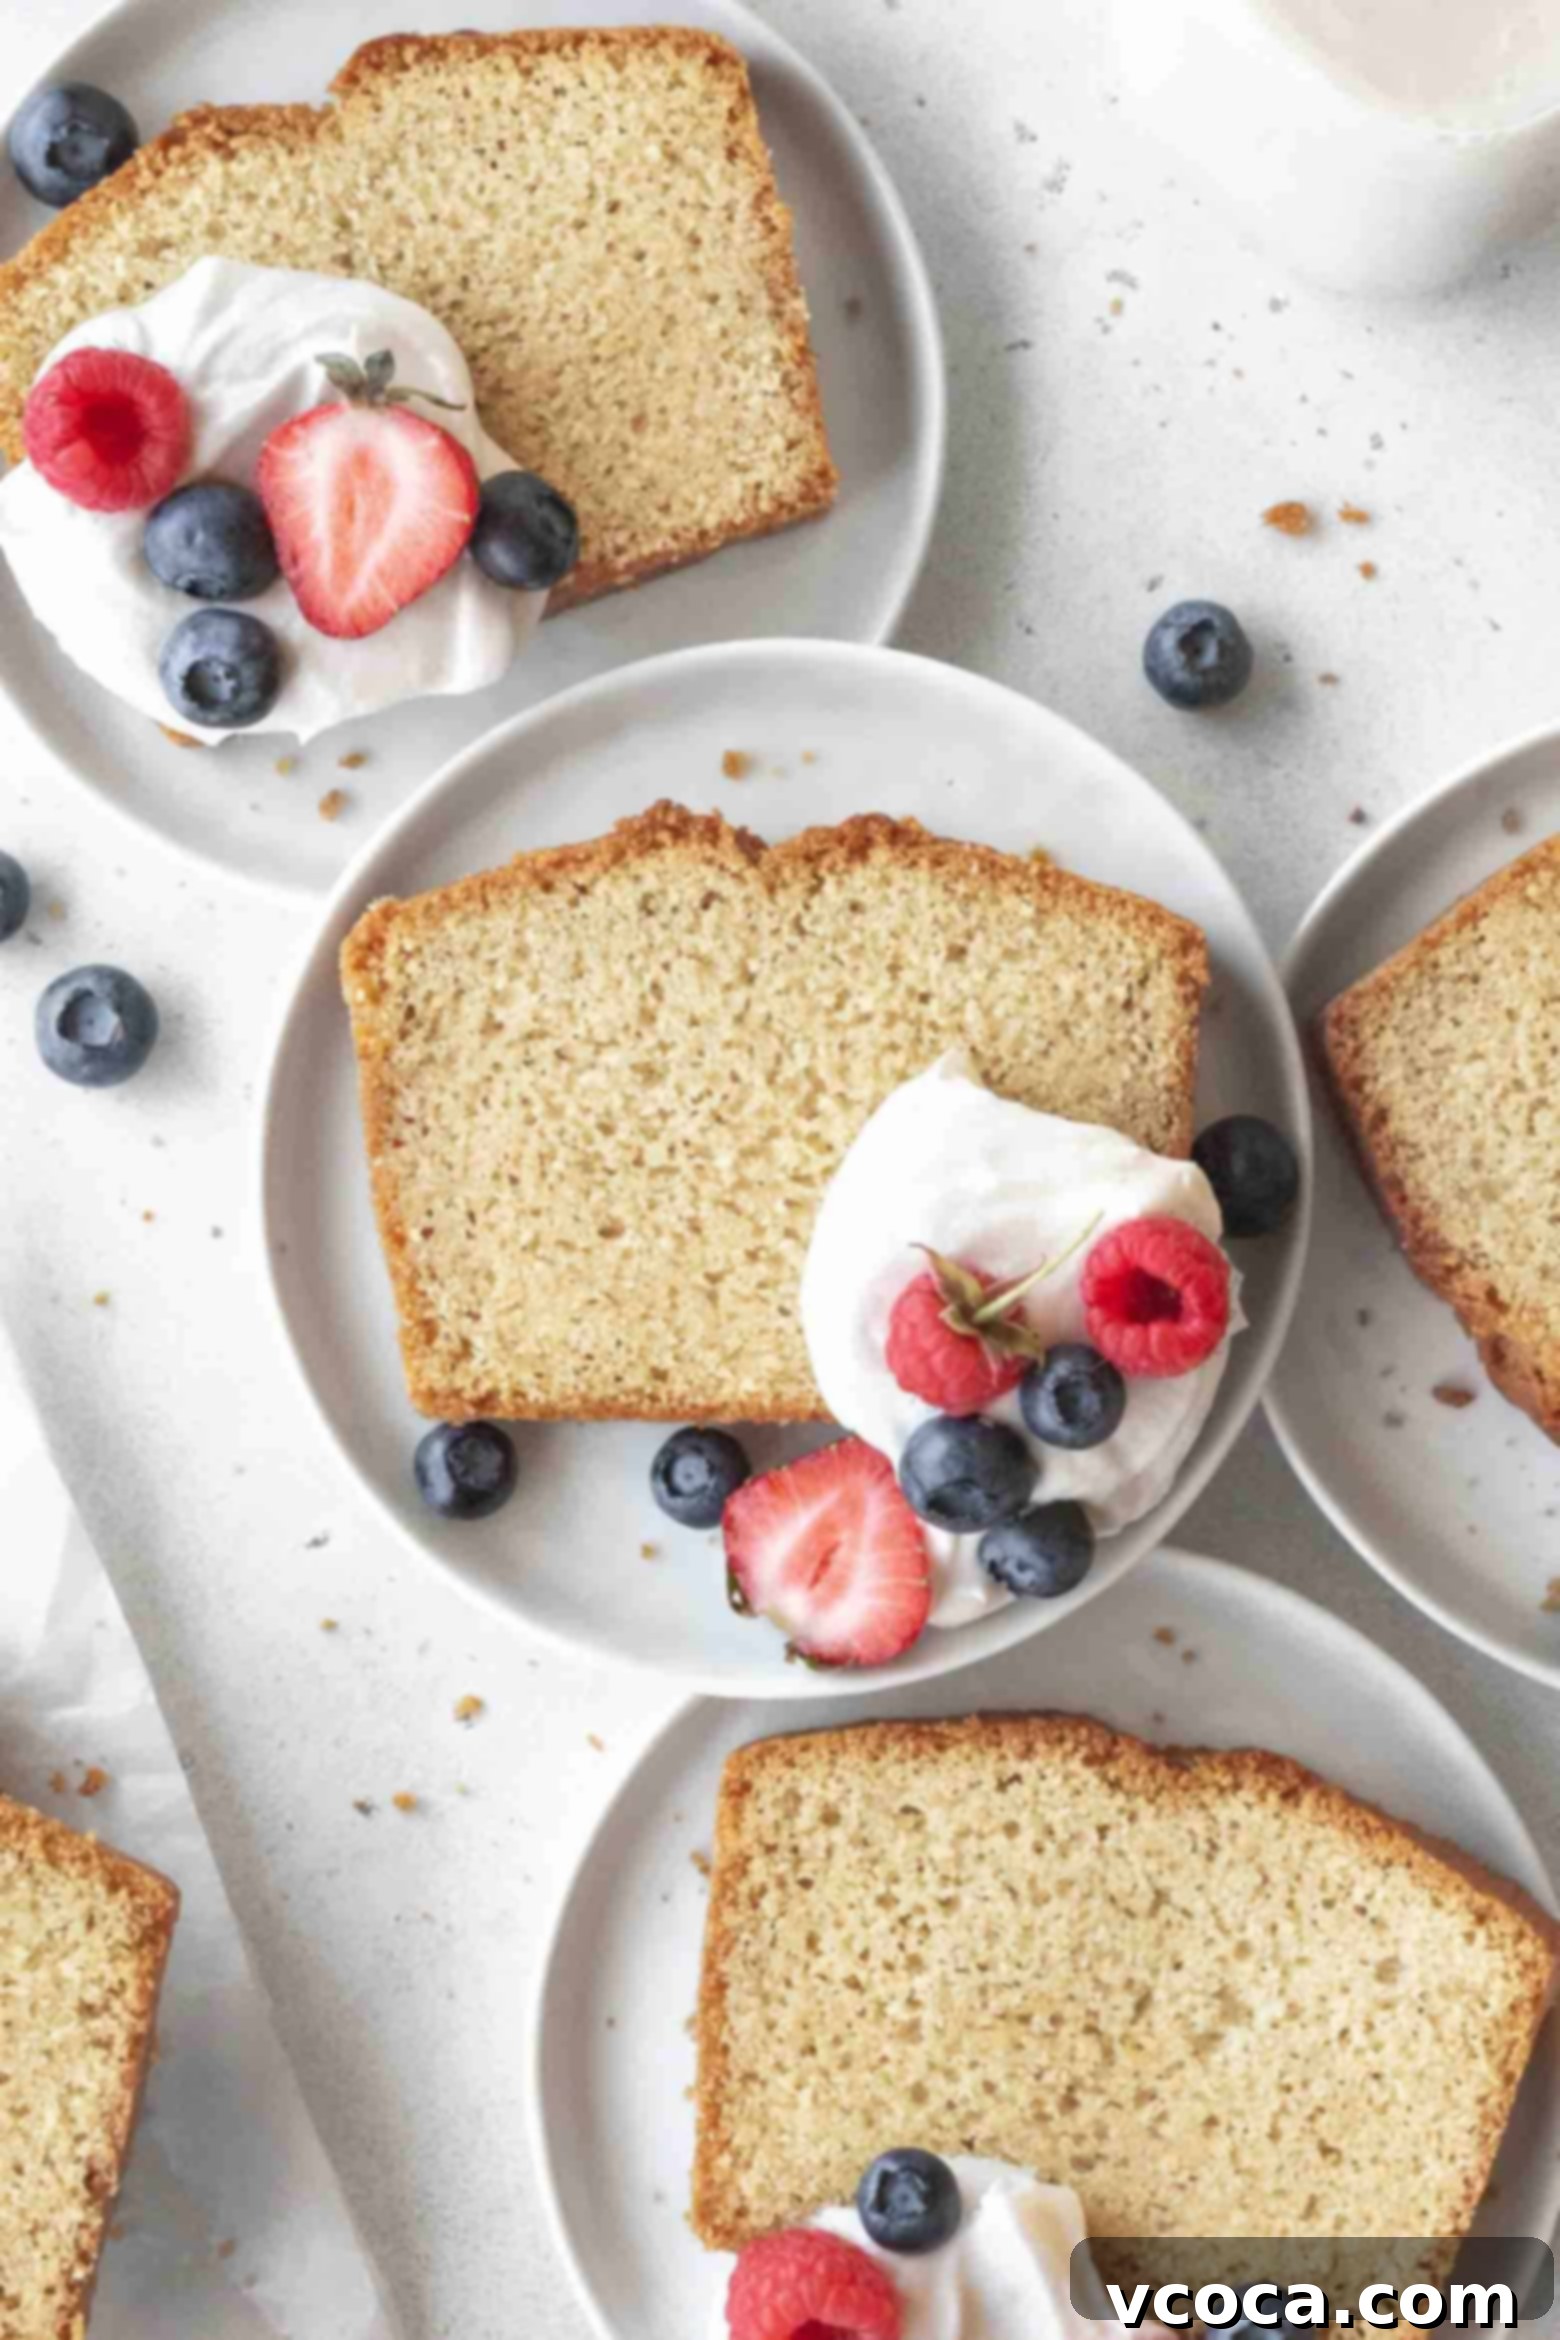
Delightful Ways to Serve Your Gluten-Free Pound Cake
One of the best qualities of a classic pound cake, and this gluten-free version is no exception, is its incredible versatility. Its rich, buttery flavor provides a perfect canvas for a wide array of toppings and accompaniments, making it suitable for any occasion, from a simple afternoon tea to an elegant dessert spread.
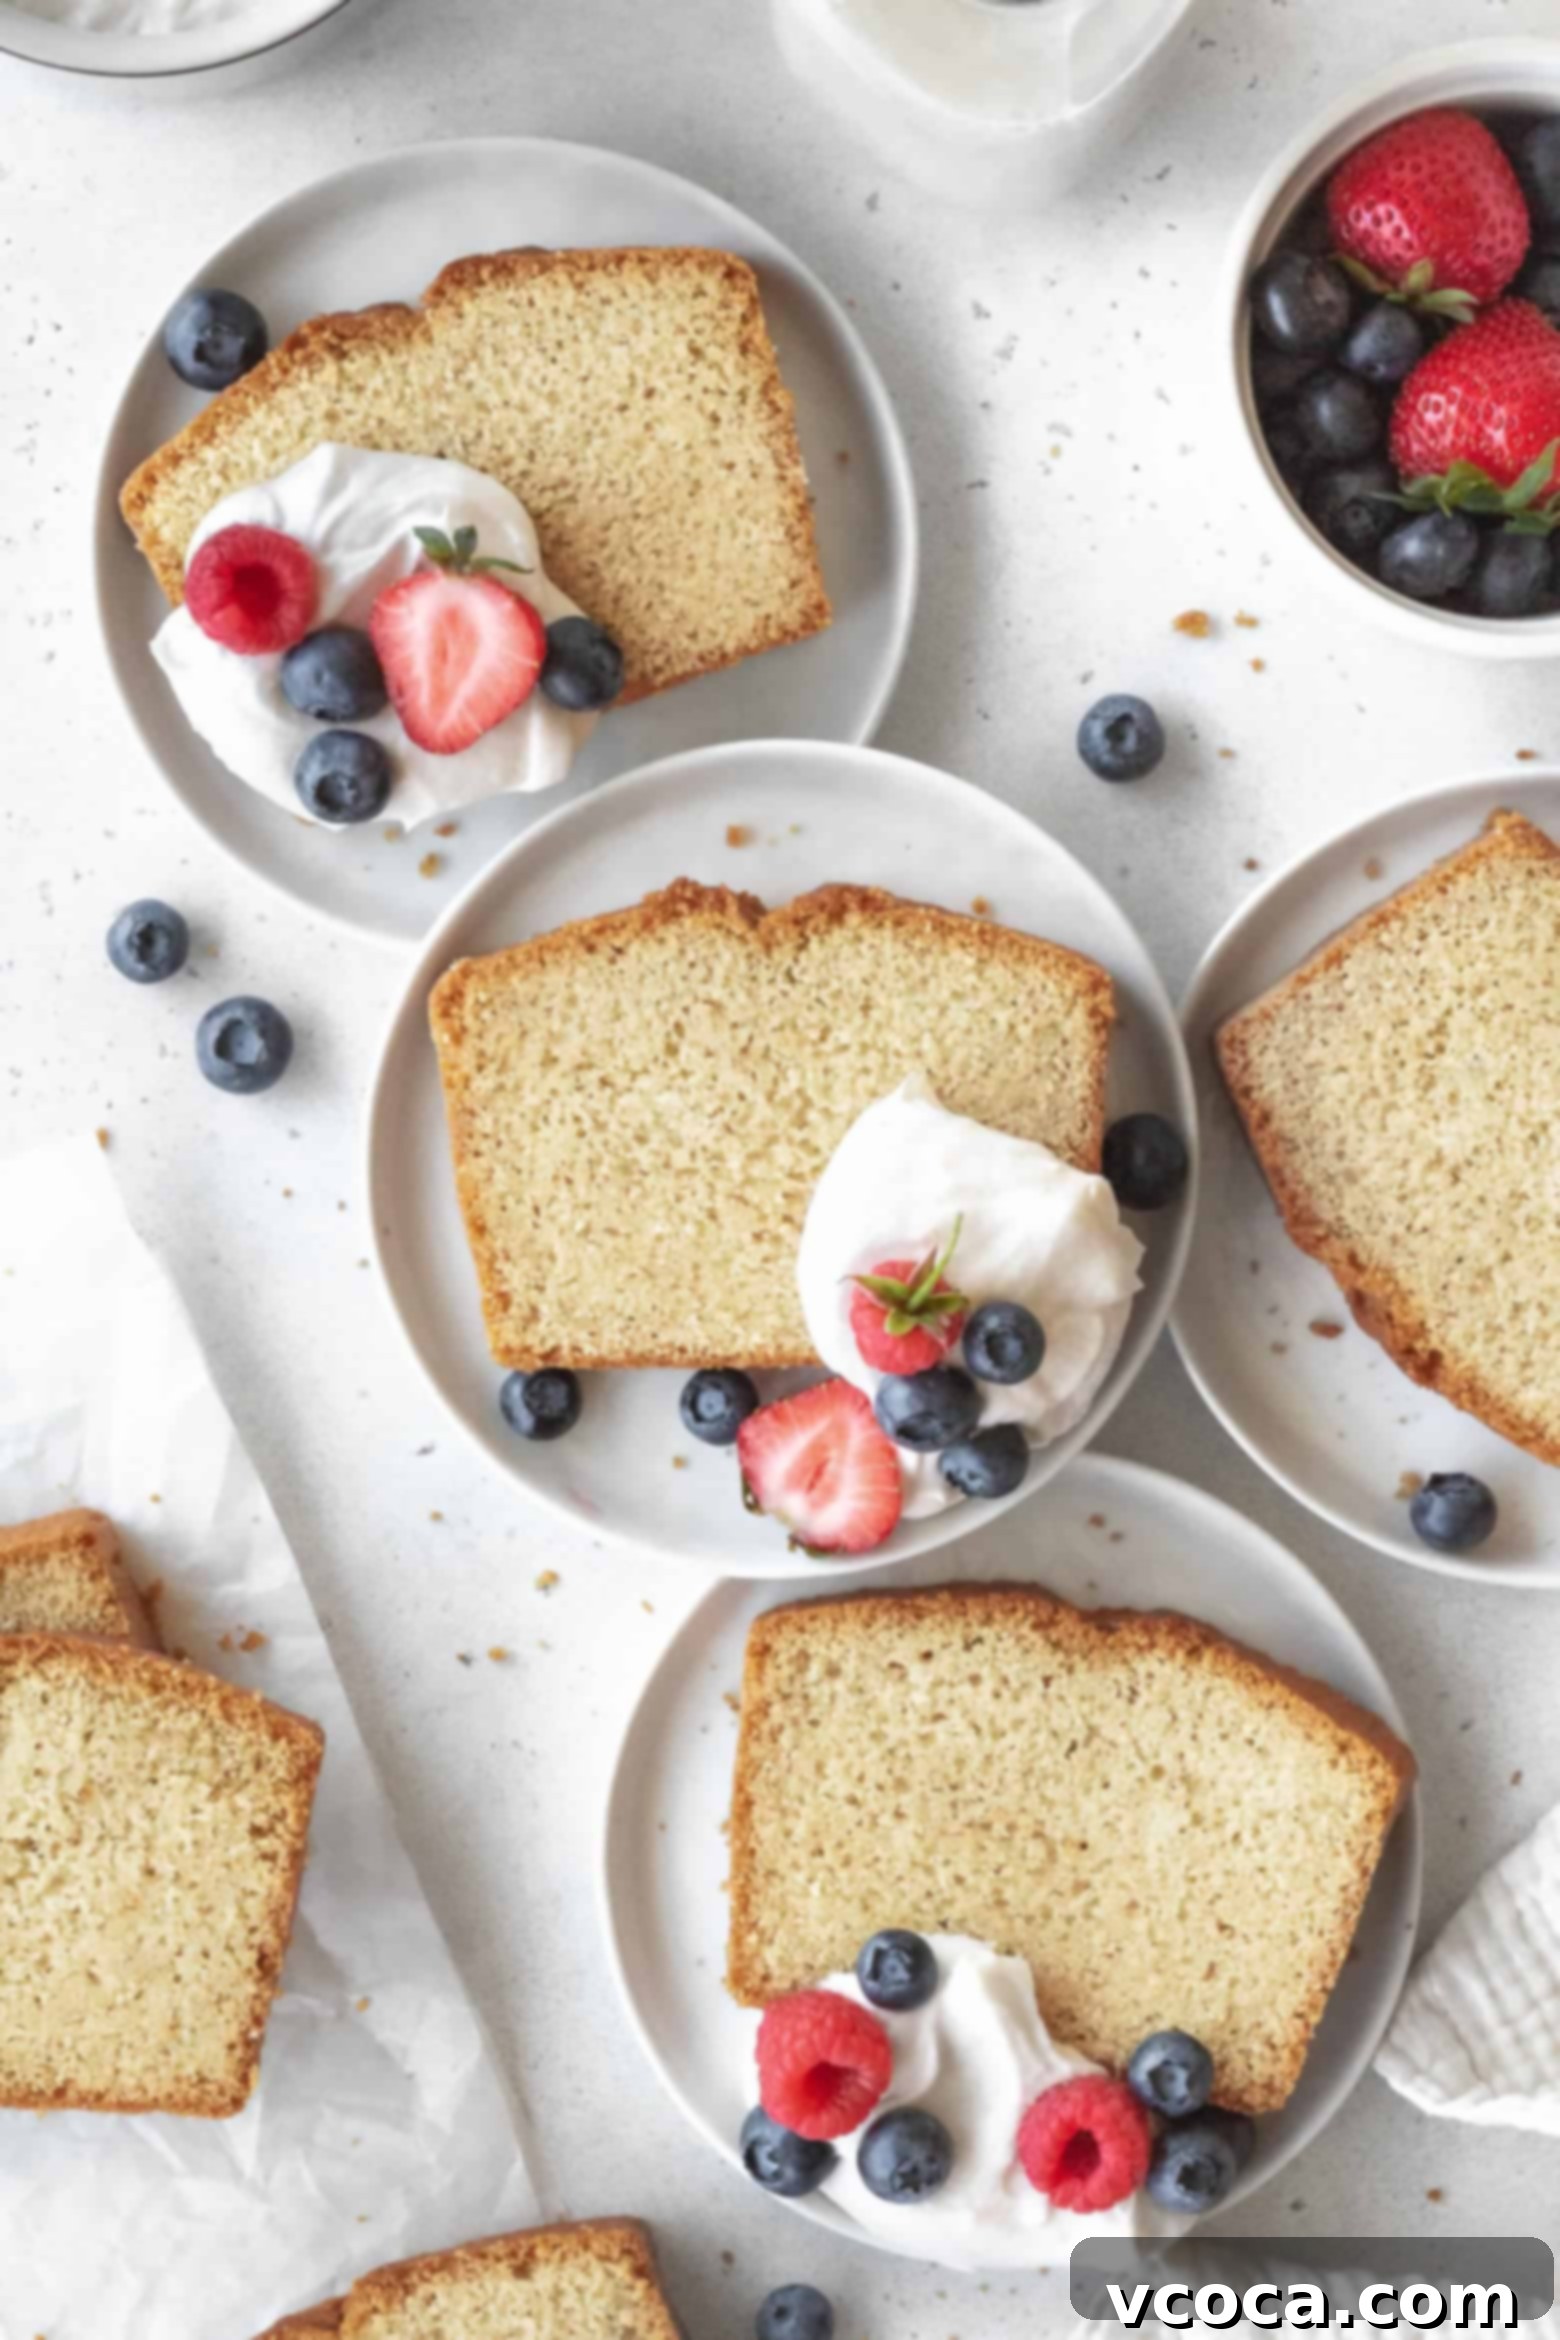
- Whipped cream – A timeless pairing! Light, airy whipped cream beautifully complements the dense, moist texture of the pound cake. For those who are dairy-free or vegan, coconut whipped cream is an excellent and equally delicious alternative.
- Fresh fruit – Seasonal fresh fruits like strawberries, blueberries, raspberries, peaches, or sliced kiwi add a burst of color, freshness, and natural sweetness. For an elevated touch, lightly grilled fruit (like peaches or pineapple) can bring out even deeper, caramelized flavors.
- Defrosted mixed berries – An effortless and delicious option! Simply defrost a bag of frozen mixed berries. As they thaw, they’ll release their natural juices, creating a quick, vibrant, and incredibly flavorful fruit sauce that’s perfect drizzled over your pound cake.
- Jam or fruit curd – Enhance the flavor by spreading a spoonful of your favorite fruit jam or zesty lemon curd. The tangy sweetness of the fruit spreads provides a wonderful contrast to the rich cake.
- Melted chocolate – A drizzle of melted dark, milk, or white chocolate adds a touch of decadence. For a hazelnut twist, melted Nutella or another chocolate-hazelnut spread is also a fantastic option.
- Caramel sauce – Indulge in the rich, buttery notes of homemade or store-bought caramel sauce. For an extra touch of sophistication, sprinkle a tiny pinch of flaky sea salt over the caramel for a salted caramel experience.
- Glaze – Create a simple yet elegant glaze with powdered sugar and lemon juice (or milk/water). Drizzle it generously over the cooled loaf and allow it to set and harden slightly before slicing. This adds a beautiful sheen and a delicate sweetness.
- Ice cream – A warm slice of pound cake à la mode with a scoop of vanilla bean, strawberry, or even coffee ice cream is pure bliss. What doesn’t ice cream go with, after all?
- Powdered sugar – For a minimalist yet beautiful presentation, a simple dusting of powdered sugar over the entire loaf just before slicing adds a touch of elegance and subtle sweetness.
Beyond these classic pairings, don’t hesitate to get creative! You can also briefly grill slices of pound cake to give them a slightly crispy exterior and warm, tender interior – excellent with a scoop of ice cream. Or, use cubes of pound cake as a base for an impressive trifle, layering them with fruit, custard, and whipped cream for a stunning dessert.
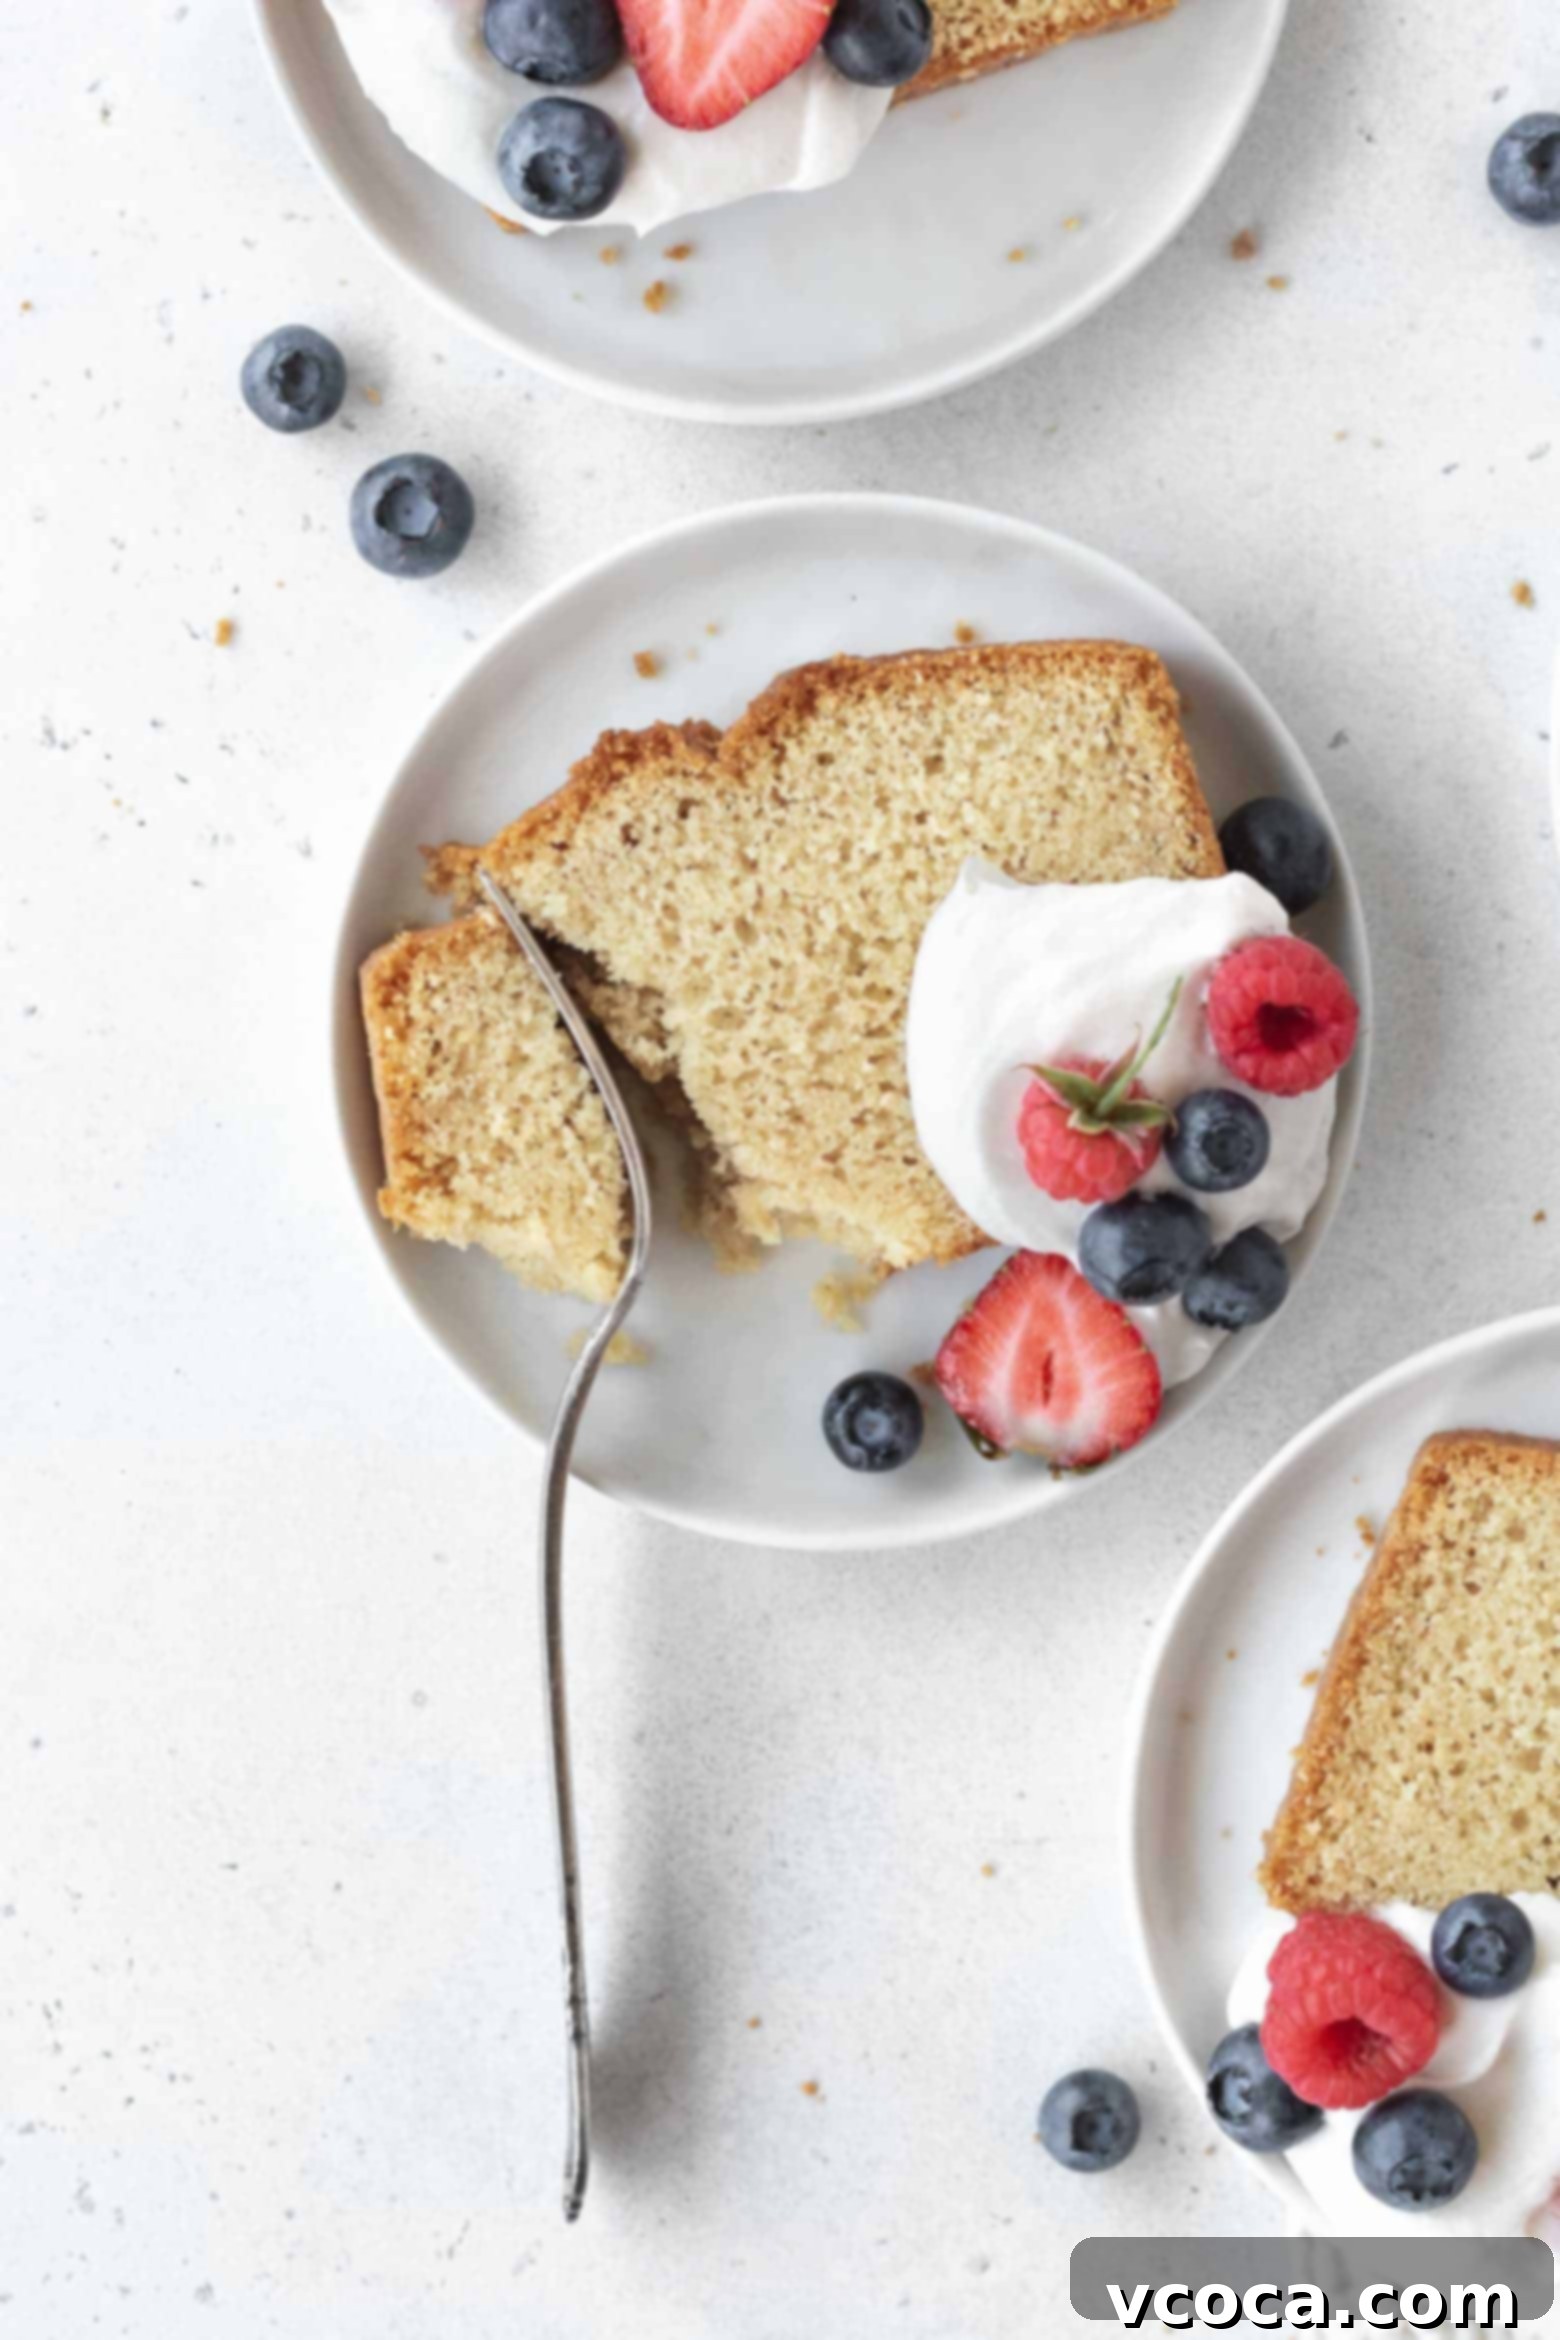
Storing Your Gluten-Free Pound Cake for Freshness
Proper storage is essential to keep your gluten-free pound cake fresh, moist, and delicious for as long as possible. Given its rich ingredients, it’s a treat you’ll want to savor!
If you anticipate enjoying the pound cake within a couple of days, the best way to maintain its freshness is to store it in an airtight container at room temperature. This prevents the cake from drying out and keeps its crumb soft. A key tip for optimal moisture retention is to only slice the amount of cake you plan to serve at a given time. Once a pound cake is sliced, more surface area is exposed to the air, which accelerates drying. Keeping the remaining loaf intact until just before serving significantly extends its moistness.
This gluten-free pound cake will remain wonderfully fresh and delicious at room temperature for approximately 3 days when stored correctly. If you wish to store it for a longer duration, beyond these few days, I highly recommend moving it to the freezer. Freezing is an excellent method for preserving the cake’s quality for extended periods.
Can gluten-free pound cake be frozen?
Absolutely, gluten-free pound cake freezes beautifully! This makes it a fantastic make-ahead dessert or a way to enjoy individual portions whenever a craving strikes. To freeze, first allow the pound cake to cool completely. Then, slice the loaf into individual portions. Wrap each slice tightly with plastic wrap, followed by a layer of aluminum foil. This double-layer protection is crucial for preventing freezer burn and maintaining moisture. Once wrapped, place the individual slices into an airtight freezer container or a heavy-duty freezer bag. Stored this way, your gluten-free pound cake will keep exceptionally well in the freezer for up to 3 months. When you’re ready to enjoy a slice, simply remove it from the freezer and let it thaw at room temperature for an hour or two, or gently warm it in the microwave for a few seconds.
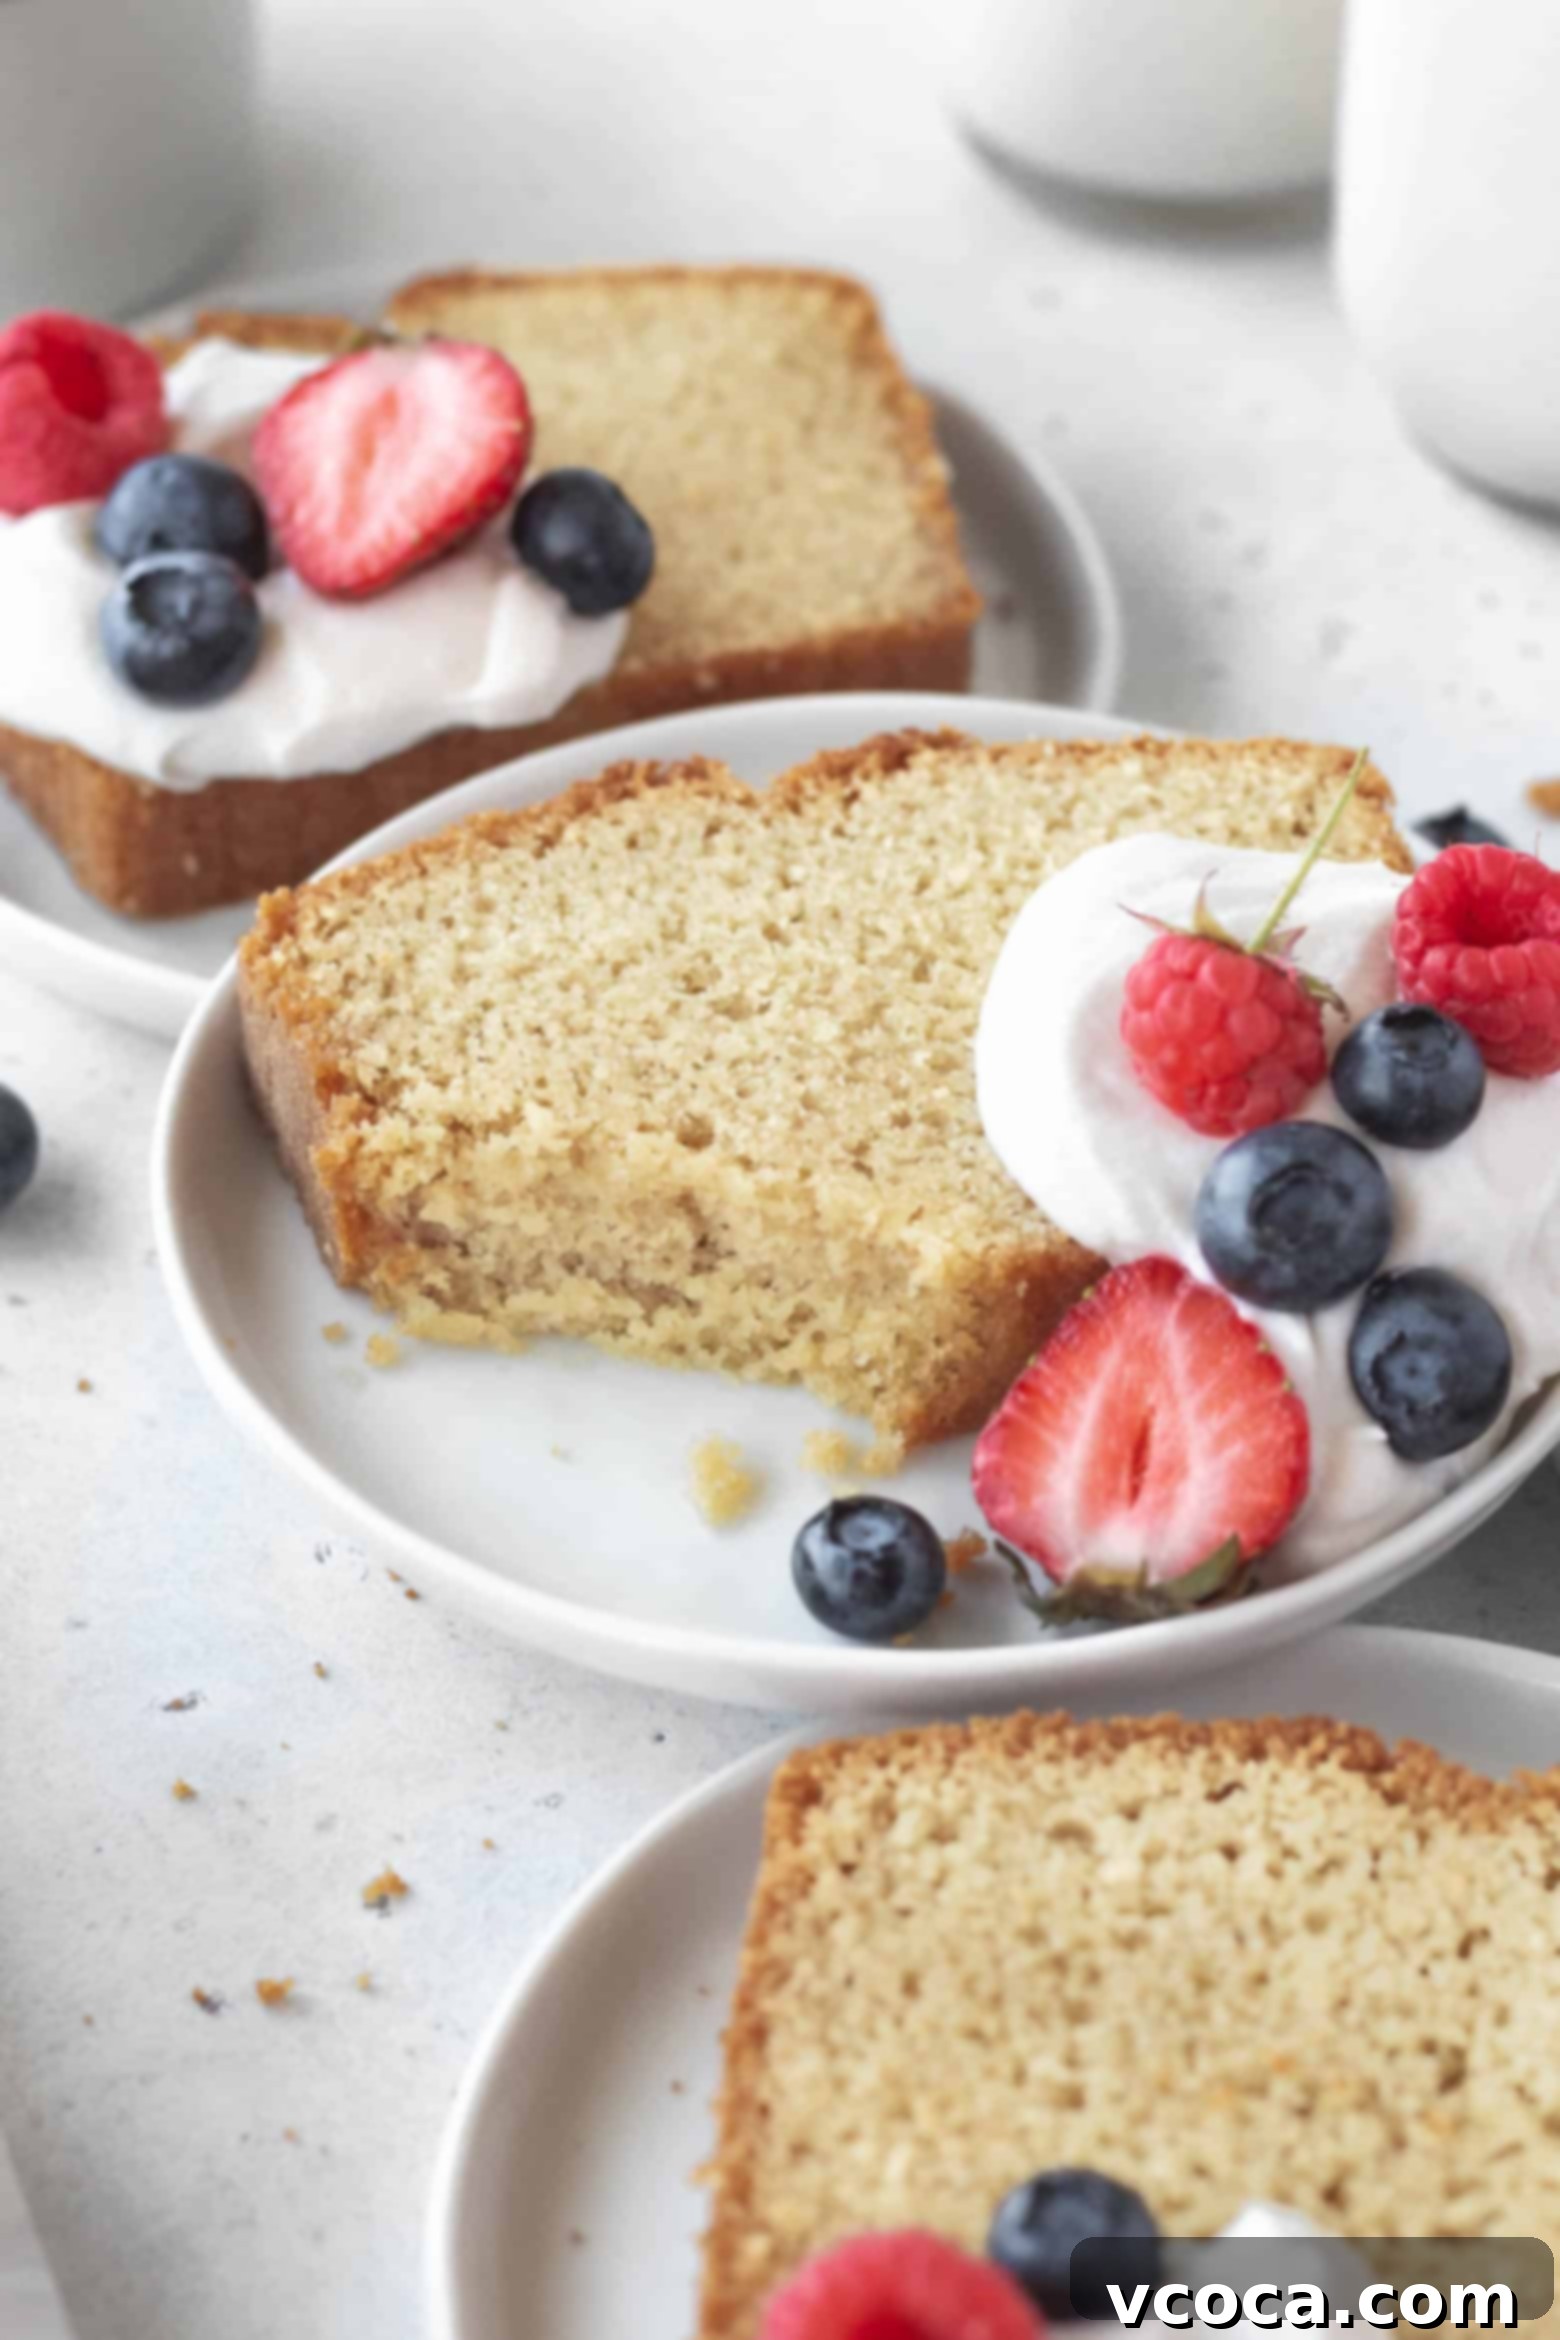
Frequently Asked Questions About Gluten-Free Pound Cake
The name “pound cake” originates from its traditional recipe, which famously called for a pound each of four key ingredients: butter, sugar, eggs, and flour. Historically, these cakes did not contain additional leavening agents like baking soda or baking powder; their rise depended solely on the air whipped into the butter and sugar during the creaming process. For a gluten-free pound cake, however, we adapt this classic ratio and typically incorporate both baking soda and baking powder. These leaveners are essential to provide the necessary lift and aeration that gluten-free flours, lacking the elastic properties of gluten, cannot achieve on their own, resulting in a beautifully risen and tender cake.
Maintaining moisture in gluten-free cakes is a common concern, but with a few simple tips, you can ensure a deliciously moist result every time. First and foremost, avoid overbaking. Gluten-free cakes can dry out quickly, so it’s best to remove them from the oven as soon as a toothpick inserted into the center comes out clean or with a few moist crumbs. Secondly, only slice what you plan to serve immediately; leaving cut surfaces exposed to air will hasten drying. Store any leftover cake in an airtight container at room temperature. If, despite your best efforts, you find your cake a bit dry, a fantastic trick is to gently poke holes all over the surface with a fork and brush it with a simple syrup (equal parts sugar and water, simmered until dissolved and cooled). This can reintroduce moisture and add a lovely sheen.
Pound cake distinguishes itself from a “regular” or standard cake primarily through its texture, density, and flavor profile. A pound cake is characterized by its incredibly dense, rich, and buttery crumb, often without a separate frosting. Its flavor is predominantly that of butter, rich and unmistakable. In contrast, a regular cake (like a sponge cake, vanilla cake, or chocolate cake) typically has a lighter, fluffier texture and a more tender crumb. These cakes often rely on more leavening and can feature a broader range of flavors beyond just butter, such as prominent vanilla, chocolate, or fruit notes, and are almost always paired with frosting or glaze. The ingredients and preparation methods subtly differ to achieve these distinct characteristics.
No, traditional pound cake is not naturally gluten-free. The classic recipe relies on wheat flour, which contains gluten, to provide its structure and characteristic texture. This gluten-free pound cake recipe, however, has been carefully developed to replicate that beloved texture and rich flavor using a blend of gluten-free flours and specific baking techniques, making it a delicious and safe option for those avoiding gluten.
Explore More Delicious Gluten-Free Cake Recipes
If you’ve enjoyed this gluten-free pound cake, you’re in for a treat with these other fantastic gluten-free cake creations:
- This gluten-free pineapple upside down cake is a tropical delight! It’s incredibly moist and fluffy, and I especially love serving a warm slice with a scoop of creamy vanilla ice cream.
- For a taste of autumn any time, my gluten-free pumpkin bread is an absolute must-make every fall. And for a year-round favorite loaf cake, my gluten-free banana bread is pure comfort. Even though they’re called “bread,” let’s be honest—they’re truly cakes in disguise!
- One of my all-time favorite recipes for its vibrant flavor and perfect texture is this gluten-free lemon poppy seed cake. It’s wonderfully moist and absolutely bursting with bright, zesty lemon flavor that will tantalize your taste buds!
- For all my fellow chocoholics out there, you absolutely have to try this rich gluten-free chocolate cake recipe and my decadent gluten-free German chocolate cake recipe. Both are incredibly moist, rich, and impressive, yet surprisingly easy to decorate for any occasion!
- Starting your day with something sweet? My gluten-free coffee cake is the perfect choice for a delightful brunch or a morning pick-me-up.
Gluten-Free Pound Cake
Print
Pin
Rate
Ingredients
- 1¼ cups gluten-free measure for measure flour
- 3 tablespoons super fine almond flour
- 3 tablespoons cornstarch
- ½ teaspoon fine salt
- ¼ teaspoon baking soda
- 1½ teaspoons baking powder
- ⅓ cup unsalted butter
- 2½ tablespoons shortening
- 1¼ cups granulated sugar
- 3 large eggs
- ⅓ cup milk
- 2 teaspoons apple cider vinegar
- 1 tablespoon vanilla extract
Instructions
-
In a bowl, whisk together the gluten-free flour, almond flour, cornstarch, salt, baking soda, and baking powder.
-
In a small bowl, add the milk, apple cider vinegar, and vanilla extract.
-
In the bowl of a stand mixer with a paddle attachment, add the butter and shortening, and beat it on high speed for 3 to 4 minutes. Add the granulated sugar and beat for another 6 minutes. Scrape the sides and bottom of the bowl with a spatula and beat for another minute.
-
Add one egg at a time, beating on medium speed and scraping the bowl after each addition.
-
Add a third of the flour mixture and beat it on medium speed. Once the flour is incorporated, scrape the bowl, add half of the milk mixture, and beat it again. Scrape the bowl and repeat the process, ending with the flour mixture.
-
Scrape the bowl to make sure there are no bits of flour hiding and the batter is smooth. Let the batter rest for 30 minutes.
-
While the batter is resting, preheat the oven to 350°F/180°C. Grease and line an 8.5 x 4.5 inch loaf pan with parchment paper.
-
Pour the batter into the loaf pan and smooth the surface. Bake it in the preheated oven for 1 hour. Tent the pan with foil if it’s getting too brown to avoid burning the cake.
-
Let the pound cake rest in the pan for 15 minutes and take it out onto a wire rack to cool completely.
Nutrition
