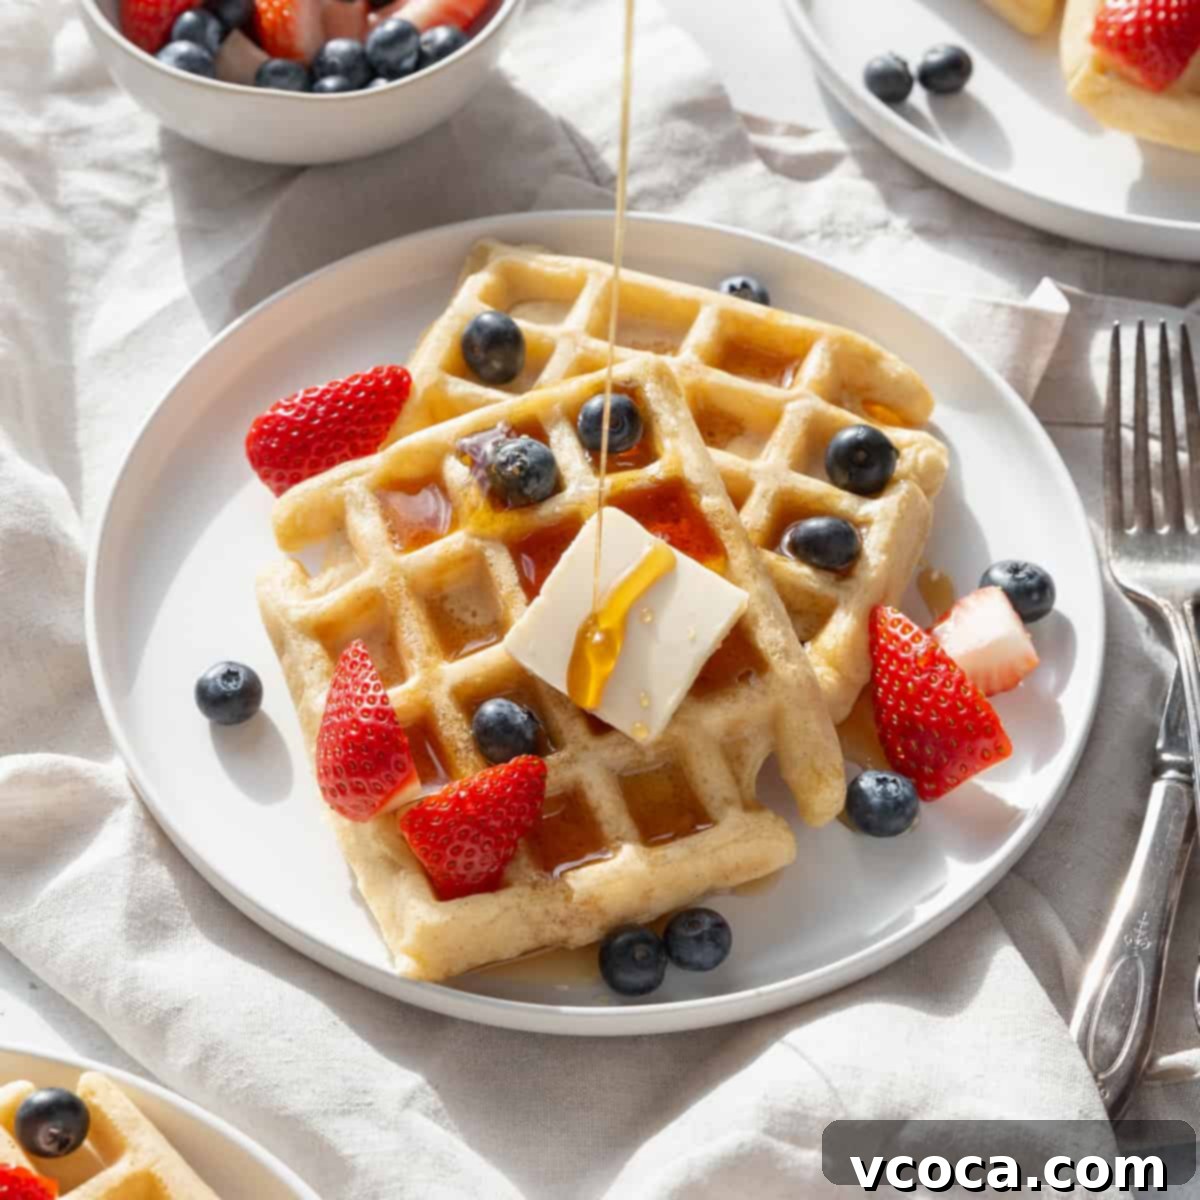
The Ultimate Guide to Crispy & Fluffy Homemade Gluten-Free Waffles
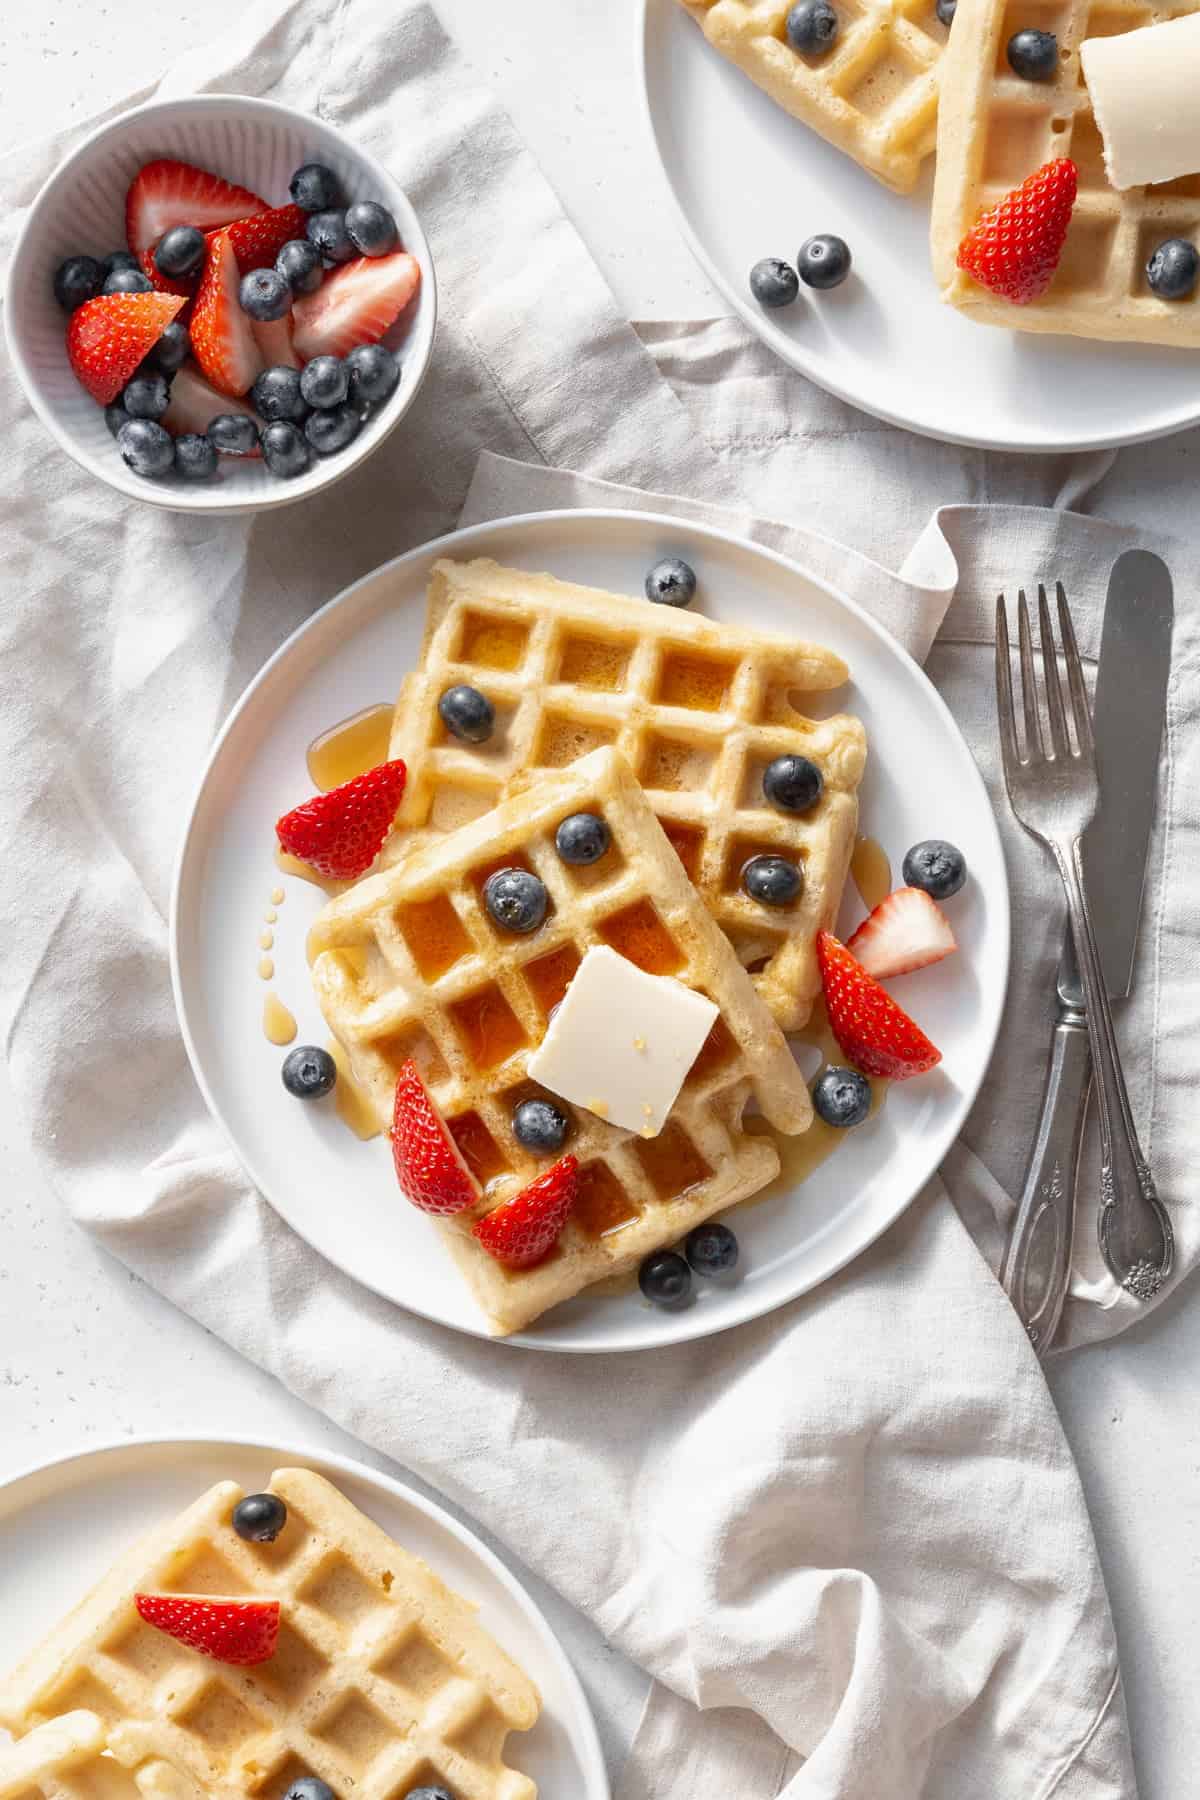
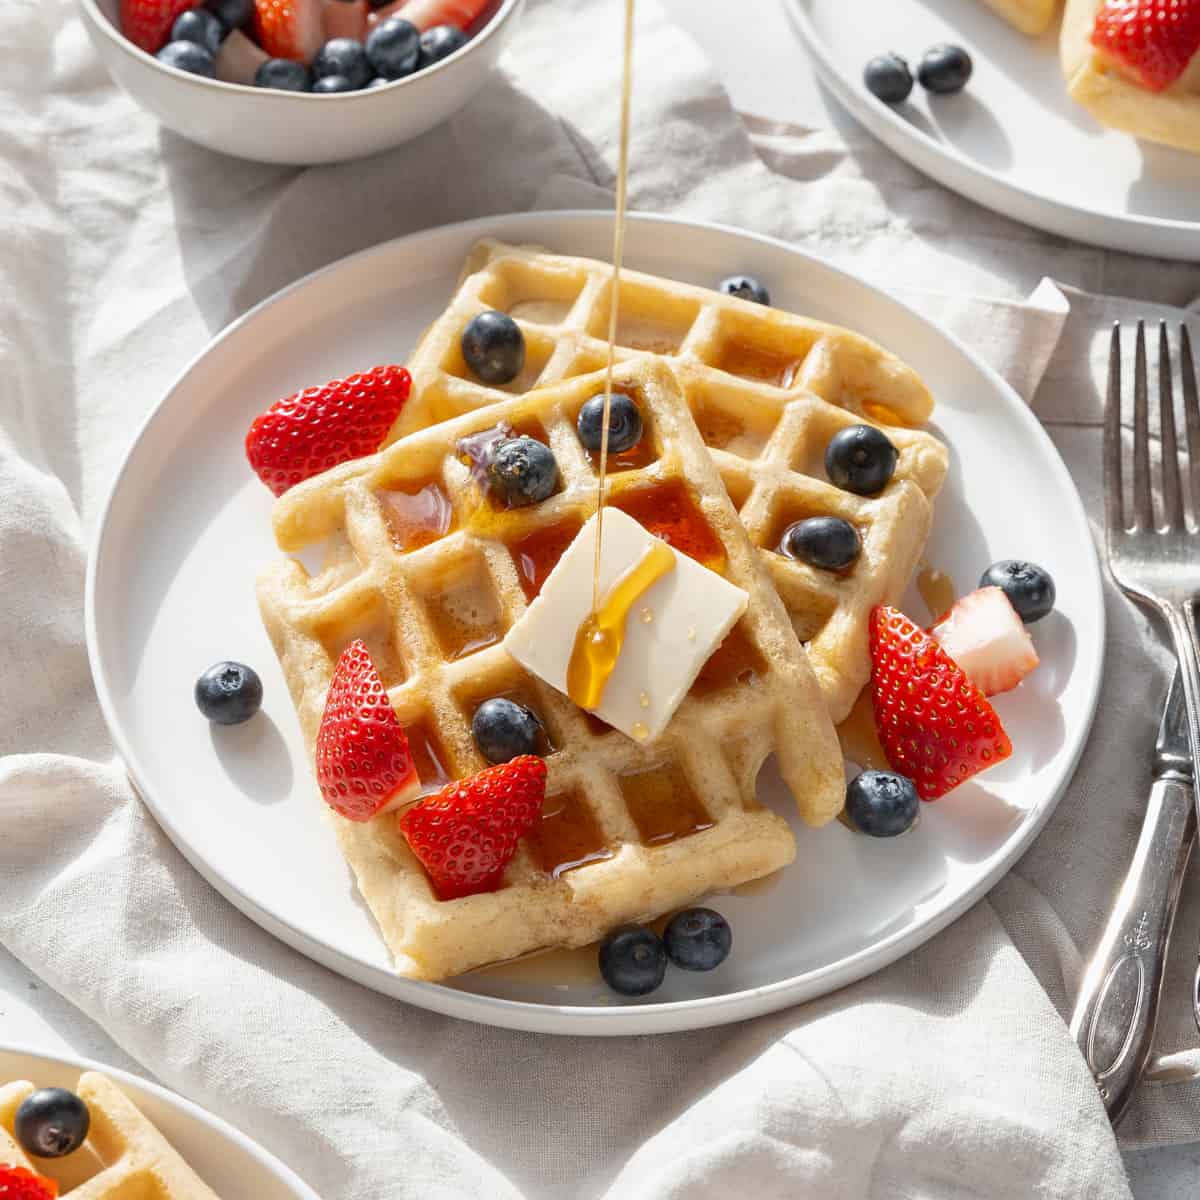
Prepare to fall in love with these incredibly delicious **gluten-free waffles**! They boast a perfect texture: wonderfully fluffy and soft on the inside, with an irresistible golden crisp on the outside. Forget everything you thought you knew about gluten-free baking; this recipe is a game-changer. It’s not only incredibly easy to make, requiring just one bowl for mixing, but it’s also perfect for meal prep. I often whip up a double batch and stash the extras in the freezer, ensuring a convenient and delightful breakfast is always just minutes away, even on the busiest mornings.

For a long time, I wasn’t really a waffle enthusiast. My heart always leaned towards fluffy pancakes or savory French toast for breakfast. My previous attempts at gluten-free waffles involved store-bought, frozen varieties, and they consistently left me feeling underwhelmed by their lackluster texture and bland flavor. But these homemade gluten-free waffles? They are a revelation! Each bite delivers a delightful combination of perfectly crisp edges and a wonderfully fluffy, slightly chewy center. They’ve quickly become a staple in my kitchen, perfect for a quick and satisfying breakfast, or as a convenient snack stored right in the freezer.
Why These Gluten-Free Waffles Are a Must-Try
If you’re navigating a gluten-free diet, you know the challenge of finding baked goods that truly hit the mark. Many gluten-free recipes can unfortunately yield dry, crumbly, or overly dense results, which can be disheartening. This recipe, however, is designed to shatter those expectations! We’ve meticulously crafted it to ensure that every single waffle is light, airy, and bursting with incredible flavor, without a hint of grittiness or chewiness. The secret lies in a careful balance of specialized ingredients and precise techniques that artfully mimic the beloved qualities of traditional wheat-based waffles. Moreover, the straightforward preparation process means you don’t need to be a seasoned baker to achieve consistently amazing results. These aren’t just great for those avoiding gluten; they are genuinely delicious waffles that anyone and everyone will enthusiastically enjoy for breakfast, brunch, or even a delightful dessert!
Essential Ingredients for Your Perfect Gluten-Free Waffles
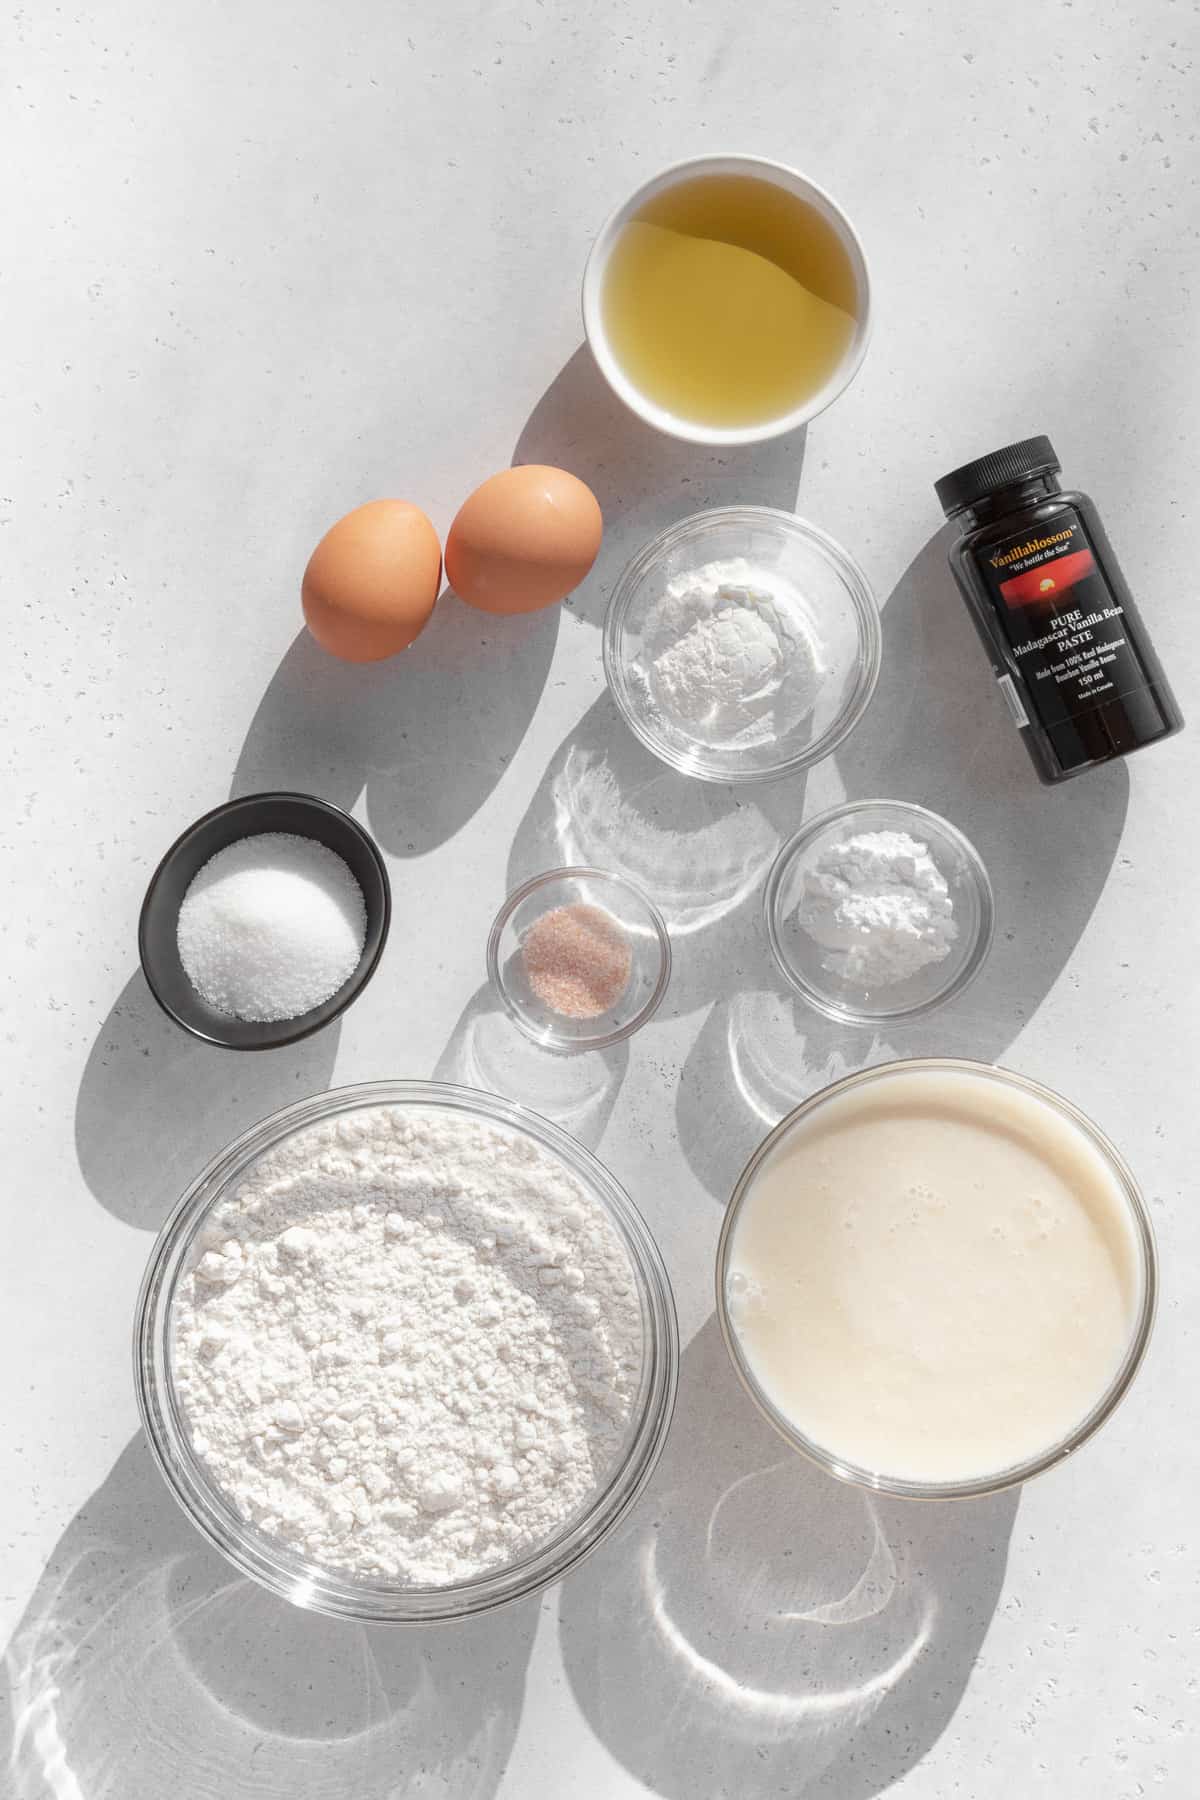
Crafting these extraordinary gluten-free waffles begins with a selection of high-quality ingredients, each playing a vital role in achieving that coveted fluffy interior and irresistibly crispy exterior. Here’s a closer look at what you’ll need for this delicious gluten-free waffle recipe, along with important tips for each component:
- Gluten-Free Flour Blend: This is the crucial foundation of our waffles. It’s imperative to use a “measure-for-measure” or “1-to-1” gluten-free all-purpose flour blend that explicitly states it includes xanthan gum. Xanthan gum is a vital binder that replaces the elasticity normally provided by gluten, ensuring your waffles hold together beautifully and achieve a pleasant, non-crumbly texture. My personal favorite and highly recommended option is the Bob’s Red Mill 1-to-1 Baking Flour, which consistently delivers excellent results.
- Cornstarch: This seemingly small addition is a secret weapon for achieving superior waffle texture. Cornstarch works wonders by tenderizing the gluten-free waffle batter, contributing significantly to that desirable crisp exterior and ensuring a delicate crumb within. Do not skip this ingredient, as it truly makes a difference in the final outcome.
- Granulated Sugar: Beyond simply adding a hint of sweetness, sugar plays multiple important roles in this recipe. It helps to tenderize the waffle, contributes to a beautiful golden-brown color as the waffles cook, and balances the overall flavors in the batter, creating a harmonious taste profile.
- Salt: A small but essential amount of fine salt is crucial for enhancing all the other flavors in the waffle, preventing them from tasting bland or flat. Always use fine salt for baking to ensure it dissolves and distributes evenly throughout the batter.
- Baking Powder: This is our primary leavening agent. A generous tablespoon of baking powder is precisely what makes these homemade gluten-free waffles wonderfully light, airy, and incredibly fluffy. It reacts with the acidic buttermilk to create carbon dioxide bubbles, which are trapped in the batter and give the waffles their characteristic rise and open texture.
- Eggs: Large eggs are integral to the structure, moisture, and richness of the waffle batter. They act as a binder, helping to hold the ingredients together, and their protein contributes to the overall fluffiness and tender crumb. Ensure your eggs are at room temperature for better incorporation into the batter.
- Buttermilk: Buttermilk is a key ingredient for both moisture and an incredibly tender crumb. Its natural acidity reacts with the baking powder, promoting a higher rise and an extra fluffy texture. If you don’t have buttermilk on hand, you have a couple of easy and effective substitutes:
- Quick Buttermilk 1 (Milk + Yogurt): Combine 1 cup (240ml) regular milk with ¾ cup (180ml) plain yogurt. Stir well and let it sit for 5-10 minutes until it slightly thickens.
- Quick Buttermilk 2 (Milk + Acid): Pour regular milk into a measuring cup up to the 1¾ cup mark (or your required amount). Remove 5 teaspoons of milk, then replace it with 5 teaspoons of apple cider vinegar (or fresh lemon juice). Stir gently and let it sit for 5-10 minutes until it appears slightly curdled.
- Oil: A neutral-flavored oil adds necessary fat for moisture, tenderness, and contributes to the crisp exterior without imparting any strong, undesirable taste. Excellent choices include avocado oil, light olive oil, or grapeseed oil. For a richer flavor, you could also use melted unsalted butter, though this would introduce dairy.
- Vanilla Extract: For the absolute best and most authentic flavor, I highly recommend using a pure vanilla extract or a vanilla bean paste. It adds a warm, aromatic depth that significantly elevates the overall taste profile of your homemade waffles.
Irresistible Mix-In and Topping Ideas to Elevate Your Waffles
While these gluten-free waffles are absolutely delightful and satisfying on their own, they also serve as a fantastic canvas for your culinary creativity! Don’t hesitate to personalize your waffle experience by incorporating some exciting mix-ins directly into the batter, or by piling on a variety of delicious toppings once they’re cooked.
Flavorful Mix-In Ideas for Your Batter:
- Chocolate Chips: A timeless favorite! Whether you prefer mini, regular, dark, milk, or white chocolate chips, they’ll melt into gooey pockets of sweetness within each waffle.
- Fresh Berries: Add a burst of juicy flavor and a beautiful pop of color with fresh blueberries. Raspberries, chopped strawberries, or blackberries are also wonderful options. Gently fold them in just before cooking.
- Chopped Nuts: For a delightful crunch and nutty flavor, fold in finely chopped walnuts, pecans, or almonds. Lightly toasting them beforehand can enhance their aroma and taste even further.
- Warm Spices: Infuse your waffles with comforting aromas by adding a dash of ground cinnamon, nutmeg, or a blend like pumpkin pie spice, especially perfect for seasonal treats.
- Chopped Crispy Bacon: For an exciting savory-sweet combination, finely chop some crispy cooked bacon and fold it into the batter.
- Citrus Zest: The finely grated zest of a lemon or orange can add a bright, fresh, and aromatic note to your waffles, cutting through the richness.
Decadent Topping Suggestions:
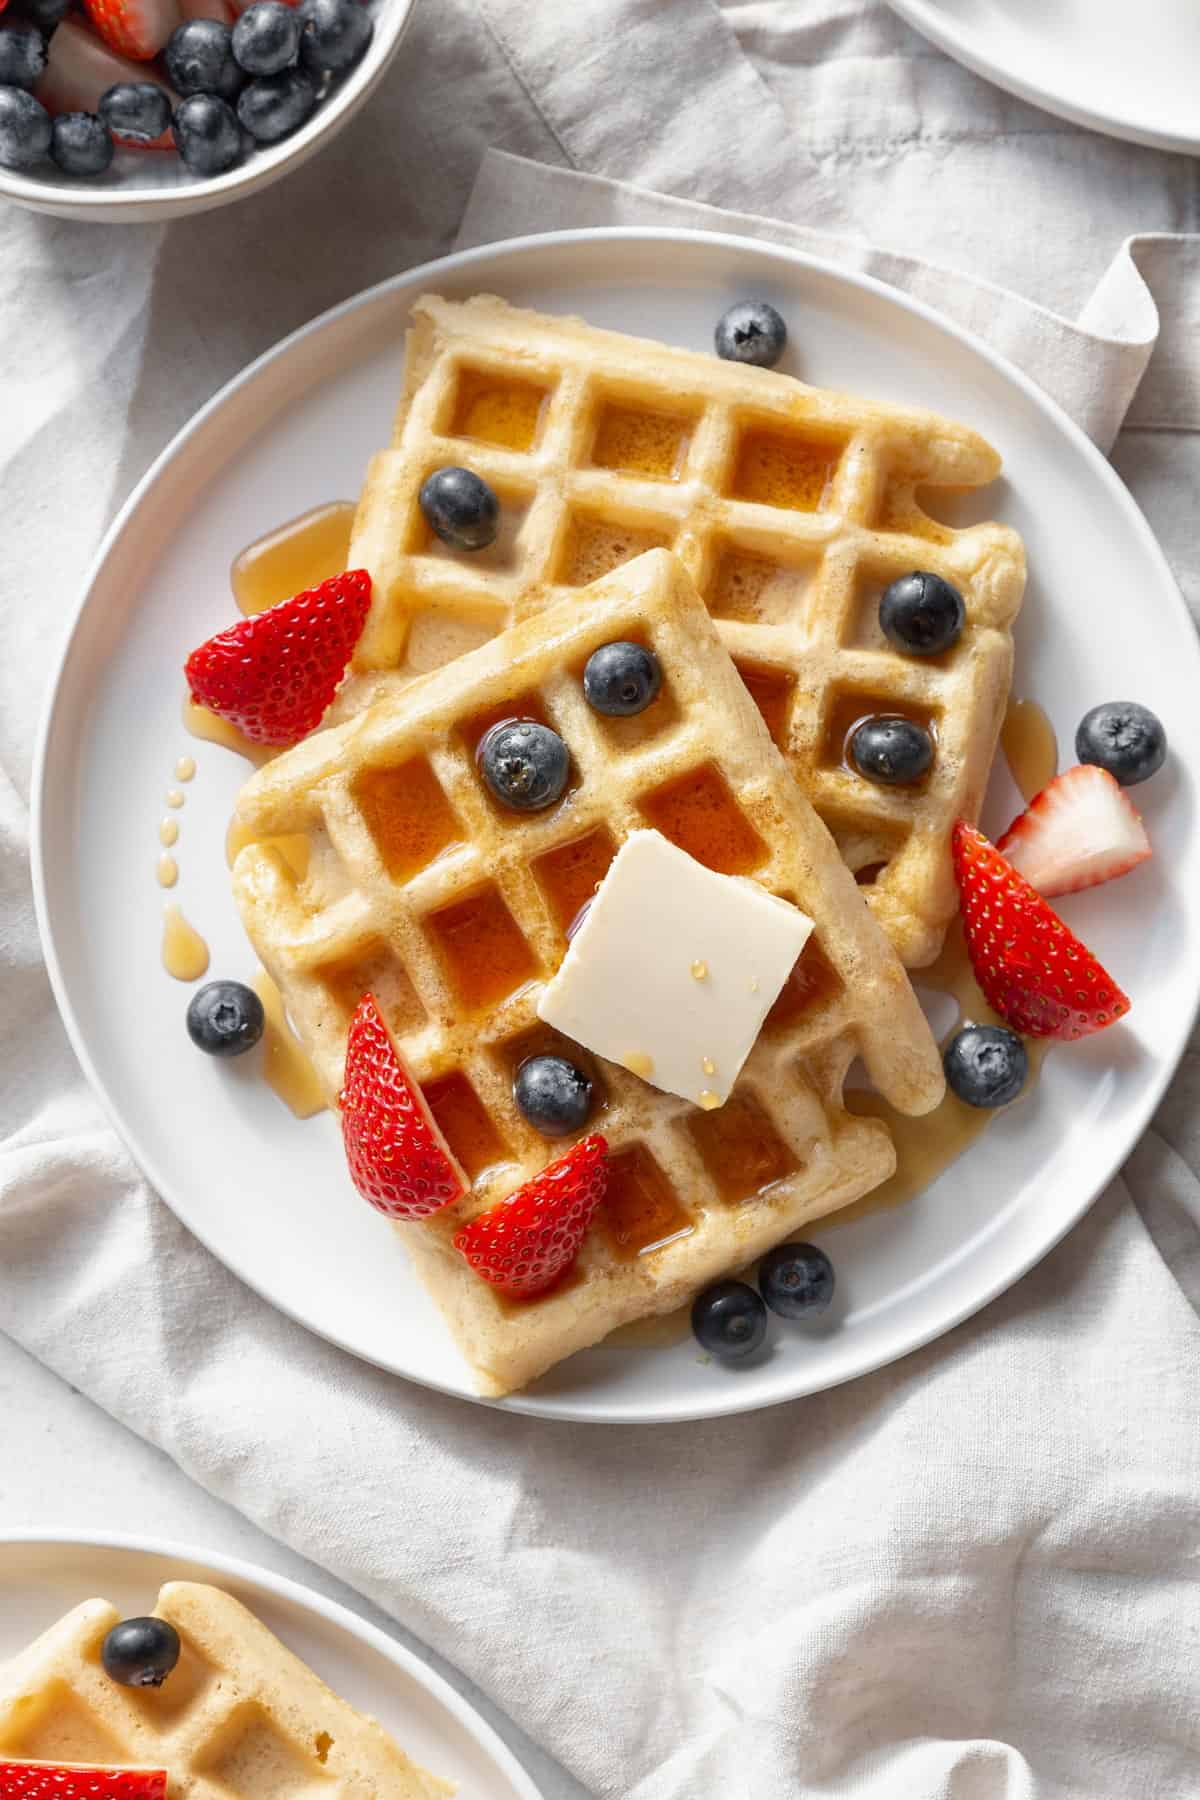
Once your gluten-free waffles are hot, crispy, and fresh off the iron, the real fun begins! Personalize each serving by piling them high with your favorite accompaniments:
- Whipped Cream or Coconut Cream: A generous dollop of freshly whipped cream adds a luxurious, airy texture. For a dairy-free option, whipped coconut cream is a fantastic substitute.
- Fresh Fruit Medley: Create a vibrant and healthy topping with a colorful assortment of fresh strawberries, blueberries, raspberries, and blackberries.
- Pure Maple Syrup: A warm, golden drizzle of high-quality pure maple syrup is a timeless and utterly classic pairing for a reason.
- Sweet Banana Slices: Creamy, naturally sweet banana slices complement waffles beautifully. For an extra treat, try caramelizing them lightly in a pan with a touch of butter and brown sugar.
- Nut Spreads: A hearty smear of Nutella, creamy peanut butter, rich almond butter, or allergy-friendly sunflower seed butter adds richness, flavor, and a boost of protein.
- Homemade Fruit Compote: Elevate your waffles with a warm, bubbling fruit compote made from your favorite seasonal fruits like cherry, apple, peach, or mixed berries.
- Powdered Sugar: A simple, elegant dusting of powdered sugar adds a subtle extra layer of sweetness and a beautiful presentation.
- Chocolate Syrup: For the ultimate sweet indulgence, a generous swirl of chocolate syrup is always a hit, especially when paired with whipped cream.
Step-by-Step Guide: How to Make Perfect Gluten-Free Waffles
Making these delicious and perfectly textured gluten-free waffles is a straightforward process, designed for maximum simplicity and incredible results. Follow these detailed steps for gluten-free waffle perfection every single time:
Step 1: Prepare the Dry Ingredients. In a large mixing bowl, carefully measure out your chosen gluten-free flour blend, cornstarch, granulated sugar, fine salt, and baking powder. Using a whisk, thoroughly combine these dry ingredients. This meticulous step is essential to ensure that all the leavening agents and flavorings are evenly distributed throughout the flour mixture. Even distribution is key to achieving consistently fluffy waffles with a uniform rise, preventing dense spots or uneven cooking.
Step 2: Incorporate the Wet Ingredients. To the bowl containing your well-whisked dry ingredients, add the buttermilk (or your homemade dairy-free alternative), the large eggs, the neutral oil, and the pure vanilla extract. Mix gently with a whisk or a rubber spatula until the ingredients are just combined. It is absolutely crucial not to overmix the batter; a slightly lumpy consistency is perfectly normal and actually preferred. Overmixing, even with gluten-free flours, can develop starches in a way that leads to tougher, less tender waffles.
Step 3: Allow the Batter to Rest (Crucial Step!). This is arguably the most vital step for achieving truly outstanding gluten-free waffles. Allow your prepared waffle batter to rest at room temperature for a minimum of 30 minutes. This resting period provides the various gluten-free flours and starches ample time to properly hydrate, absorbing the liquids fully. This crucial hydration prevents a grainy or gritty texture in your final waffles and is key to ensuring they come out wonderfully fluffy, moist, and achieve that perfect, tender structure.


Step 4: Cook Your Waffles to Perfection. While the batter is resting, preheat your waffle iron according to its manufacturer’s instructions. A well-heated iron is key to crispness! Once it reaches the correct temperature, lightly grease the waffle plates with a neutral oil or nonstick cooking spray to prevent sticking and encourage that beautiful golden crust. Pour approximately ⅓ cup of batter for each waffle (this amount will vary based on the size and style of your waffle iron; Belgian waffle irons typically require more batter than classic ones). Close the lid and cook until the waffles are beautifully golden brown, and steam largely stops escaping from the sides – this usually takes around 5 to 6 minutes. The exact cooking time may vary slightly depending on your specific waffle iron’s power.
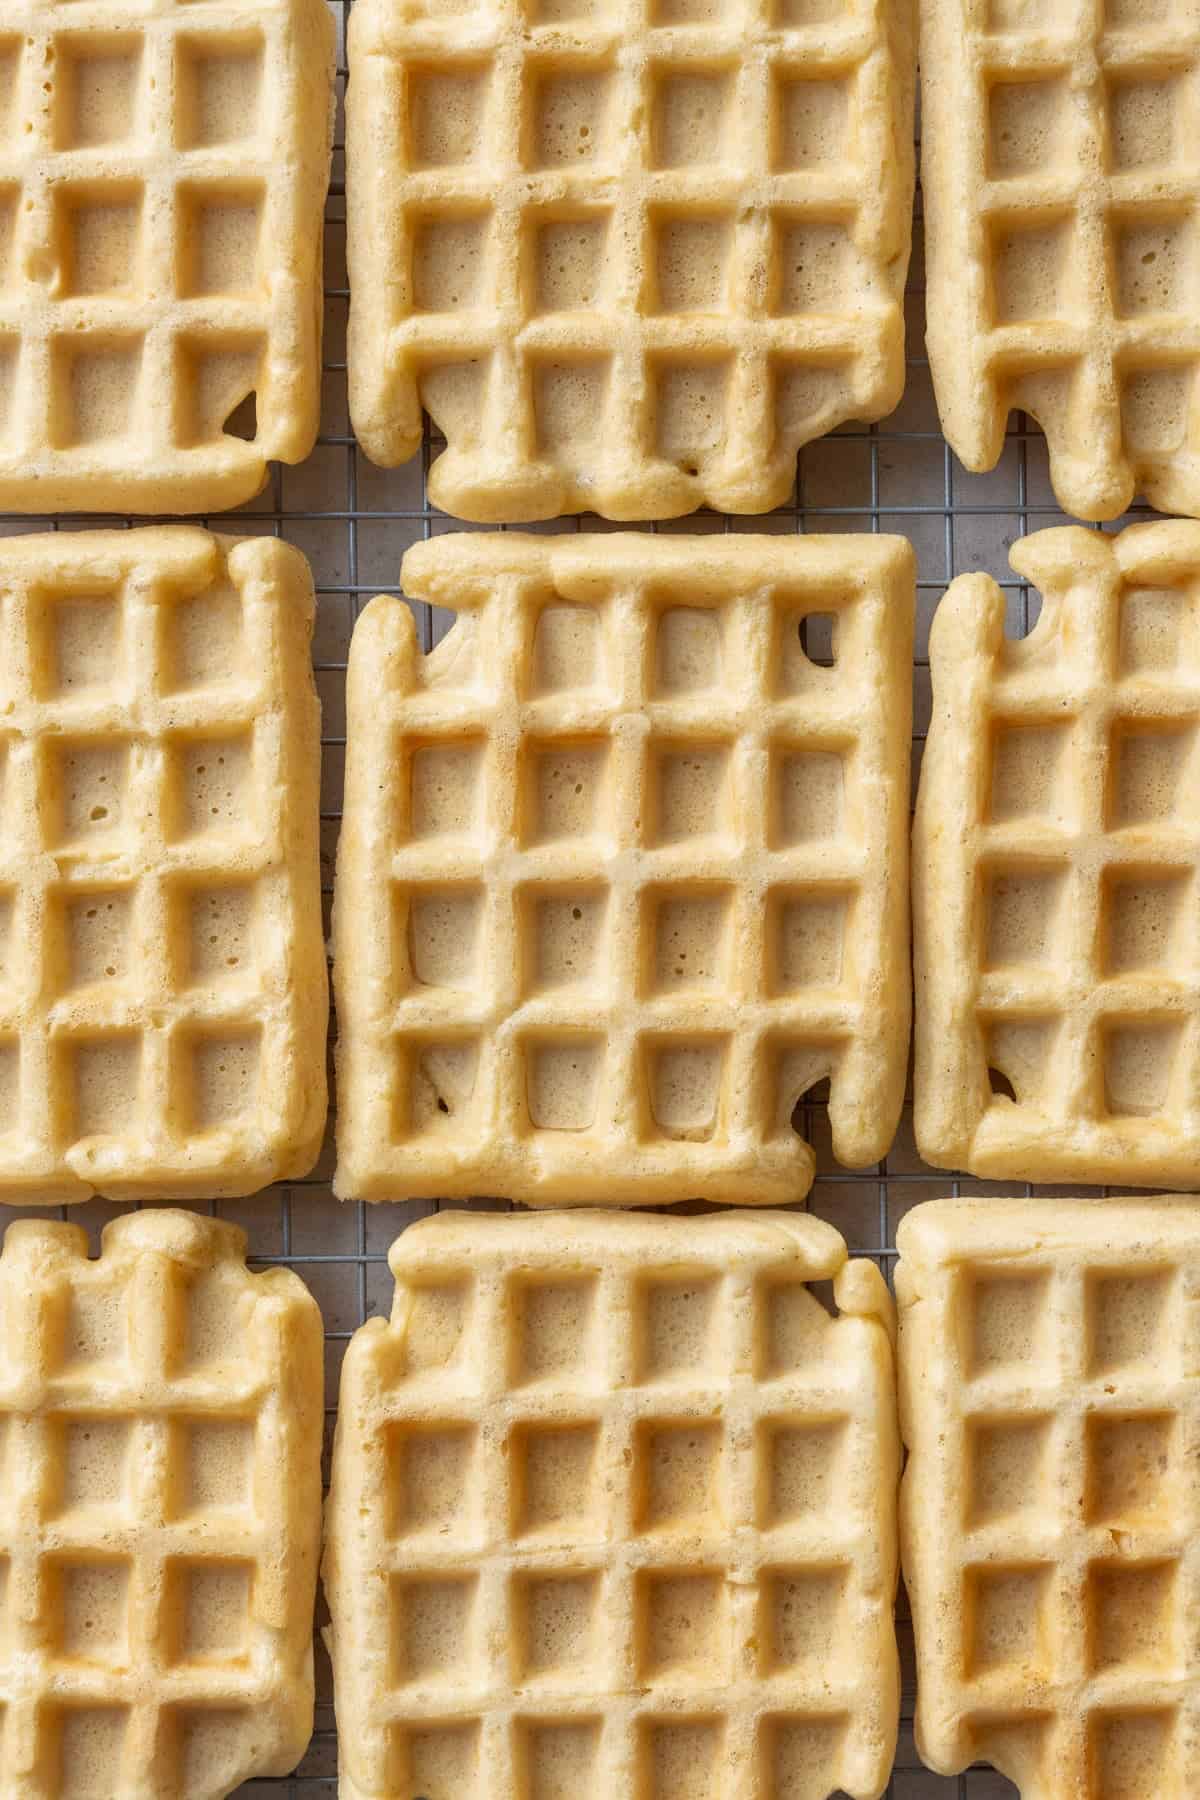
Step 5: Ensure Crispness on a Wire Rack. As each waffle finishes cooking and achieves its perfect golden crispness, immediately transfer it from the waffle iron onto a wire rack. This is a critical step to maintain that delightful crisp texture! Avoid the common mistake of stacking them directly on a flat plate, as this traps steam underneath, causing the waffles to quickly become soggy and limp. A wire rack allows air to circulate freely around the entire waffle, preserving its wonderfully crisp exterior until you’re ready to serve and enjoy.

Pro Tips for Making the Best Gluten-Free Waffles Every Time
Achieving gluten-free waffle perfection is well within reach, especially with these insider tips and tricks. Follow these recommendations closely to ensure your homemade waffles are consistently fluffy, tender, and beautifully crispy with every batch:
- Don’t Skip the Batter Rest: This is, without a doubt, the most crucial tip for mastering gluten-free waffles. Allowing your waffle batter to rest for at least 30 minutes (and even up to an hour for optimal results) gives the various starches and flours within your gluten-free blend ample time to fully hydrate. This prevents any grainy or gritty texture, ensuring your waffles emerge from the iron wonderfully fluffy, moist, and free from unpleasant dryness. It also allows the xanthan gum to properly activate and bind all the ingredients together, providing essential structure.
- Properly Preheat & Thoroughly Grease Your Waffle Iron: These steps are absolutely non-negotiable for success! A thoroughly preheated waffle iron ensures immediate crisping upon contact with the batter, which is essential for developing that desirable golden-brown, crunchy crust. Generously greasing the iron with a neutral oil or nonstick cooking spray prevents any sticking, a common issue, and is particularly important for gluten-free batters that can sometimes be more delicate. If your waffles stick, they won’t be beautiful or enjoyable, so take your time here.
- Cool Waffles on a Wire Rack Immediately: As soon as your waffles are cooked to perfection, transfer them immediately to a wire rack. It is vital to avoid stacking them or placing them directly on a flat plate. When waffles cool on a flat surface, trapped steam causes them to rapidly lose their crispness and become soggy and limp. A wire rack allows air to circulate freely around the entire waffle, meticulously preserving their delightful crisp exterior until you’re ready to serve.
- Keep Waffles Warm in the Oven for Serving: If you’re cooking for a larger group or simply preparing multiple batches, you’ll want an effective strategy to keep your waffles warm and crispy until everyone is ready to eat. Preheat your oven to a low temperature, around 200°F (95°C). Place your freshly cooked waffles in a single layer on a baking sheet lined with parchment paper, and keep them in the warm oven while you finish cooking the rest of the batter. This ensures every waffle is served hot and perfectly crisp.
- Do Not Overmix the Batter: Just as with traditional waffle batters, overmixing can lead to tough waffles, even when working with gluten-free flours. Mix the wet and dry ingredients only until they are just combined. A few small lumps in the batter are perfectly acceptable and actually indicate that you haven’t overmixed, which helps maintain a tender crumb.
- Avoid Overfilling Your Waffle Iron: Resist the urge to pour too much batter into your waffle iron! Overfilling can result in unevenly cooked waffles, batter spilling out the sides (creating a mess), and ultimately a less desirable texture. Start with the recommended amount (e.g., ⅓ cup per waffle) and adjust slightly based on the specific capacity and design of your waffle iron. A little trial and error with your specific appliance can help you find the perfect amount.
Storage and Freezing Instructions for Ultimate Convenience
One of the absolute best features of these homemade gluten-free waffles is how exceptionally well they store, making them an ideal candidate for quick meals throughout the week or for stocking your freezer with convenient breakfast options. Plan ahead and enjoy these delicious waffles whenever a craving strikes, without the extra effort!
Storing Leftovers (Refrigerator): If you find yourself with any leftover cooked waffles, it’s essential to allow them to cool completely on a wire rack first. This prevents condensation and keeps them from becoming soggy. Once thoroughly cooled, transfer them to an airtight container. They will remain fresh and delicious in the refrigerator for up to 3 days. While they won’t retain the exact same crispness as when fresh, a quick reheat can bring back much of their delightful texture.
Freezing for Future Enjoyment (Highly Recommended!): My absolute favorite and highly recommended method for storing these gluten-free waffles is in the freezer. It’s an unbeatable strategy for meal prepping a convenient and tasty breakfast!
- Cool Completely: First, ensure each waffle has cooled completely to room temperature after cooking. This step is crucial to prevent ice crystals from forming during freezing, which can impact texture.
- Flash Freeze (Optional but Recommended): For best results and to prevent waffles from sticking together, you can place the cooled waffles in a single layer on a baking sheet lined with parchment paper. Freeze them for about 30 minutes to an hour, or until they are firm.
- Wrap & Store: Once firm (or simply cooled), wrap each individual waffle tightly in plastic wrap. This layer of wrapping helps protect them from freezer burn. Then, place all the wrapped waffles into a large, heavy-duty freezer-safe bag or an airtight freezer container.
- Duration: They will keep beautifully in the freezer for up to 2 months, making them a fantastic grab-and-go option.
- Toaster: Pop the frozen waffles directly into a toaster on a medium setting until they are heated through and crisp again. This is my preferred method for maximum crispness!
- Oven: Preheat your oven to 350°F (175°C). Place the frozen waffles in a single layer on a baking sheet and bake for about 5-10 minutes, or until they are warm and crisped to your liking.
- Air Fryer: For quick crisping, place frozen waffles in a single layer in your air fryer basket. Cook at 350°F (175°C) for 3-5 minutes, flipping halfway, until warm and crispy.
Frequently Asked Questions (FAQ) About Gluten-Free Waffles
Absolutely! This recipe is wonderfully accommodating for make-ahead convenience. You have a couple of excellent options: you can prepare the waffle batter a day in advance and store it in an airtight container in the refrigerator. Just remember to give it a gentle whisk before pouring it into the waffle iron. Alternatively, you can cook all the waffles as directed, allow them to cool completely, and then proceed to freeze them (as outlined in the storage section) to reheat later. Both methods make busy mornings incredibly easy and delicious!
Yes, you certainly can! This is a fantastic strategy for even greater time savings. Simply combine all the dry ingredients – that includes the gluten-free flour blend, cornstarch, baking powder, and salt – in a clean, airtight container. Store this dry mix in your pantry at room temperature until you’re ready to make your waffles. When breakfast time rolls around, just add the wet ingredients (eggs, buttermilk, oil, vanilla extract), whisk everything together until just combined, allow the batter to rest briefly, and then cook as directed. It streamlines the preparation process beautifully!
While you technically *could* use this specific batter to make pancakes, it’s important to set your expectations regarding the resulting texture. Waffle batters are typically formulated with a slightly higher fat and sugar content to achieve that characteristic crisp exterior and chewier interior when cooked in a waffle iron. Therefore, the resulting pancakes from this batter might not be as light, fluffy, and tender as a dedicated gluten-free pancake recipe would produce. For truly super fluffy gluten-free pancakes, I would recommend seeking out a recipe specifically designed for them.
Yes, absolutely! This fantastic gluten-free waffle recipe can easily be made completely dairy-free without any compromise on its incredible flavor or texture. The key is a simple swap for the buttermilk. To create a homemade dairy-free buttermilk substitute, pour 1¾ cups of unsweetened and unflavored non-dairy milk (such as almond, soy, or oat milk work exceptionally well) into a measuring cup. Then, remove 5 teaspoons of this non-dairy milk and replace it with 5 teaspoons of apple cider vinegar (or fresh lemon juice). Stir gently to combine and let it sit for about 5-10 minutes until it appears slightly curdled. Use this homemade dairy-free buttermilk just as you would regular buttermilk in the recipe.
Several common factors can contribute to soggy or less-than-crispy waffles. The most frequent culprits include not adequately preheating your waffle iron before pouring the batter, not using enough oil or grease on the iron’s plates, or a very common error: stacking the waffles immediately after cooking. Always ensure your waffle iron is piping hot before adding batter, generously grease the plates, and critically, place all cooked waffles on a wire rack to cool individually. This allows steam to escape efficiently, preserving their wonderful crispness. Overmixing the batter can also lead to a softer texture.
For the most consistent and reliable results in this waffle recipe, I highly recommend using a “1-to-1” or “measure-for-measure” gluten-free all-purpose flour blend. These specialized blends are formulated to behave similarly to traditional wheat flour in recipes and, most importantly, they usually already contain xanthan gum – a vital ingredient that provides structure and elasticity in gluten-free baking. Top-performing brands often include Bob’s Red Mill 1-to-1 Baking Flour, King Arthur Gluten-Free Measure for Measure Flour, or Cup4Cup Gluten-Free Flour. Avoid using single-ingredient gluten-free flours (like just rice flour or almond flour) unless you are an experienced baker skilled in creating your own custom blends.
More Delicious Gluten-Free Breakfast Recipes to Explore
If you loved creating and enjoying these perfectly crispy and fluffy gluten-free waffles, then you’re definitely in for a treat! Here are more of my absolute favorite gluten-free breakfast recipes that are sure to impress your taste buds and satisfy any morning craving:
- This gluten-free granola recipe is so incredibly easy to make, but be warned – once you experience the superior taste and freshness of this homemade version, you’ll likely never want to go back to store-bought granola again!
- Do you adore starting your morning with bananas? Then you absolutely must try my rich and flavorful gluten-free chocolate chip banana bread recipe, my wonderfully fluffy gluten-free banana muffins recipe, or these wholesome and satisfying peanut butter banana oat bars for a delightful energy boost.
- For an impressive and exquisitely sweet breakfast or brunch centerpiece, look no further than this divine gluten-free coffee cake recipe! It’s famously soft, incredibly moist, and crowned with an absolutely delicious, crumbly streusel topping that everyone will adore.
- Craving more delightful gluten-free sweet treats? Be sure to check out this curated list of 20+ top-rated gluten-free and dairy-free desserts! I’ve gathered everything from chewy cookies and rich brownies to elegant cakes and much more, perfect for any occasion.
Gluten-Free Waffle Recipe
Ingredients
- 2¼ cup gluten-free 1-to-1 flour blend
- 2 tablespoons cornstarch
- 2 tablespoons granulated sugar
- ½ teaspoon fine salt
- 1 tablespoon baking powder
- 2 large eggs
- 1¾ cups buttermilk (check Notes for dairy-free instructions)
- ¼ cup oil
- 1 teaspoon vanilla extract
Instructions
- In a large bowl, whisk together the gluten-free flour blend, cornstarch, salt, baking powder, and granulated sugar until well combined.
- Add the buttermilk, eggs, oil, and vanilla extract. Mix until just combined and the batter is slightly lumpy (do not overmix).
- Allow the batter to rest for 30 minutes at room temperature. This crucial step lets the gluten-free flour hydrate properly, resulting in fluffy waffles.
- Preheat your waffle iron and lightly grease it with oil or nonstick cooking spray. Pour approximately ⅓ cup of batter per waffle (adjust based on your waffle iron size). Cook until golden brown and crisp, about 5 to 6 minutes.
- Carefully remove the cooked waffles from the iron and immediately place them on a wire rack to ensure they stay crisp and don’t become soggy. Serve warm with your favorite toppings!
