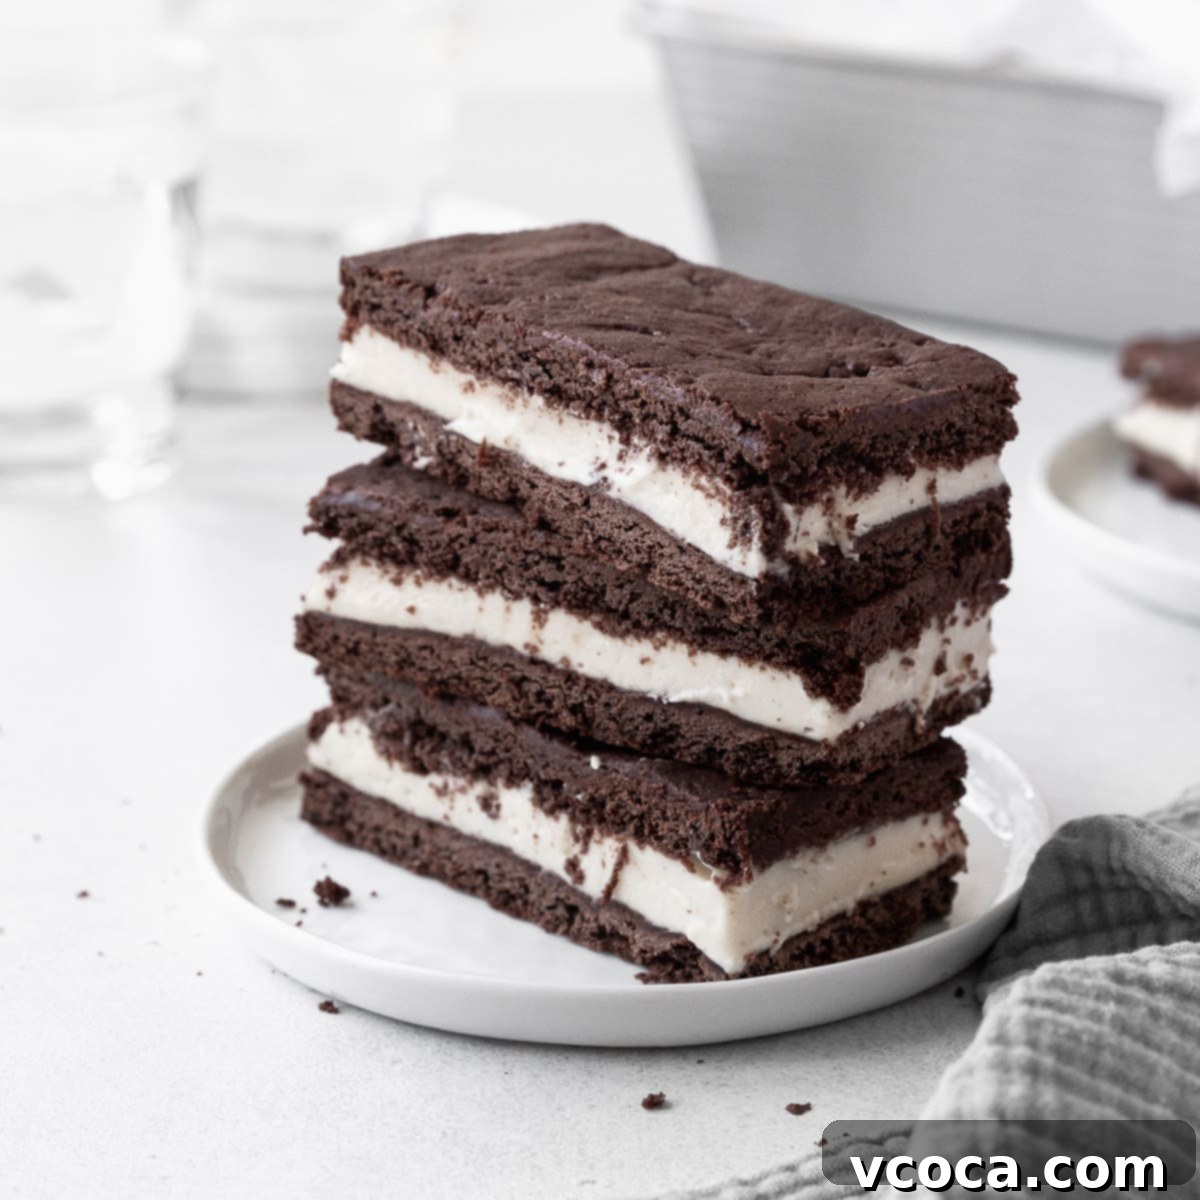
Indulge Guilt-Free: The Ultimate Guide to Delicious Gluten-Free Ice Cream Sandwiches (Vegan & Dairy-Free!)
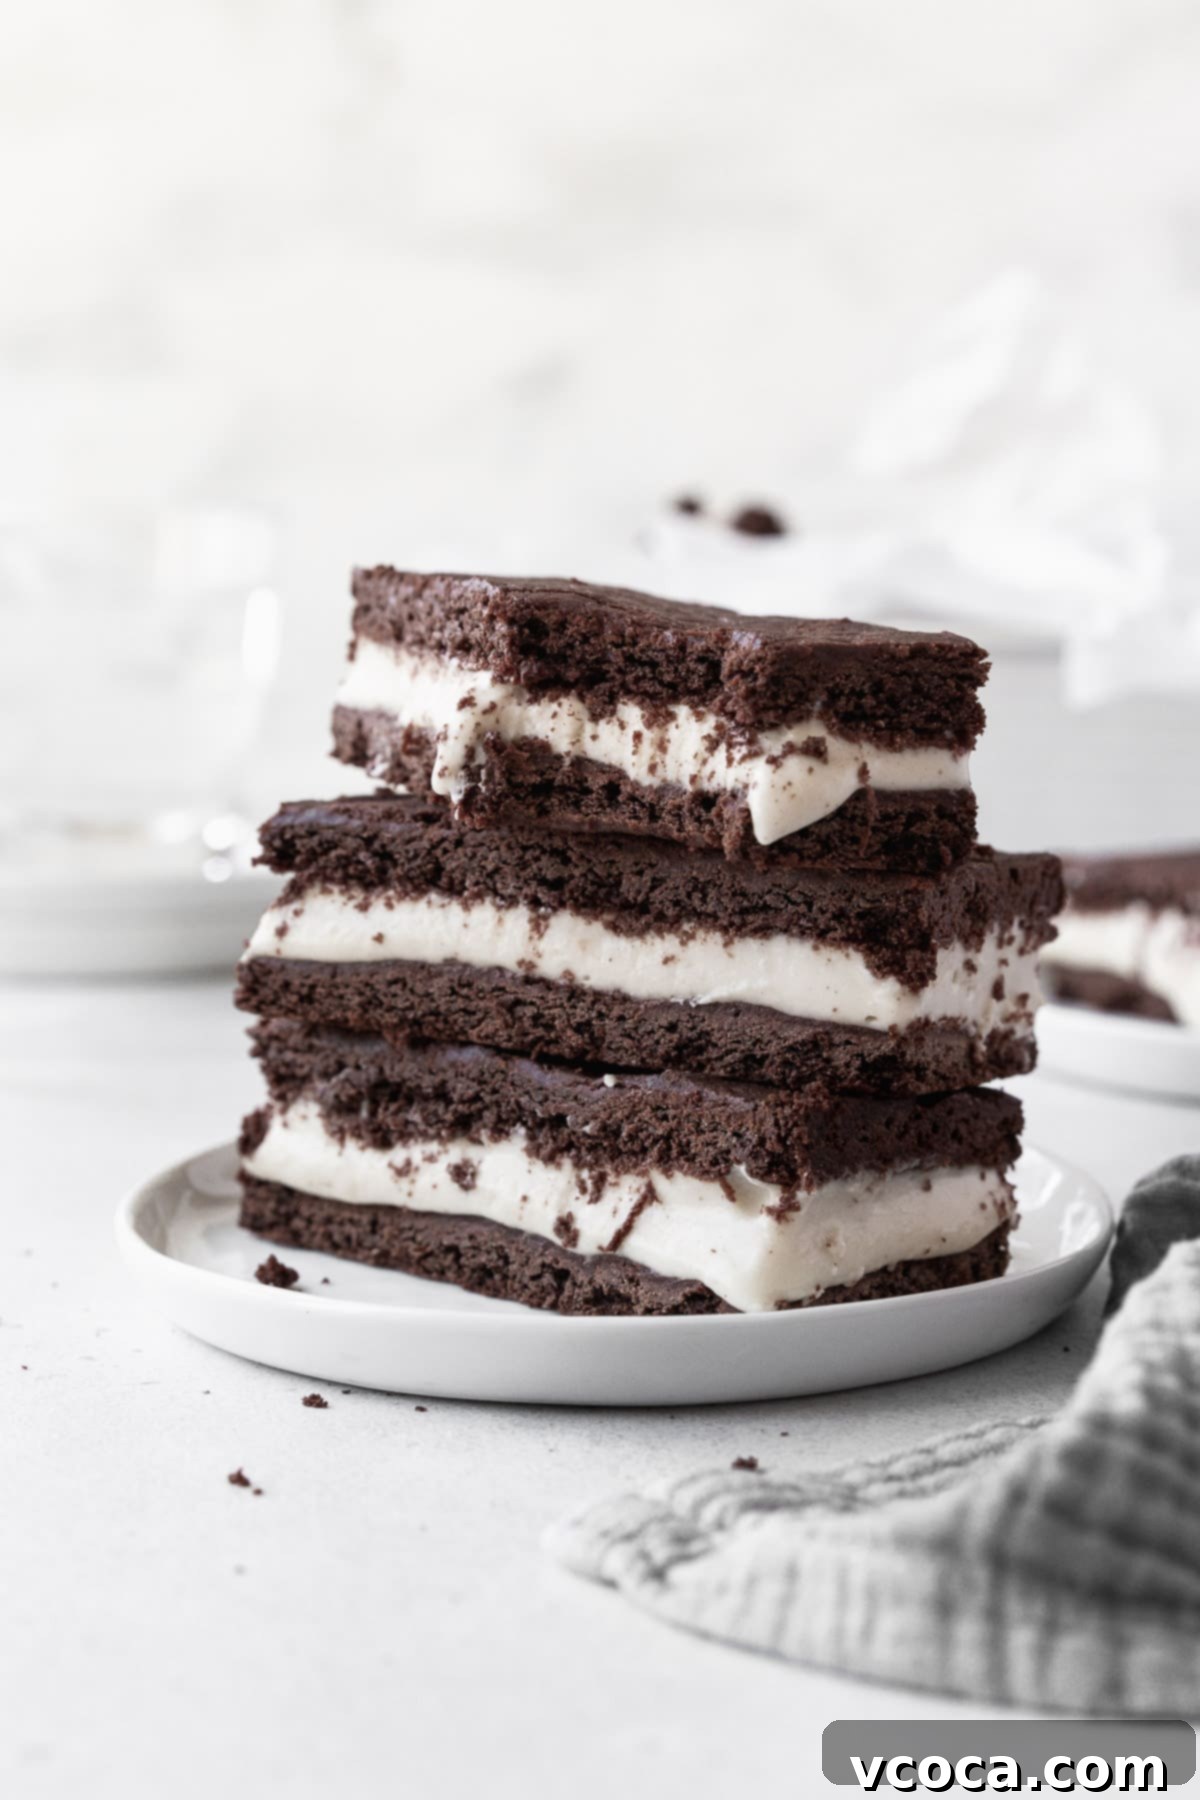
Imagine sinking your teeth into a perfectly chilled, creamy ice cream sandwich—the classic summer delight we all adore. Now, imagine that same incredible taste and nostalgic joy, but crafted entirely without gluten, dairy, or animal products. Welcome to the world of homemade Gluten-Free Ice Cream Sandwiches! This recipe brings you everything you know and love about these iconic treats, reimagined to be deliciously allergy-friendly and suitable for a wide range of dietary needs. Prepare to impress friends and family with these irresistible chocolate cookie sandwiches, featuring a luscious dairy-free ice cream filling, all while being naturally vegan and free from common allergens. It’s a delightful way to enjoy a timeless classic, ensuring everyone can partake in the joy of a cool, sweet escape this summer and beyond.
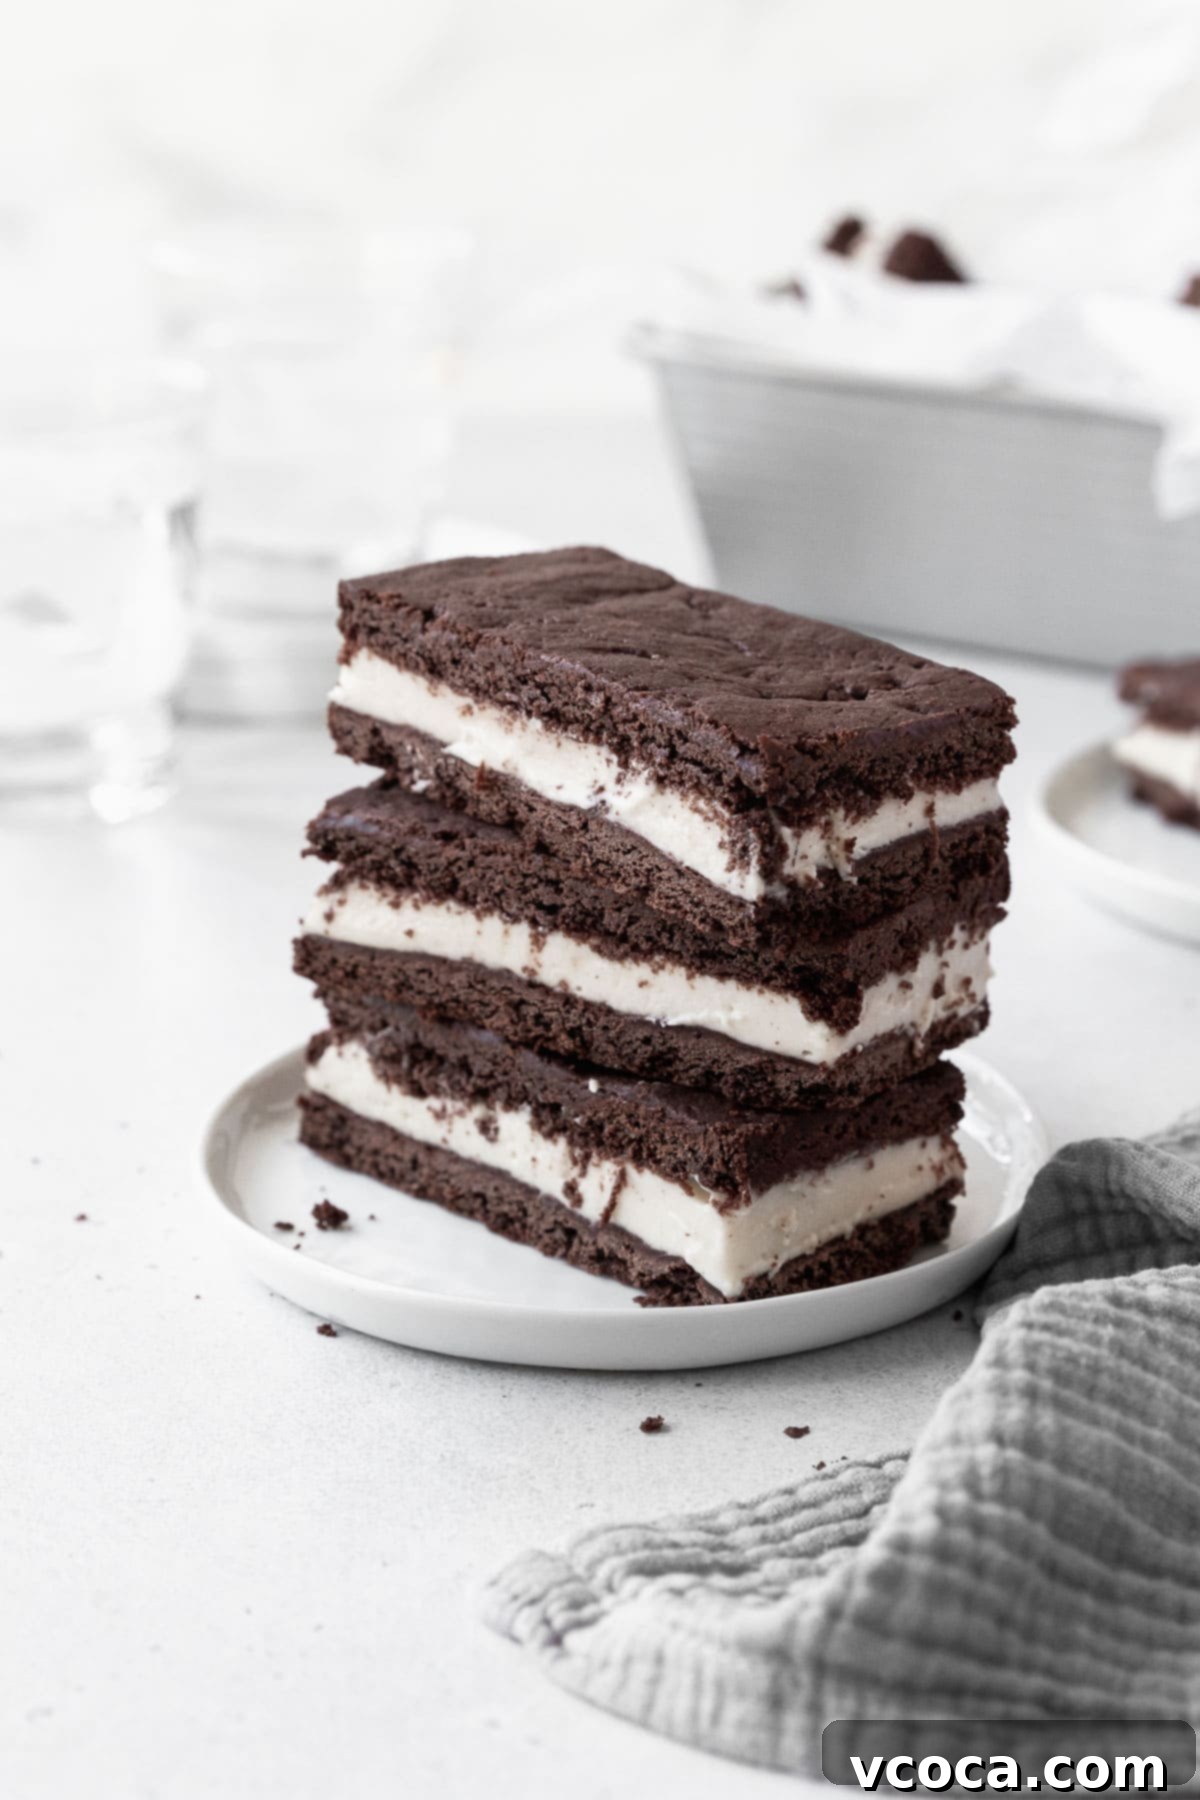
This post is sponsored by Nature’s Charm. All text and opinions are my own.
Why You’ll Adore These Gluten-Free Ice Cream Sandwiches
There are countless reasons why these homemade gluten-free, dairy-free, and vegan ice cream sandwiches will become your new favorite dessert. They aren’t just a treat; they’re a thoughtful indulgence designed for everyone to enjoy!
- Truly Allergy-Safe. This recipe is a game-changer for individuals with common food allergies. Crafted meticulously with no dairy, gluten, nut products, or corn, these homemade ice cream sandwiches offer a worry-free dessert experience. It’s an ideal option for those navigating dietary restrictions without sacrificing flavor or fun.
- A Reimagined Classic Summer Treat. Rekindle cherished summer memories or create new ones with this cool, refreshing dessert. These sandwiches are perfect for any occasion – whether you’re hosting a picnic, lounging poolside, celebrating a birthday, or simply craving a sweet escape. They embody the essence of summer in every bite.
- Delightfully Family-Friendly. Don’t let the “gluten-free” and “vegan” labels fool you; kids will be too busy enjoying the rich chocolate cookies and creamy filling to even notice it’s an allergy-friendly recipe! Grown-ups will appreciate being able to indulge in a beloved treat without any dietary concerns, making these a hit with every member of the family.
- Incredibly Versatile. While the classic combination of chocolate cookies and vanilla ice cream is always a winner, this recipe is a fantastic canvas for culinary creativity. Stick to the traditional flavor or unleash your inner chef by experimenting with different ice cream flavors or mix-ins. See our suggestions below for inspiring ideas to satisfy any craving!
Is All Ice Cream Gluten-Free? A Closer Look
While the basic ingredients for ice cream typically include milk, cream, sugar, eggs, and vanilla, it’s a common misconception that all pre-made or store-bought ice creams are inherently gluten-free. Unfortunately, this isn’t always the case. Many commercial ice cream brands add various thickeners, sweeteners, color additives, and flavorings that can contain hidden gluten.
To ensure your ice cream is truly gluten-free, always make it a habit to diligently check the ingredient label. Look for specific certifications or phrases like “gluten-free” to be safe. Be wary of ingredients such as wheat starch, modified food starch (unless specified as corn or tapioca-derived), natural flavorings (which can sometimes hide gluten), or any oats not certified gluten-free. For complete peace of mind, making your own homemade gluten-free ice cream, like the delicious recipe shared here, is always the best way to control all ingredients and guarantee an allergy-safe treat.
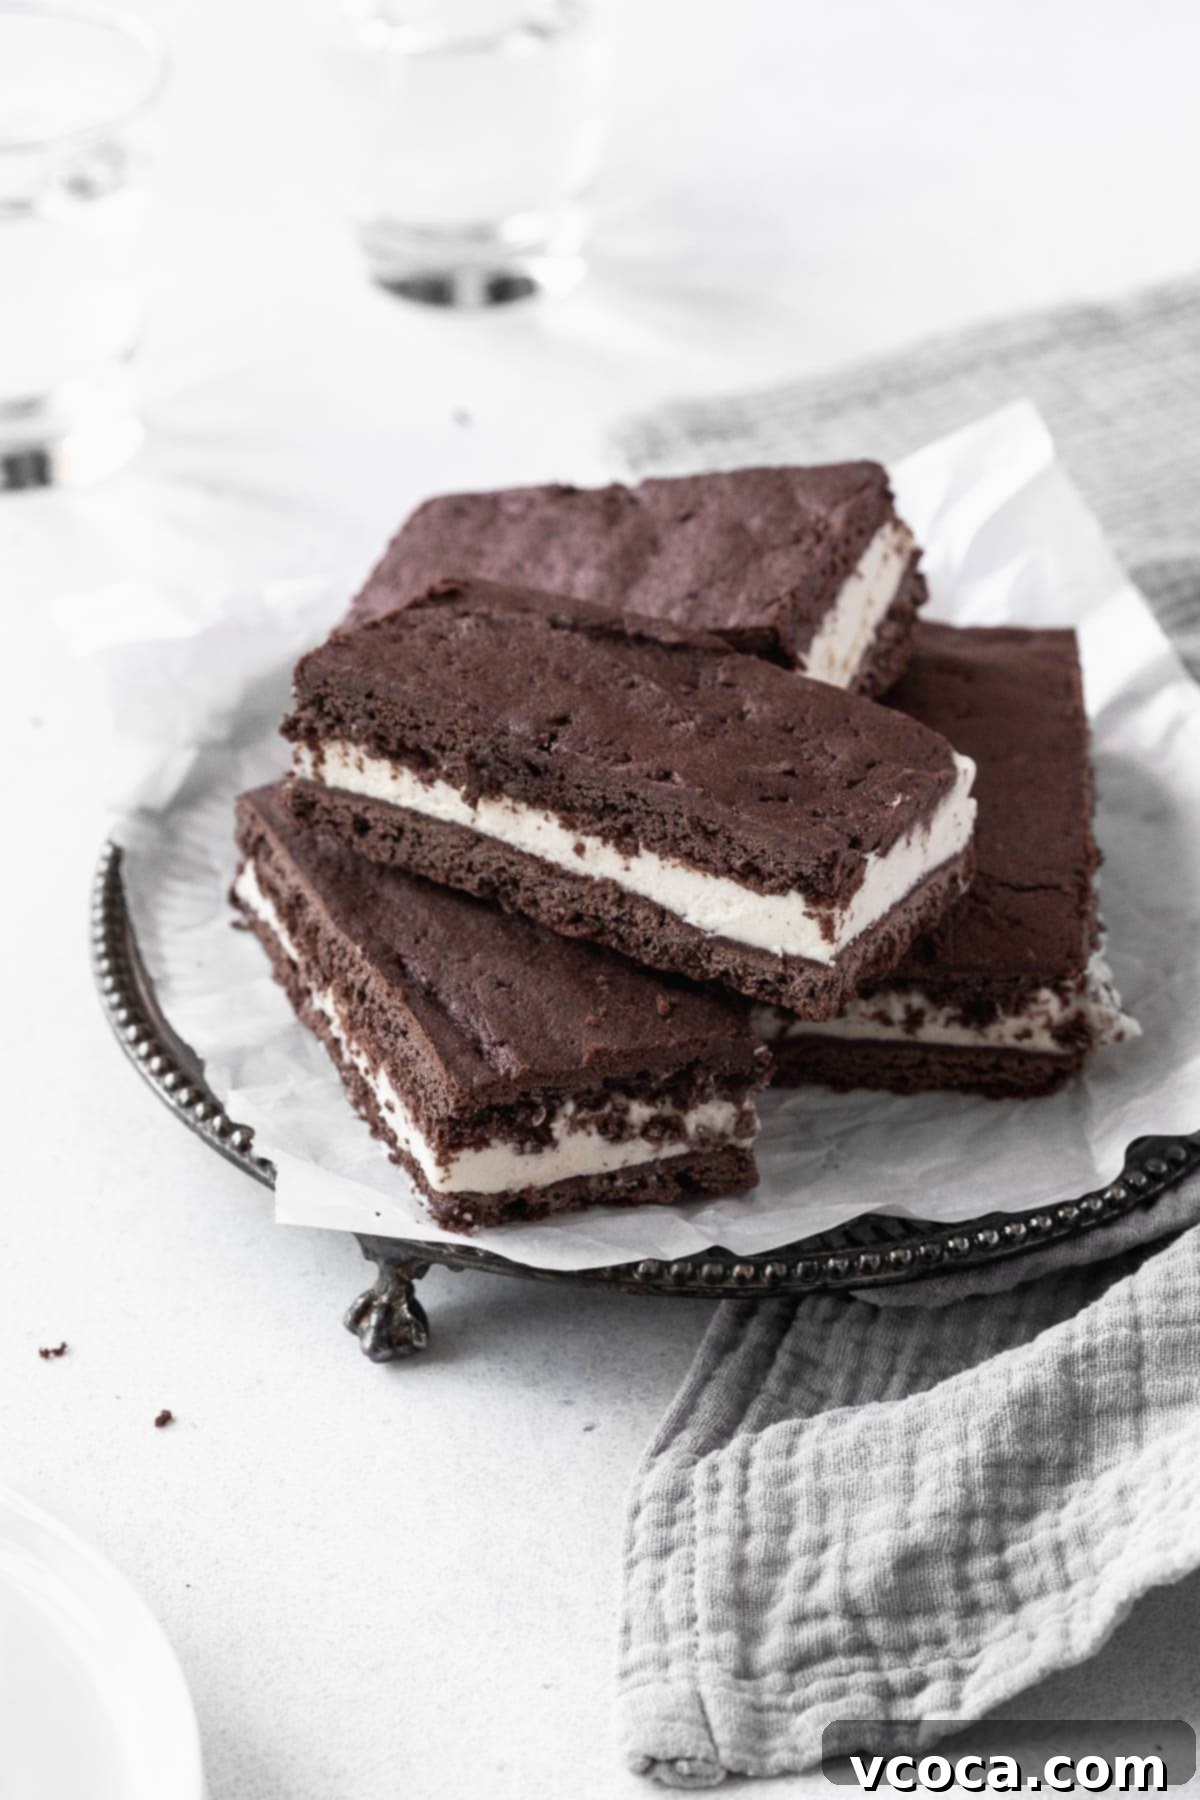
Essential Ingredients for Your Vegan & GF Ice Cream Sandwiches
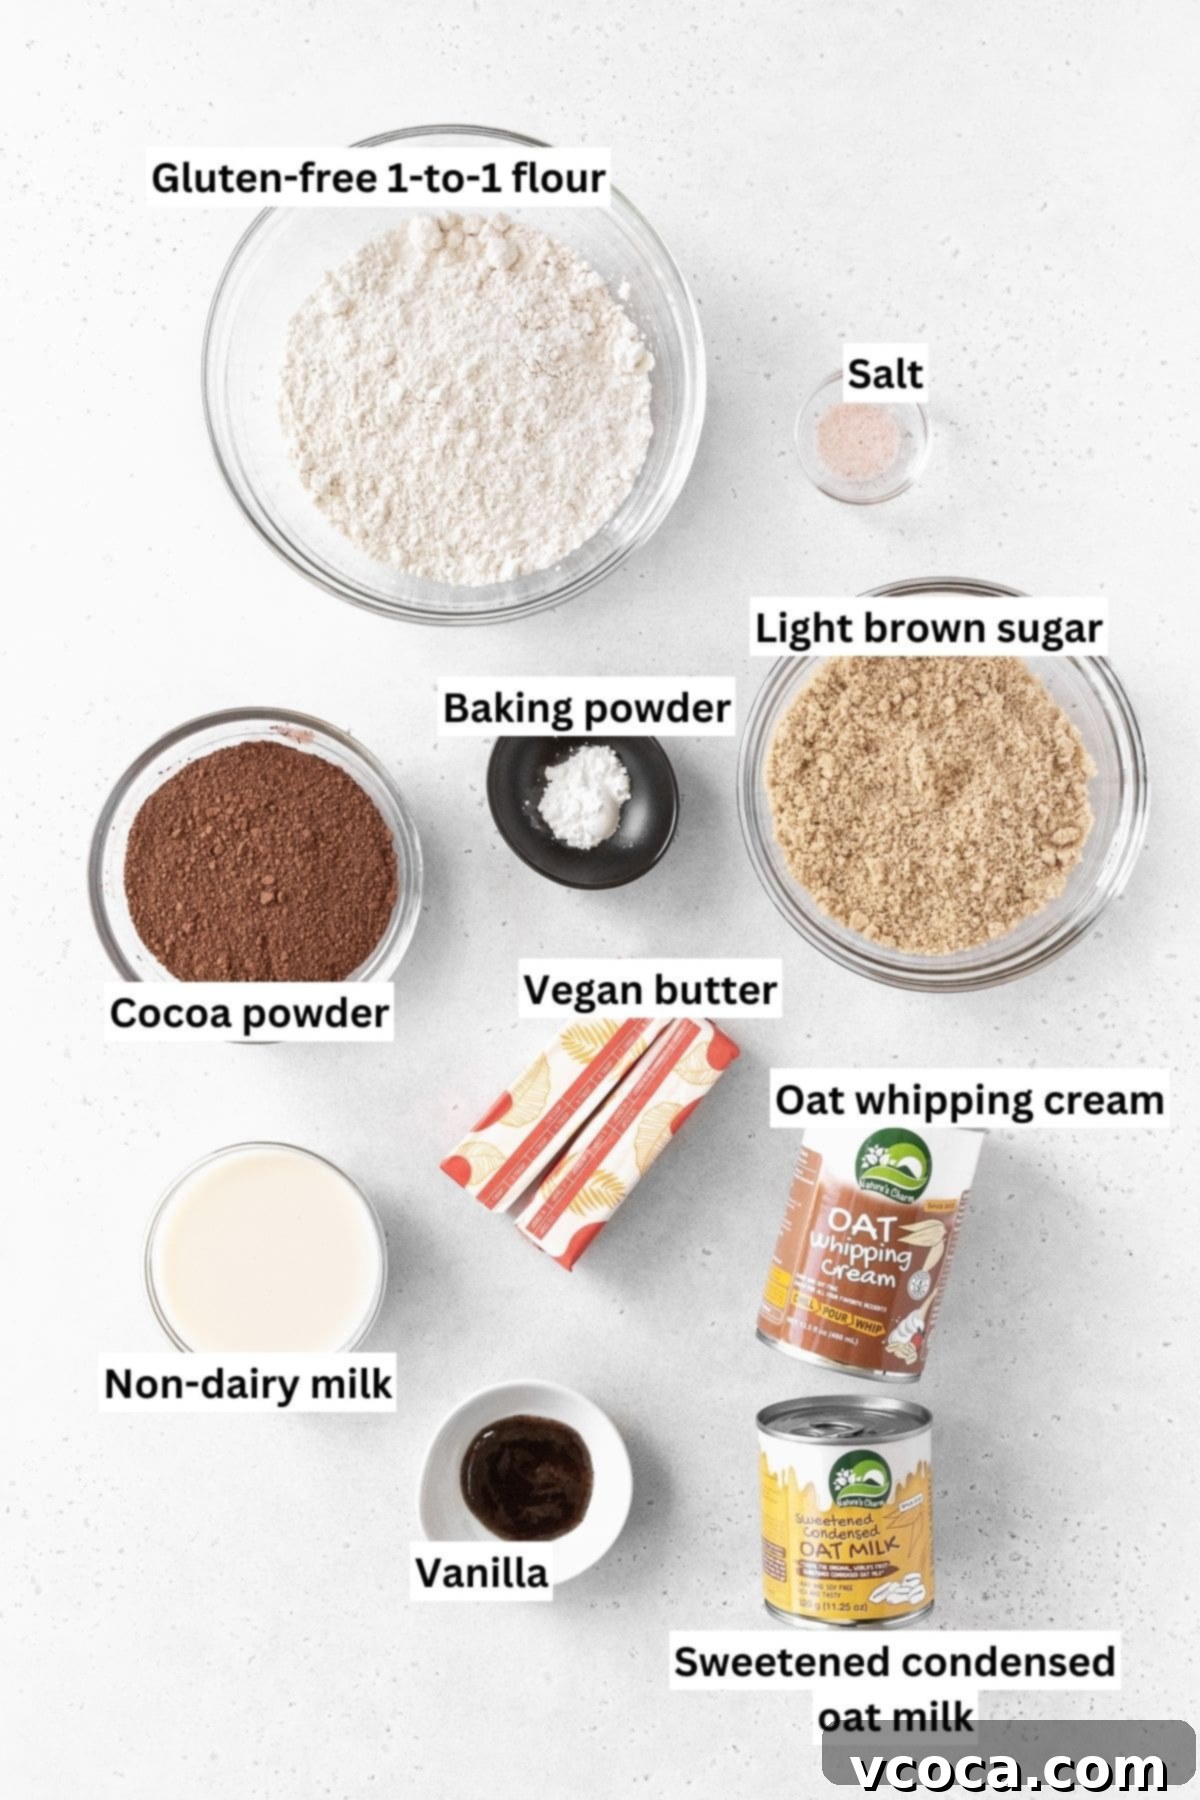
Crafting these delectable vegan and gluten-free ice cream sandwiches requires a few key ingredients. Each plays a crucial role in achieving that perfect texture and unforgettable flavor profile. Here’s what you’ll need:
- 1-to-1 Gluten-Free Flour – This is the cornerstone of our gluten-free cookies. A high-quality 1-to-1 blend, often labeled “measure for measure,” is essential as it’s formulated to replace wheat flour in recipes without requiring additional modifications. My personal favorites are Bob’s Red Mill and King Arthur’s Measure for Measure Flour, known for their consistent results and excellent texture.
- Cocoa Powder – To achieve that deep, rich chocolate flavor and signature dark color in our cookie wafers, Dutch process cocoa powder is highly recommended. Unlike natural cocoa, Dutch process cocoa has been alkalized, which reduces its acidity and results in a smoother, less bitter chocolate taste. You can readily find this type of cocoa powder at most major grocery store chains or conveniently order it online.
- Vegan Butter – For the cookie base, softened vegan butter is crucial. Allowing it to come to room temperature ensures it creams smoothly with the sugar, creating a light and airy base for your cookies. Choose a high-quality stick vegan butter for best results.
- Light Brown Sugar – This ingredient isn’t just for sweetness; it adds a wonderful depth of flavor and contributes significantly to the chewy, moist texture of the chocolate cookie base. Its subtle molasses notes complement the cocoa beautifully.
- Dairy-Free Milk – Any plant-based milk will work wonderfully here. Almond, coconut, or oat milk are all excellent choices. Ensure it’s unsweetened, as we’re controlling the sugar content with the brown sugar. This keeps the recipe entirely dairy-free.
- Vanilla Extract – For an authentic, warm, and rich flavor that elevates both the cookies and the ice cream, always opt for pure vanilla extract. Its aromatic qualities are irreplaceable.
- Sweetened Condensed Oat Milk – This innovative ingredient forms the luscious, sweet base of our dairy-free ice cream. It provides the necessary richness and sweetness without any dairy. I consistently prefer and highly recommend Nature’s Charm Brand for its superior quality and creamy consistency.
- Oat Milk Whipping Cream – This is the secret to achieving a light, airy, and incredibly creamy texture for your homemade ice cream. When whipped, it contributes the perfect amount of body and stability. Just like the condensed milk, Nature’s Charm is my go-to brand for oat milk whipping cream, ensuring a consistently delightful result.
Smart Substitutions for Your Ice Cream Sandwiches
While this recipe is carefully designed for optimal flavor and texture, it’s also flexible! Here are some thoughtful substitutions you can make, keeping in mind any impact on the dietary classifications:
- Flour Alternatives – If gluten isn’t a concern for you or your guests, you can certainly make the chocolate wafer cookies using regular all-purpose flour instead of the 1-to-1 gluten-free blend. Please note that making this substitution will mean the recipe will no longer be gluten-free. Always use a good quality all-purpose flour for consistent results.
- Cocoa Powder Varieties – For those who crave an even deeper, more intense chocolate experience, you can easily substitute the Dutch process cocoa powder with dark chocolate cocoa powder. This will add an extra layer of rich, slightly bittersweet flavor to your dairy-free ice cream sandwiches, appealing to true chocolate lovers.
- Condensed Milk Options – If Nature’s Charm sweetened condensed oat milk is unavailable or you prefer another option, sweetened condensed coconut milk can be an excellent alternative. It performs similarly in the recipe and ensures your ice cream remains deliciously dairy-free and vegan, maintaining the creamy texture.
- Whipping Cream Alternatives – Likewise, if oat whipping cream isn’t accessible, coconut whipping cream can be used in its place. Ensure it’s well-chilled for optimal whipping. This substitution will also maintain the dairy-free and vegan integrity of your ice cream filling, providing a rich and airy texture.
How to Make Perfect Gluten-Free Ice Cream Sandwiches
Crafting these homemade gluten-free and vegan ice cream sandwiches might involve a few steps, but the process is straightforward, and the delicious results are incredibly rewarding. Let’s break it down into easy-to-follow stages.
Crafting the Gluten-Free Chocolate Sandwich Cookies
The foundation of any great ice cream sandwich is a perfectly soft yet sturdy cookie. Our gluten-free chocolate wafer base delivers on both fronts, providing a delightful contrast to the creamy filling.
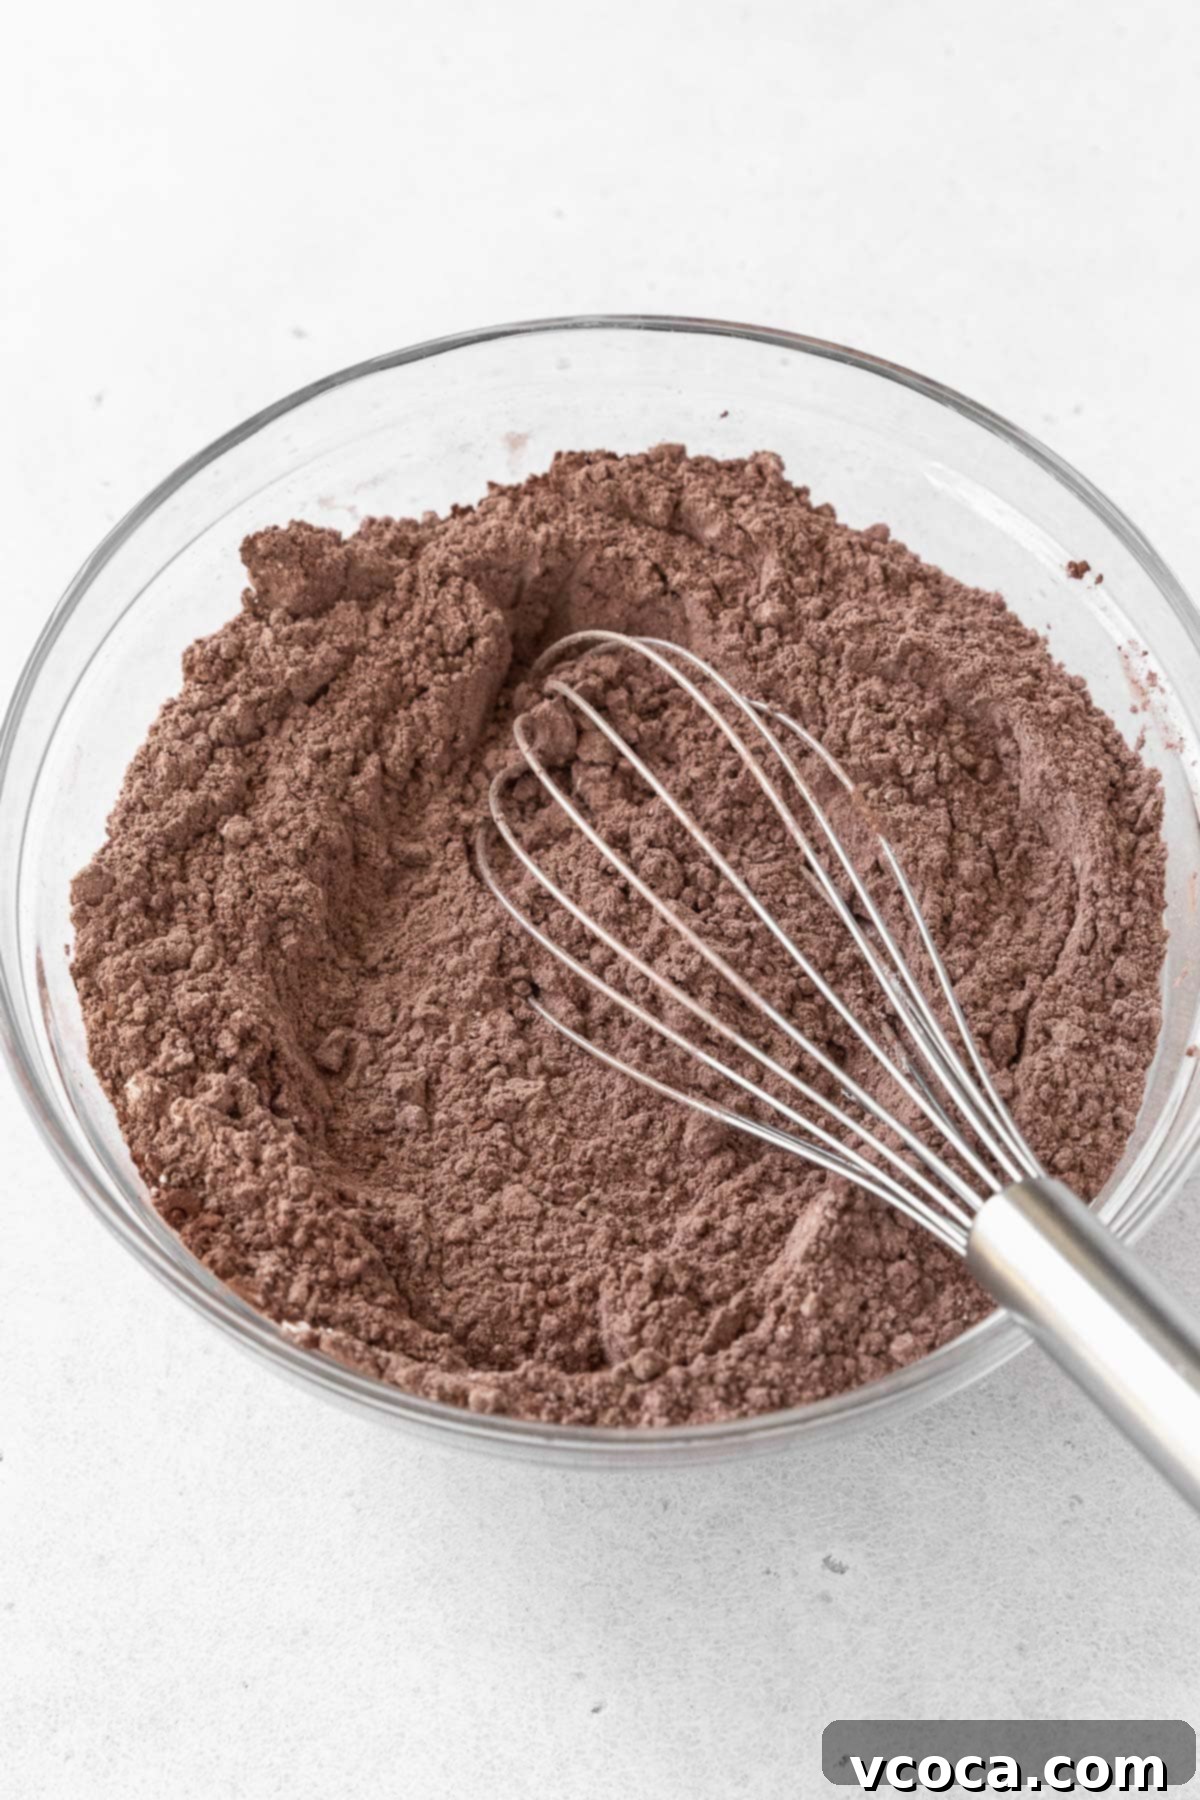
Step 1: Begin by combining your dry ingredients. In a large mixing bowl, whisk together the gluten-free 1-to-1 flour, cocoa powder, fine salt, and baking powder. Whisk well to ensure everything is evenly distributed. Set this mixture aside for later.
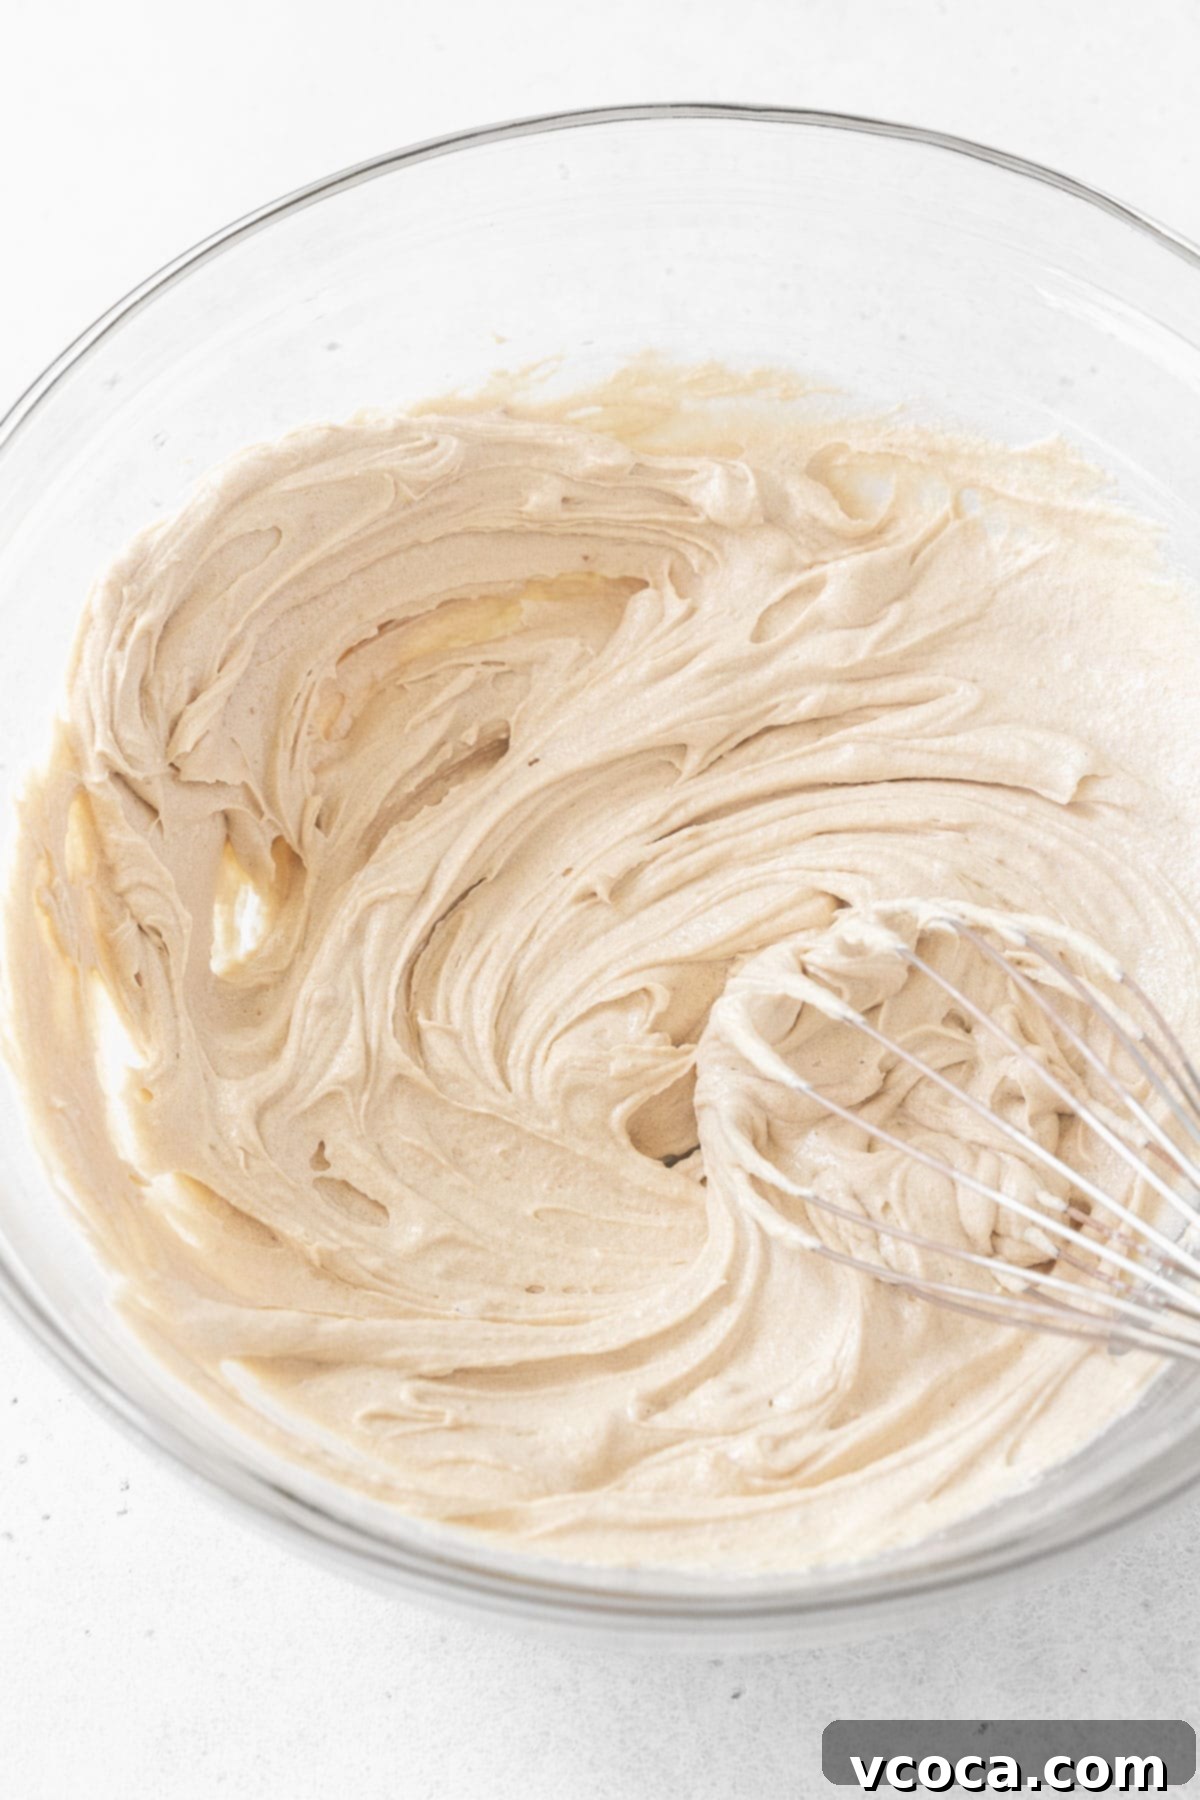
Step 2: In a separate, large bowl (preferably using a stand mixer or electric hand mixer), beat the softened vegan butter and light brown sugar together. Continue to beat until the mixture becomes wonderfully light and fluffy, typically about 3 minutes. Once combined, add the pure vanilla extract and beat for another minute to incorporate thoroughly.
Step 3: Gradually add the dairy-free milk into the creamed butter and sugar mixture, continuing to beat on low speed until fully incorporated and smooth. This helps create a cohesive wet base for your cookie dough.
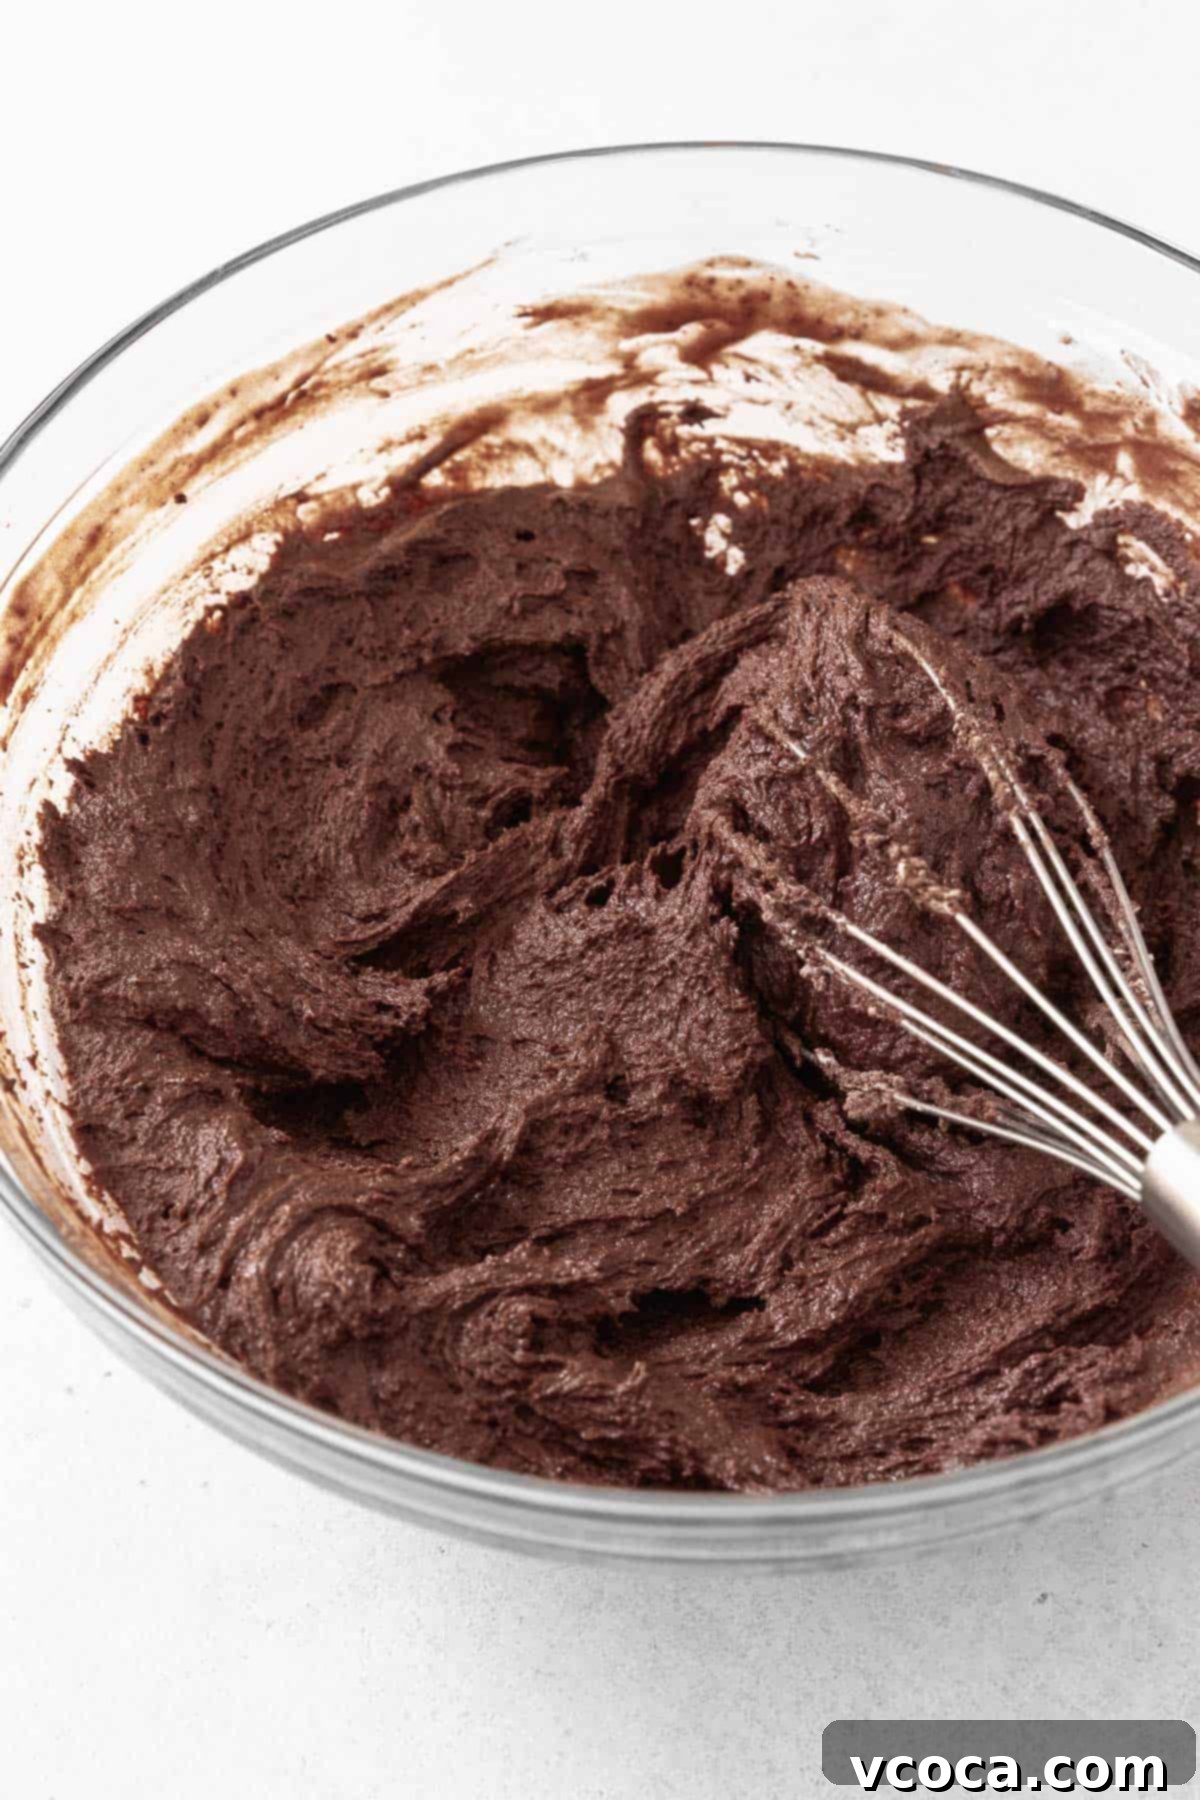
Step 4: Now, gradually introduce the dry ingredients to the wet mixture. Add about half of the dry mixture to the bowl and beat until just combined. Use a silicone spatula to scrape down the sides of the bowl, ensuring all ingredients are incorporated. Then, add the remaining dry ingredients and beat again until a cohesive dough forms. Be careful not to overmix.
Step 5: Once the cookie dough comes together, cover the bowl with plastic wrap and let it rest at room temperature for 30 minutes. This resting period allows the gluten-free flour to fully hydrate, which is key for a tender and less crumbly cookie texture.
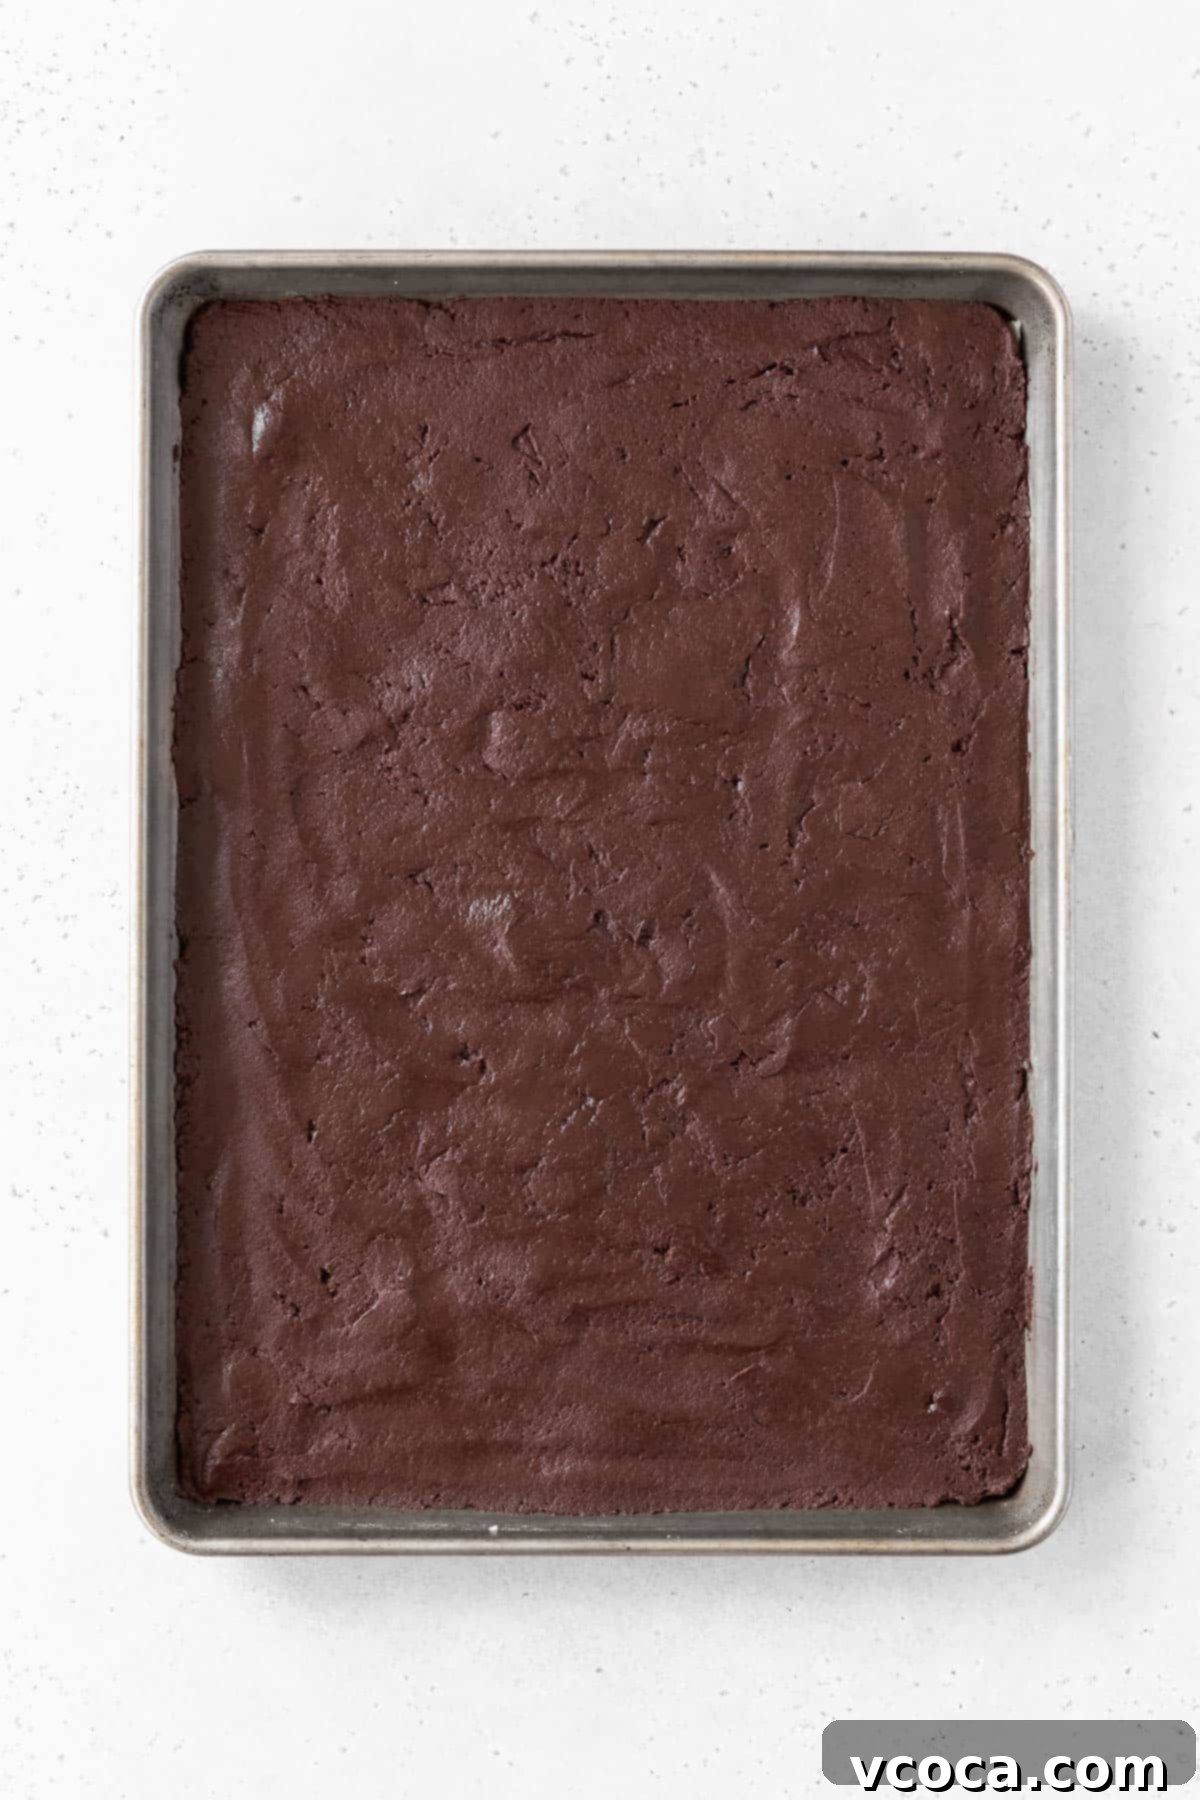
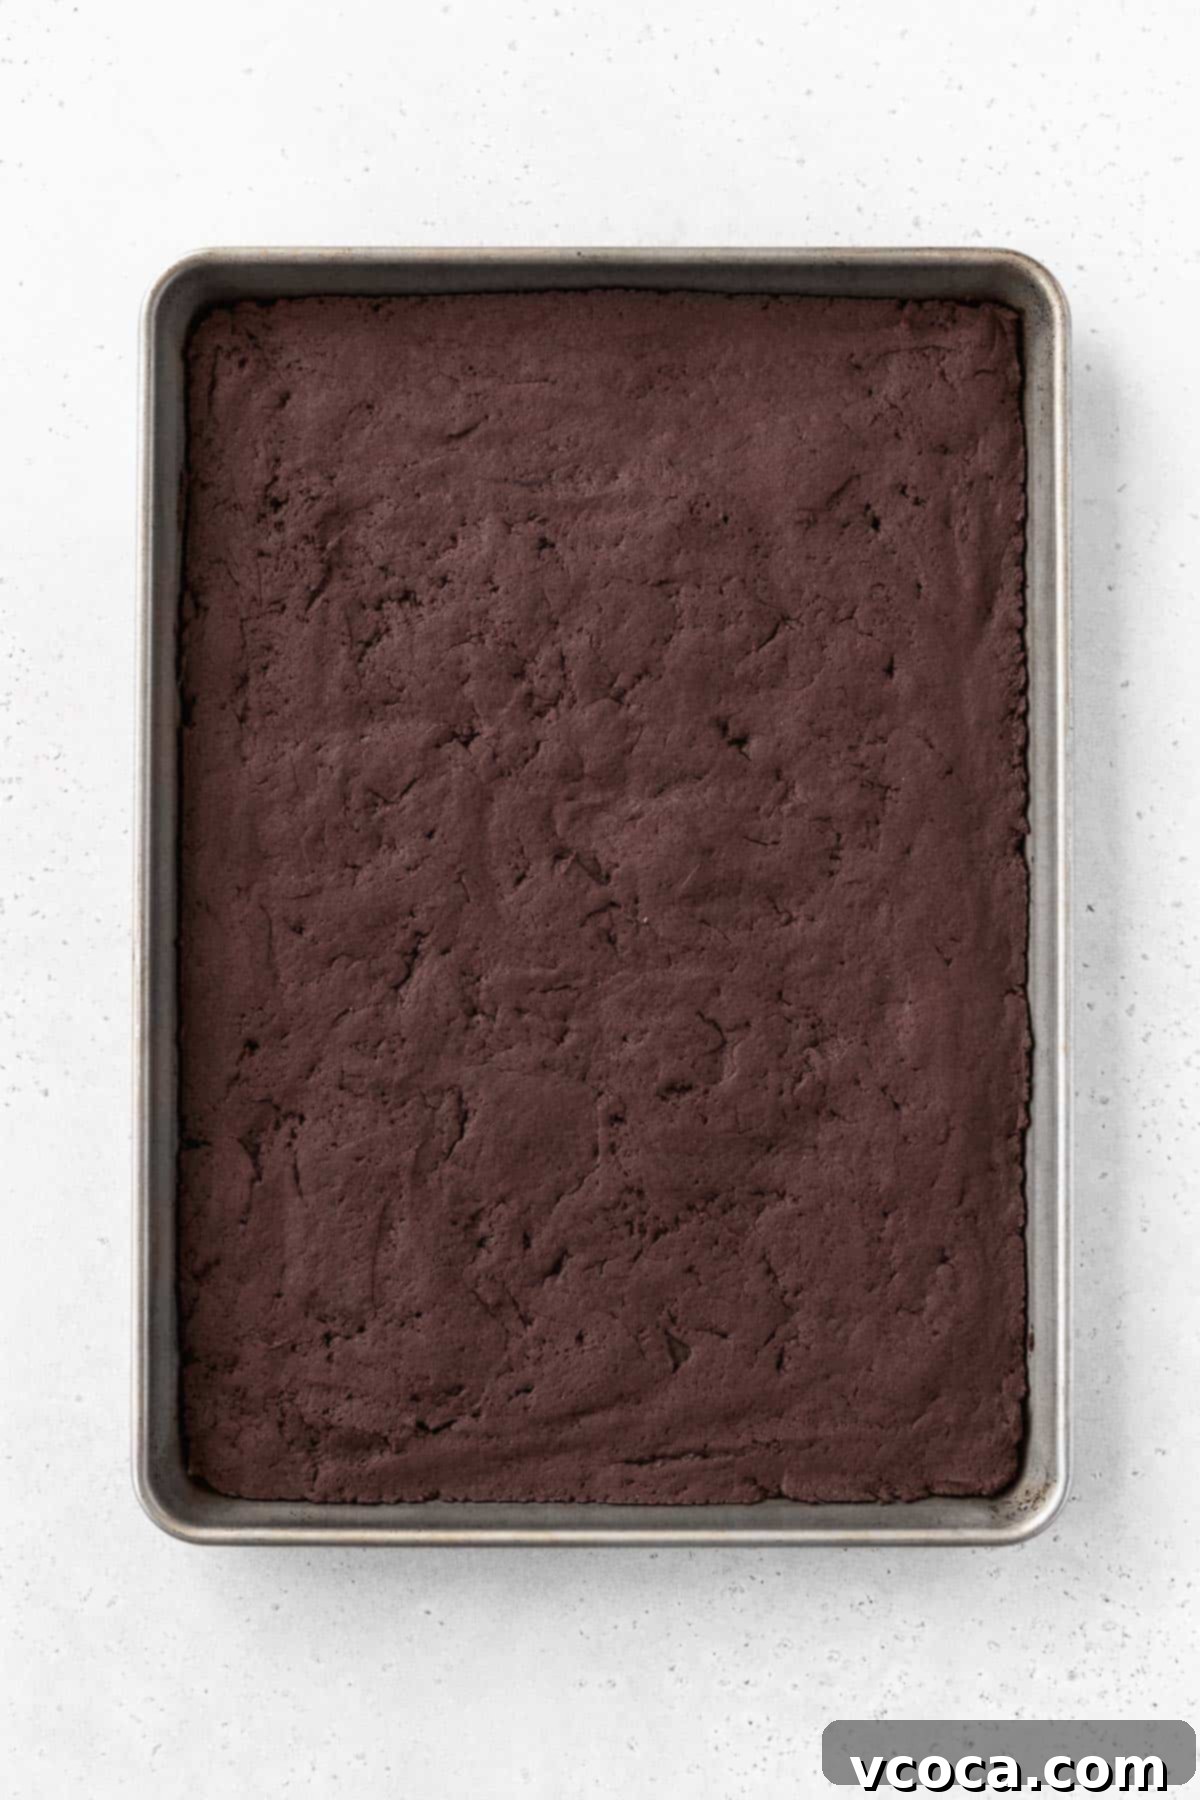
Step 6: While the dough rests, preheat your oven to 350°F (175°C). Prepare a half-sheet baking pan (approximately 13 x 18-inches) by greasing it lightly and lining it with parchment paper. This prevents sticking and makes for easy removal.
Step 7: After resting, spread the cookie base mixture evenly over the prepared parchment paper using an offset spatula. Aim for a consistent thickness across the entire sheet. Bake for 10-12 minutes, or until the edges are set and the center is still slightly soft. Once baked, let it cool completely on the baking sheet before transferring it to the freezer to chill thoroughly while you prepare the ice cream filling. This ensures the cookies are firm enough to handle.
Preparing the Creamy Gluten-Free & Dairy-Free Ice Cream
This no-churn ice cream recipe is surprisingly simple, yet yields a wonderfully rich and creamy texture, making it the perfect filling for our sandwiches.
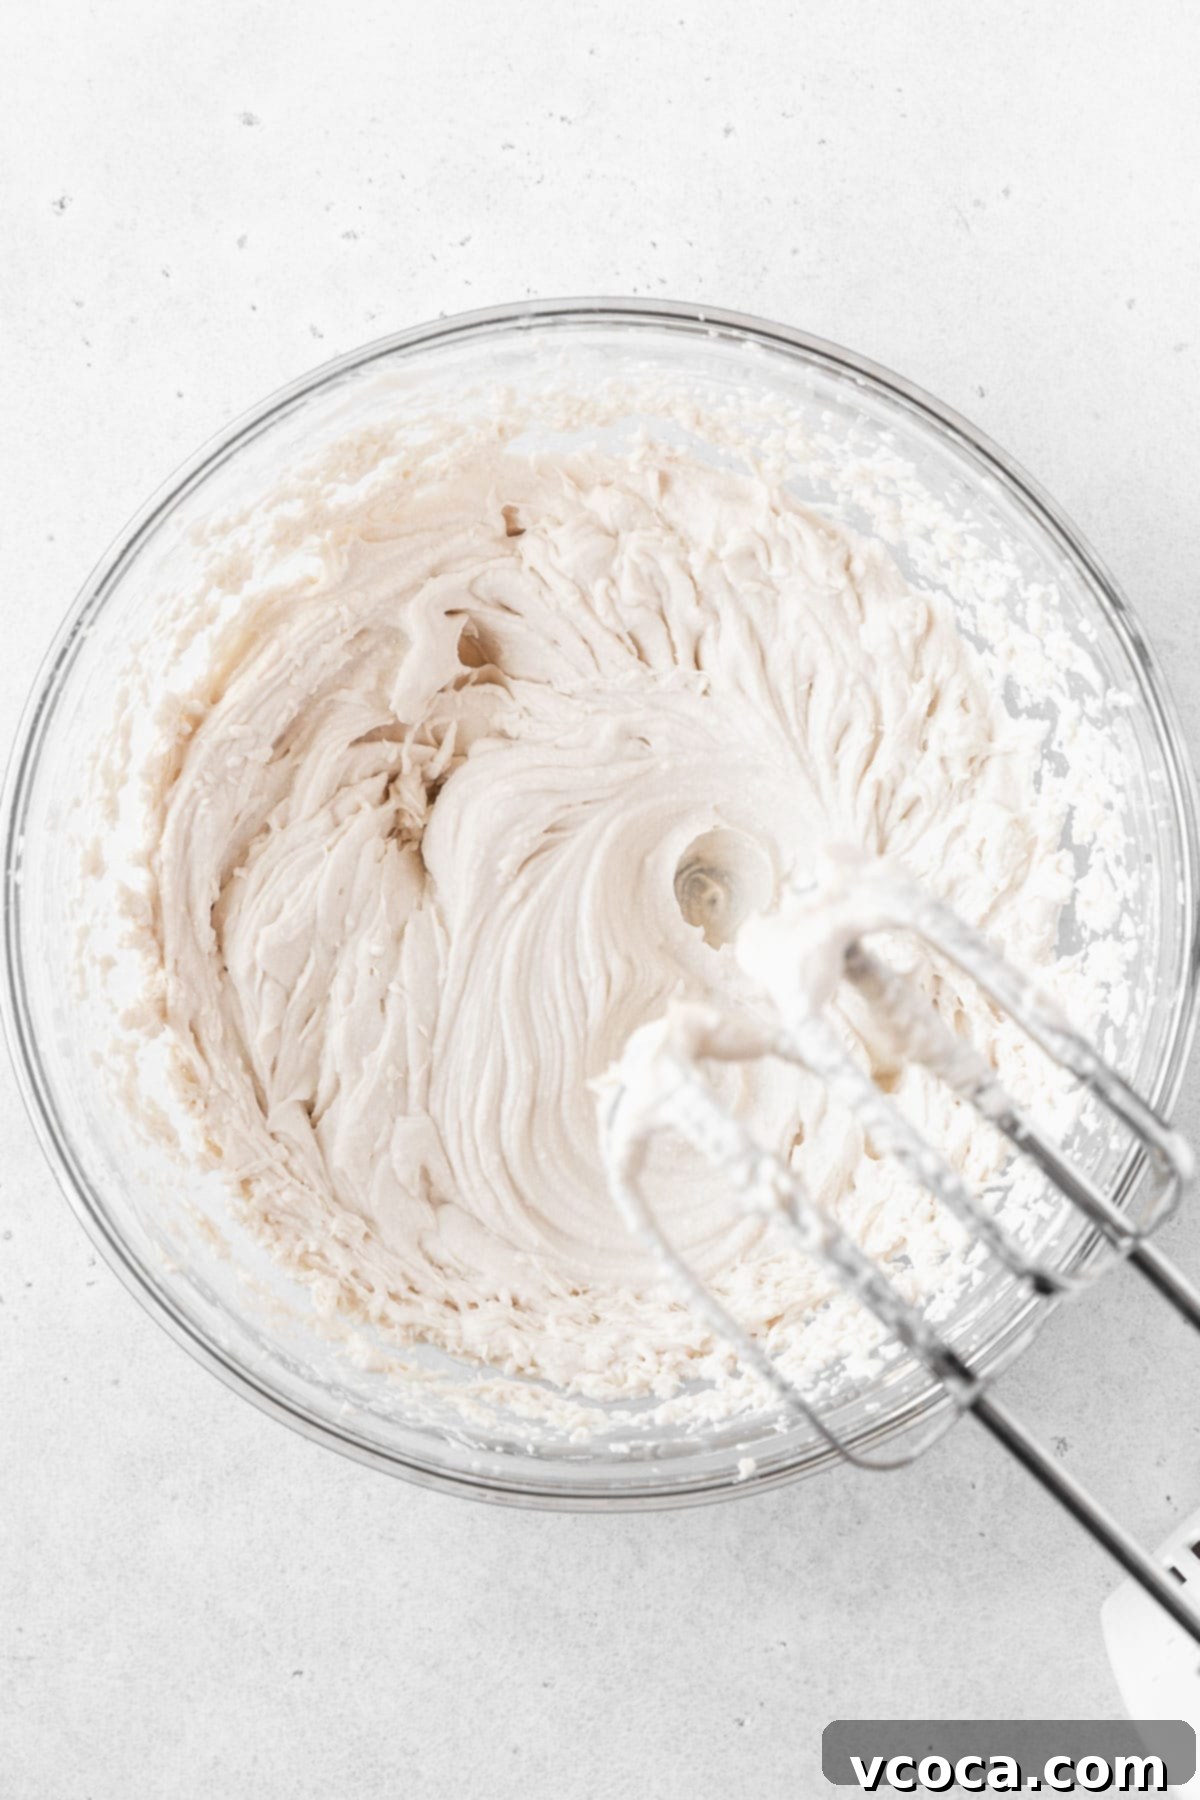
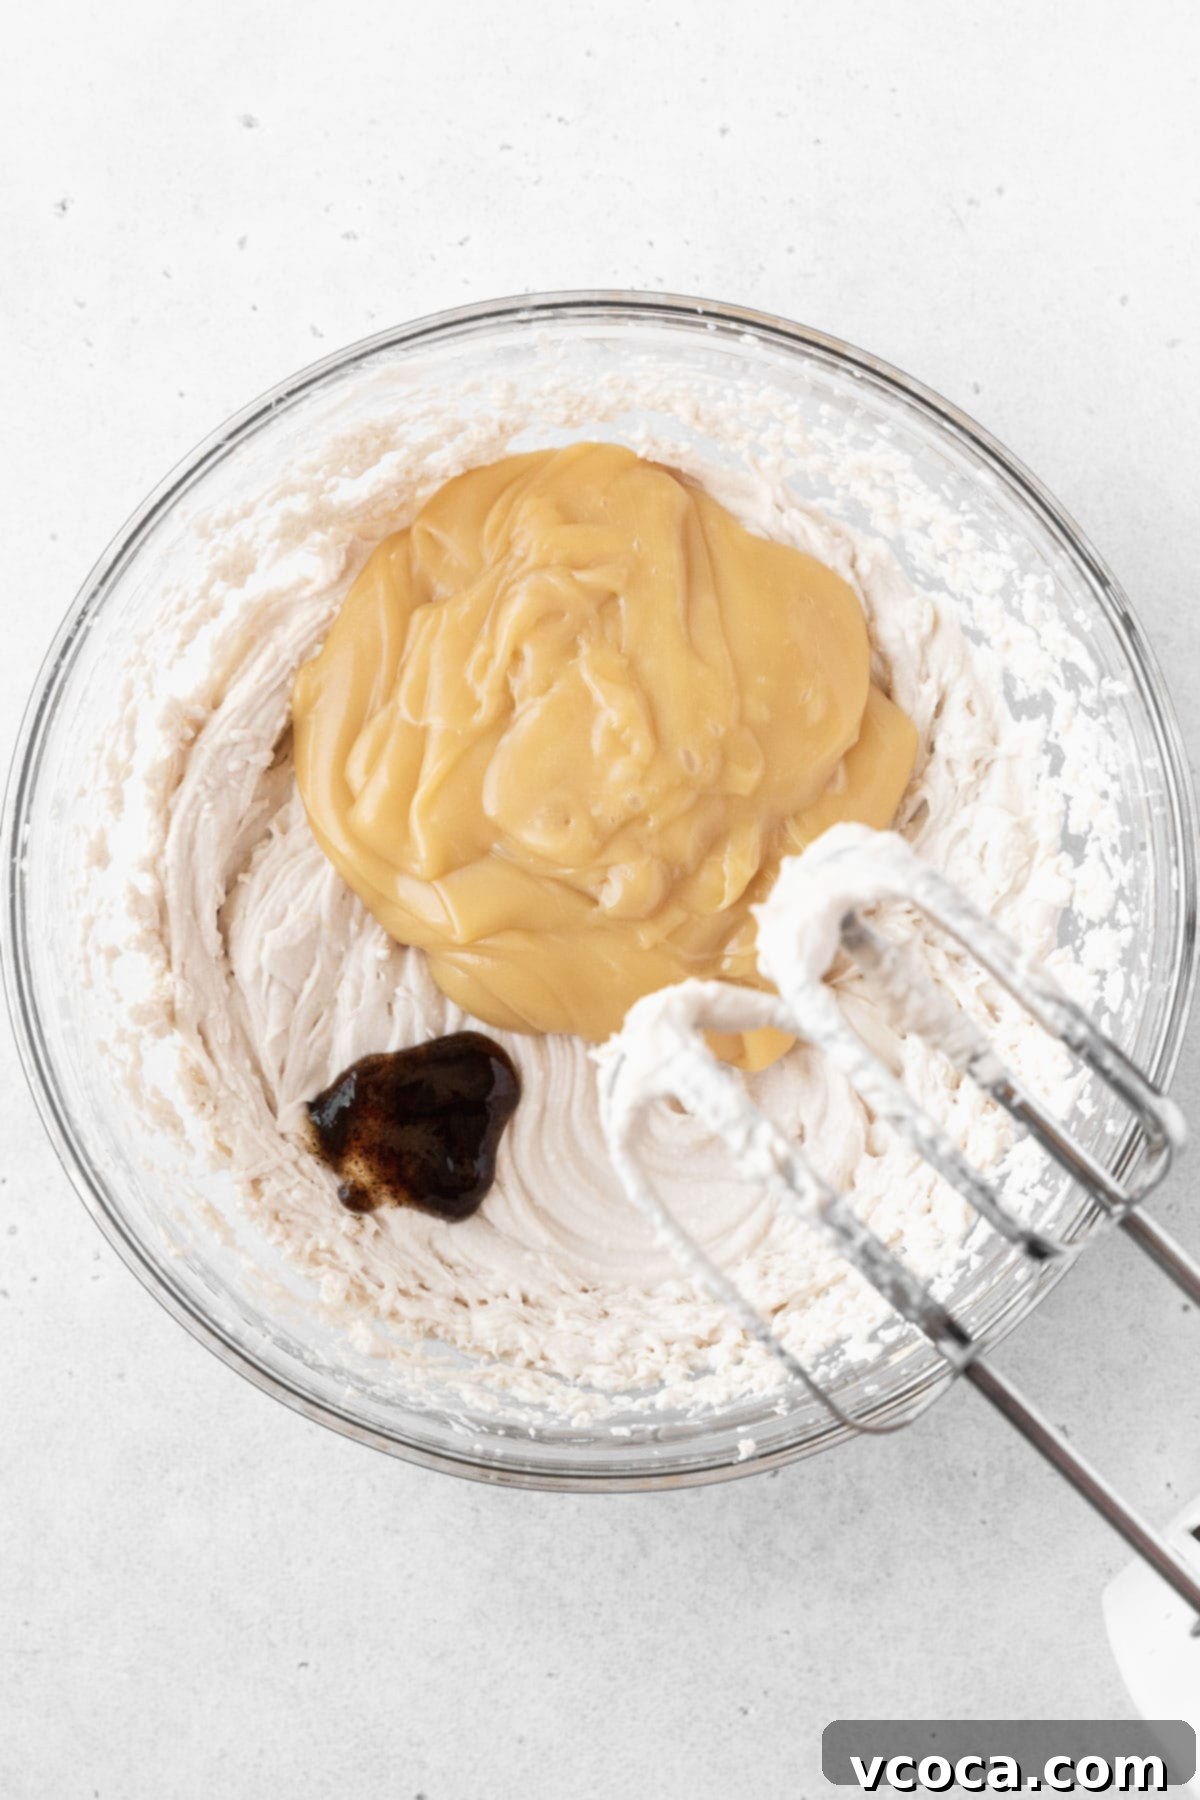
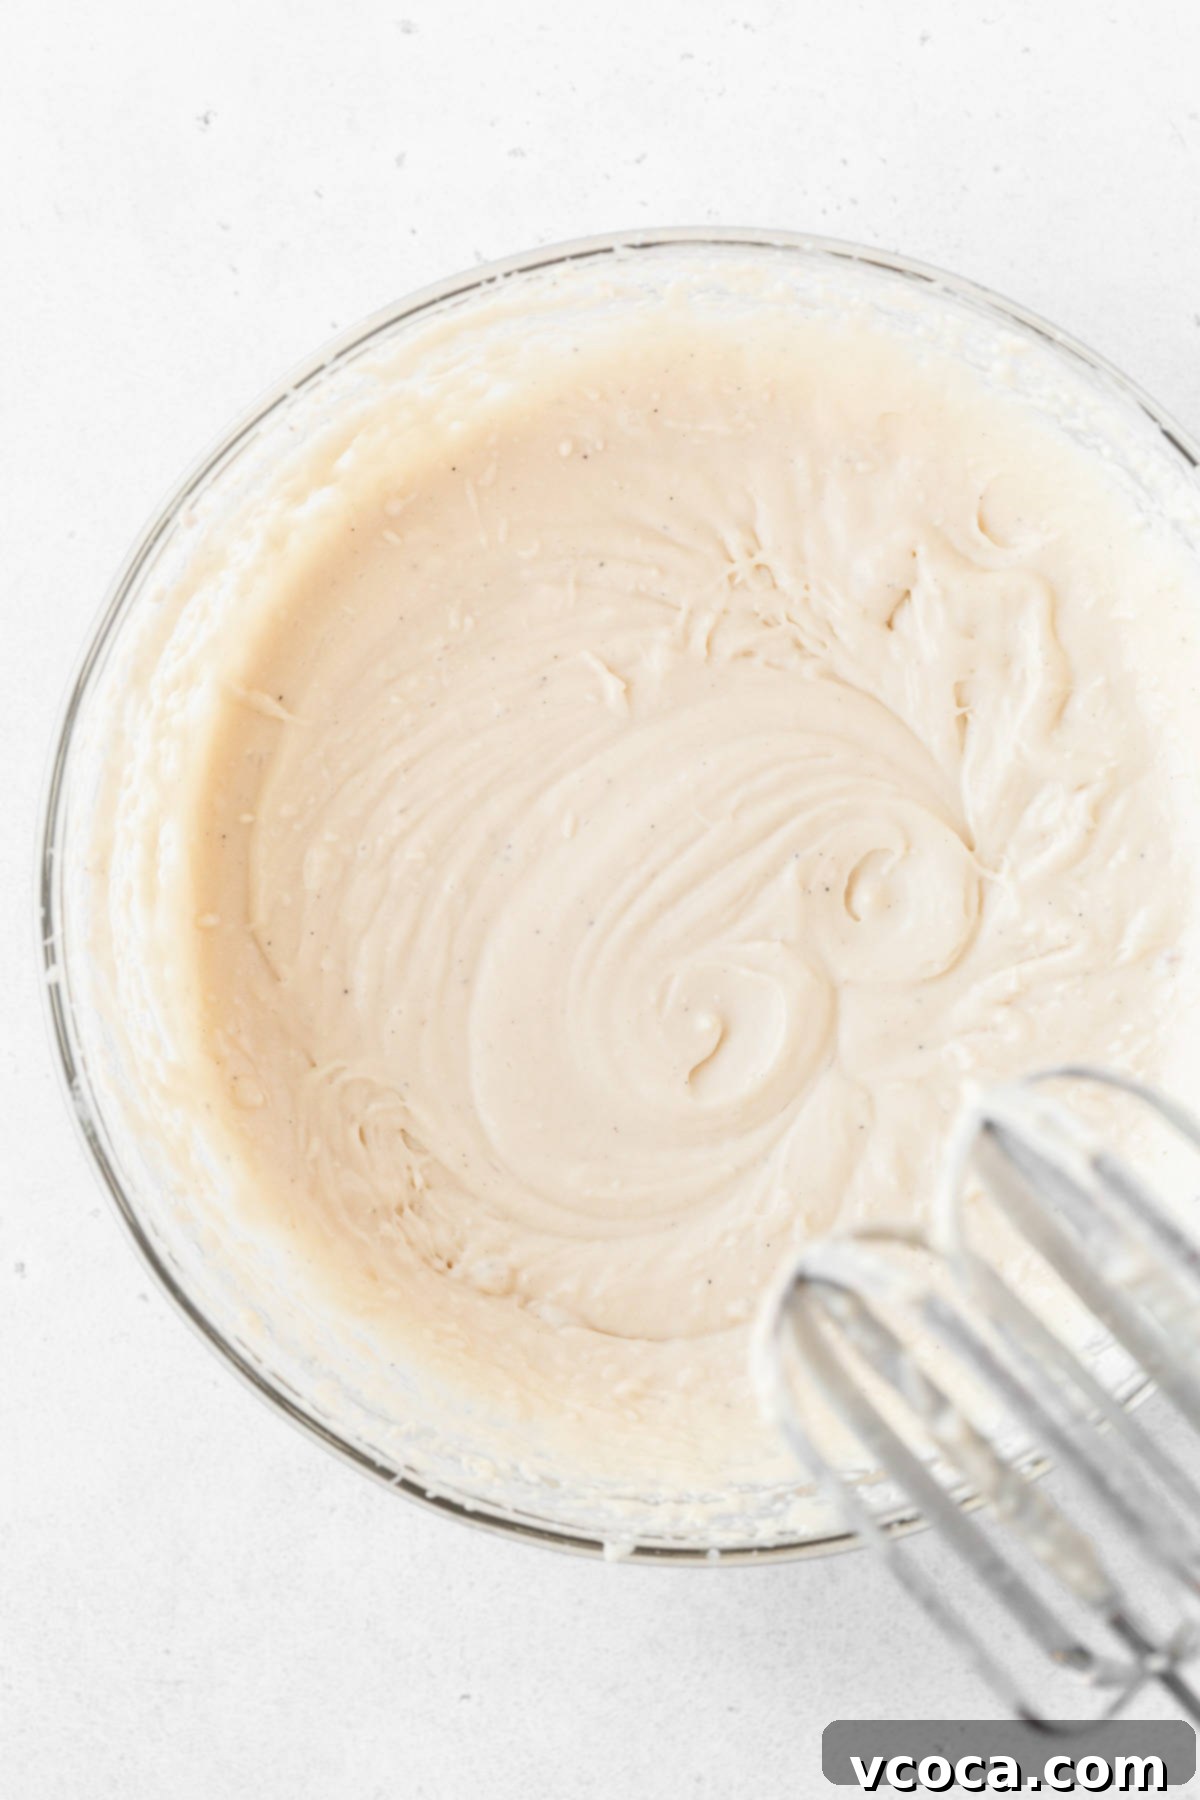
Step 1: In a large bowl, using an electric mixer, beat the thoroughly chilled oat whipping cream for a full 5 minutes. You’re looking for it to become light, fluffy, and form soft peaks. The chill is essential for proper whipping. Then, add the sweetened condensed oat milk and vanilla extract, and continue to beat until the mixture is smooth, homogenous, and well combined. Avoid overmixing once combined.
Step 2: Once your ice cream base is prepared, cover the bowl and transfer it to the freezer for approximately 1 hour. This initial chill time allows the mixture to thicken and achieve the ideal texture, similar to softened ice cream, making it easy to spread later.
Assembling Your Dream Ice Cream Sandwiches
The final stage is where the magic happens – bringing the crisp chocolate cookies and creamy ice cream together to form these irresistible treats.
Step 1: Retrieve the baked cookie base from the freezer. Carefully slice it in half, creating two equal 9 x 13-inch rectangular cookie layers. Ensure your knife is sharp for clean cuts.
Step 2: Take one of the cookie layers and place it on a clean surface. Evenly spread the thickened ice cream base over this cookie layer. An offset spatula or the back of a spoon works well for smooth, consistent coverage right to the edges.
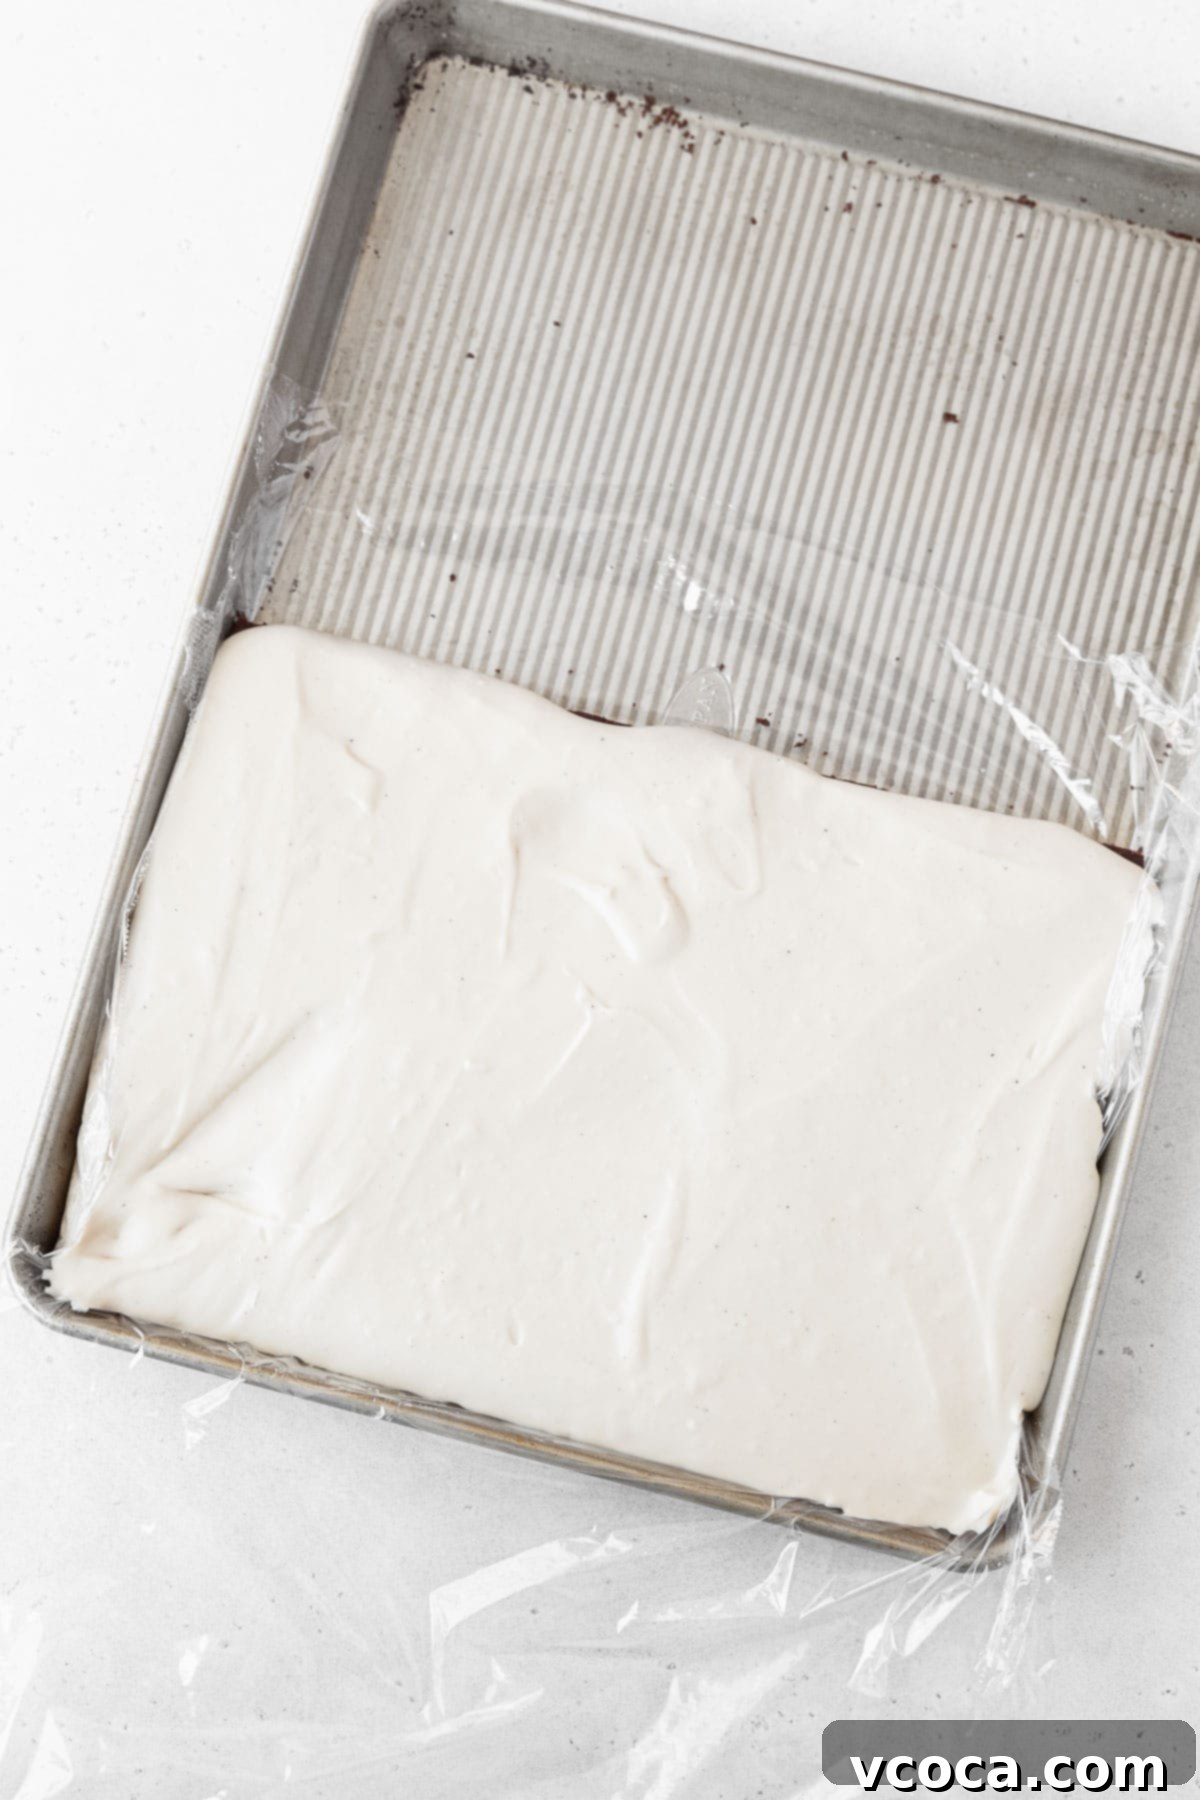
Step 3: Carefully place the second cookie layer on top of the ice cream, gently pressing down to ensure an even sandwich. Wrap this large ice cream slab tightly with plastic wrap to prevent freezer burn. Return it to the freezer until completely frozen solid, which will take approximately 6 hours, or ideally, overnight for the best results.
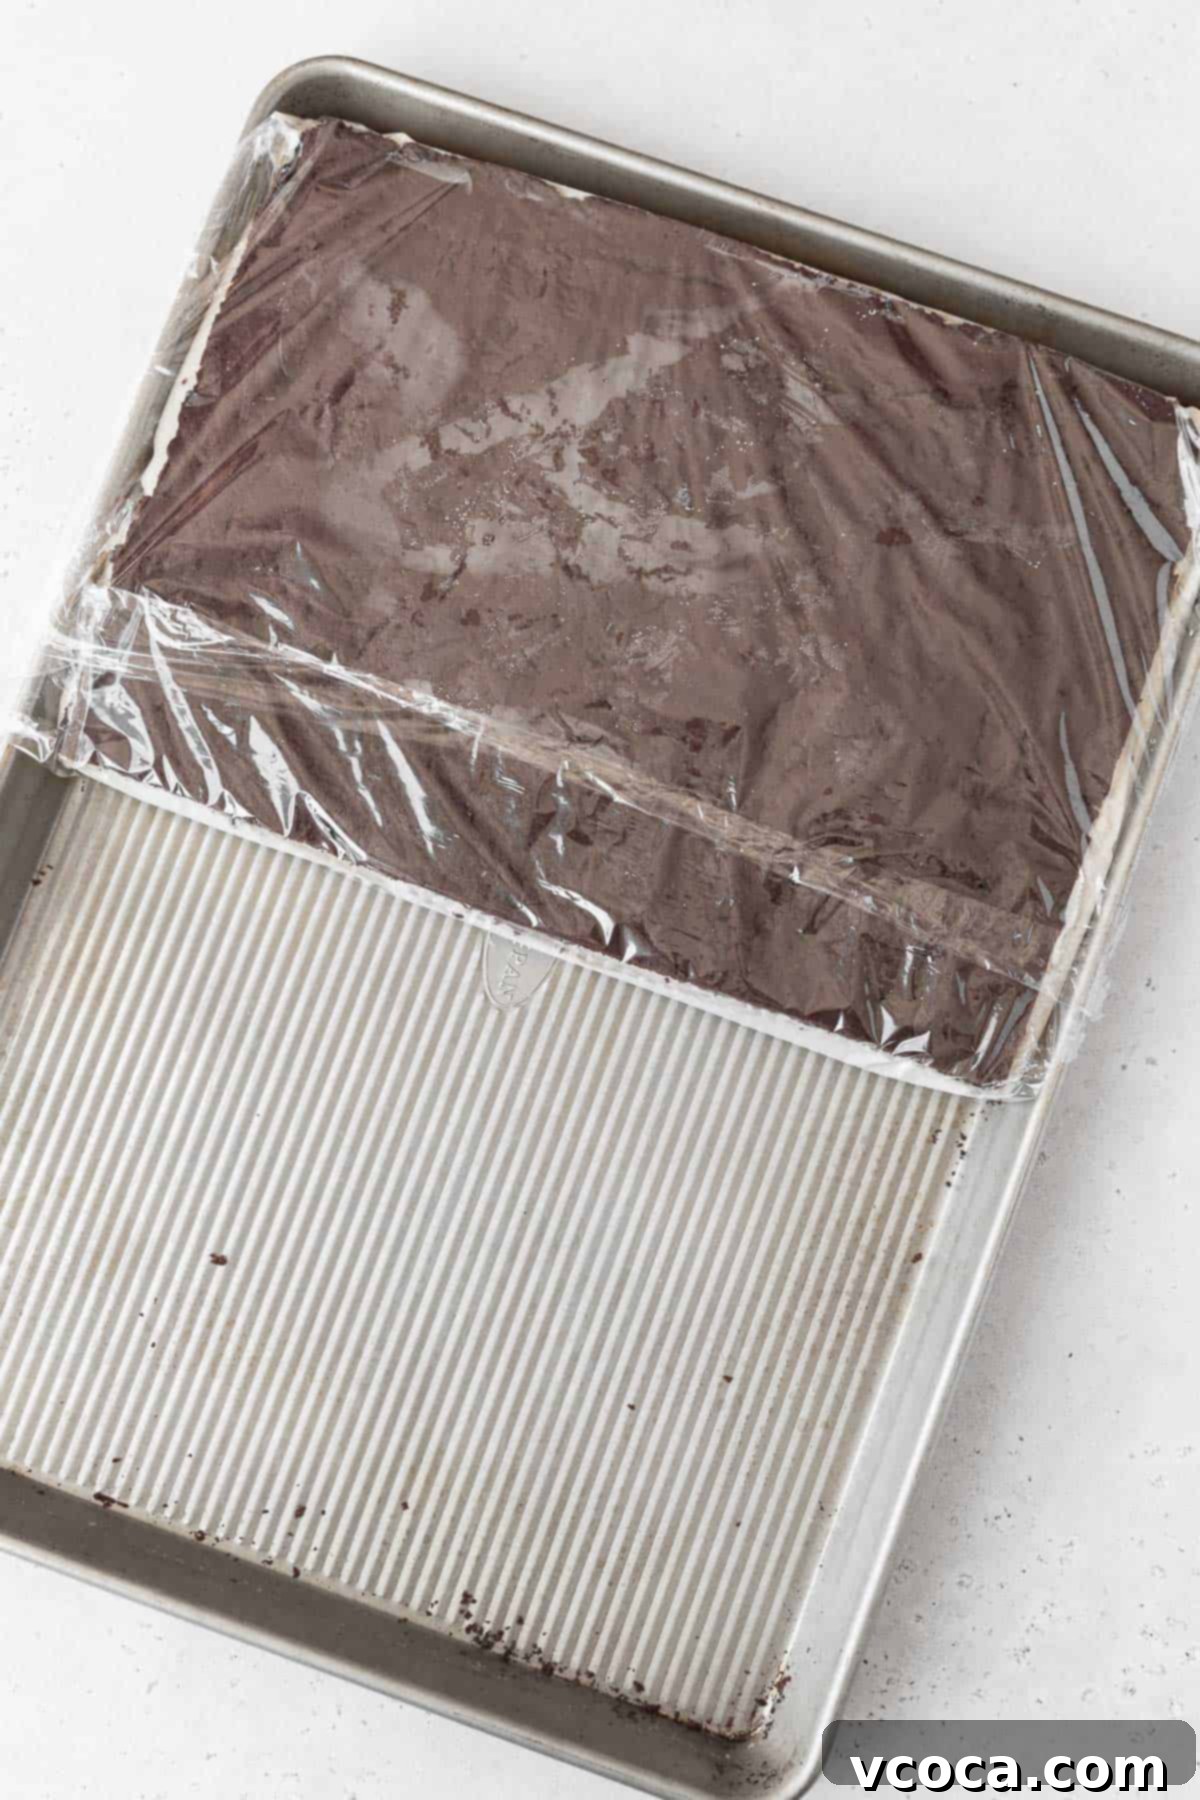
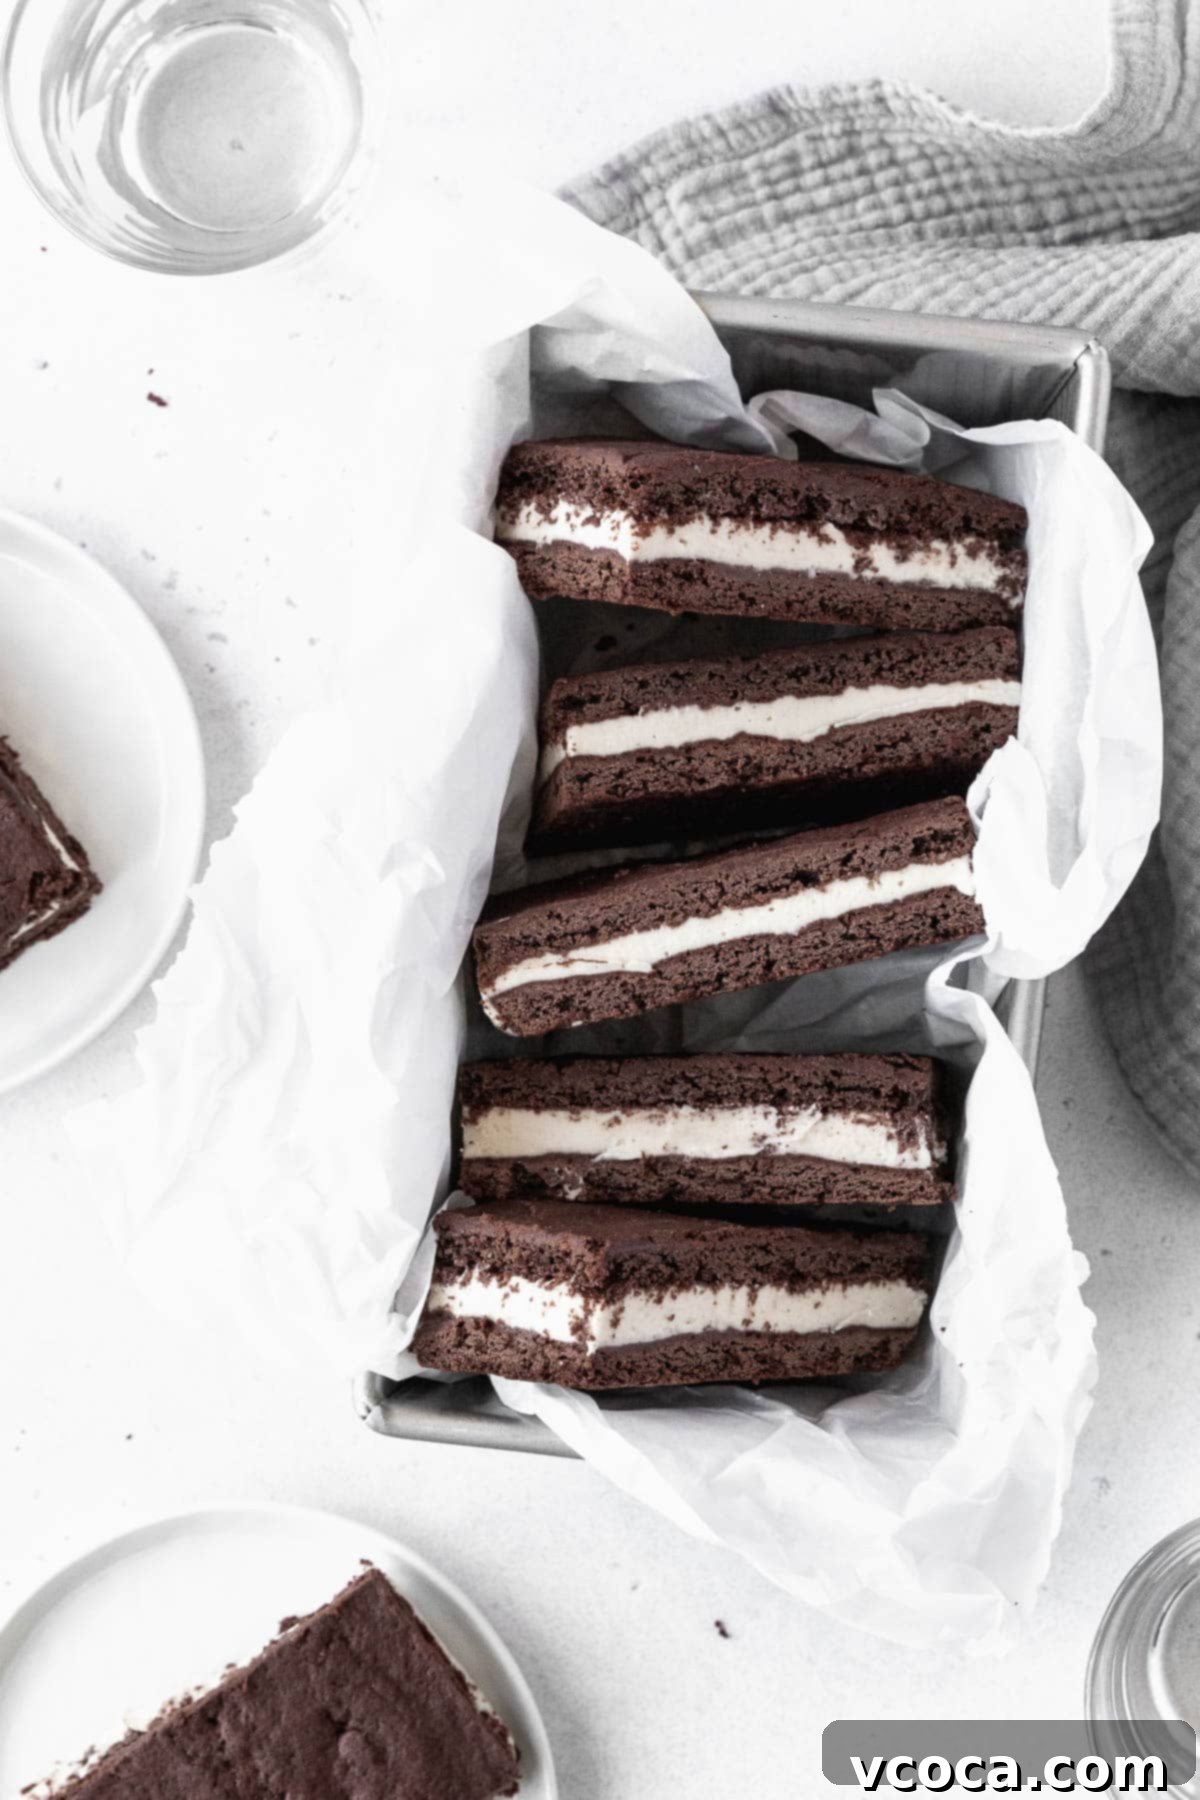
Step 4: Once completely frozen, remove the large ice cream cookie slab from the freezer and unwrap the plastic. Using a sharp, large knife, cut the slab into individual ice cream sandwiches of your desired size. You can create traditional rectangles or smaller squares for a party.
Step 5: For optimal freshness and to prevent freezer burn, wrap each individual ice cream sandwich tightly with plastic wrap. Store them in an airtight freezer-safe bag or container. This careful storage will ensure they remain perfectly delicious and ready to enjoy whenever a craving strikes!
Pro Tips for Perfect Gluten-Free Ice Cream Sandwiches
Achieving bakery-quality gluten-free ice cream sandwiches at home is easier than you think with these expert tips and tricks:
- Always Chill the Oat Whipping Cream Thoroughly. This is perhaps the most crucial step for the ice cream. For the best results, place your can of oat whipping cream in the refrigerator overnight, or at least for 8 hours. A properly chilled cream will whip up into stiffer, more stable peaks, resulting in a lighter, airier, and significantly creamier dairy-free vanilla ice cream that holds its shape beautifully in the sandwich.
- Utilize the Right Mixer. Whether you have a powerful stand mixer or a reliable electric hand mixer, both will do the trick for making the cookie base and whipping the ice cream. Using a mixer ensures that your ingredients are thoroughly combined and properly aerated, leading to a consistently delicious outcome.
- Allow Sufficient Freezing Time After Assembly. Patience is key here! After assembling your large ice cream sandwich, it’s vital to allow it to freeze completely for at least 6 hours, or even better, overnight. This extended freezing time ensures that the ice cream sets firmly and the sandwich holds its structure beautifully when cut and served, preventing a messy experience.
- For Traditional Ice Cream Sandwiches. If gluten and dairy are not a concern, you can easily adapt this recipe to a classic version. Simply substitute the vegan butter with unsalted dairy butter, and replace the sweetened condensed oat milk and oat whipping cream with regular sweetened condensed milk and heavy whipping cream, respectively. Remember, these substitutions will change the recipe from dairy-free and vegan.
- Ensure Even Cookie Thickness. When spreading the cookie dough onto the baking sheet, aim for an even thickness. This is important for consistent baking and ensures that all parts of your cookie are soft and chewy, not crispy in some spots and underbaked in others. An offset spatula is an excellent tool for this task.
- Work Quickly During Assembly. Once the ice cream base is removed from the freezer, it will start to soften. Work efficiently when spreading it onto the cookie layer and placing the second cookie on top to prevent the ice cream from melting too much before refreezing.
Can You Use Store-Bought Ice Cream for Gluten-Free Sandwiches?
Absolutely! While our homemade ice cream recipe is fantastic, you can certainly simplify the process by using store-bought gluten-free ice cream. When opting for pre-made ice cream, ensure you select a brand explicitly labeled “gluten-free” to avoid hidden ingredients or cross-contamination. Before assembling, allow the store-bought ice cream to soften at room temperature for about 15-30 minutes until it’s pliable enough to spread easily but not fully melted. Then, simply proceed with the assembly steps as directed in the recipe. If you’re aiming for dairy-free ice cream sandwiches, follow the same advice by choosing a certified gluten-free *and* dairy-free/vegan ice cream from the store.
Creative Recipe Variations to Customize Your Treat
These gluten-free and non-dairy ice cream sandwiches are utterly delightful as they are, but don’t hesitate to elevate them with exciting flavor combinations and fun additions. Here are some ideas to spark your creativity:
- Decadent Chocolate Chips: For an extra burst of chocolatey crunch, gently stir mini chocolate chips into the prepared ice cream base before its initial chill and assembly. If you’re keeping the recipe dairy-free and vegan, be sure to use high-quality vegan or dairy-free chocolate chips. This adds a delightful textural contrast.
- Playful Sprinkles: Add a vibrant pop of color and an extra layer of festivity by dipping the sides of your assembled ice cream sandwiches into rainbow or chocolate sprinkles. This is especially fun for parties or when serving to kids (and kids-at-heart!).
- Exciting Flavor Infusions: Transform your vanilla ice cream with various extracts or fruit additions. A few drops of mint extract can create a refreshing mint chocolate chip sandwich. For a fruity twist, try stirring in a tablespoon or two of dried strawberry powder for a natural berry flavor, or swirl in some cherry pie filling for a marbled, fruity delight. The possibilities are endless!
- Nutty Crunch: For those without nut allergies, roll the edges of the sandwiches in finely chopped toasted pecans or walnuts for a delightful texture and nutty flavor.
- Coffee Kick: Add a teaspoon of instant espresso powder to the cookie dough for a mocha-flavored base, or stir it into the ice cream for a coffee-infused treat.
Storage Directions for Lasting Freshness
To ensure your delicious vegan ice cream sandwiches remain fresh and free from freezer burn, proper storage is essential. After cutting them into individual portions, wrap each ice cream sandwich tightly and individually in plastic wrap. This barrier helps protect against ice crystals and maintains their creamy texture. Once wrapped, place the individual sandwiches in a freezer-safe airtight container or a heavy-duty freezer bag. Stored this way, your homemade gluten-free ice cream sandwiches can keep beautifully in the freezer for up to 2 months, allowing you to enjoy this delightful treat whenever you desire.
More Delightful Ice Cream and Sandwich Dessert Recipes
If you loved these allergy-friendly ice cream sandwiches, you’ll be thrilled to explore more sweet treats that cater to various dietary needs. Expand your dessert repertoire with these other mouth-watering recipes:
- Mango Sorbet (2 Ingredients!)
- Creamy Vegan Matcha Ice Cream
- Chewy Coconut Oatmeal Cookie Sandwiches
- Spooky Halloween Cookies – quick and easy!
Thank you so much for stopping by and exploring this fantastic gluten-free ice cream sandwich recipe! We hope you loved making and devouring these delicious treats as much as we do. For even more mouth-watering dairy-free, gluten-free, and/or vegan dessert inspiration, make sure to follow us on Pinterest, Facebook, and Instagram. You can also get all of our newest content, recipes, and tips delivered straight to your inbox by signing up for our email newsletter — we promise not to spam you!

Gluten-Free Ice Cream Sandwiches
Print
Pin
Rate
Ingredients
Chocolate Cookie Base
- 2 cups gluten-free 1-to-1 flour
- 1 cup Dutch process cocoa powder
- ½ teaspoon fine salt
- 1 teaspoon baking powder
- 1 cup vegan butter softened
- 1 cup light brown sugar
- ½ cup dairy-free milk
- 2 teaspoons vanilla extract
Ice Cream
- 1 can Nature’s Charm sweetened condensed oat milk
- 1 can Nature’s Charm oat whipping cream chilled overnight
- 1 teaspoon vanilla extract
Instructions
-
In a large bowl, whisk together the gluten-free flour, cocoa powder, salt, and baking powder. Set aside.
-
In the bowl of a stand mixer or a large bowl with an electric hand mixer, beat together softened vegan butter and light brown sugar until fluffy, about 3 minutes. Add the vanilla and beat again. Slowly add the dairy-free milk while continuing to beat.
-
Add half of the dry ingredients, beat again until just combined, and scrape the bowl with a silicone spatula before adding the other half and beating again until a cohesive dough forms. Once the mixture comes together, cover the bowl and let it rest for 30 minutes.
-
Preheat the oven to 350°F (175°C). Grease and line a half-sheet baking pan (13×18 inch) with parchment paper. Spread the rested cookie base mixture evenly over the parchment paper using an offset spatula and bake for 10-12 minutes. Let it cool completely before letting it chill in the freezer while preparing the ice cream.
-
In a large bowl, beat the thoroughly chilled oat whipping cream for 5 minutes until fluffy. Add the sweetened condensed oat milk and vanilla, and beat until smooth. Let it chill in the freezer for 1 hour, until it thickens to the texture of softened ice cream.
-
Take the cookie base out of the freezer, and cut it in half so it creates two 9×13 inch rectangles. Evenly spread the ice cream base on one of the cookie layers. Top with the second cookie layer and wrap the large ice cream sandwich with plastic wrap and keep it in the freezer until completely frozen, about 6 hours or overnight. Once frozen, unwrap it and cut it into individual pieces. Wrap each ice cream sandwich with plastic wrap and store in an airtight bag or container in the freezer until ready to serve.
