The Ultimate Guide to Fudgy Gluten-Free Brownies: Easy, Delicious & Irresistible
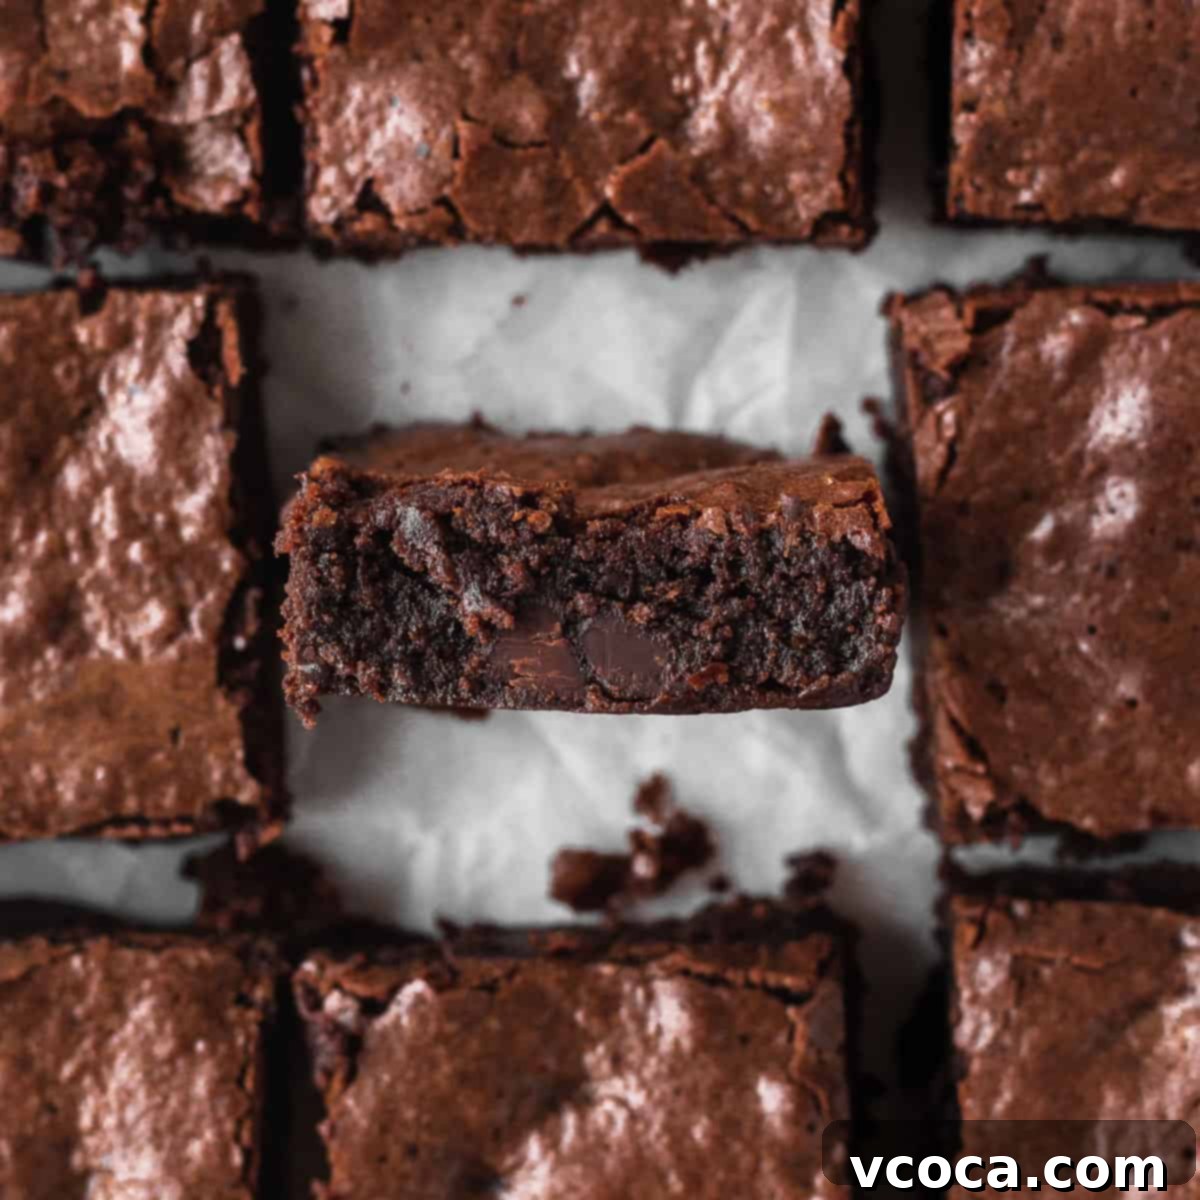
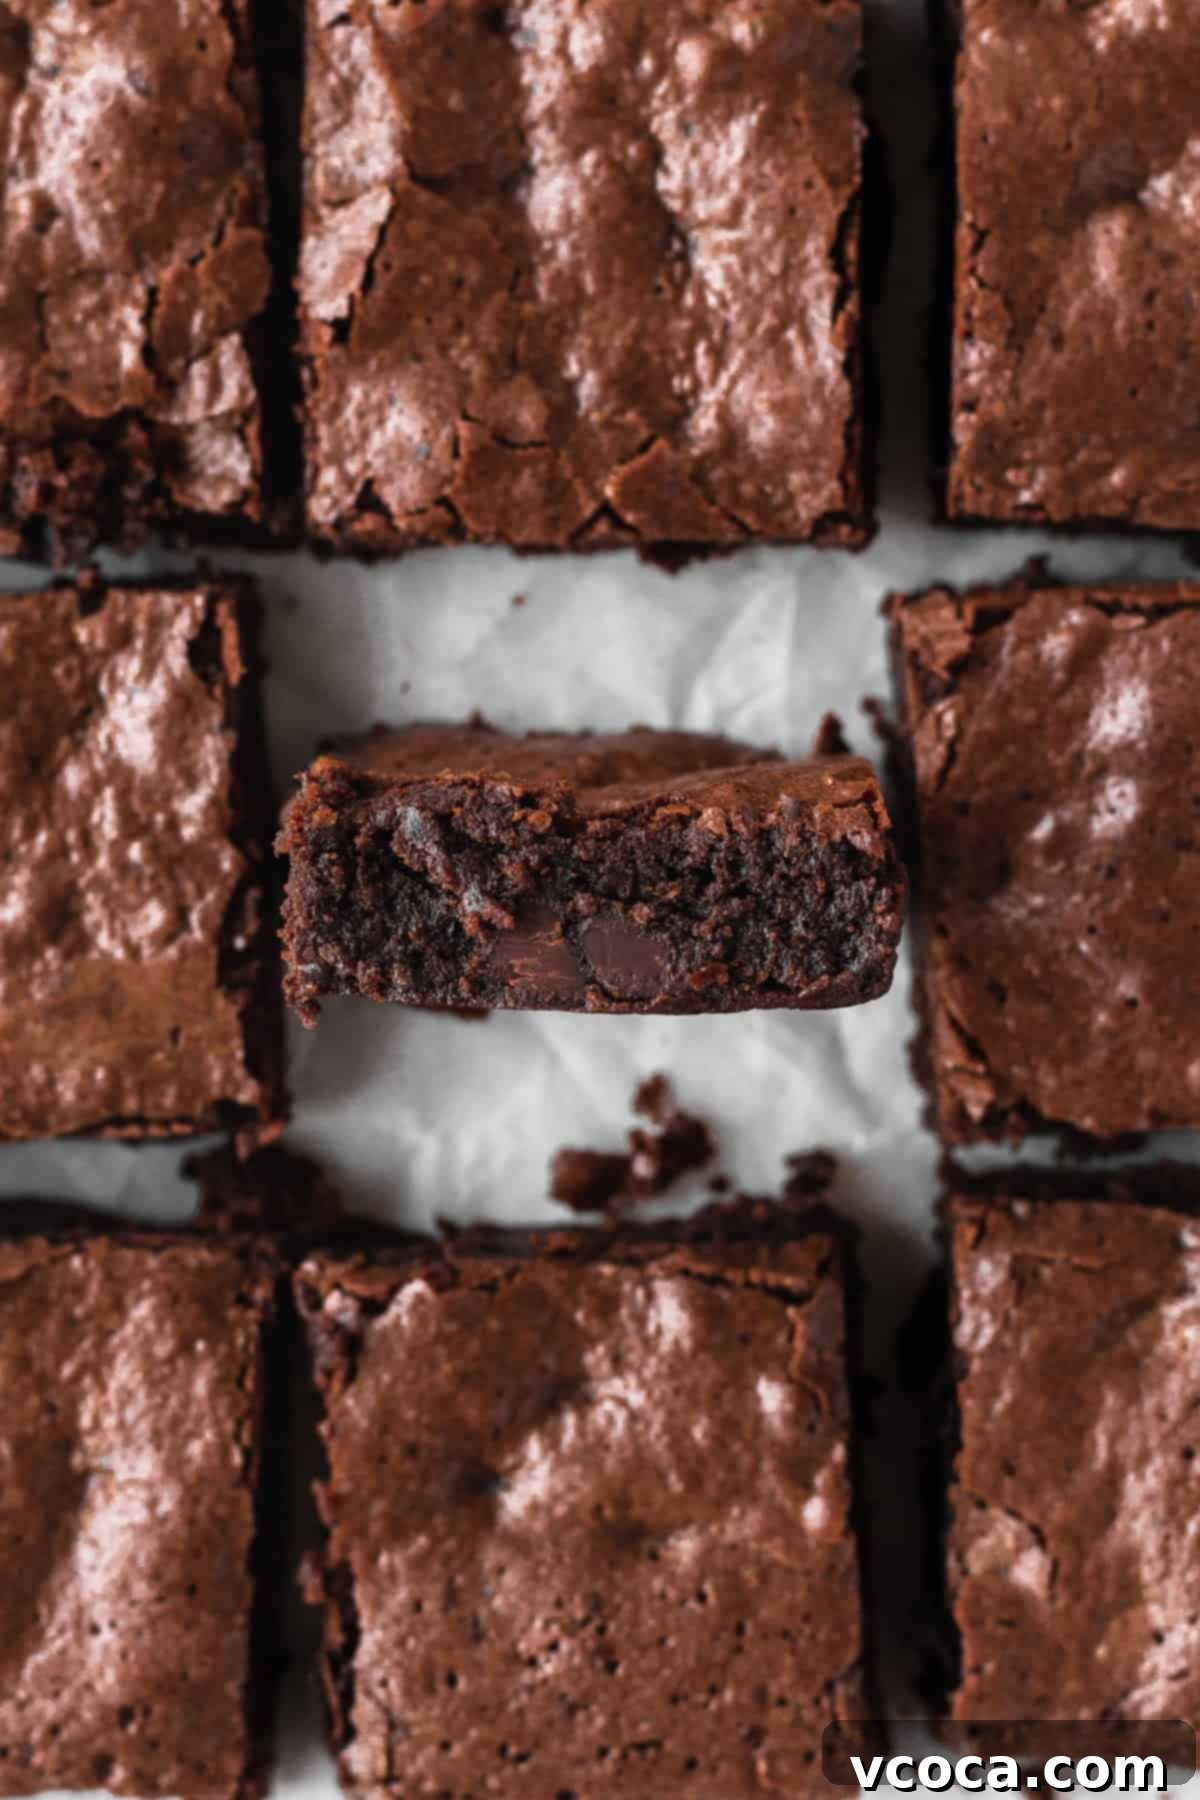
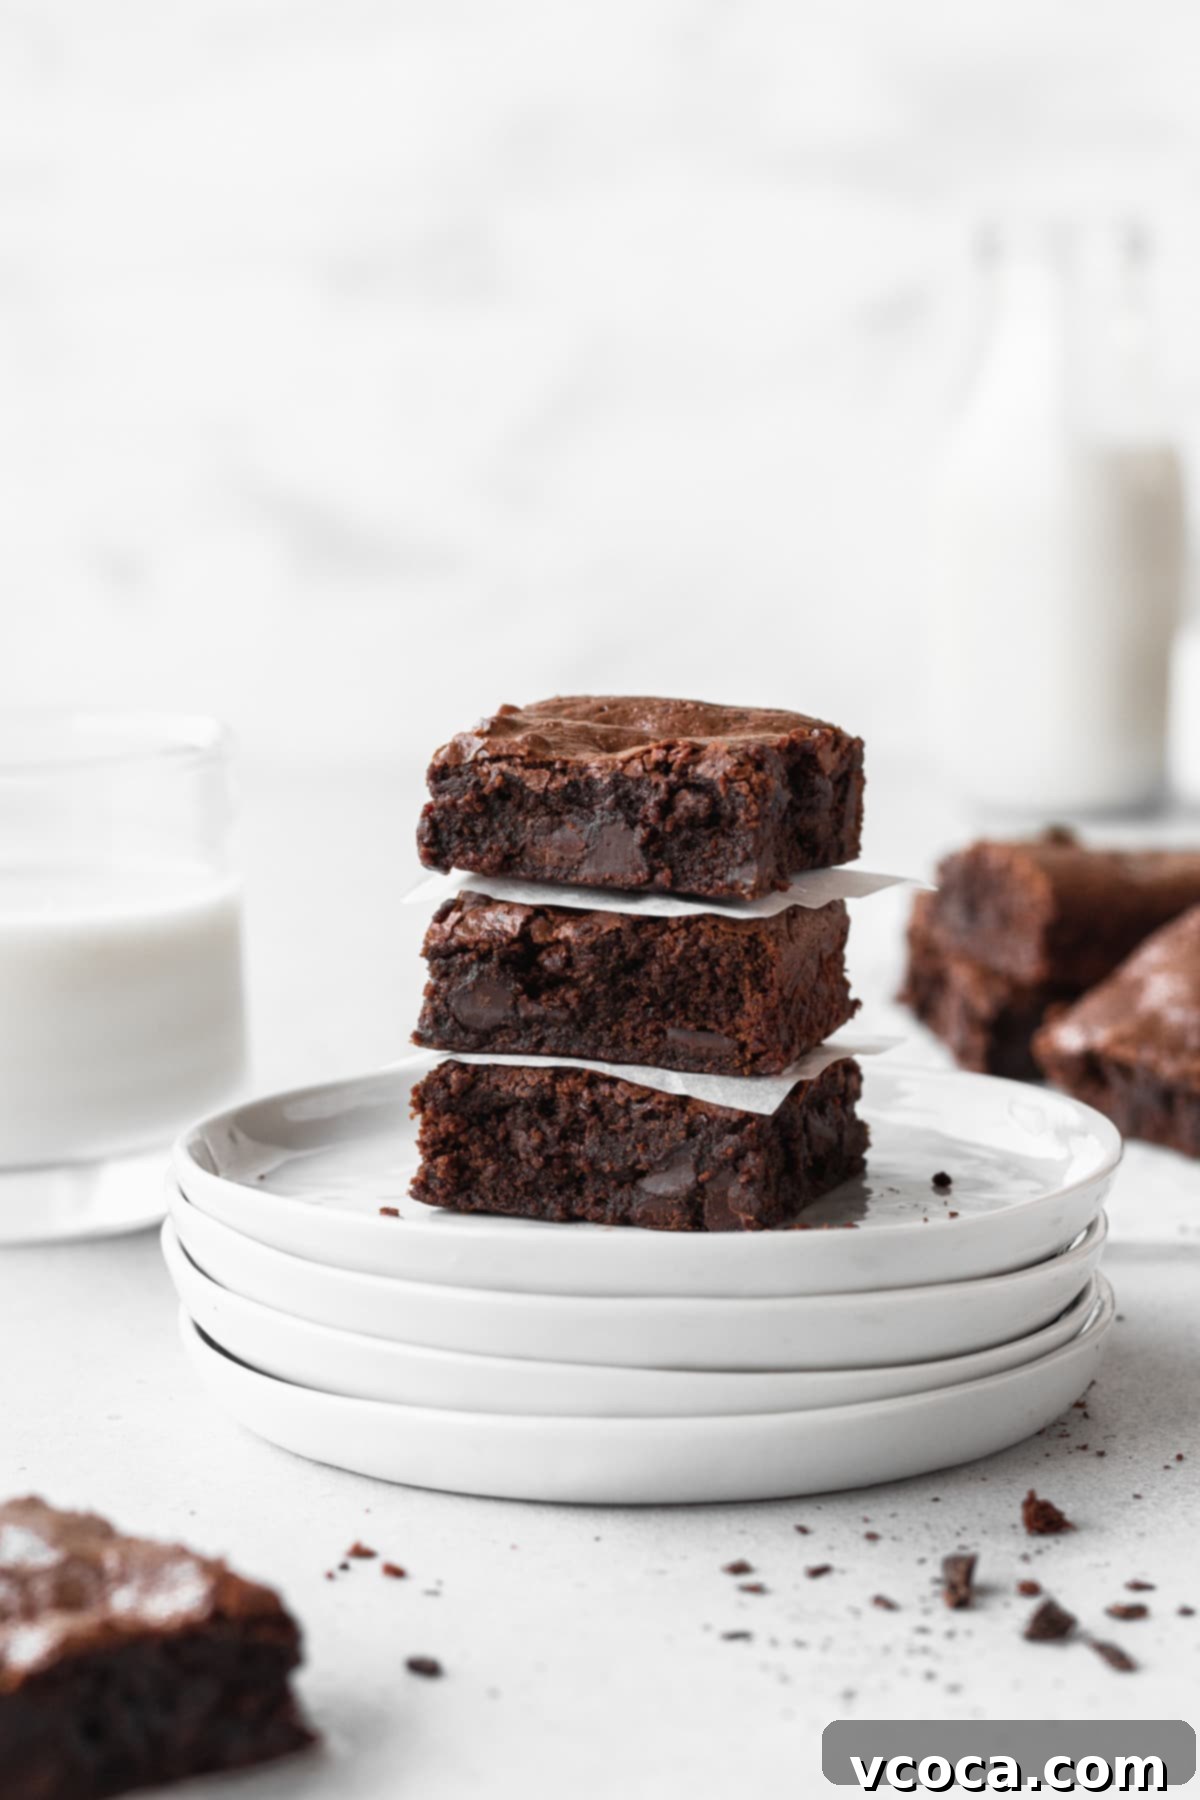
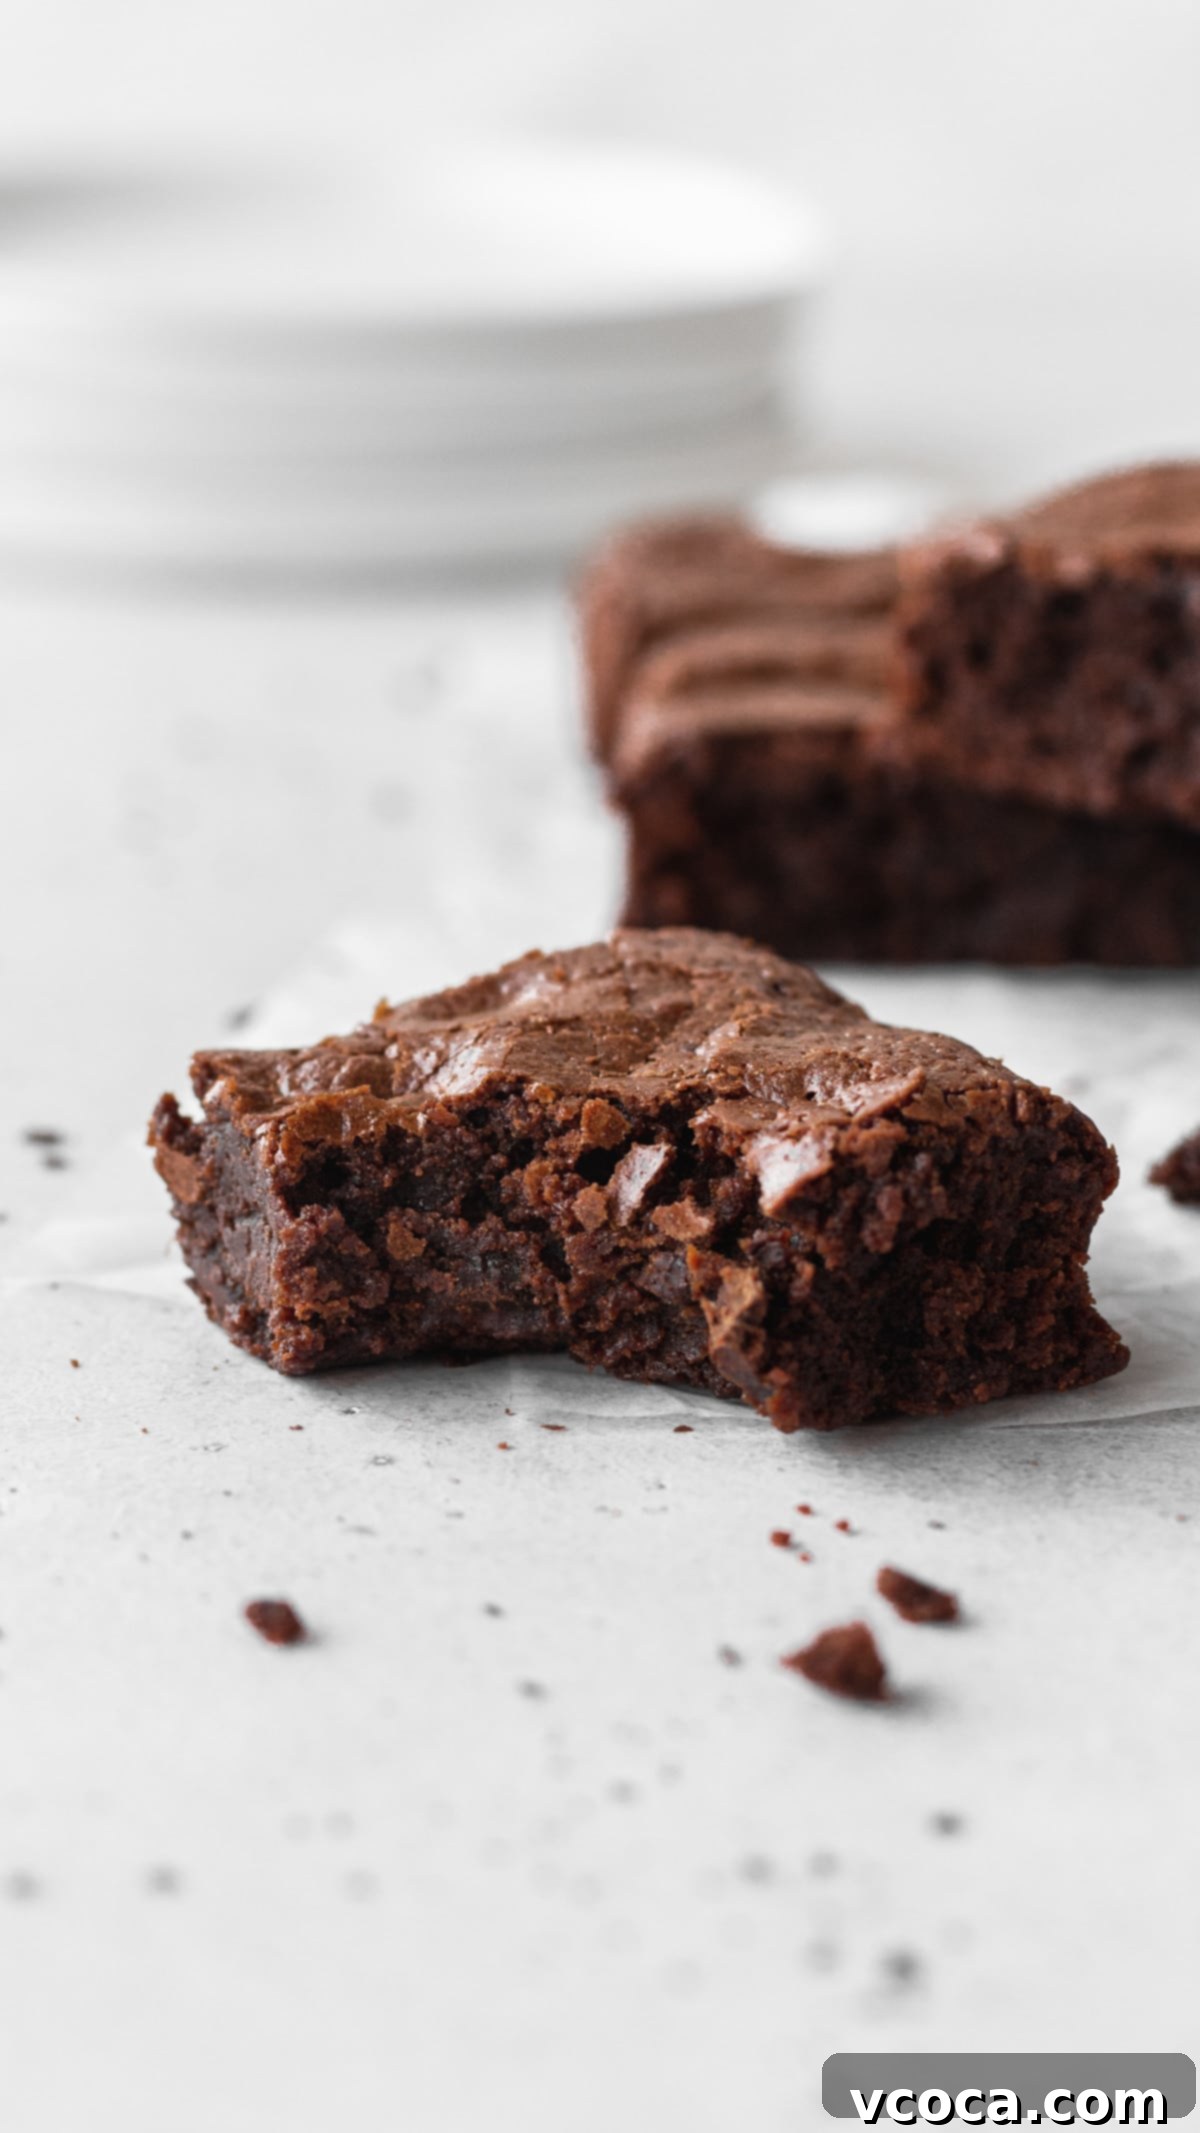
Prepare to fall in love with these incredibly thick, intensely chocolatey, and irresistibly fudgy gluten-free brownies! If you thought going gluten-free meant sacrificing dessert decadence, think again. This recipe is designed to deliver that quintessential brownie experience – complete with a glorious crinkly top and a melt-in-your-mouth interior – making your life instantly a little sweeter. So simple to make, you’ll wonder why you ever bothered with any other brownie recipe.
This recipe was originally published on October 13, 2022. It was updated with new information and enhancements on February 2, 2024, to bring you the absolute best gluten-free brownie experience.
Key Ingredients for the Perfect Fudgy Gluten-Free Brownies
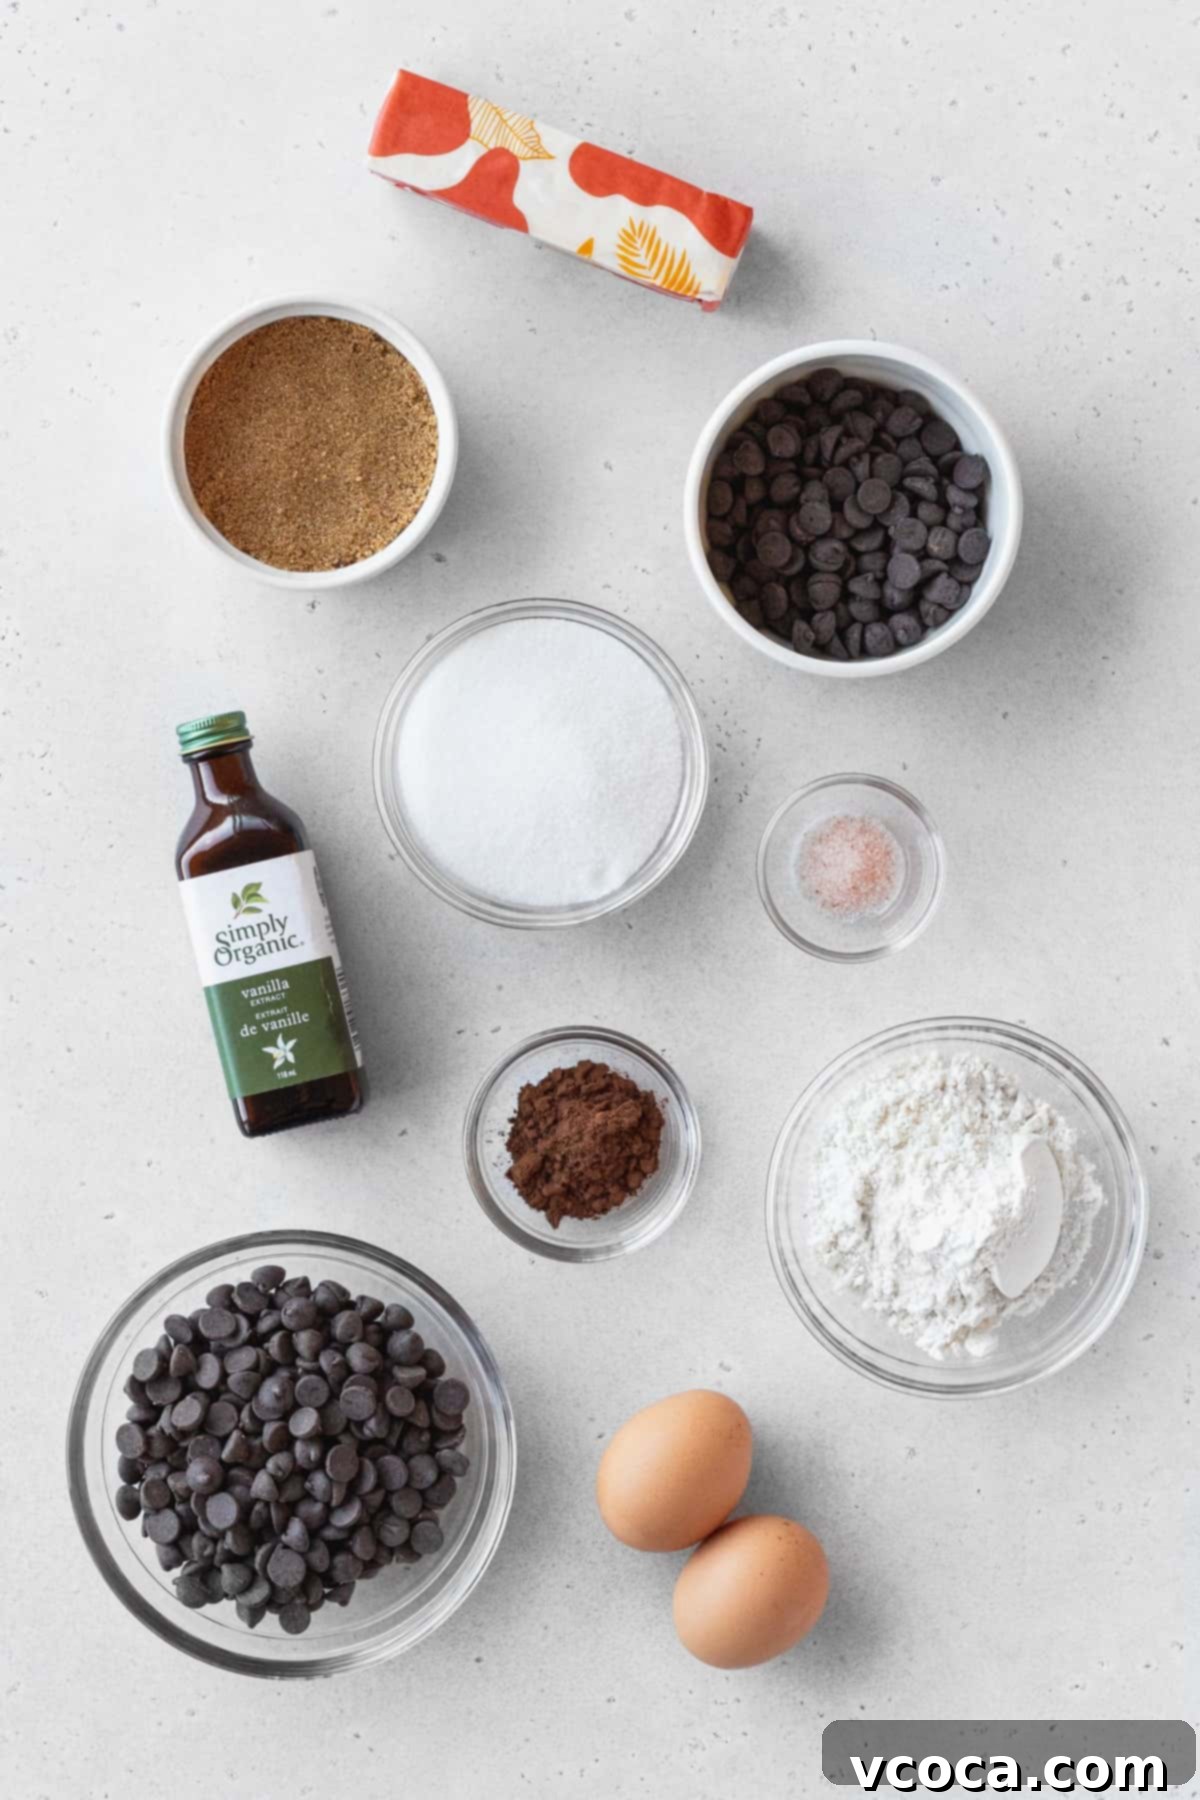
Crafting the perfect fudgy gluten-free brownies starts with selecting the right ingredients. Each component plays a crucial role in achieving that sought-after texture and rich chocolate flavor. Here’s what you’ll need:
- Butter: You have flexibility here! Both traditional dairy butter and quality vegan butter sticks will yield fantastic results. For those looking to make delicious gluten-free and dairy-free brownies, opting for vegan butter sticks is your best bet, as they provide a rich, creamy texture without compromise.
- Dark Chocolate: This is where the magic happens! I highly recommend using chocolate with at least 70% cacao content. The higher cacao percentage ensures that deep, dark, intense chocolate flavor and contributes significantly to the fudgy texture. You can use either a finely chopped chocolate bar or high-quality dark chocolate chips.
- Granulated Sugar & Brown Sugar: This dynamic duo is essential for both sweetness and texture. Granulated sugar contributes to the desired crinkly top crust, while brown sugar adds moisture, a subtle molasses flavor, and chewiness, ensuring your brownies aren’t just sweet but also deeply satisfying. Feel free to use either light or dark brown sugar; dark brown sugar will intensify the molasses notes.
- Cocoa Powder: To enhance the chocolate richness even further, cocoa powder is a must. I personally love using Dutch-processed cocoa powder for its darker color and smoother, less bitter flavor profile. However, natural cocoa powder (which is more acidic) or even black cocoa powder (for an OREO-like dark color) will work beautifully, each offering a slightly different nuance to your brownies.
- Large Eggs: Eggs are vital for both structure and richness in brownies. For optimal mixing and a smoother batter, it’s best to let your eggs come to room temperature before incorporating them. They help emulsify the batter, leading to a consistent and velvety texture.
- Vanilla Extract: A splash of good quality vanilla extract (pure vanilla extract or vanilla paste) is crucial for deepening the chocolate flavor and adding an aromatic complexity that elevates the overall taste profile of your brownies.
- Instant Coffee: While entirely optional, a small amount of instant coffee (or instant espresso) is my secret weapon! It doesn’t make your brownies taste like coffee, but rather intensifies and enhances the chocolate flavor, making it richer and more profound. You can use regular or decaf instant coffee.
- Gluten-Free 1:1 Flour Blend: For gluten-free baking, a reliable 1:1 (or cup-for-cup) gluten-free flour blend is key. My preference is Bob’s Red Mill 1-to-1 Baking Flour, as it consistently delivers excellent results. Ensure your chosen blend contains xanthan gum, which provides necessary structure and elasticity often missing in gluten-free recipes. If gluten isn’t a concern, you can easily substitute with regular all-purpose flour.
- Fine Salt: A pinch of salt is crucial for balancing the sweetness of the brownies and highlighting their chocolate flavor. I use fine sea salt or fine Himalayan pink salt. If you’re using a different type of salt, remember that saltiness can vary, so refer to this conversion chart for proper measurement to avoid over-salting.
- Chocolate Chips: For an extra burst of chocolate in every bite, stir in some chocolate chips! You can choose your favorite: semisweet, white, dark, or milk chocolate, depending on your desired sweetness and flavor profile.
How to Make the Best Fudgy Gluten-Free Brownies: A Step-by-Step Guide
Creating these heavenly homemade gluten-free brownies is surprisingly straightforward. Even if you’re new to gluten-free baking, this recipe is designed for success. Follow these simple steps for a truly unforgettable dessert:
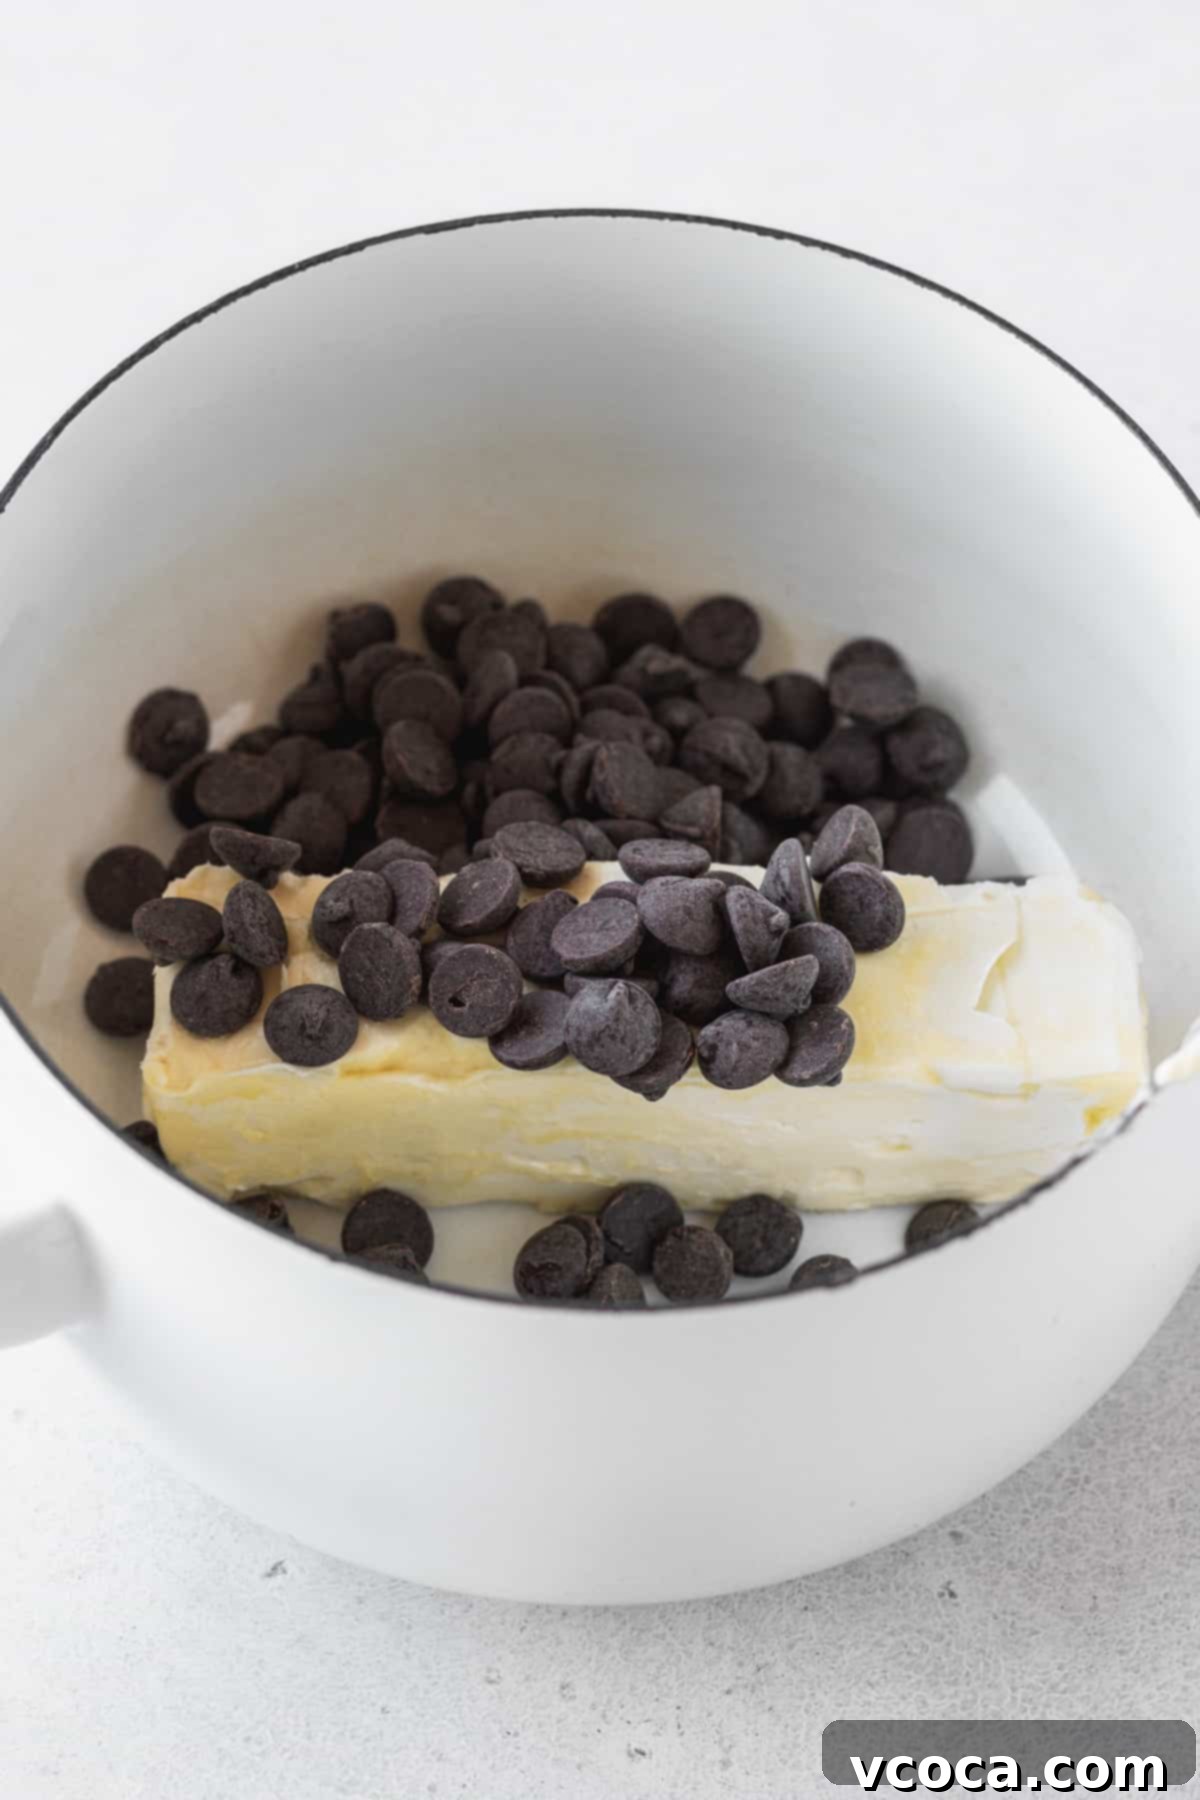
Step 1: Melt the Fats and Chocolate. In a small saucepan, gently melt together the butter (dairy or vegan) and dark chocolate. Stir continuously over low heat to prevent burning. The goal is a smooth, glossy mixture. Once completely melted and combined, remove the pot from the heat to prevent overheating.
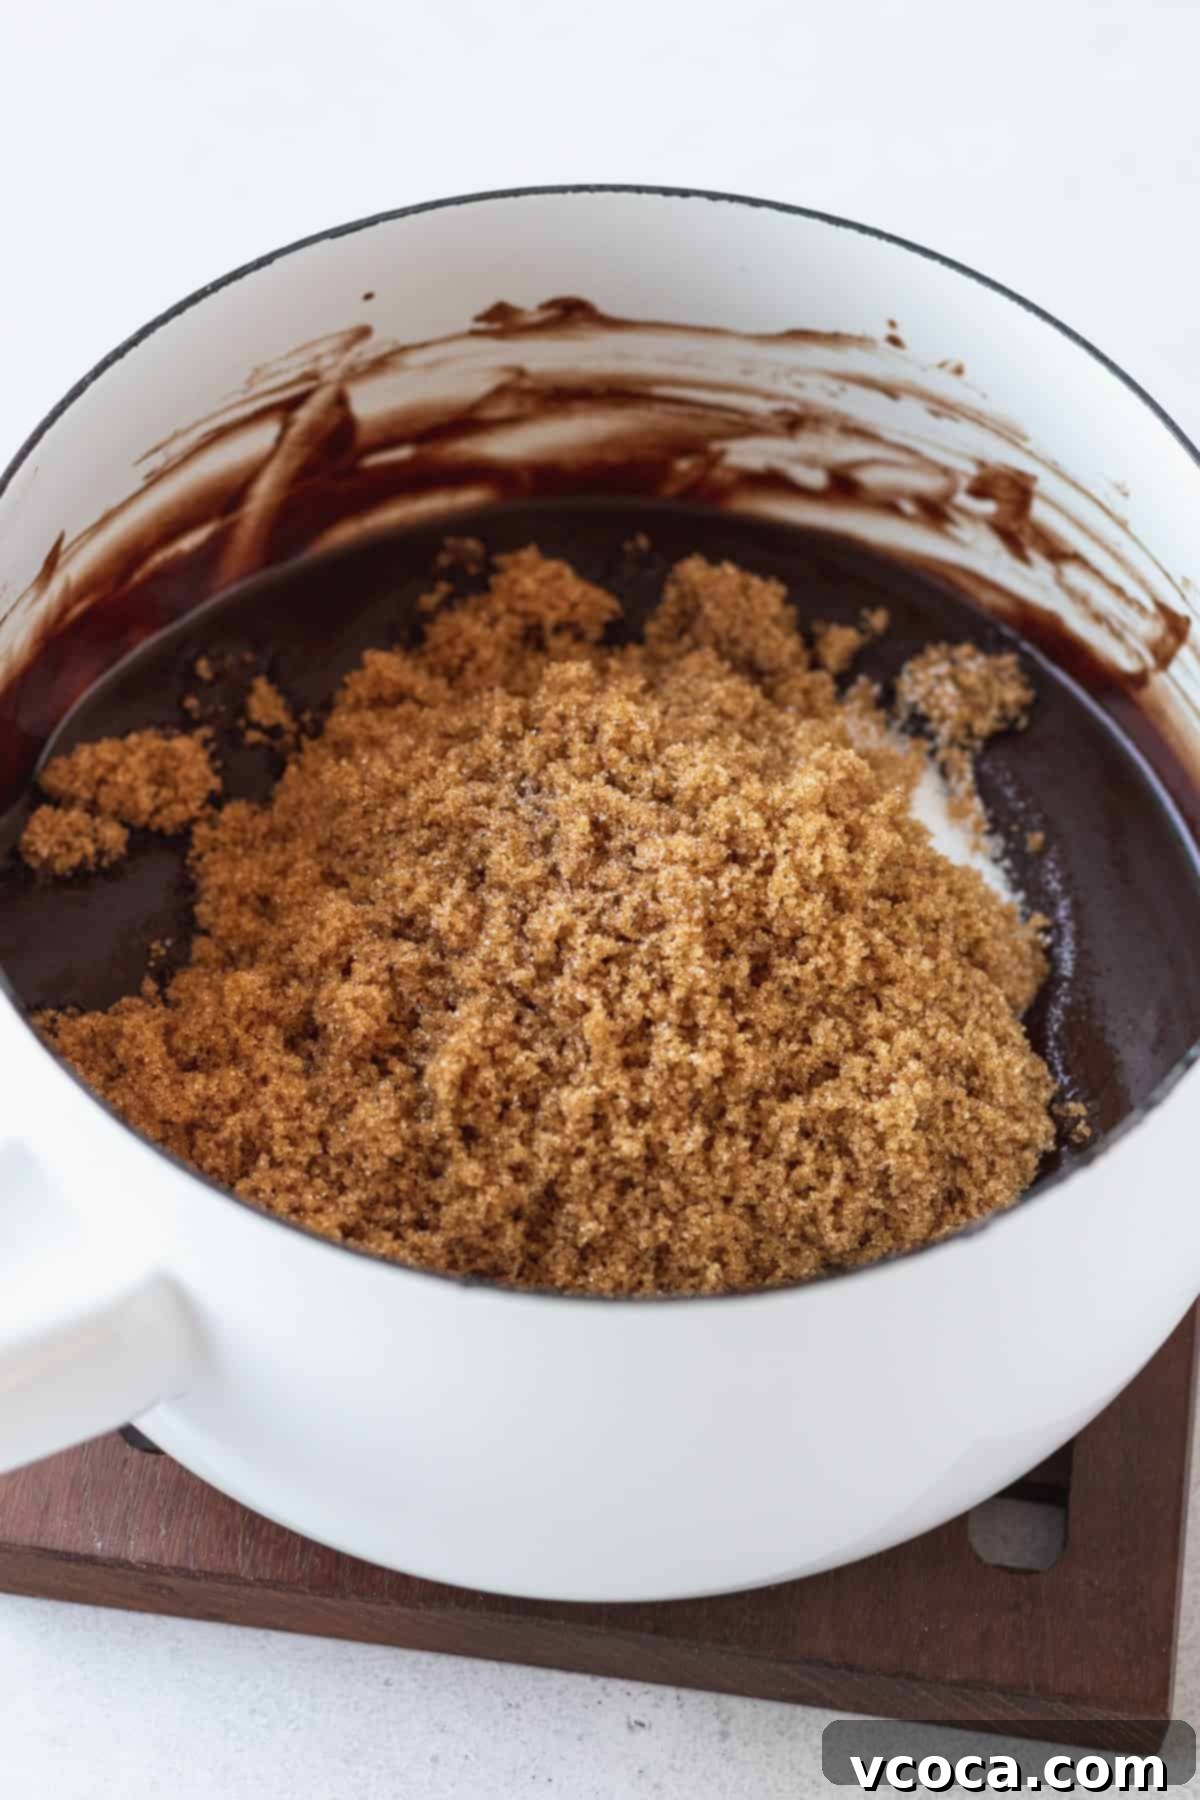
Step 2: Incorporate the Sugars and Cocoa. To the warm chocolate mixture, add the granulated sugar, brown sugar, and cocoa powder. Whisk these together until they are well combined and the mixture is smooth. The warmth of the chocolate will help the sugars begin to dissolve, which is key for a good crinkly top. Next, add the large eggs, one at a time, whisking vigorously after each addition until fully incorporated. This process builds the rich, fudgy base of your brownies.
Step 3: Add Flavor Boosters. Stir in the vanilla extract and, if you’re using it, the instant coffee granules. Mix well until everything is evenly distributed. These ingredients will significantly enhance the overall chocolate flavor and aroma of your brownies.
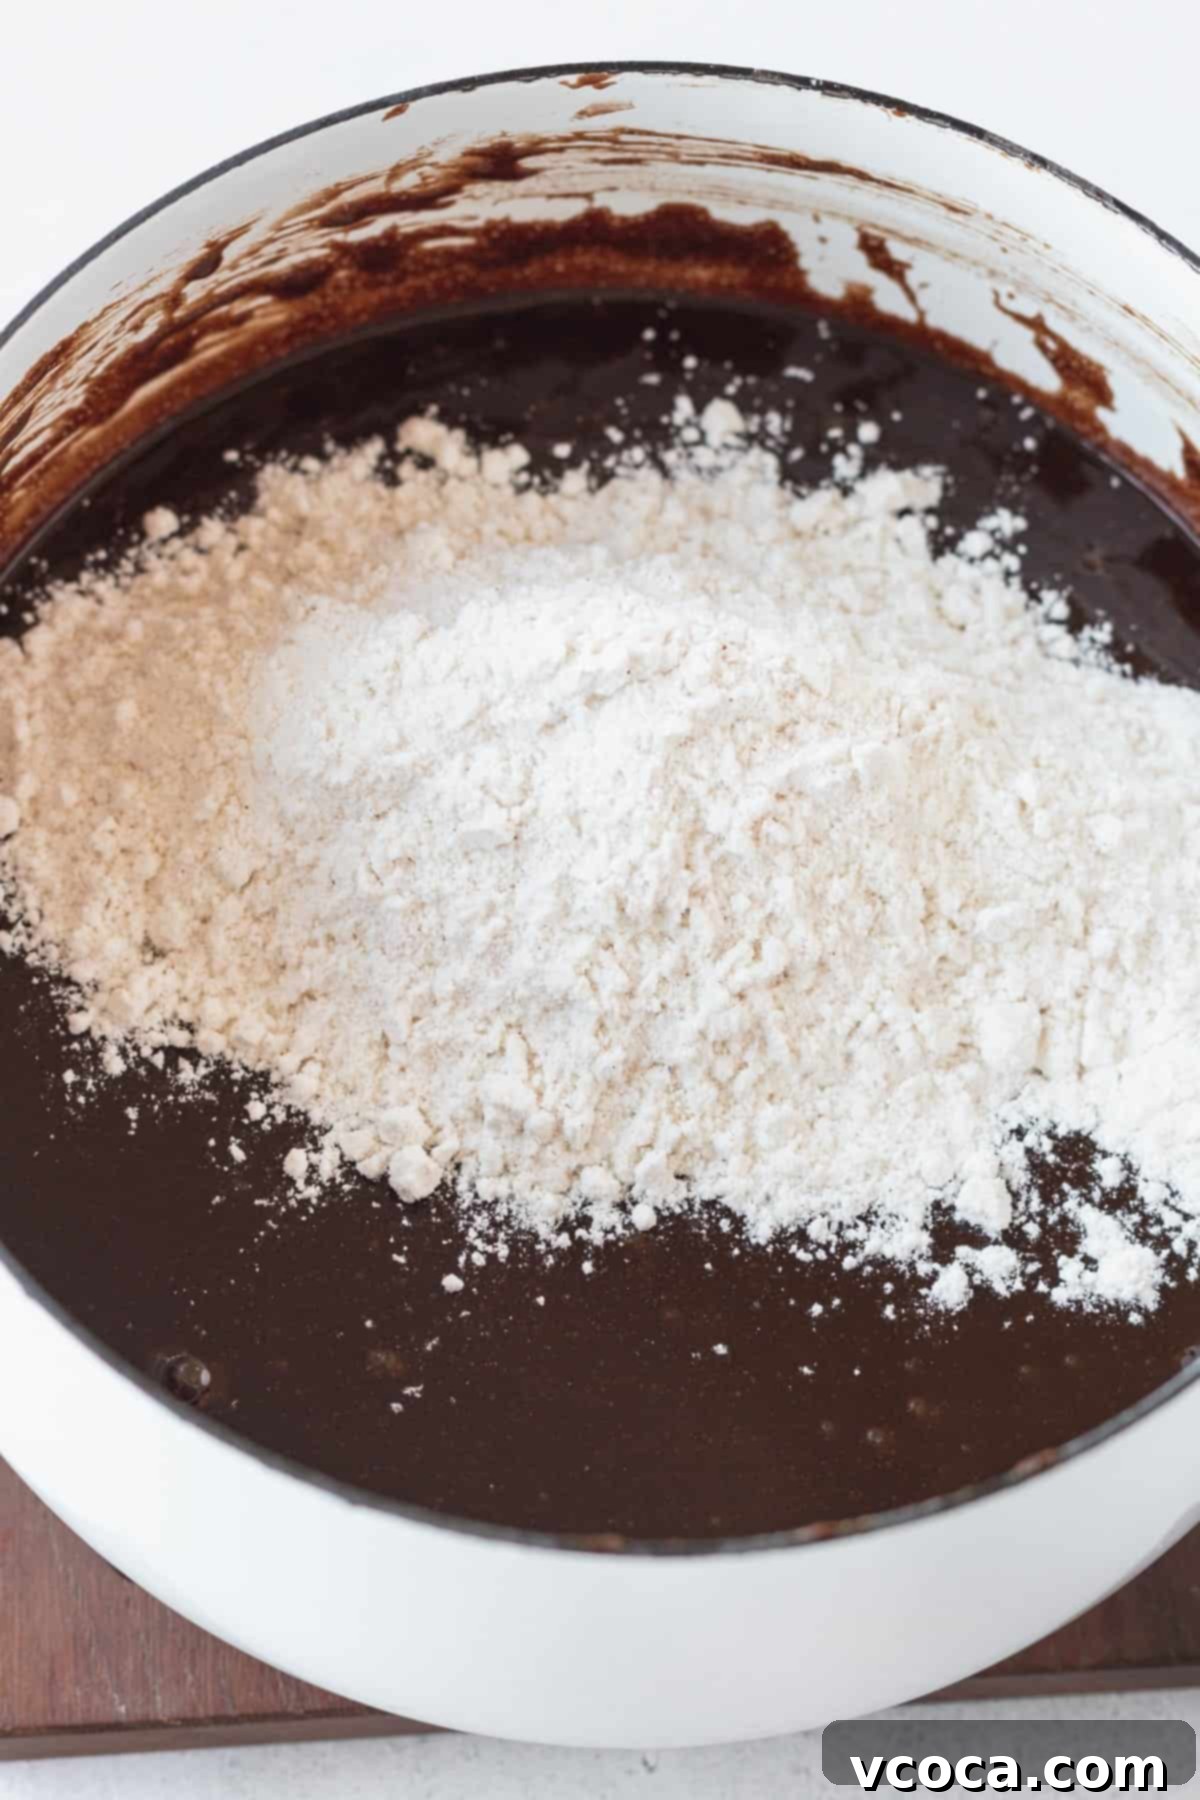
Step 4: Combine Wet and Dry Ingredients. In a separate small bowl, whisk together your chosen gluten-free flour blend and fine salt. Gradually add this dry mixture to the saucepan with the wet ingredients. Mix the batter gently until it’s just smooth and no pockets of dry flour remain. Be careful not to overmix, as this can lead to tougher brownies.
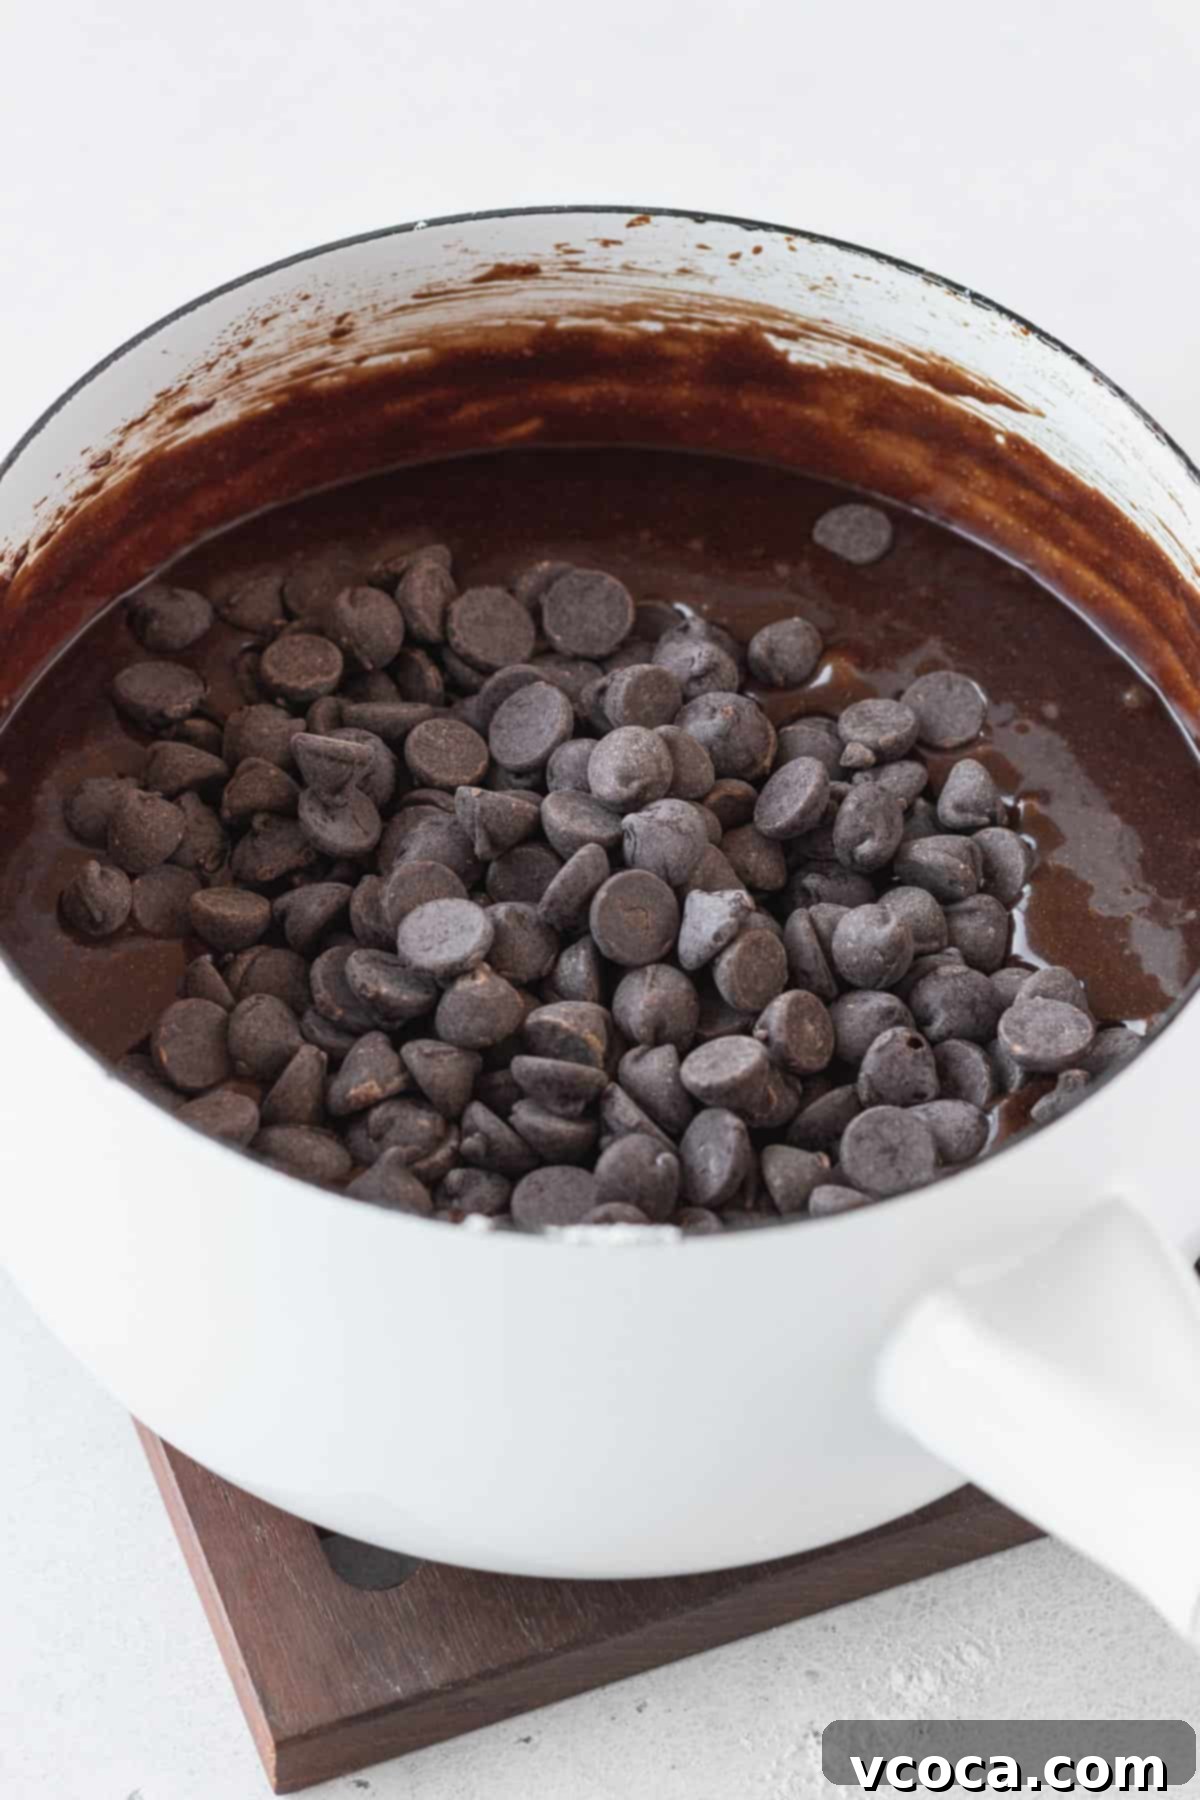
Step 5: Fold in Chocolate Chips and Rest. Switch from a whisk to a sturdy spatula or wooden spoon. Gently fold in the chocolate chips, ensuring they are evenly distributed throughout the rich batter. Once incorporated, set the saucepan aside and allow the batter to rest for 20 minutes. This resting period is crucial for gluten-free flours, allowing them to fully hydrate and absorb moisture, which contributes to a superior texture.
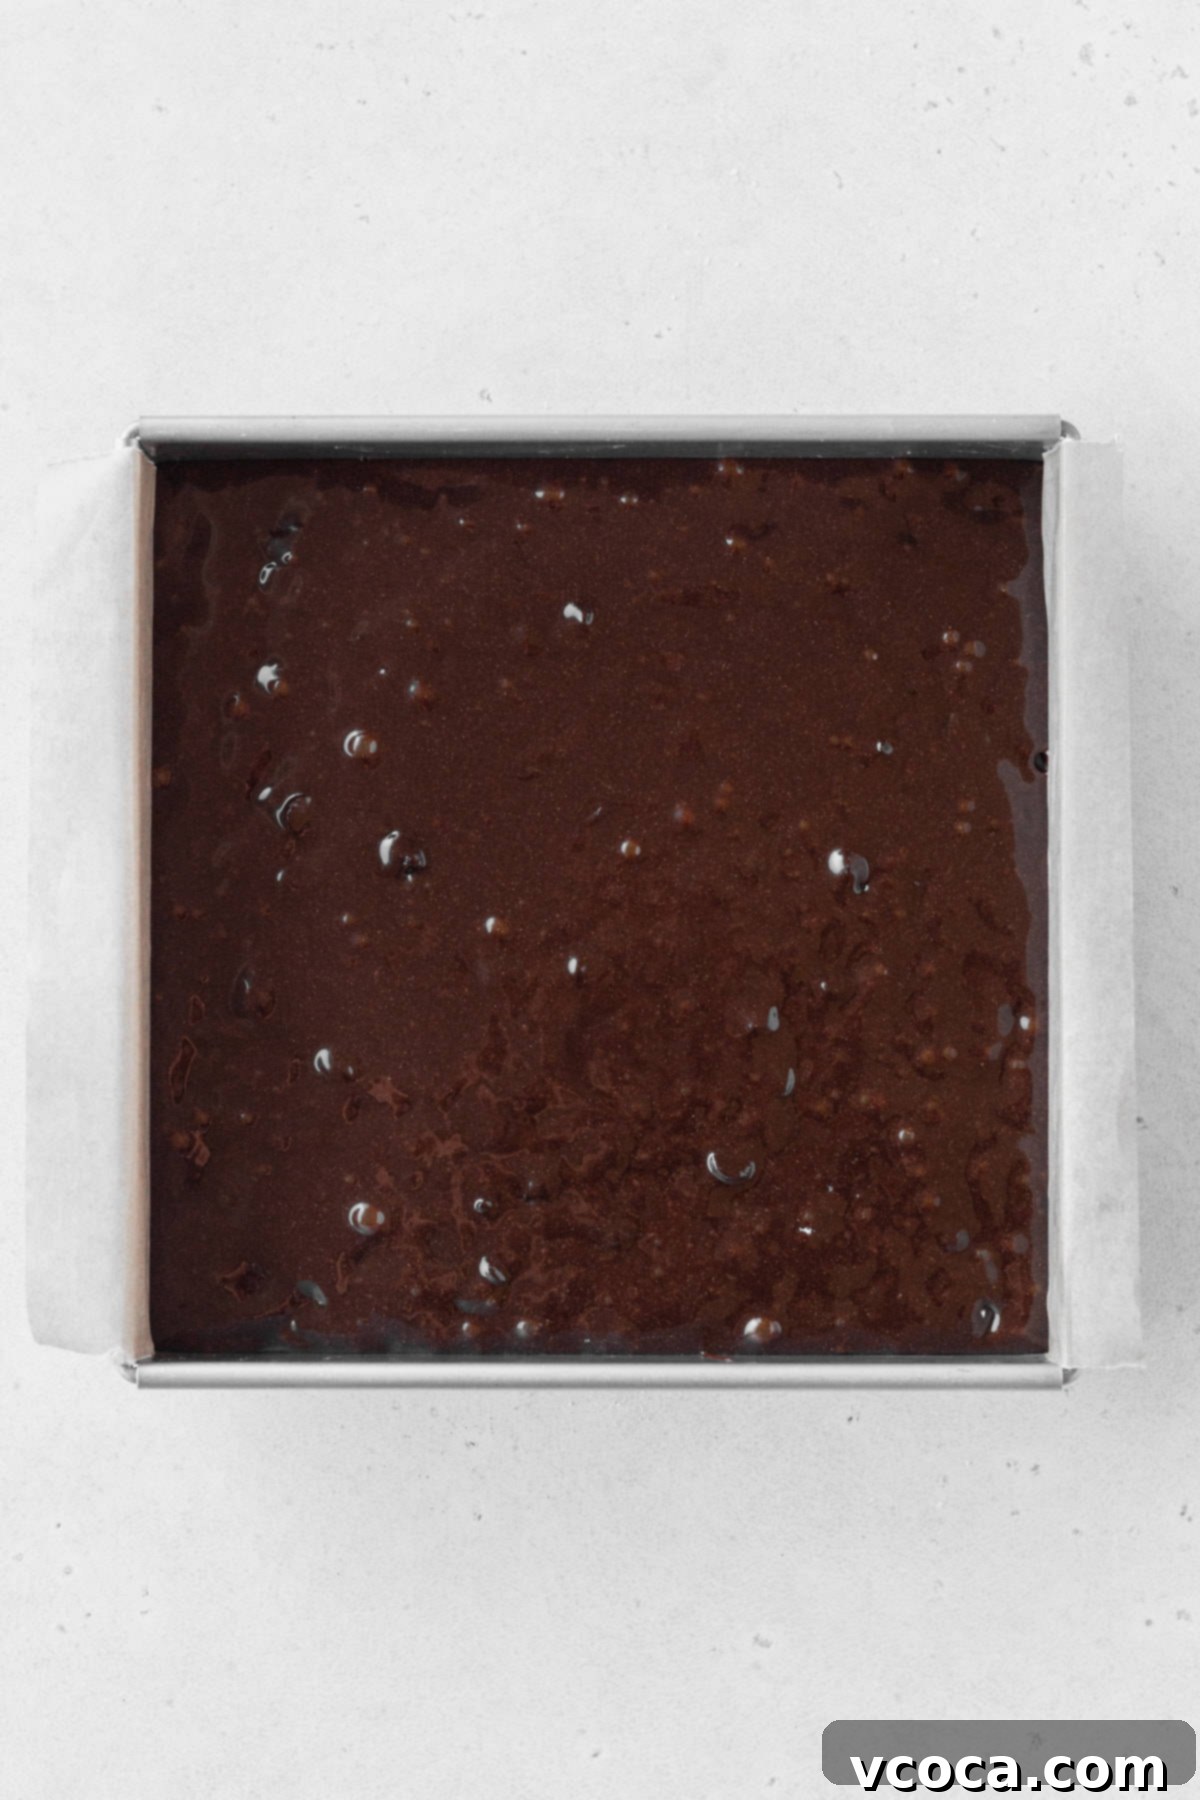
Step 6: Prepare for Baking. While your brownie batter is resting, preheat your oven to 350°F (180°C). Prepare an 8×8 inch square baking pan by greasing it lightly and lining it with parchment paper, leaving an overhang on two sides. This parchment paper sling will make it incredibly easy to lift the cooled brownies out of the pan.
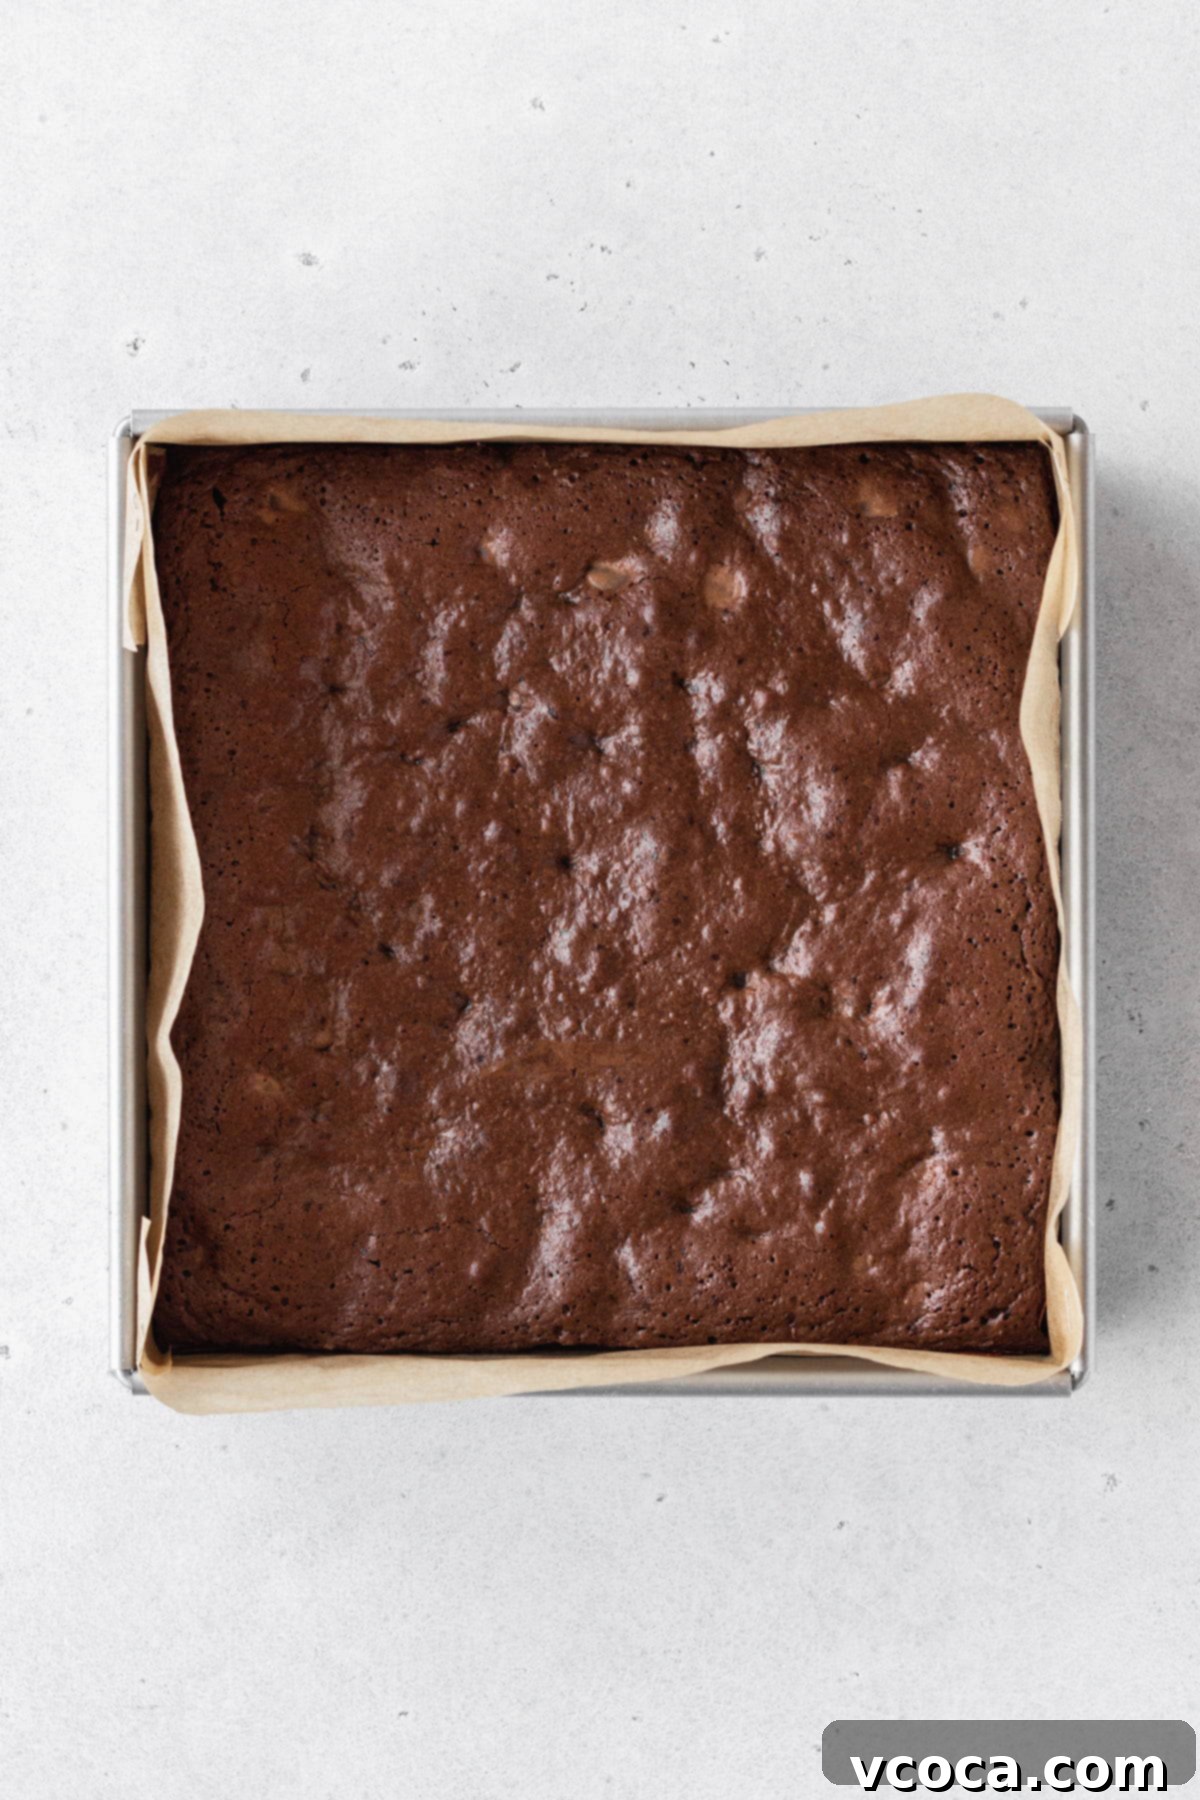
Step 7: Bake to Fudgy Perfection. Pour the rested brownie batter evenly into the prepared pan. Bake for approximately 30 minutes. The brownies are done when a toothpick inserted into the center comes out with moist crumbs, but not wet batter. As soon as the brownies come out of the oven, run a knife along the sides (between the brownies and the parchment paper) to release any sticking. This helps prevent the brownies from sinking in the center as they cool.
Step 8: Cool Completely Before Serving. This step is critical for achieving that perfect fudgy texture! Allow the brownies to cool completely in the pan on a wire rack before attempting to cut them or remove them. Gluten-free baked goods continue to set and firm up as they cool, and cutting them too soon can result in a mushy texture. Patience will be rewarded with perfectly fudgy squares.
Expert Tips for the Best Gluten-Free Brownies Every Time
Achieving brownie perfection, especially with a gluten-free recipe, often comes down to a few key techniques. Follow these expert tips to ensure your brownies are nothing short of spectacular:
- Achieve that Signature Crackly Top: The secret to a beautiful, shiny, crackly top lies in dissolving the sugar. By adding the granulated and brown sugars to the warm melted butter and chocolate mixture, you allow the sugar crystals to melt slightly. Whisking them thoroughly at this stage helps create a stable sugar crust on top that bakes into that desirable crackly finish.
- Choose the Right Baking Pan: The type of pan you use significantly impacts the brownies’ texture. I highly recommend using a light-colored metal square baking pan (like an 8×8 inch). Light metal conducts heat beautifully and evenly, preventing the edges from burning while ensuring the center cooks through perfectly. Darker pans can sometimes over-bake the edges too quickly, leading to dry, crispy perimeter brownies.
- Prevent Sinking with a Quick Knife Trick: Have you ever noticed your brownies sinking in the middle after coming out of the oven? To prevent this, as soon as your brownies are out of the oven, gently run a knife along the sides of the pan, between the brownies and the parchment paper. This slight separation helps release the edges, allowing the brownies to cool and settle evenly without collapsing in the center due to sudden temperature changes or residual steam.
- Patience is Key: Cool Completely: This might be the hardest tip to follow, but it’s absolutely essential for fudgy brownies. Gluten-free baked goods, in particular, continue to “cook” and set as they cool. If you cut into hot brownies, they will feel mushy, crumbly, and not fully set. Allowing them to cool completely (ideally for several hours or even overnight) allows the internal structure to firm up, resulting in that dense, ultra-fudgy texture we all crave.
- Slice Like a Pro with a Clean, Wet Knife: For perfectly neat, clean-cut brownie squares, use a large, sharp knife that has been run under hot water and then wiped clean. The warmth and slight dampness of the knife help it glide through the fudgy brownies without sticking or tearing. Wipe and re-dampen the knife between each cut to maintain those pristine edges.
Storage Instructions for Freshness
To enjoy your delicious gluten-free brownies for as long as possible, proper storage is key:
- Storing at Room Temperature or in the Refrigerator: Once completely cooled, store your brownies in an airtight container. They will stay fresh and fudgy at room temperature for up to 3 days. If you prefer a firmer, chewier brownie or live in a warm climate, storing them in the refrigerator can extend their freshness slightly and maintain their texture for up to a week.
- Freezing for Long-Term Enjoyment: Brownies freeze beautifully! To freeze them, first ensure they are completely cool. Then, individually wrap each square tightly in a couple of layers of plastic wrap. This prevents freezer burn and keeps them fresh. Place the individually wrapped brownies into a freezer-safe airtight container or a heavy-duty freezer bag. They can be stored in the freezer for up to 3 months. When ready to enjoy, simply thaw at room temperature or warm briefly in the microwave for a fresh-baked feel.
Gluten-Free Brownies FAQs
Absolutely! This recipe is a fantastic base for customization. You can get wonderfully creative with mix-ins to create your ultimate gluten-free chocolate brownie. Some popular ideas include toasted nuts (like walnuts or pecans), toffee bits, mini marshmallows, or even chopped gluten-free pretzels for a salty-sweet crunch. Just remember to double-check that any mix-ins you choose are certified gluten-free to maintain the integrity of the recipe.
Yes, you can easily double this recipe! If you’re baking for a larger crowd or just want more brownies (who wouldn’t?), simply double all the ingredient quantities. For baking, you’ll need a larger pan, specifically a 9×13-inch square baking tin. Keep in mind that a larger volume of batter will require a longer baking time, so be sure to monitor it closely and use the toothpick test to determine doneness.
Yes, making these brownies gluten-free and dairy-free is incredibly simple! The main dairy component is butter. You can effortlessly swap out the regular butter for a high-quality vegan butter stick. Brands like Miyoko’s Kitchen or Earth Balance vegan butter sticks are excellent choices that perform very similarly to dairy butter in baking, ensuring your brownies remain rich and fudgy. Also, be sure that your dark chocolate and chocolate chips are dairy-free.
While you can make these brownies dairy-free, I do not recommend attempting to make this specific recipe egg-free or fully vegan by substituting the eggs. The eggs in this recipe provide crucial moisture, binding, and structure, contributing significantly to the brownies’ characteristic fudgy texture. Omitting or poorly substituting them would likely result in brownies that are too mushy, crumbly, or simply lack the desired structure.
For consistent and delicious results in gluten-free baking, a good quality 1-to-1 or cup-for-cup gluten-free flour blend is essential. My personal go-to for all my baking, including these fudgy brownies, is Bob’s Red Mill Gluten-Free 1-to-1 Baking Flour. Other excellent options include Cup4Cup Wholesome Flour Blend and King Arthur’s Gluten Free Measure for Measure Flour. The most important thing is to ensure that your chosen flour blend explicitly states it contains xanthan gum, as this ingredient provides the necessary elasticity and structure that gluten-free baked goods often need.
The fudginess in these gluten-free brownies comes from a carefully balanced ratio of fat, sugar, and chocolate, with a relatively low amount of flour. Using both butter and dark chocolate, along with brown sugar for moisture, creates a dense, rich batter. Crucially, the baking time is also key; we bake them just until a toothpick comes out with moist crumbs, ensuring they’re cooked through but still incredibly moist and gooey in the center, rather than dry and cake-like.
Preventing dry gluten-free brownies boils down to two main factors: ingredients and baking time. Firstly, ensure you’re using enough fat (butter and dark chocolate) and moisture-rich ingredients like brown sugar and eggs. Secondly, and most importantly, do not overbake! Gluten-free flours can dry out quickly. Always pull your brownies from the oven when a toothpick inserted into the center still has moist crumbs attached. The brownies will continue to set as they cool, so slightly underbaking is better than overbaking for a truly fudgy result.
More Irresistible Gluten-Free Dessert Recipes
If you’re loving these fudgy gluten-free brownies, then you’re in for a treat! Here are more of my favorite gluten-free dessert recipes that are sure to satisfy your sweet tooth without compromising on flavor or texture:
- If you adore chocolate, this decadent gluten-free German chocolate cake or these delightful gluten-free whoopie pies will be absolutely perfect for you!
- This gluten-free coffee cake holds a special place in my heart as one of my all-time favorite cake recipes. It’s incredibly soft, moist, and buttery, featuring a delightful cinnamon sugar layer and a scrumptious crumb topping.
- For a classic treat, you simply can’t go wrong with these gluten-free sugar cookies. They are baked to a soft perfection with satisfyingly crisp bottoms, making them ideal for decorating for any holiday or special occasion!
- If you’re planning your holiday baking, be sure to include these festive gluten-free Christmas cookies. Their soft and chewy texture combined with a refreshing vanilla mint flavor is guaranteed to impress everyone on your list!
Gluten-Free Brownie Recipe
Print
Pin
Rate
Ingredients
- ½ cup butter regular or vegan
- ½ cup dark chocolate chips or chopped (70% cacao recommended)
- ½ cup granulated sugar
- ½ cup packed brown sugar (light or dark)
- 2 large eggs (room temperature)
- 1 tablespoon pure cocoa powder (Dutch-processed preferred)
- 1½ teaspoon vanilla extract (pure or paste)
- ½ teaspoon instant coffee (optional, regular or espresso)
- ½ cup gluten-free 1-to-1 flour blend (with xanthan gum, e.g., Bob’s Red Mill)
- ½ teaspoon fine salt (sea salt or Himalayan pink salt)
- ⅔ cup chocolate chips (semisweet, dark, milk, or white)
Instructions
-
In a small pot, melt together butter and dark chocolate over low heat. Stir consistently to avoid burning. Once they’re completely melted and smooth, take the pot off the heat.
-
Add the granulated sugar, brown sugar, and cocoa powder to the warm mixture and whisk together until it’s combined and glossy. Add the eggs one at a time, whisking vigorously after each addition until fully incorporated.
-
Stir in the vanilla extract and instant coffee granules (if using) and mix until combined.
-
In a separate small bowl, mix together the gluten-free flour blend and fine salt. Add this dry mixture to the pot and mix the batter gently with a whisk until smooth and no flour streaks remain.
-
Switch to a spatula or wooden spoon and gently fold in the chocolate chips until evenly distributed. Set the pot aside and let the brownie batter rest for 20 minutes to allow the flour to hydrate.
-
While the batter rests, preheat the oven to 350°F (180°C). Grease an 8×8 inch square pan and line it with parchment paper, leaving an overhang on two sides for easy removal.
-
Pour the rested brownie batter into the prepared pan and bake for 30 minutes. The brownies are done when a toothpick inserted into the center comes out with moist crumbs. Immediately after removing from the oven, run a knife along the sides (between the brownies and parchment paper) to prevent sinking.
-
Let the brownies cool completely in the pan on a wire rack before carefully lifting them out with the parchment paper, cutting into squares, and serving. This step is crucial for the fudgiest texture.
Notes
Dairy-Free Option: To make these brownies completely dairy-free, simply swap out the regular butter for a high-quality vegan butter (like Miyoko’s Kitchen or Earth Balance sticks). Ensure your dark chocolate and chocolate chips are also certified dairy-free.
Storage Tips: Store the cooled brownies in an airtight container at room temperature for up to 3 days for peak freshness. For longer storage, wrap individual squares tightly in plastic wrap and then place them in a freezer bag or airtight container. They can be frozen for up to 3 months.
Nutrition
We hope this comprehensive guide inspires you to bake the most incredible fudgy gluten-free brownies you’ve ever tasted! They’re proof that delicious desserts don’t have to be complicated or contain gluten. Enjoy every rich, chocolatey bite, and don’t forget to share your creations with us!
