The Best Fluffy & Crispy Strawberry Waffles Recipe (Easy 30-Minute Breakfast!)
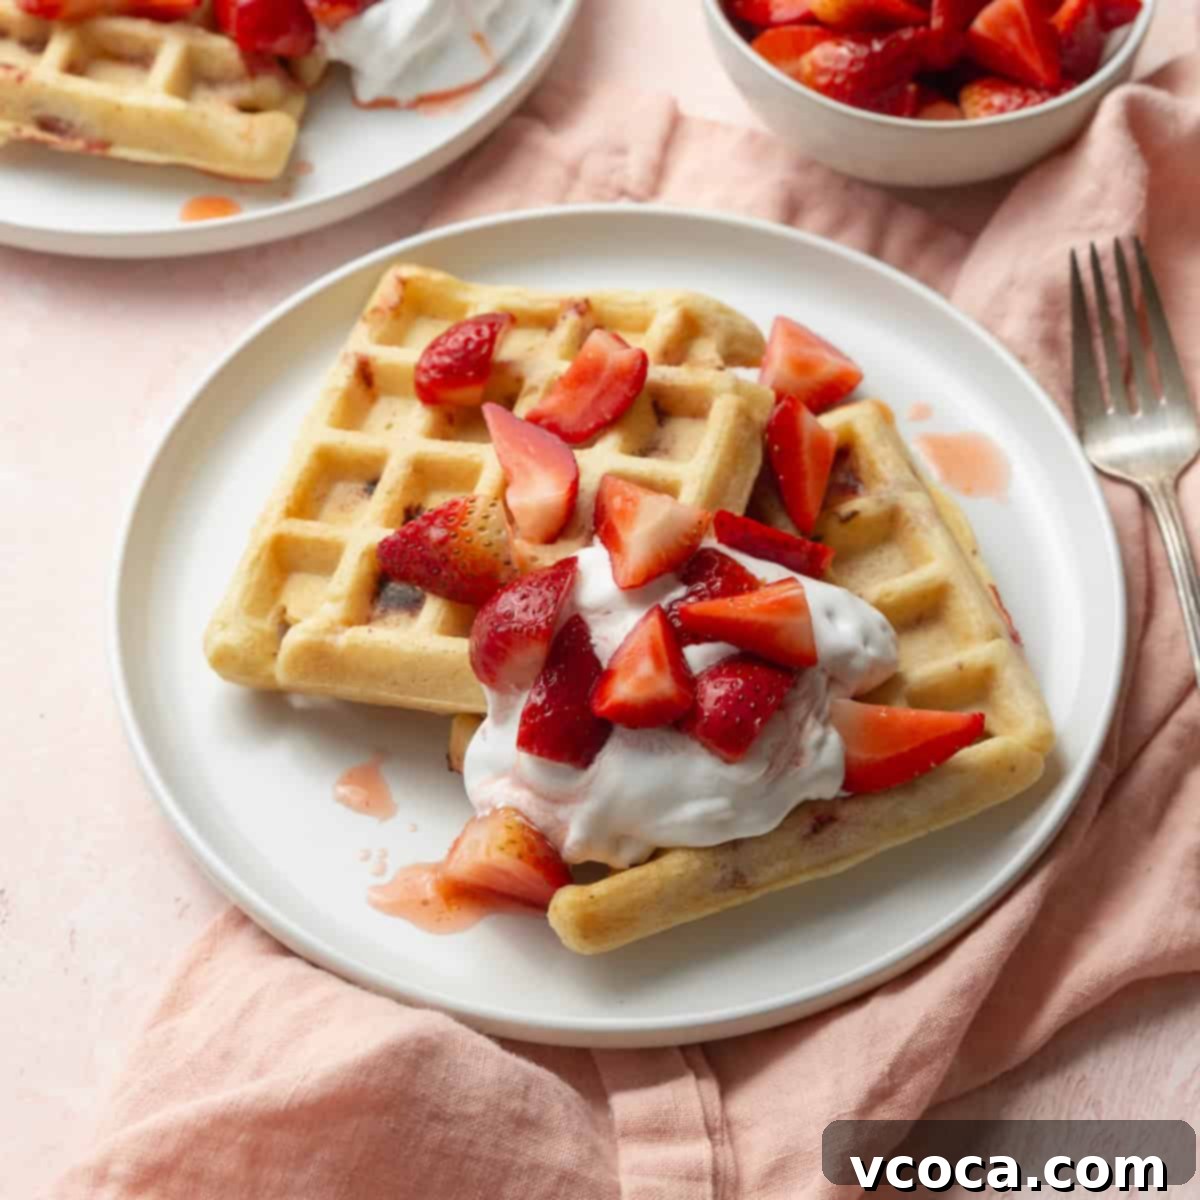
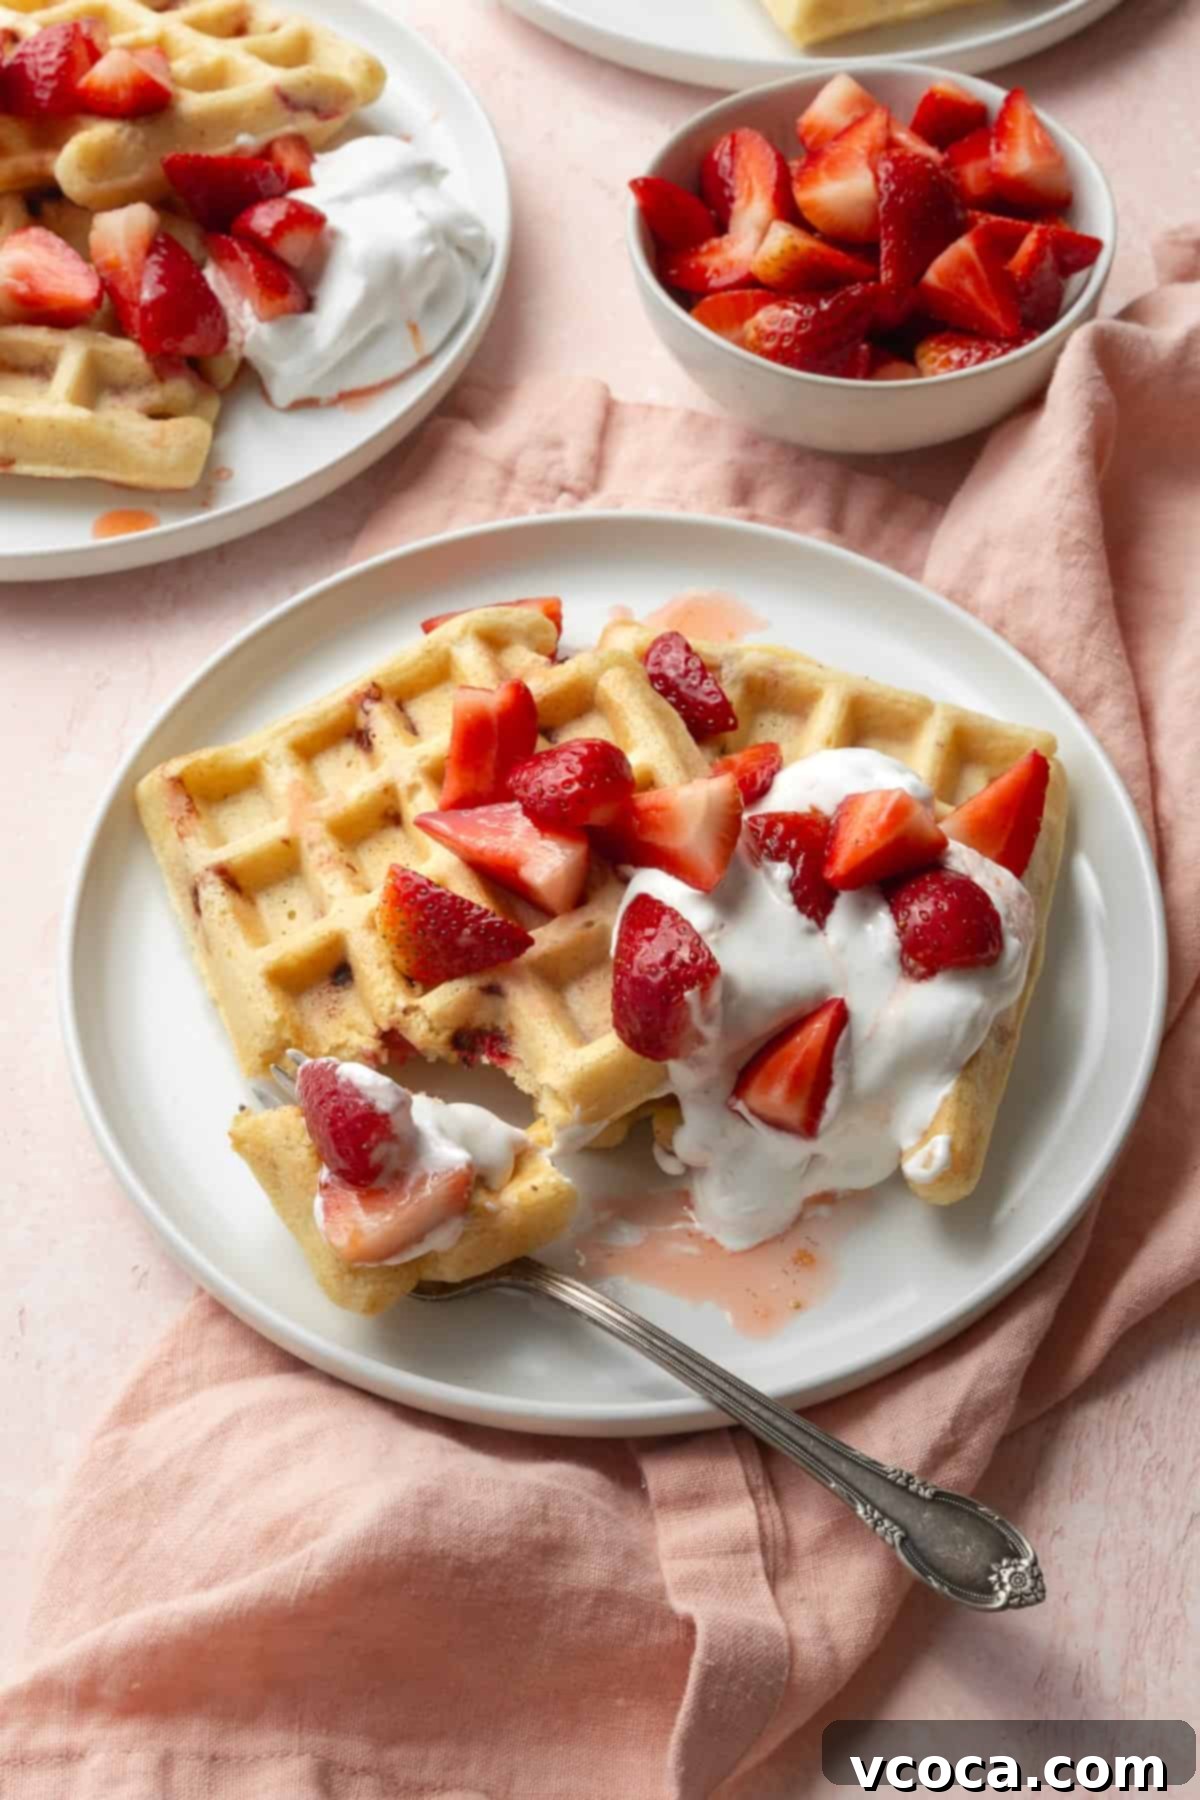
Imagine biting into a waffle that’s perfectly crisp on the outside, yet wonderfully fluffy and chewy on the inside, bursting with the sweet, vibrant flavor of fresh strawberries. This dream can be your reality with our ultimate **strawberry waffles recipe**! Packed with ripe, juicy strawberries and a hint of warm vanilla, these waffles are surprisingly easy to make and come together in just 30 minutes. They are truly perfect for a delightful weekend breakfast, a special brunch, or even a comforting late-night treat.
As a passionate home baker, I can confidently say that I never tire of making or eating waffles. There’s something undeniably comforting and satisfying about them. After numerous batches and extensive taste tests (involving an abundance of fresh strawberries!), I’ve perfected this recipe to deliver light, airy waffles that are intensely flavored with natural, fresh strawberry goodness. Get ready to elevate your breakfast game!
Recipe Highlights: Why You’ll Love These Strawberry Waffles
These aren’t just any waffles; they’re an experience! Here’s what makes this strawberry waffle recipe truly stand out:
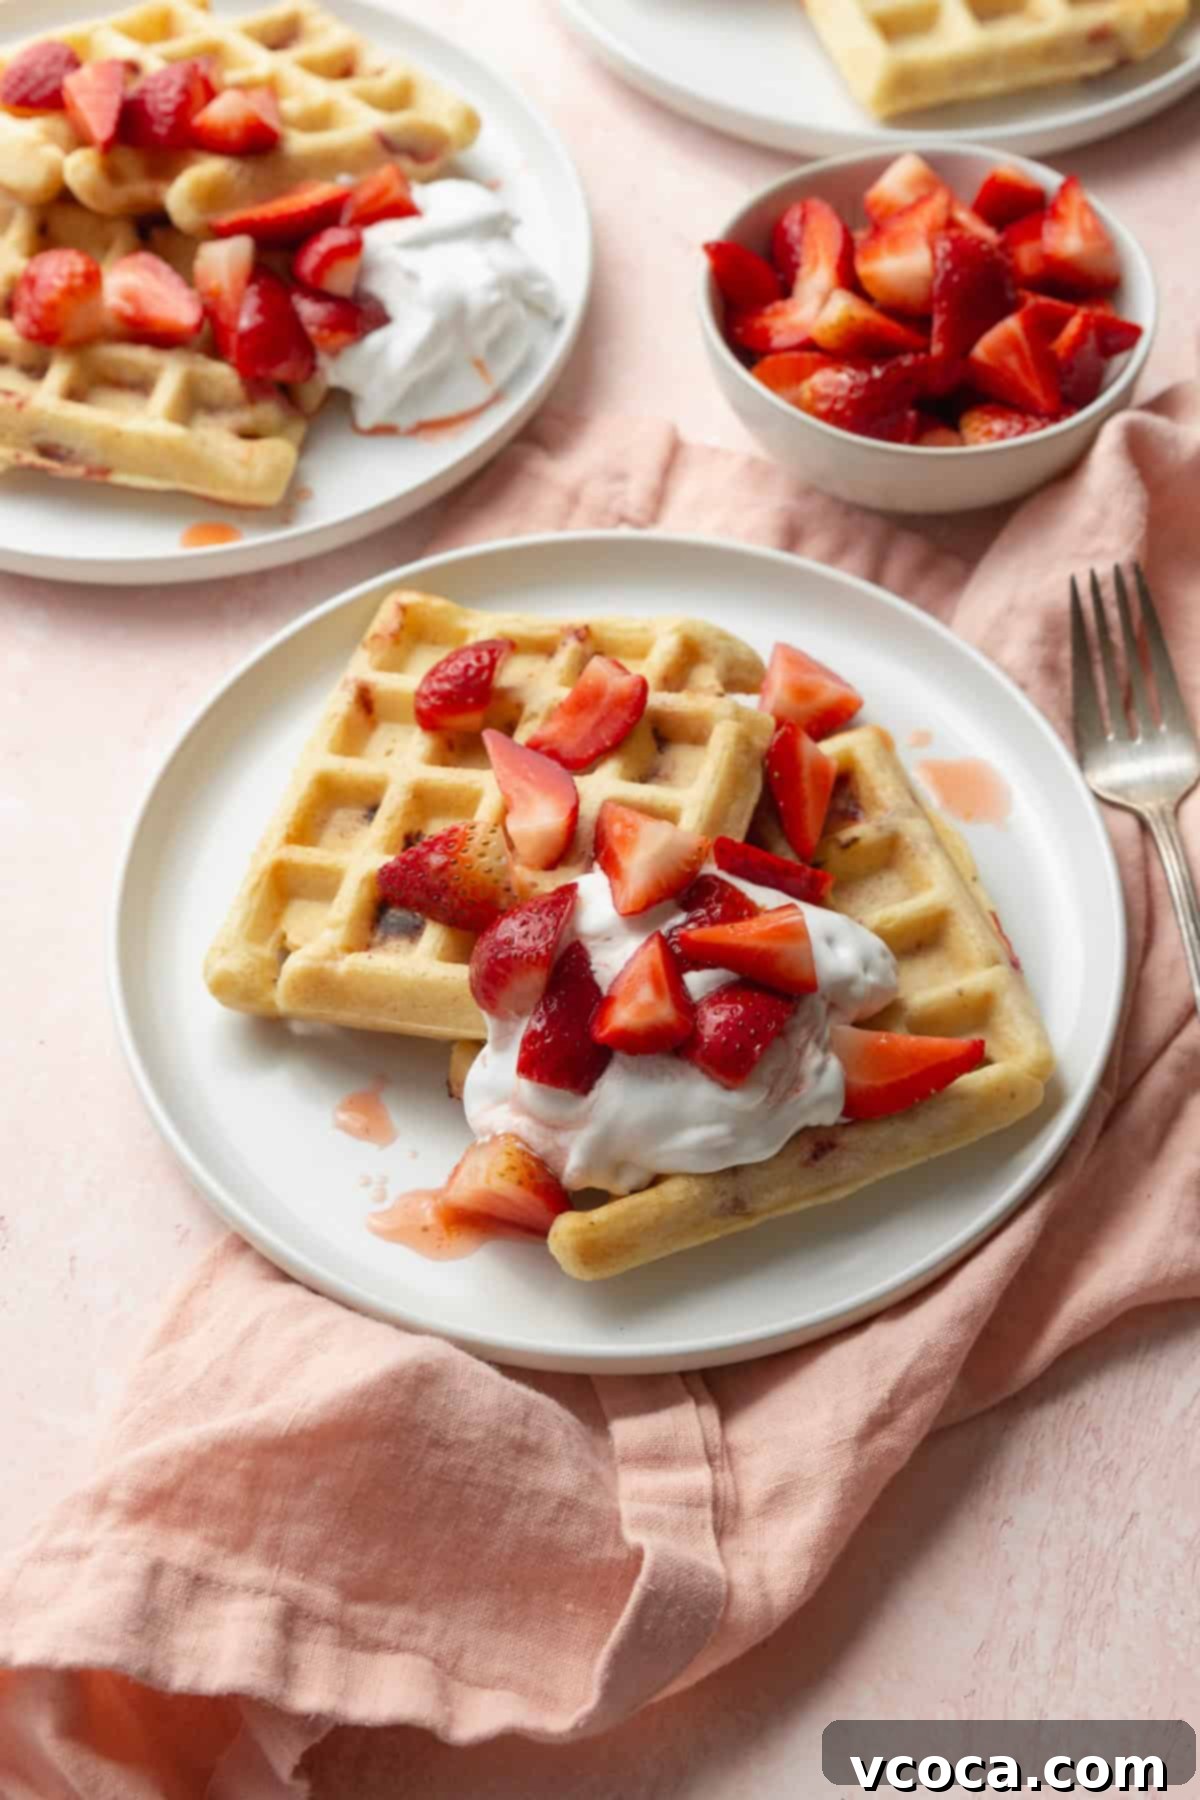
- Explosion of Fresh Flavors: We use only real, fresh strawberries, ensuring a naturally sweet and fruity taste that shines through in every single bite. Say goodbye to artificial flavors and hello to authentic berry goodness! The vanilla extract perfectly complements the strawberries, adding depth and warmth.
- Incredibly Quick and Easy: From mixing the batter to serving golden-brown waffles, this entire process takes just about 30 minutes. This makes them ideal for bustling weekend mornings, spontaneous brunch gatherings, or even a convenient option for meal prepping healthy, delicious breakfasts throughout the week.
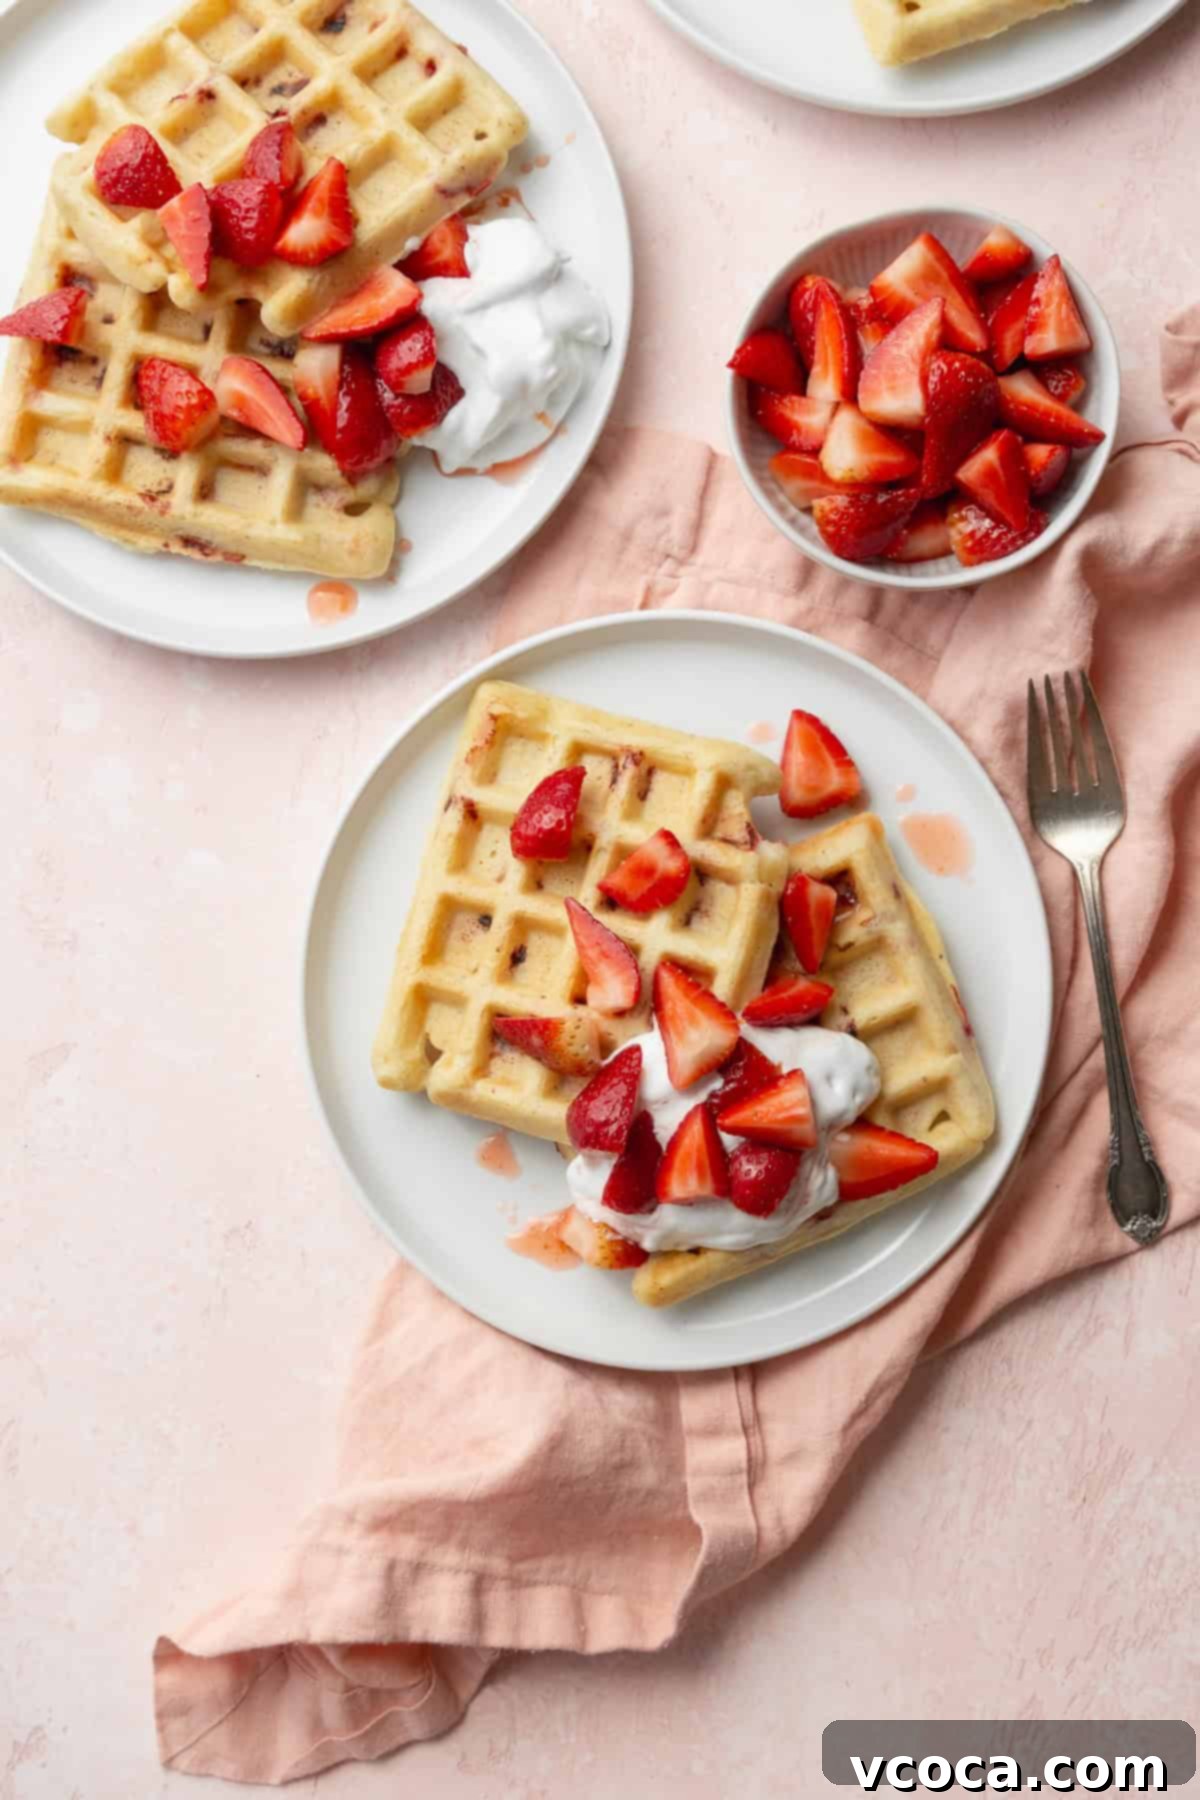
- Perfect Texture Every Time: The hallmark of a great waffle is its texture, and this recipe delivers! Expect a delightful contrast of a wonderfully crispy exterior that gives way to a tender, fluffy, and chewy interior. This texture holds up beautifully, even when you experiment with gluten-free or dairy-free substitutions.
- Endlessly Customizable: While fresh strawberries are the star, this recipe is incredibly versatile. Feel free to swap out the strawberries for other seasonal berries like blueberries or raspberries, or indulge your sweet tooth by adding chocolate chips for a decadent twist. The possibilities are truly endless!
- Simple, Wholesome Ingredients: You won’t find any obscure items on this ingredient list. We focus on common pantry staples, making this recipe accessible and budget-friendly.
Essential Ingredient Notes for Perfect Strawberry Waffles
This delightful strawberry waffle recipe relies on simple, uncomplicated ingredients that you likely already have in your kitchen. However, a few key components deserve special attention to ensure your waffles turn out perfectly every time:
All-purpose Flour: This forms the base of our fluffy waffles. For those with dietary restrictions, you can effortlessly substitute with a gluten-free measure-for-measure flour blend (I highly recommend Bob’s Red Mill 1-to-1 Baking Flour) to make this recipe completely gluten-free without compromising on texture or taste. Sifting your flour can also lead to an even lighter batter and fluffier waffles.
Cornstarch: This secret ingredient is what makes these waffles exceptionally light, tender, and gives them that coveted crispiness! Cornstarch helps to inhibit gluten development, resulting in a softer crumb, and also aids in absorbing moisture for a crispier finish.
Buttermilk: Buttermilk is crucial for achieving that signature moist and fluffy texture, as well as a slight tang that balances the sweetness. Its acidity reacts with the baking powder, providing excellent leavening. If you don’t have buttermilk on hand, don’t fret! You can easily make your own: In a glass measuring cup, pour 1¾ cups of whole milk or unsweetened non-dairy milk. Remove 5 teaspoons of milk and replace it with 5 teaspoons of apple cider vinegar (or lemon juice). Give it a gentle mix and let it sit undisturbed for 5 minutes until it slightly curdles. Voila, homemade buttermilk!
Fresh Strawberries: The star of the show! Always opt for fresh, ripe strawberries for the best flavor and texture. Dice them into small pieces (about ¼-inch) to ensure you get a delightful burst of strawberry in every single bite without making the waffles too soggy or heavy. Smaller pieces also distribute more evenly throughout the batter.
Granulated Sugar: Provides just the right amount of sweetness to complement the natural tartness of the strawberries and helps with browning for a golden crust.
Fine Sea Salt: A pinch of salt is essential to enhance all the other flavors, bringing out the sweetness of the strawberries and vanilla.
Baking Powder: Our primary leavening agent, working with the buttermilk to create those beautiful, airy pockets that make waffles so fluffy.
Large Eggs: Act as a binder, provide structure, and add richness to the batter, contributing to both texture and flavor.
Avocado Oil (or other neutral oil): A neutral-flavored oil like avocado oil, canola oil, or melted coconut oil (if you don’t mind a slight coconut flavor) adds moisture and contributes to the crispy exterior without overpowering the delicate strawberry taste.
Vanilla Extract: A touch of vanilla extract rounds out the flavors, adding a warm, aromatic note that beautifully complements the fresh strawberries.
Top Tips for Perfect Strawberry Waffles Every Time
While these strawberry waffles are incredibly easy to make, a few simple tips can ensure they come out perfectly crisp, fluffy, and full of flavor:
- Do Not Overmix the Batter: This is arguably the most crucial tip for fluffy waffles. Overmixing develops the gluten in the flour, leading to tough, dense waffles. Stir the batter just until the dry ingredients are barely combined with the wet ingredients. A few small lumps are perfectly fine – they’ll disappear during cooking, and your waffles will be much more tender.
- Toss the Diced Strawberries in Dry Ingredients: This is a game-changer! Before adding your diced fresh strawberries to the wet batter, toss them with a tablespoon of the reserved dry flour mixture. This coating helps to absorb any excess juices from the strawberries, preventing them from sinking to the bottom of the batter and clumping together. It also ensures even distribution of strawberries throughout each waffle and prevents pockets of gloopy, uncooked batter around the fruit.
- Generously Grease the Waffle Iron: Fresh fruit, especially berries, can be prone to sticking to the waffle iron, even if it has a non-stick coating. Make sure your waffle iron is properly heated and generously greased with oil or nonstick cooking spray before pouring in the first batch of batter, and then lightly re-grease between subsequent batches to prevent sticking.
- Preheat Your Waffle Iron Properly: A hot waffle iron is essential for achieving a crispy exterior and even cooking. Allow your waffle iron to fully preheat according to the manufacturer’s instructions before adding any batter. Most waffle irons have an indicator light that signals when it’s ready.
- Don’t Overfill Your Waffle Iron: It’s tempting to try and squeeze in as much batter as possible, but overfilling can lead to unevenly cooked waffles and messy overflow. Start with the recommended amount (usually around ⅓ to ½ cup per waffle, depending on your maker) and adjust as needed for your specific waffle iron.
- Serve Immediately for Best Texture: Waffles are best enjoyed fresh off the iron. The heat helps maintain their crispiness. If you’re cooking for a crowd and need to keep them warm, see our FAQ section for instructions on how to do so without losing their crispness.
Strawberry Waffle Recipe
Print
Pin
Rate
Ingredients
- 2¼ cup all-purpose flour
- 2 tablespoons cornstarch
- 2 tablespoons granulated sugar
- ½ teaspoon fine sea salt
- 1 tablespoon baking powder
- 2 large eggs
- 1¾ cup buttermilk
- ¼ cup avocado oil or any neutral flavor oil
- 1 teaspoon vanilla extract
- 1 cup diced strawberries
Instructions
-
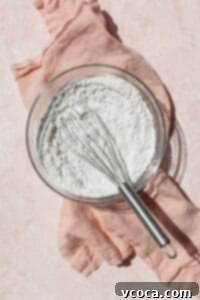
In a medium bowl, whisk together the all-purpose flour, cornstarch, granulated sugar, fine sea salt, and baking powder until well combined. Set aside one tablespoon of this dry mixture for coating the strawberries later.
-
In a separate large bowl, combine the large eggs, buttermilk, avocado oil, and vanilla extract. Whisk these wet ingredients until they are well blended.

-
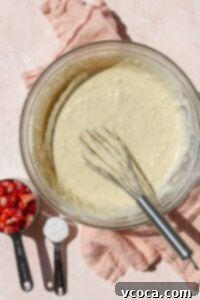
Add the dry ingredients (from Step 1, excluding the tablespoon you set aside) to the wet ingredients. Mix gently using a whisk or spatula until just combined. Be careful not to overmix; a few lumps are normal and desirable for tender waffles.
-
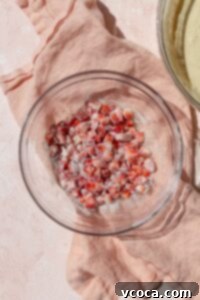
In a small, separate bowl, toss the diced strawberries with the reserved tablespoon of dry ingredients. Ensure all the strawberry pieces are lightly coated. This step helps prevent them from sinking and ensures even distribution.
-
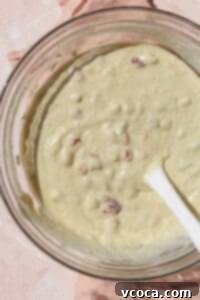
Gently fold the coated strawberries into the waffle batter using a spatula. Mix just enough to distribute them evenly throughout the batter.
-
Heat your waffle iron according to its manufacturer’s directions, and grease it well with oil or nonstick cooking spray. Pour in approximately ⅓ cup of batter (adjust the amount based on your specific waffle maker’s size) and cook until your waffles are beautifully golden brown and crispy. My waffle iron typically takes about 5 minutes per waffle.

Notes
Dairy-free: For a dairy-free version, simply replace the regular buttermilk with 1¾ cups (420ml) of unsweetened non-dairy milk (like almond, soy, or oat milk). To create a dairy-free “buttermilk” substitute, remove 5 teaspoons (25ml) of the non-dairy milk and replace it with 5 teaspoons of apple cider vinegar (or lemon juice). Stir and let it sit for 5 minutes until it slightly curdles before using.
Nutrition
Variations & Serving Suggestions for Your Strawberry Waffles
Unleash Your Creativity: Waffle Variations
While this classic strawberry waffle recipe is perfect as is, it’s also a fantastic canvas for your culinary imagination. Don’t hesitate to experiment with these delicious variations:
- Mixed Berry Waffles: Instead of just strawberries, try a blend of your favorite berries! Blueberries, raspberries, or blackberries (fresh or thawed and drained if frozen) would be delightful.
- Chocolate Chip Strawberry Waffles: For a decadent treat, fold in ½ cup of mini chocolate chips along with the strawberries. The combination of sweet strawberries and melting chocolate is irresistible.
- Lemon Strawberry Waffles: Add a bright, zesty twist by incorporating 1-2 teaspoons of fresh lemon zest into the dry ingredients. The lemon will enhance the strawberry flavor beautifully.
- Spiced Strawberry Waffles: A pinch of cinnamon (½ teaspoon) or a dash of nutmeg can add a wonderful warmth and depth to your waffles, especially during cooler months.
- Whole Wheat Option: For a slightly healthier and heartier waffle, you can substitute up to half of the all-purpose flour with whole wheat flour. Note that this might result in a slightly denser waffle.
Delicious Serving Suggestions
Once your golden, crispy strawberry waffles are ready, it’s time to load them up with your favorite toppings! Here are some ideas to make them even more special:
- Classic Indulgence: A generous dollop of whipped cream (or coconut whipped cream for dairy-free), a drizzle of pure maple syrup, and a sprinkle of powdered sugar.
- Macerated Strawberries: Elevate the fresh strawberry flavor by serving them with macerated strawberries. To do this, combine 1 pound (453g) of quartered or sliced fresh strawberries, 1 tablespoon of granulated sugar, ½ teaspoon of lemon zest, 1 teaspoon of lemon juice, and a pinch of salt in a bowl. Gently mix and let it sit in the fridge for at least 30 minutes (or while you prepare the waffles). The sugar draws out the natural juices, creating a luscious, syrupy topping.
- Yogurt Parfait Style: Top your waffles with a scoop of Greek yogurt (or dairy-free yogurt) for a protein boost, then layer with more fresh berries and a sprinkle of granola.
- Nutella Dream: Spread a thin layer of Nutella (or your favorite chocolate spread) over the warm waffles, then top with strawberries.
- Ice Cream Delight: For a dessert-like experience, serve warm waffles with a scoop of vanilla bean ice cream and a drizzle of strawberry sauce.
- Savory Pairing: Don’t forget that waffles can be part of a full breakfast spread! Serve alongside crispy bacon, scrambled eggs, or breakfast sausage for a sweet and savory balance.
Frequently Asked Questions About Strawberry Waffles
Yes, you can use frozen strawberries, but fresh strawberries are highly recommended for the best flavor and texture in your waffles. Frozen berries contain significantly more moisture, which can lead to a slightly soggier waffle or dilute the batter. If you must use frozen, make sure to thaw them completely first and discard any excess liquid. Critically, do not skip the step of tossing them in a tablespoon of dry ingredients (flour mixture) after thawing and draining. This helps to absorb residual moisture and prevents them from coloring your batter excessively or sinking to the bottom.
To keep your freshly cooked waffles warm and prevent them from becoming soggy while you prepare the rest of the batch, preheat your oven to 200°F (95°C). Place a wire rack directly on a baking sheet. As each waffle finishes cooking, transfer it to the wire rack in the warm oven. The rack allows air to circulate, keeping them crispy, and the low oven temperature ensures they stay warm without overcooking.
These strawberry waffles are incredibly versatile when it comes to toppings! Classic choices include a dollop of whipped cream (or coconut whipped cream), a generous drizzle of pure maple syrup, or a dusting of powdered sugar. For an extra boost of fresh strawberry flavor, I love to top mine with macerated strawberries. To quickly make macerated strawberries, simply combine 1 pound (453g) of quartered or sliced fresh strawberries, 1 tablespoon of granulated sugar, ½ teaspoon of lemon zest, 1 teaspoon of lemon juice, and a pinch of salt in a bowl. Let this mixture sit in the fridge for at least 30 minutes while you prepare your waffle batter and cook the waffles. Other fantastic options include a scoop of vanilla ice cream, Greek yogurt, or even a smear of Nutella.
Storing and Reheating Your Strawberry Waffles
These strawberry waffles are so good, you might not have any leftovers! But if you do, here’s how to store and reheat them to maintain their deliciousness:
Refrigerate: Allow any leftover waffles to cool completely to room temperature before storing them. Place the cooled waffles in an airtight container or a resealable plastic bag in the refrigerator for up to 3 days. Ensure they are completely cool to prevent condensation, which can make them soggy.
Freezing: Waffles freeze beautifully! Once completely cooled, place them in a single layer on a baking sheet and freeze for about 30 minutes, or until solid. This prevents them from sticking together. Then, transfer the partially frozen waffles to a freezer-safe bag or airtight container, separated by parchment paper if stacking, and store them in the freezer for up to 2 months. They are perfect for a quick, grab-and-go breakfast!
Reheating: For the best results and to revive their crispiness, pop a frozen or refrigerated waffle directly into a toaster or toaster oven until it’s warm through and crispy, typically 2-4 minutes depending on your appliance. You can also reheat them in a conventional oven at 350°F (175°C) for about 5-10 minutes, flipping halfway through. Avoid microwaving, as this will make them soft and chewy rather than crispy.
More Irresistible Breakfast Recipes to Try
If you’ve fallen in love with these strawberry waffles, you’re in for a treat! Here are more of my favorite breakfast and brunch recipes that are just as delicious and satisfying:
- If you’re craving more delightful waffles, don’t miss these Red Velvet Waffles! They boast a wonderfully chewy texture with a subtle hint of cocoa, and they are absolutely divine when generously drizzled with a tangy cream cheese icing.
- My fellow gluten-free readers, rejoice! You absolutely must try my dedicated Gluten-Free Waffle Recipe. I love keeping a batch of these in my freezer for quick, effortless breakfasts or as a convenient, wholesome snack for my kids.
- Got some overripe bananas sitting on your counter? Don’t let them go to waste! These hearty Peanut Butter Banana Oatmeal Breakfast Bars are packed with wholesome oats, natural banana sweetness, and the rich flavor of peanut butter – perfect for an on-the-go meal.
- If you’re a cereal-for-breakfast person but looking for something homemade and delicious, give my Gluten-Free Granola Recipe or my festive Apple Pie Granola recipe a try. Both are incredibly easy to prepare and remarkably versatile. They’re delicious with milk, layered with yogurt and fruit, or even sprinkled on top of ice cream for a delightful dessert crunch.
- For pancake lovers, these incredibly simple Muffin Mix Pancakes only require 3 ingredients and work beautifully with any muffin mix you have on hand, including gluten-free varieties! I also have these equally delicious Gluten-Free Banana Chocolate Chip Pancakes that are sure to be a family favorite.
Enjoy creating these fantastic breakfast dishes and sharing them with your loved ones!
