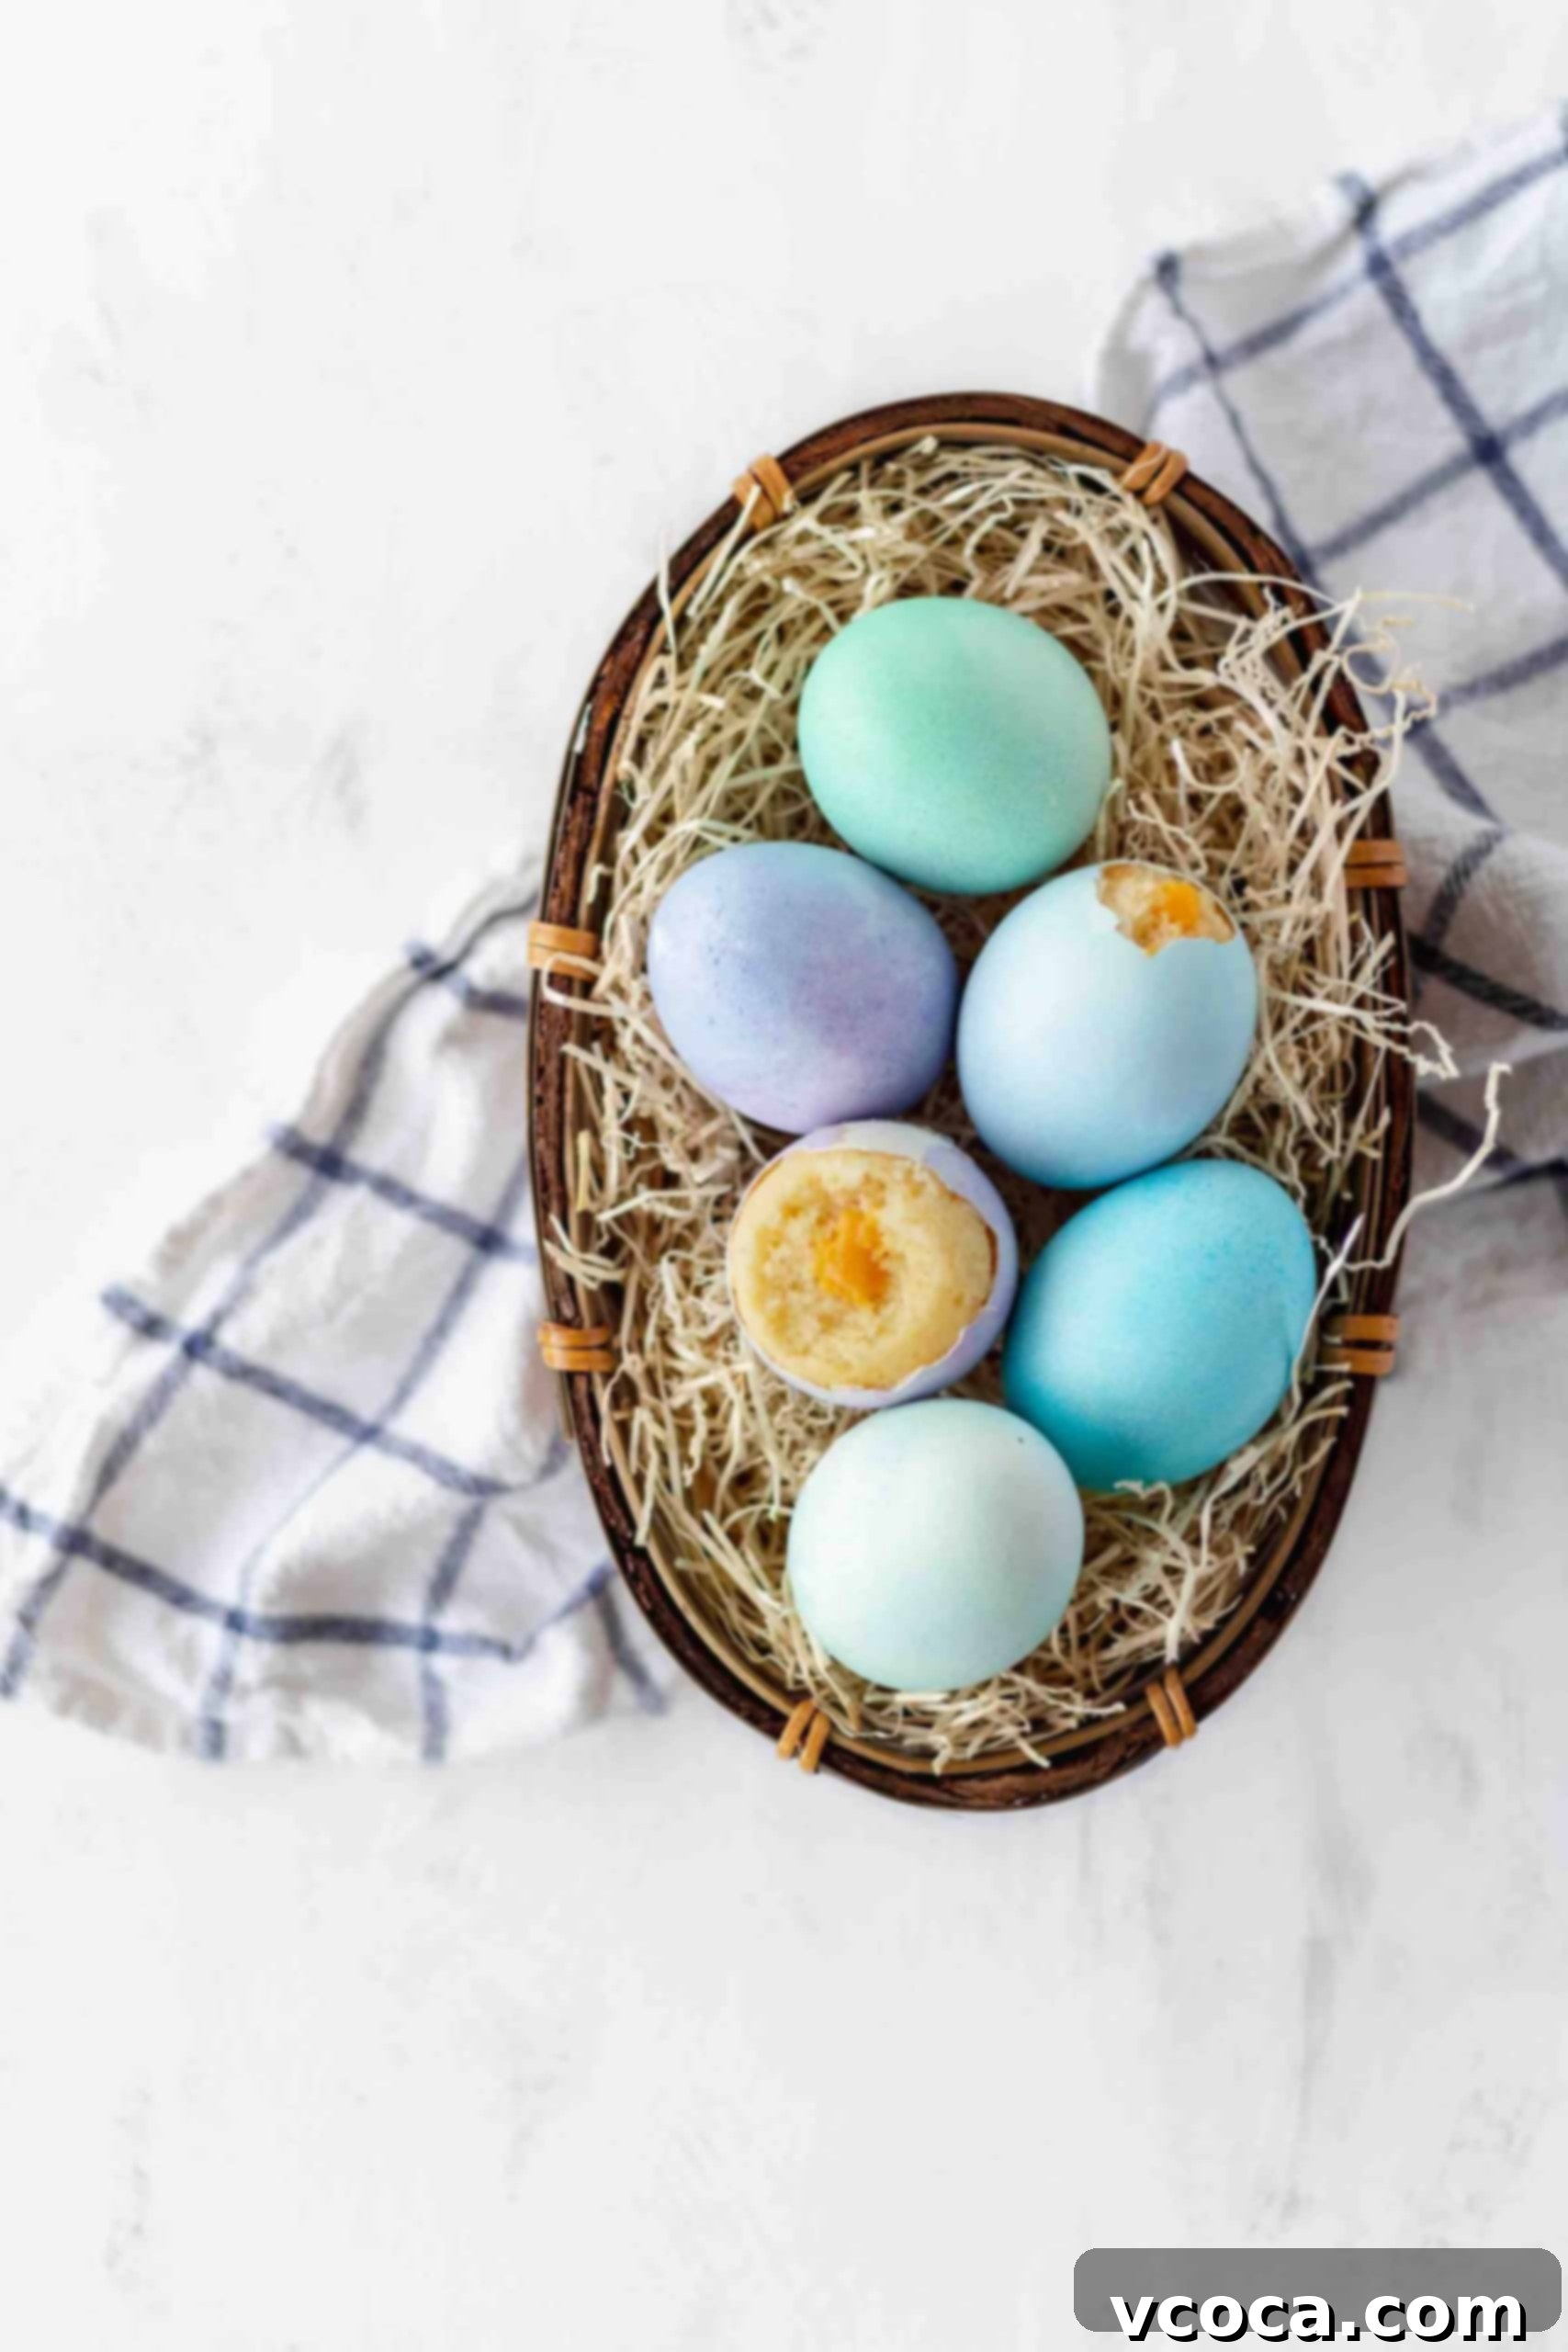
Unlock the Magic of Easter: Delicious Eggshell Cupcakes with a Surprise Carrot Curd “Yolk”
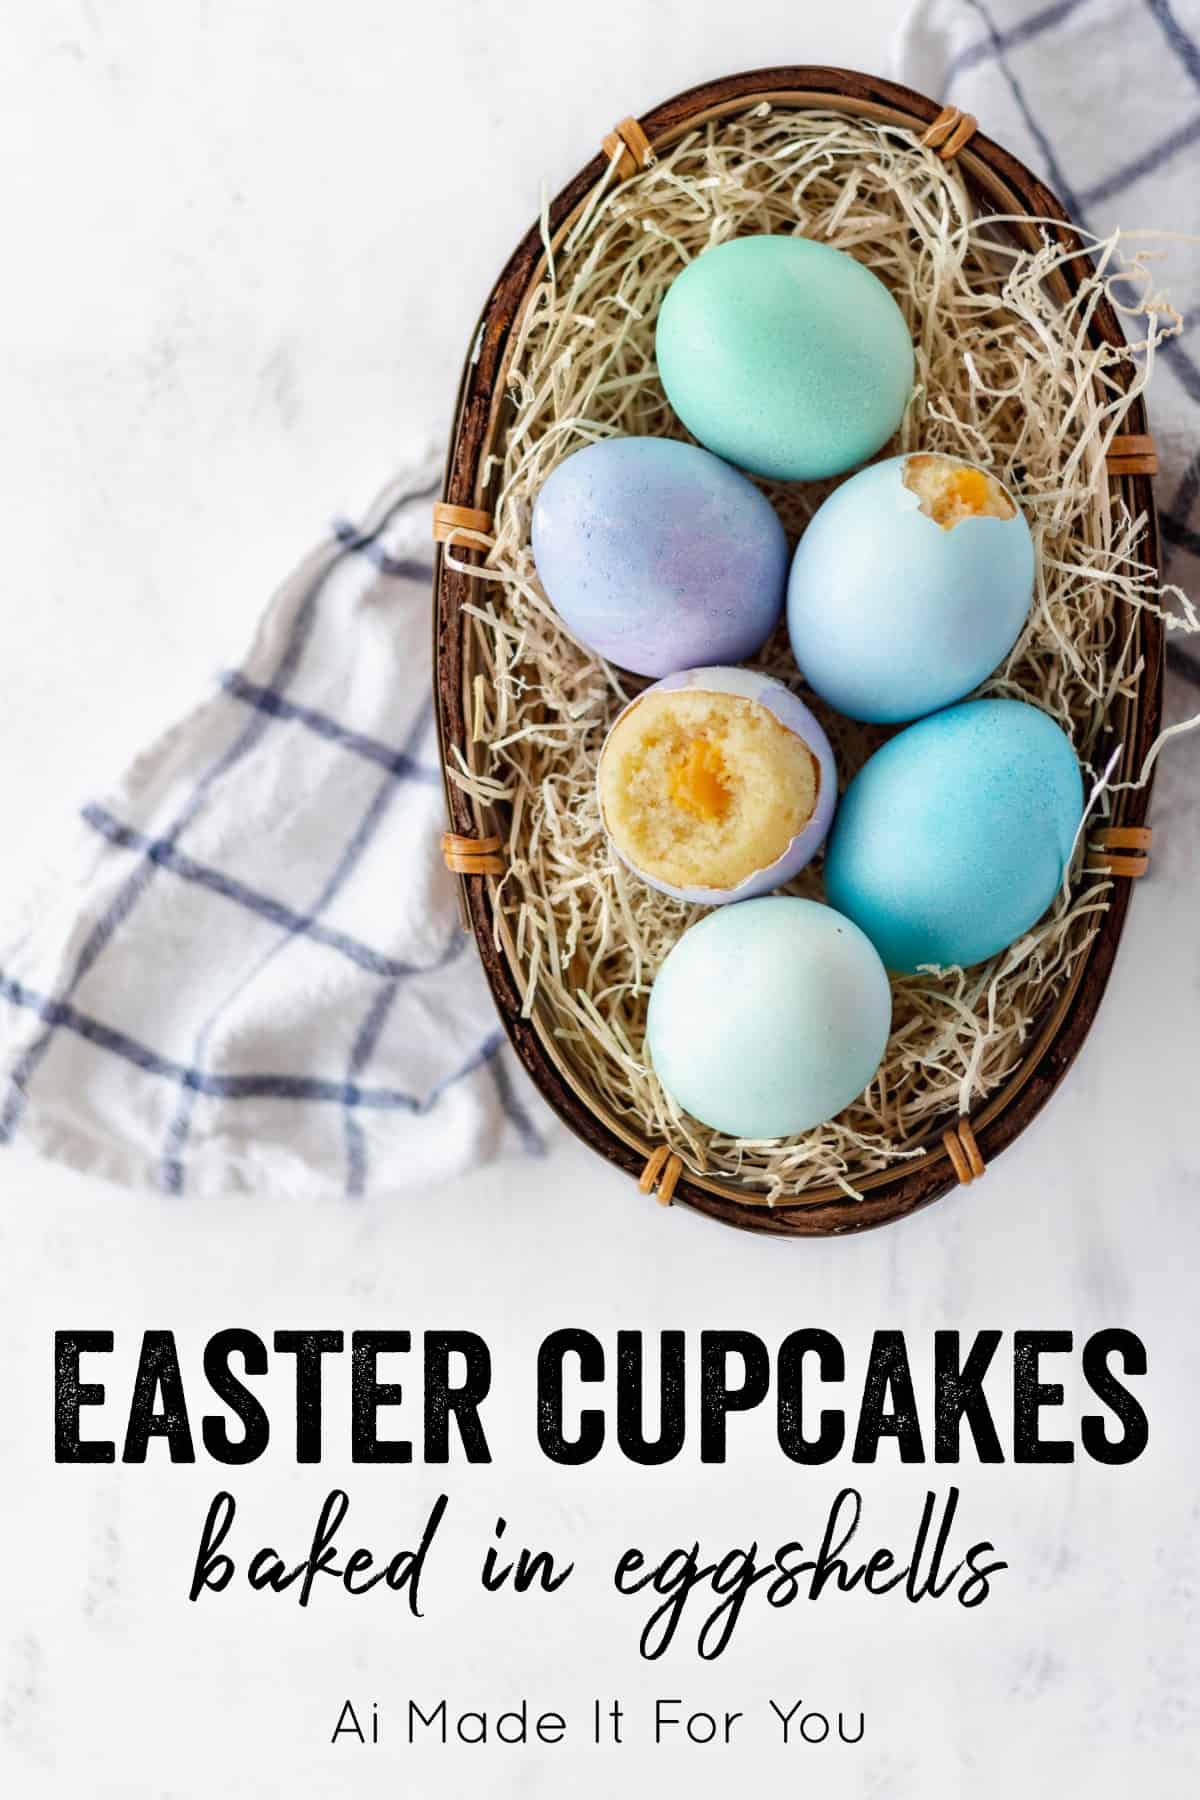
Prepare for an extraordinary Easter surprise that will delight and amaze everyone at your table! These aren’t just any Easter cupcakes; they are fluffy vanilla cakes baked ingeniously inside real eggshells. But the magic doesn’t stop there. When your guests crack open these seemingly ordinary dyed eggs, they’ll discover a soft, vibrant “yolk” made from a luscious carrot curd. It’s a truly unforgettable culinary experience that combines whimsical presentation with irresistible flavor.
Beyond being the ultimate Easter treat, these eggshell cupcakes also double as a fantastic April Fools’ prank. Imagine serving a carton of what looks like regular hard-boiled eggs, only to reveal a sweet, cakey surprise inside! Skip the egg dye for an even more convincing prank, and watch the joyful reactions unfold. This innovative dessert is guaranteed to be a conversation starter and a highlight of any celebration.
Why These Eggshell Cupcakes Are the Ultimate Easter Treat
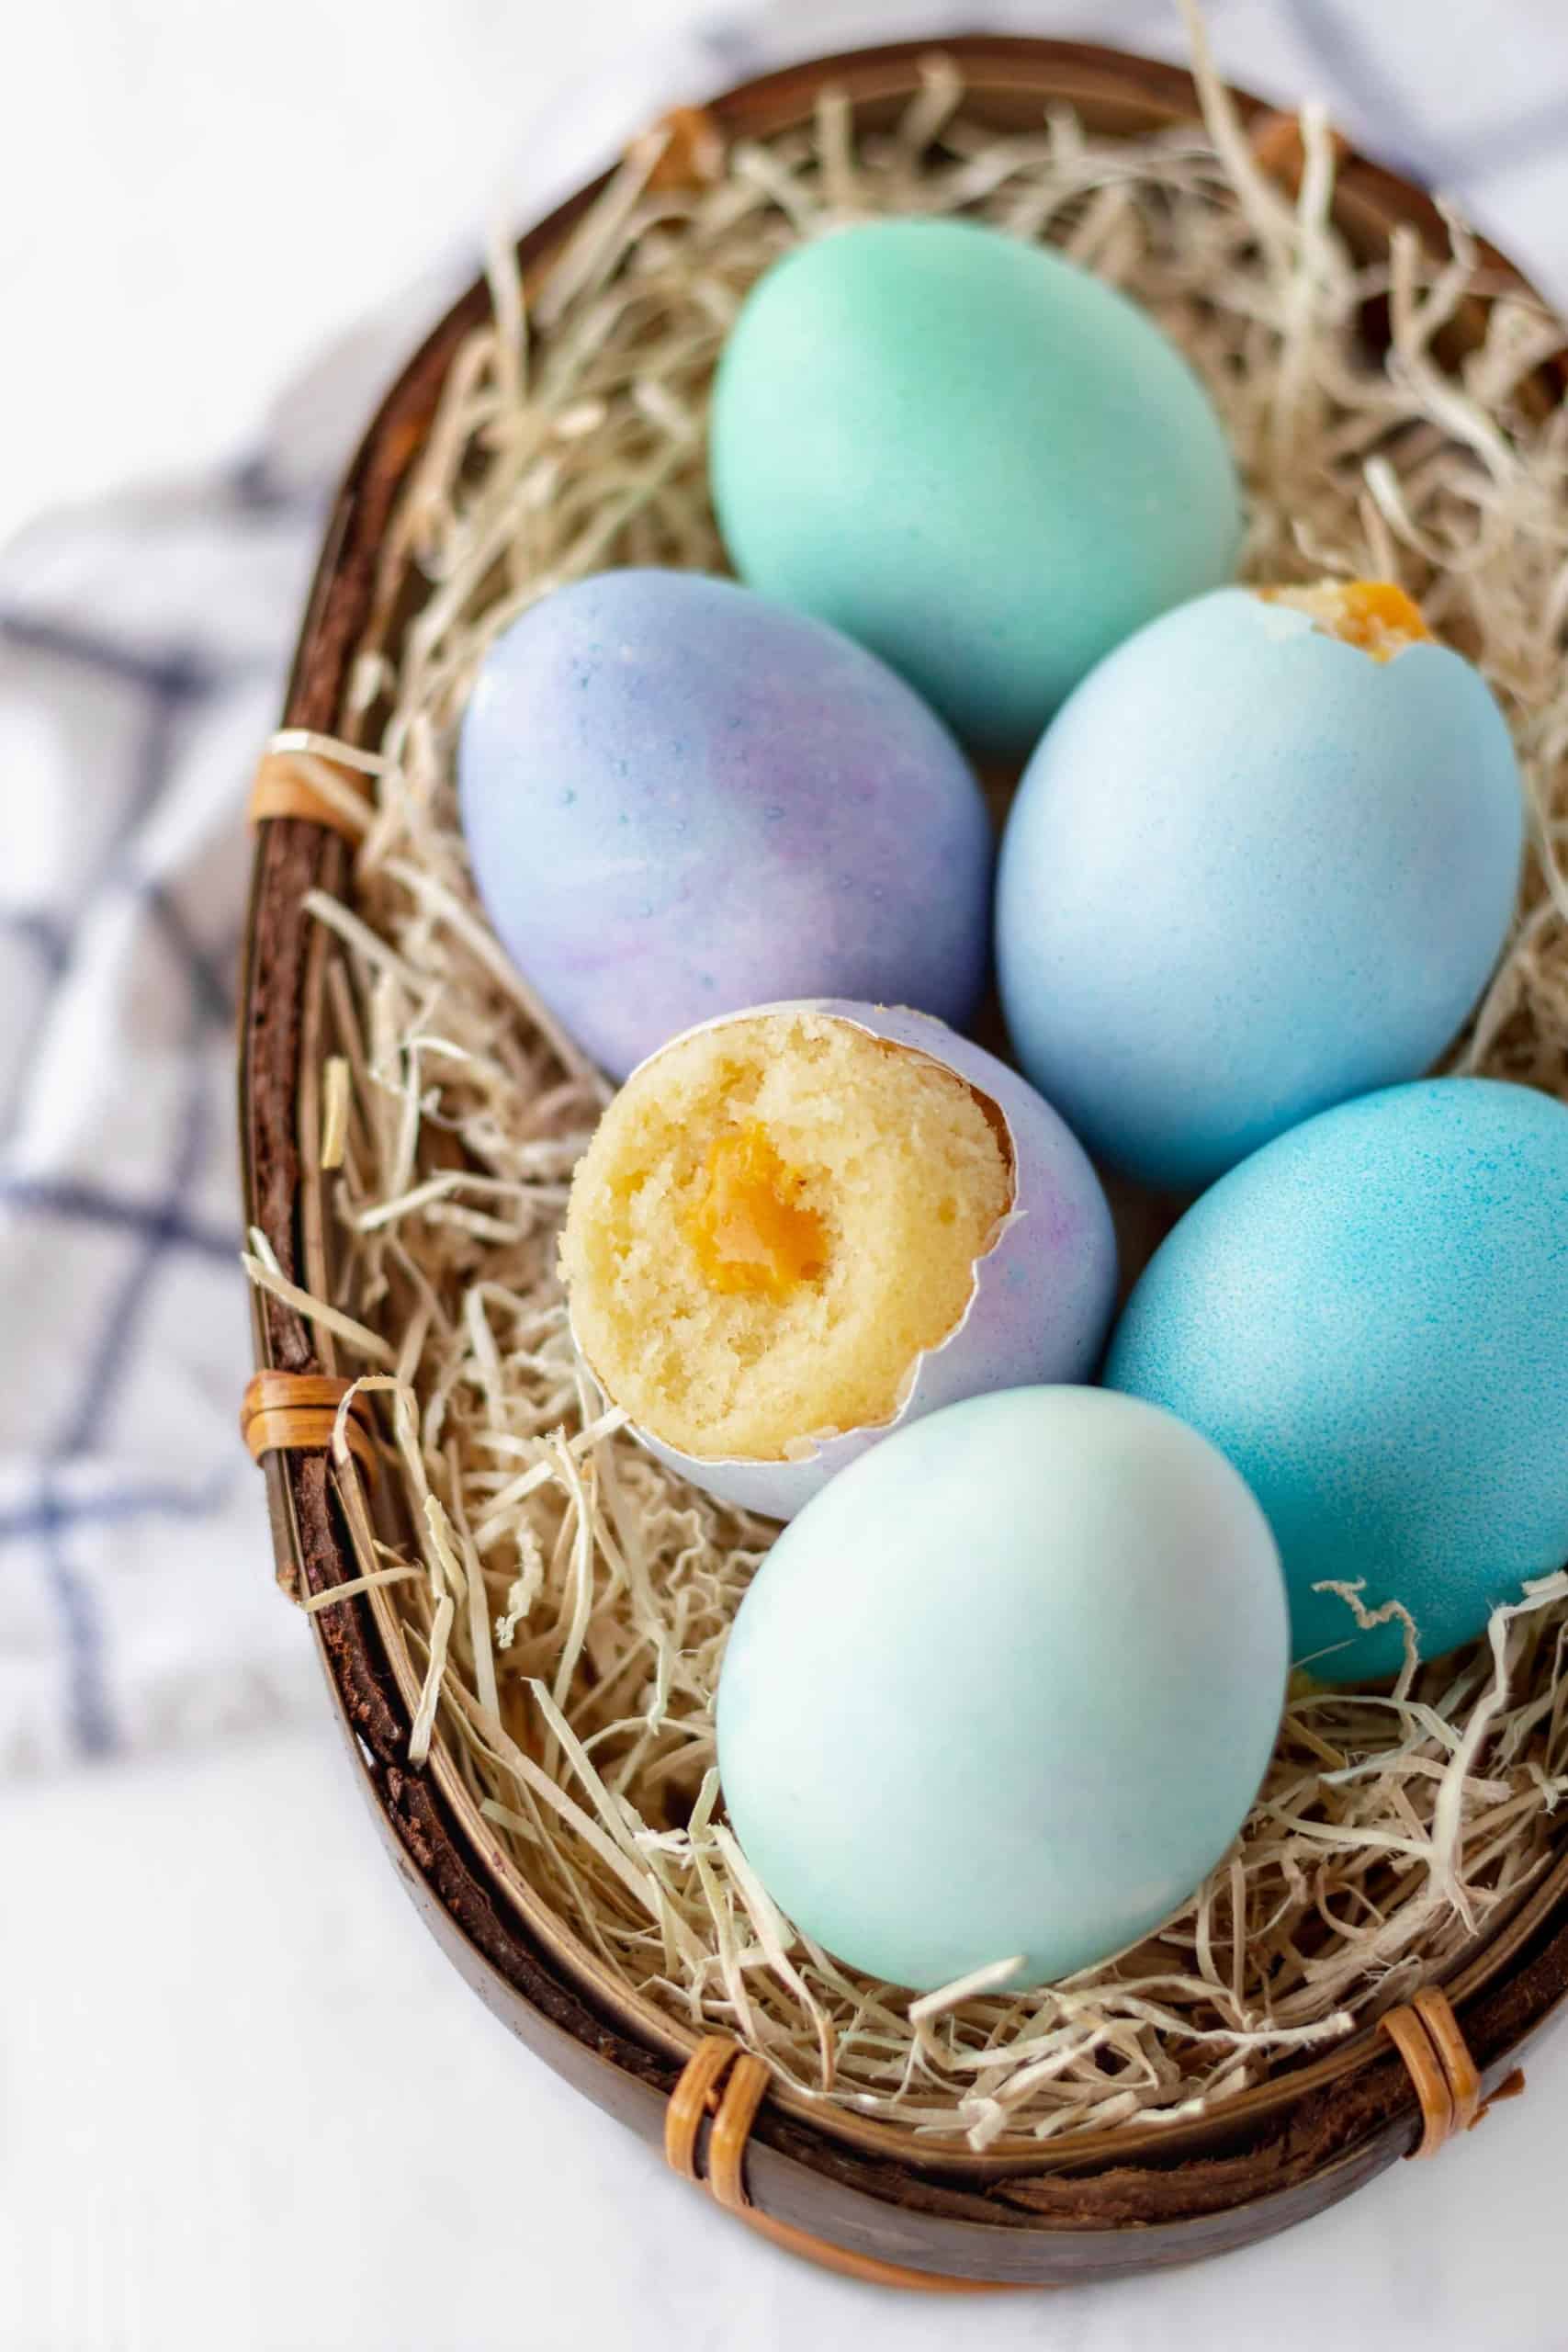
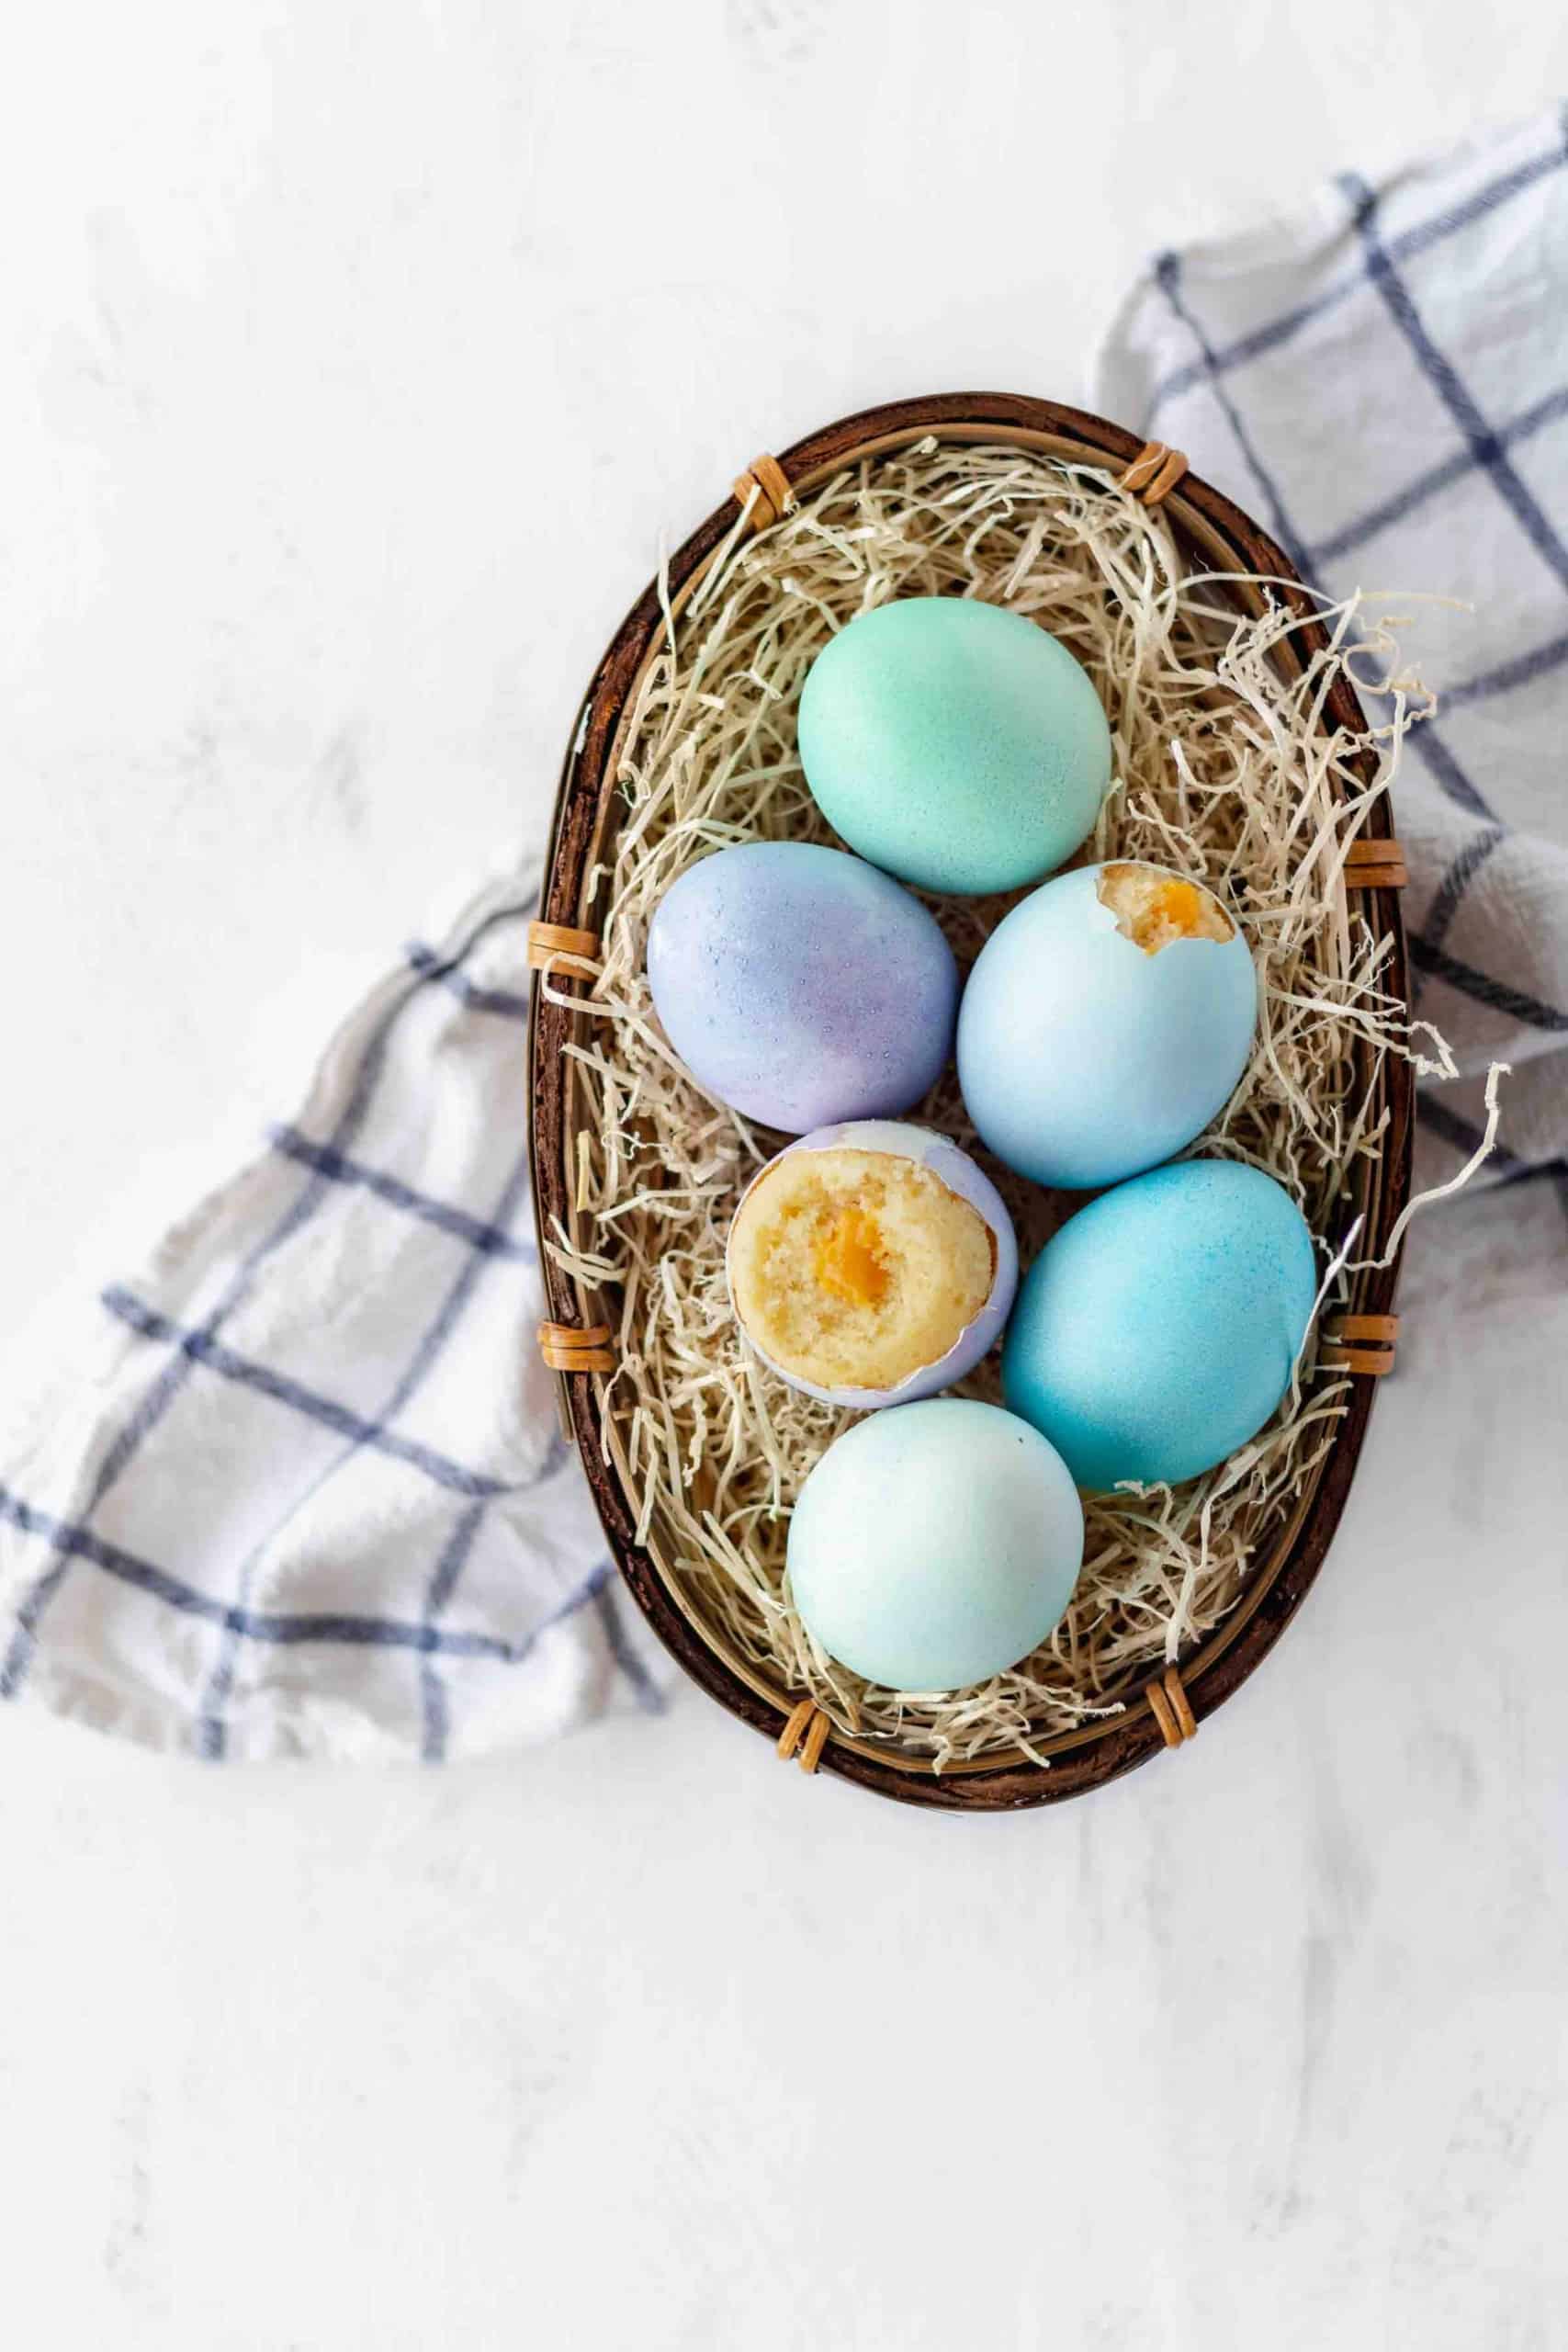
Forget the predictable chocolate bunnies and jelly beans. This Easter, elevate your dessert game with something truly unique: fluffy vanilla cakes baked right inside real eggshells. Imagine the sheer delight of someone receiving a basket of beautifully dyed “eggs,” only to crack one open and discover a delicious, moist cupcake instead of a hard-boiled egg. It’s an instant dose of magic and a guaranteed conversation starter!
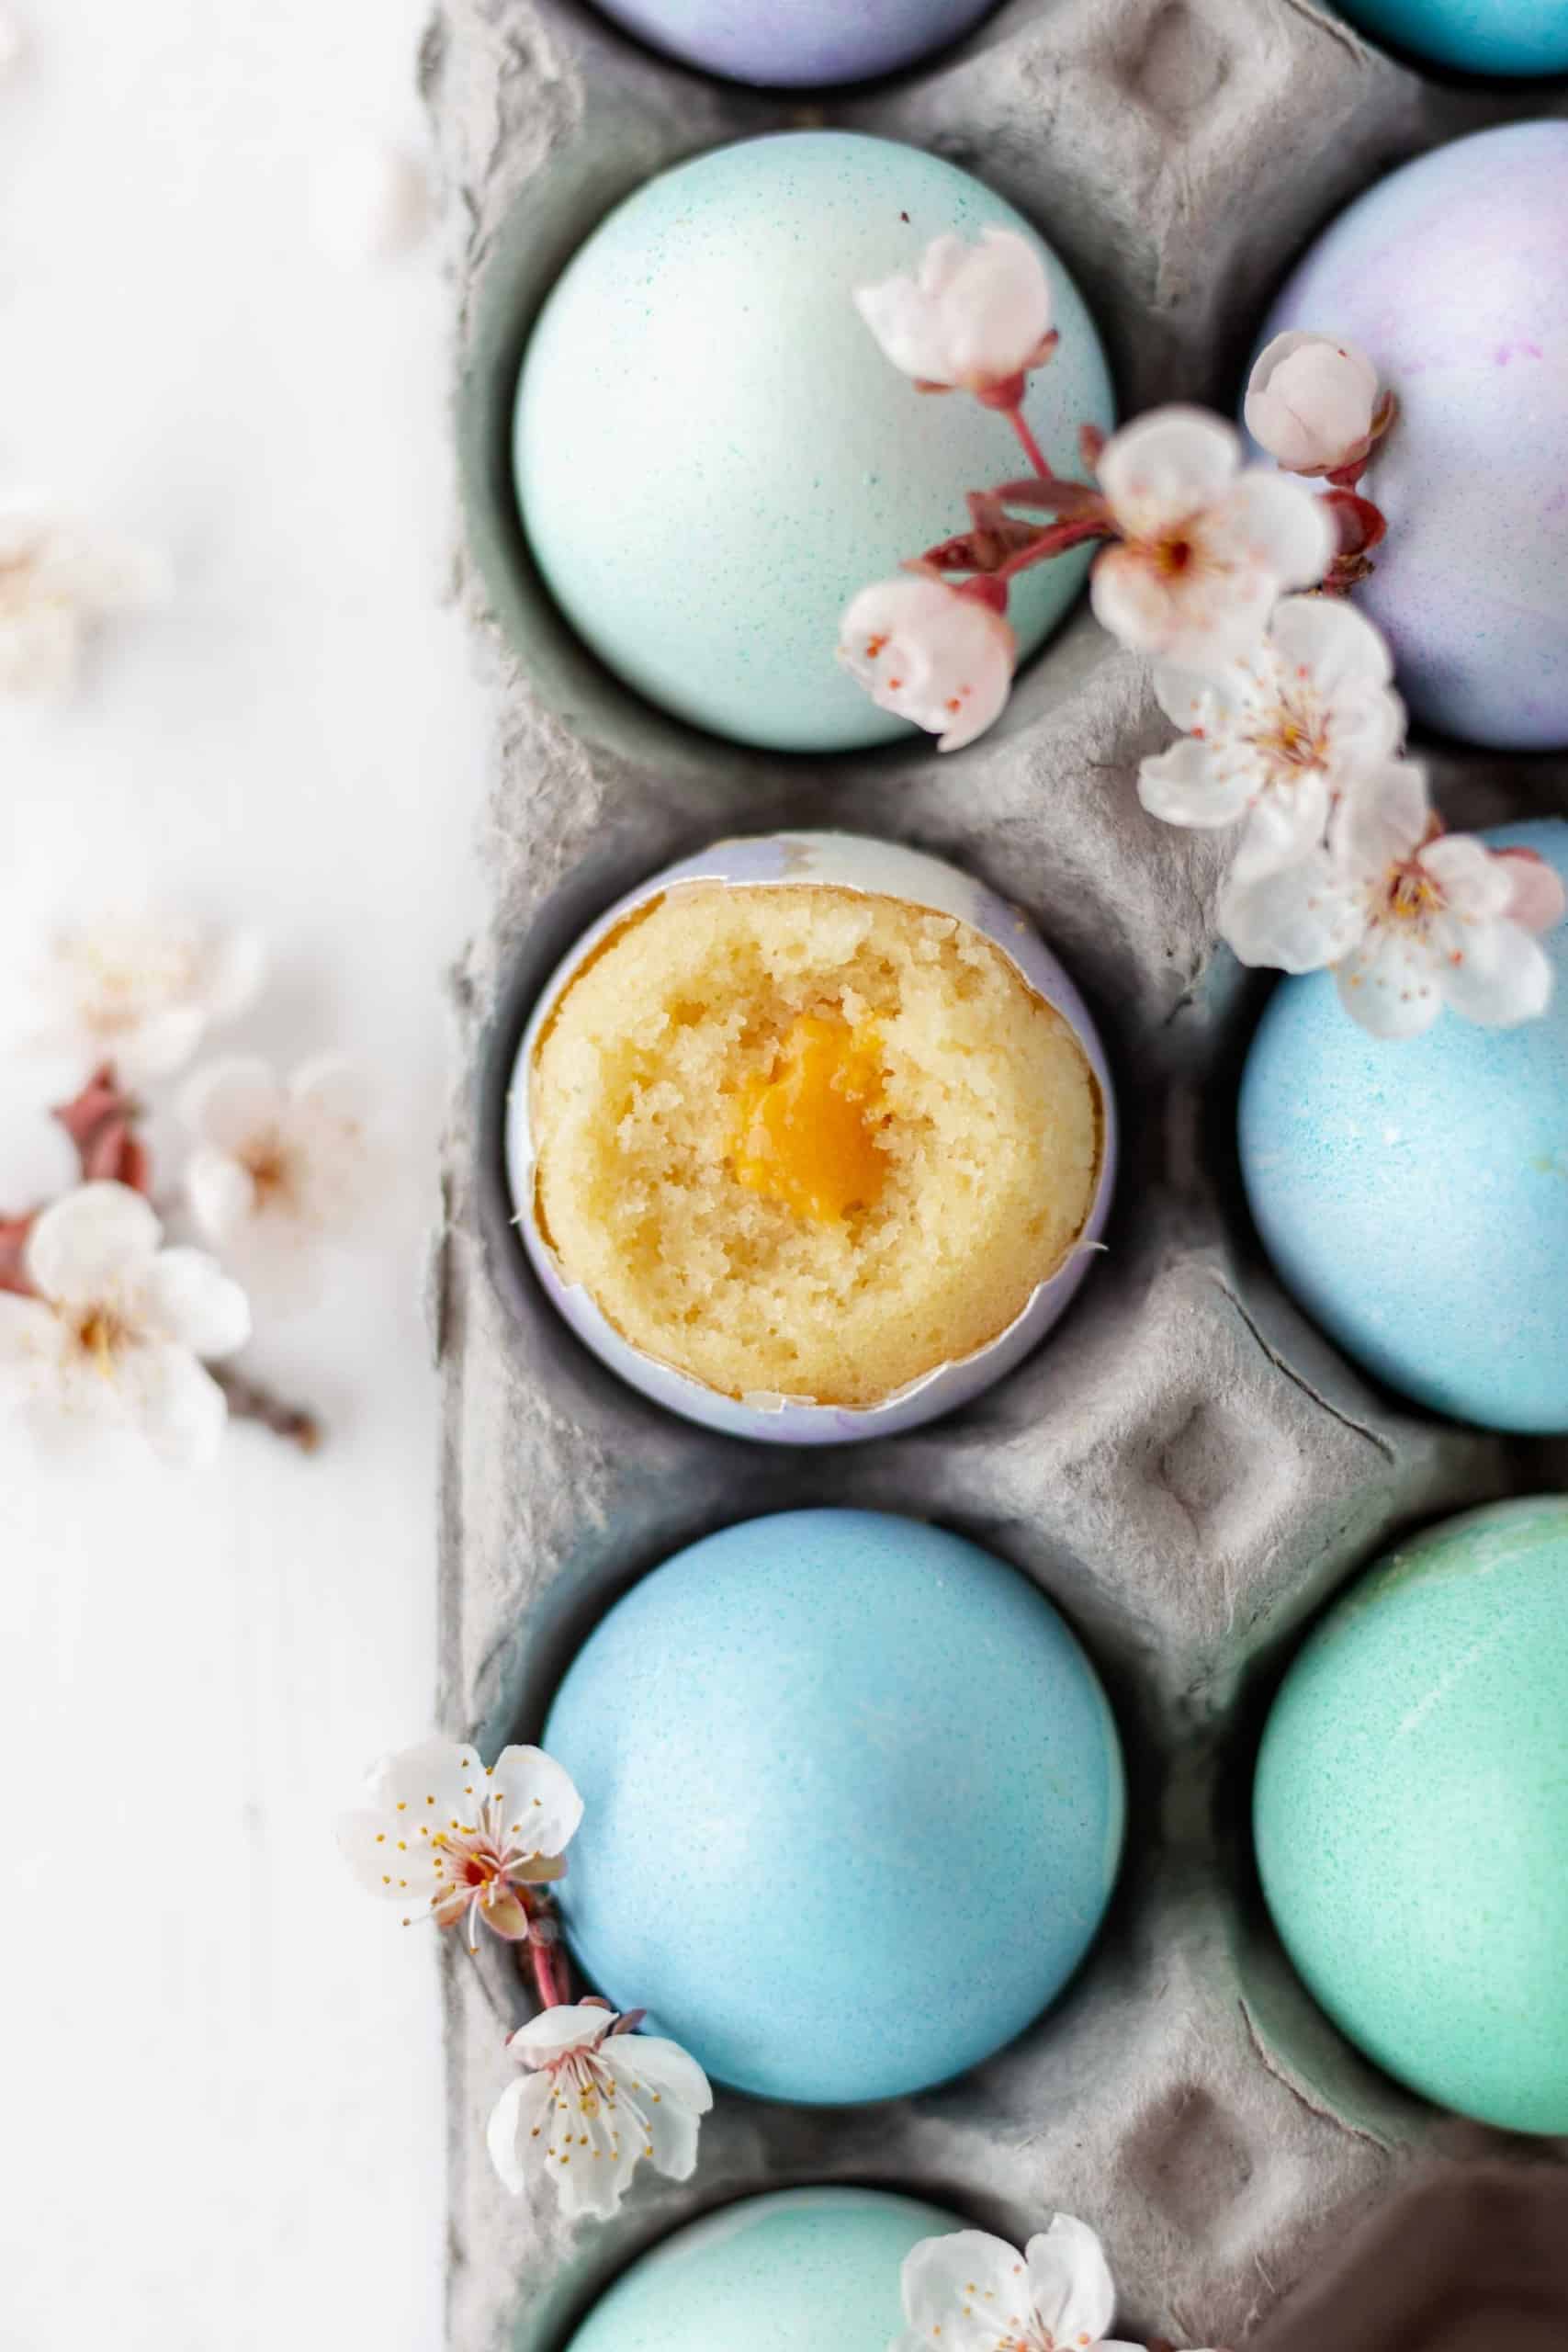
But we’re taking this concept a step further to make it even more special. Not only do you get a charming cupcake baked within its natural shell, but we’re also adding a stunning, soft “yolk” surprise in the center. This incredibly flavorful and silky smooth carrot curd provides that perfect pop of color and a delightful tangy-sweet counterpoint to the vanilla cake. It’s an edible illusion that’s as delicious as it is impressive, making it the treat you absolutely need to try this Easter Sunday.

Prepping Your Eggshells: The Foundation for Flawless Cupcakes
The success of your eggshell cupcakes hinges on properly preparing the eggshells. This critical step ensures both hygiene and structural integrity for baking. Here’s a detailed guide to getting your shells ready for their transformation:
How to Empty and Clean the Eggshells
- Create a Small Opening: Carefully take a sharp pin, a thumbtack, or the tip of a very sharp knife. Gently tap or pierce a small hole on one end of your fresh egg. Gradually widen this opening, little by little, until it’s just large enough to fit a small piping tip – roughly 0.5 to 1 cm (¼ to ½ inch) in diameter. Patience is key here to avoid cracking the entire shell.
- Empty the Contents: Hold the egg with the hole facing downwards over a bowl. You might need to gently shake the egg or even blow lightly into a pin-sized hole on the other end (created with a sterile pin) to help the egg whites and yolks slide out. Don’t waste these! You can collect the egg contents in a bowl and use them for breakfast frittatas, omelets, scrambled eggs, or even baking in other recipes. You don’t have to empty all your eggs at once; you can do it over a few days as you use eggs for other meals.
- Thoroughly Clean the Shells: Once emptied, take the eggshells and rinse them thoroughly under warm running water. Ensure all traces of egg residue are removed from the inside.
- Sanitize with a Salt Water Soak: To ensure proper hygiene, place the cleaned eggshells into a bowl filled with salt water (about 1 tablespoon of salt per cup of water). Let them soak for approximately 30 minutes. This helps to sanitize the shells and remove any lingering odors.
- Dry Completely: After soaking, remove the shells and place them on a clean kitchen towel or paper towels with the hole facing down. Allow them to air dry completely for several hours, or even overnight. It’s crucial that the shells are absolutely dry inside and out before you proceed to the next steps. Any moisture can affect the baking process.
Two Ways to Dye Eggshells (Optional)
Adding color to your eggshells is a fantastic way to enhance the festive look of your Easter eggshell cupcakes. Here are two popular methods, depending on when you choose to dye them:
- Traditional Dip-Dye Method (Before Emptying): If you prefer vibrant, evenly colored shells and plan to empty them afterward, the traditional dip-dye method is perfect. Combine food coloring, a splash of white vinegar, and hot water in a cup. Gently submerge your whole eggs into the dye bath.
- Tip: Don’t leave them in for too long, as you don’t want to accidentally cook the egg inside. A few minutes should be enough for a good color.
- Why this works: The egg inside acts as a natural weight, keeping the shell submerged for even coloring.
- Painting Method (After Emptying): If you’ve already emptied your eggs or prefer more control over the design, painting them with a mixture of food coloring and vinegar is easiest. This method prevents any dye from potentially seeping into the shell’s interior once it’s empty.
- Application: Use a small brush or a cotton swab to apply your desired colors and patterns.
- Benefits: Allows for more intricate designs and ensures the inside of the shell remains pristine.
- Drying: Ensure painted shells are completely dry before baking.
How to Bake Easter Cupcakes in Eggshells
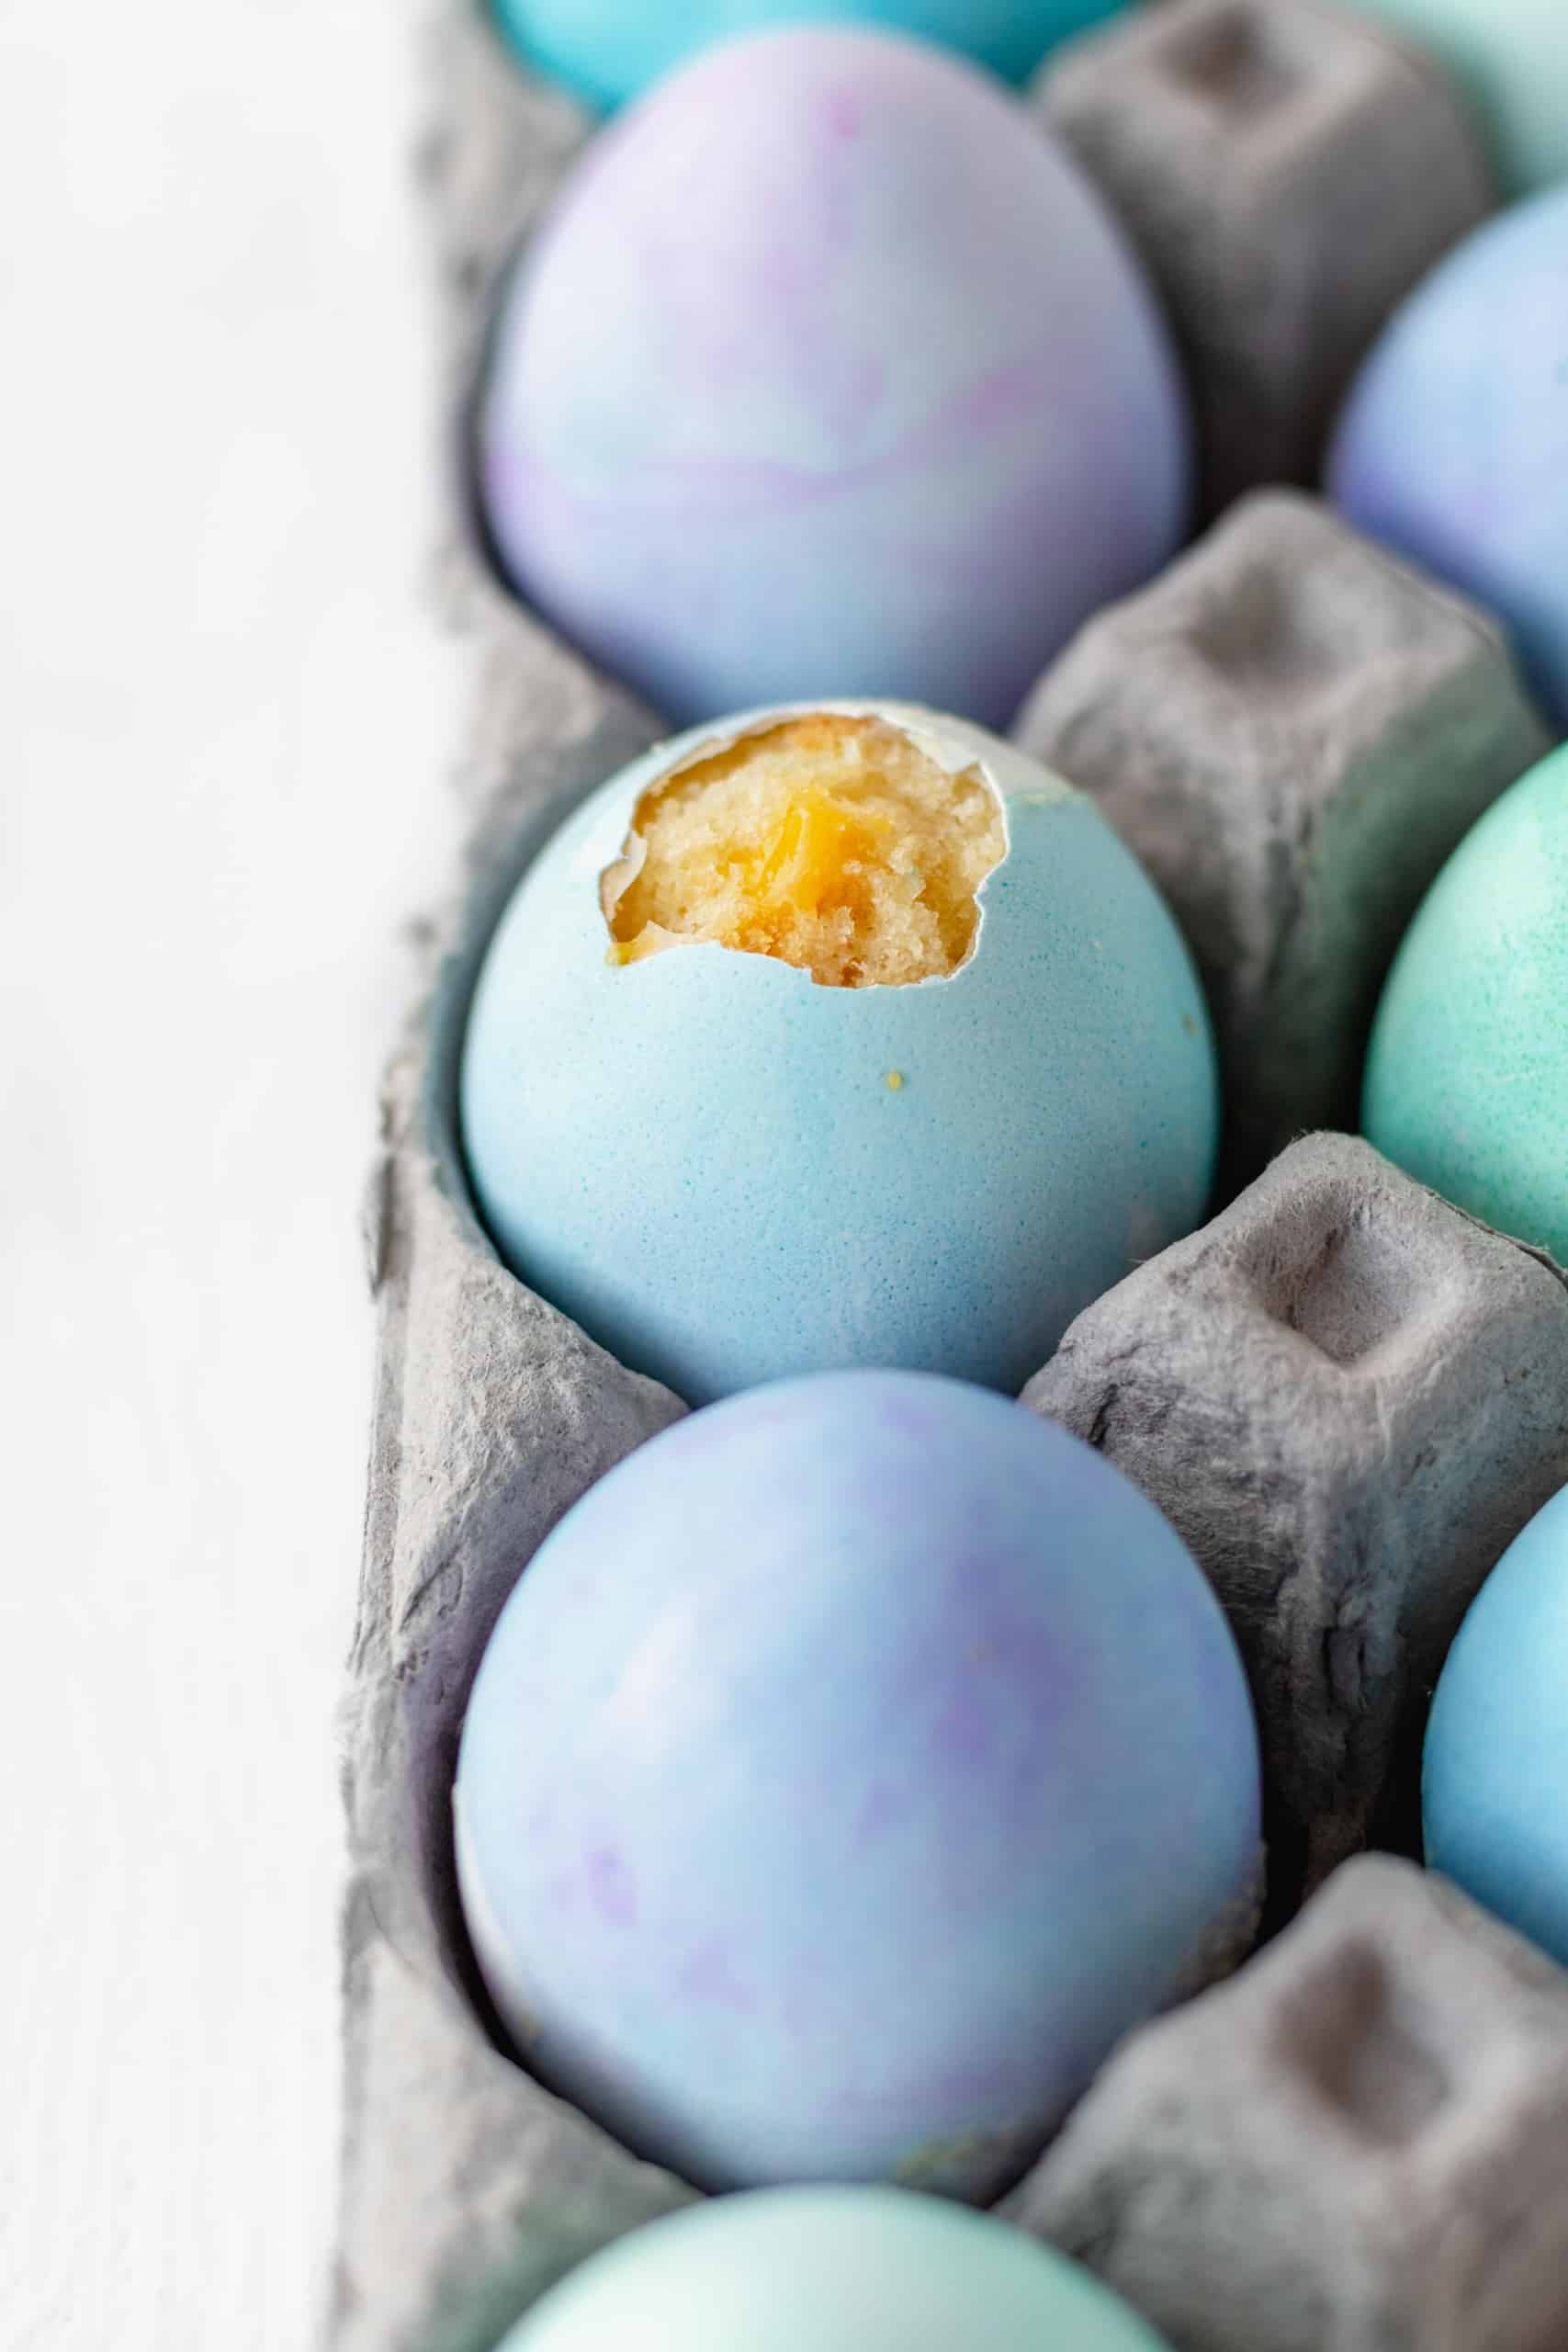
With your eggshells clean, dry, and perhaps beautifully dyed, it’s time for the main event: baking those delicious vanilla cupcakes right inside them! This process is surprisingly straightforward, yielding a truly impressive result.
Setting Up for Baking
- Prepare Your Baking Pan: Once your eggshells are perfectly cleaned and dried, carefully place them, hole side up, into the wells of a mini muffin pan. To keep the eggshells stable and prevent them from wobbling or tipping over during baking, it’s incredibly helpful to crumple up small pieces of parchment paper or aluminum foil and place them at the bottom of each well around the eggshell. This creates a snug fit and ensures they stay upright.
- Prepare Your Batter: Now, prepare your favorite vanilla cupcake recipe. For those who enjoy baking from scratch, a classic vanilla batter works wonderfully. However, if you’re looking for a quick and convenient option, feel free to use a good quality cake mix from a box! Just prepare it according to the package directions.
- Fill the Eggshells: Transfer your prepared cake batter into a piping bag fitted with a small, round piping tip. This allows for precise and mess-free filling. Gently pipe the batter into each eggshell, filling them approximately halfway.
- Baking Test (Crucial Step!): Before filling all your shells, we highly recommend performing a baking test. Fill just one eggshell halfway and bake it on its own. This will help you determine the exact amount of batter needed for your specific recipe and eggshell size, ensuring they don’t overflow in the oven. Adjust the amount for the rest of your eggshells accordingly.
- Bake to Perfection: Place the muffin pan with the filled eggshells into your preheated oven. Bake for the time specified in your cupcake recipe, typically around 16-18 minutes for mini cupcakes, or until a toothpick inserted into the cake comes out clean.
- Cool and Clean: Once baked, carefully remove the eggshells from the oven and transfer them to a wire rack to cool enough for you to handle them comfortably. If any cake batter has spilled over the edges (even with careful filling, this can happen!), gently slice it off with a small knife. Then, use a damp paper towel to carefully clean any excess cake or dye residue from the exterior of the eggshells. Be mindful if your eggs were dyed, as the dye can sometimes lift off with the cake overflow.
Adding the Surprise Carrot Curd “Yolk”
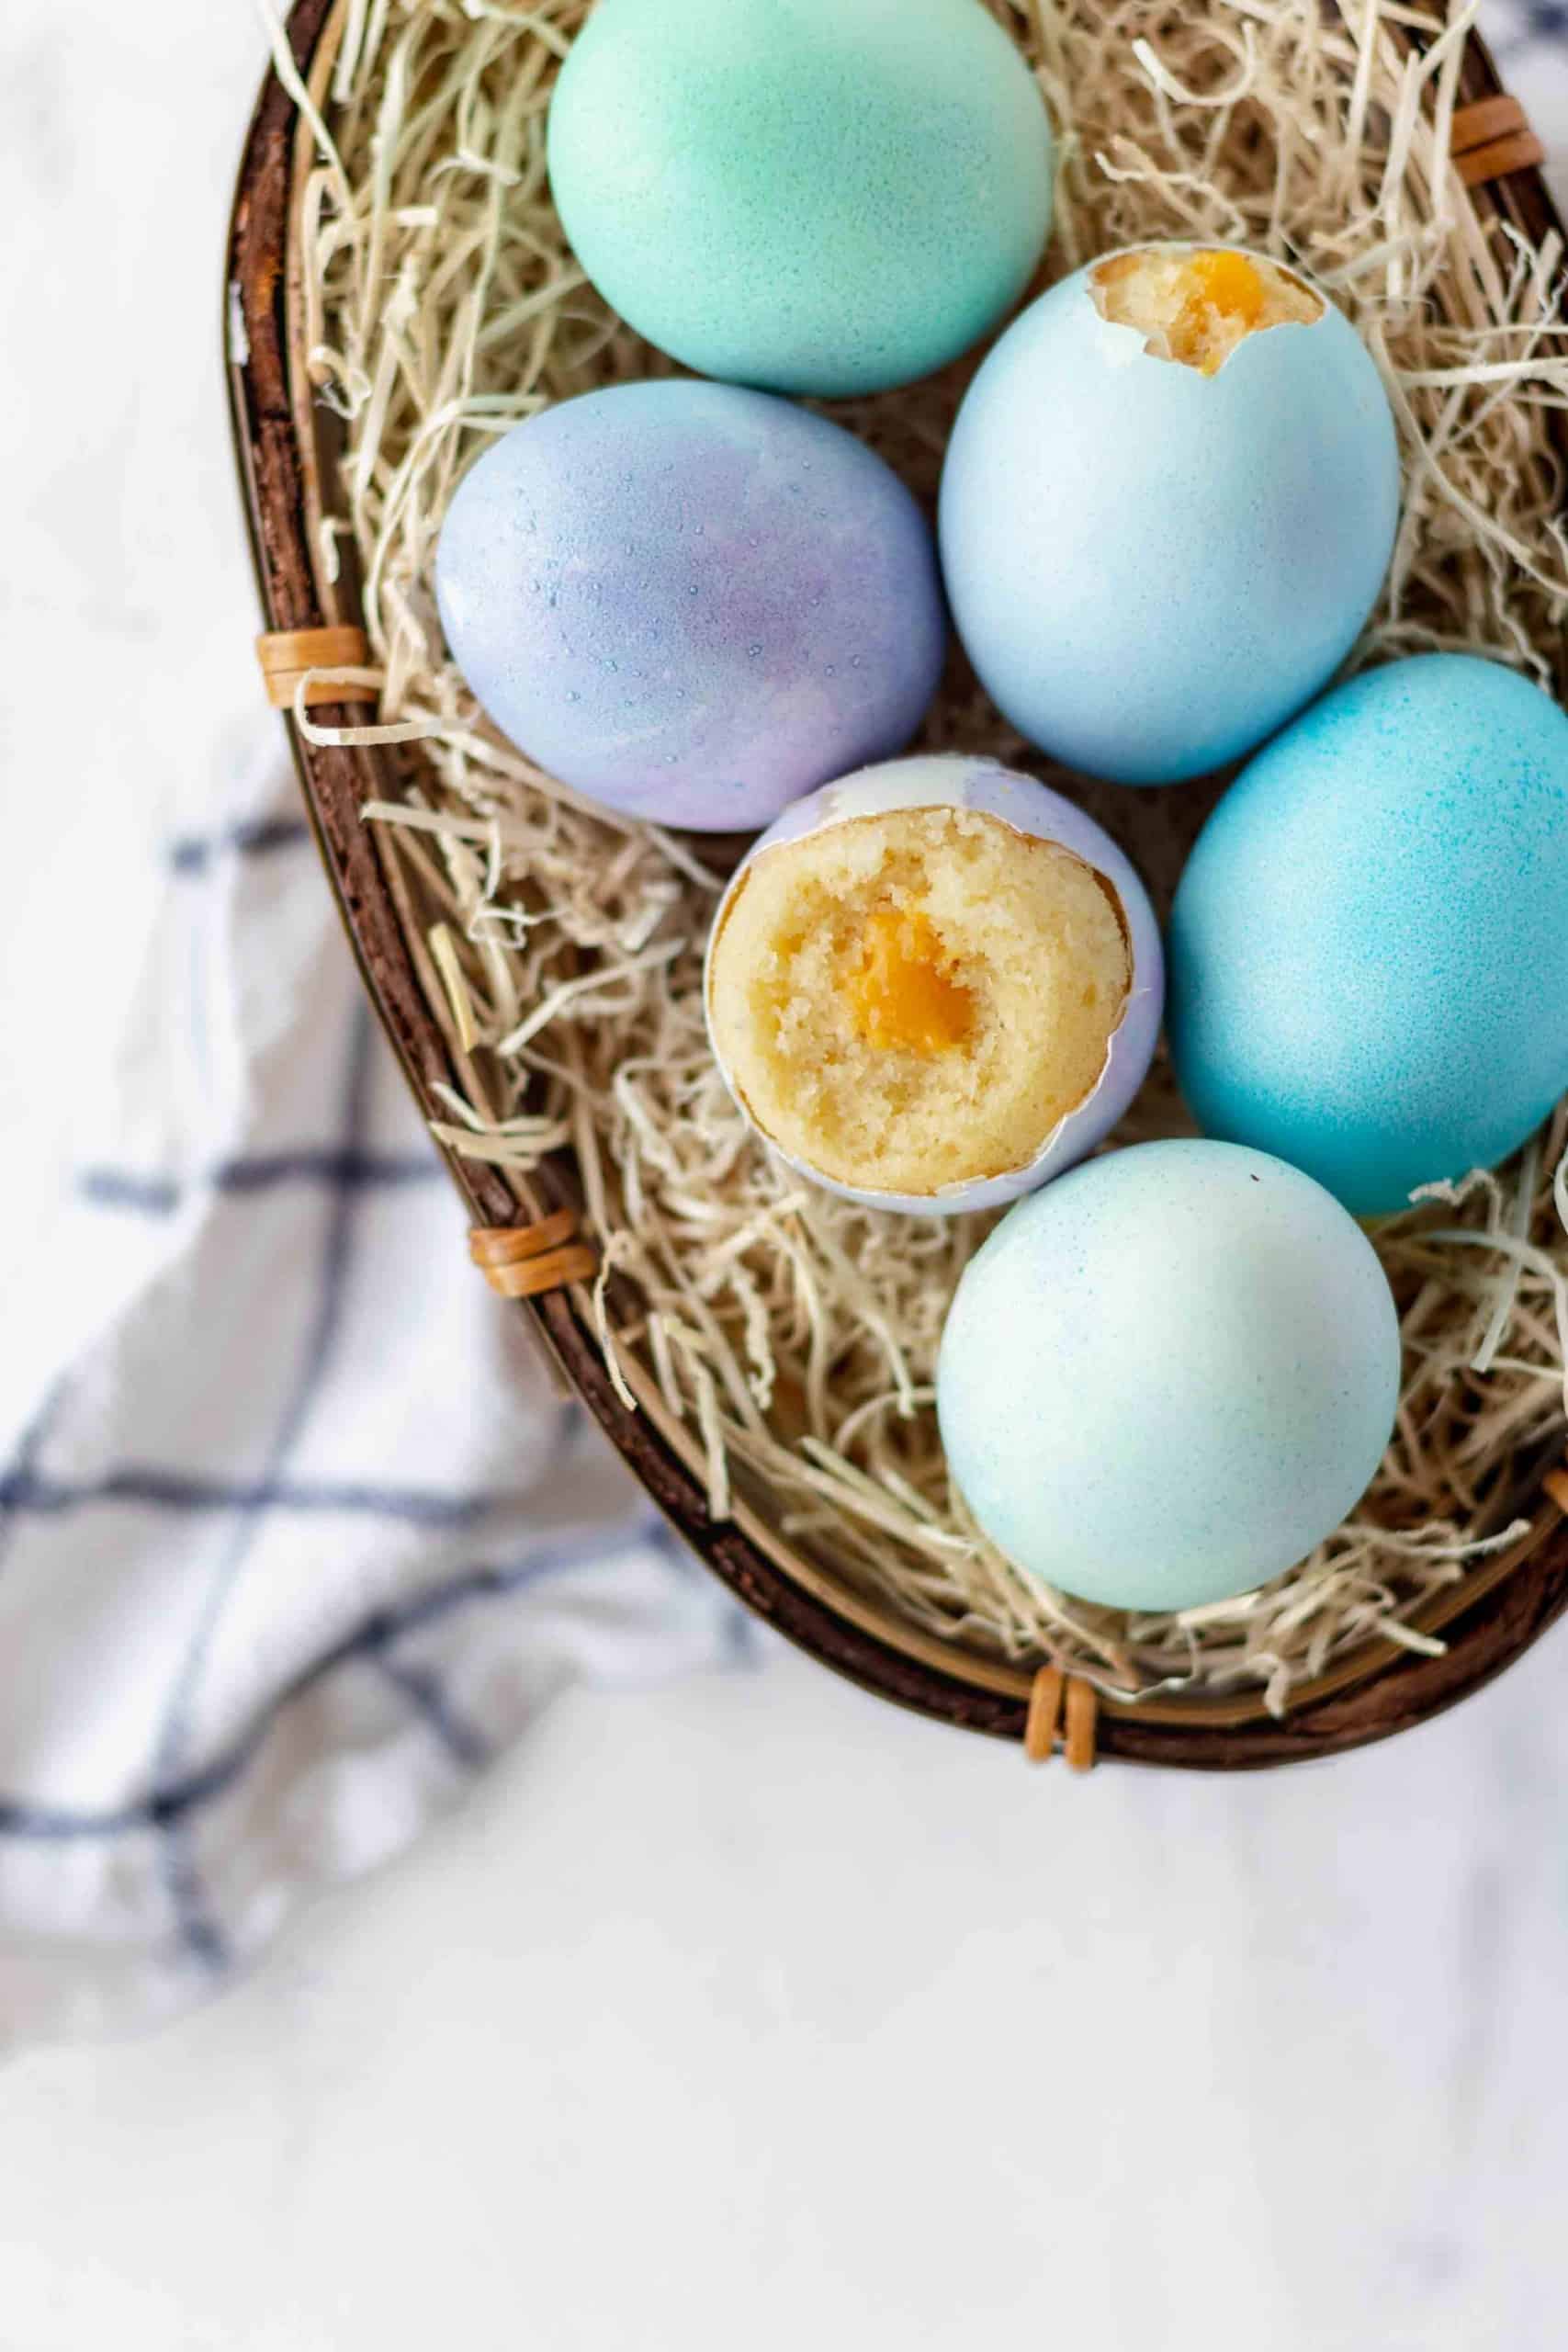
You could certainly stop after baking; these mini vanilla cakes in eggshells are delicious on their own! However, to achieve that true “egg yolk” effect and elevate your creation to an unforgettable Easter dessert, we’re adding a delectable carrot curd filling. This step is where the magic truly comes alive!
Our recommendation is a bright and tangy carrot curd, which provides a beautiful golden color and a subtle earthy sweetness that complements the vanilla cake perfectly. We source our inspiration from Cupcake Project’s carrot curd recipe. If carrots aren’t your preference, feel free to substitute with another vibrant curd like lemon, orange, or passion fruit. For ultimate convenience, you can even buy your favorite brand of citrus curd to save time without sacrificing flavor!
- Create the Cavity: Once the cupcakes are completely cooled, take a thin toothpick or a small chopstick. Gently insert it into the center of the cake and wiggle it around to create a small, hollow space for your curd. Be careful not to go all the way through the bottom!
- Pipe the Curd: Transfer your carrot curd (or chosen alternative) into a piping bag fitted with the skinniest round piping tip you have. Insert the tip into the created hole in the cake and pipe as much curd as you desire. Don’t be shy – the cake can hold more curd than you might think, and a generous filling will create a wonderfully pronounced “yolk” when cracked open.
Now, your incredible Easter eggshell cupcakes with their delightful carrot curd surprise are ready to astound your guests! Store them gently in an egg carton in the refrigerator until ready to serve.
Expert Tips for Successful Eggshell Cupcakes
To ensure your eggshell cupcakes turn out perfectly every time and truly wow your audience, keep these expert tips in mind:
- Always Conduct a Baking Test for Batter Quantity: This is arguably the most crucial tip! The amount of cupcake batter needed will vary based on your specific recipe and the size of your eggshells. To prevent messy overflows or underfilled shells, take one eggshell, fill it halfway with batter, and bake it first. Observe if it’s too much, too little, or just the right amount. Adjust your filling technique for the rest of your batch accordingly. This small step saves a lot of potential frustration.
- Be Generous with the Carrot Curd “Yolk”: Don’t be afraid to pipe in more carrot curd than you initially think is enough! The cake is surprisingly absorbent, and a substantial amount of curd creates a more dramatic and realistic “yolk” effect when the egg is cracked open. A bigger yolk means a bigger surprise and more delicious flavor.
- Serve Them Hole-Side Down for Maximum Impact: To truly impress and maintain the element of surprise, whether for adults or children, always serve your eggshell cupcakes with the small opening facing downwards. This ensures that the recipient sees a perfectly intact “egg” until they crack it open, revealing the delightful cupcake and “yolk” inside. It’s that little extra touch of magic that makes all the difference!
- Handle Eggshells Gently: Remember that eggshells are delicate. Throughout the process – from emptying to cleaning, dyeing, filling, and baking – handle them with care to prevent accidental cracks or breakage.
- Use Fresh Eggs for Stronger Shells: Fresher eggs tend to have stronger shells, which can be more resilient during the preparation and baking process.
- Proper Storage is Key: Once filled, these eggshell cupcakes are best stored in the refrigerator, especially with the curd filling. Place them back into an empty egg carton for easy, safe storage and to maintain their illusion until serving time.
- Make Ahead Components: You can prepare the carrot curd a day or two in advance and store it in the refrigerator. Similarly, you can clean and dry your eggshells ahead of time. This helps break up the workload on baking day.
Other Festive Easter Desserts You’ll Love!
If you’re looking for more delightful treats to celebrate Easter or spring, explore these other fantastic recipes:
- Whimsical Easter Egg Sugar Cookies (Vegan & Gluten-Free options available!)
- Adorable Easter Bird’s Nest Cookies
- Classic Carrot Cake Cupcakes with Zesty Lemon Frosting
- Rich Carrot Loaf Cake with Decadent Brigadeiro Frosting

Easter Cupcakes Baked in Eggshells
Print
Pin
Rate
Ingredients
- 1 cup / 200g granulated sugar
- 1¾ cups / 175g cake flour
- 1½ teaspoons baking powder
- ½ teaspoon baking soda
- ½ teaspoon fine sea salt
- ¼ cup / 57g unsalted butter, softened
- 2 large eggs
- ⅓ cup / 75g unsweetened greek yogurt
- ¼ cup / 60ml olive oil
- 2 teaspoons vanilla extract
- ⅔ cup / 160ml whole milk
- Half a batch carrot curd
Instructions
-
Preheat your oven to 340°F/170°C and line a mini muffin pan with parchment paper or aluminum foil and place an eggshell into each well.
-
In a large bowl, combine the sugar, cake flour, baking powder, baking soda, and salt. Add the softened butter until the mixture resembles fine sand. Set aside.
-
In a separate bowl, combine the eggs, greek yogurt, olive oil, and vanilla extract. Pour this mixture into the dry ingredients and mix until just combined.
-
Slowly add the milk and stir.
-
Fill the eggshells halfway and bake for 16~18 minutes. If you insert a toothpick and it comes out clean, they’re done. Transfer them onto a wire rack immediately and let them cool completely. Clean off any cake that spilled over using a knife to scrape and then a wet paper towel.
-
Using a toothpick, wiggle a hole into each cake.
-
Put the carrot curd into a piping bag with a small round piping tip and pipe the curd into each cake.
SAVE TO PINTEREST FOR LATER
