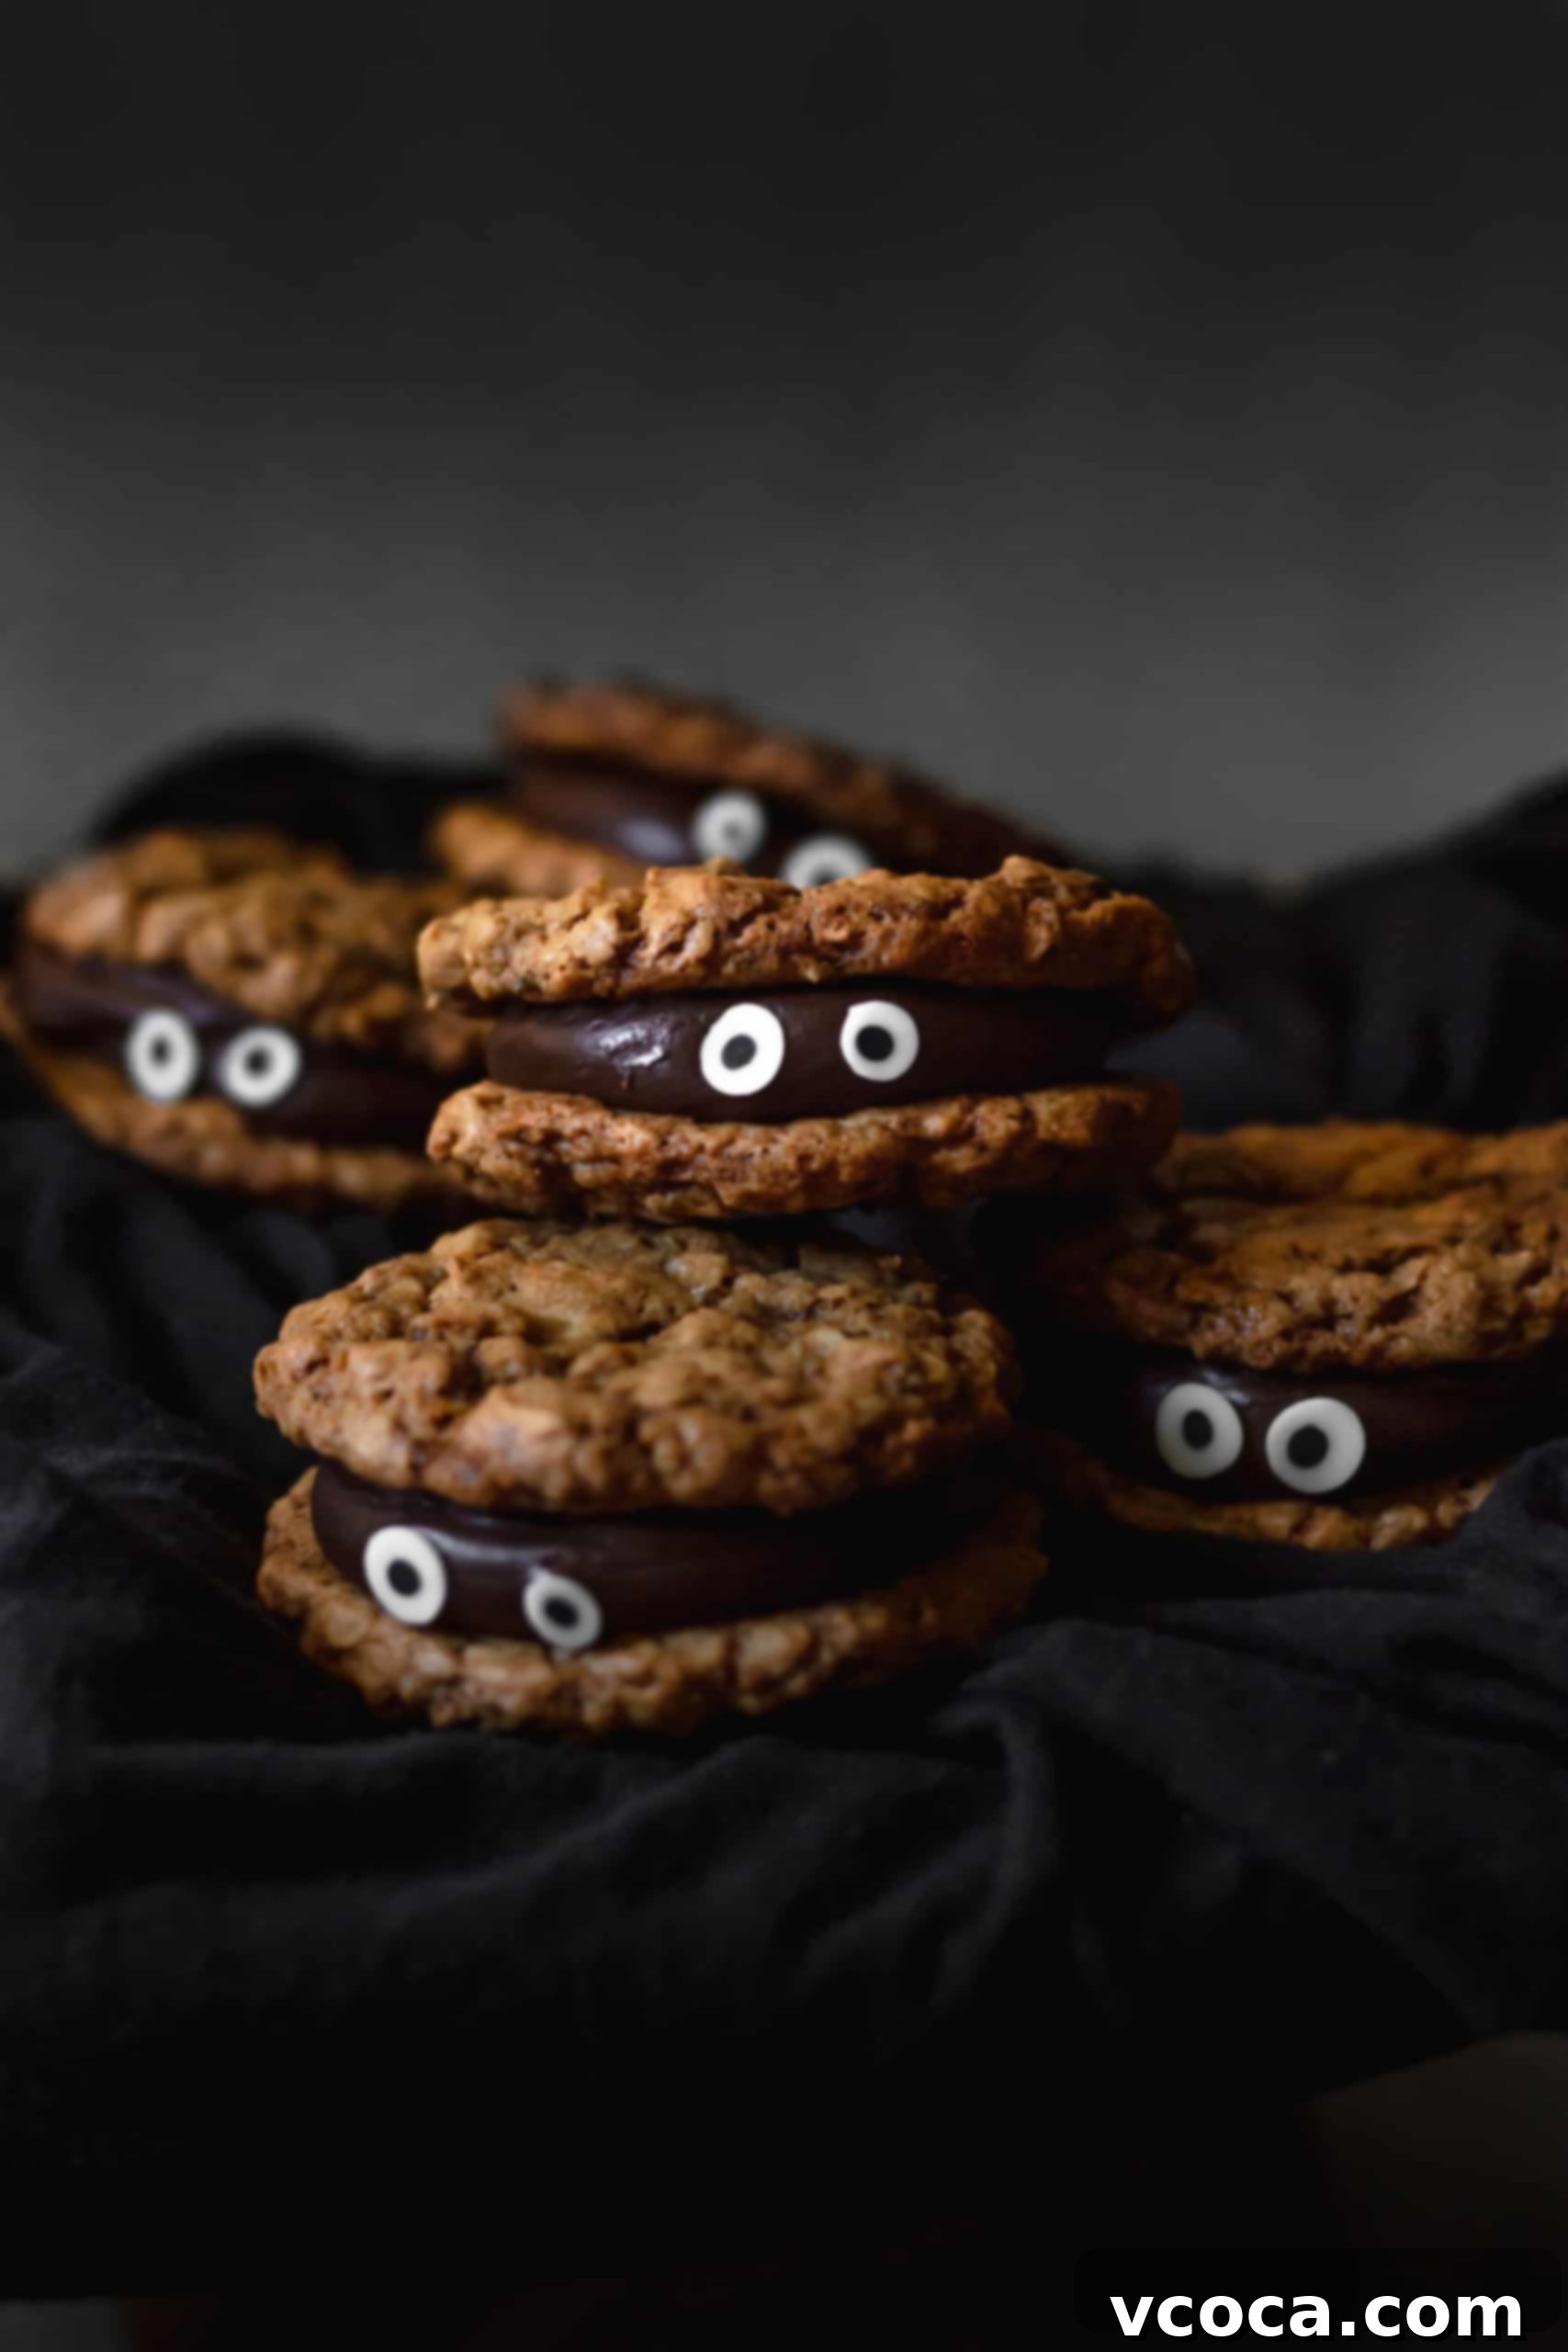
Effortlessly Spooky & Delicious Halloween Cookies: Your Go-To Recipe for Easy Treats!
Halloween is a season brimming with delightful frights, creative costumes, and, of course, an abundance of delicious treats! For many parents, navigating the myriad tasks of Halloween preparations – from meticulously planning trick-or-treating routes to orchestrating the perfect family costume – can be a significant undertaking. Amidst this flurry of activity, the idea of baking elaborate Halloween desserts might seem like an overwhelming addition to an already packed schedule. But what if you could create spectacular, spooky cookies that are not only incredibly easy to make but also free from excessive artificial food coloring, and utterly delicious? Look no further!
This recipe for fudge-sandwiched oatmeal cookies is precisely the simple solution you need to impress everyone at your Halloween gathering without the added stress. These treats promise to be both tasty and effortlessly fun, ensuring your celebrations are filled with joy and deliciousness, leaving you more time to enjoy the magic of the season.
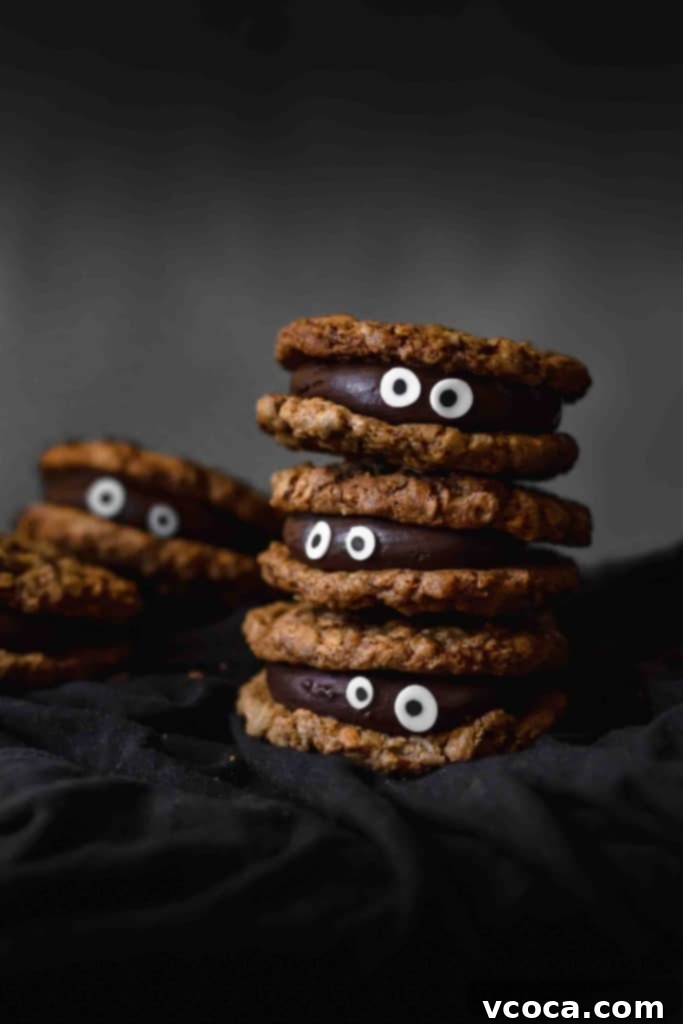
Why These Spooky Halloween Cookies Are Your Ultimate Treat Solution
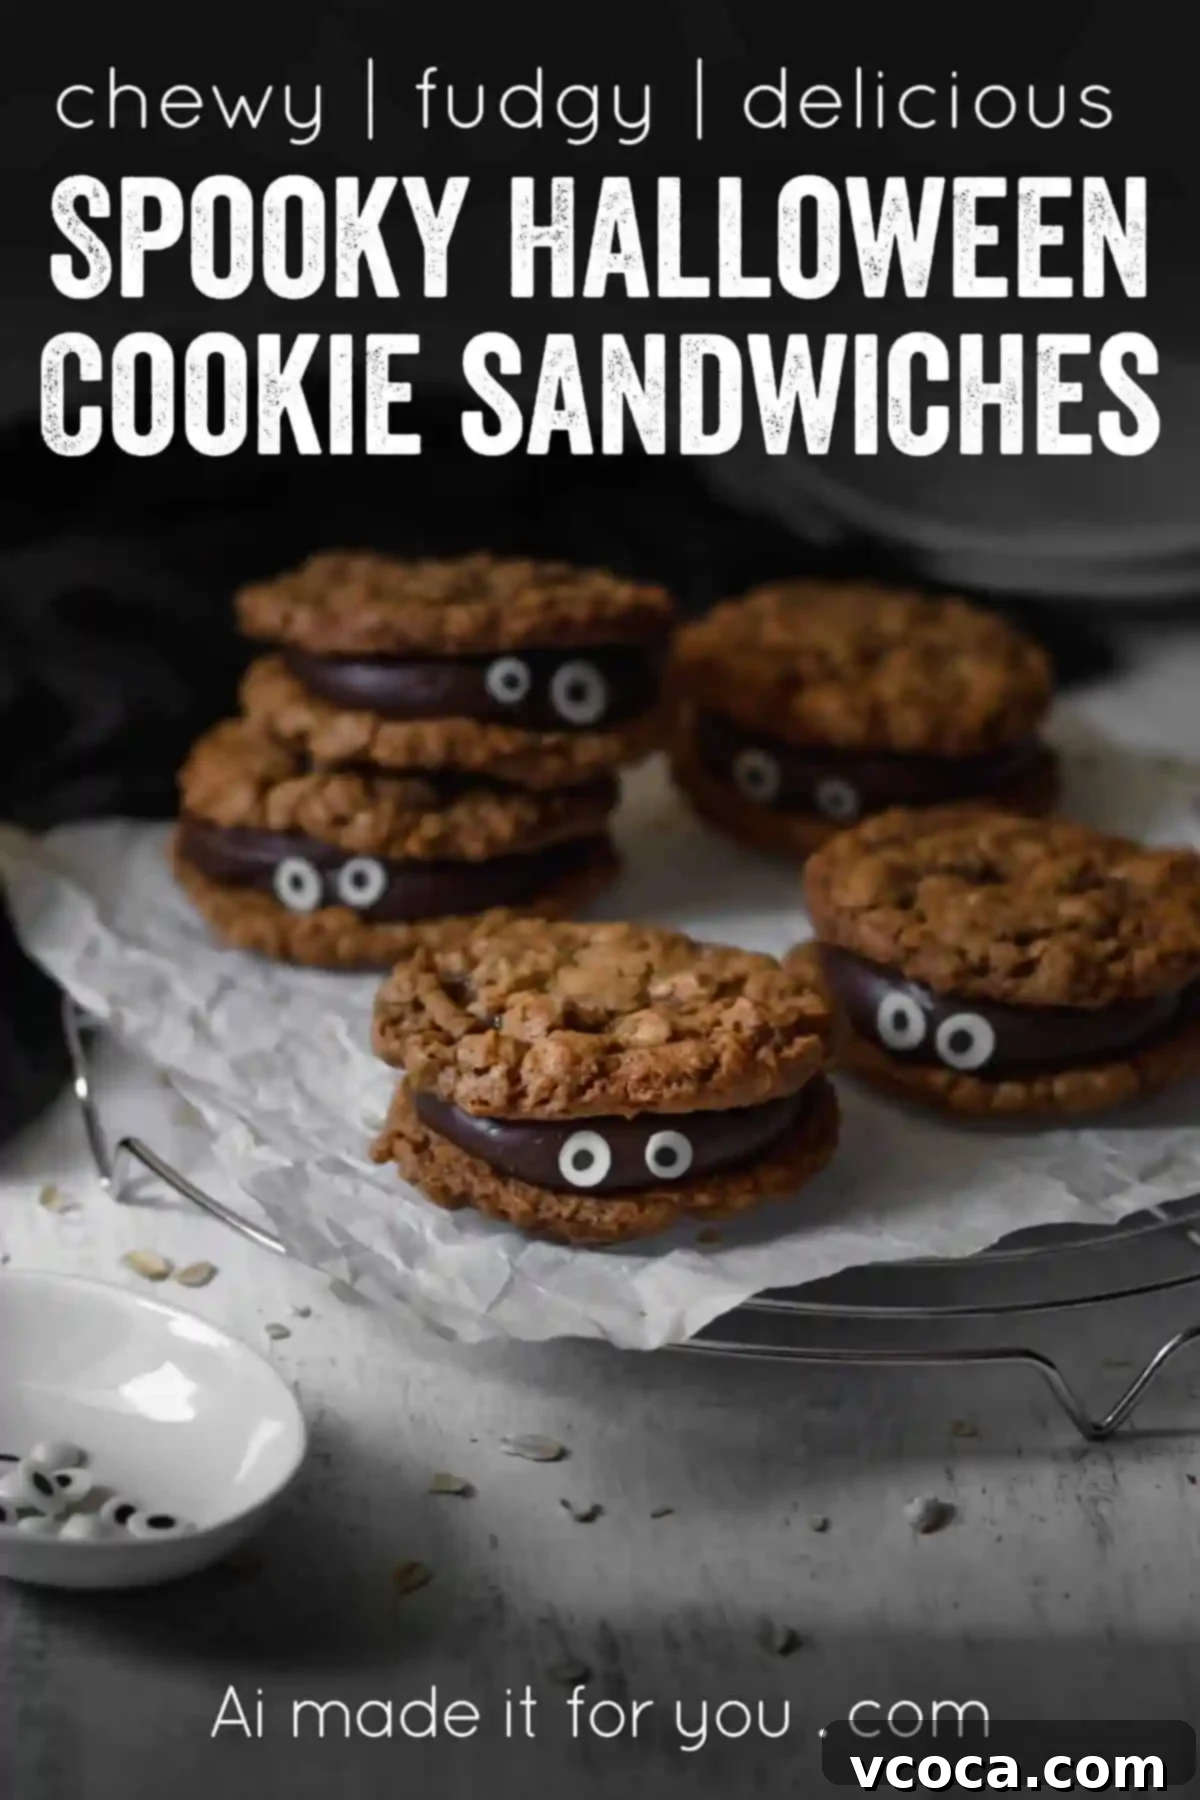
Imagine the simplest, richest chocolate fudge nestled between two perfectly buttery cookies. Sounds like a dream, right? These aren’t just any cookies; they are your secret weapon for Halloween dessert success. What truly sets them apart is their incredible simplicity and charm. You won’t need an arsenal of specialized cookie cutters or hours of intricate decorating techniques. A few playful candy eyes are literally all it takes to transform these delightful sandwich cookies into adorable, slightly spooky monsters that will charm everyone at your party, regardless of age.
Beyond being an absolute hit with the little goblins and ghouls, these versatile Halloween cookies are also an excellent, sophisticated choice for adult gatherings. For those looking to add a grown-up twist, consider infusing the luscious chocolate fudge filling with a hint of your favorite liqueur. A splash of coffee liqueur can deepen the chocolate flavor, while a touch of spiced rum or even a smoky whiskey can add an exciting and unexpected layer of warmth, making them perfectly “booze-y” and just the right amount of spooky for an adult crowd. This recipe truly proves that Halloween treats don’t have to be complicated to be incredibly cute, decadently delicious, and utterly memorable!
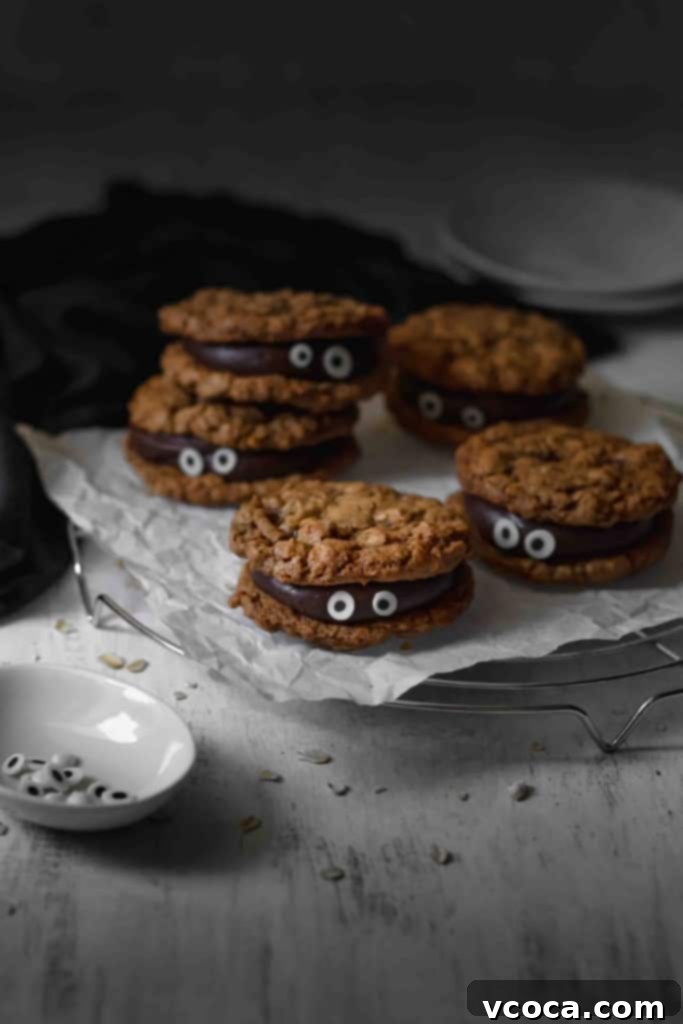
Crafting Your Spooky Halloween Cookies: A Detailed Step-by-Step Guide
Let’s dive into the simple yet rewarding process of creating these irresistible spooky delights!
Choosing Your Perfect Cookie Base
The foundation of these delectable sandwich cookies is a batch of soft, chewy, and robust cookies. While the original inspiration suggests a simple oatmeal cookie (with raisins omitted for a cleaner look), the true beauty of this recipe lies in its incredible flexibility. Oatmeal cookies are an excellent choice because their slightly textured, hearty nature holds up beautifully to the rich fudge filling. Their subtle, comforting flavor provides a lovely contrast to the intense chocolate, making each bite a delightful experience.
However, don’t hesitate to get creative with your cookie choice! Here are some fantastic alternatives that will work wonderfully:
- Classic Chocolate Chip Cookies: A timeless and universally loved favorite, their familiar sweetness and chewy texture would pair wonderfully with the dark fudge.
- Healthier Chickpea Cookies: For those seeking a slightly more wholesome option, chickpea cookies can be a surprisingly delicious and texturally satisfying choice that still delivers on taste.
- Soft Sugar Cookies: If you prefer a smoother, more uniform texture or wish to use cookie cutters for more defined shapes (though entirely optional for this monster design), soft sugar cookies are a great base.
- Store-bought Cookies: Seriously short on time? This is where the “easy” truly shines! Grab a package of your favorite plain, round cookies from the grocery store. Vanilla wafers, shortbread, or even plain oatmeal cookies work perfectly as a fantastic shortcut, allowing you to focus solely on the fun part: creating the fudge and decorating! Just ensure they are sturdy enough to handle being sandwiched without crumbling.
Pro Tip: If you’re baking your cookies from scratch, it is absolutely crucial to allow them to cool completely before you begin assembling. Attempting to fill warm cookies will cause your luscious fudge filling to melt and ooze, leading to a messy (though undeniably still delicious) situation!
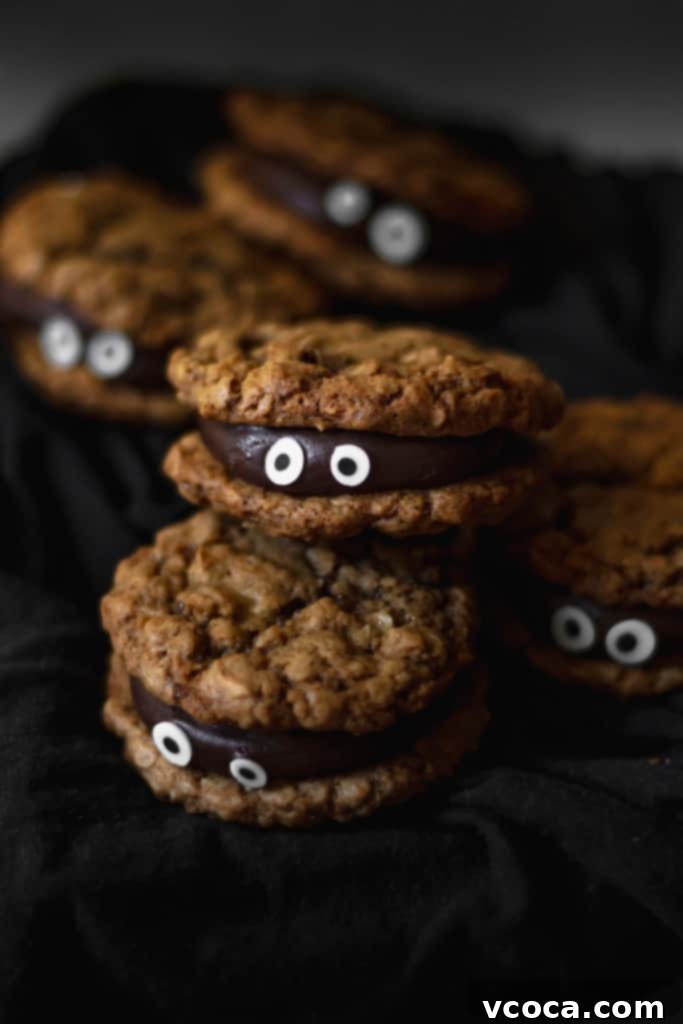
Creating the Decadent Two-Ingredient Fudge Filling
Here’s where the magic truly happens with minimal effort: crafting a rich, velvety fudge that requires only two core ingredients (plus cocoa powder for that iconic dark color and depth of flavor)!
- Melt the Base to Perfection: Begin by combining one can of sweetened condensed milk with your preferred chocolate chips (milk, semi-sweet, or dark chocolate all work beautifully to create varying levels of richness) in a microwave-safe bowl. To ensure a smooth, burn-free mixture, heat this combination in short 30-second increments. It’s crucial to stir thoroughly after each interval, allowing the heat to distribute evenly and prevent the chocolate from scorching. Continue this process until everything is beautifully melted, smooth, and seamlessly combined into a glossy mixture.
- Infuse with Dark Cocoa for Spooky Color: Once your chocolate and condensed milk mixture is perfectly smooth, it’s time to add the cocoa powder for that signature dark hue and intensified chocolate flavor. For an exceptionally dark, rich, and less bitter fudge, I enthusiastically recommend using Dutch-processed cocoa powder. Dutch-processed cocoa has been alkalized, which reduces its natural acidity, resulting in a deeper, more profound color and a smoother chocolate taste compared to natural cocoa powder. If your goal is an even more dramatic, almost black fudge—perfect for truly spooky effects—then opt for black cocoa powder. This variety delivers an incredibly intense color and a unique, slightly Oreo-like flavor. Remember to sift the cocoa powder before adding it to your melted mixture; this simple step helps prevent any stubborn lumps from forming, ensuring your fudge remains silky smooth. Mix again until the cocoa is fully incorporated and the fudge has achieved a uniform, deep, and inviting color.
- Cool and Pipe for Easy Assembly: This is a critical step for achieving neat and easy assembly. You must allow the fudge to cool down. It should no longer be warm to the touch, but still soft and pliable enough to easily pipe. If the fudge is too warm, it will simply run off your cookies, creating a mess. Conversely, if it cools too much, it will become too firm to work with; however, a quick zap in the microwave for 10-15 seconds can often soften it up again. Once cooled to the perfect consistency, transfer the fudge into a piping bag (a sturdy Ziploc bag with one corner snipped off also works wonderfully if you don’t have a piping bag). Pipe a generous dollop of fudge onto the flat side of one cookie. Gently place another cookie on top, creating a perfect, well-filled fudge sandwich. Repeat this delightful process with all your prepared cookies.
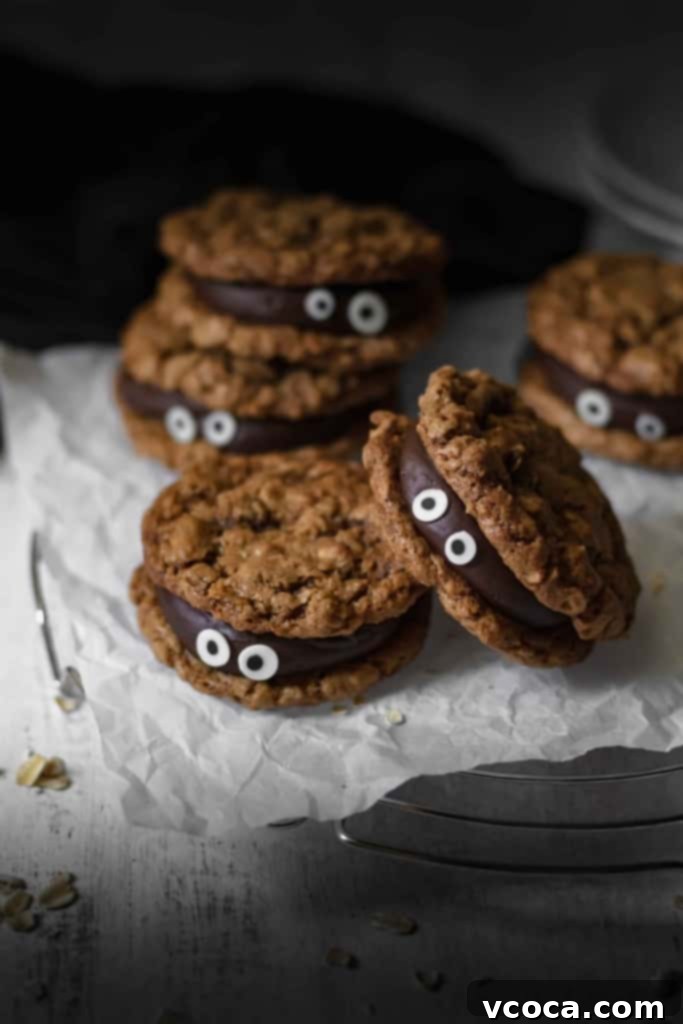
Bringing Your Monsters to Life: Easy Decoration Ideas
Now for the most entertaining part – transforming your plain fudge sandwiches into adorable, spooky, or whimsical monsters! The true beauty of these cookies is that minimal decorative effort yields maximum impact and character.
- Effortless Edible Candy Eyes: The quickest and most straightforward way to infuse your cookies with personality is by adding store-bought edible candy eyes. A tiny dab of the fudge filling itself (or a bit of royal icing if you prefer) on the back of each eye will help them adhere securely to the cookie. You can give your monsters just one eye for a cyclops look, two classic eyes, or even three or more for a truly quirky and whimsical appearance!
- DIY Candy Melt Eyes: If you’re feeling a bit more ambitious or simply can’t find pre-made candy eyes, crafting your own is surprisingly simple. Melt white candy melts according to their package instructions, then pipe small circles onto a sheet of parchment paper. Once these white bases have set, use a tiny dot of melted black candy melt or a fine-tipped edible marker to create the pupils.
- Creative Royal Icing Details: For those who enjoy a bit more artistic freedom, royal icing offers endless possibilities. You can pipe white circles for the eyes, and once they’ve slightly firmed up, add a black dot for the pupil. Experiment with different pupil shapes—ovals, slits, or even stars—to create a variety of monster expressions. For an extra creepy touch, delicate red royal icing “veins” can be piped onto the white part of the eyes.
- Spooky & Fun Sprinkles: Who says monsters can’t be glamorous? If eyes aren’t your style or you’re short on time, simply skip them! Instead, garnish your fudge-filled cookies with a generous scattering of adorable Halloween-themed sprinkles! Think playful bats, ghostly shapes, mini pumpkins, or just a festive mix of orange, black, and purple jimmies. Sprinkles add a delightful burst of color, extra texture, and an undeniable celebratory feel.
No matter which decoration method you choose, remember that homemade treats have a unique charm. Embrace any “imperfections”—the slightly wonky eyes or uneven sprinkles—as they only add to the character and personality of each unique monster cookie!
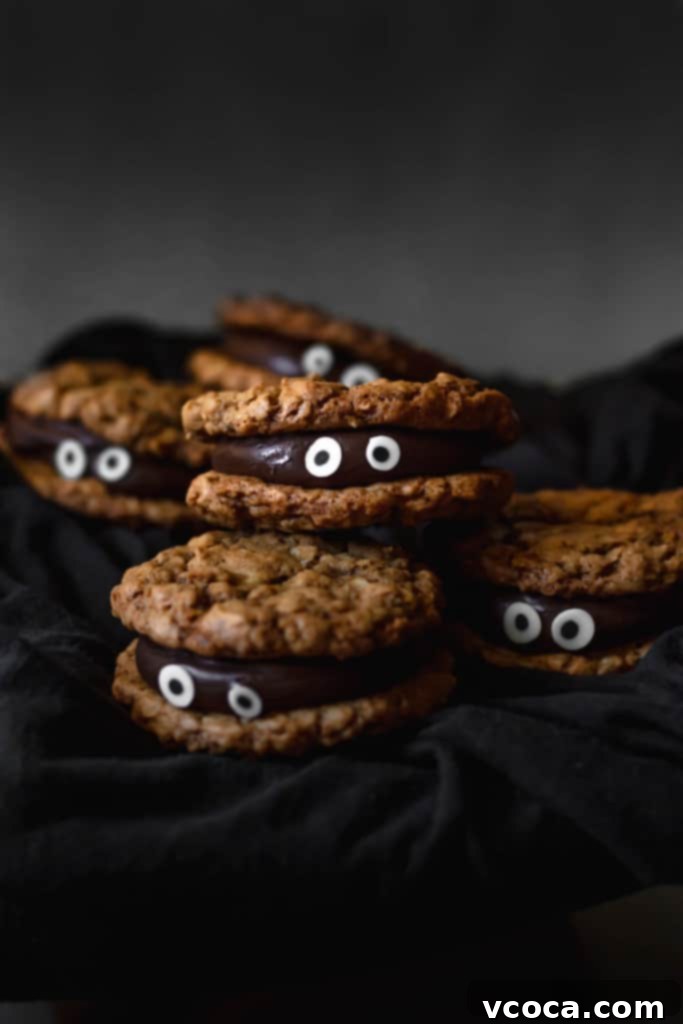
The Perfect Halloween Party Treat for Everyone
These Spooky Halloween Cookies truly hit the sweet spot, striking an impeccable balance between decadent richness and delightful simplicity. The harmonious combination of the tender, buttery texture of the oatmeal cookies with the intense, deep chocolatey goodness of the fudge makes them incredibly satisfying with every bite. Yet, despite their luxurious taste, they possess a lightness that makes it all too easy to reach for a second, and even a third!
They are, without a doubt, an ideal dessert for any Halloween gathering. Whether you’re hosting a lively children’s costume party, a sophisticated adult soirée, a cozy family celebration, or preparing treats for a school event, these cookies are guaranteed to be a hit. Their adorable, monster-inspired appearance ensures they’ll not only be a delightful conversation starter but also a memorable and much-loved highlight of your Halloween spread. Prepare yourself for an abundance of compliments and eager requests for the recipe!
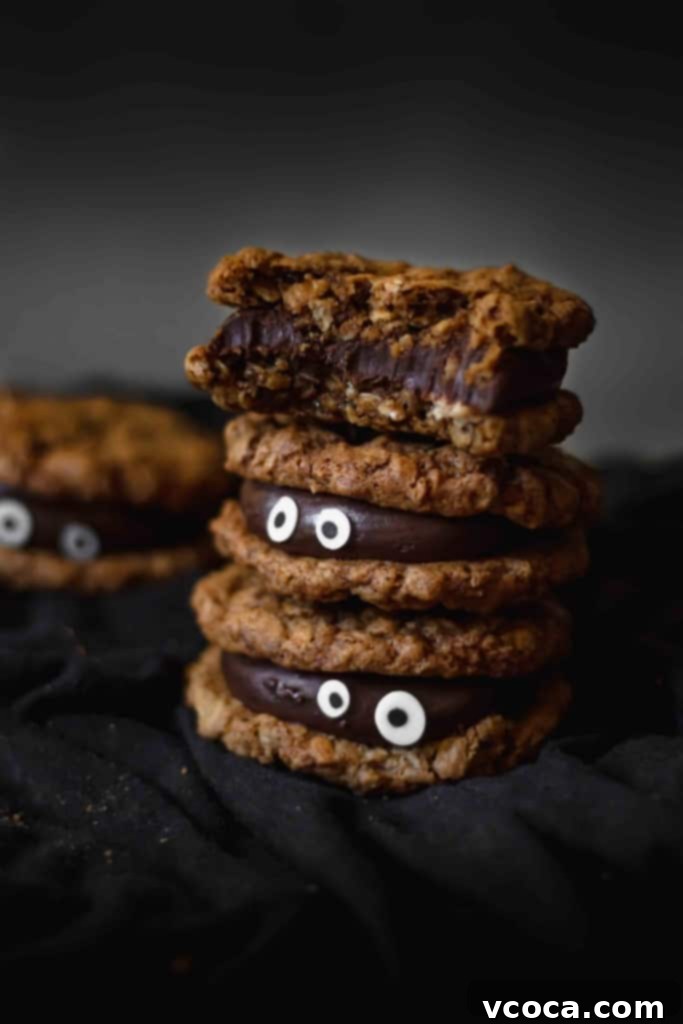
Discover More Spooktacular Halloween Treats!
Looking for more hauntingly good ideas to complete your Halloween feast? Explore these fantastic recipes from our kitchen and some talented friends:
- White Chocolate Eyeballs
- Black Sesame Eyeball Cupcakes
- Vegan BLT Sandwiches with Pumpkin Buns
- Choco Butternut Crinkles (The Not So Creative Cook)
- Boonanas – Frozen Banana Ghosts (Lifestyle of a Foodie)
- Graveyard Brownies (Wonder & Charm)
- Pumpkin Cake Balls (In Fine Taste)
- Halloween Spiderweb Carrot Soup (Cooking with Nart)
- Halloween Cakesicles (Keeping it Relle)
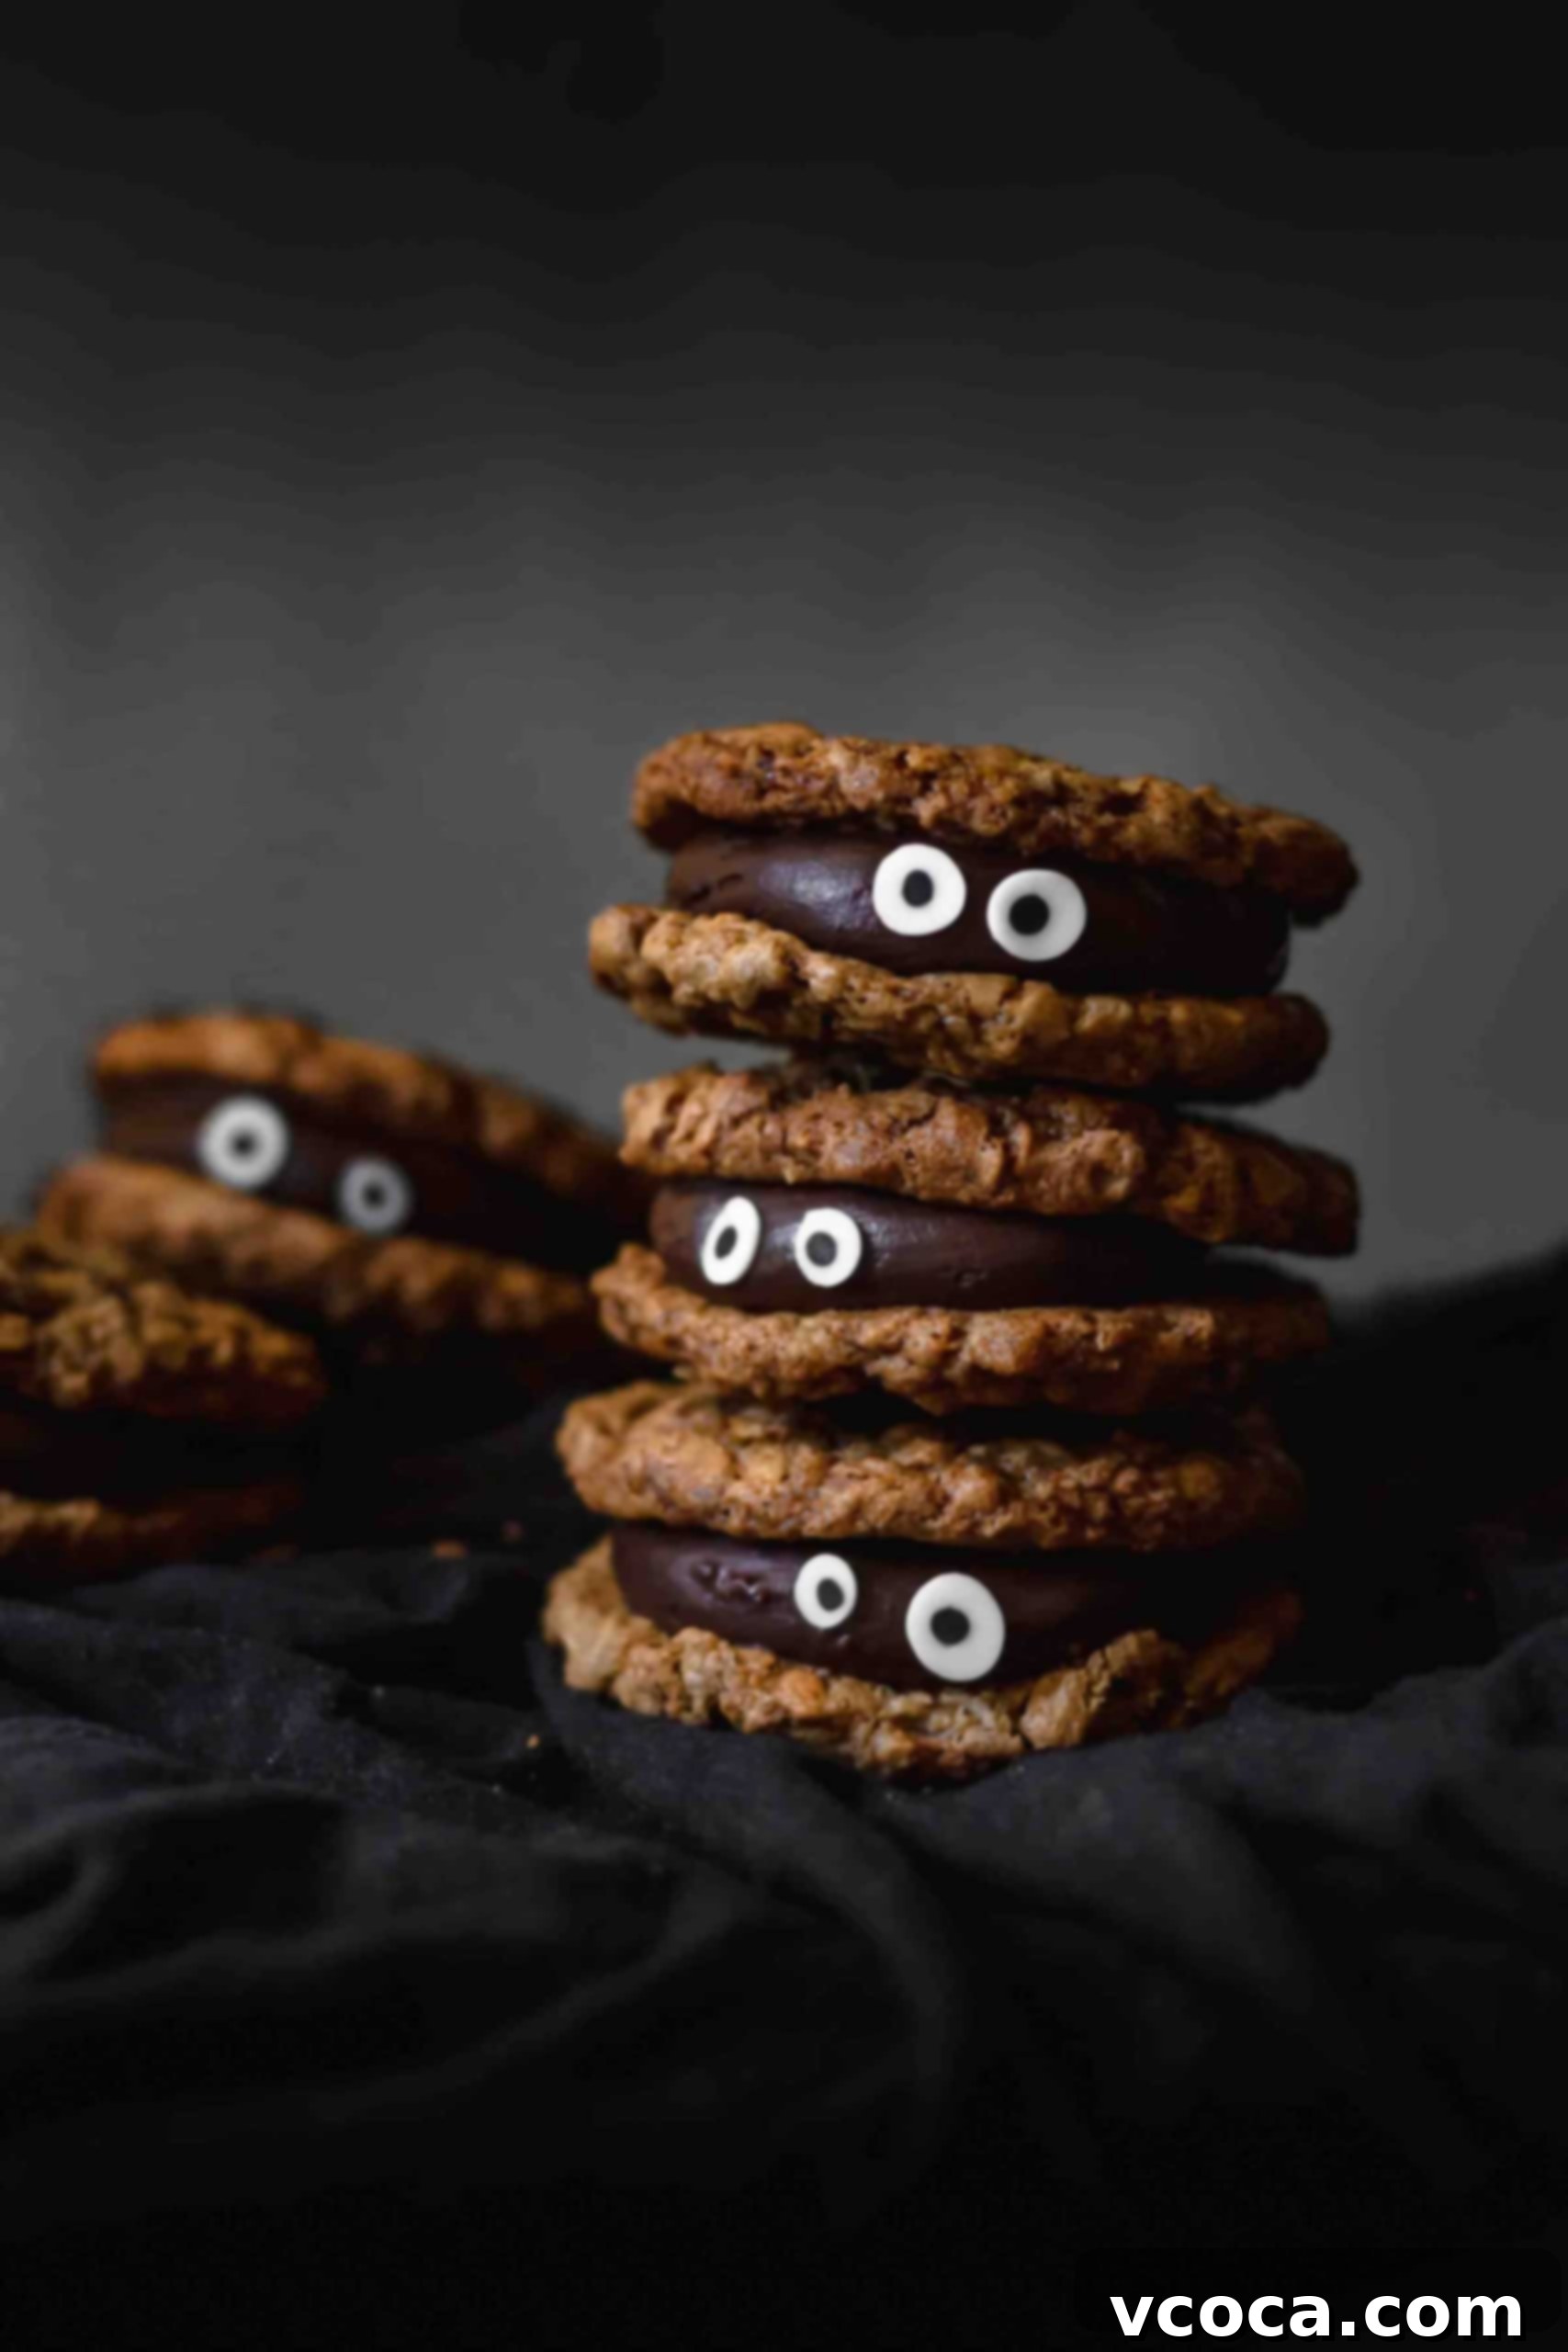
Spooky Halloween Cookies
Print
Pin
Rate
Ingredients
- 30 chewy oatmeal cookies (homemade, without raisins, or quality store-bought such as vanilla wafers or shortbread)
- 1 can / 397g sweetened condensed milk, dairy or non-dairy
- 1 cup / 170g chocolate chips (semi-sweet or dark recommended for richness)
- ¼ cup sifted cocoa powder (Dutch processed for a dark, rich color; black cocoa for ultimate spookiness and flavor)
- 30 edible candy eyes (easily found in baking aisles, or homemade from candy melts)
Instructions
-
In a microwave-safe bowl, combine the sweetened condensed milk and chocolate chips. Microwave in 30-second bursts, stirring well after each, until the mixture is fully melted and smooth. Sift in the cocoa powder and mix until completely incorporated and the fudge has a uniform, dark color. Let the fudge cool until it’s no longer warm but still soft and pliable enough to pipe (about 20-30 minutes at room temperature, stirring occasionally).
-
Transfer the cooled fudge into a piping bag (or a sturdy resealable bag with a corner snipped off). Pipe a generous amount of fudge onto the flat side of one cookie. Gently place another cookie on top to create a sandwich. Repeat this process until all cookies are assembled.
-
Carefully attach edible candy eyes to the fudge filling on the top cookie to create your monster faces. A tiny dab of extra fudge can act as “glue” if needed. Arrange them to create fun, quirky, and spooky monster expressions. Serve immediately or store in an airtight container at room temperature for up to 3-4 days. Enjoy your frightfully delicious treats!


SAVE THIS RECIPE TO PINTEREST FOR LATER!!
Links included in this post might be affiliate links. If you purchase a product using these links I may receive a small commission. There is no additional charge to you 🙂
