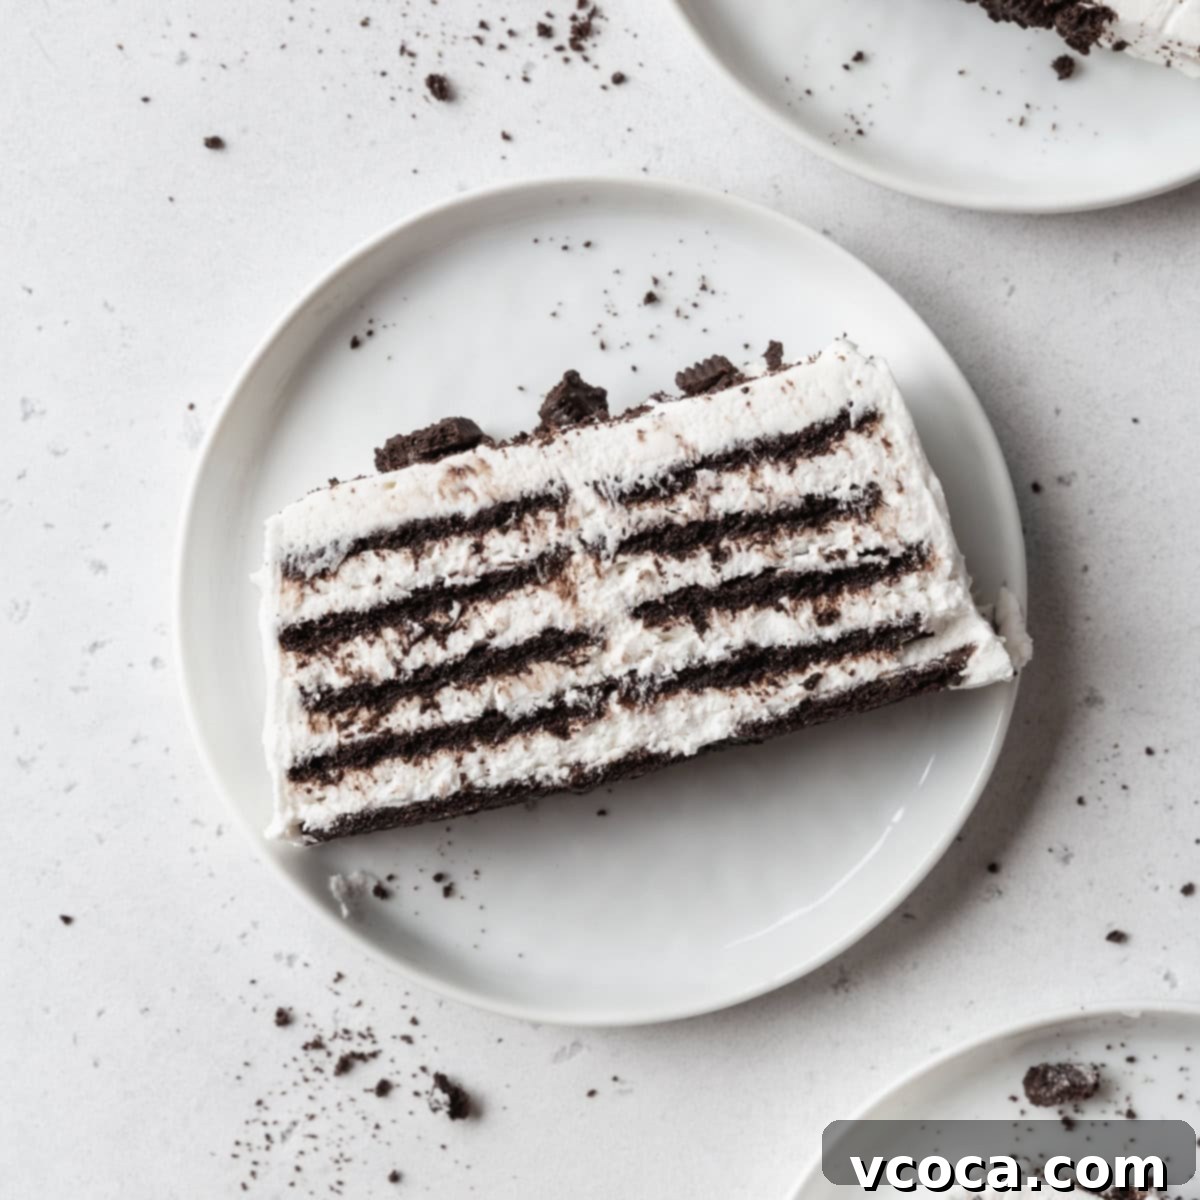
Effortless No-Bake Icebox Cake Recipe: Your Guide to a Creamy, Dreamy Dessert
Imagine a dessert that tastes incredibly indulgent, yet requires absolutely no oven time and minimal effort. That’s the magic of an Icebox Cake! This classic no-bake treat is a delightful blend of simple ingredients – cookies, whipped cream, cream cheese, and a hint of vanilla – coming together to create a show-stopping dessert that’s perfect for any occasion. All it asks for is a little patience while it chills to perfection in your refrigerator overnight.
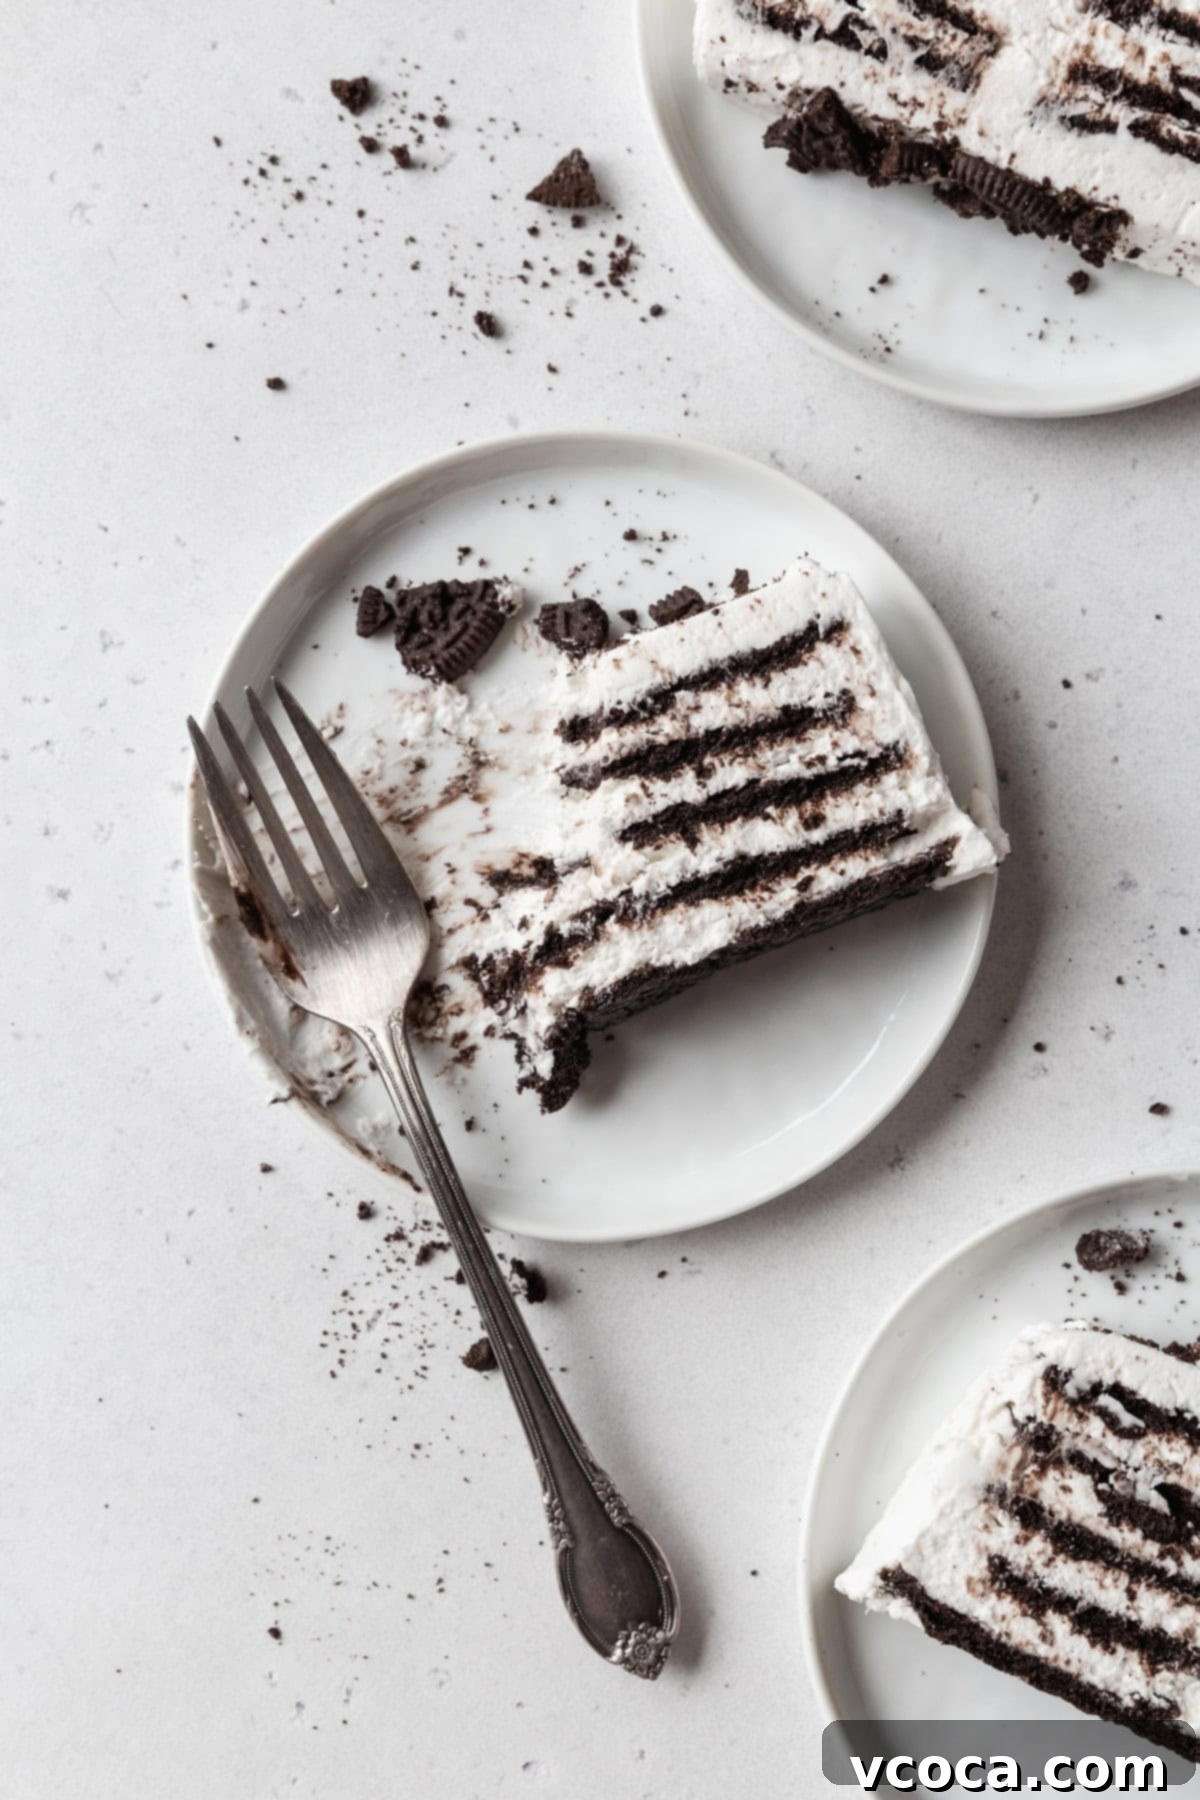
The Icebox Cake is my personal favorite for summer gatherings, potlucks, and casual birthday celebrations. It consistently garners rave reviews and disappears quickly, leaving guests wondering about its intricate preparation – little do they know how incredibly straightforward it is to assemble! Its layered beauty and creamy texture make it a dessert that looks like you spent hours in the kitchen, but in reality, it comes together in just minutes.
This recipe is designed to be accessible for everyone, from novice bakers to seasoned dessert enthusiasts. With its cool, refreshing taste and satisfying texture, it’s a guaranteed crowd-pleaser that will keep you cool during warmer months and impress your guests year-round. Get ready to discover your new go-to dessert!
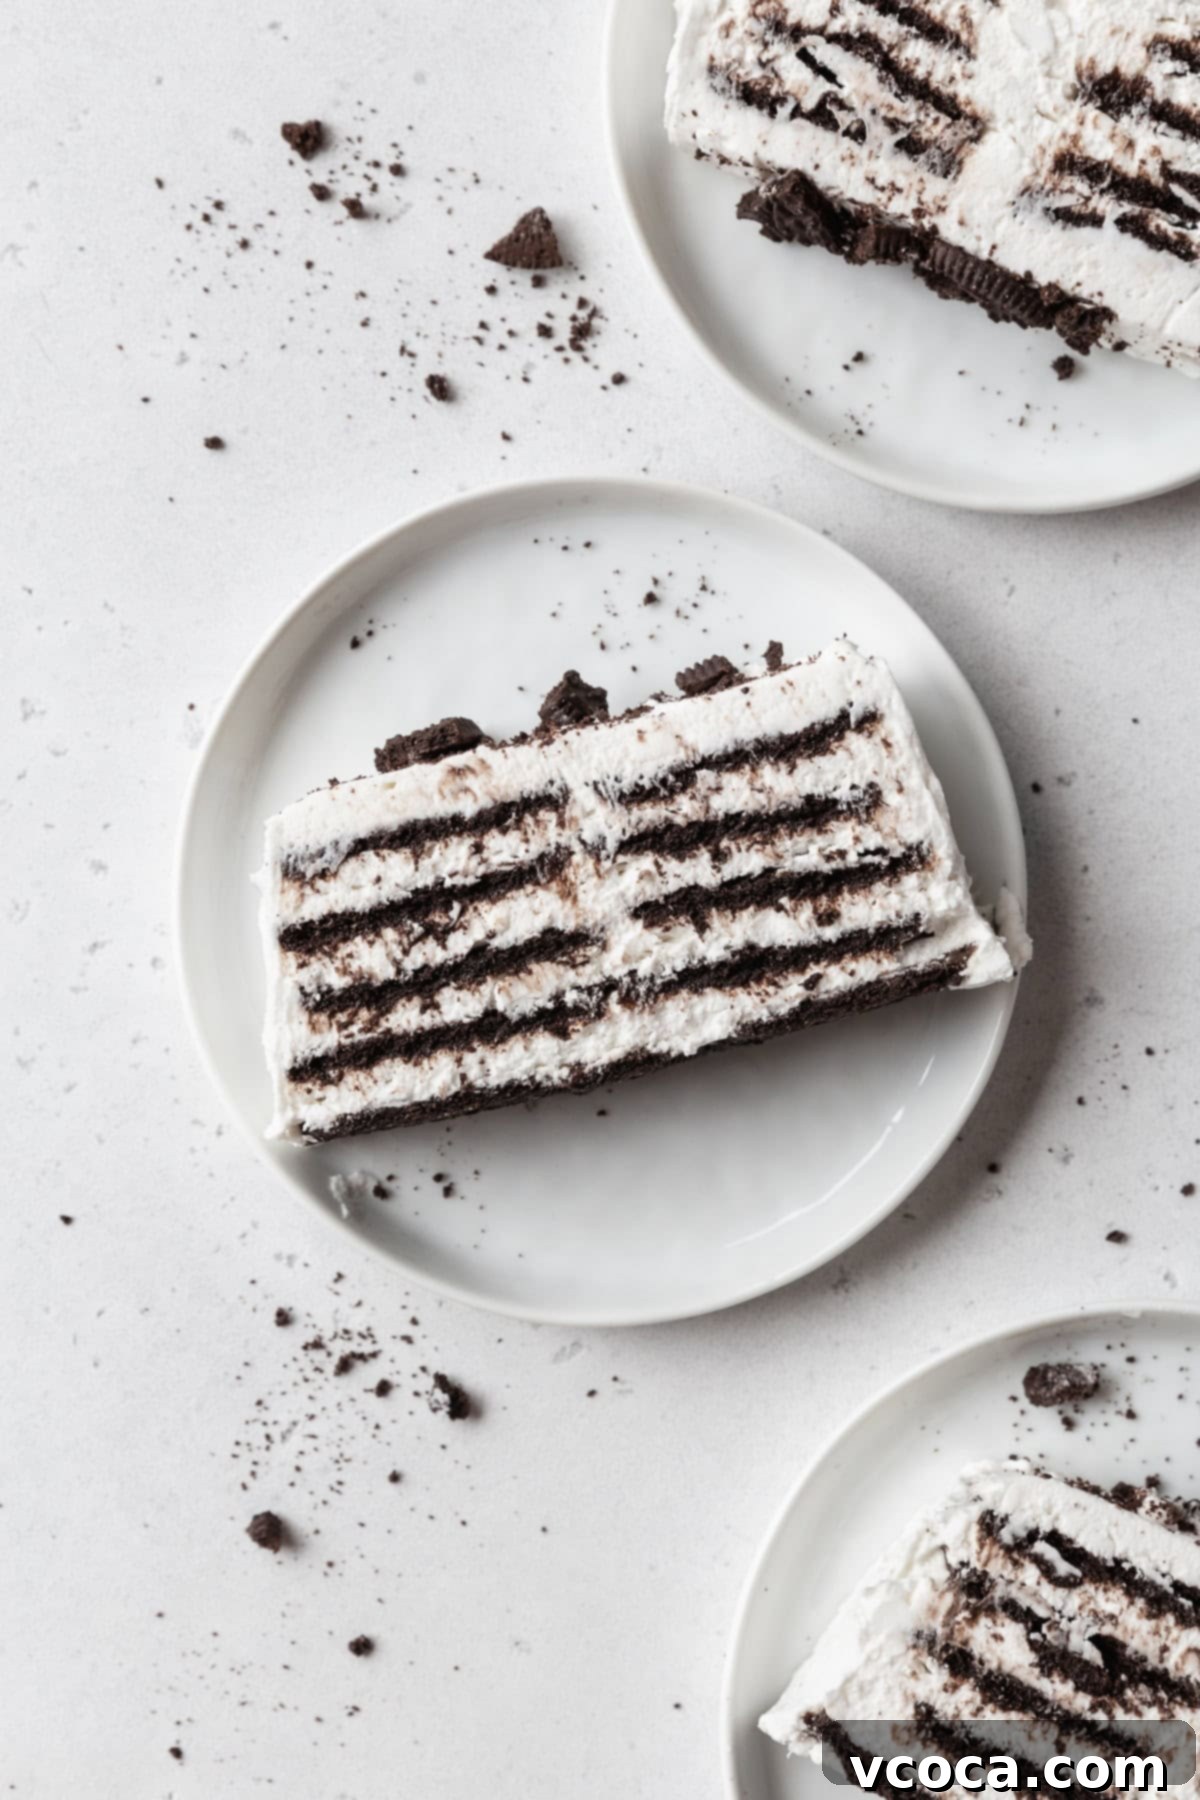
Why You’ll Love This Easy Icebox Cake
- No Baking Required: This is, without a doubt, one of the biggest advantages of an icebox cake. Say goodbye to heating up your kitchen, especially during warm weather. Simply layer your ingredients and let the fridge do all the work, making it perfect for those who prefer not to use an oven or are looking for a quick assembly dessert.
- Irresistible Texture: The real magic happens during the chilling process. The crispy cookies slowly soak up the moisture from the creamy filling, transforming them into a wonderfully soft, cake-like texture that truly melts in your mouth. This textural transformation is what makes an icebox cake so unique and utterly delightful.
- Incredibly Easy to Make: If you can whip heavy cream, you can master this recipe. There’s no complicated baking science, no precise measuring of dry ingredients, and no need for fancy equipment. It’s a foolproof dessert that almost anyone can make successfully on their first try, delivering impressive results with minimal effort.
- Highly Customizable: This recipe serves as a fantastic blank canvas for your creativity. Easily adapt it to your preferences by experimenting with different types of cookies, adding various fruits between layers, incorporating different extracts, or even swirling in chocolate or caramel sauces. The possibilities are endless, ensuring you can create a unique dessert every time.
Key Ingredients for Your Perfect Icebox Cake
This icebox cake requires a surprisingly small number of ingredients, yet each plays a crucial role in creating its delectable flavor and texture. Here’s a deeper dive into what you’ll need and some considerations for each:
Cookies: The foundation of your icebox cake! The key is to use a crispy cookie that will soften beautifully. While I opted for gluten-free Oreos (with the cream filling gently scraped off for a less sweet, pure chocolate flavor), the choice is yours. Consider classic chocolate wafers for a traditional taste, graham crackers for a nostalgic twist, vanilla wafers for a lighter flavor, or even homemade crispy cookies like shortbread. Experiment with different varieties to find your favorite – just ensure they are firm enough to hold their shape when dipped and absorb moisture well.
Whipped Cream: This forms the rich, airy backbone of your cake. You have the option to whip your own heavy cream (which typically contains 36% or more milk fat) for the freshest taste and texture, or use a convenient whipped topping. If you’re looking for a dairy-free alternative, Coco Whip or a plant-based whipping cream alternative like Silk whipping cream are excellent choices that will still provide a creamy, luxurious layer.
Cream Cheese: Adding softened cream cheese to your whipped cream mixture serves a dual purpose. Firstly, it acts as a stabilizer, helping the whipped cream hold its shape longer and preventing it from weeping. Secondly, it infuses the cake with a delightful tangy flavor, balancing the sweetness and adding a rich, creamy depth that elevates the entire dessert. For a dairy-free version, I recommend Violife cream cheese, which offers a similar texture and tang.
Powdered Sugar & Vanilla Extract: These humble additions enhance the flavor profile. Powdered sugar (confectioners’ sugar) dissolves easily, ensuring a smooth, lump-free cream. Vanilla extract or paste adds a warm, aromatic note that complements the other ingredients beautifully. A good quality vanilla can make a significant difference!
Milk: A quick dip in milk helps initiate the softening process for the cookies, ensuring they absorb the cream’s moisture more readily during chilling. Any type of milk (dairy or non-dairy like almond or oat milk) works perfectly here.
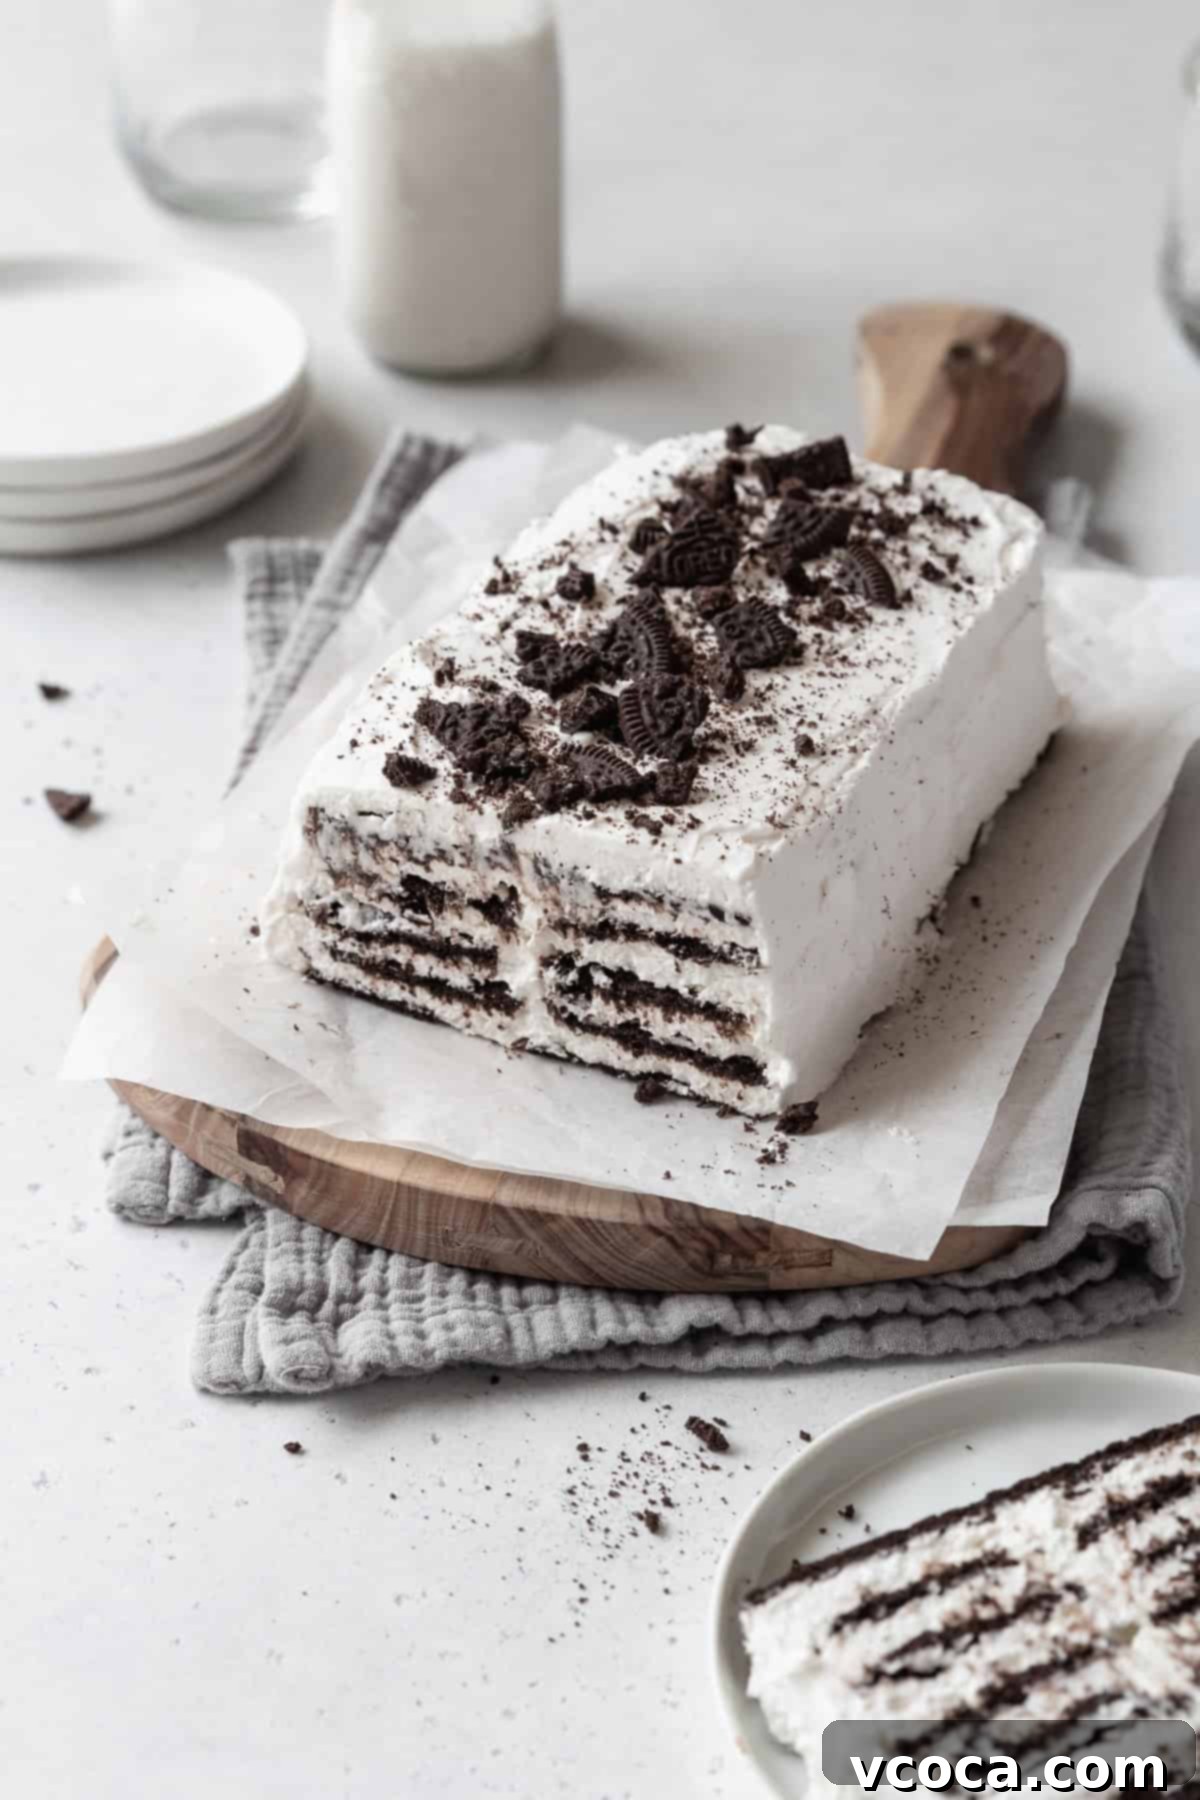
Expert Tips for Icebox Cake Perfection
While this icebox cake recipe is wonderfully simple, these expert tips and tricks will ensure your dessert comes out perfectly smooth, firm, and delicious every single time:
- Chill Your Equipment: For the best whipped cream, always use a chilled mixing bowl and whisk attachments. This helps the cream whip up faster and achieve a firmer peak. Similarly, chilling your loaf pan beforehand will help keep the cream cold during the layering process, ensuring it stays stable and doesn’t get too soft, especially in a warm kitchen.
- Prioritize Chilling Time: This is arguably the most critical step for a successful icebox cake. The cookies absolutely need adequate time to fully absorb the moisture from the cream and soften to that desirable cake-like consistency, and the cream itself needs to set firmly. While 12 hours is the minimum, letting it chill for a full 24 hours truly makes a difference in texture and flavor, allowing all the components to meld together perfectly. Don’t rush this step for the best results!
- Speedy Chill Option (if truly in a rush): If time is truly of the essence, you can chill the cake in the fridge for 4 hours, then transfer it to the freezer for an additional hour to firm it up quickly for easier slicing. However, remember that the texture and flavor are superior when it has ample time to set in the refrigerator, allowing for a slower, more complete melding of flavors.
- Wet Your Pan for Easy Plastic Wrap Adhesion: This is a small but mighty trick! Before lining your loaf pan with plastic wrap, lightly wet the inside of the pan with a little water. The plastic wrap will then stick much more effectively to the damp surface, making it easier to position and preventing it from sliding around as you layer the cream and cookies. Ensure you leave a generous overhang of plastic wrap to cover the cake completely once assembled.
- Utilize Leftover Cream for Flawless Presentation: Don’t discard any extra cream you might have! When you unmold the cake, there might be slight imperfections or gaps. Use any leftover cream to gently smooth over these areas, creating a beautifully finished surface. You can apply it with an offset spatula or even the back of a spoon.
- Elevate with a Garnish: On its own, an icebox cake can look a bit understated. A simple garnish can instantly elevate its appearance and add an extra layer of flavor and texture. Consider sprinkling with crushed cookie crumbs (from your chosen cookies), fresh berries, chocolate shavings or curls, a dusting of cocoa powder, or chopped nuts. A little pop of color or texture can make all the difference!
Icebox Cake Recipe
Print
Pin
Rate
Ingredients
- 40-50 cookies
- 2 cups whipping cream chilled
- 8 oz cream cheese softened at room temperature
- ⅓ cup powdered sugar
- 1 teaspoon vanilla extract or paste
- ¼ cup milk
Instructions
-
In a chilled bowl, add the whipping cream and whip until it begins to get frothy. Add the powdered sugar and vanilla extract and whip again until soft peaks form.
-
While whipping on medium speed, gradually add the softened cream cheese by the spoonful until it’s fully combined and the mixture is whipped to medium-firm peaks. The cream should be thick and hold its shape.
-
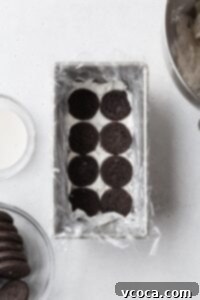
Lightly wet your chilled loaf pan, then line it with a long piece of plastic wrap, ensuring there’s a generous overhang on all sides. Spread about ½ cup of the prepared cream mixture evenly at the bottom of the pan. Quickly dip each cookie into the milk (just a quick dunk to moisten, not saturate) and arrange them in a single layer over the cream.
-
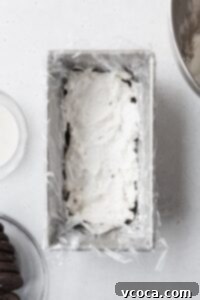
Add another layer of cream (about ½ cup), spreading it gently over the cookies. Follow this with another layer of milk-dipped cookies. Continue to alternate layers of cream and cookies until you’ve used all your ingredients or the loaf pan is full, ending with a layer of cream.
-
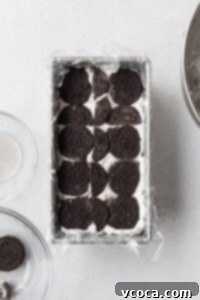
For smaller cookies or if you find there are small gaps between your cookies in a layer, don’t hesitate to break some cookies into pieces to fill those empty spaces. This ensures a consistent texture throughout the cake and prevents it from crumbling when sliced.
-
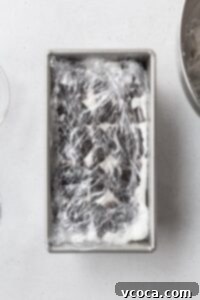
Once your loaf pan is completely filled with layers (or you’ve run out of cookies and cream), use the overhanging plastic wrap to tightly cover the top of the cake. Press down gently to ensure the layers are compact. Place the covered cake in the refrigerator to chill for at least 12 to 24 hours. The longer it chills, the better the texture and flavor will be!
Nutrition
Creative Variations & Customizations
One of the most exciting aspects of icebox cake is its versatility! Don’t be afraid to get creative and tailor this recipe to your taste or the occasion:
- Fruit Layers: Introduce fresh fruit between layers of cream and cookies. Sliced strawberries, raspberries, blueberries, banana slices, or even thinly sliced mango would add a refreshing burst of flavor and color.
- Coffee or Chocolate Kick: For a mocha-flavored cake, add a teaspoon of instant espresso powder to your whipping cream mixture. If you’re a chocoholic, sprinkle mini chocolate chips or cocoa powder between layers, or drizzle with chocolate syrup.
- Lemon Zest: For a bright, zesty twist, add 1-2 teaspoons of fresh lemon zest to the cream cheese mixture. It beautifully cuts through the richness and adds a delightful aroma.
- Nutty Crunch: Add a layer of finely chopped nuts (like pecans, walnuts, or almonds) for an extra textural dimension and nutty flavor.
- Spice It Up: For a fall-inspired treat, use ginger snaps or Biscoff cookies and add a pinch of cinnamon or pumpkin pie spice to the cream.
How to Store Your Icebox Cake
Proper storage is key to enjoying your icebox cake’s delicious texture and flavor for days after preparation.
Storing in the Fridge: The cake should always be kept chilled. Store any leftover cake tightly wrapped in plastic wrap or in an airtight container in the refrigerator for up to 3 days. This prevents it from drying out and absorbing other odors from the fridge, maintaining its fresh taste and creamy consistency.
Freezing for Longer Enjoyment: For longer storage, individual slices can be tightly wrapped in plastic wrap, then placed in a freezer-safe bag or airtight container. It will keep well in the freezer for up to a month. To serve, remember to thaw individual slices in the refrigerator overnight. This slow thawing process helps to maintain the delicate texture of the softened cookies and cream, ensuring it’s just as delicious as when it was first made.
Frequently Asked Questions (FAQs)
Here are answers to some common questions about making and enjoying icebox cake:
- Can I use Cool Whip instead of homemade whipped cream? Yes, you absolutely can! While homemade whipped cream with cream cheese provides a richer flavor and more stable structure, Cool Whip or similar whipped toppings are a convenient substitute. Just keep in mind the flavor and texture will be slightly different, and you might not need to add additional powdered sugar if the topping is already sweetened.
- My icebox cake turned out soggy. What went wrong? A soggy cake usually means the cookies were over-dipped in milk or the chilling time was too short. Remember to dip cookies very quickly – just a swift dunk – to moisten, not saturate. Also, ensure the cake chills for at least 12-24 hours to allow the cookies to absorb the moisture evenly and transform into a cake-like consistency without becoming overly wet.
- Can I make this dairy-free or gluten-free? Yes! This recipe is highly adaptable. As mentioned in the ingredients section, use plant-based whipping cream alternatives like Coco Whip or Silk whipping cream, and dairy-free cream cheese (like Violife). For gluten-free, use your favorite brand of gluten-free cookies (like gluten-free Oreos or graham crackers).
- How far in advance can I make icebox cake? Icebox cake benefits from chilling, so making it 1-2 days in advance is actually ideal. This allows ample time for the flavors to meld and the cookies to soften perfectly. Beyond 3 days, while still safe to eat, the texture might become too soft.
More Easy No-Bake Desserts You’ll Love
If you’ve fallen in love with the simplicity and deliciousness of no-bake desserts, you’re in for a treat! Here are a few more of my top recommendations that require minimal effort but deliver maximum flavor:
For something truly decadent and rich, my fudge recipe with condensed milk and gluten-free edible cookie dough are absolute must-tries! They’re incredibly easy to whip up and offer that deeply satisfying sweetness perfect for a quick indulgence.
Feeling nostalgic? My vegan rice pudding is wonderfully creamy and comforting. I adore it with the classic cinnamon and raisin combination, but don’t miss trying it with the vibrant orange compote included in the recipe for a delightful twist!
While technically breakfast items, strawberry waffles and muffin mix pancakes can easily transform into spectacular desserts. Just top them generously with a scoop of ice cream, a dollop of whipped cream, your favorite jam, or a luscious chocolate sauce – perfect for an impromptu sweet ending to any meal!
If you’re a fan of mochi and unique Japanese desserts, I highly recommend exploring my traditional recipes. Try the delicate sakura mochi, the charming kashiwa mochi, or the ever-popular strawberry mochi (Ichigo Daifuku) for an authentic taste of Japan!
Whip Up Your Own Icebox Cake Today!
With its impressive appearance and shockingly simple preparation, the icebox cake is a true dessert hero. Whether you’re a seasoned baker or just starting your culinary journey, this no-bake wonder promises a delightful experience from assembly to the very last bite. The blend of softened cookies and rich, tangy cream creates a symphony of textures and flavors that’s hard to resist. So, gather your ingredients, set aside a little chilling time, and get ready to enjoy a refreshing, crowd-pleasing dessert that’s perfect for any occasion. Don’t wait – try this effortless icebox cake recipe and add a touch of creamy, dreamy indulgence to your next gathering!
