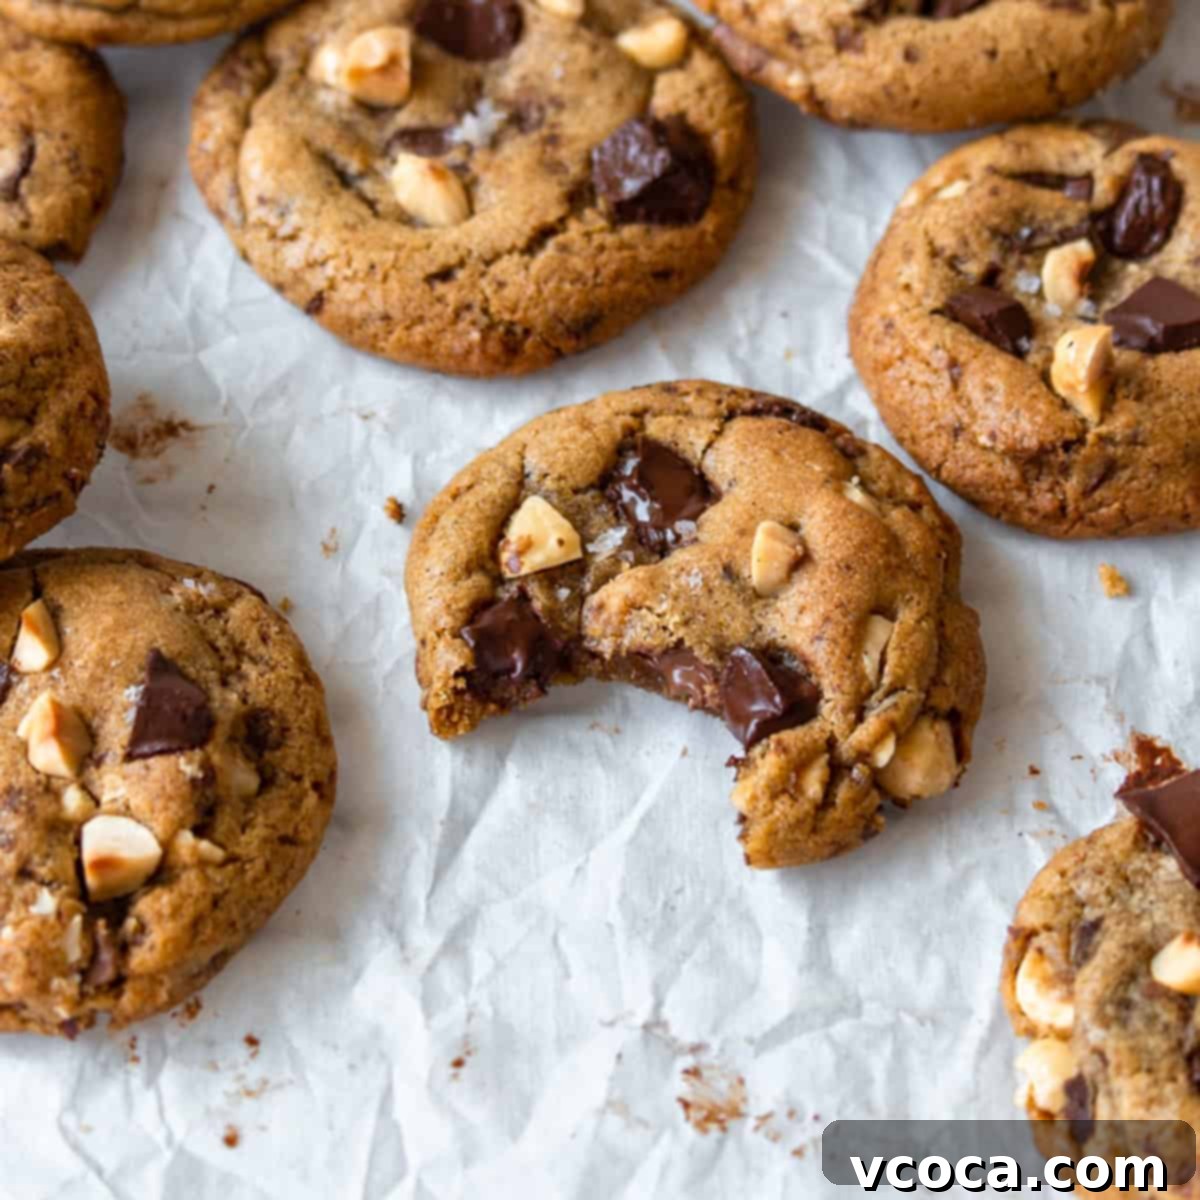
The Best Brown Butter Chocolate Chip Cookies: Chewy, Gooey & Irresistible
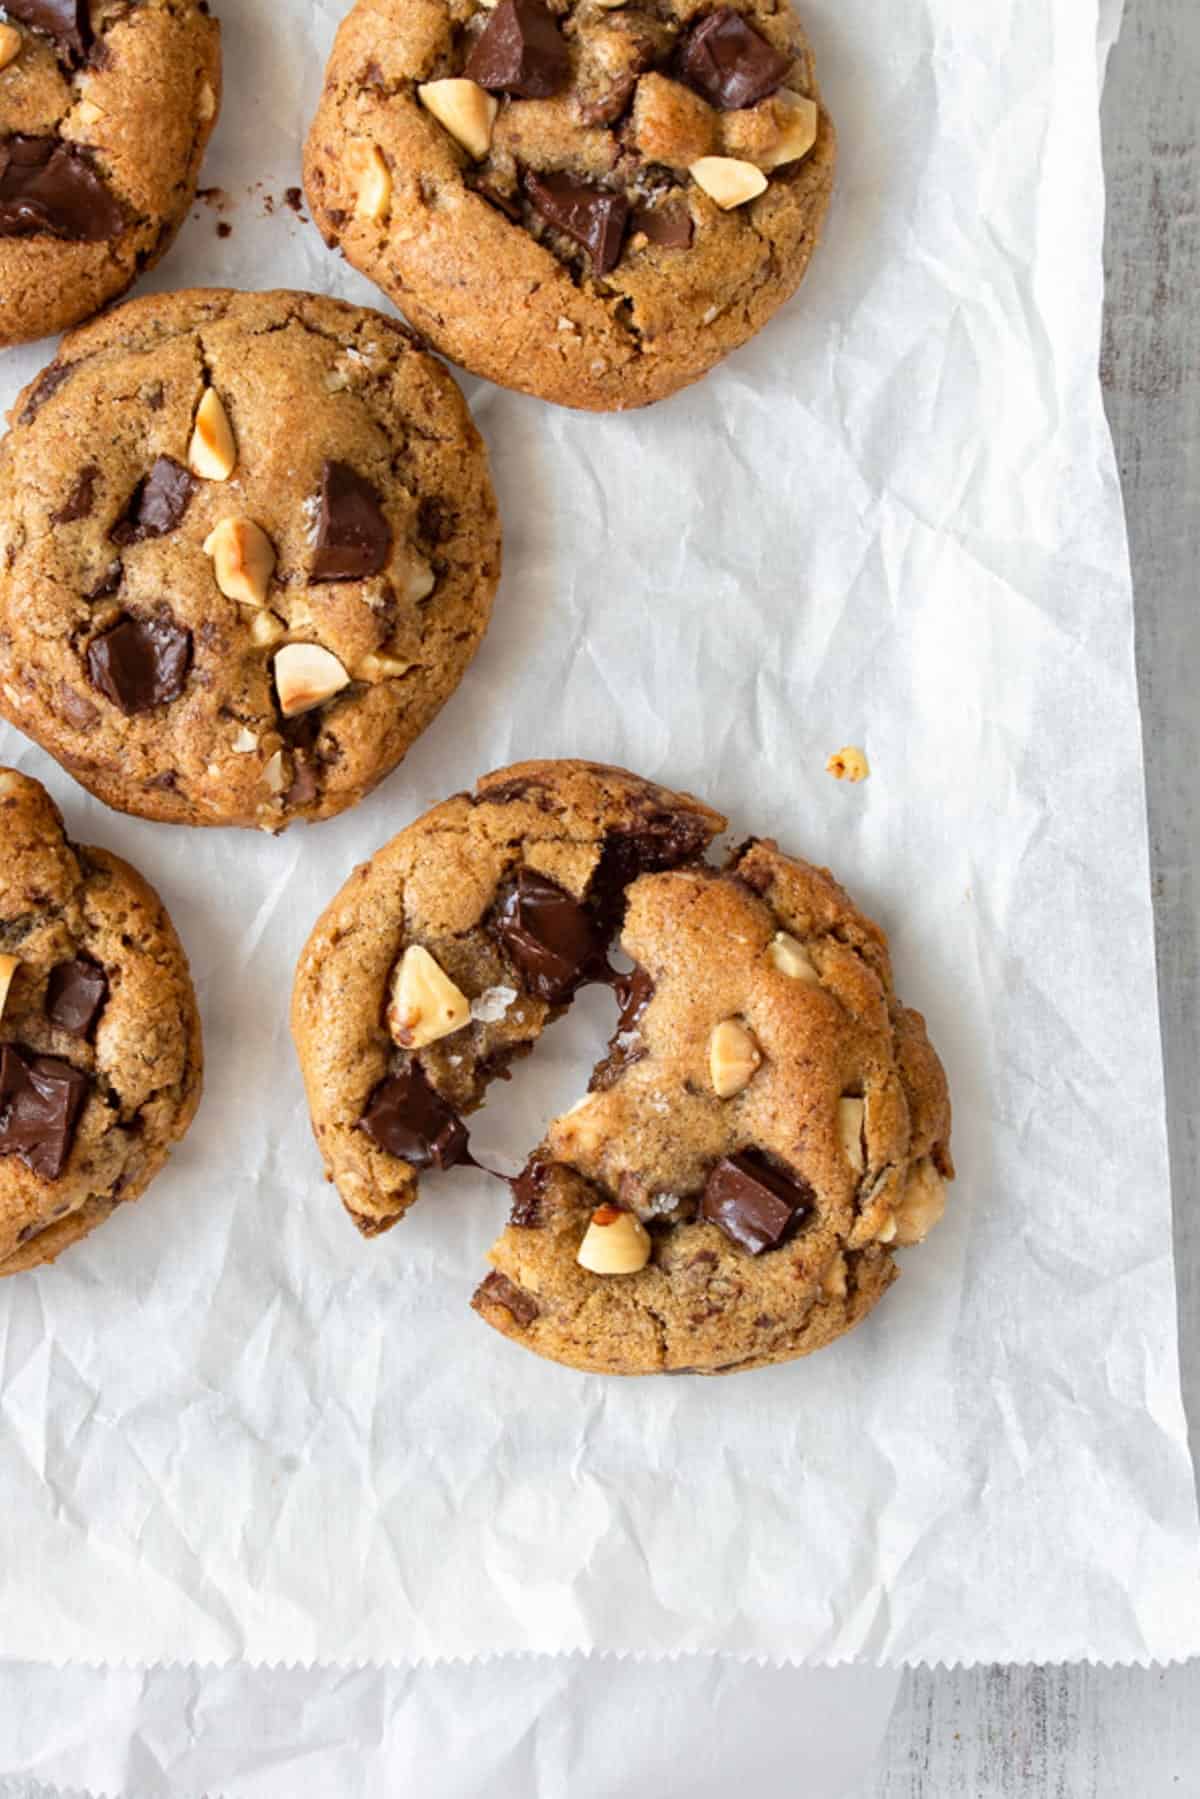
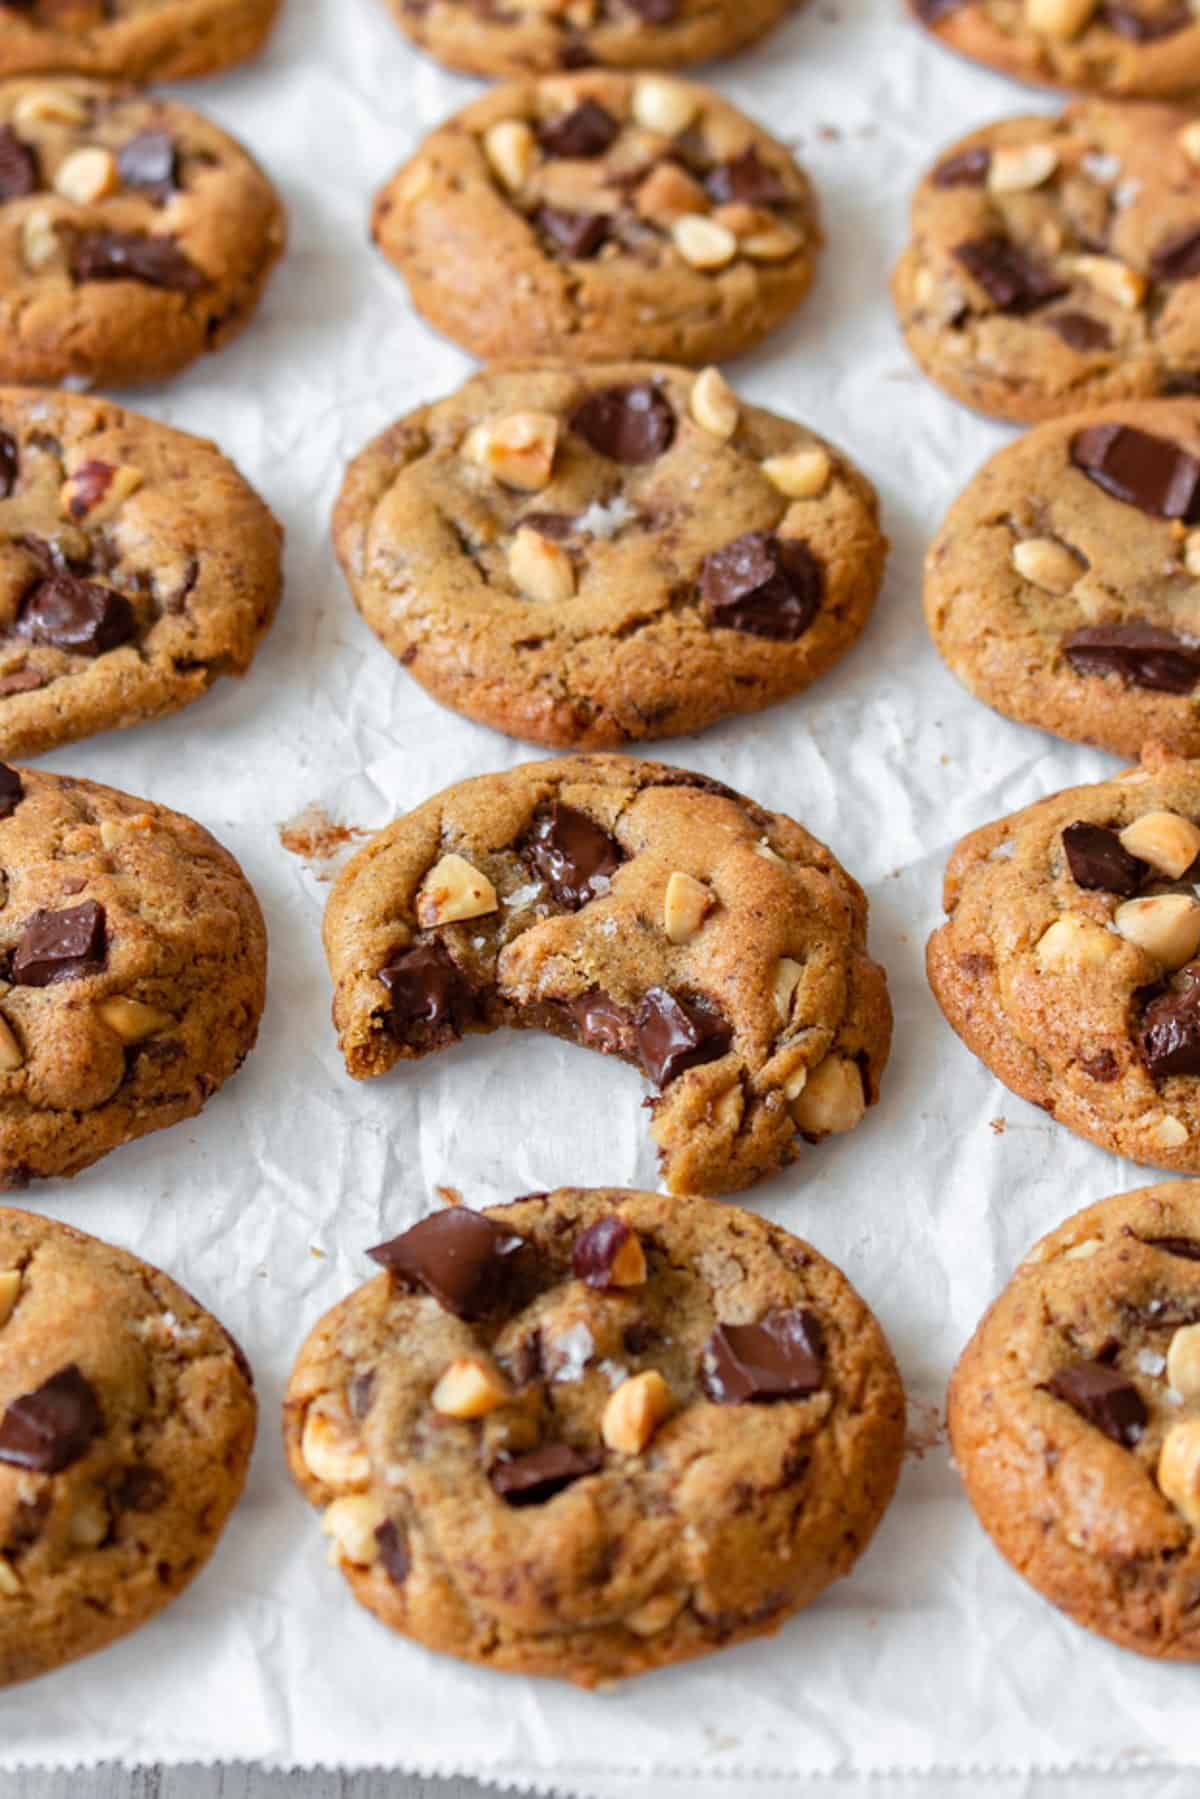
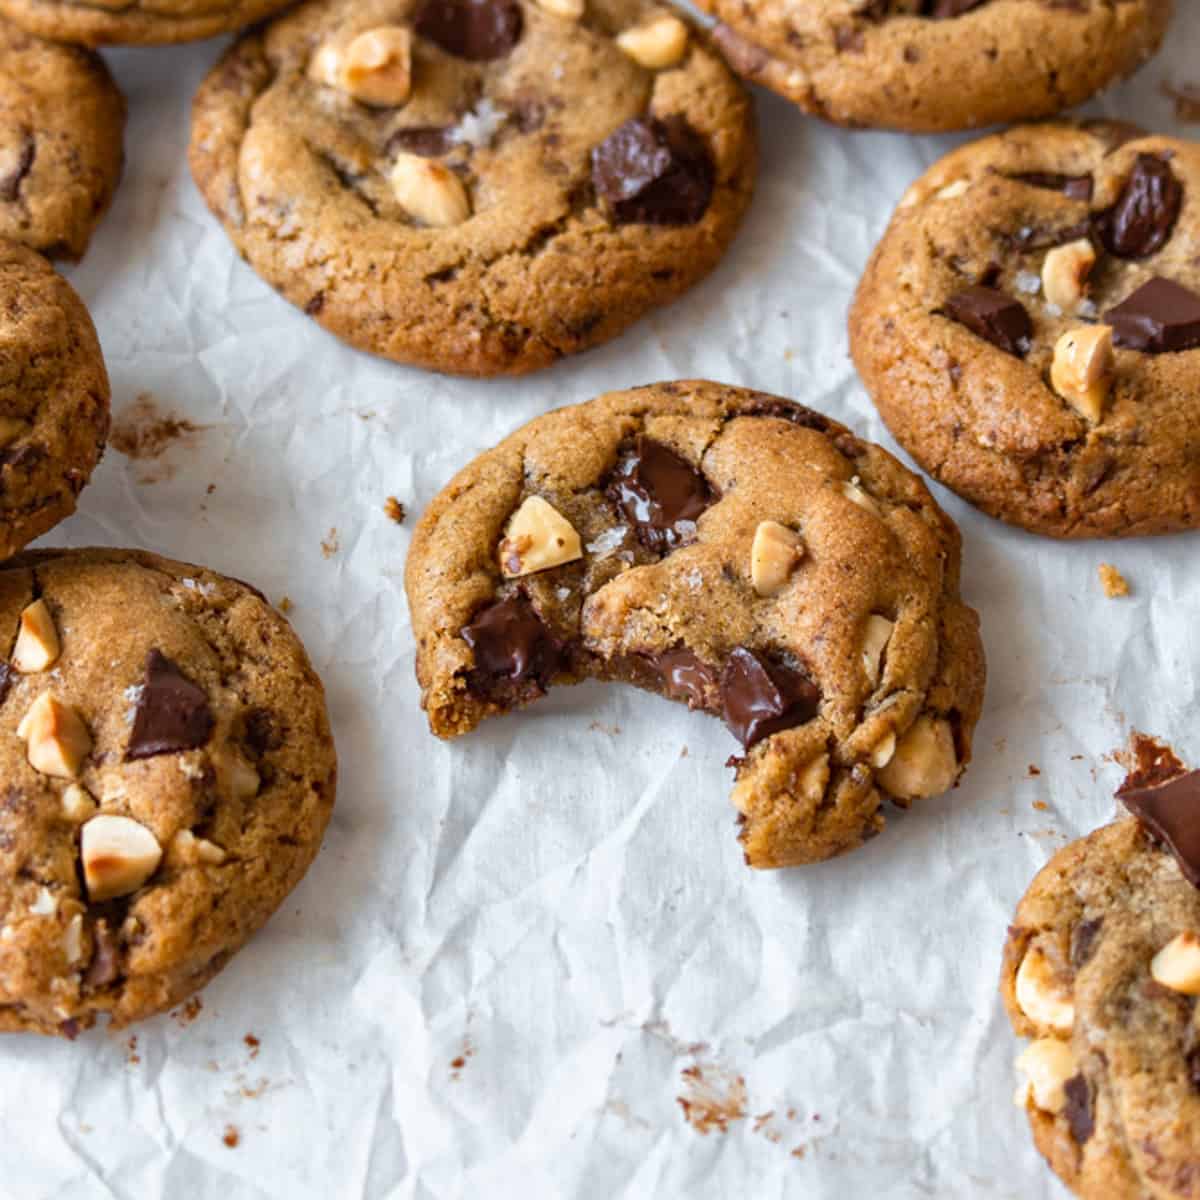
Prepare to elevate your cookie game forever. Once you experience these incredible brown butter chocolate chip cookies, you’ll find it hard to go back to any other recipe! The magical transformation of butter into a nutty, caramel-scented elixir creates an unparalleled depth of flavor. This, combined with perfectly crisp edges and a wonderfully soft, chewy texture, makes these brown butter cookies the ultimate indulgence. They are not just cookies; they are a sensory experience, a perfect symphony of rich butterscotch notes and molten chocolate that will tantalize your taste buds and leave you craving more.
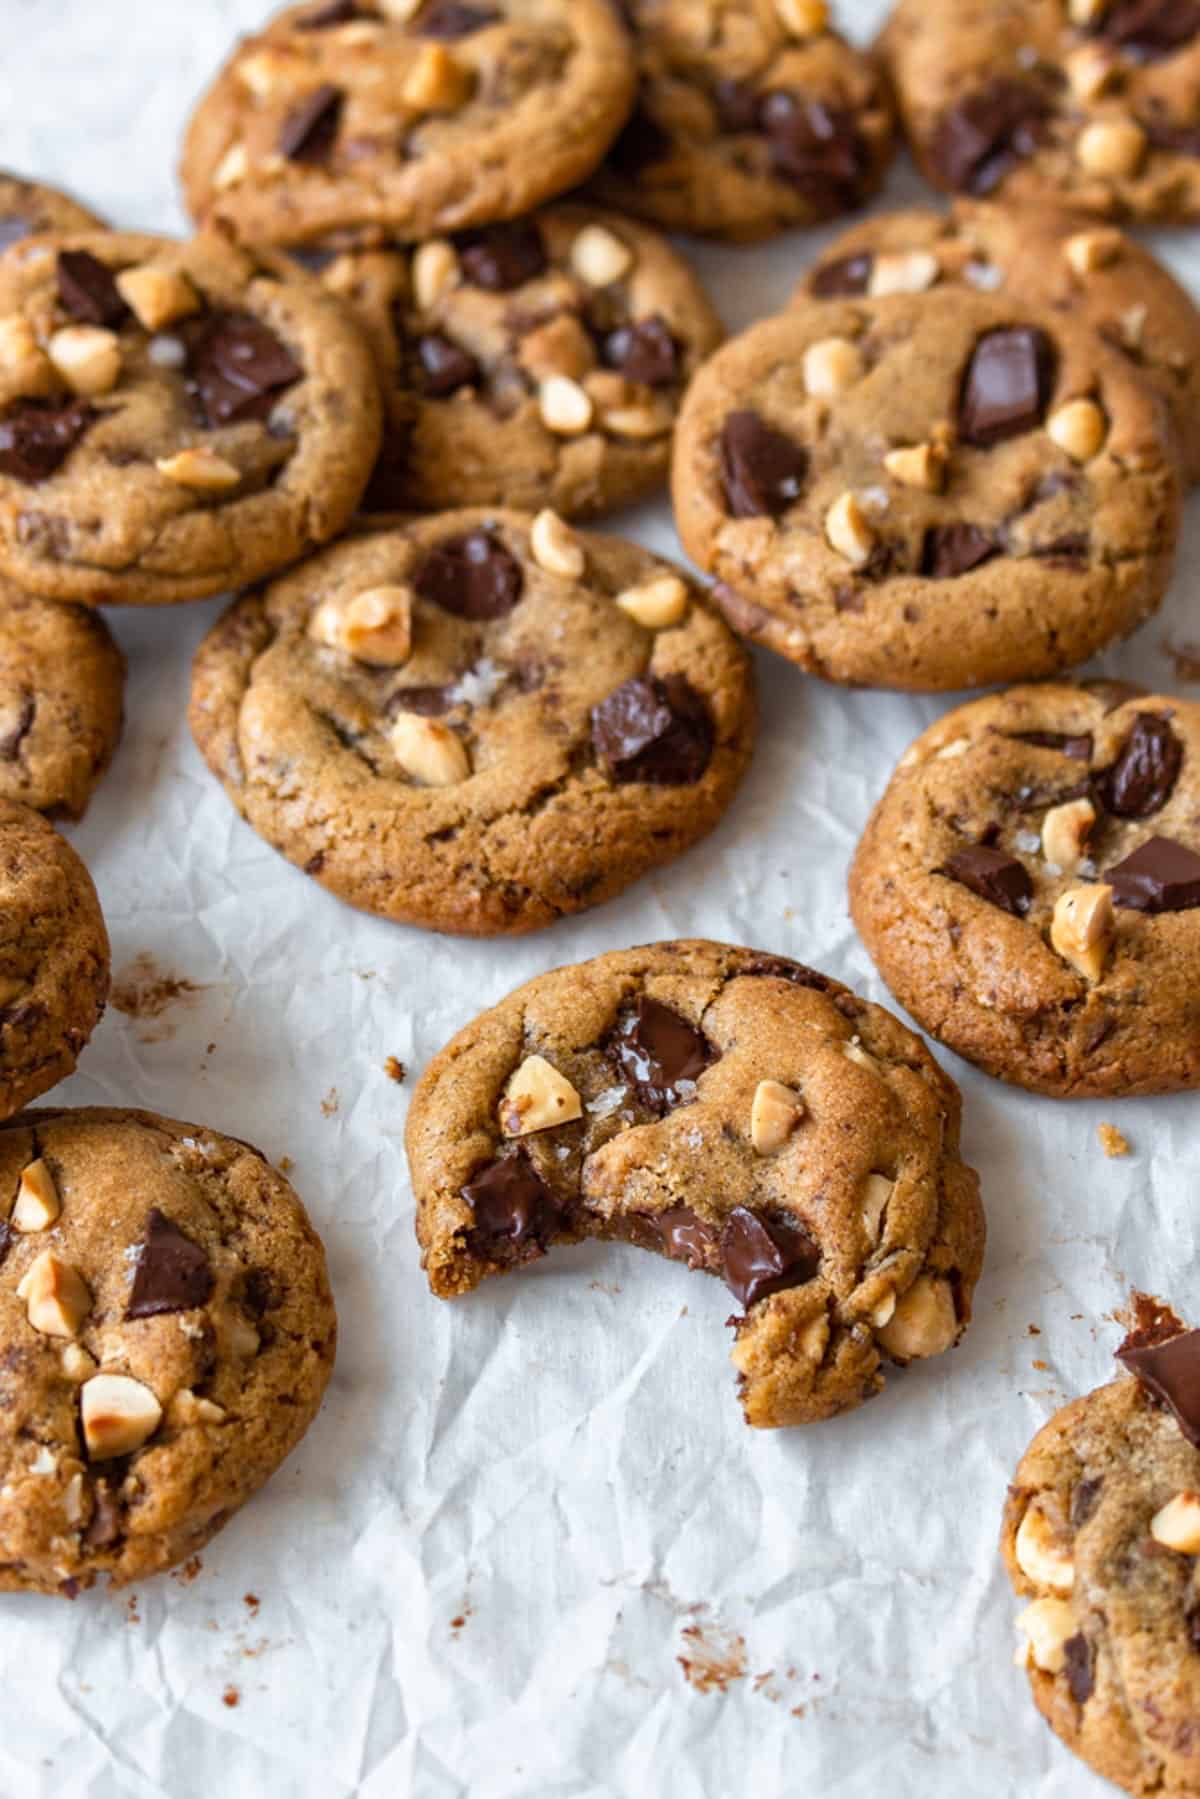
This post was originally published on April 6, 2016. It was meticulously updated with new recipe information, enhanced tips, and a deeper dive into the science of baking on January 23, 2024, to ensure you have the most foolproof guide to these extraordinary cookies.
Key Ingredients for Superior Brown Butter Chocolate Chip Cookies
Crafting the perfect brown butter chocolate chip cookie starts with understanding the role of each ingredient. This recipe uses a thoughtful combination to achieve that coveted balance of crisp edges, chewy centers, and complex flavor. Here’s a closer look at what you’ll need and why:
- Unsalted butter. This is the star of our show! By gently heating unsalted butter in a saucepan, the milk solids separate and caramelize, transforming into a nutty, fragrant “browned butter.” This process, known as the Maillard reaction, creates deep, complex notes of butterscotch and toasted nuts that regular butter simply can’t achieve. Using unsalted butter is crucial because it allows you to control the total salt content in your cookies. Salted butter can result in an overly salty final product, masking the delicate flavors we’re trying to achieve with the browned butter. Look for good quality butter, as its flavor will shine through.
- All-purpose flour. Standard all-purpose flour provides the ideal protein structure for these chewy cookies. It gives them the right amount of tenderness without being too cakey or too dense. While you can sometimes substitute other flours, for that classic, satisfying chew, all-purpose is your best bet. Avoid over-measuring by weight for consistent results.
- Salt. A pinch of salt is vital in baking; it doesn’t just make things salty, it enhances all the other flavors, especially the sweetness and the rich notes from the browned butter and chocolate. You can use fine sea salt or fine Himalayan pink salt in the dough. For an extra touch, a sprinkle of flaky sea salt on top before baking creates a beautiful contrast and burst of flavor.
- Baking soda. This leavening agent reacts with the acidic brown sugar in the dough, producing carbon dioxide bubbles that help the cookies spread and achieve their signature chewy texture. It also contributes to the golden-brown color. Ensure your baking soda is fresh for optimal results.
- Sugar (Granulated and Brown). This recipe strategically uses both granulated sugar and brown sugar. Granulated sugar helps the cookies spread and provides crisp edges, while brown sugar, with its molasses content, contributes moisture, a deeper caramel flavor, and that wonderfully soft, chewy interior. The precise ratio is key to achieving the perfect balance of texture and sweetness. Make sure your brown sugar is soft and free-flowing.
- Eggs (whole egg and egg yolks). We’re not just using one whole egg, but also adding extra egg yolks for an unparalleled richness and chewiness. The whole egg provides structure and acts as a binder, while the additional yolks increase the fat content, resulting in a more tender, fudgy crumb and preventing the cookies from drying out. Ensure your eggs are at room temperature for better emulsification with the butter-sugar mixture.
- Vanilla extract. A classic flavor enhancer in nearly all cookie recipes. Use pure vanilla extract or even vanilla bean paste for the most aromatic and authentic vanilla flavor. Avoid imitation vanilla if possible, as it lacks the depth of real vanilla. It perfectly complements the butterscotch notes of the browned butter.
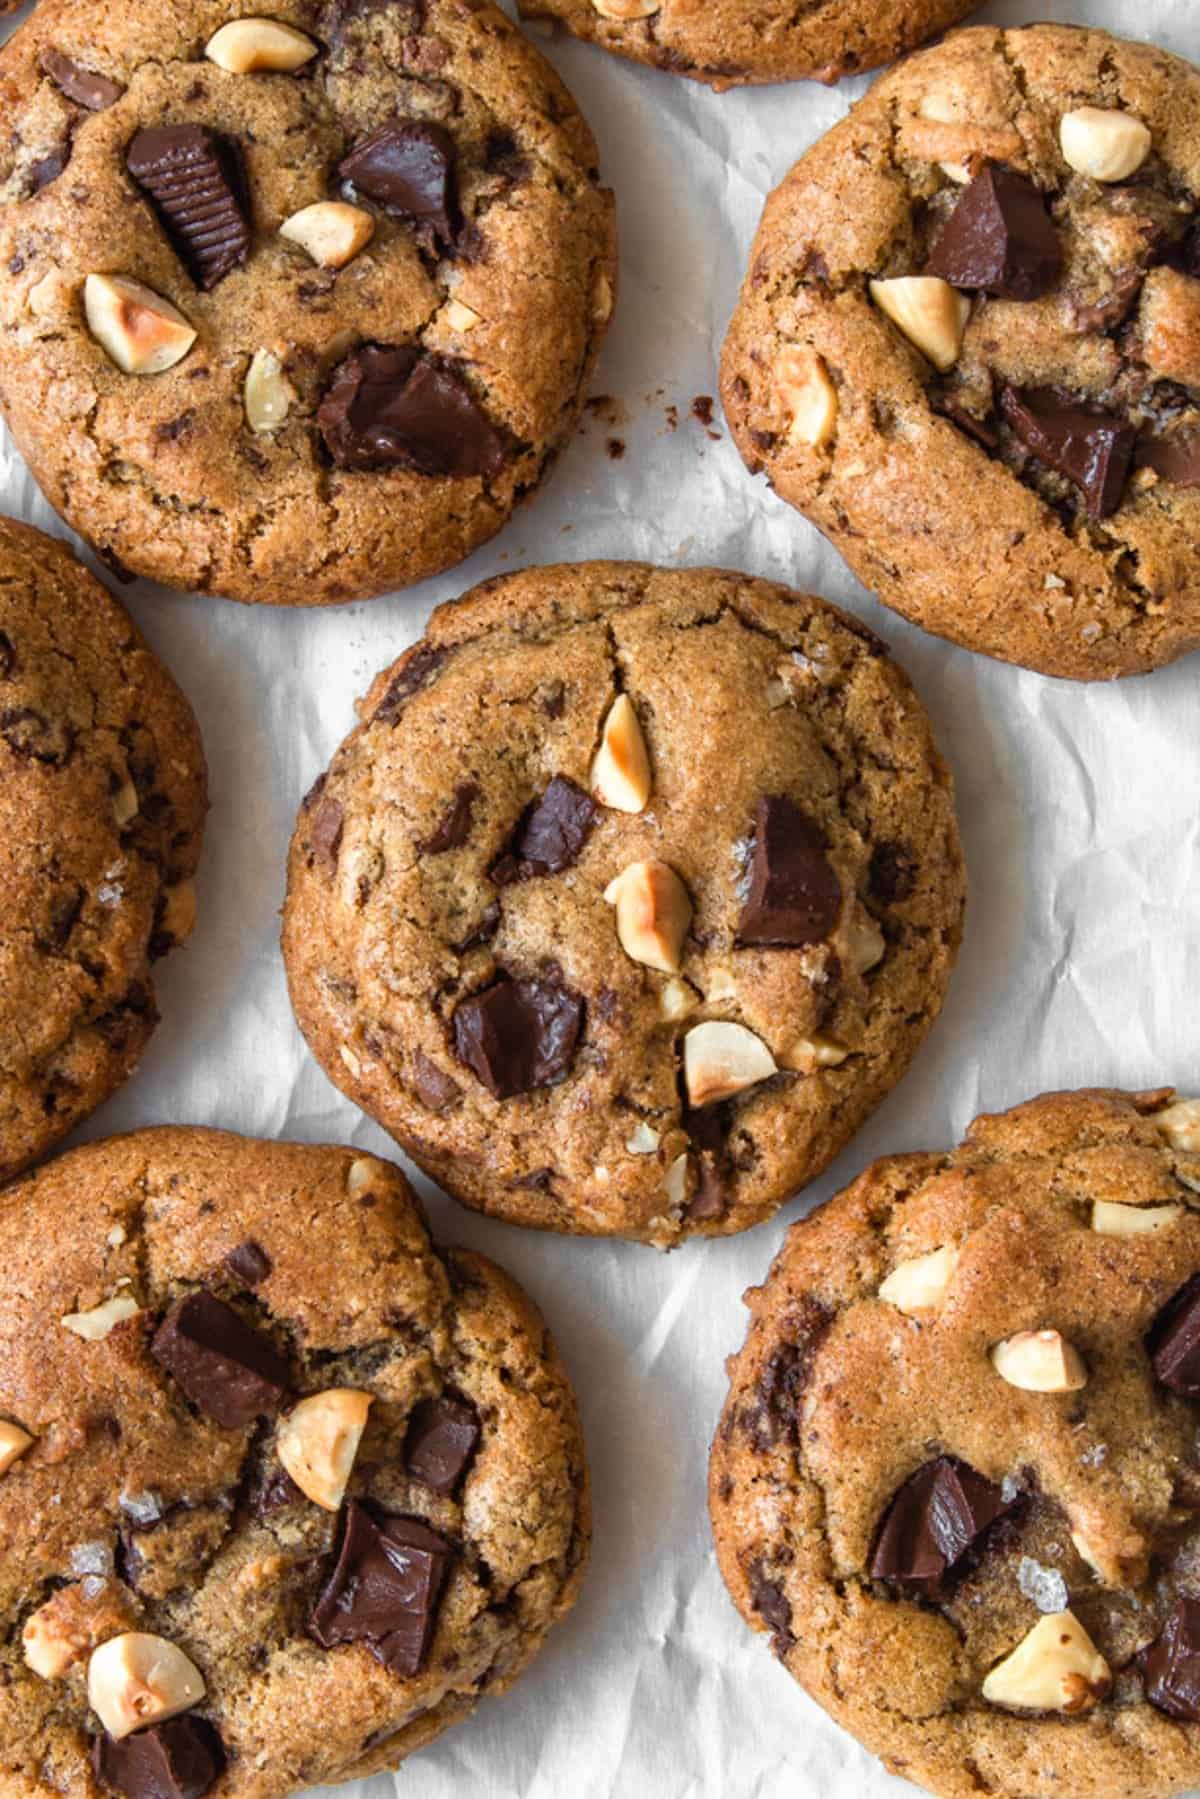
- Chocolate chips or chunks. The choice of chocolate is personal, but I highly recommend using good quality chocolate for the best melt and flavor. Semisweet chocolate chips are a popular choice, but feel free to experiment with dark chocolate for a richer, less sweet cookie, or even milk chocolate if you prefer a sweeter profile. Using chocolate chunks instead of chips often results in those beautiful pools of melted chocolate throughout the cookie. For an added layer of flavor and texture, I love adding toasted hazelnuts, as their nutty crunch pairs exquisitely with the chocolate and brown butter.
- Flaky sea salt (for finishing). Optional, but highly recommended! A delicate sprinkle of flaky sea salt, like fleur de sel, on top of the cookie dough before baking truly elevates these cookies. It provides a delightful crunch and a crucial counterpoint to the sweetness, balancing the flavors and making each bite even more satisfying.
How to Make Perfect Brown Butter Chocolate Chip Cookies
Making these cookies is a straightforward process, but paying attention to a few key details will guarantee the best results. Follow these steps for an irresistible batch:
Step 1: Prep Your Workspace and Oven. Start by preheating your oven to 375°F (190°C). This ensures the oven is at the correct temperature when your dough is ready to bake, which is crucial for even cooking and proper spreading. Line a baking sheet (or two, depending on your oven size) with parchment paper. Parchment paper prevents sticking, promotes even baking, and makes cleanup a breeze. Having everything ready before you start mixing is key to a smooth baking experience.
Step 2: Master the Browned Butter. This is where the magic truly happens! Place your cubed unsalted butter in a light-colored saucepan (so you can easily see the color change). Heat it over medium heat, stirring occasionally. The butter will melt, then foam, and eventually, golden-brown bits of milk solids will begin to form at the bottom of the pan. This usually takes about 5-8 minutes. Keep a close eye on it and stir frequently to prevent burning. Once it reaches a rich amber color with a nutty aroma, immediately remove the saucepan from the heat. Carefully pour the hot browned butter into a large heat-proof bowl containing your brown sugar and granulated sugar. Make sure to scrape every last browned bit from the bottom of the pan – these tiny morsels are packed with flavor! Stir well to combine the sugars with the hot butter, which will help dissolve the sugar slightly and deepen its flavor. Set this mixture aside to cool for a few minutes while you prepare your dry ingredients.
Step 3: Combine the Dry Ingredients. While your butter and sugar mixture is cooling slightly, whisk together the all-purpose flour, baking soda, and fine sea salt in a separate medium-sized bowl. Whisking ensures that the leavening agent and salt are evenly distributed throughout the flour, which is essential for uniform cookie texture and flavor. This also helps to lighten the flour, making it easier to incorporate into the wet ingredients without overmixing.
Step 4: Incorporate the Wet Ingredients. Once the browned butter and sugar mixture has cooled slightly (it should still be warm but not scorching hot, to avoid scrambling the eggs), add the large egg and the two egg yolks one at a time. Stir thoroughly after each addition until fully incorporated. The eggs provide structure, moisture, and richness. Finally, stir in the pure vanilla extract. Mixing these wet ingredients well ensures a homogenous dough that will bake evenly.
Step 5: Gently Combine Wet and Dry, Then Add Chocolate. Pour the flour mixture into the browned butter and egg mixture. Using a rubber spatula or a wooden spoon, mix until just combined. The key here is not to overmix! Overmixing develops gluten in the flour, which can lead to tough, dense cookies instead of soft and chewy ones. When you still see a few patches of flour but most of it is incorporated, add your chocolate chips (and hazelnuts, if using). Fold them in gently until no dry flour streaks remain. Stop mixing as soon as everything is just combined. Resist the urge to keep stirring!
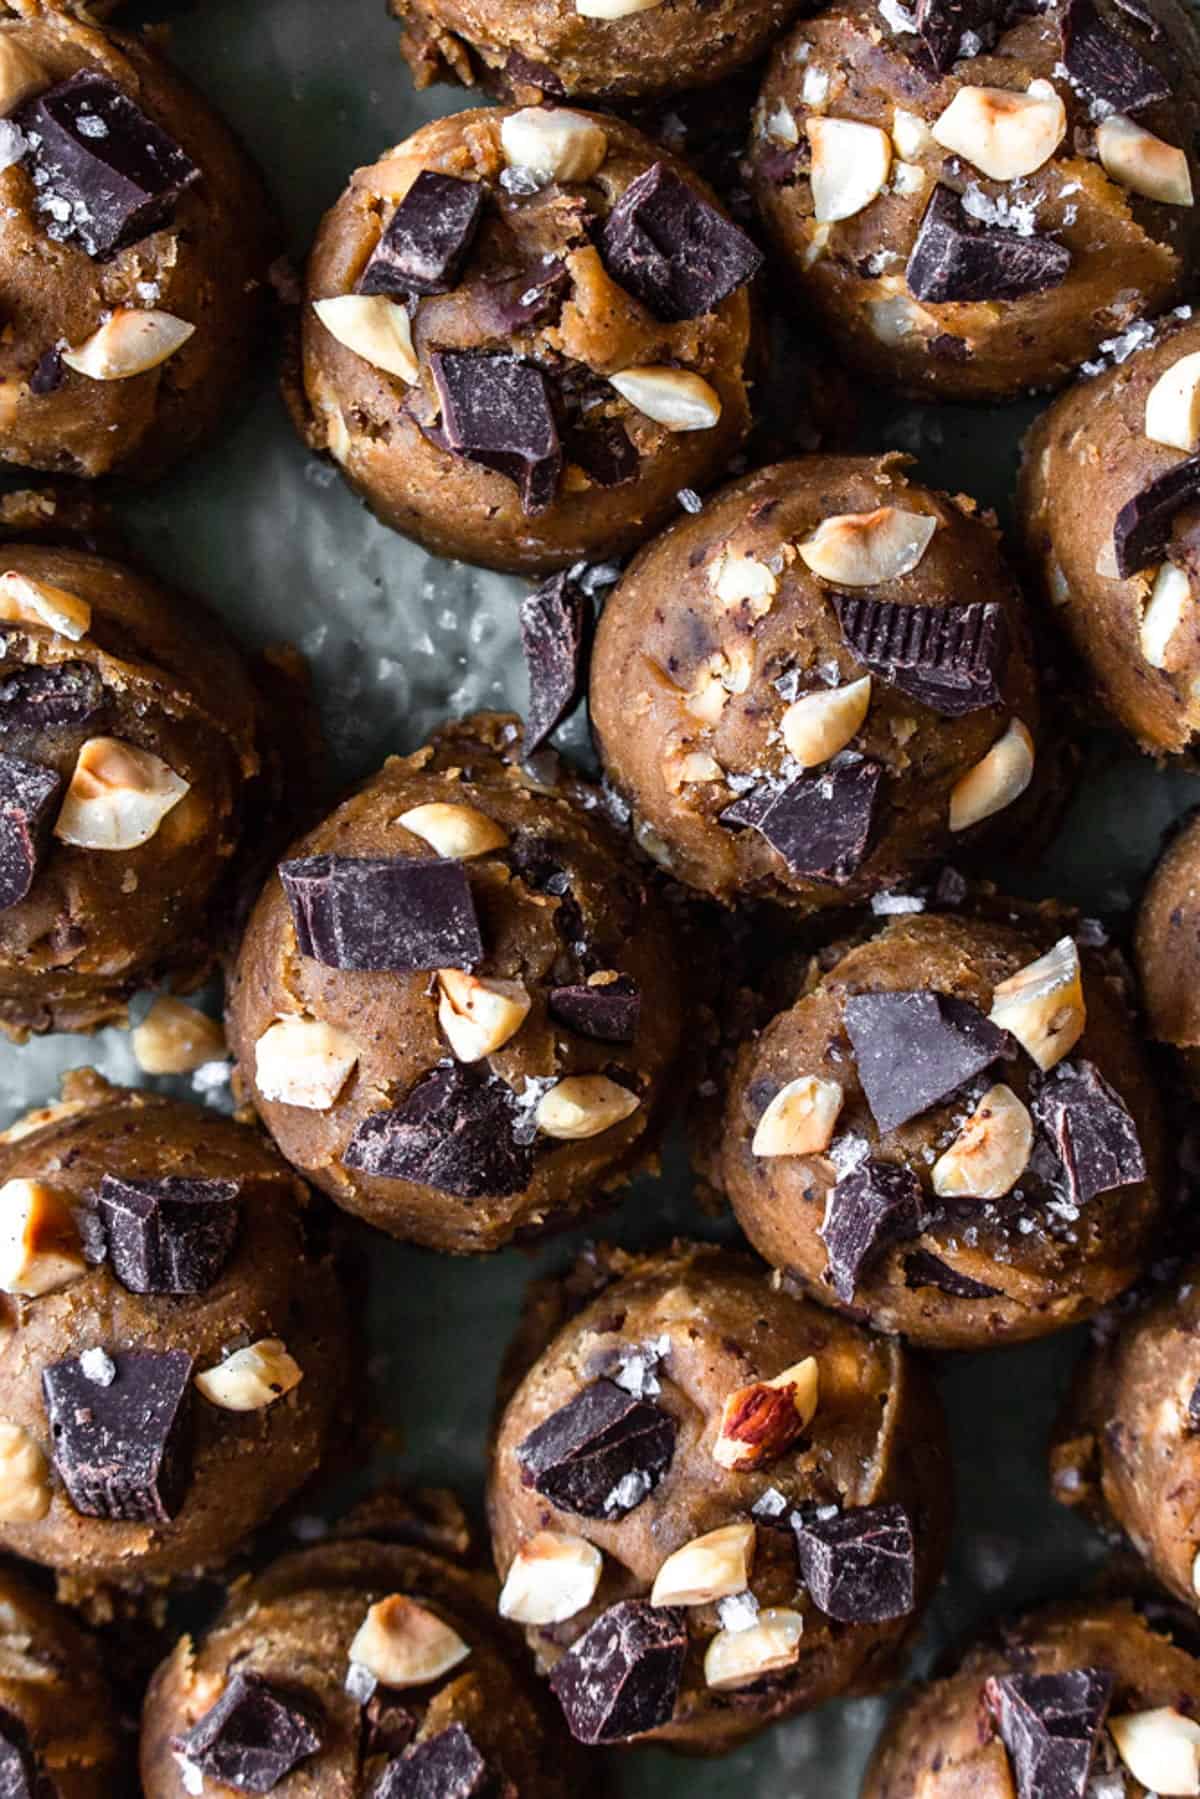
Step 6: Scoop, Garnish, and Bake. Using a cookie scoop (a 4-teaspoon scoop works perfectly for uniform cookies), portion the dough onto your parchment paper-lined baking sheet, leaving enough space between each cookie for spreading. For a bakery-style appearance, press a few extra chocolate chips onto the top of each dough ball. If desired, sprinkle a tiny pinch of flaky sea salt on top of each cookie dough ball – this adds a fantastic flavor contrast. Bake in the preheated oven for 6-8 minutes. The exact baking time will depend on your oven and desired doneness; the edges should be set and lightly golden, but the centers should still look slightly soft and underbaked. This ensures a wonderfully gooey center. Immediately remove the baking sheet from the oven and let the cookies cool completely on the baking sheet. They will continue to set as they cool, achieving that perfect balance of crisp edges and a soft, chewy interior.
Recipe Pro Tips for the Ultimate Brown Butter Chocolate Chip Cookies
Achieving cookie perfection often comes down to a few expert tips. Here are some invaluable pieces of advice to ensure your brown butter chocolate chip cookies are consistently outstanding:
- Bring Ingredients to Room Temperature: This is a crucial step often overlooked. Ensure all your cold ingredients, especially eggs, are at room temperature. Room temperature ingredients emulsify much better, meaning they blend together smoothly and evenly, creating a uniform dough. This leads to a more consistent texture in your baked cookies, preventing them from being dense or crumbly. Plan ahead by taking them out of the refrigerator at least 30 minutes to an hour before you start baking.
- Invest in a Kitchen Scale for Accuracy: Baking is a science, and precision in measurements makes a significant difference. Using a kitchen scale to accurately measure your dry ingredients, particularly flour, is the absolute best way to ensure these chewy brown butter chocolate chip cookies come out perfect every single time. Volume measurements (cups) can vary widely depending on how you scoop, but weight measurements are always exact. This consistency guarantees predictable results and prevents issues like dry or overly crumbly cookies.
- Never Overmix the Dough: Once the wet and dry ingredients are combined, mix only until the flour streaks disappear. Overmixing develops the gluten in the flour, making the cookies tough and dense rather than delightfully soft and chewy. Use a spatula or wooden spoon and stop as soon as the ingredients are just incorporated. A few lumps are perfectly fine!
- Get Creative with Your Mix-Ins: While the classic chocolate chip is always a winner, these cookies are incredibly versatile. My personal favorite combination is high-quality dark chocolate chunks with crunchy, toasted hazelnuts (if you have them in your pantry, here’s how to roast hazelnuts). However, don’t hesitate to explore! Consider adding white chocolate, M&M’s, chopped walnuts, pecans, toffee bits, or even a mix of different chocolates. Just be mindful of the total volume of mix-ins so the dough isn’t overwhelmed.
- Add Extra Chocolate (and Nuts!) on Top: For that irresistible, professional bakery look, gently press a few extra chocolate chips or chunks (and hazelnuts, if using) onto the tops of your scooped cookie dough balls just before they go into the oven. As the cookies bake, these exposed pieces will melt beautifully, creating gooey pools and an incredibly appealing presentation. Plus, no one ever complains about too much chocolate in a cookie!
- Don’t Overbake for Gooey Perfection: This is perhaps the most critical tip for achieving that perfect soft, gooey center. Unless you’re specifically aiming for a crispier cookie, it’s best to slightly underbake these cookies. They might look a little soft and undone in the middle when you pull them from the oven, but remember that cookies continue to cook from residual heat as they cool on the baking sheet. Look for edges that are set and lightly golden, while the centers still appear slightly pale and soft.
- Store Some Dough for a Rainy Day (or a Quick Treat!): It’s tempting to bake the entire batch at once, but I highly recommend freezing some of the scooped cookie dough balls. Place them on a baking sheet to freeze solid, then transfer them to an airtight freezer bag. You can keep this dough in the freezer for up to 2 months. When a cookie craving strikes, simply bake them directly from frozen, adding an extra minute or two to the baking time. This way, you always have warm, fresh-baked cookies just minutes away!
- Consider Resting Your Dough: While this recipe doesn’t strictly *require* chilling the dough, allowing the dough to rest in the refrigerator for at least 30 minutes, or even a few hours, can deepen the flavors significantly. The dry ingredients (especially flour) have more time to fully hydrate, and the flavors meld together, resulting in a more complex and satisfying cookie.
Frequently Asked Questions About Brown Butter Chocolate Chip Cookies
Browned butter is a game-changer for cookies. While regular butter offers a simple richness, browned butter takes the flavor profile to an entirely new level. Through a process called the Maillard reaction, the milk solids in the butter toast and caramelize, imparting a deep, nutty, and distinctly butterscotch-like flavor to your cookies. This adds incredible complexity and warmth that elevates a simple chocolate chip cookie into something truly extraordinary and unforgettable.
Absolutely, you can! If time is of the essence or you’re simply not in the mood for the extra step, you can certainly make these cookies using melted (but not browned) unsalted butter. Use a little over ¾ cup (170g) of unsalted butter and proceed with the recipe. While they will still be delicious chocolate chip cookies, you will, of course, be missing out on the unique, deep nutty, and caramel notes that the browned butter contributes. It’s a trade-off between convenience and that elevated flavor experience.
No, that’s one of the fantastic things about these cookies! While many chocolate chip cookie recipes benefit greatly from chilling the dough in the refrigerator for a few hours (or even overnight) to deepen flavors and prevent excessive spreading, these particular brown butter chocolate chip cookies are designed to be baked immediately. You don’t need to chill the dough, which means you can enjoy fresh-baked cookies much faster. Yay for instant gratification!
Yes, absolutely! These cookies freeze beautifully, whether you want to freeze them before or after baking. If you’ve already baked them, make sure each cookie has cooled completely, then wrap them individually in plastic wrap and place them in an airtight freezer bag. For unbaked cookie dough, simply scoop the dough balls onto a parchment-lined tray, freeze until solid, then transfer them to a freezer bag. Both baked cookies and raw cookie dough can be kept in the freezer for up to 2 months. When you’re ready to bake from frozen dough, just add an extra minute or two to the baking time. To reheat baked cookies, a few minutes in a low oven or microwave works wonders.
To maintain their delicious texture and freshness, store these brown butter chocolate chip cookies in an airtight container at room temperature. They will remain wonderfully soft and chewy for up to 4 days. If you find they start to firm up slightly, you can microwave them for 10-15 seconds for a warm, gooey treat.
Yes, you certainly can adapt this recipe to be gluten-free! Replace the all-purpose flour with an equal amount of a good quality gluten-free 1-to-1 flour blend that contains xanthan gum. Xanthan gum is important as it helps provide elasticity and structure that gluten typically offers. After mixing the dough with gluten-free flour, be sure to let it rest for at least 30 minutes before baking; this allows the flour to properly hydrate and prevents a gritty texture. For another fantastic option, you might also want to try my dedicated recipe for gluten-free chocolate chip cookies!
Explore More Irresistible Cookie Recipes
If you’ve fallen in love with the art of cookie baking, or just can’t get enough of these delightful treats, I have even more amazing recipes for you to try:
- For the ultimate chocolate lover, make my fudgy double chocolate chip cookie recipe! These decadent cookies are rich, intensely chocolatey, and sure to satisfy any cocoa craving.
- Do you crave a cookie loaded with a variety of textures and flavors? Then these kitchen sink cookies are absolutely for you! They’re packed with classic chocolate chips, sweet and buttery toffee bits, salty pretzels, and even crunchy potato chips for an unbelievably addictive sweet and salty combination.
- For those avoiding dairy, or simply looking for a new favorite, these dairy-free peanut butter cookies are a must-try. They are wonderfully chewy, never dry or crumbly, and burst with authentic peanut butter flavor!
I genuinely hope you love baking and devouring these Browned Butter Chocolate Chip Cookies as much as I do. They are truly a game-changer and will quickly become a favorite in your household. For even more mouth-watering dessert inspiration, delightful recipes, and baking tips, make sure to follow me on Pinterest, Facebook, and Instagram. Don’t miss out on any of my newest content – you can also get all of my latest recipes and culinary adventures delivered straight to your inbox by signing up for my email newsletter! Happy baking!
Brown Butter Chocolate Chip Cookie Recipe
Adapted from Bon Appétit
Print
Pin
Rate
Ingredients
- ¾ cup unsalted butter cubed and at room temperature
- 1 cup packed brown sugar
- ¼ cup granulated sugar
- 1 large egg at room temperature
- 2 egg yolks at room temperature
- 2 teaspoons pure vanilla extract
- 2 cups cups all-purpose flour
- ¾ teaspoon fine sea salt
- ¾ teaspoon baking soda
- 7 oz good quality chocolate, chopped (semisweet or dark chocolate chunks recommended)
- ⅔ cup toasted hazelnuts, chopped optional, but highly recommended for extra crunch and flavor
- flaky salt (such as fleur de sel, for sprinkling on top)
Instructions
-
Preheat your oven to 375°F (190°C). Prepare your baking sheets by lining them with parchment paper. Set aside.
-
In a large, heat-proof bowl, combine the brown sugar and granulated sugar. Set this aside.
-
Place the cubed unsalted butter in a light-colored saucepan over medium heat. Cook for about 5-8 minutes, stirring frequently, until the butter turns golden brown and the milk solids at the bottom of the pan are a rich amber color, emitting a nutty aroma. Immediately remove the pan from the heat and carefully pour the browned butter over the sugar mixture in the large bowl. Stir well to combine, making sure to scrape all the delicious browned bits from the bottom of the saucepan into the bowl. Let this mixture cool for about 5-10 minutes.
-
In a separate medium bowl, add the all-purpose flour, baking soda, and fine sea salt. Whisk these dry ingredients together thoroughly to ensure they are well combined.
-
Once the browned butter and sugar mixture has cooled slightly, add the large egg and the two egg yolks one at a time, stirring well after each addition until fully incorporated. Then, stir in the pure vanilla extract.
-
Gradually add the flour mixture to the wet butter mixture. Using a rubber spatula or wooden spoon, mix until just combined. Be careful not to overmix! When you still see a few streaks of flour, add the chopped chocolate (and toasted hazelnuts, if using) and gently fold them into the dough until no dry flour is visible. Stop mixing as soon as everything comes together.
-
Using a cookie scoop (approximately 4 teaspoons per scoop), drop rounded balls of dough onto the prepared baking sheets, leaving enough space between them. For an extra flourish, gently press a few additional chocolate chips onto the top of each dough ball, and then sprinkle with a tiny pinch of flaky salt (optional, but highly recommended!). Bake for 6-8 minutes, or until the edges are golden and set, but the centers still look soft and slightly underbaked. Remove from the oven and let the cookies cool completely on the baking sheet to allow them to set and achieve their perfect chewy texture.
Nutrition
