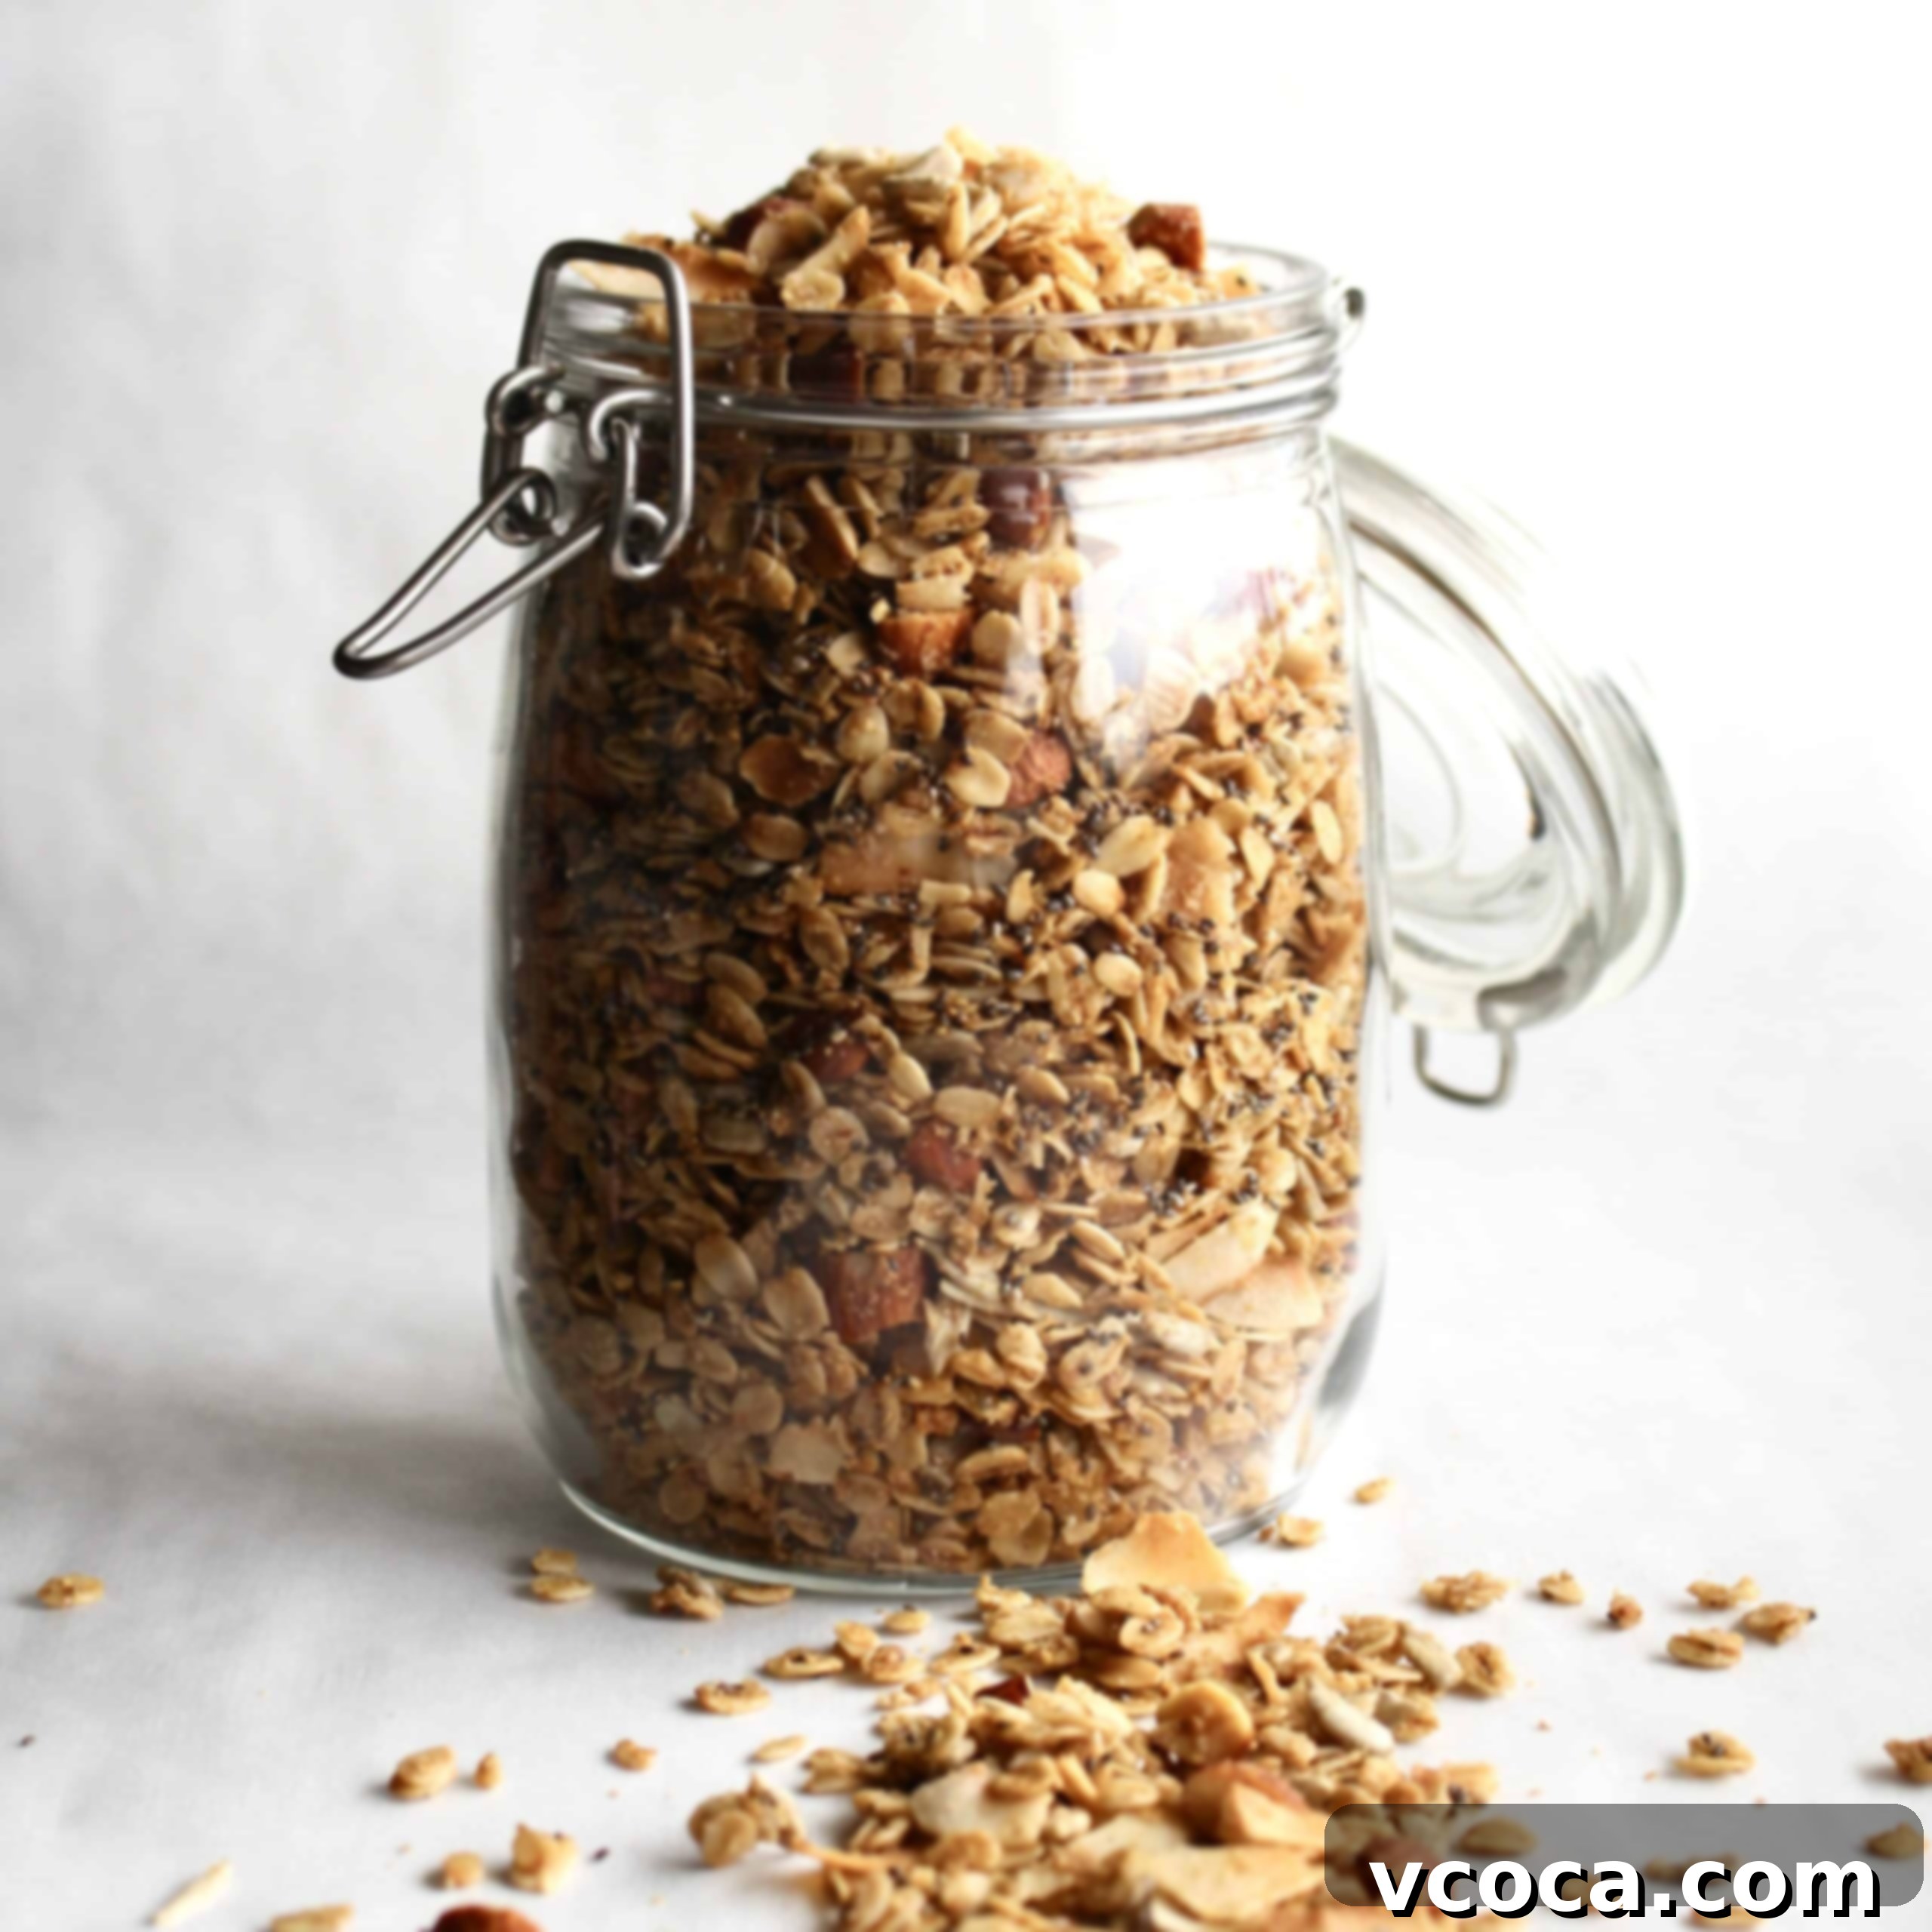
Homemade Gluten-Free Granola: The Ultimate Easy & Healthy Breakfast Recipe
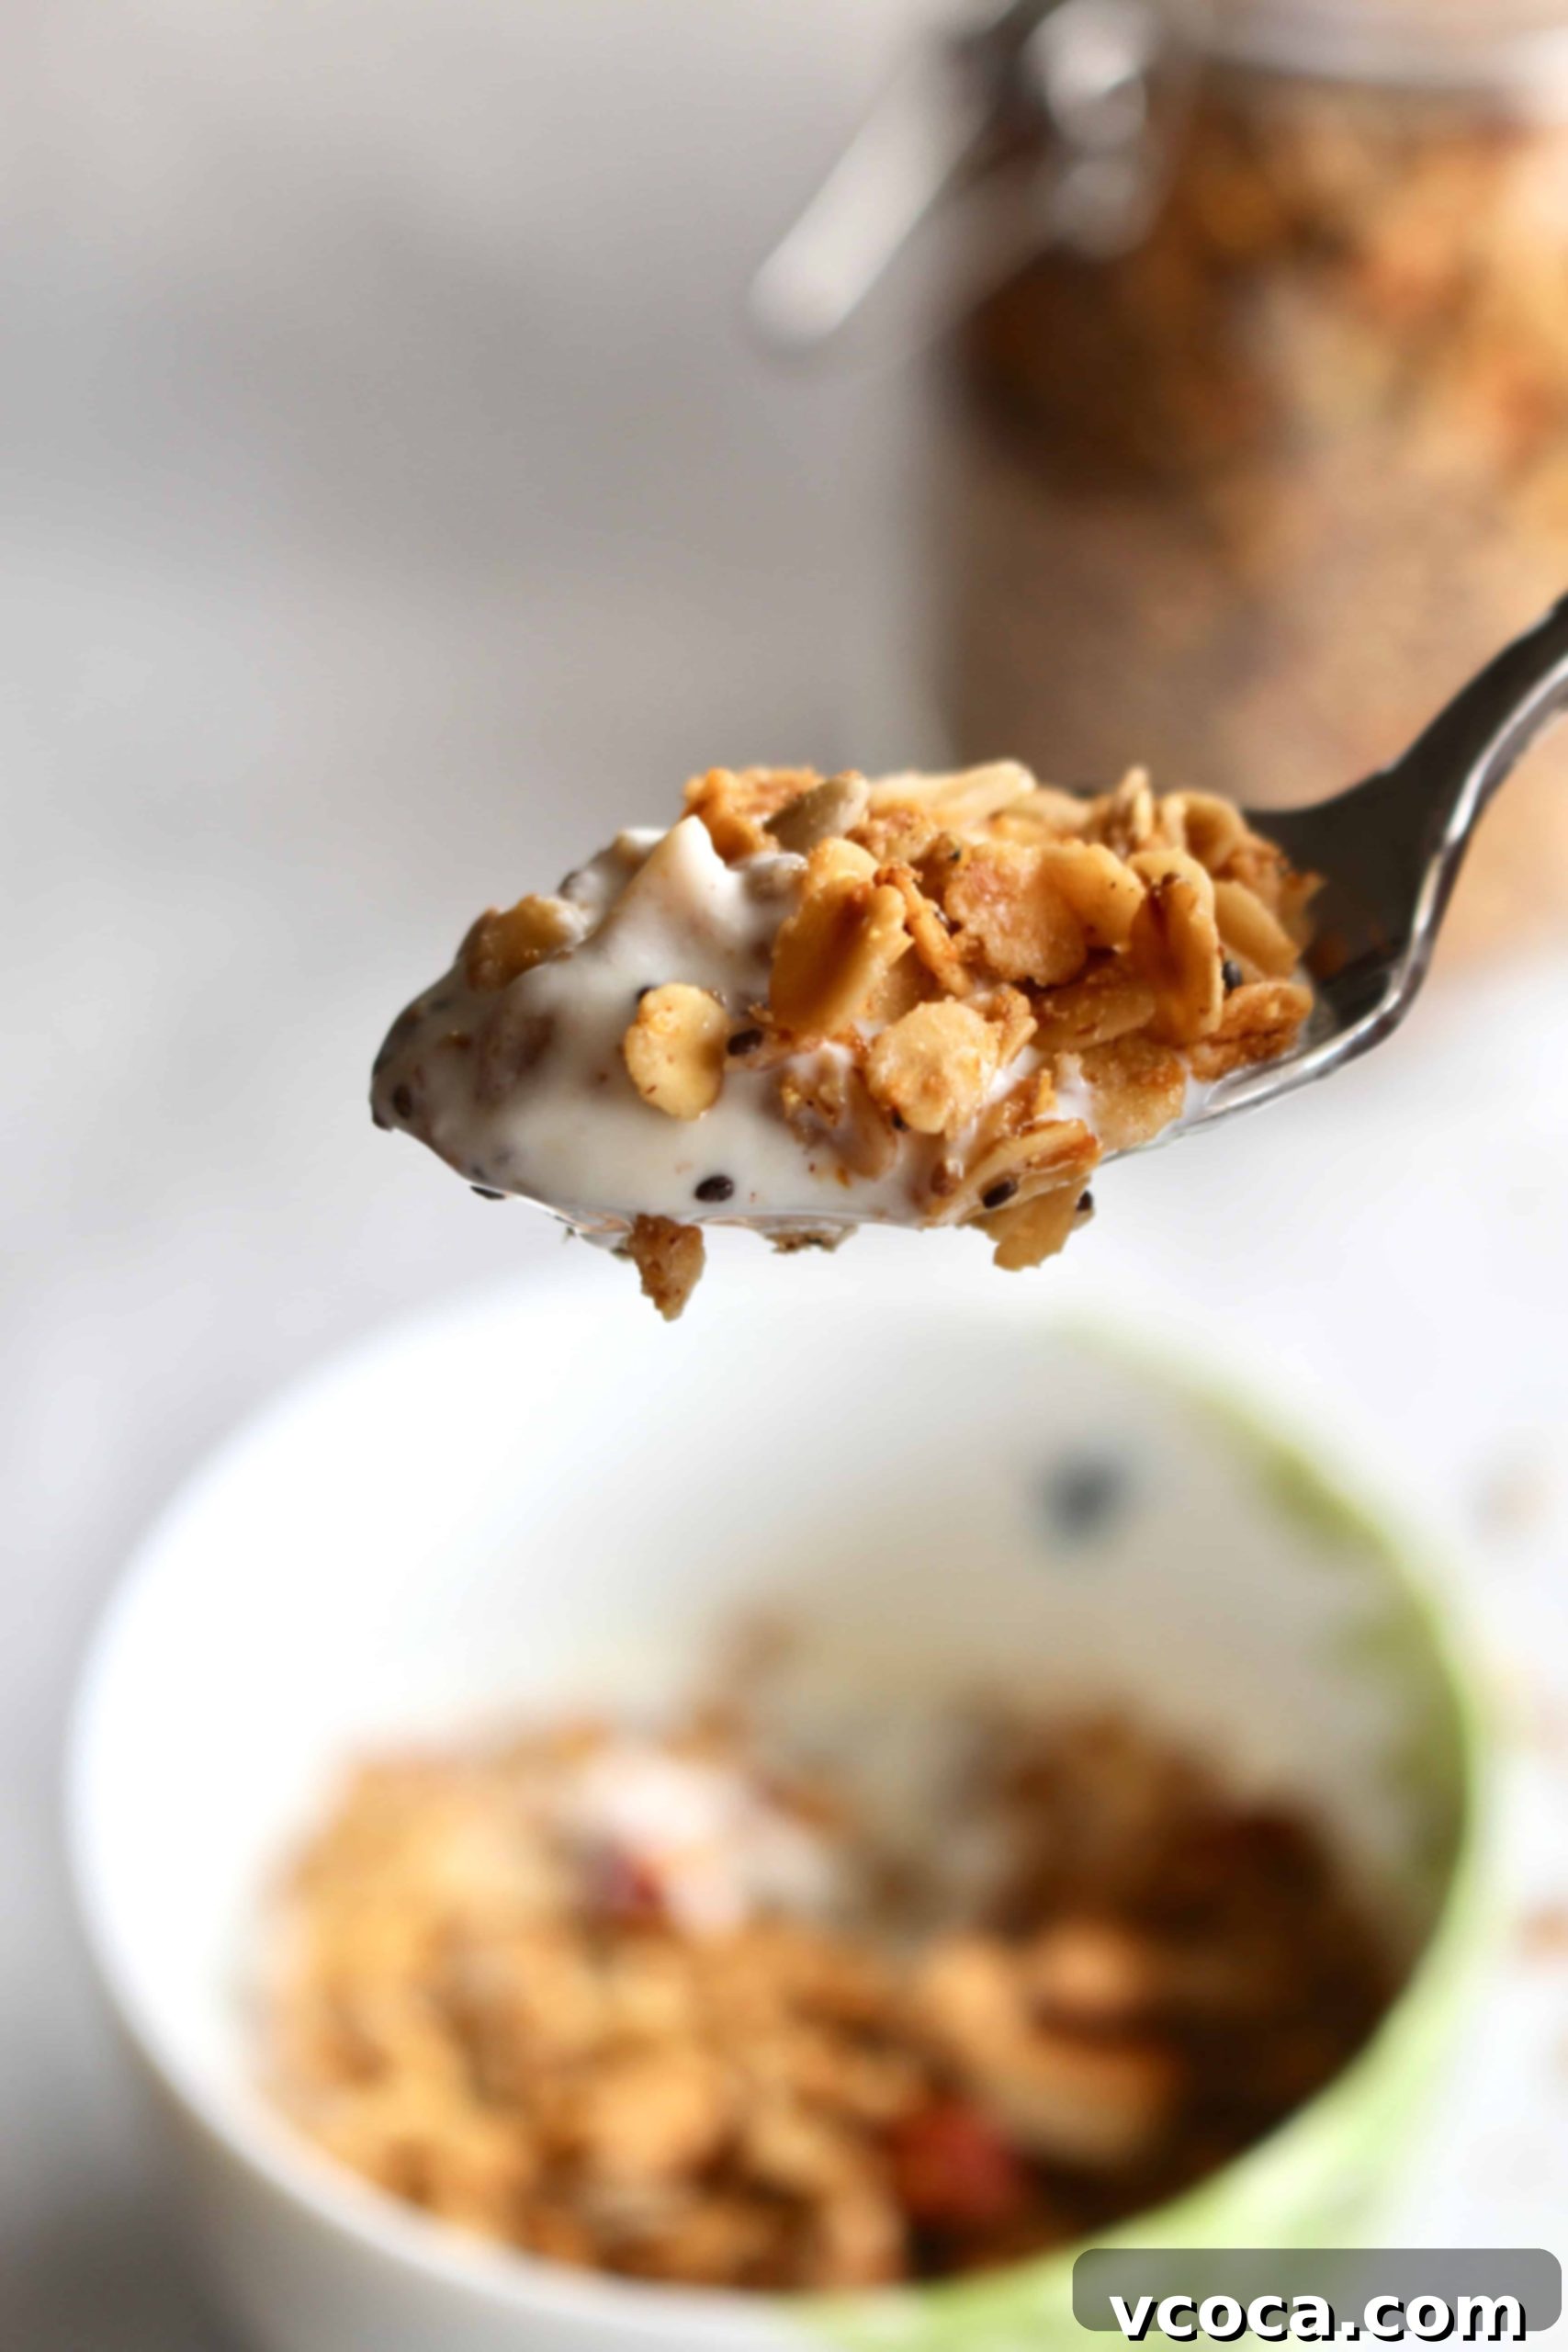
There’s nothing quite like the irresistible aroma and delightful crunch of homemade granola, and this gluten-free version is truly one of my absolute favorite breakfasts! While store-bought granolas offer convenience, they often come with a hefty price tag, excessive sweetness, and sometimes, hidden ingredients. Crafting your own granola at home is surprisingly simple, yields a far superior taste, and gives you complete control over the ingredients. Once you experience the fresh, wholesome goodness of this homemade blend, it’ll be genuinely difficult to return to pre-packaged alternatives.
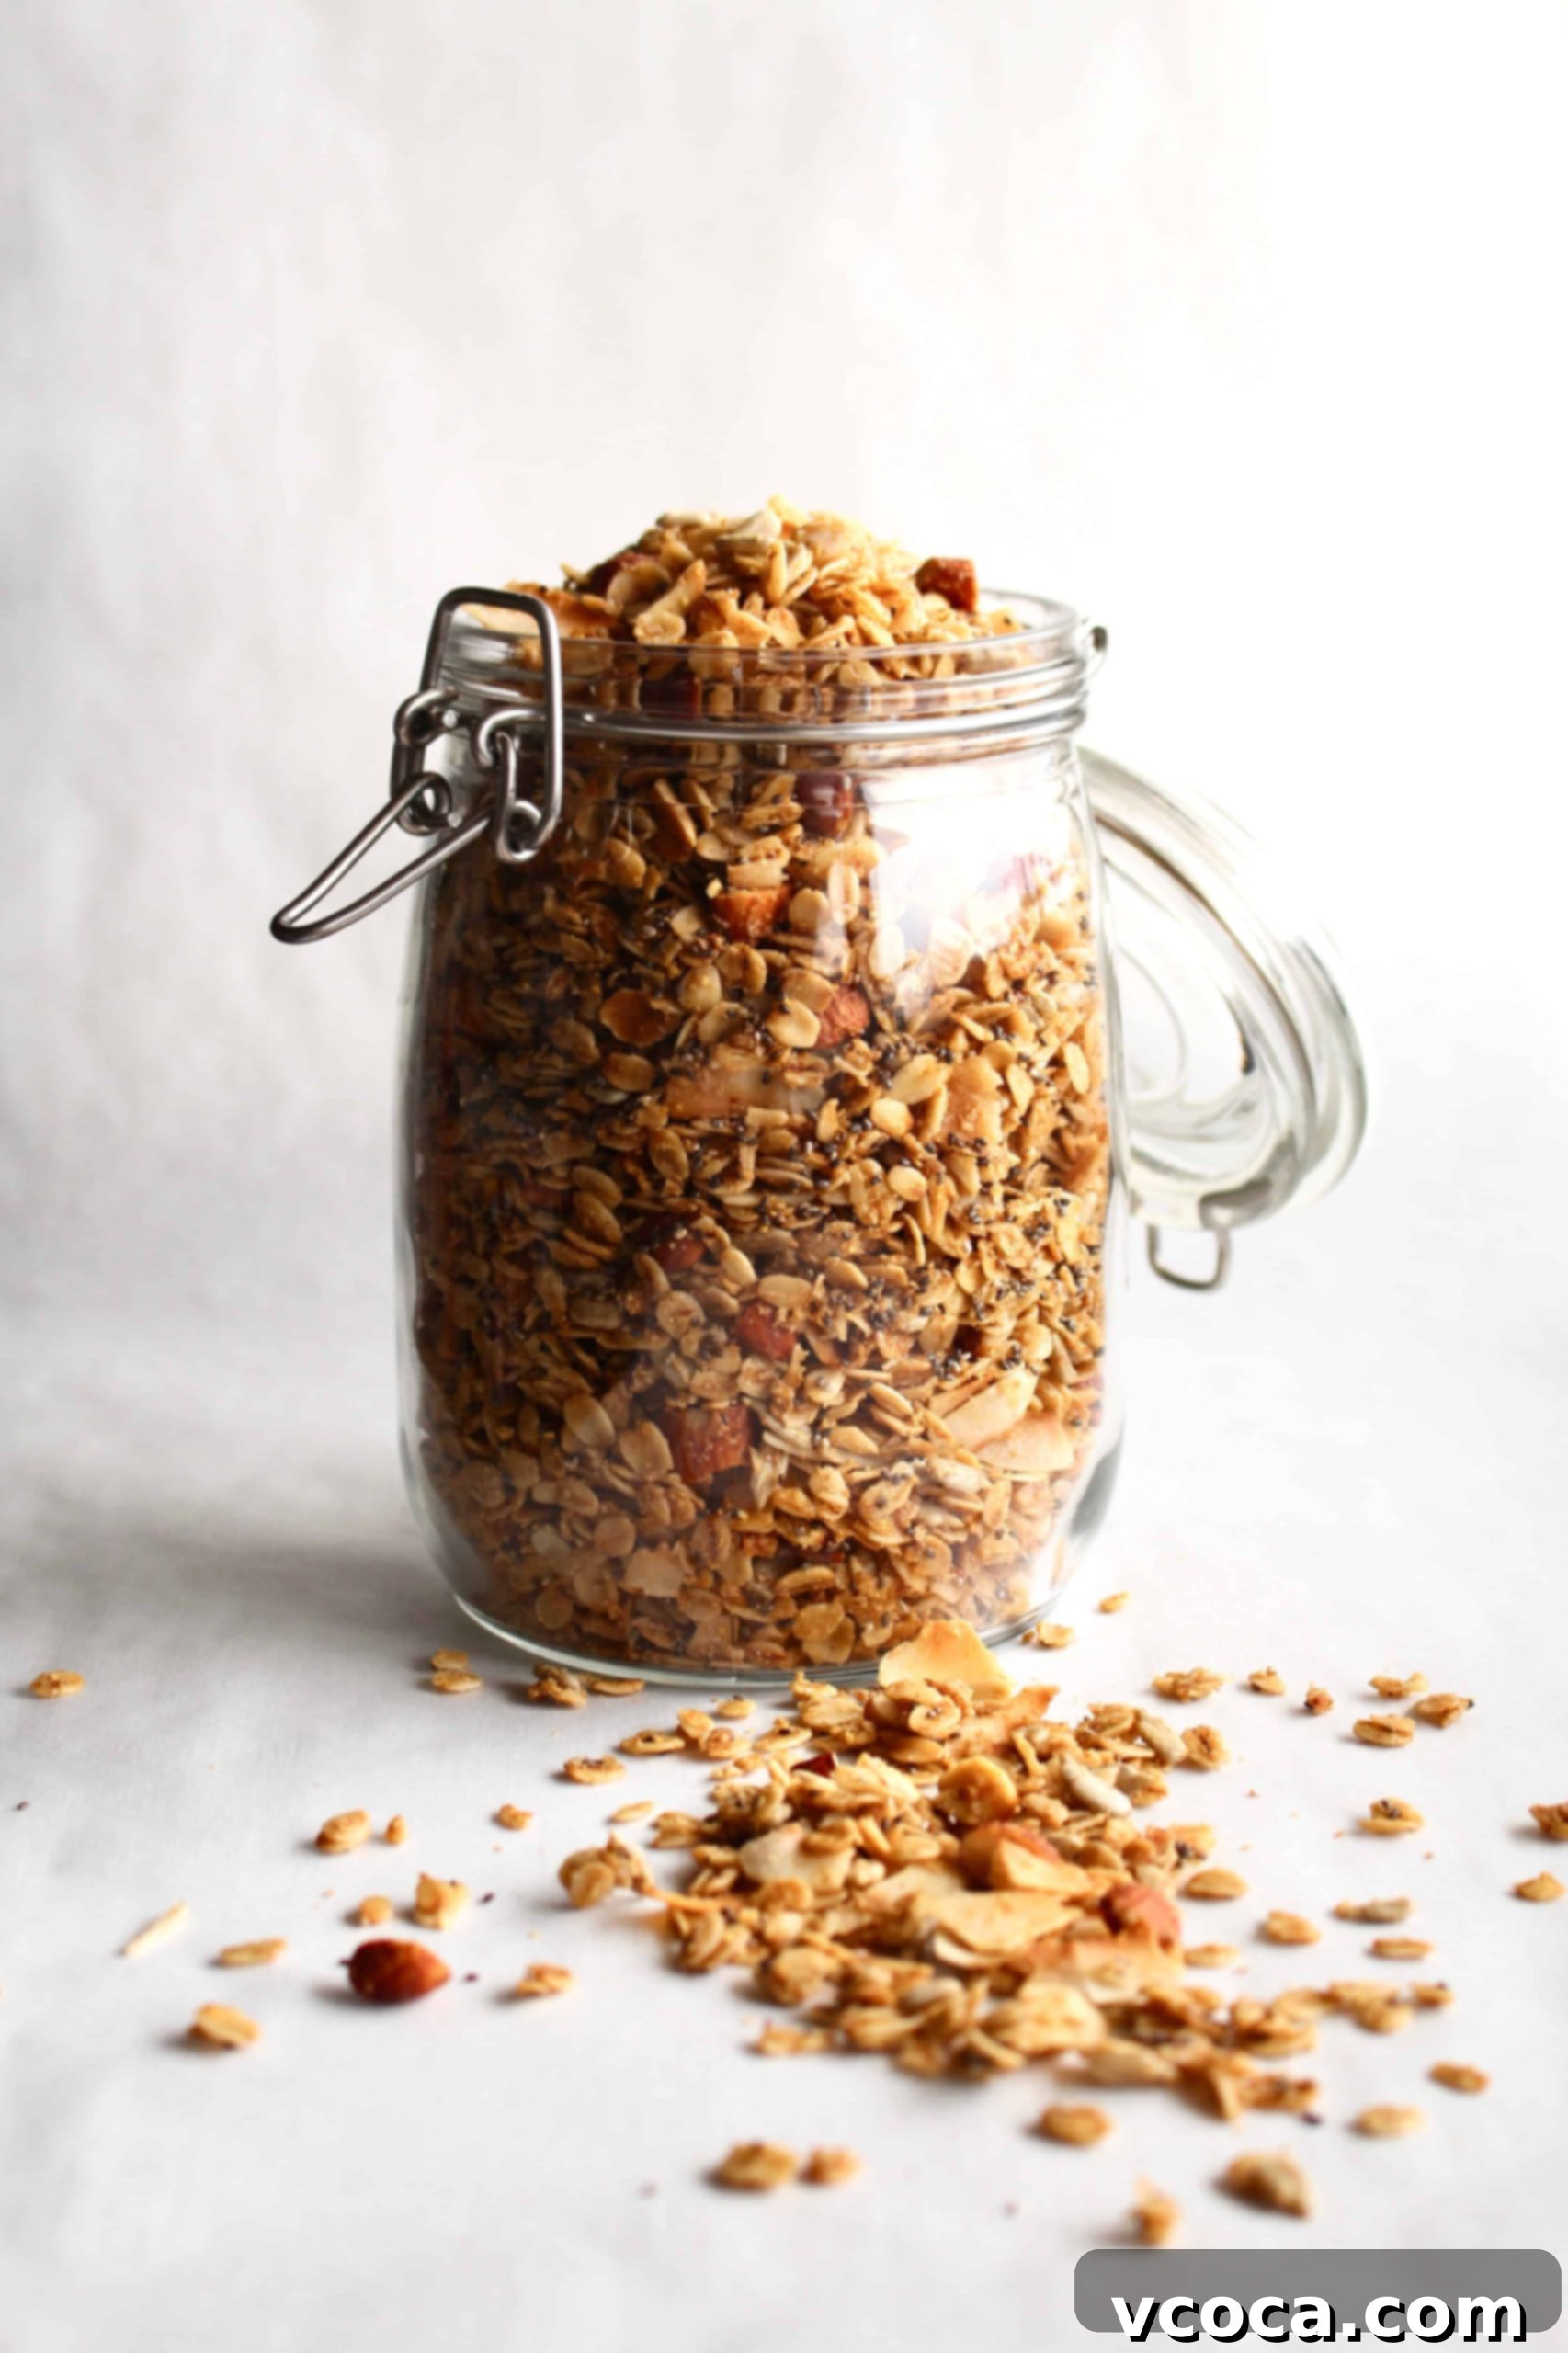
This post was originally published on April 30, 2019. It was updated with new recipe information and expanded content on January 29, 2024.
Beyond its incredible taste, my homemade gluten-free granola recipe offers significant health benefits, thanks to the thoughtful inclusion of powerhouse ingredients like flaxseed and chia seeds. Both are renowned for their high fiber content, which aids digestion and promotes satiety, keeping you feeling full and satisfied throughout your morning. Even more impressively, they are excellent sources of omega-3 fatty acids, essential for brain health, reducing inflammation, and boosting overall energy levels. This makes for a breakfast that not only tantalizes your taste buds but also nourishes your body from the inside out.
Essential Ingredients for Your Gluten-Free Granola
Creating the perfect batch of healthy and delicious gluten-free granola starts with a selection of high-quality ingredients. Each component plays a vital role in achieving that coveted crunchy texture and rich, balanced flavor.
- Gluten-free oats. The foundation of our granola! It’s crucial to use certified gluten-free rolled oats or old-fashioned oats to ensure this recipe is safe for those with gluten sensitivities. Regular oats are often cross-contaminated with wheat during processing. Rolled oats provide a fantastic chewiness and absorb the liquid mixture beautifully, leading to wonderfully clustered granola. My personal favorites are from Bob’s Red Mill and Stoked Oats, both known for their quality and reliable gluten-free certification.
- Nuts. We’re using a combination of chopped almonds and unsweetened coconut flakes. Almonds add a satisfying crunch and a dose of healthy fats and protein, while unsweetened coconut flakes contribute a tropical flavor and a lovely texture when toasted. Opting for unsweetened coconut is key to controlling the overall sweetness of your granola.
- Seeds. A trio of sunflower seeds, ground flaxseed, and chia seeds elevates this granola’s nutritional profile and flavor. Sunflower seeds provide a nutty flavor and a satisfying bite. Ground flaxseed and chia seeds are nutritional powerhouses, packed with fiber and omega-3 fatty acids, which contribute to satiety and overall well-being.
- Maple syrup. This is our natural sweetener of choice, making this healthy granola entirely refined sugar-free. Pure maple syrup not only imparts a rich, caramel-like sweetness but also helps bind the granola mixture, promoting those delightful clusters.
- Oil. A neutral-flavored oil is essential to achieve a crispy texture without imparting unwanted tastes. Good options include avocado oil, refined coconut oil, or grapeseed oil. Refined coconut oil is a great choice if you prefer the subtle hint of coconut but don’t want an overpowering flavor.
- Vanilla. Pure vanilla extract or vanilla paste adds a warm, aromatic depth that complements the other flavors beautifully. Don’t skip this ingredient, as it truly enhances the overall taste profile.
- Salt. Just a touch of fine sea salt is a game-changer. It not only brings out the natural flavors of the oats, nuts, and seeds but also expertly balances the sweetness from the maple syrup, creating a more complex and enjoyable taste.
- Cinnamon. Ground cinnamon infuses the granola with a comforting, warm spice that is both inviting and incredibly delicious, especially perfect for a cozy breakfast.
Exciting Mix-in Variations to Customize Your Granola
One of the best parts about making homemade granola is the ability to customize it to your exact preferences. While our base recipe is fantastic as is, these mix-ins can take your granola to the next level. Remember, timing is everything when adding extra ingredients to ensure they bake perfectly and don’t burn.
- Dried fruit. Dried cranberries are my personal favorite, offering a tart counterpoint to the granola’s sweetness. However, feel free to experiment with other delicious options like golden raisins, chopped figs, diced apricots, or even dried blueberries. For the best results and to prevent them from burning or becoming rock-hard, it’s crucial to add dried fruit after the granola has finished baking and has cooled slightly. This allows them to retain their natural chewiness and vibrant flavor.
- Freeze-dried fruit. For a burst of intense fruity sweetness and a delicate crunch, consider adding freeze-dried berries. These are best stirred into your granola after it has completely baked and cooled, preserving their crisp texture and potent flavor. Think freeze-dried raspberries, strawberries, or mixed berries for a delightful addition.
- Chocolate chunks. If you’re looking to transform your granola into a more decadent treat, chopped chocolate is the way to go! Use your favorite chocolate bar—dark, milk, or even white chocolate—and chop it into small chunks. To prevent melting and ensure lovely defined pieces, add the chocolate only after your granola has cooled completely to room temperature. This creates a wonderful contrast with the warm spices and nutty flavors.
- Other Spices: Elevate the flavor profile with a pinch of nutmeg, cardamom, or even a touch of ginger for a more complex and aromatic granola.
- Citrus Zest: For a bright, fresh note, add the finely grated zest of an orange or lemon to the wet mixture.
Step-by-Step: Crafting Your Own Gluten-Free Granola
Making homemade granola is a rewarding process that’s far simpler than you might imagine. Follow these easy steps to create a batch of crunchy, flavorful gluten-free granola that will keep you coming back for more.
Step 1: Prep Your Oven and Baking Sheet. Begin by preheating your oven to 320°F (160°C). This ensures the oven is at the correct temperature for even baking from the moment your granola goes in. Next, line a large baking sheet with parchment paper. Parchment paper is essential here as it prevents the granola from sticking to the pan and makes for effortless cleanup. Set the prepared baking sheet aside for now.
Step 2: Combine Wet and Dry Ingredients. In a spacious large bowl, pour in the maple syrup, your chosen neutral oil (avocado, refined coconut, or grapeseed), vanilla extract, fine sea salt, and ground cinnamon. Whisk these wet ingredients together thoroughly until they are well combined and uniformly mixed. This liquid base will coat our dry ingredients, providing flavor and helping them clump together. Once the wet ingredients are ready, add your gluten-free oats, sunflower seeds, chopped almonds, ground flaxseed, and chia seeds to the bowl. Stir everything together meticulously, ensuring that every oat, nut, and seed is evenly coated in the delicious maple mixture. This even coating is key for consistent browning and flavor.
Step 3: Initial Bake. Carefully pour the coated granola mixture onto your parchment paper-lined baking sheet. Using a spatula or the back of a spoon, spread the mixture into an even, single layer. This uniformity is vital for ensuring all the granola bakes at the same rate. Place the baking sheet into your preheated oven and bake for 10 minutes. This initial bake will start the toasting process for the oats and nuts.
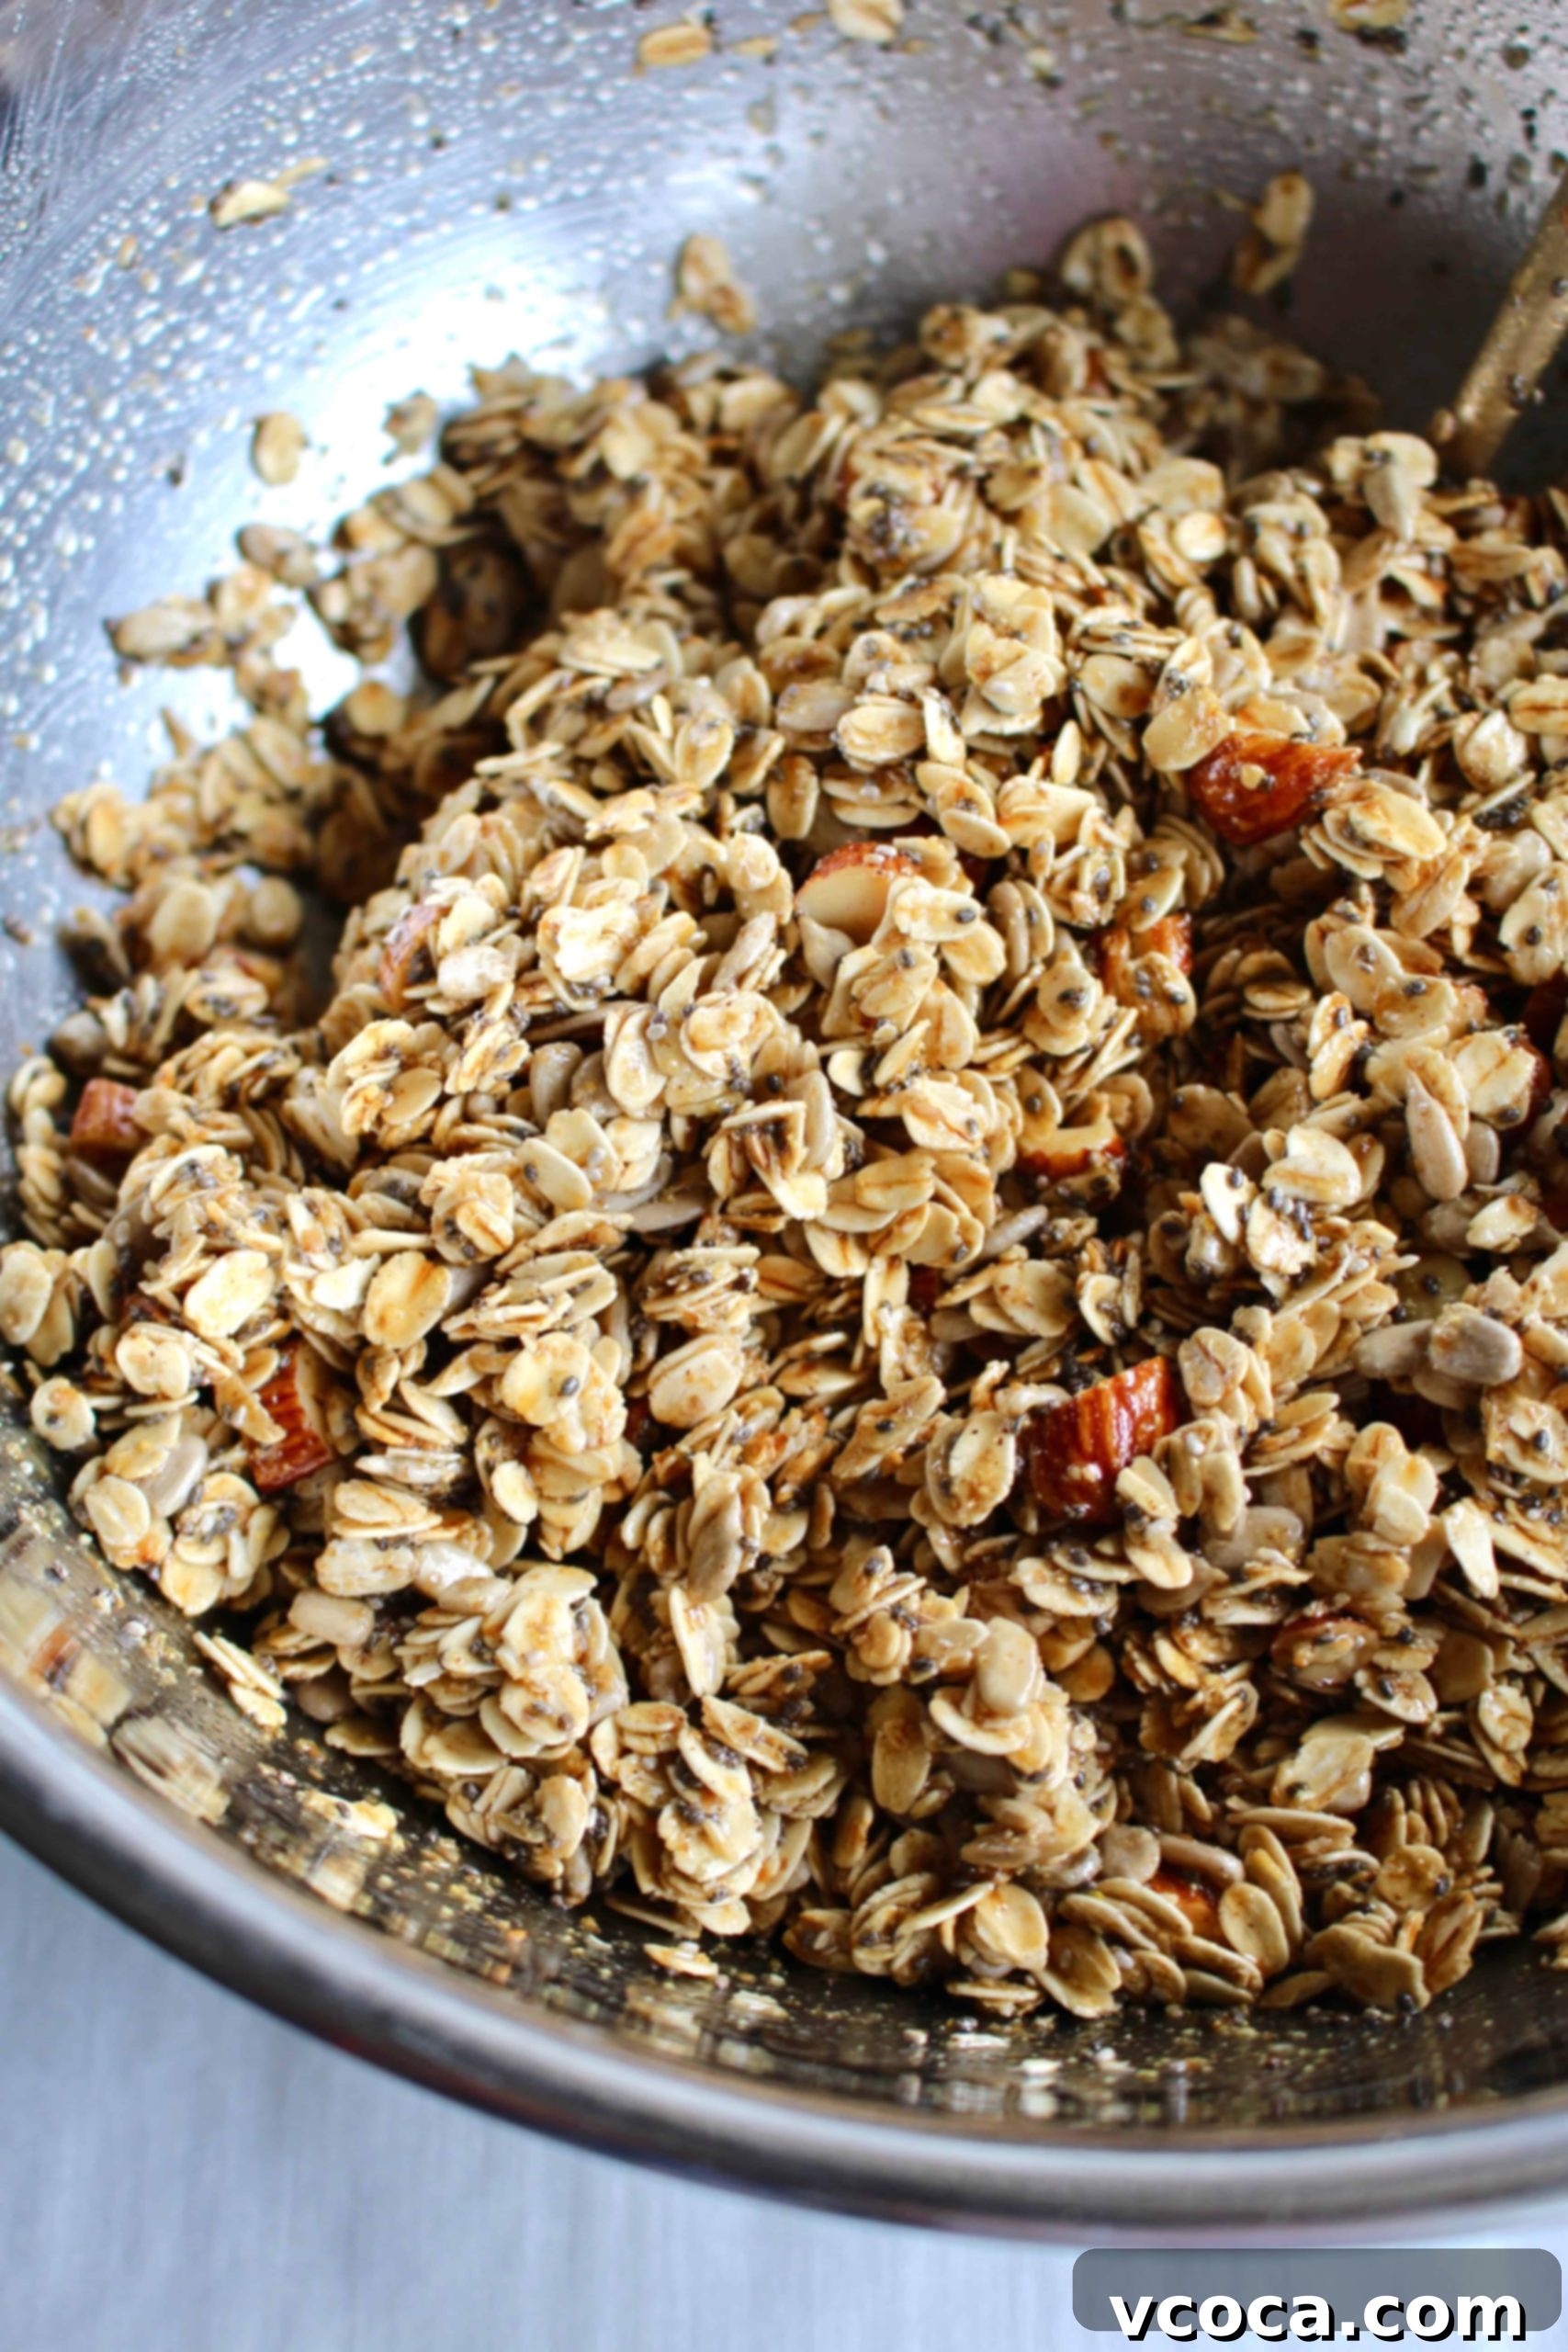
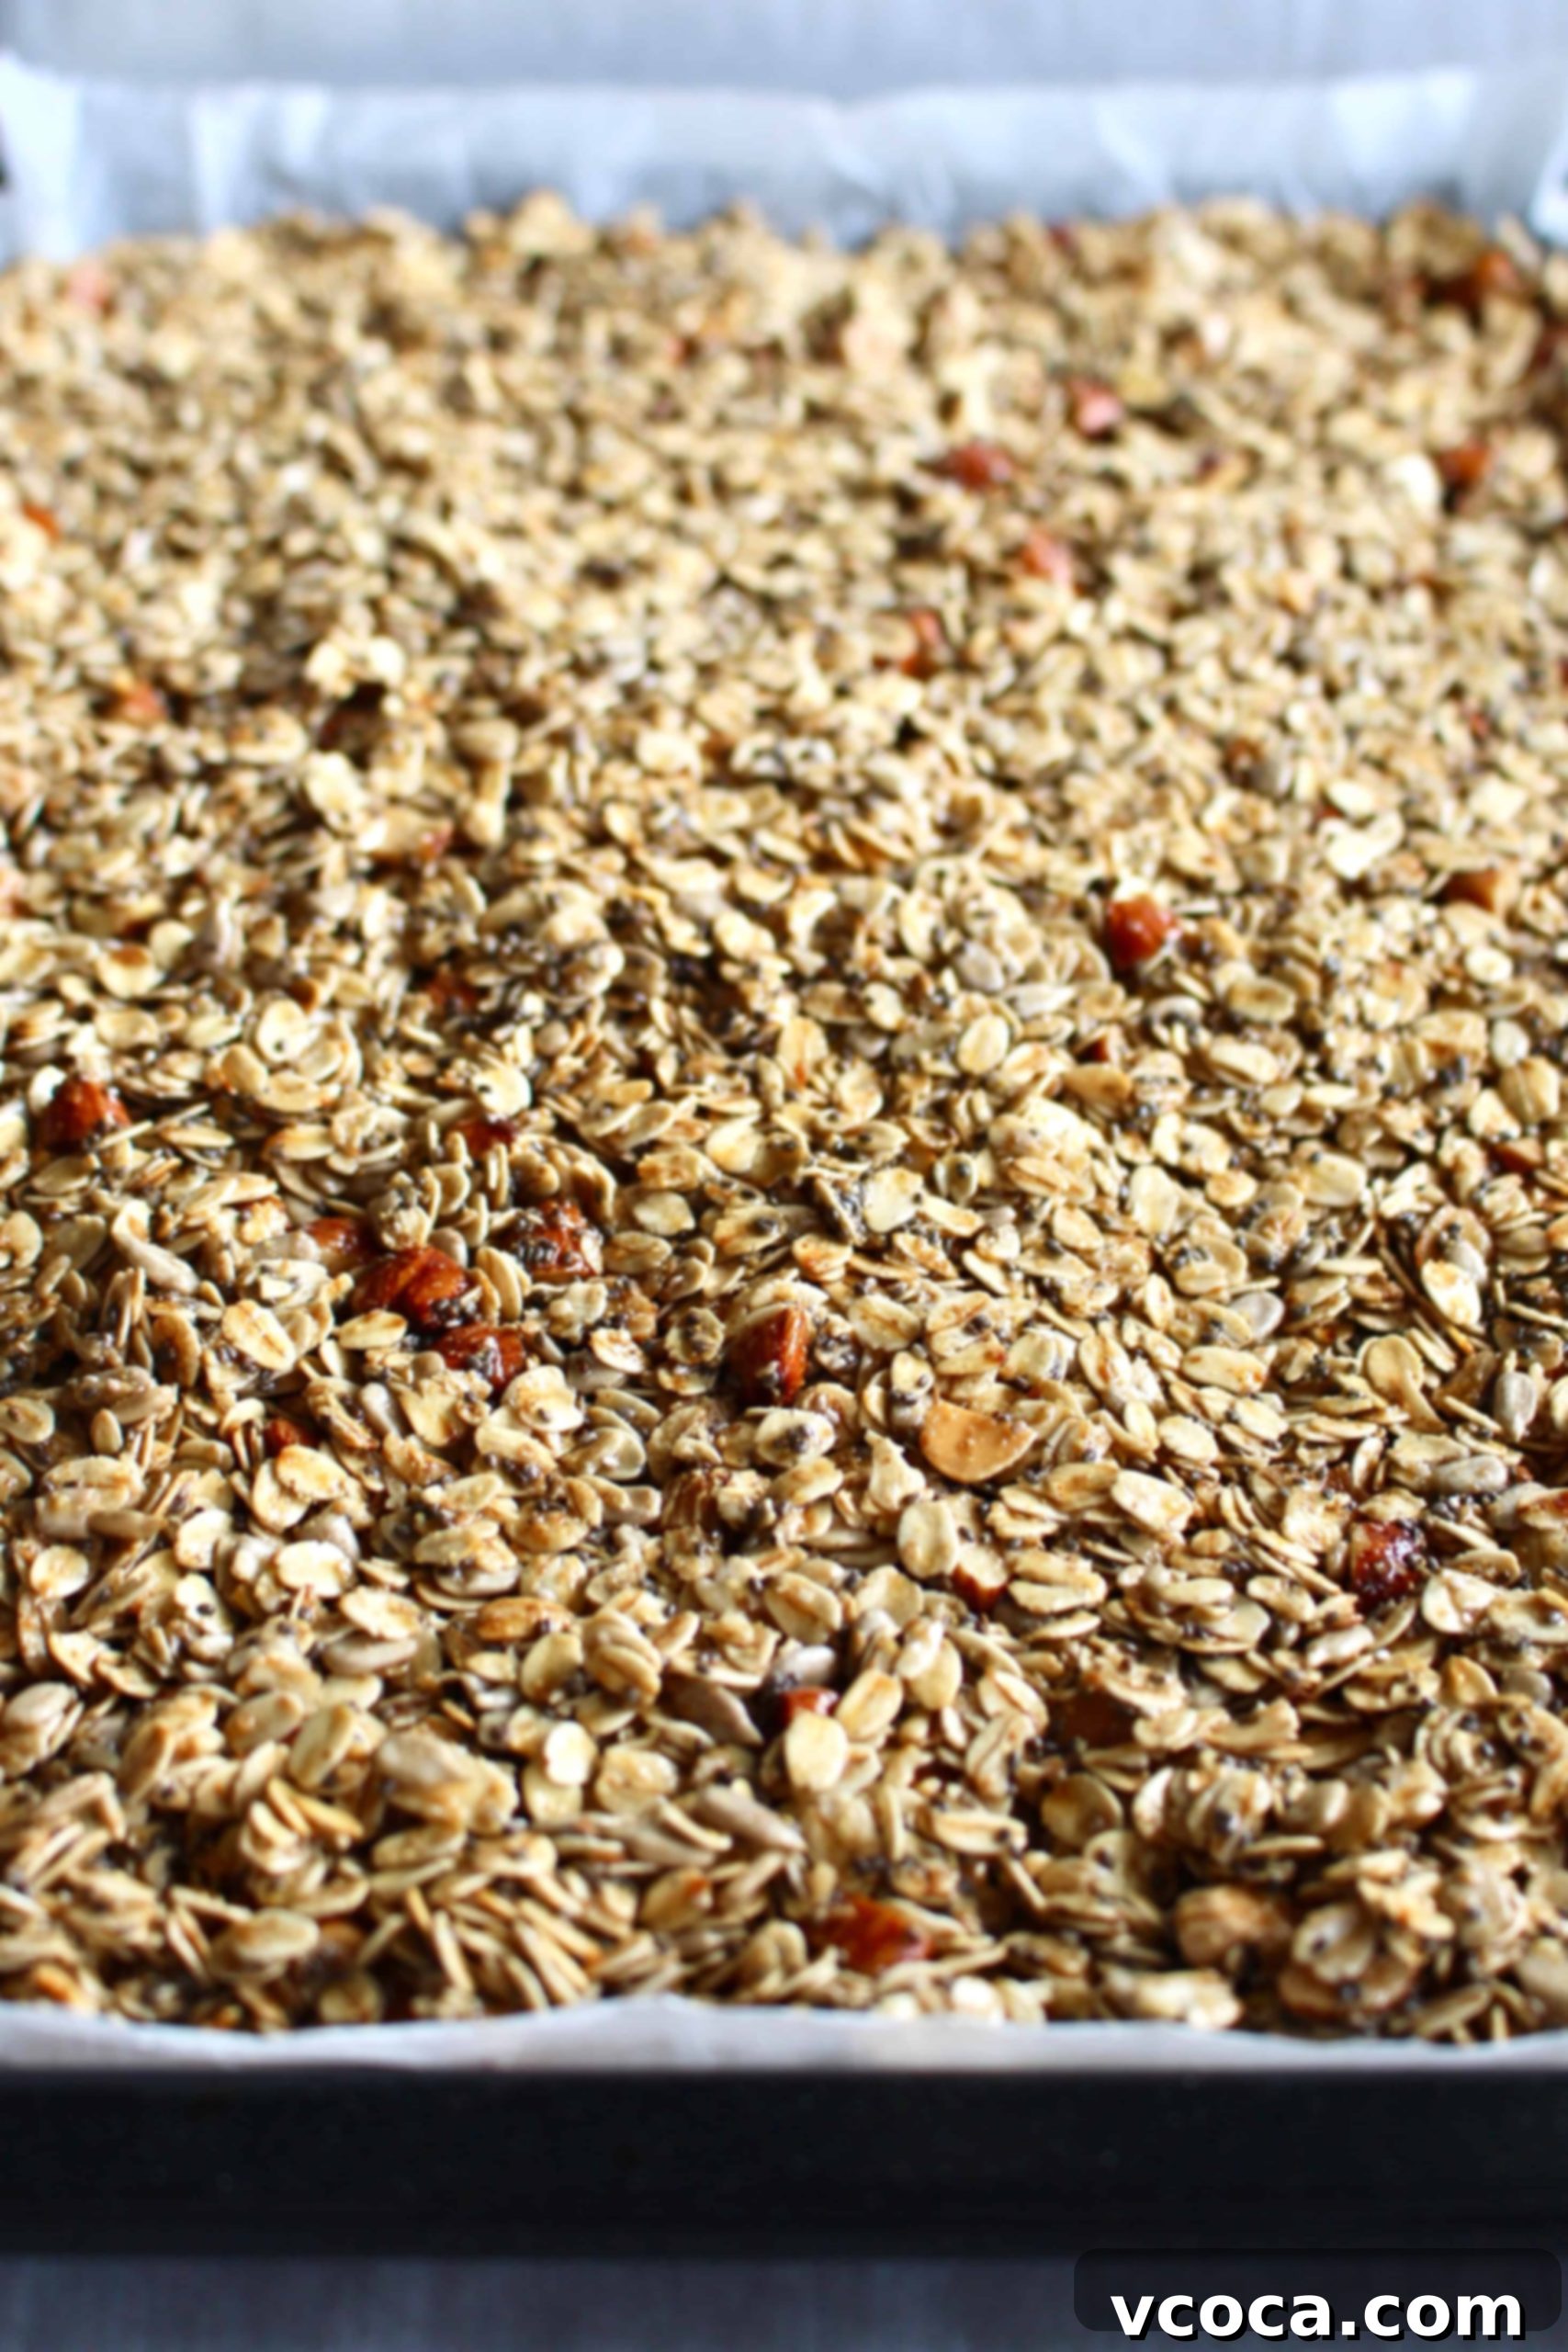
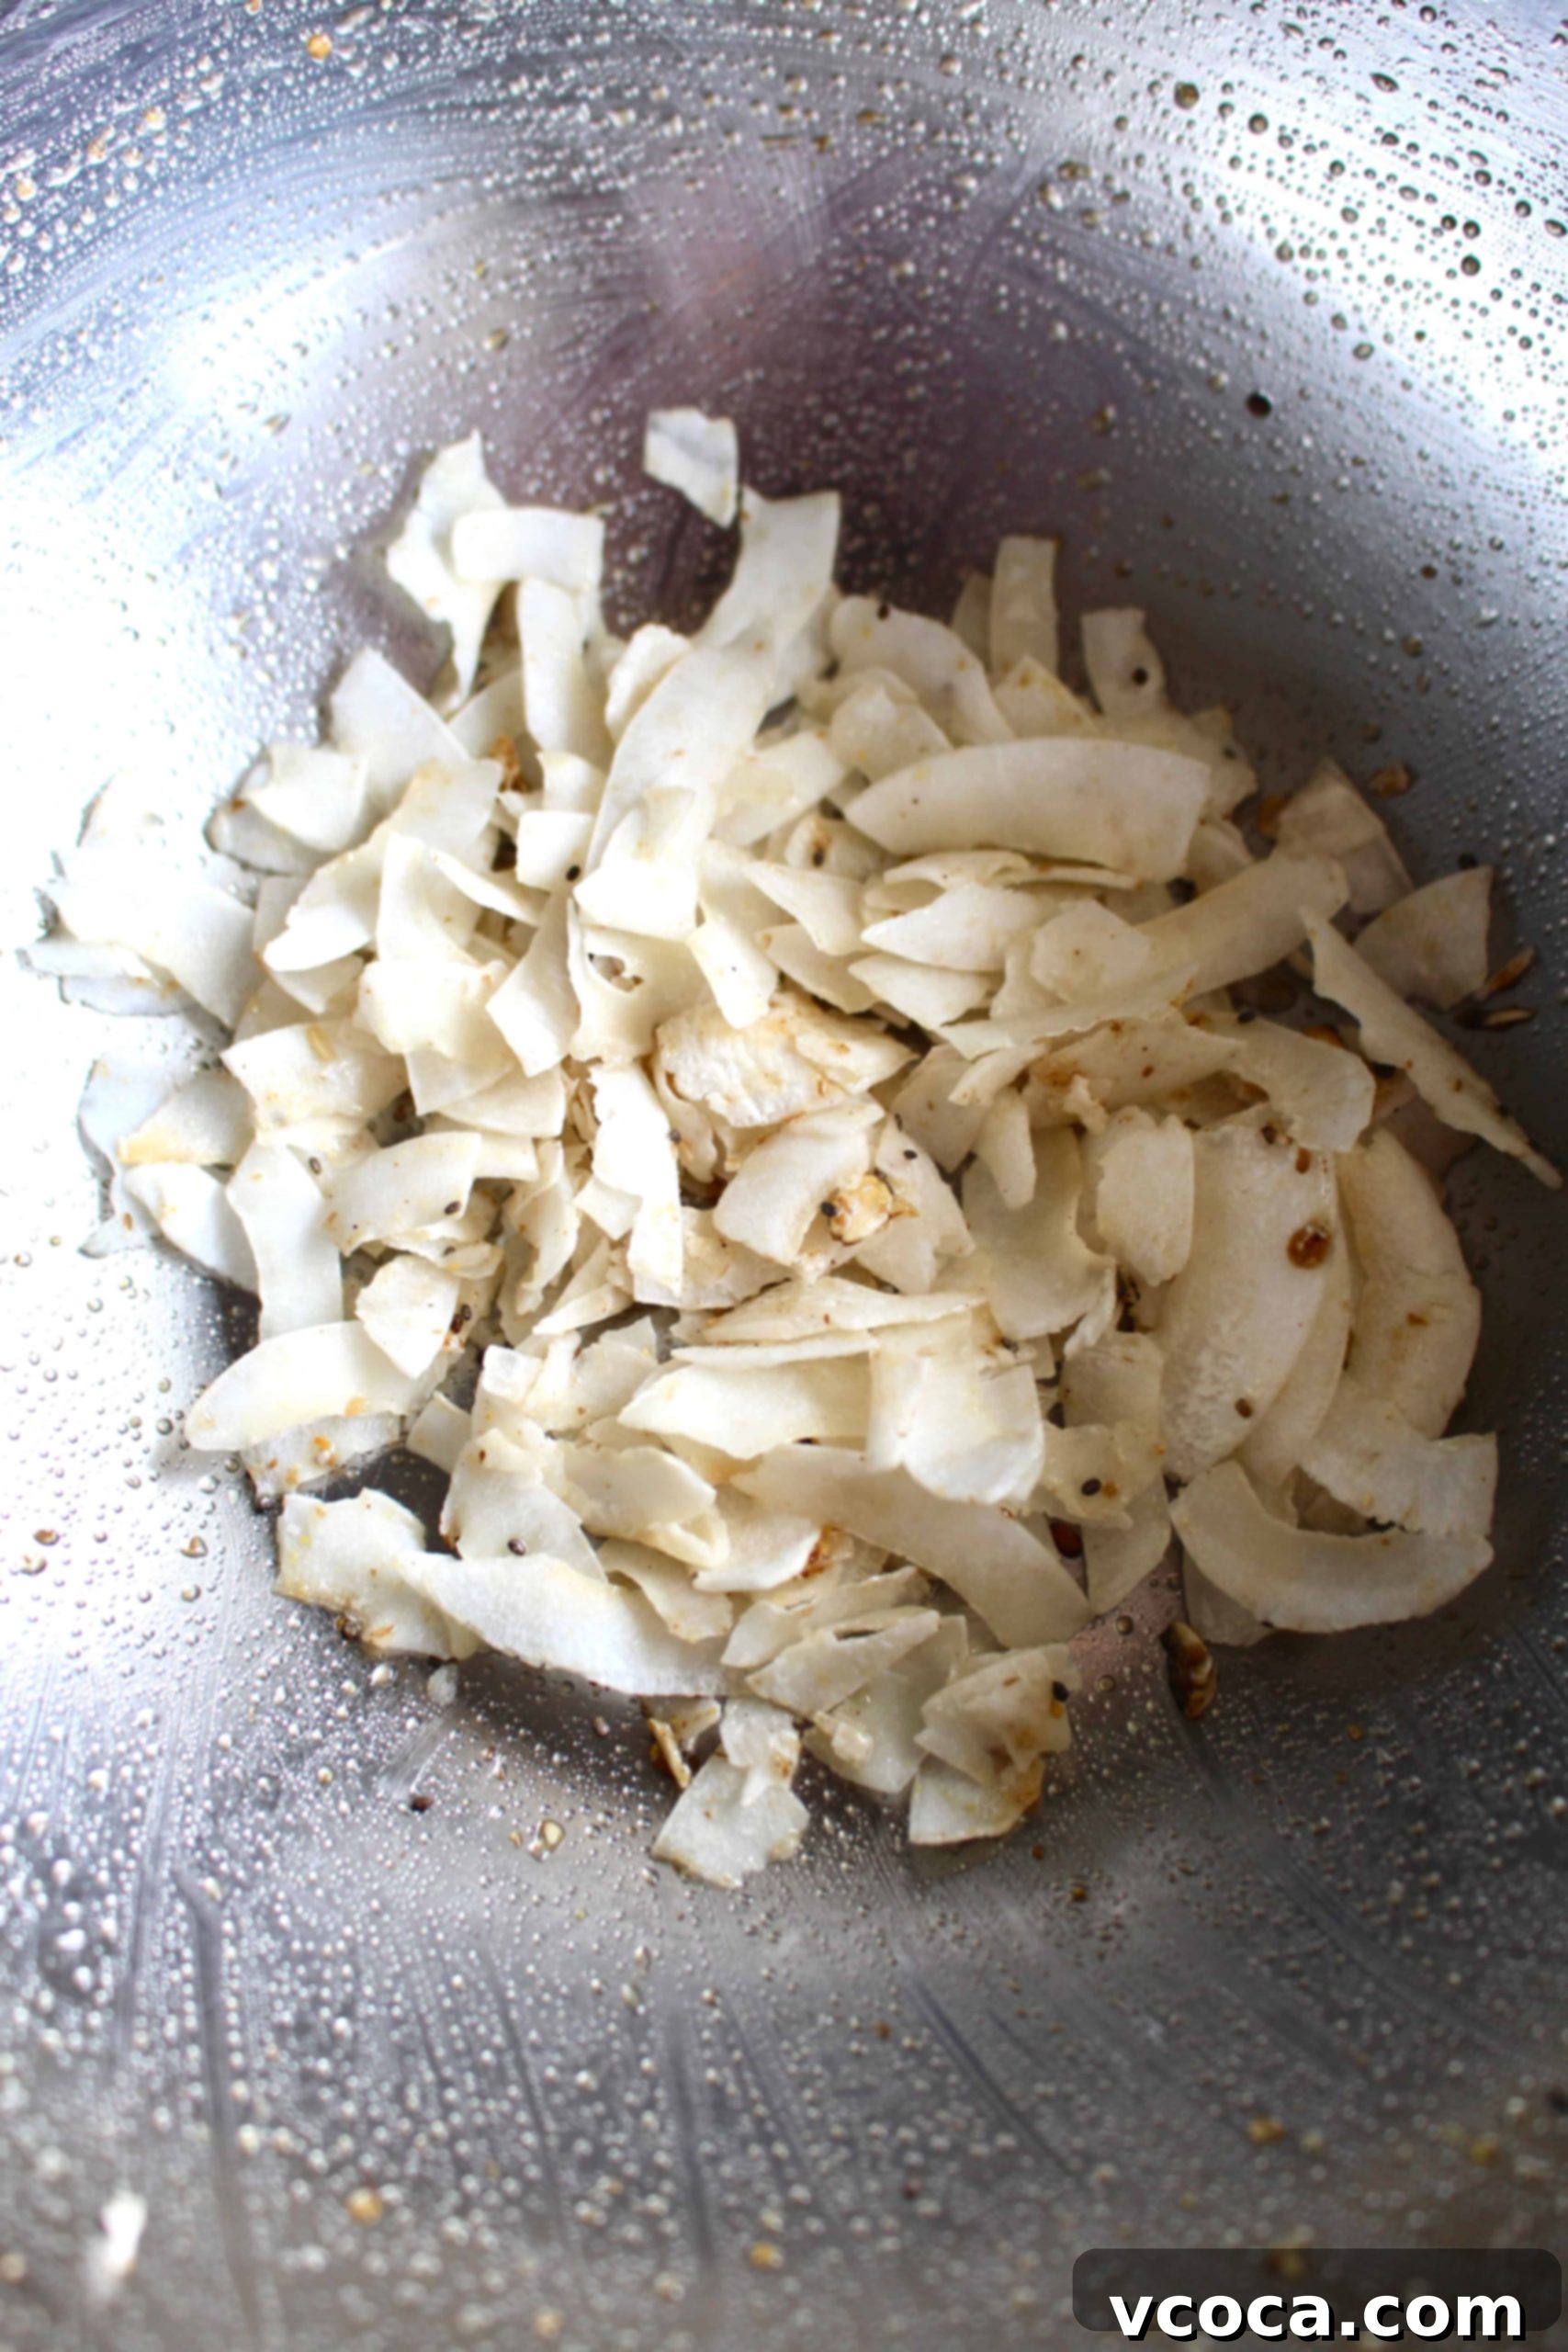
Step 4: Prepare the Coconut. While your granola is undergoing its initial bake in the oven, take the opportunity to prepare your coconut flakes. Add the unsweetened coconut flakes to the large bowl you used earlier (no need to wash it, as the residual maple mixture will be perfect). Toss the coconut flakes gently to coat them with any leftover maple syrup mixture. This light coating will help them toast beautifully and prevent them from burning later.
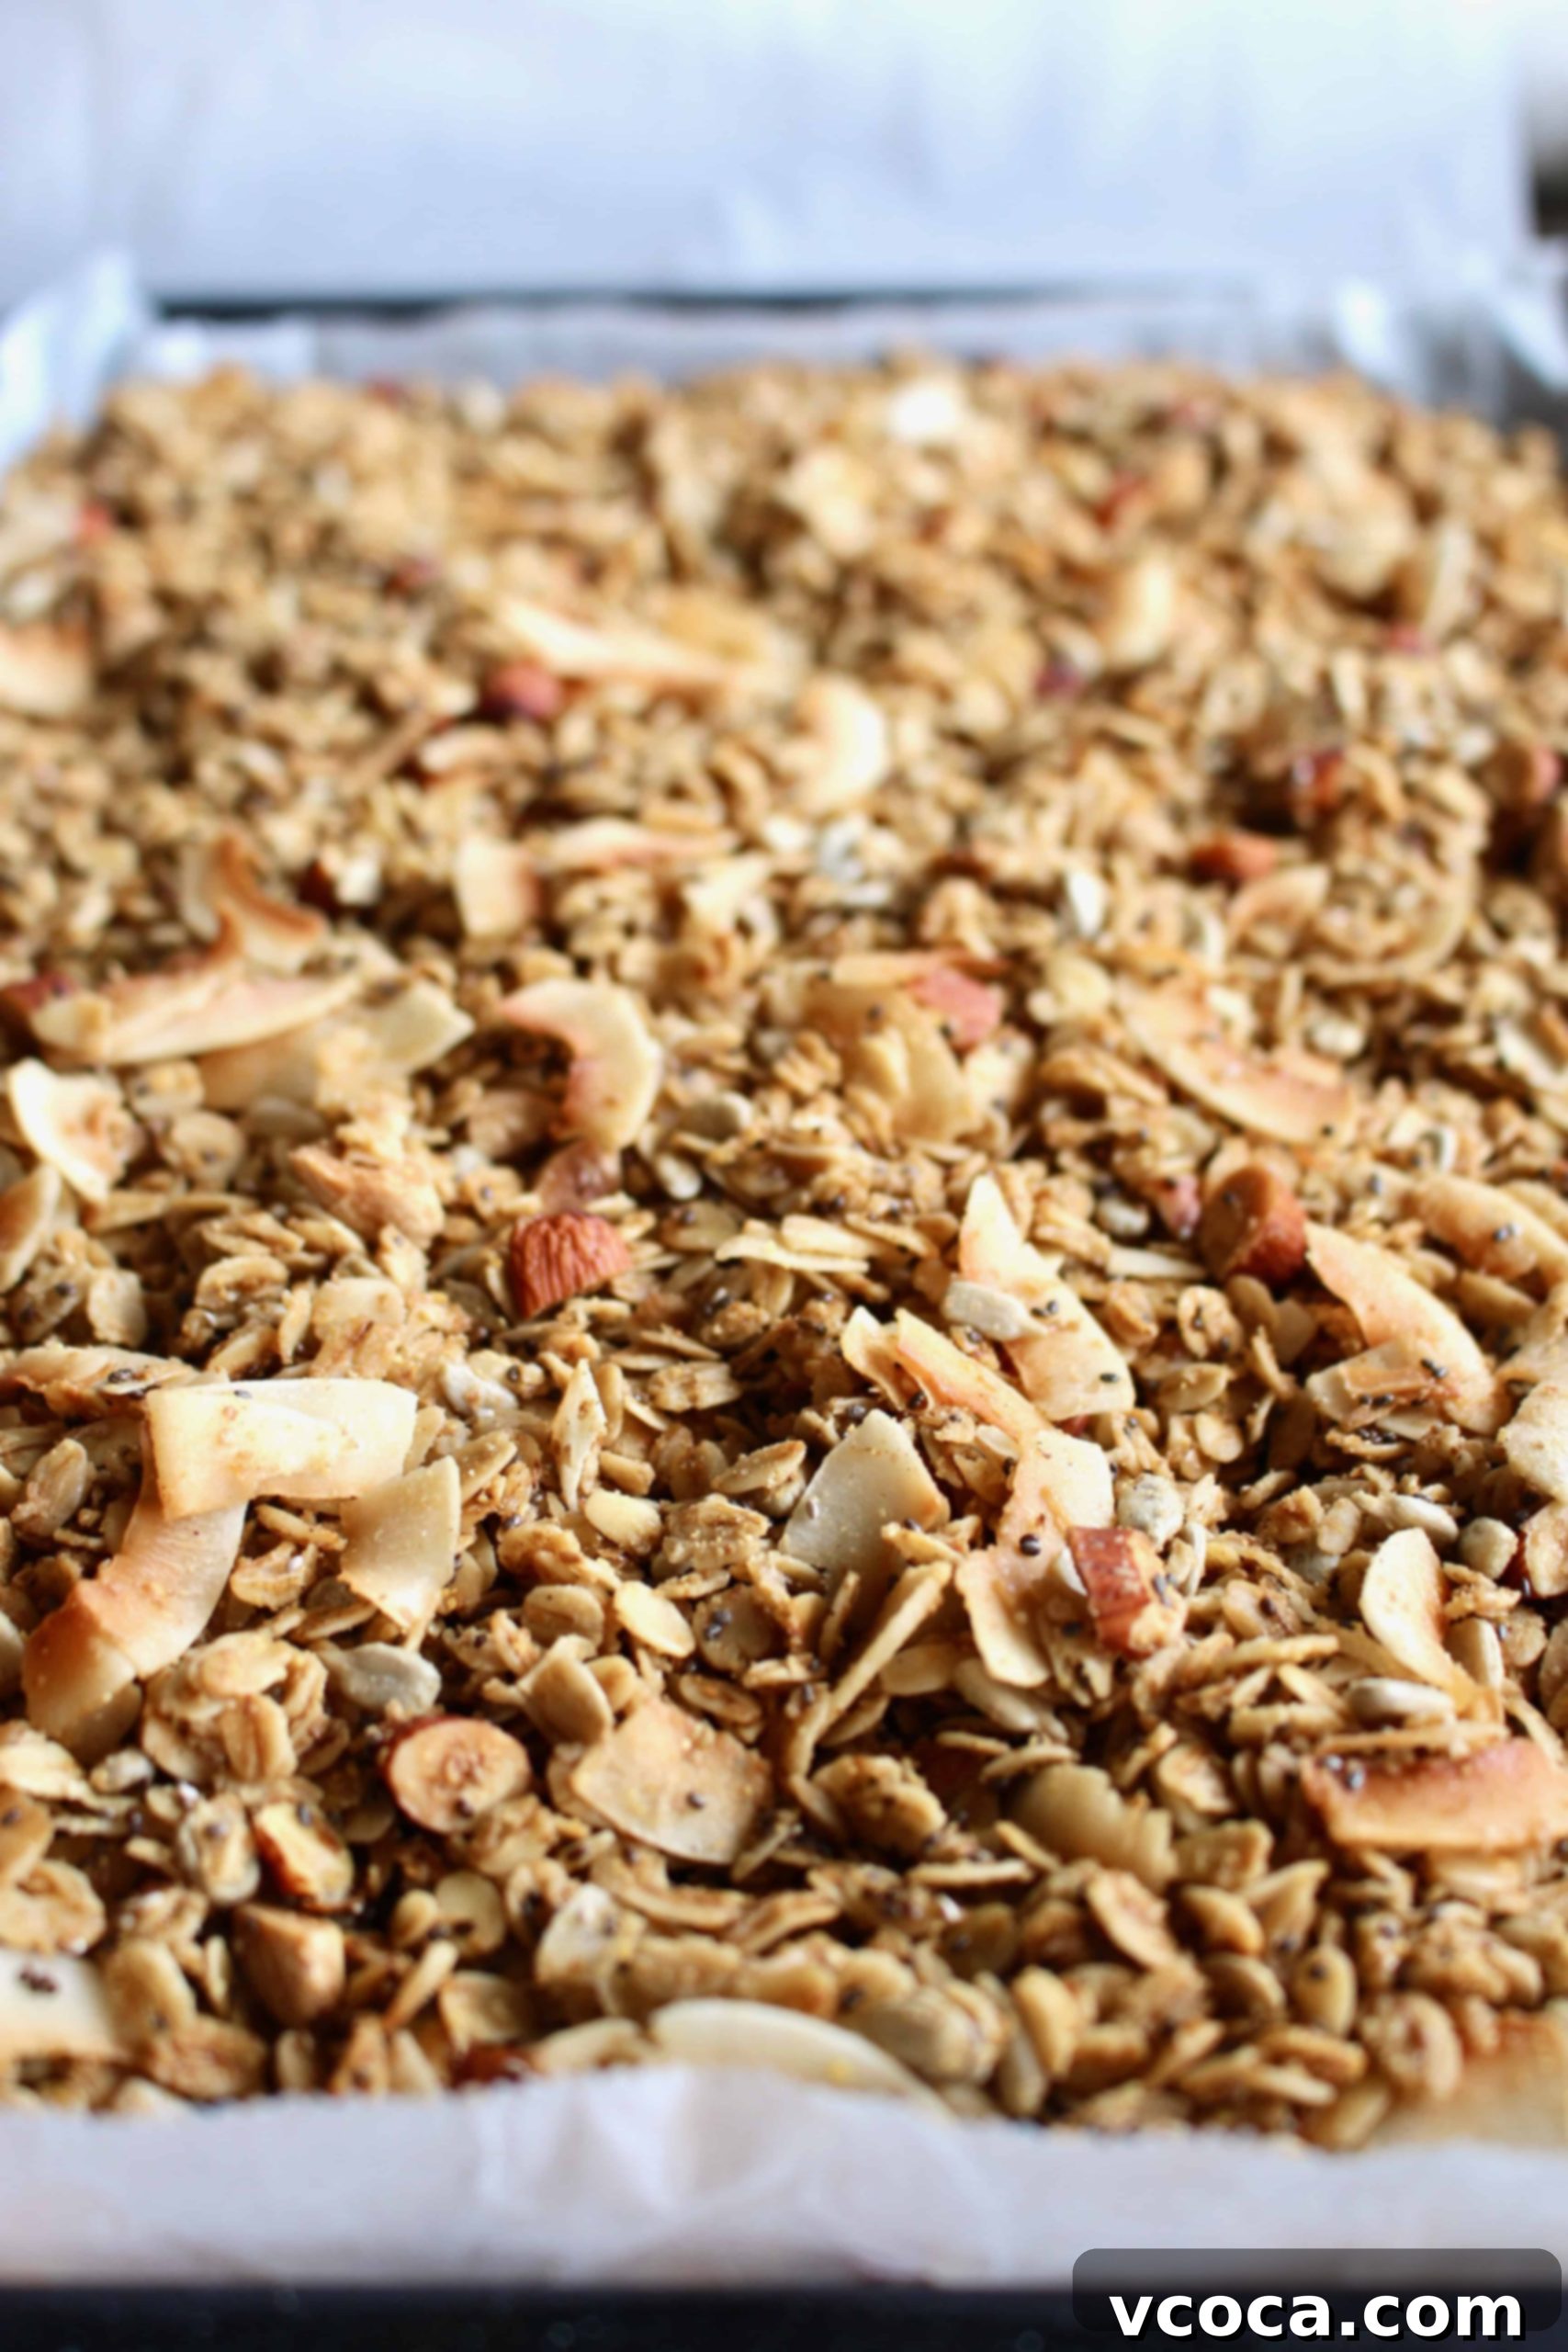
Step 5: Add Coconut and Finish Baking. After the initial 10 minutes of baking, carefully remove the granola from the oven. Add the prepared coconut flakes directly onto the baking sheet with the granola. Give everything a good toss to combine and then spread it back into an even layer. Return the baking sheet to the oven and continue baking for another 30 minutes. During this final baking phase, it’s critical to toss the granola every 10 minutes. This ensures even toasting and prevents any part of the granola, especially the coconut, from burning. Once the granola is a beautiful golden brown and smells fragrant, remove it from the oven. Give it one final toss on the baking sheet and then, resisting the urge to snack immediately, let it cool completely on the baking sheet before serving. Cooling is essential for achieving that perfect, satisfying crunch.
Expert Tips for Making the Best Gluten-Free Granola
Achieving perfectly crunchy, flavorful homemade granola is simple with a few key techniques. Keep these tips in mind to ensure your gluten-free granola turns out perfectly every time:
- Don’t burn the coconut. Coconut flakes have a higher sugar content and a thinner texture than oats or nuts, causing them to toast much quicker. If you add them at the beginning of the baking process and leave them in for the full 40 minutes, they will likely burn, resulting in a bitter, unpleasant taste. This is why we add the coconut flakes only after the other ingredients have had a 10-minute head start in the oven. This staggered approach ensures everything browns beautifully and tastes amazing.
- Toss the granola regularly. It might seem like an extra step, but taking the granola out of the oven and tossing it every 10 minutes during the second baking phase is crucial. This step is not just for show; it helps the granola bake evenly on all sides, preventing some pieces from getting too dark while others remain pale. Regular tossing promotes uniform golden-brown perfection and ensures every bite is delightfully crunchy.
- Let it cool completely for maximum crunch. The moment this gluten-free granola emerges from the oven, your kitchen will be filled with an incredibly tempting aroma, and it will be hard to resist eating it right away. However, patience is key for that satisfying crunch! While hot, the nuts and oats will still be somewhat soft and chewy. It’s vital to allow the granola to cool completely on the baking sheet at room temperature. As it cools, the moisture evaporates, and the sugars firm up, transforming your granola into the crisp, crunchy texture you desire.
- For Bigger Granola Clusters: If you love large, chunky granola clusters, here’s a trick: after spreading the mixture onto the baking sheet, press it down firmly with a spatula before baking. Avoid stirring it too much during the initial cooling phase after it comes out of the oven. Let it cool undisturbed on the baking sheet, then break it into your desired cluster sizes once completely cool.
Gluten-Free Granola Recipe
Print
Pin
Rate
Ingredients
- 3 cups gluten-free oats
- ½ cup sunflower seeds
- ½ cup almonds chopped
- ¼ cup ground flaxseed (if you’re not a big fan of flax like I am, start with 2 tablespoons)
- ¼ cup chia seeds
- ½ cup maple syrup
- ⅓ cup avocado oil
- ½ teaspoon vanilla extract
- ½ teaspoon fine sea salt
- ½ teaspoon ground cinnamon
- ½ cup unsweetened coconut flakes
Instructions
-
Preheat the oven to 320°F (160°C). Line a baking sheet with parchment paper and set aside.
-
In a large bowl, add the maple syrup, oil, vanilla extract, salt, and cinnamon. Whisk together until combined.
-
Add the oats, sunflower seeds, chopped almonds, ground flaxseed, and chia to the bowl and stir until everything is coated in the maple mixture.
-
Pour the mixture onto the parchment paper lined baking sheet and spread into an even layer. Bake in the preheated oven for 10 minutes.
-
While the granola is baking in the oven, add the coconut flakes to the bowl and toss to coat with leftover maple mixture. Add the coconut to the granola on the baking sheet, toss and spread into an even layer once again. Bake for another 30 minutes, tossing every 10 minutes.
-
Let it cool completely before serving.
Notes
Is Granola Always Gluten-Free? Understanding Your Options
While many assume granola is naturally gluten-free, this isn’t always the case, and it’s a critical distinction for individuals managing gluten sensitivities or celiac disease. Some granolas are indeed made with naturally gluten-free ingredients, but a significant number include non-gluten-free oats or other ingredients containing wheat, barley, or rye. The primary concern often lies with oats themselves.
If you’re purchasing granola from a store, it’s absolutely essential to meticulously check the packaging and read the list of ingredients. Always look for a clear “Certified Gluten-Free” label from a reputable organization, as this indicates that the product has met strict standards for gluten content (typically less than 20 parts per million). If you’re ever in doubt about a store-bought option, the safest and most delicious bet is to make this homemade gluten-free granola recipe instead. You’ll have complete peace of mind knowing exactly what goes into your breakfast!
Are Oats Inherently Gluten-Free? A Closer Look
The question of whether oats are gluten-free is a common one, and the answer comes with an important caveat. Botanically speaking, pure, unprocessed oats are indeed gluten-free. However, the vast majority of commercially available oats are processed in facilities that also handle gluten-containing grains like wheat, barley, and rye. This shared equipment can lead to cross-contamination, meaning tiny traces of gluten can make their way into the oats.
For individuals avoiding gluten, it is paramount to always choose oats that are specifically labeled and certified as “gluten-free.” These oats are grown, harvested, and processed in dedicated facilities to prevent cross-contamination. It’s also worth noting that a small percentage of people with celiac disease may experience a reaction to avenin, a protein found in oats, even if the oats are certified gluten-free. This is known as an oat intolerance, and if you suspect this might be an issue, consult with a healthcare professional or registered dietitian.
Can I Transform This Granola Into Granola Bars?
While this recipe yields a wonderfully loose and crunchy granola that’s perfect for topping yogurt or enjoying with milk, it’s not formulated to be pressed into firm granola bars. The ratio of wet to dry ingredients and the baking method are specifically designed for a classic, pourable granola. If your heart is set on a soft, chewy oat bar, this recipe won’t quite get you there.
But don’t worry, if you love the idea of oats in a convenient bar form, I have other delicious options for you! For a delightful and portable oat-based treat, I highly recommend trying my peanut butter banana oatmeal bars, which are designed to hold their shape and offer a different, equally satisfying texture.
Recommended Gluten-Free Oat Brands for Your Granola
Choosing the right brand of gluten-free oats is essential for both the safety and quality of your homemade granola. Not all oats are created equal when it comes to gluten-free certification. I consistently rely on and recommend two excellent brands for their commitment to quality and delicious results:
- Bob’s Red Mill’s Gluten-Free Organic Old Fashioned Rolled Oats: Bob’s Red Mill is a highly trusted name in gluten-free baking. Their old-fashioned rolled oats are certified gluten-free, ensuring they meet rigorous standards for gluten-free products. These oats provide a fantastic texture, holding up well during baking to create a satisfying crunch.
- Stoked Oats’ Rolled Oats: Another fantastic option, Stoked Oats provides rolled oats that are both certified gluten-free and organic. They are known for their quality and hearty texture, which works wonderfully in granola, offering a robust base for all the other delicious ingredients.
Ultimately, you can use any old-fashioned rolled oats that are clearly certified gluten-free. Just ensure the packaging explicitly states “gluten-free” to avoid any potential cross-contamination issues.
Substituting Chia Seed and Flaxseed in Your Granola
While flaxseed and chia seeds are nutritional powerhouses and a wonderful addition to this gluten-free granola, I understand that sometimes you might not have them on hand, or perhaps you’re simply not a fan of their unique textures or flavors (though the ground flax is subtle!). The good news is that this recipe is quite flexible, and you can easily make substitutions without compromising the delicious outcome.
If you want to try this gluten-free granola but need to replace the flaxseed and chia seeds, you can substitute them with equal amounts of other dry ingredients. Great options include:
- More Oats: Simply increase the amount of gluten-free rolled oats for an even heartier granola.
- Other Seeds: Pumpkin seeds (pepitas) or sesame seeds make excellent alternatives, adding their own distinct flavor and nutritional benefits.
- Additional Nuts: If you love nuts, you can add more chopped almonds or even introduce other favorites like walnuts or pecans, just ensure they are also chopped to a similar size for even baking.
Feel free to mix and match these substitutes based on what you have in your pantry and your personal taste preferences. The key is to maintain the overall dry ingredient volume to ensure the wet ingredients properly coat everything and achieve the right consistency.
Frequently Asked Questions About Gluten-Free Granola
Yes, you absolutely can! Just make sure you are using certified gluten-free quick oats to maintain the recipe’s gluten-free status. The main difference will be in the final texture; quick oats are cut into smaller pieces and will result in a finer, slightly less chewy granola compared to old-fashioned rolled oats. The flavor will still be fantastic, so it’s a great substitute if that’s what you have on hand or prefer a softer texture.
Yes, coconut oil is a fantastic option for this healthy granola recipe! When using coconut oil, be sure to melt it completely before mixing it with the other wet ingredients to ensure even distribution. If you enjoy the distinct flavor of coconut, opt for virgin coconut oil. However, if you prefer a more neutral taste that lets the other ingredients shine, refined coconut oil is the better choice as it has a less pronounced coconut flavor.
Absolutely! While I personally favor maple syrup for its slightly thinner consistency, which makes it easier to measure and pour, honey is a perfectly acceptable substitute and will yield delicious results. You can also use agave syrup for a similar liquid sweetener option. Just ensure you use the same quantity as maple syrup, and keep an eye on the granola during baking as honey can sometimes caramelize a bit faster.
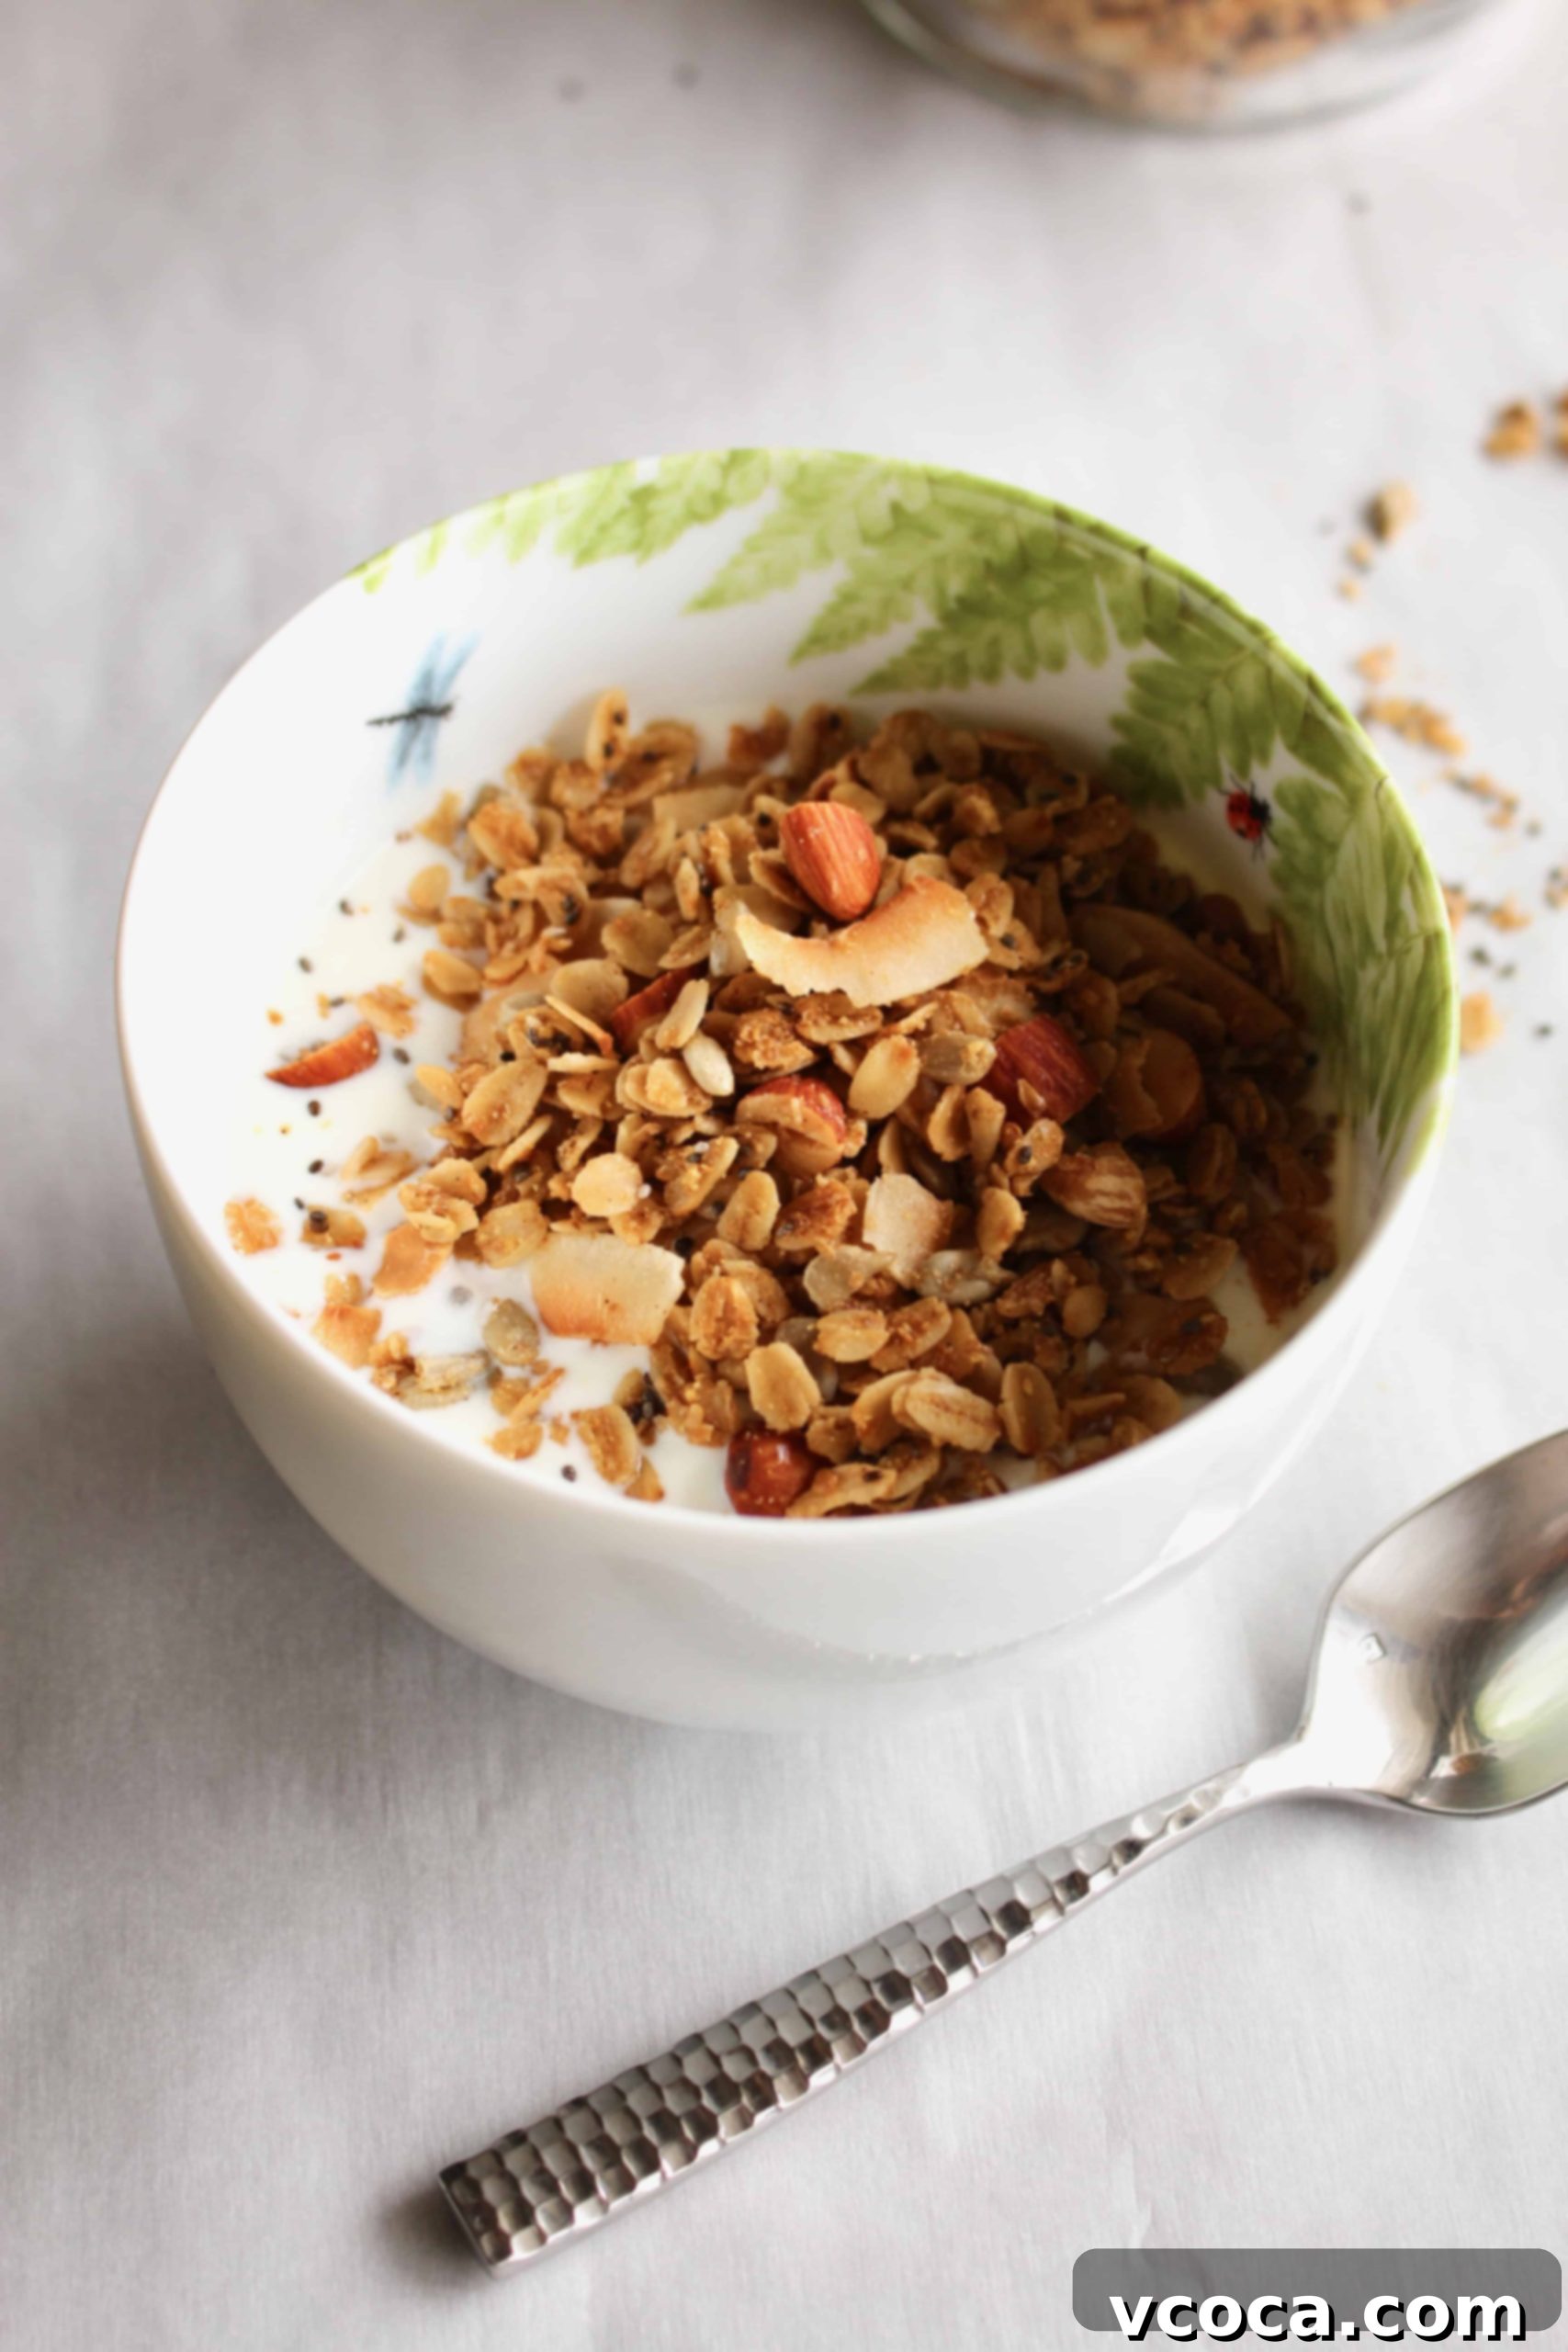
This versatile granola can be enjoyed in so many ways! It’s fantastic as a classic breakfast cereal with your favorite milk (dairy or plant-based). It makes a perfect topping for yogurt parfaits, smoothie bowls, or even ice cream for a healthier dessert. You can also sprinkle it over fresh fruit or simply enjoy it by the handful as a satisfying snack.
This granola is packed with wholesome ingredients that offer numerous health benefits. The gluten-free oats provide complex carbohydrates for sustained energy and dietary fiber for digestive health. Flaxseeds and chia seeds are excellent sources of omega-3 fatty acids, which support heart and brain health, along with additional fiber. Almonds contribute healthy monounsaturated fats and protein. Sweetened solely with maple syrup, it’s free from refined sugars, making it a healthier choice than many store-bought options. Overall, it’s a fiber-rich, nutrient-dense way to start your day or enjoy a snack.
Storing Your Homemade Gluten-Free Granola for Freshness
Proper storage is key to maintaining the delicious crunch and freshness of your homemade gluten-free granola. Once the granola has completely cooled to room temperature (this is very important to prevent condensation and sogginess), transfer it to an airtight container. Glass jars with tight-fitting lids, food-grade plastic containers, or even heavy-duty Ziploc bags work wonderfully.
Store the container in a dark, cool place, such as your pantry or a kitchen cupboard. Avoid direct sunlight or warm areas, as heat can cause the oils in the granola to go rancid more quickly. When stored correctly in an airtight container, your homemade granola will stay wonderfully fresh and crunchy for up to 2 weeks, providing you with a convenient and healthy breakfast or snack whenever you need it!
More Delicious Gluten-Free Breakfast Recipes to Explore
If you love starting your day with wholesome, gluten-free goodness, you’re in the right place! Here are more fantastic breakfast recipes to add to your rotation:
- If you’re eager to try another delightful granola recipe, don’t miss this apple pie granola, which captures all the comforting flavors of your favorite dessert in a crunchy breakfast form.
- For a truly special weekend treat, my banana chocolate chip pancakes and muffin mix pancakes are two of my all-time favorite recipes, perfect for a leisurely brunch.
- When you’re bustling and need a delicious breakfast on the go, my gluten-free banana muffins and healthy morning glory muffins would be absolutely perfect! They’re easy to grab and satisfying.
- Looking for something a touch more decadent for a special occasion? This gluten-free coffee cake is incredibly fluffy, crowned with a crunchy crumb topping that’s utterly irresistible!
- If meal prepping is your strategy for healthy mornings, try this blueberry overnight oats recipe! It’s super easy to assemble the night before and enjoy a nutritious breakfast without any fuss.
- And for those with a sweet tooth looking for more gluten-free options beyond breakfast, I have an entire list of gluten-free dairy-free desserts for you to explore and enjoy!
