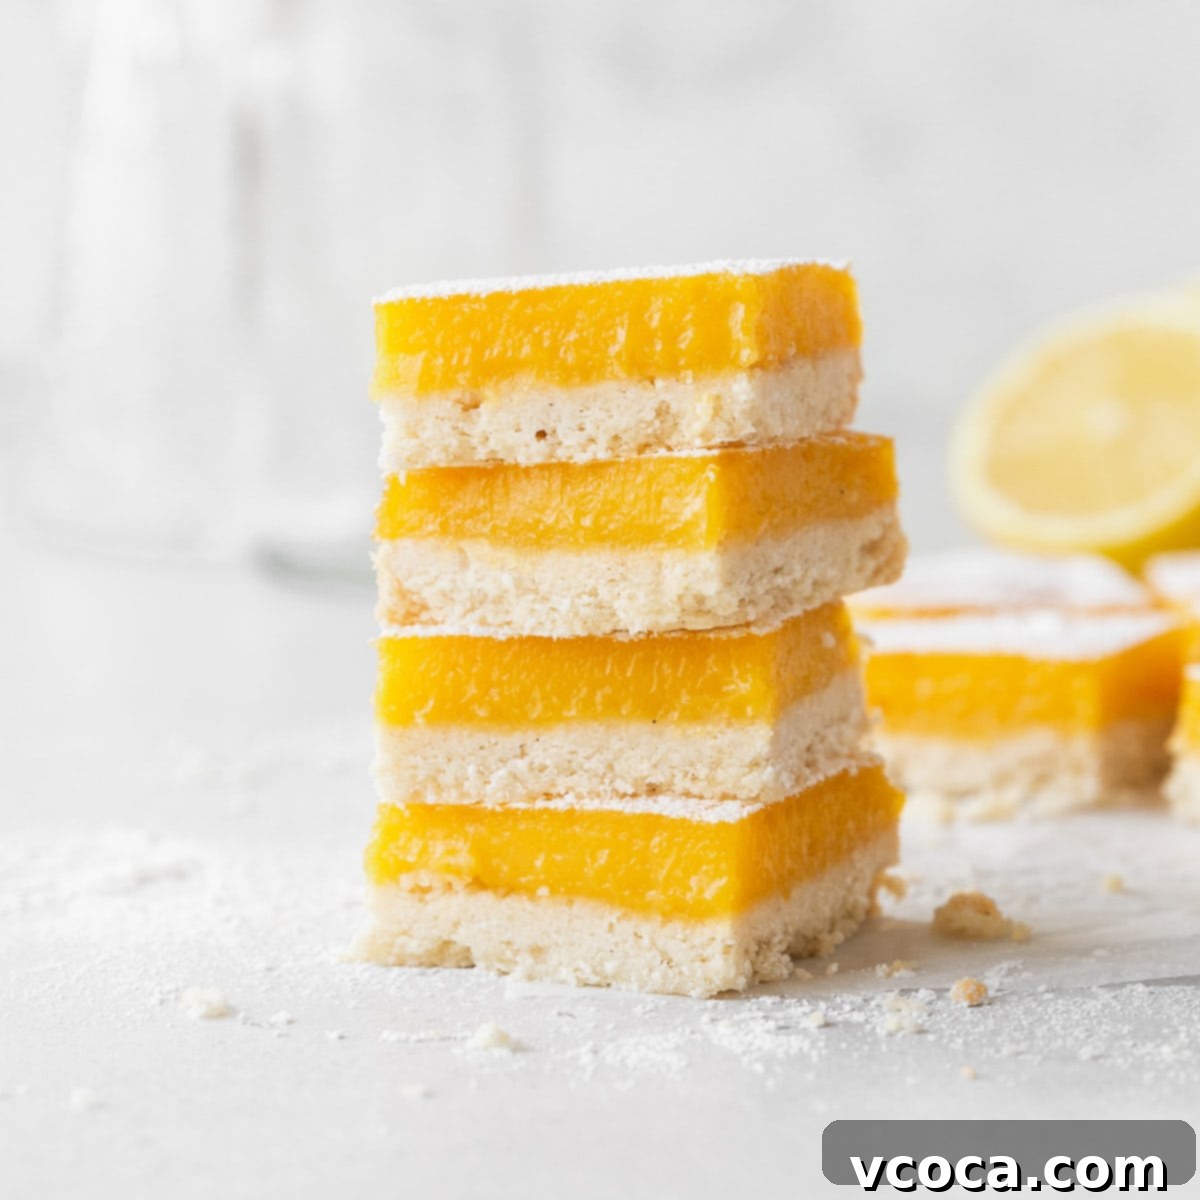
Brighten Your Day with the Best Dairy-Free Lemon Bars: A Zesty & Buttery Delight
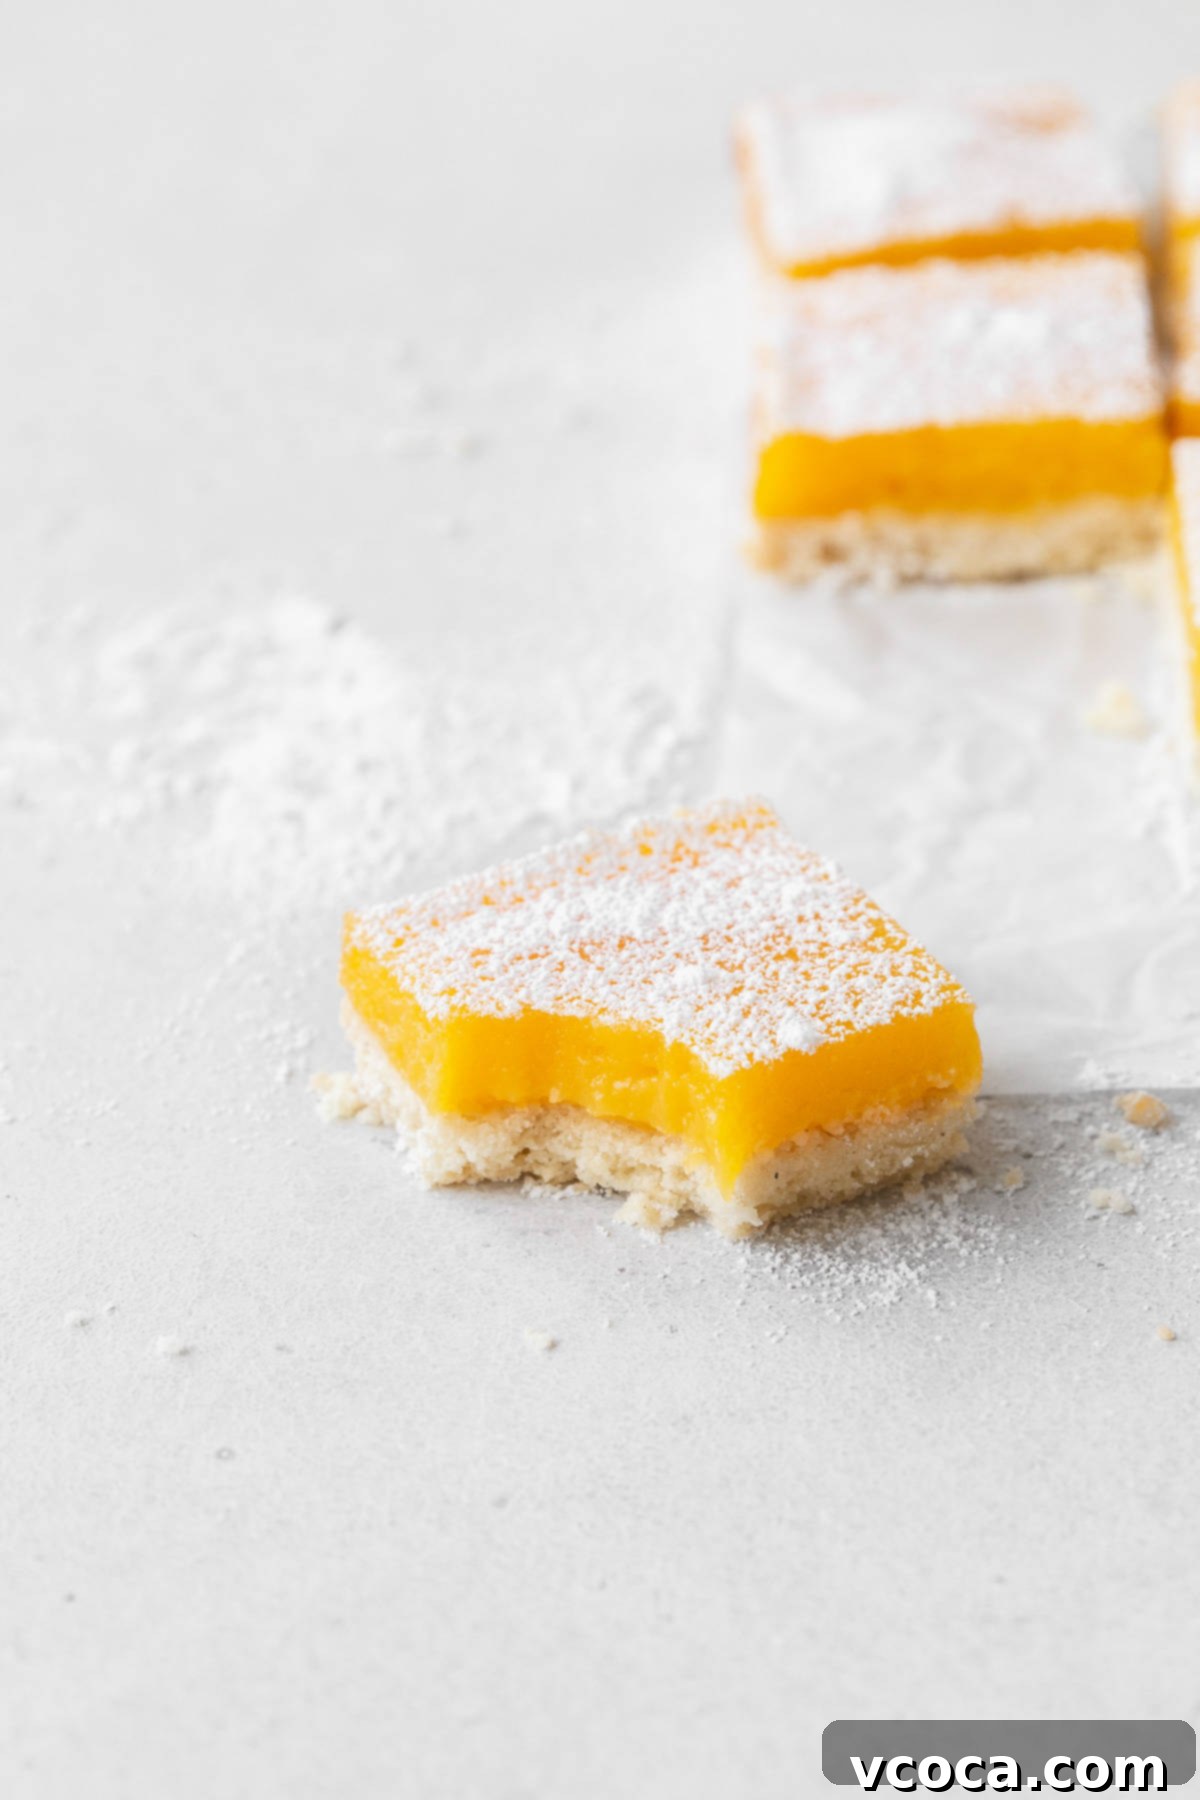
Dairy-Free Lemon Bars are a true taste of sunshine, capturing the essence of spring and summer in every bite. Imagine a dessert that’s wonderfully buttery, intensely lemony, vibrantly bright, and perfectly sweet, all without a trace of dairy. These delightful treats are a revelation for anyone seeking an allergy-friendly option that doesn’t compromise on classic flavor. They are incredibly versatile, making them ideal for any occasion – from elegant baby or wedding showers to casual spring picnics, lively potlucks, or even as thoughtful housewarming gifts. For those with specific dietary needs, rest assured that gluten-free adaptations are thoroughly covered below, ensuring everyone can enjoy this citrusy bliss.
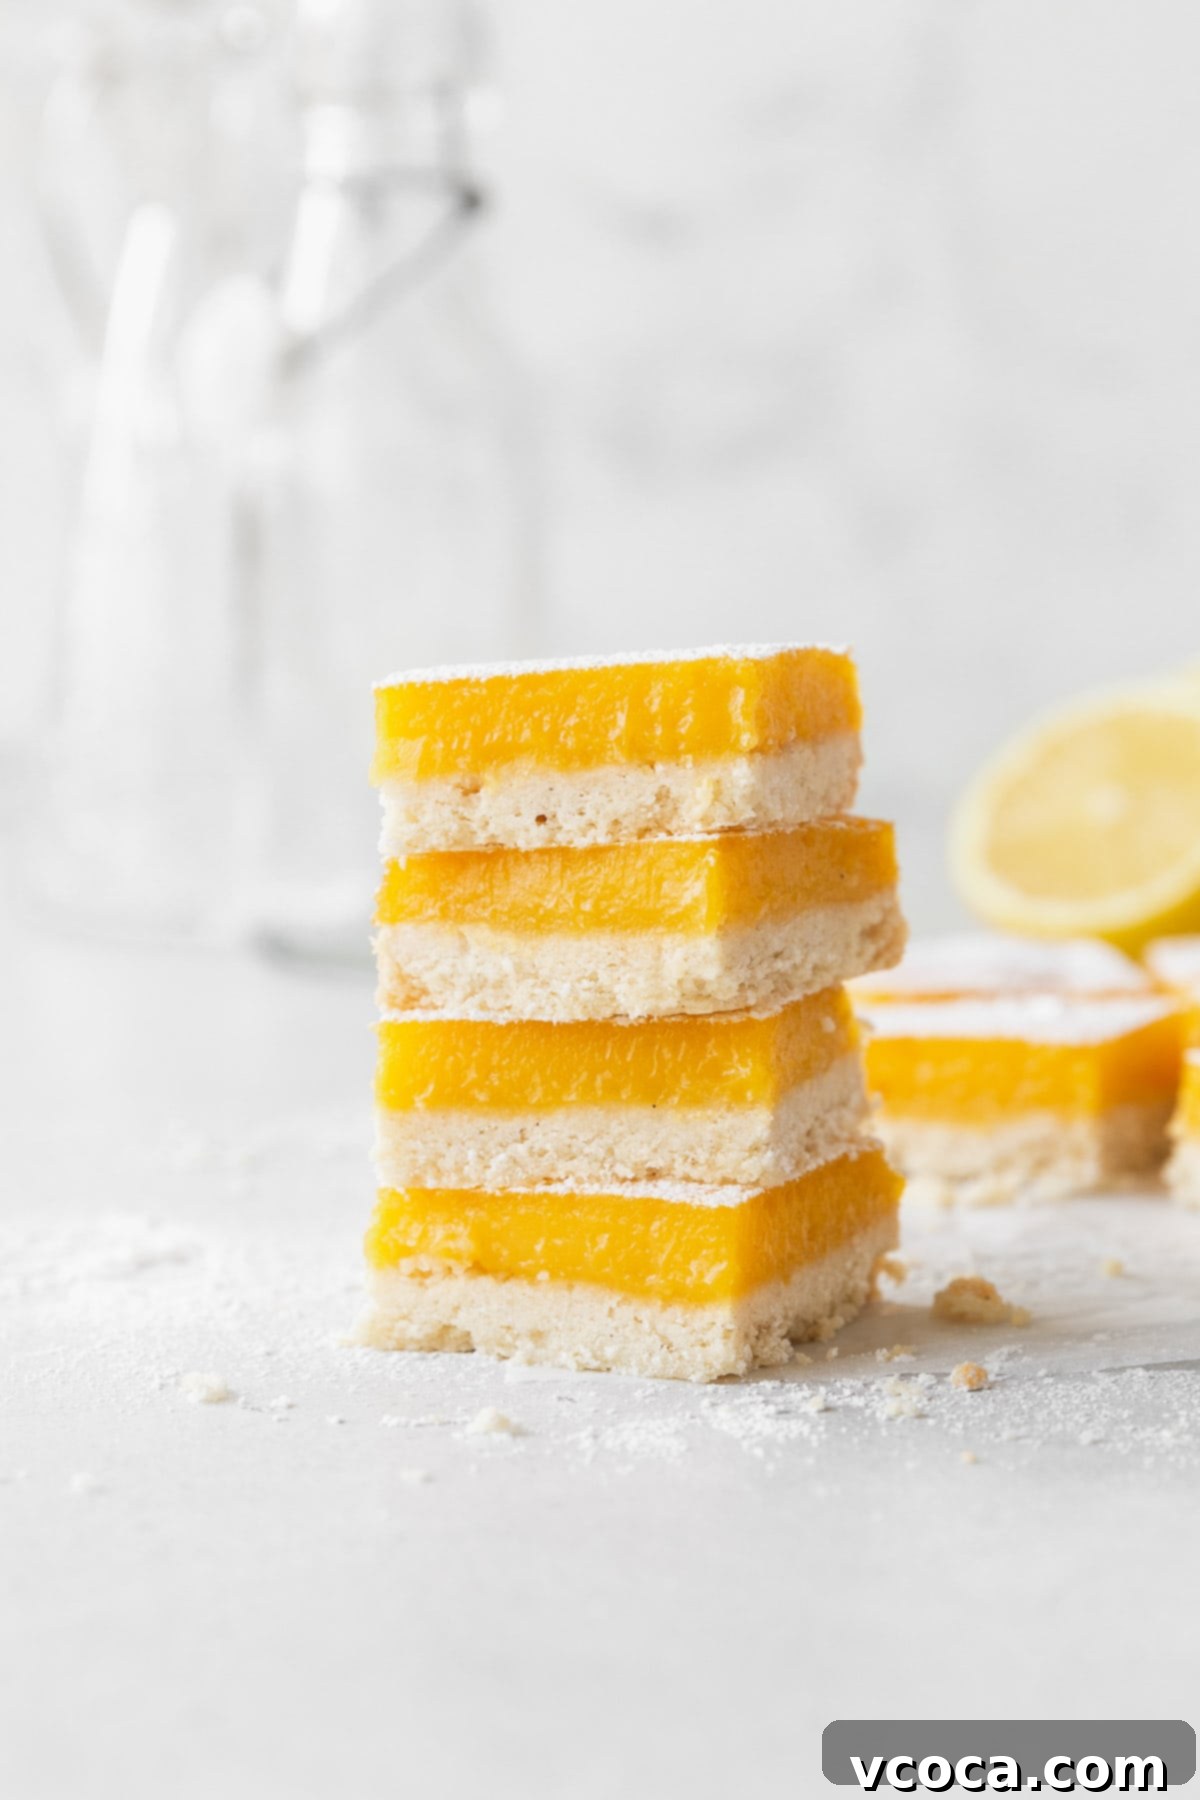
Why You’ll Fall in Love with These Dairy-Free Lemon Bars
These aren’t just any lemon bars; they are designed to be utterly irresistible while catering to dietary needs. Here’s why this recipe will become your new go-to for a burst of citrusy goodness:
- Authentic, Irresistible Flavor. Don’t let the “dairy-free” label fool you! These lemon bars deliver all the traditional, mouth-watering flavor you expect from a classic lemon bar. They boast a perfect balance of sweet and tangy, with an intense citrus punch that makes your taste buds sing. The rich, tender shortbread crust provides a delightful counterpoint to the bright and zesty lemon curd, creating a harmonious dessert experience.
- Truly Allergy-Friendly. This recipe is specifically crafted without any butter, milk, or other dairy-based ingredients, making it a dream come true for anyone with lactose intolerance or a dairy allergy. It’s a fantastic way to enjoy a beloved dessert without worrying about adverse reactions. Plus, with simple gluten-free modifications, it’s even more inclusive!
- Perfect for Any Gathering. While there’s never a wrong time for a delicious lemon bar, these treats truly shine at social events. Their vibrant color and refreshing flavor make them an ideal addition to baby showers, elegant wedding receptions, lively spring and summer picnics, casual potlucks, or any celebration where a crowd-pleasing dessert is desired. They’re easy to transport and always a hit!
- An Excellent Way to Utilize Fresh Lemons. If your garden is overflowing with lemons or you simply found a great deal at the market, this dairy-free lemon dessert is a wonderfully delicious and practical way to use them up. You’ll need the fresh juice and zest from approximately 4-5 large lemons, ensuring a powerful, natural lemon flavor throughout the bars.
- Simple Yet Impressive. While the recipe involves a few steps, each one is straightforward, leading to a stunning dessert that looks and tastes like it came from a professional bakery. The effort is minimal for such a high-reward treat!
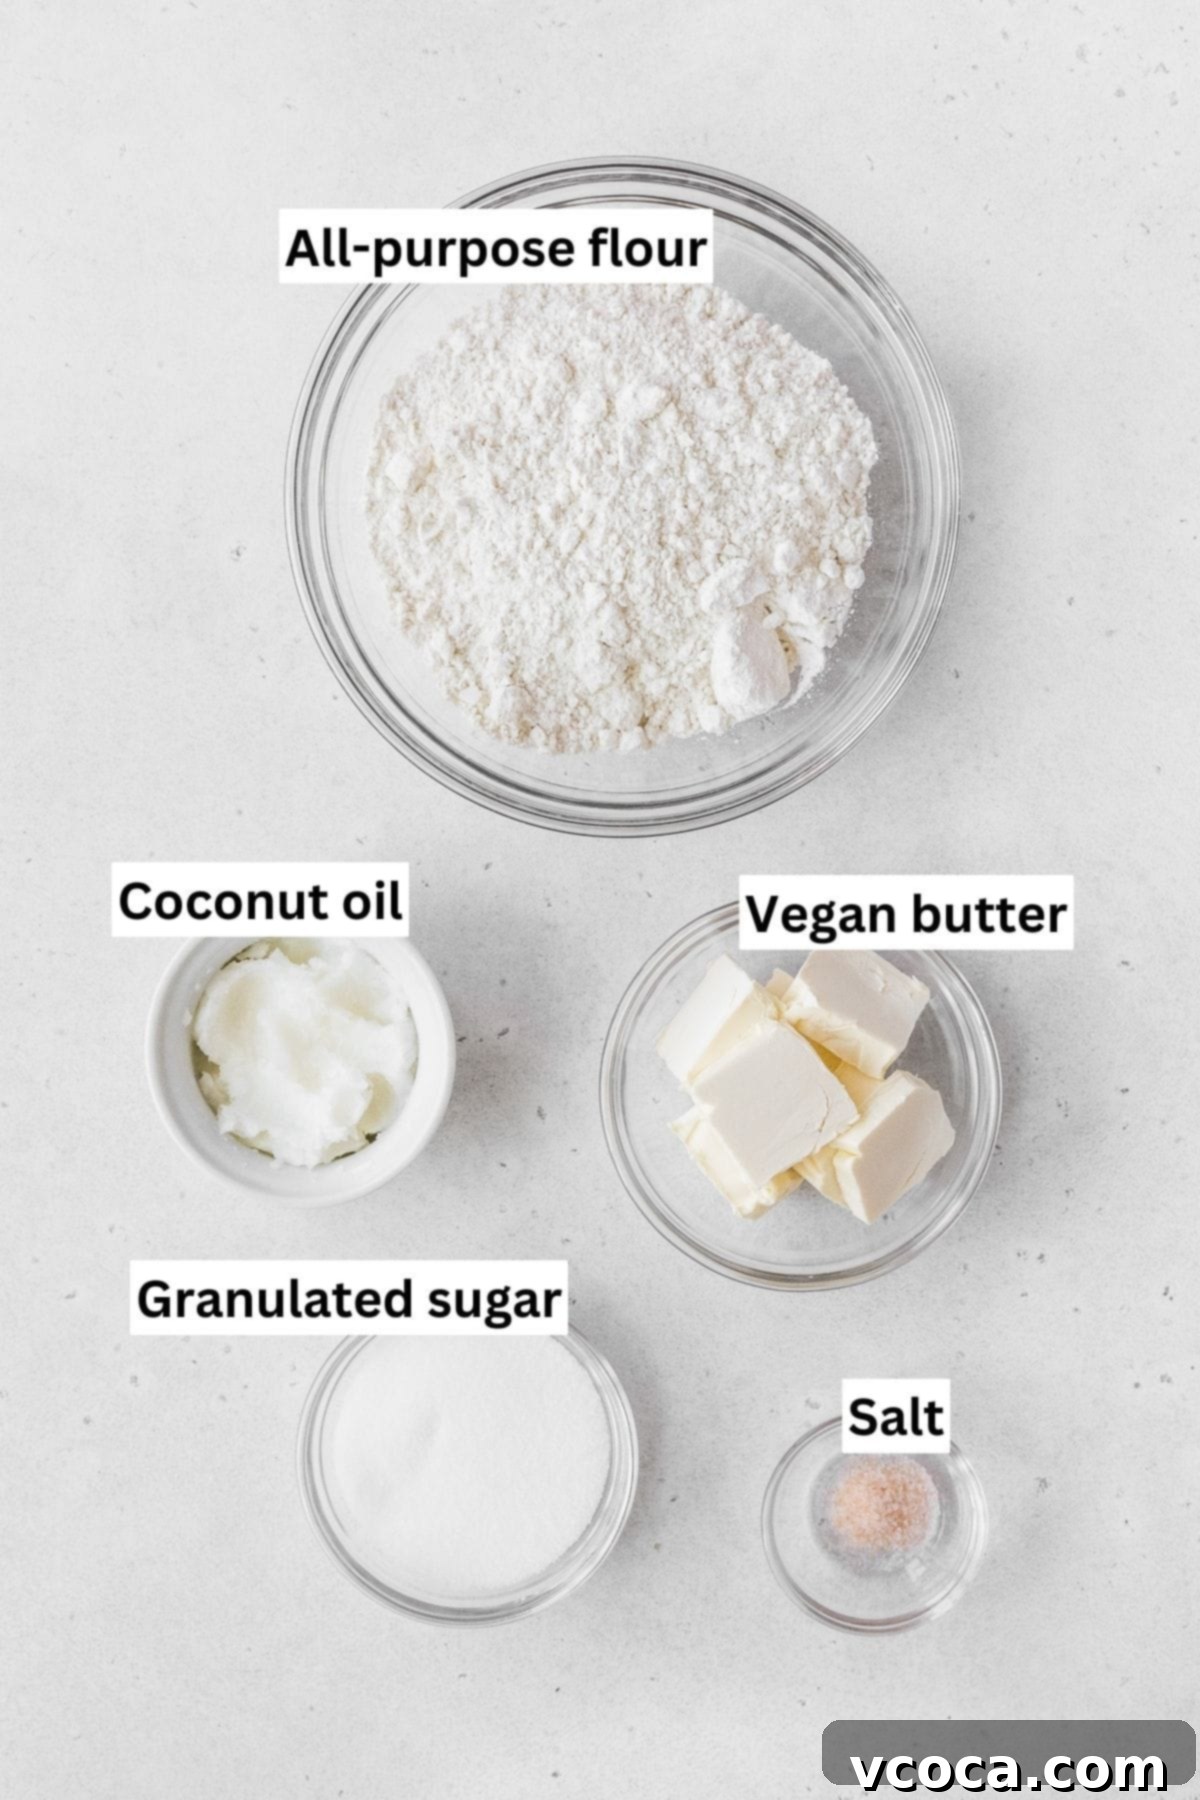
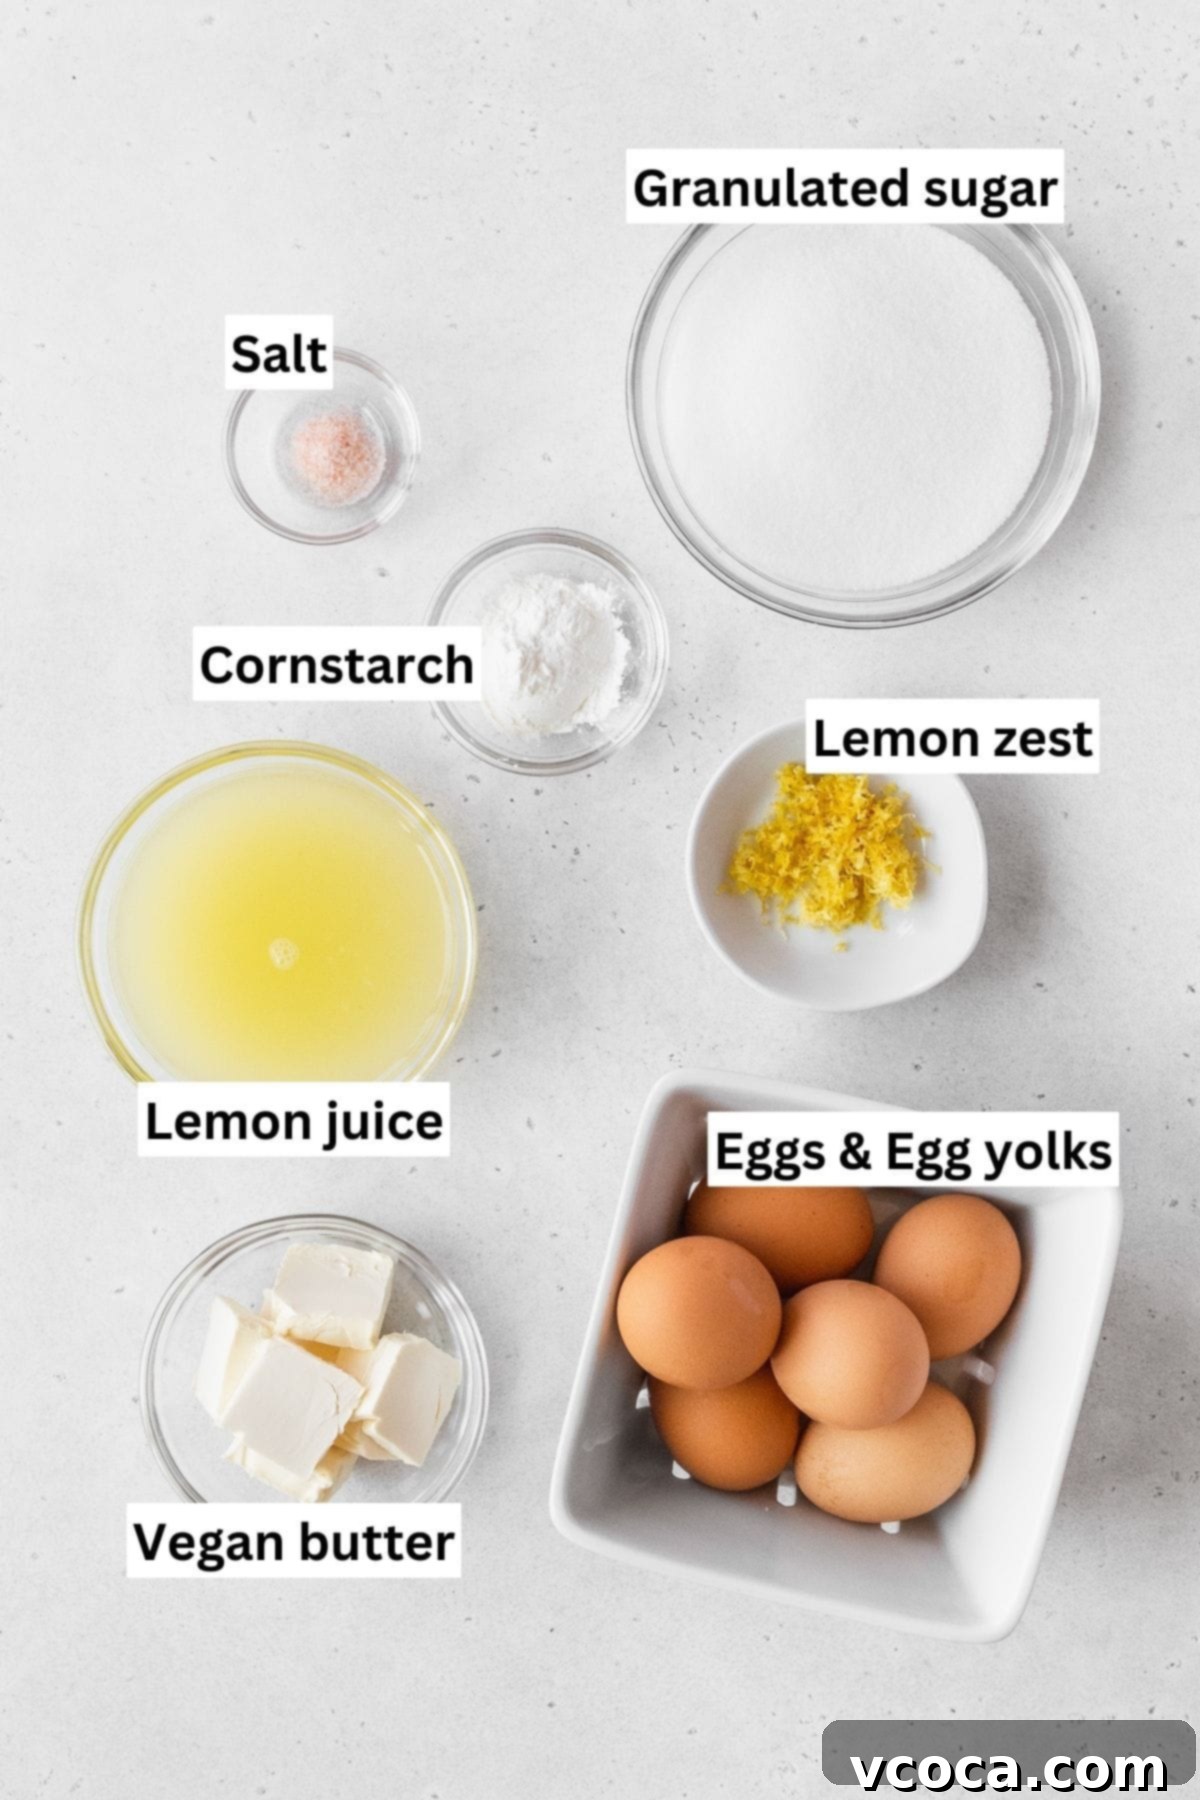
Essential Ingredients for Your Dairy-Free Lemon Bars
Crafting these delectable dairy-free lemon bars requires just a handful of readily available ingredients. Each component plays a crucial role in achieving the perfect balance of flavor and texture:
- Fresh Lemon Juice: The star of the show! Freshly squeezed lemon juice will undoubtedly provide the most vibrant and authentic flavor for your lemon curd. While bottled lemon juice can work in a pinch, fresh is highly recommended for that true “taste of sunshine.”
- Lemon Zest: Don’t skip this! Lemon zest contains essential oils that impart a more intense, aromatic lemon flavor than juice alone. You’ll need the zest from about 2 large, bright yellow lemons for maximum impact.
- All-Purpose Flour: This forms the foundational structure of our rich and tender shortbread crust. Ensure it’s measured accurately for the best consistency.
- Granulated Sugar: Used in both the crust and the filling, granulated sugar provides the essential sweetness that balances the tartness of the lemon. It also contributes to the tender texture of the shortbread.
- Vegan Butter: This is the secret to achieving that classic “buttery” flavor and crumbly texture in the shortbread crust and silky smoothness in the curd, all without any dairy. Choose a high-quality stick vegan butter for best results.
- Cornstarch: A vital thickening agent for the dairy-free lemon filling. Cornstarch helps create that smooth, luscious, and perfectly set lemon curd texture, preventing it from being runny.
- Large Eggs: You’ll need a total of 6 large eggs for this recipe – 3 whole eggs and 3 separate egg yolks. The eggs provide structure and richness to the lemon curd, helping it set beautifully.
- Salt: A pinch of salt might seem small, but it’s mighty! It enhances all the other flavors, making the sweetness brighter and accentuating the refreshing citrus notes in the dessert.
- Powdered Sugar (Optional): For a beautiful presentation and an extra touch of sweetness, a dusting of powdered sugar over the cooled non-dairy lemon bars before serving is highly recommended. It adds a lovely, delicate finish.
Crafting Your Own Dairy-Free Lemon Bars: A Step-by-Step Guide
While these exquisite lemon bars involve a few distinct stages, each step is straightforward and contributes to a truly rewarding baking experience. The final result – a buttery crust topped with a vibrant, tangy lemon curd – is absolutely worth every moment!
Part 1: Preparing the Dairy-Free Shortbread Crust
A perfect lemon bar starts with a perfectly tender, buttery crust. Here’s how to create the ideal dairy-free shortbread base:
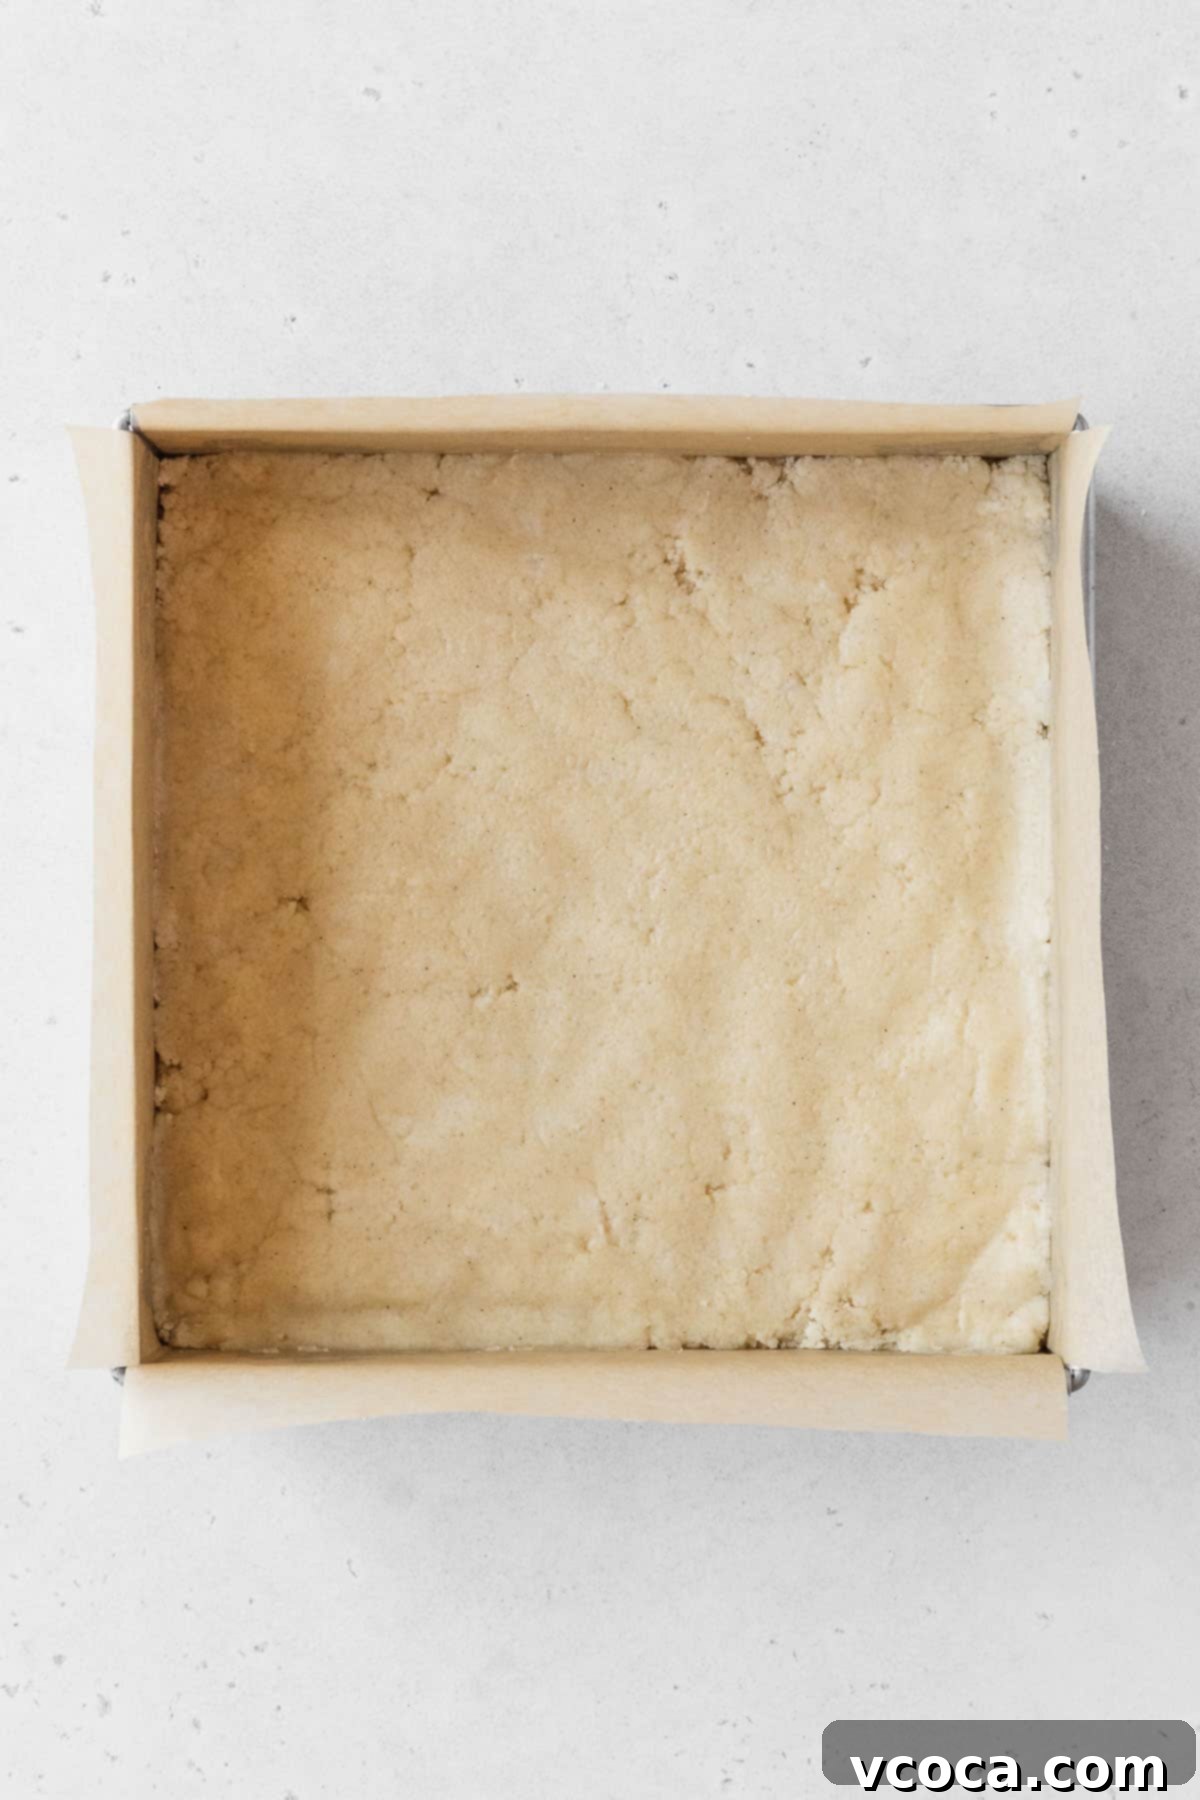
Step 1: Begin by preheating your oven to 350°F (175°C). Line an 8×8-inch square baking pan with parchment paper, ensuring that the paper extends up the sides to create “handles” for easy removal of the baked bars later.
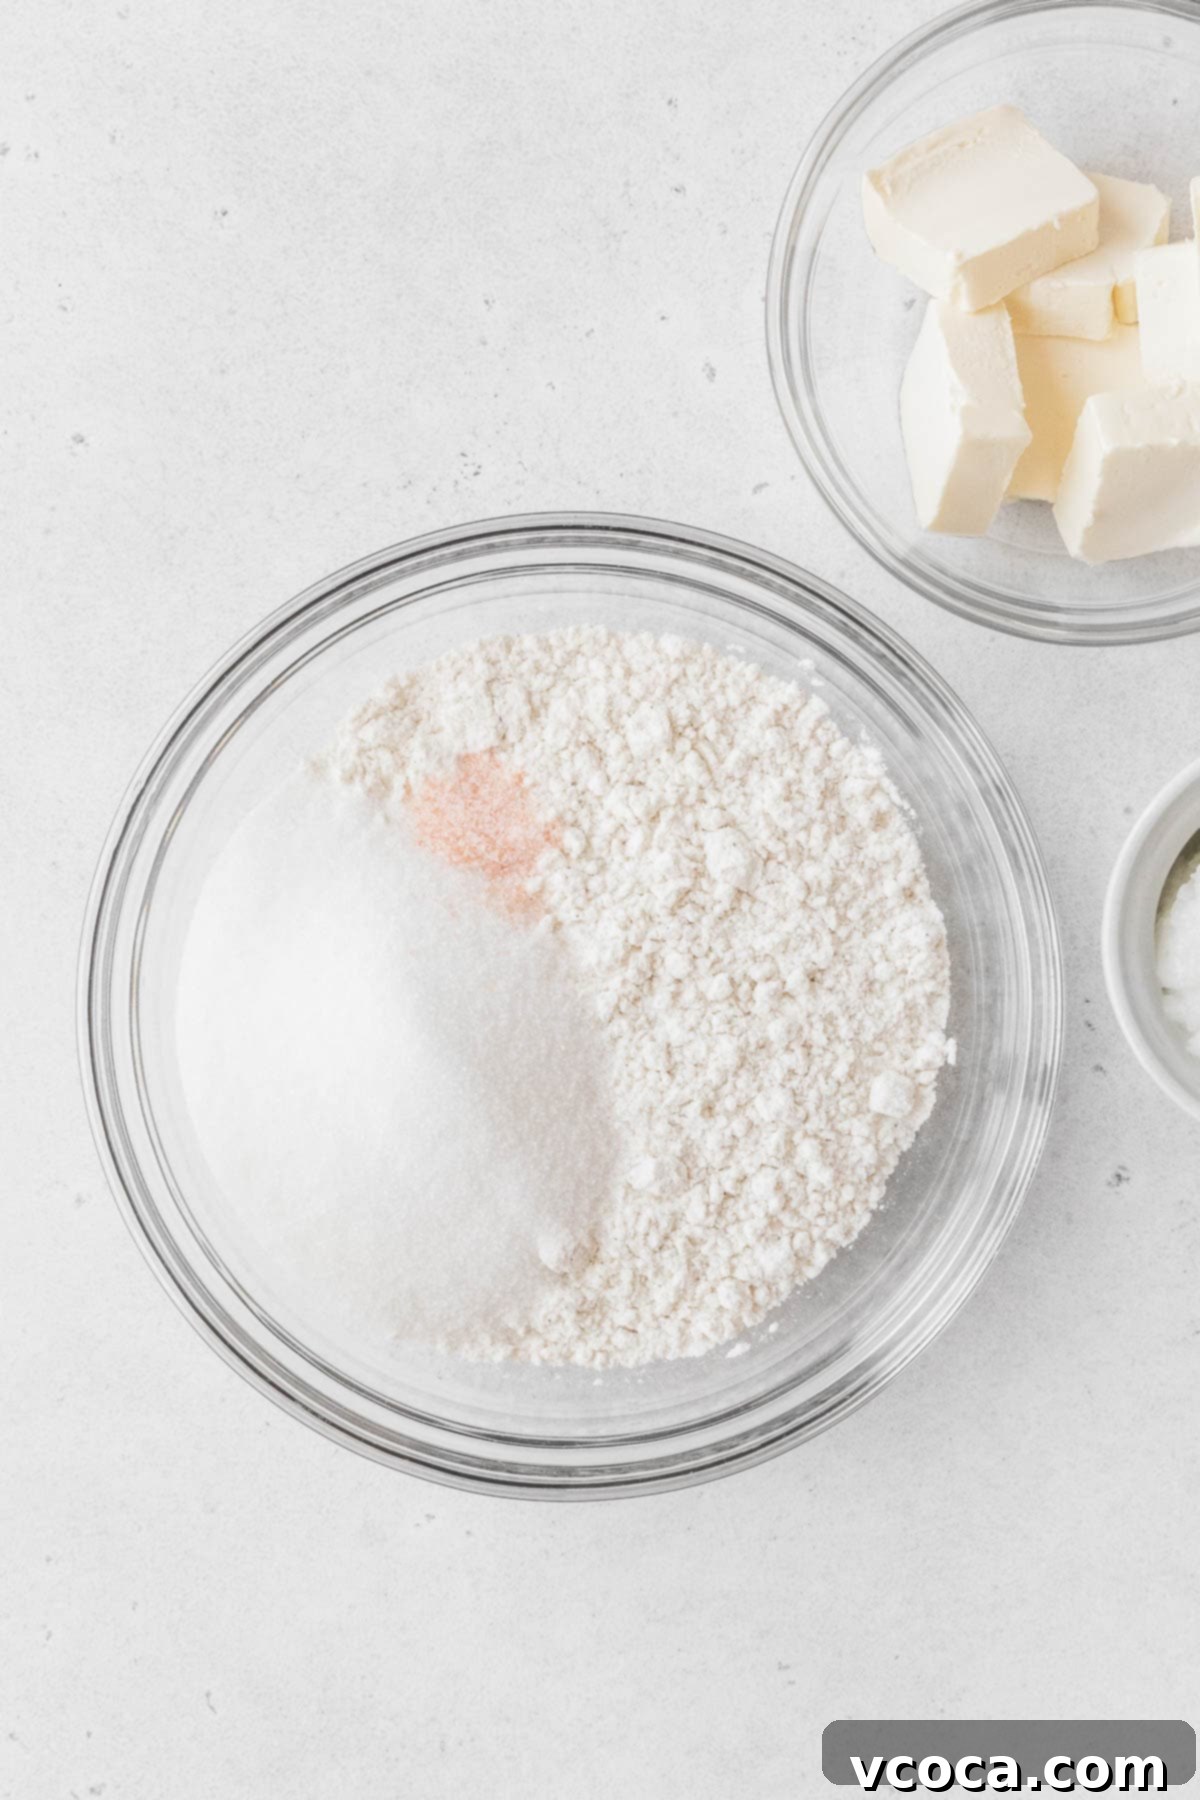
Step 2: In a medium-sized mixing bowl, combine the all-purpose flour, granulated sugar, and salt. Whisk these dry ingredients together thoroughly to ensure even distribution.
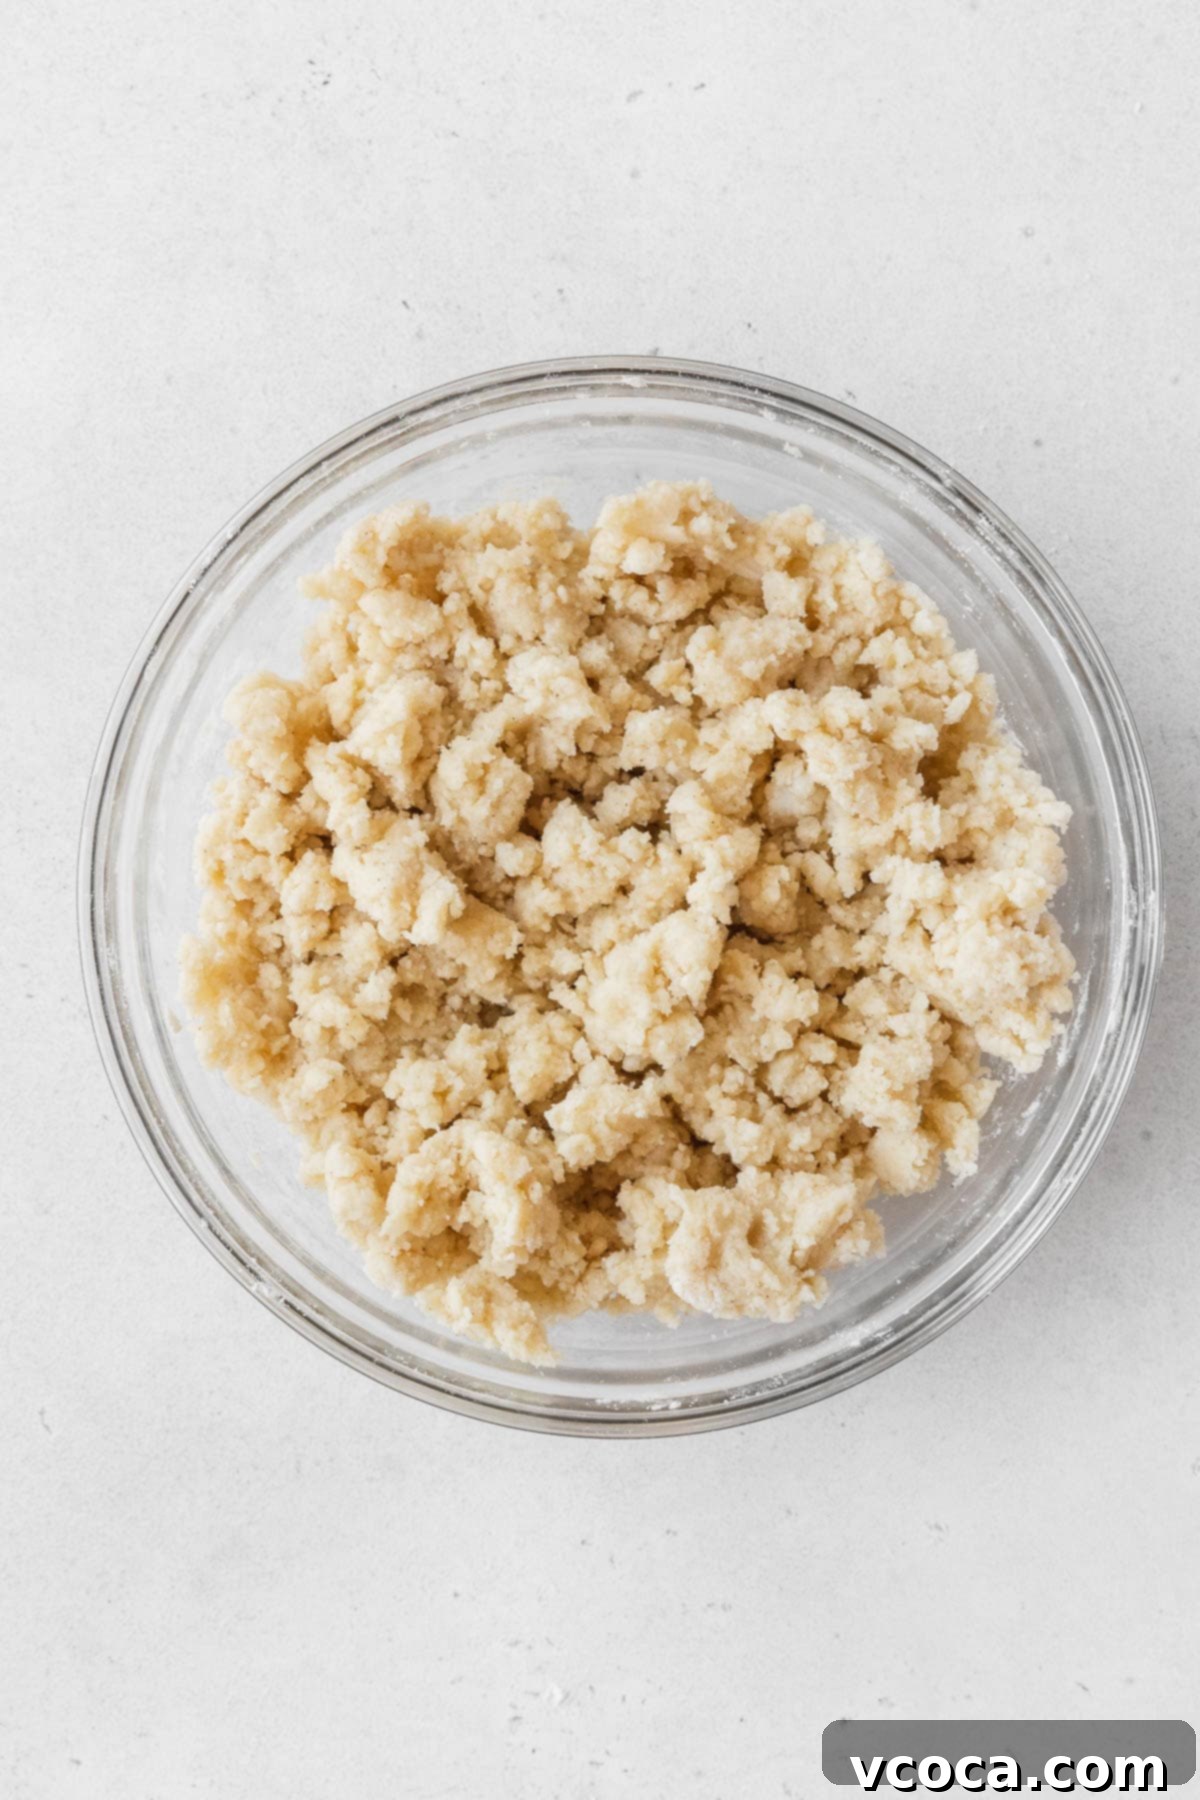
Step 3: Add the cold, diced vegan butter to the flour mixture. Using a fork, a pastry cutter, or even your fingertips, work the butter into the dry ingredients. Continue until the mixture resembles coarse crumbs, with some pea-sized pieces of butter remaining. This can also be done quickly in a food processor by pulsing until crumbly.
Step 4: Firmly press the dough mixture into the prepared pan, creating an even, flat layer. Use the bottom of a glass or your knuckles to ensure it’s tightly packed. For an even more tender and crumbly crust, pop the pan into the freezer for 5 minutes to chill the dough, which helps prevent it from spreading too much during baking.
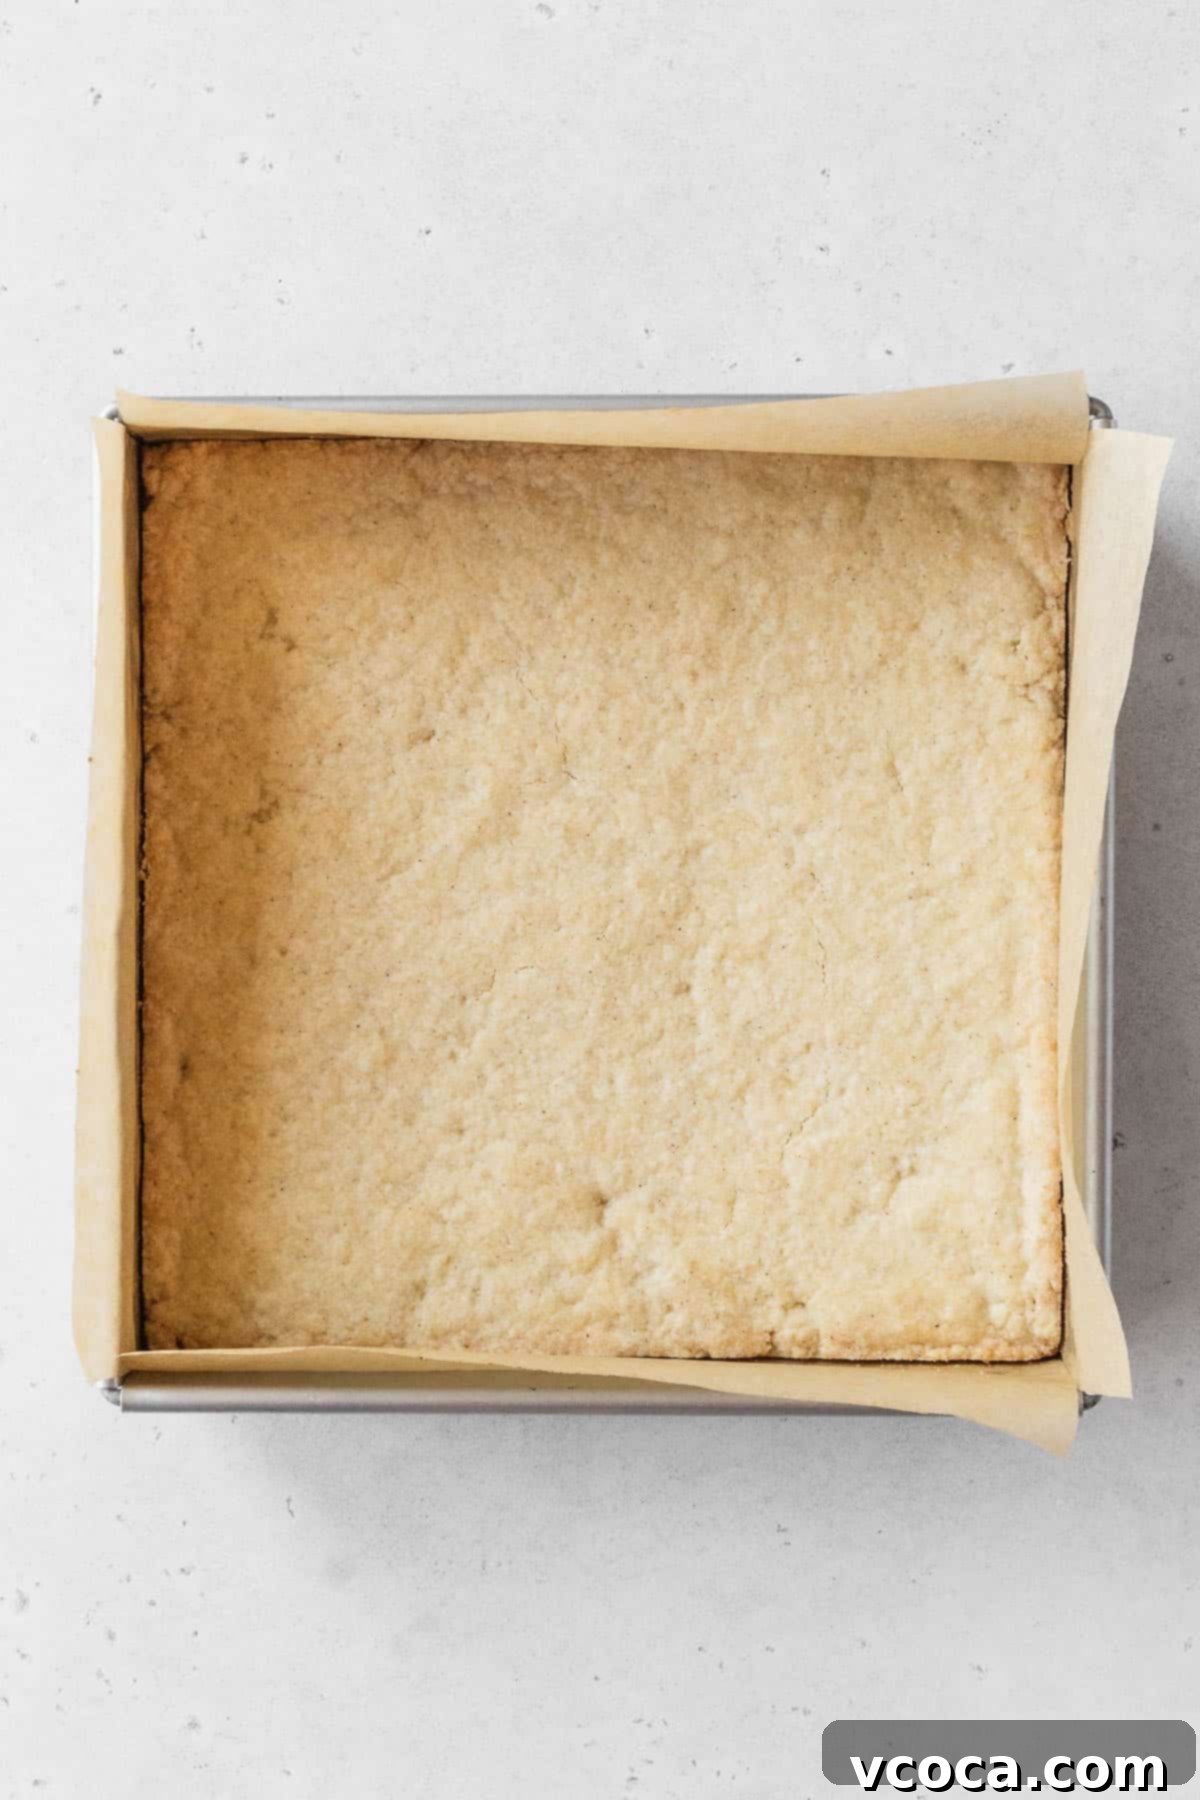
Step 5: Bake the crust in the preheated oven for approximately 30 minutes, or until the edges turn a beautiful golden brown. This par-baking step ensures a sturdy base for your lemon curd.
Step 6: Carefully remove the baked crust from the oven and allow it to cool completely on a wire rack. While it cools, you can begin preparing the luscious lemon curd filling.
Part 2: Crafting the Silky Dairy-Free Lemon Curd Filling
This lemon curd is the heart of your lemon bars – smooth, tangy, and bursting with citrus flavor.
Step 1: While your shortbread crust is cooling, reduce the oven temperature to 325°F (160°C). This lower temperature is crucial for the gentle baking of the lemon curd.
Step 2: In a separate bowl, combine the granulated sugar and lemon zest. Use your fingers to rub the lemon zest into the sugar. This technique, often called “zest-sugar maceration,” helps release the fragrant oils from the zest, infusing the sugar with intense lemon aroma and flavor.
Step 3: Transfer the lemon-infused sugar and the cornstarch to a medium saucepan. Whisk them together until they are well combined and no lumps of cornstarch remain. This ensures a smooth, lump-free curd.
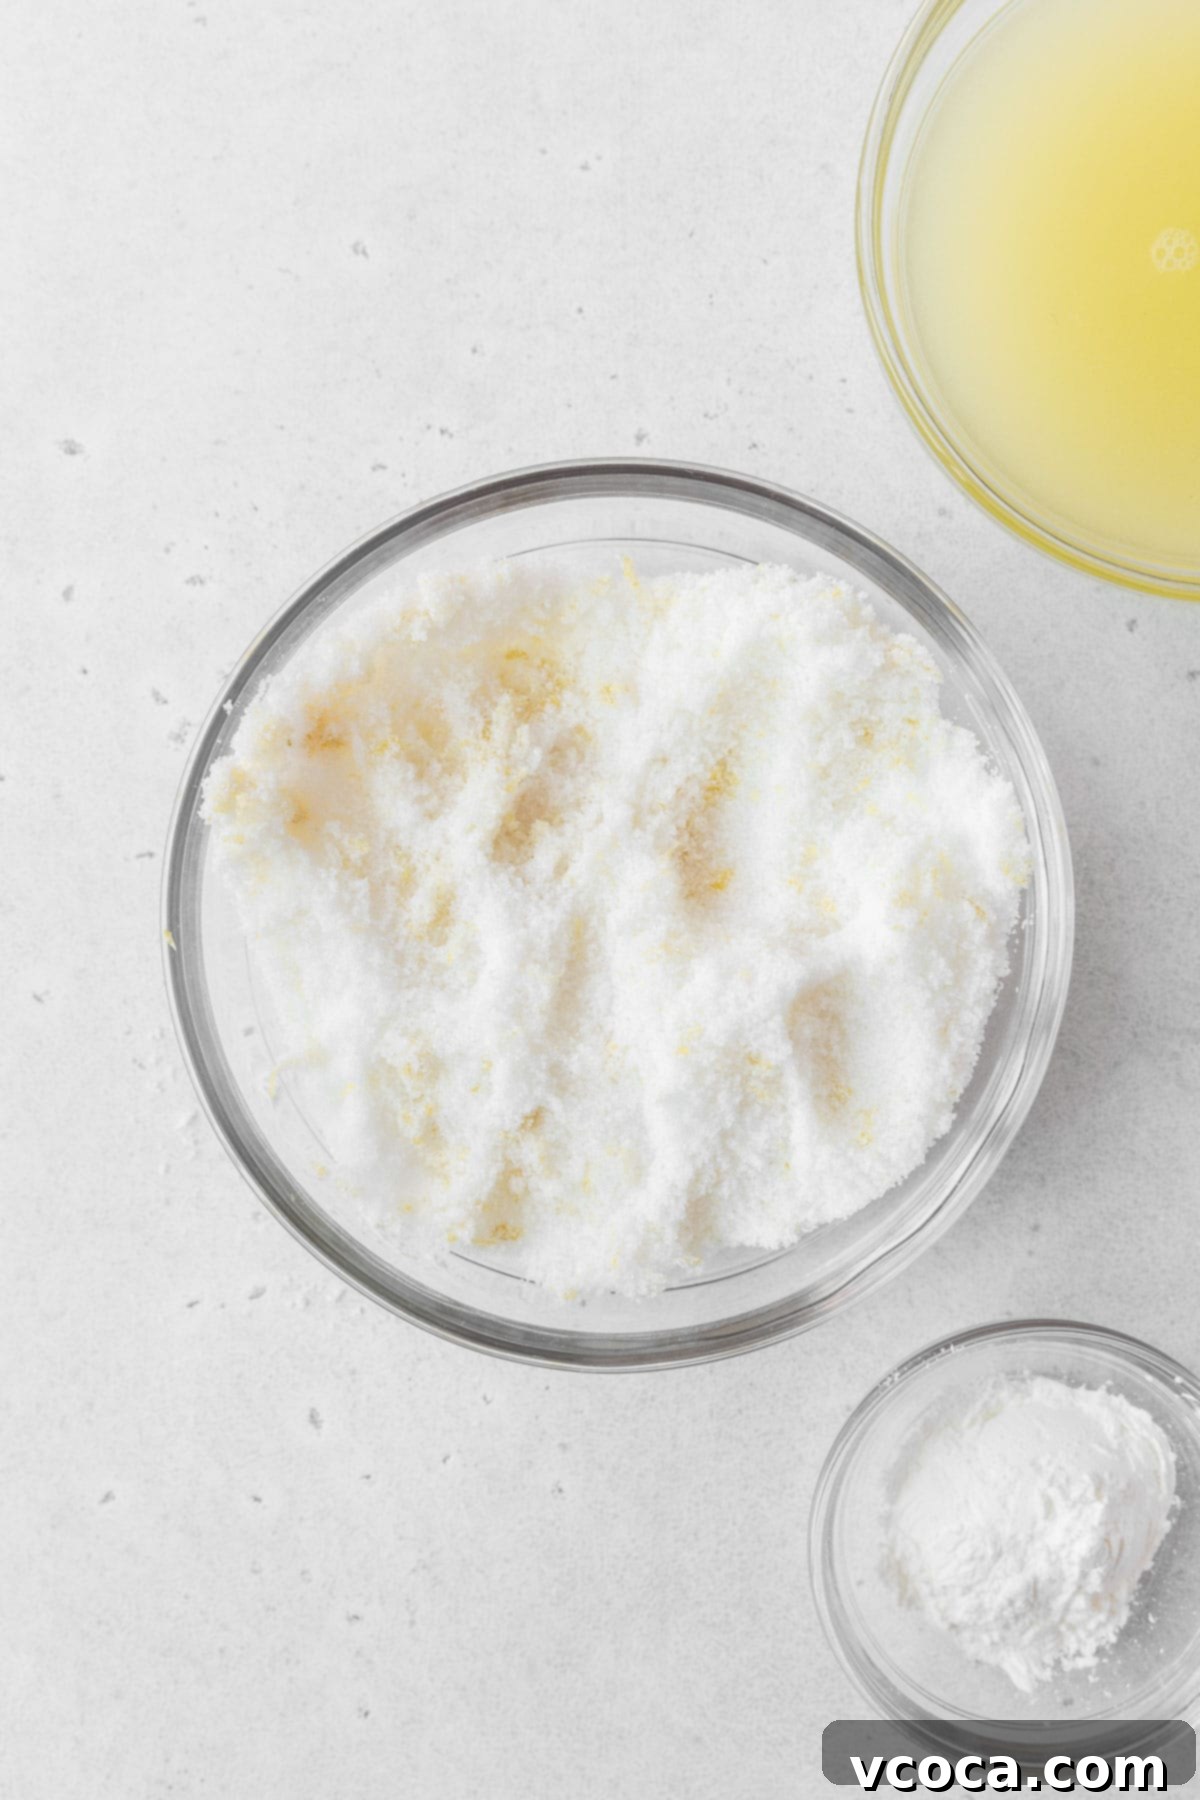
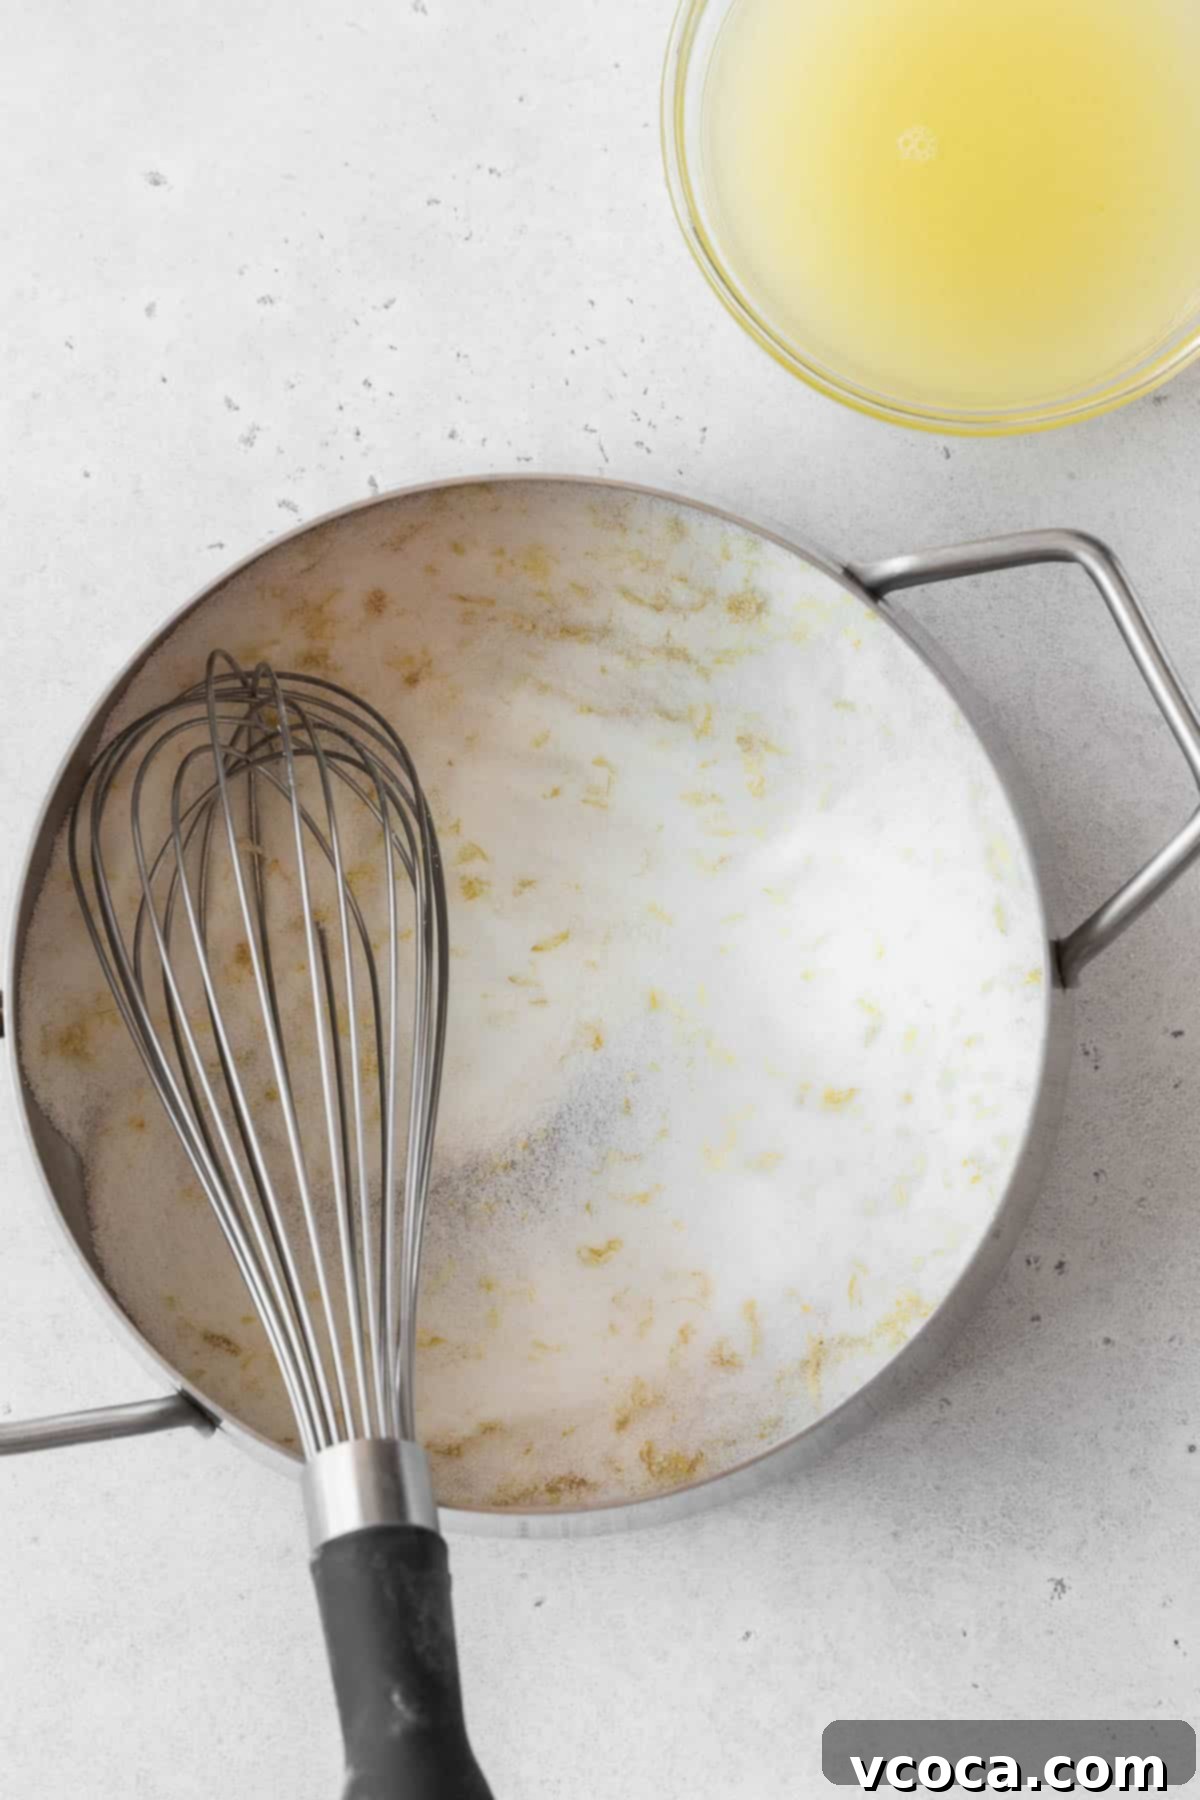
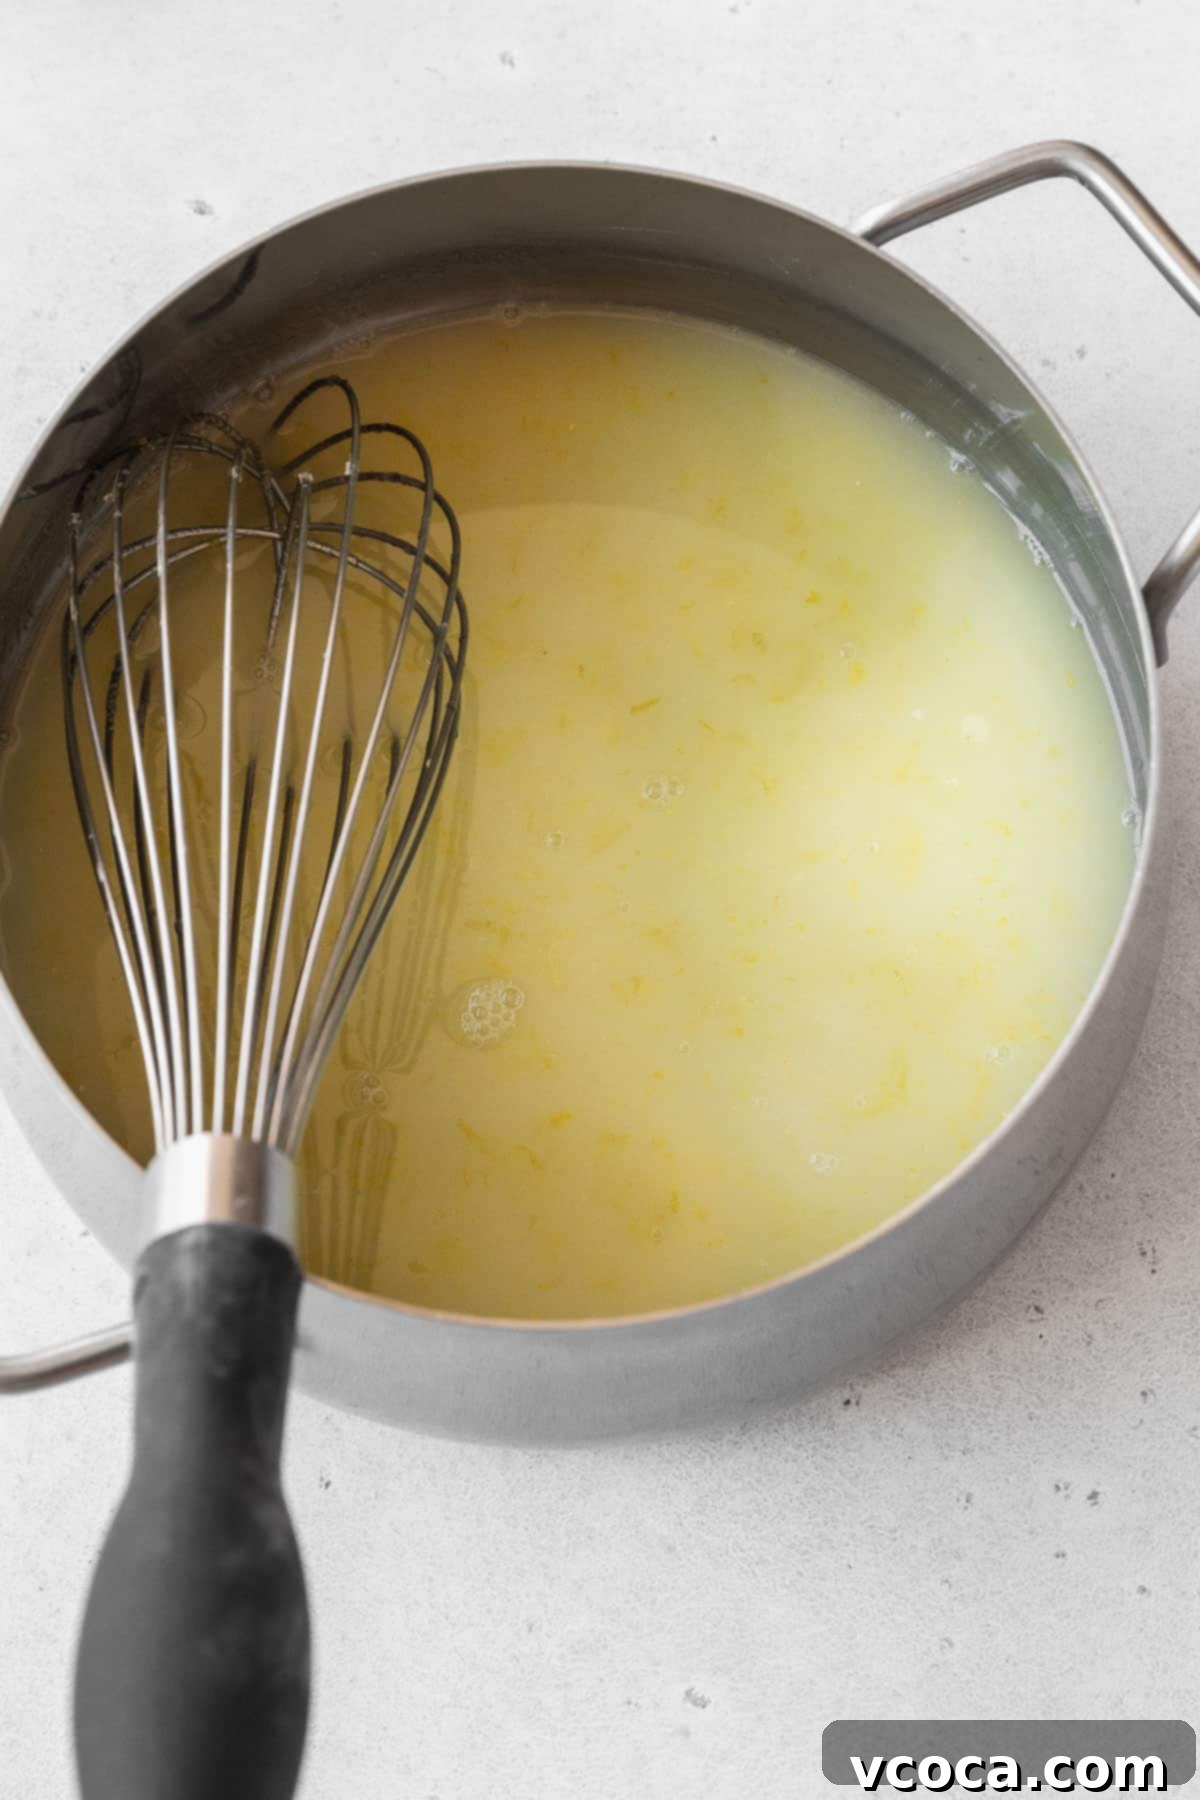
Step 4: Pour the fresh lemon juice and salt into the saucepan with the sugar and cornstarch. Heat the mixture over medium heat, whisking constantly for 2-3 minutes. You’ll notice it start to thicken slightly. Once it coats the back of a spoon, remove the pan from the heat.
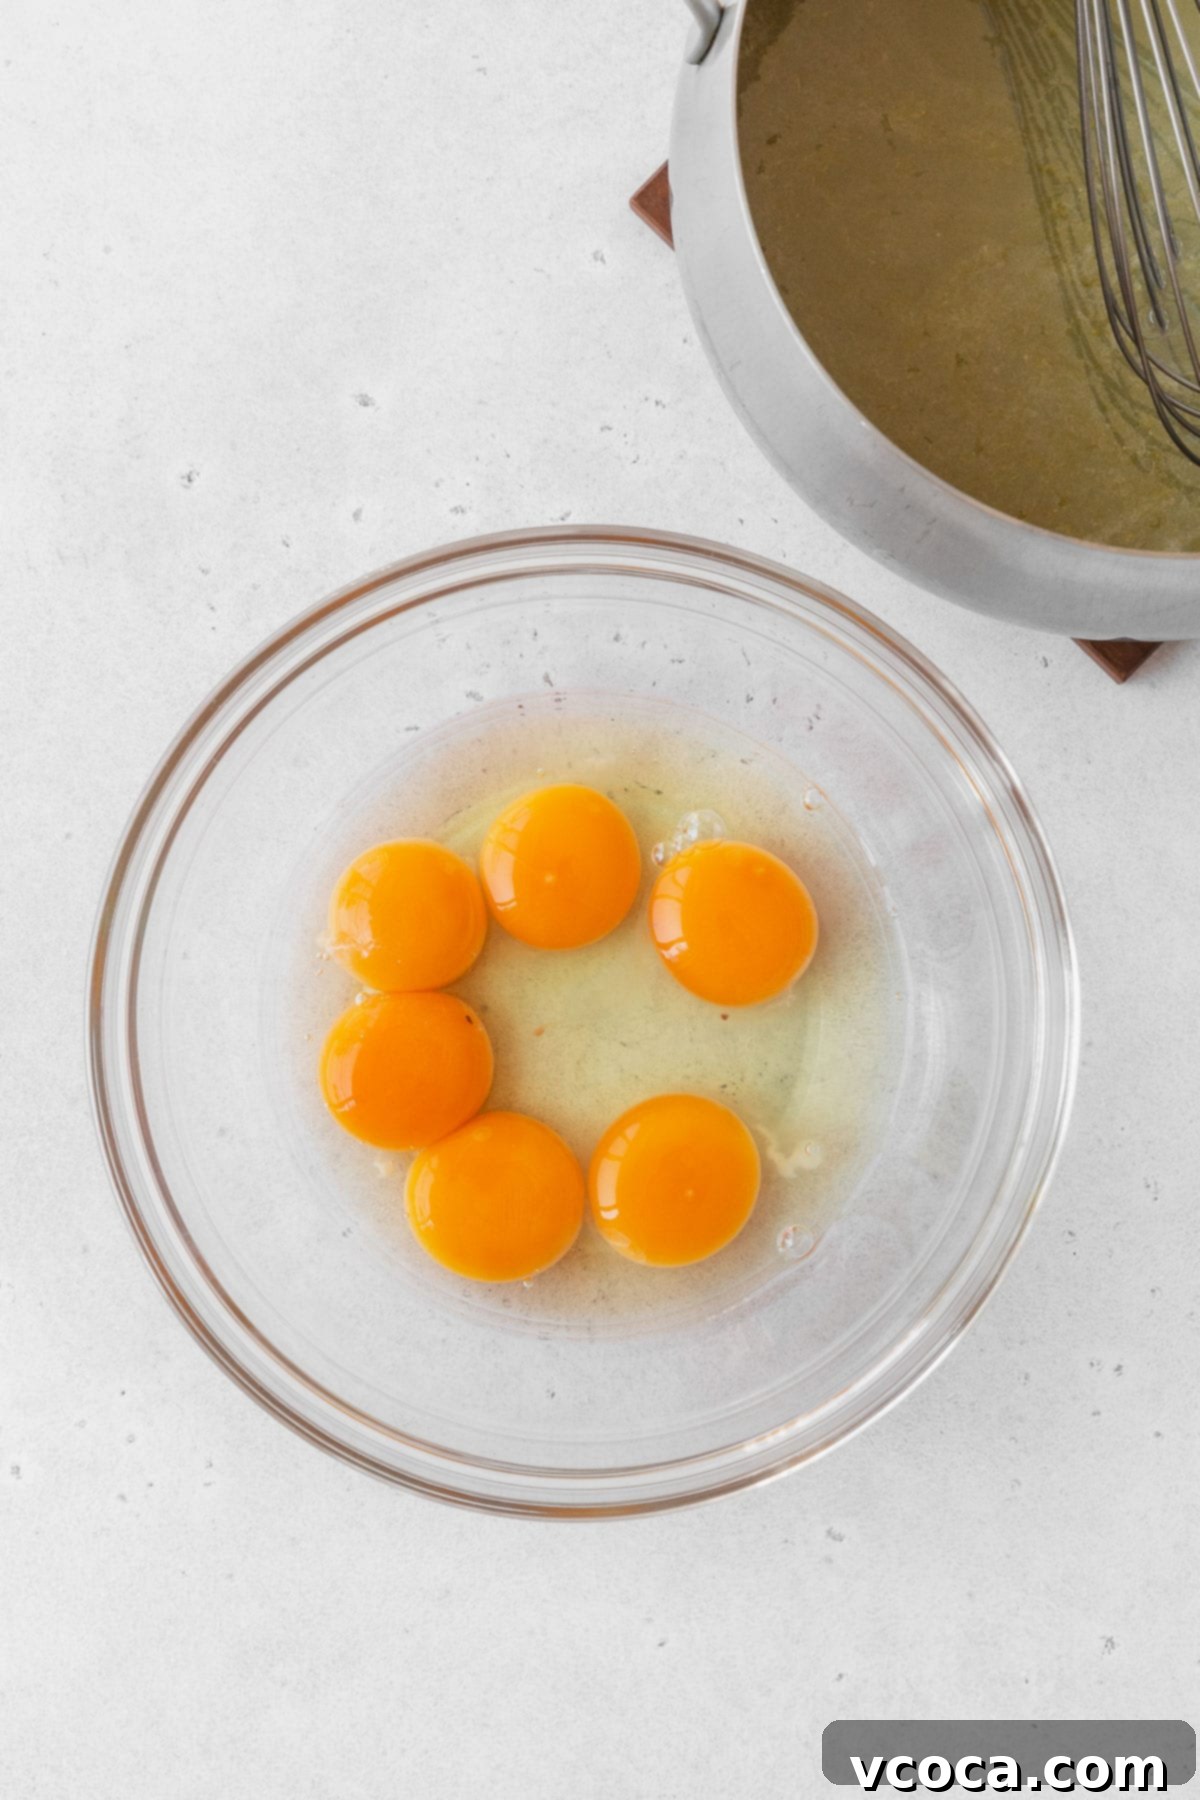
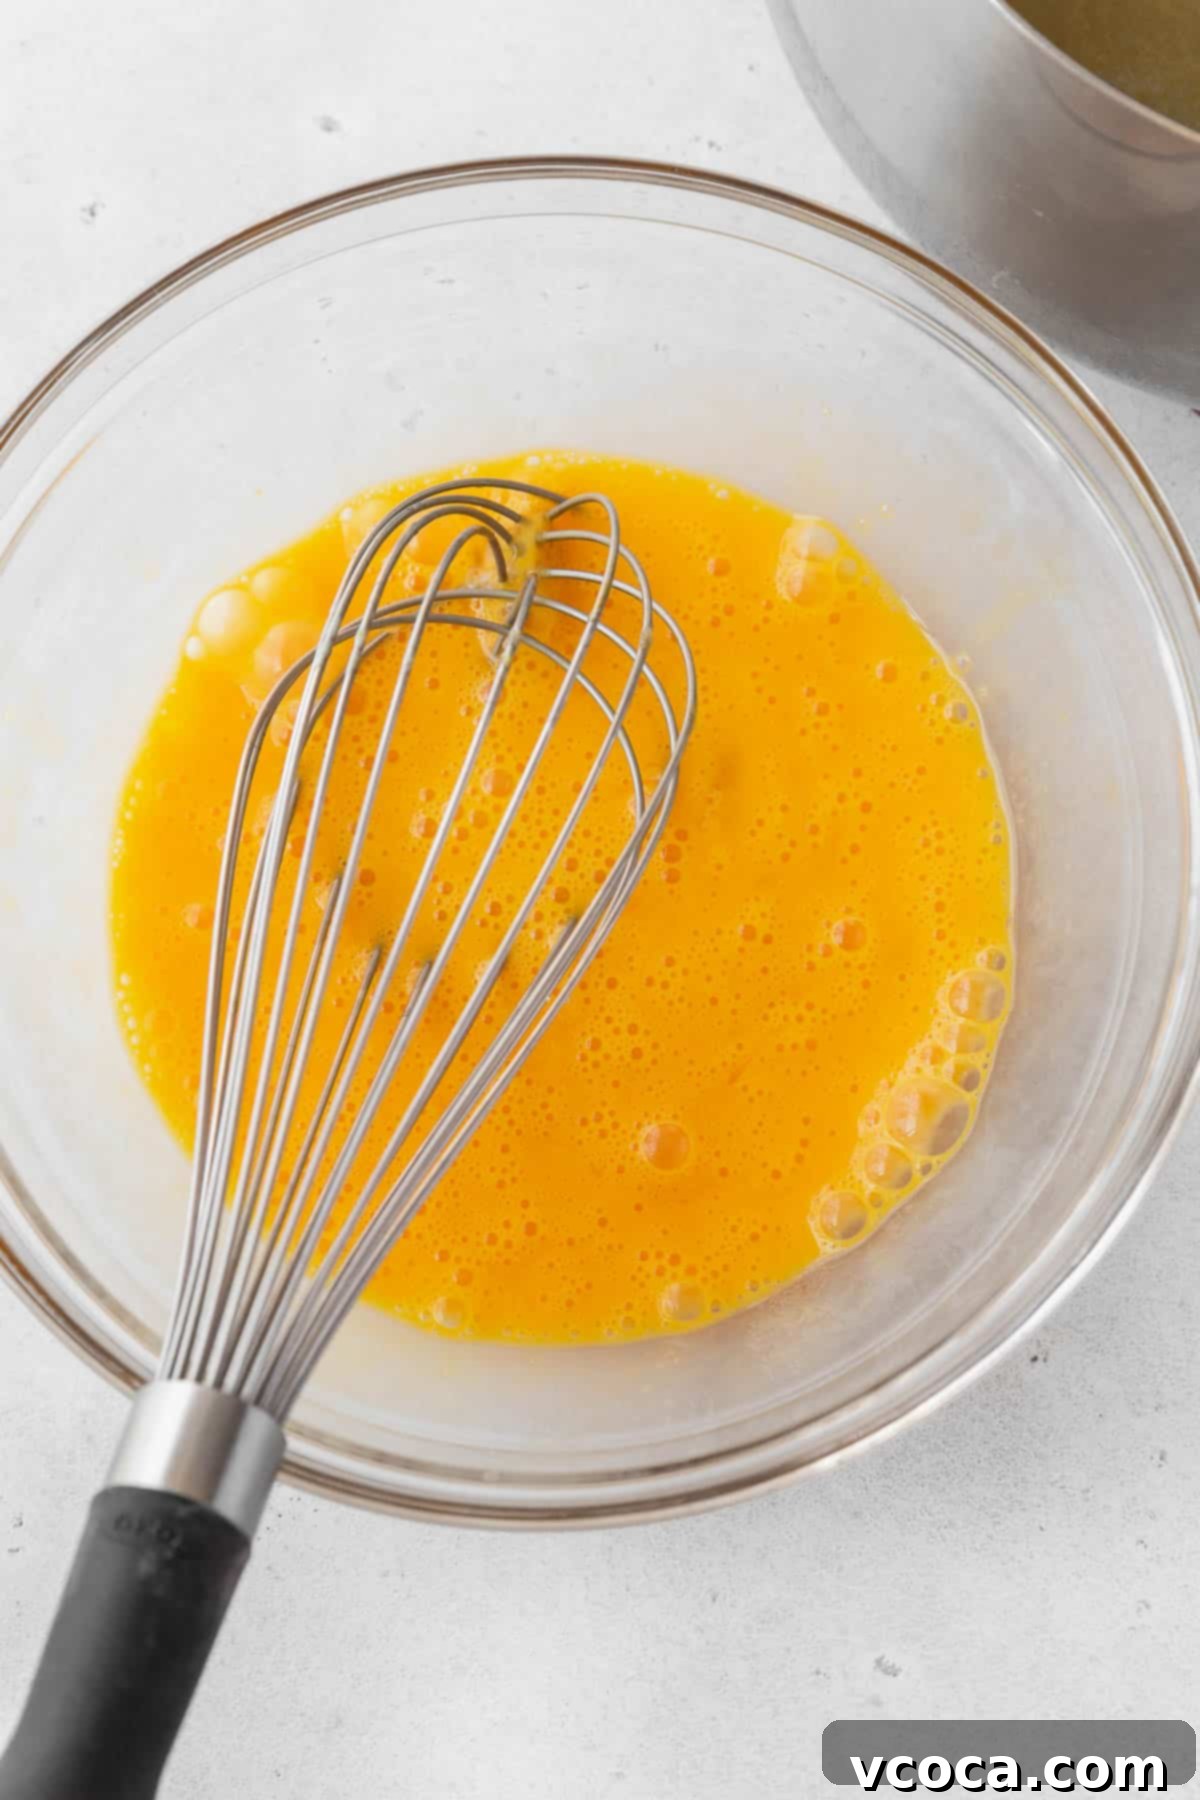
Step 5: In a large, separate bowl, add the 3 whole eggs and 3 egg yolks. Whisk them until they are completely smooth and homogenous. This creates the creamy base for your curd.
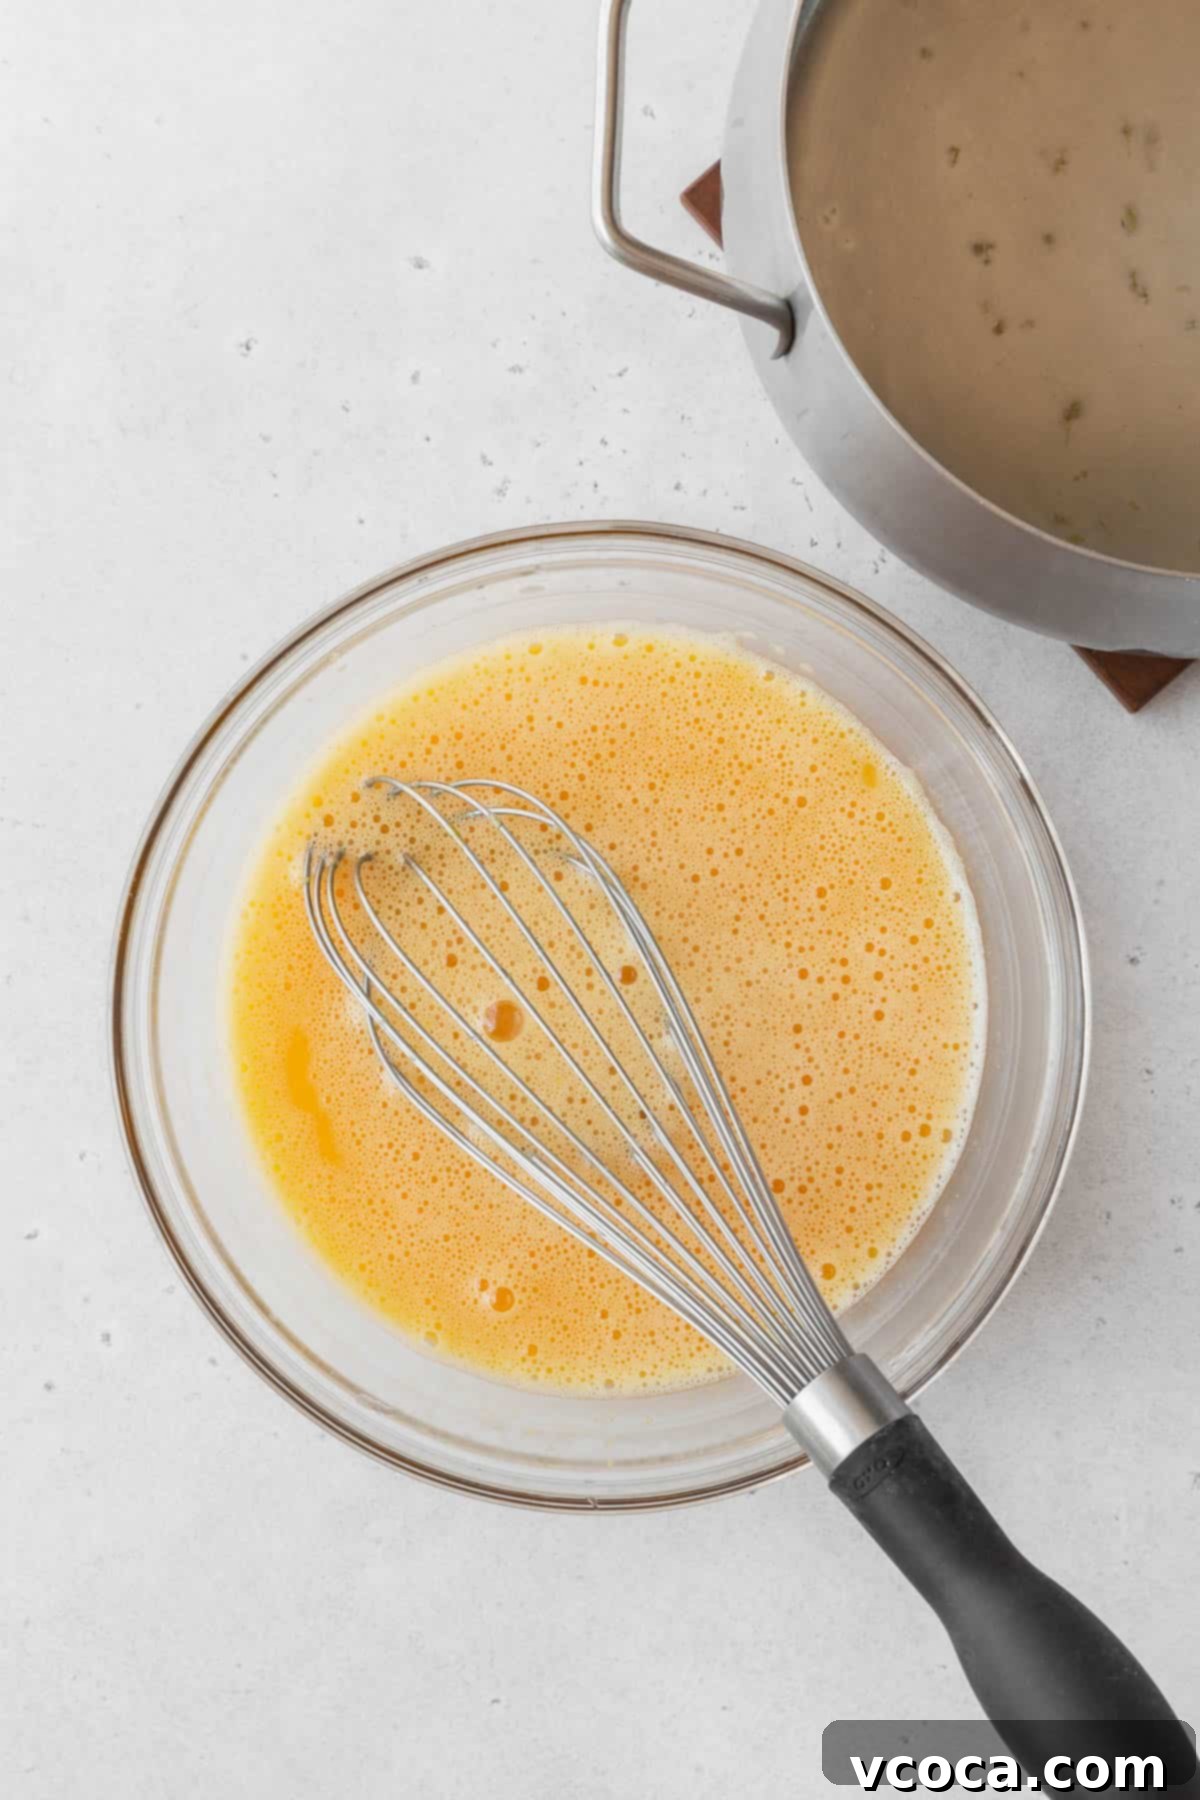
Step 6: This is a crucial step for a smooth curd: tempering the eggs. While whisking the eggs constantly and vigorously, slowly drizzle in the hot lemon juice mixture, adding only ¼ cup at a time. This gradual addition prevents the eggs from scrambling, gently raising their temperature. Continue whisking and drizzling until all the hot lemon mixture is fully incorporated.
Step 7: Once the eggs are tempered and all the lemon juice mixture has been added, pour the entire mixture back into the saucepan. Heat it over medium-low heat, continuing to whisk constantly. This consistent stirring is key to preventing the eggs from sticking or scrambling.
Step 8: Cook the mixture for approximately 5-7 minutes, or until it reaches 175°F (79°C) on an instant-read thermometer. Alternatively, cook until it is thick enough to generously coat the back of a spoon. When you draw a line with your finger across the spoon, the line should hold without the curd running together. Once thickened, immediately remove the saucepan from the heat.
Step 9: Place a fine-mesh sieve over a clean bowl. Pour the hot lemon curd through the sieve to strain out any bits of lemon zest or any small, accidental hardened pieces of egg, ensuring a perfectly smooth and silky curd.
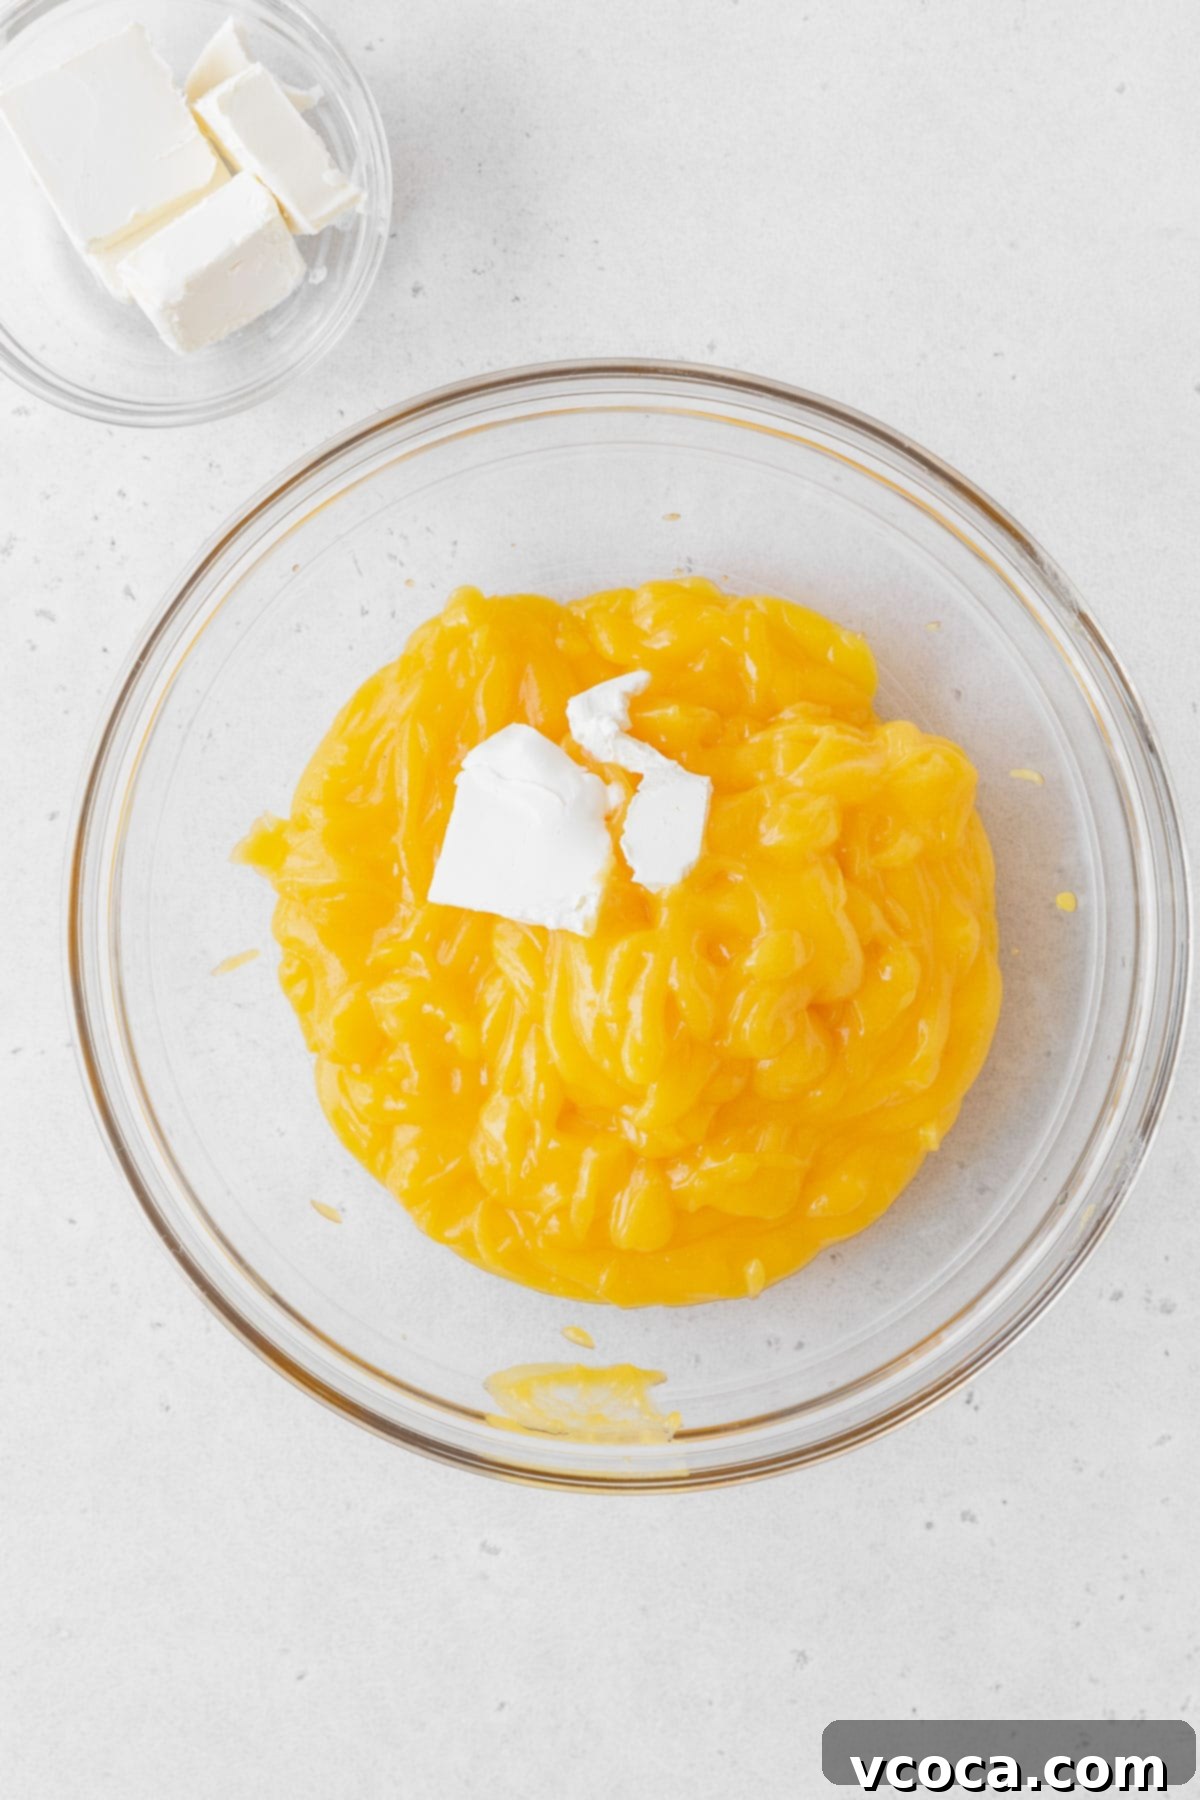
Step 10: Add the cold vegan butter, 1 tablespoon at a time, to the warm lemon curd in the bowl. Whisk vigorously after each addition until the butter is fully melted and incorporated. Continue until the lemon curd is beautifully smooth, shiny, and luscious.
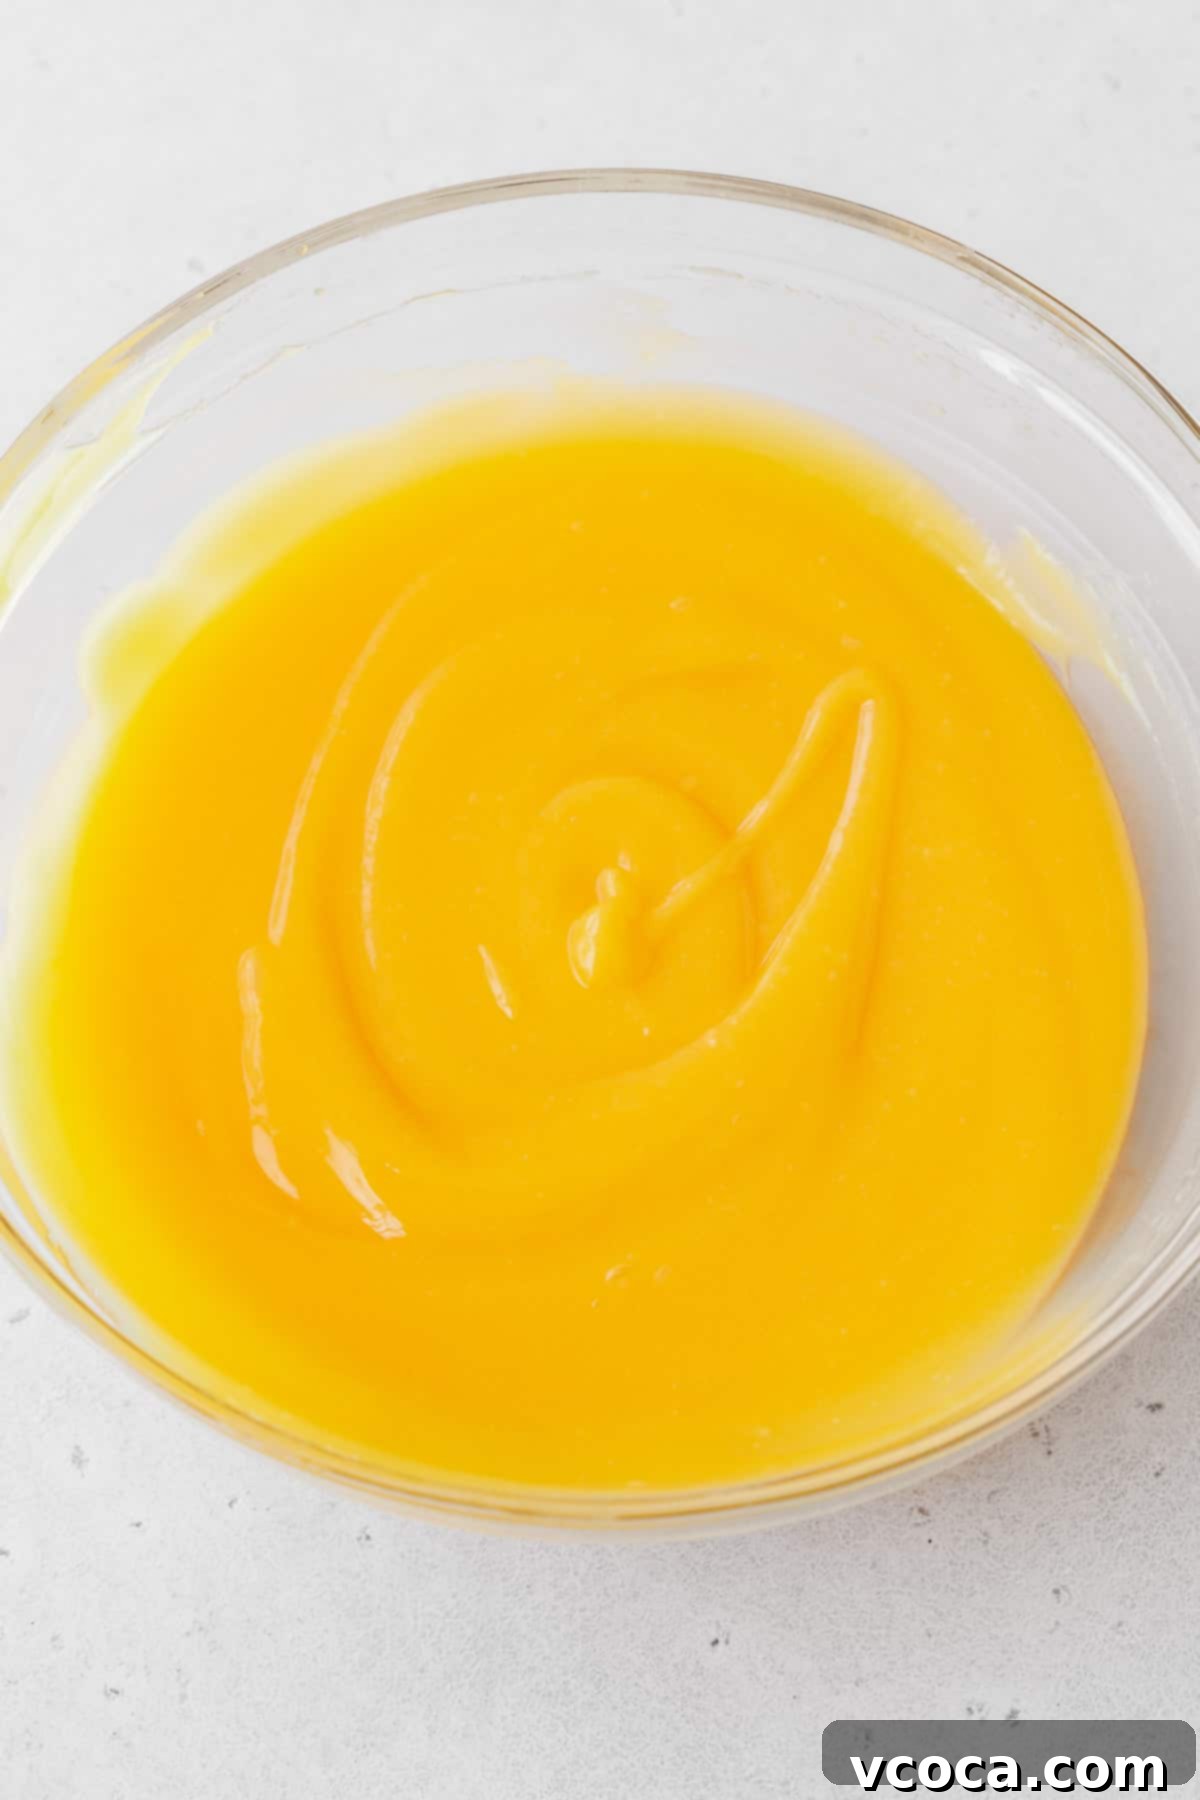
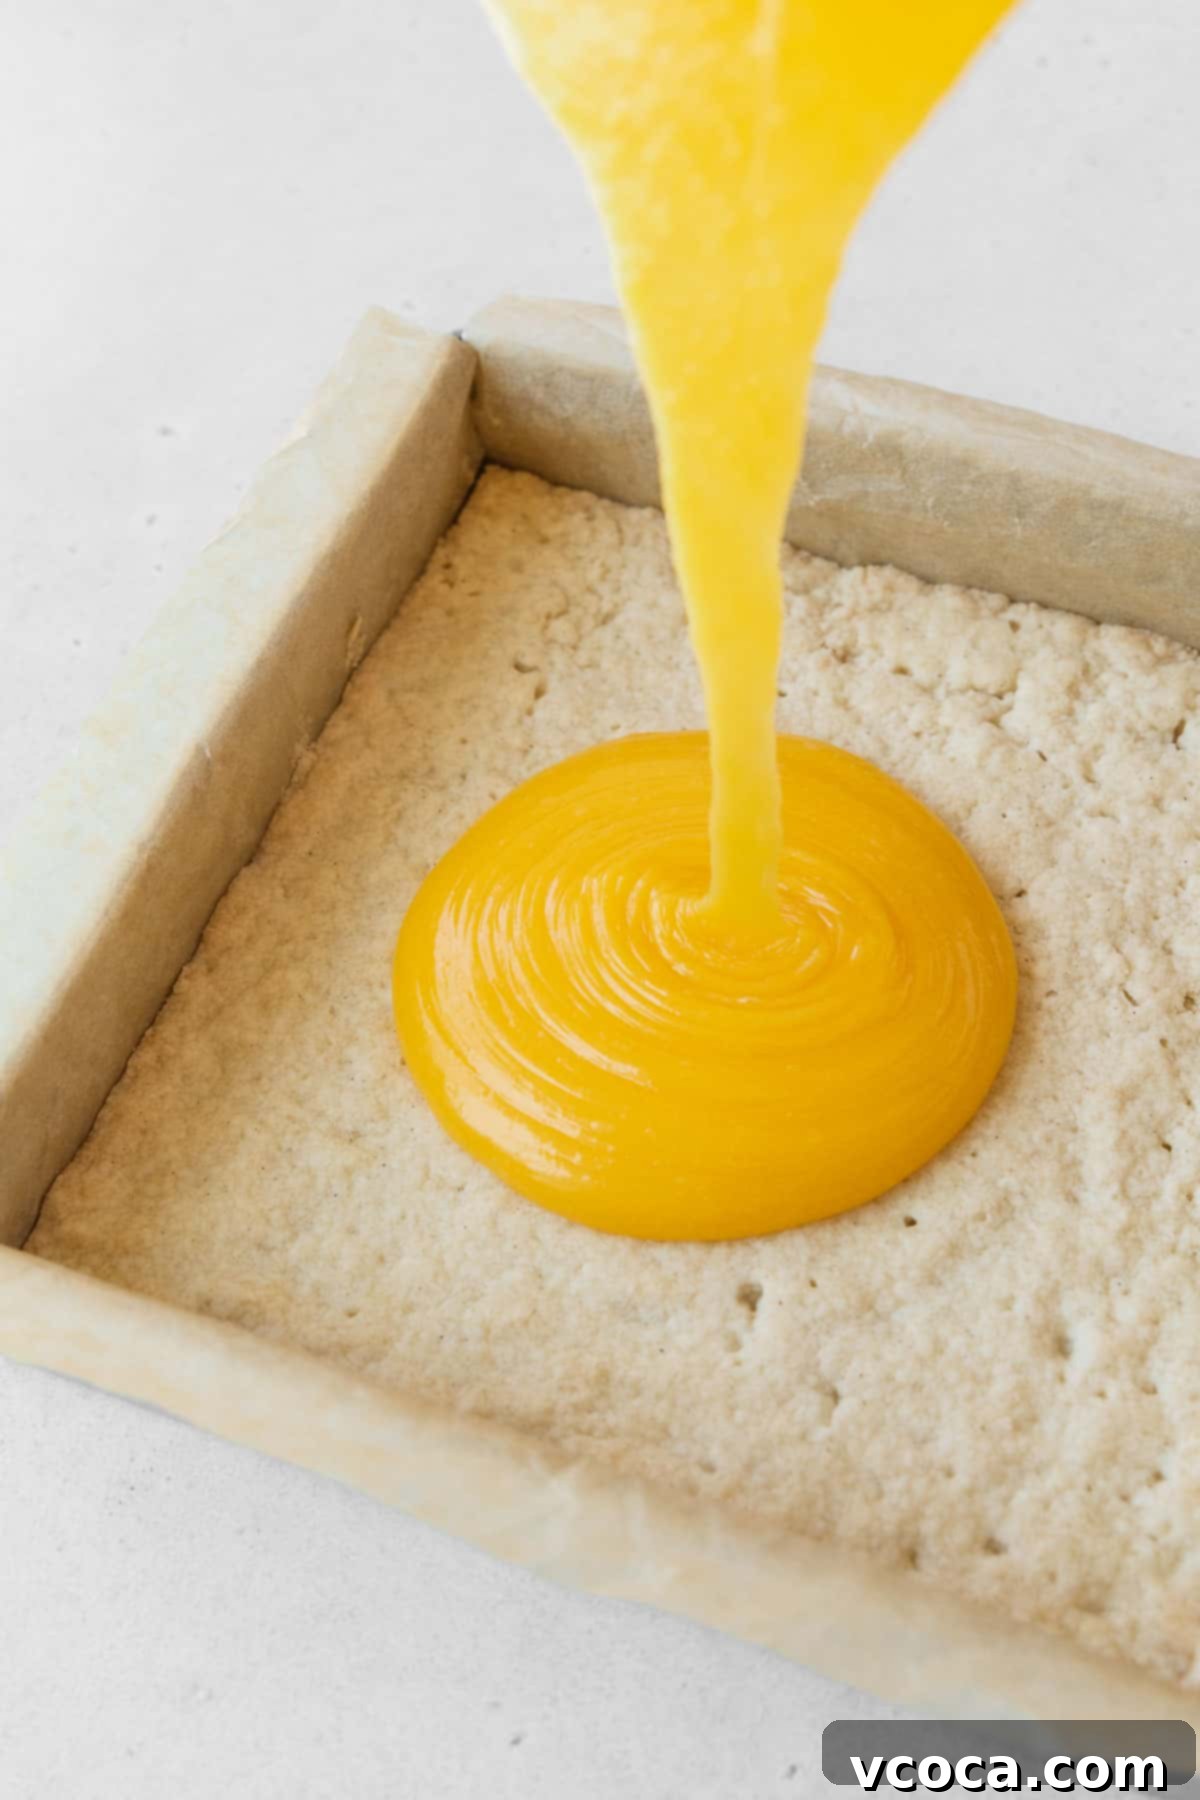
Step 11: Carefully pour the finished lemon curd evenly over the cooled shortbread crust in the pan. Use an offset spatula or the back of a spoon to gently smooth the surface. Be careful not to disturb the crust.
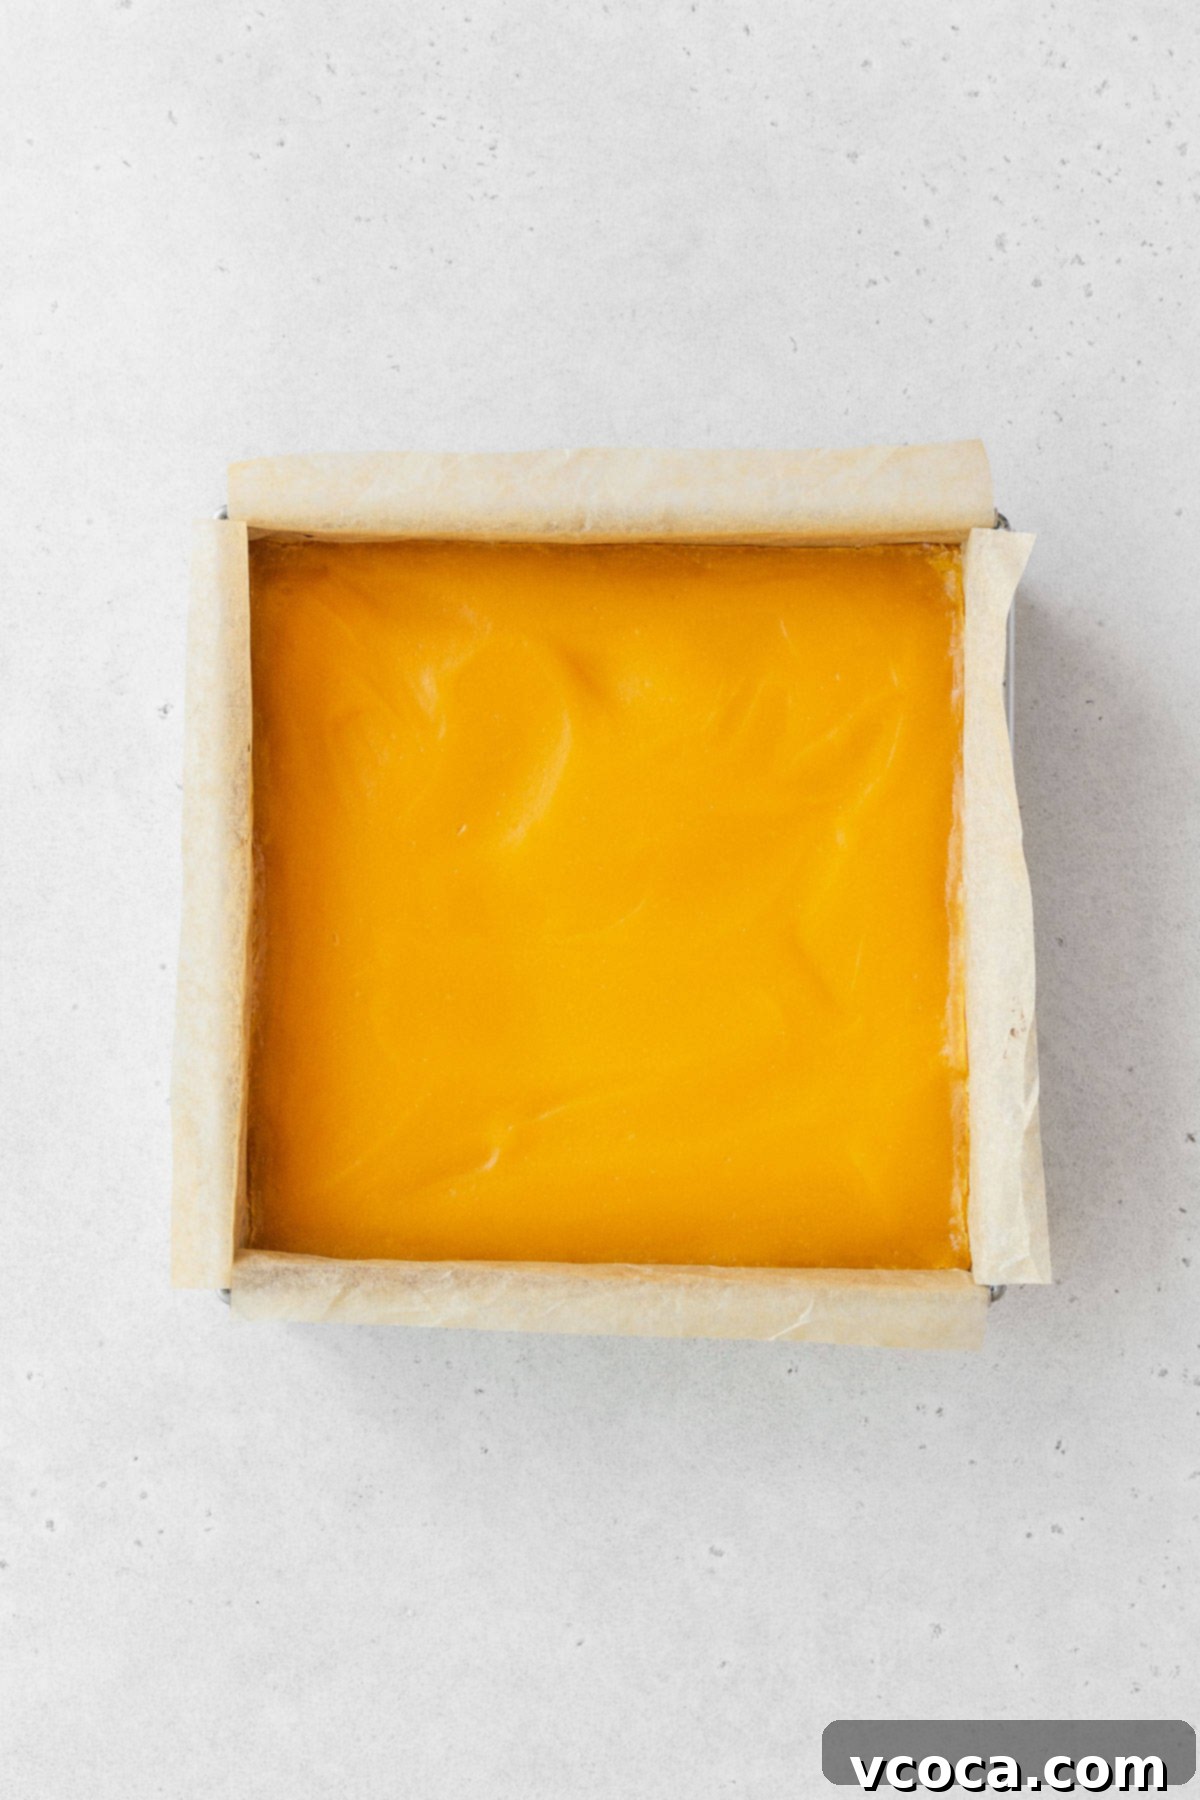
Step 12: Bake the lemon bars in the preheated 325°F (160°C) oven for an additional 20-25 minutes. The bars are done when the filling looks set around the edges but still has a slight, gentle jiggle in the very center when you carefully shake the pan. Avoid overbaking, which can lead to a rubbery texture.
Step 13: Once baked, remove the pan from the oven and let the lemon bars cool completely at room temperature. This will take about 2 hours. Once cooled, transfer the pan to the refrigerator and chill for at least 1-2 hours. Chilling is essential for the curd to fully set and for clean cuts.
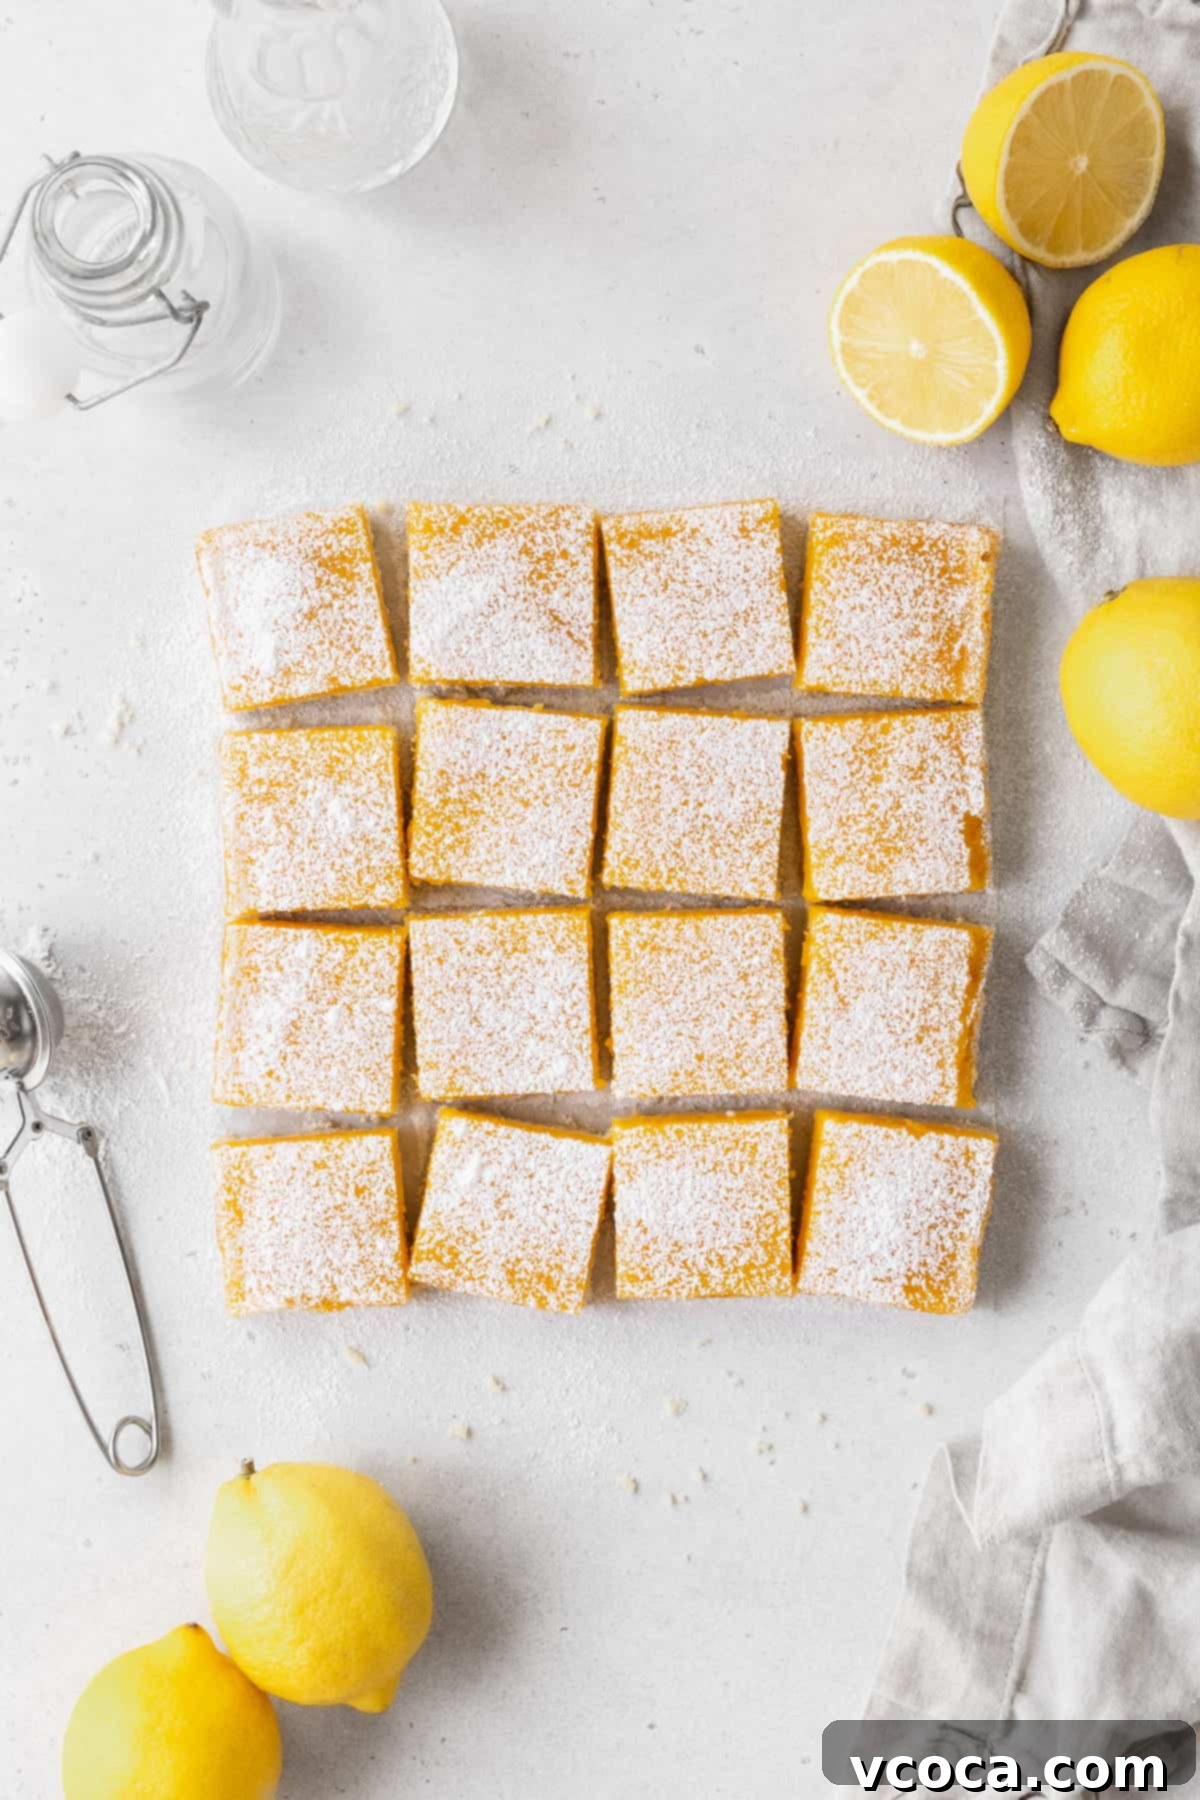
Step 14: Once completely chilled, use the parchment paper overhang to carefully lift the entire slab of lemon bars out of the pan and onto a cutting board. Use a sharp, clean knife to cut the bars into desired squares. For the cleanest cuts, wipe the knife blade clean with a damp cloth after each slice. If desired, dust generously with powdered sugar just before serving for an elegant finish. Enjoy your homemade taste of sunshine!
Expert Tips for Dairy-Free Lemon Bar Perfection
Achieving perfectly set, deliciously tangy, and beautifully crumbly lemon bars is easy with these insider tips:
- Always Use Cold Vegan Butter for the Crust. The secret to a rich, tender, and flaky shortbread crust lies in using cold butter. Cold butter creates pockets of steam as it bakes, which results in that desirable tender crumb. Ensure your vegan butter is straight out of the refrigerator; don’t let it soften on the counter before mixing.
- Achieving the Right Crust Consistency. When incorporating the butter into the flour mixture, aim for a texture that resembles coarse crumbs with some smaller, pea-sized pieces of butter still visible. Over-mixing can develop too much gluten, leading to a tough crust. A pastry cutter, fork, or quick pulses in a food processor are excellent tools for this.
- Chill the Dough if it Becomes Too Soft. If your shortbread dough feels too warm or soft while you’re pressing it into the baking pan, don’t hesitate to place the pan in the freezer for a few minutes. A cold dough is much easier to handle and will yield a more defined, crisp crust.
- What to Do if Your Lemon Bars “Sweat”. It’s not uncommon for small beads of moisture (or “sweat”) to form on the surface of lemon bars, especially if they are covered tightly while chilling in the refrigerator. This is due to condensation and is perfectly normal. Simply blot the top of the bars gently with a paper towel before dusting them with powdered sugar and serving. It won’t affect their delicious flavor or texture.
- For Clean Slices. After chilling, run a sharp knife under hot water and wipe it clean before making each cut. This will ensure smooth, clean edges and prevent the curd from sticking to the knife.
Mastering the Dairy-Free Lemon Curd Filling
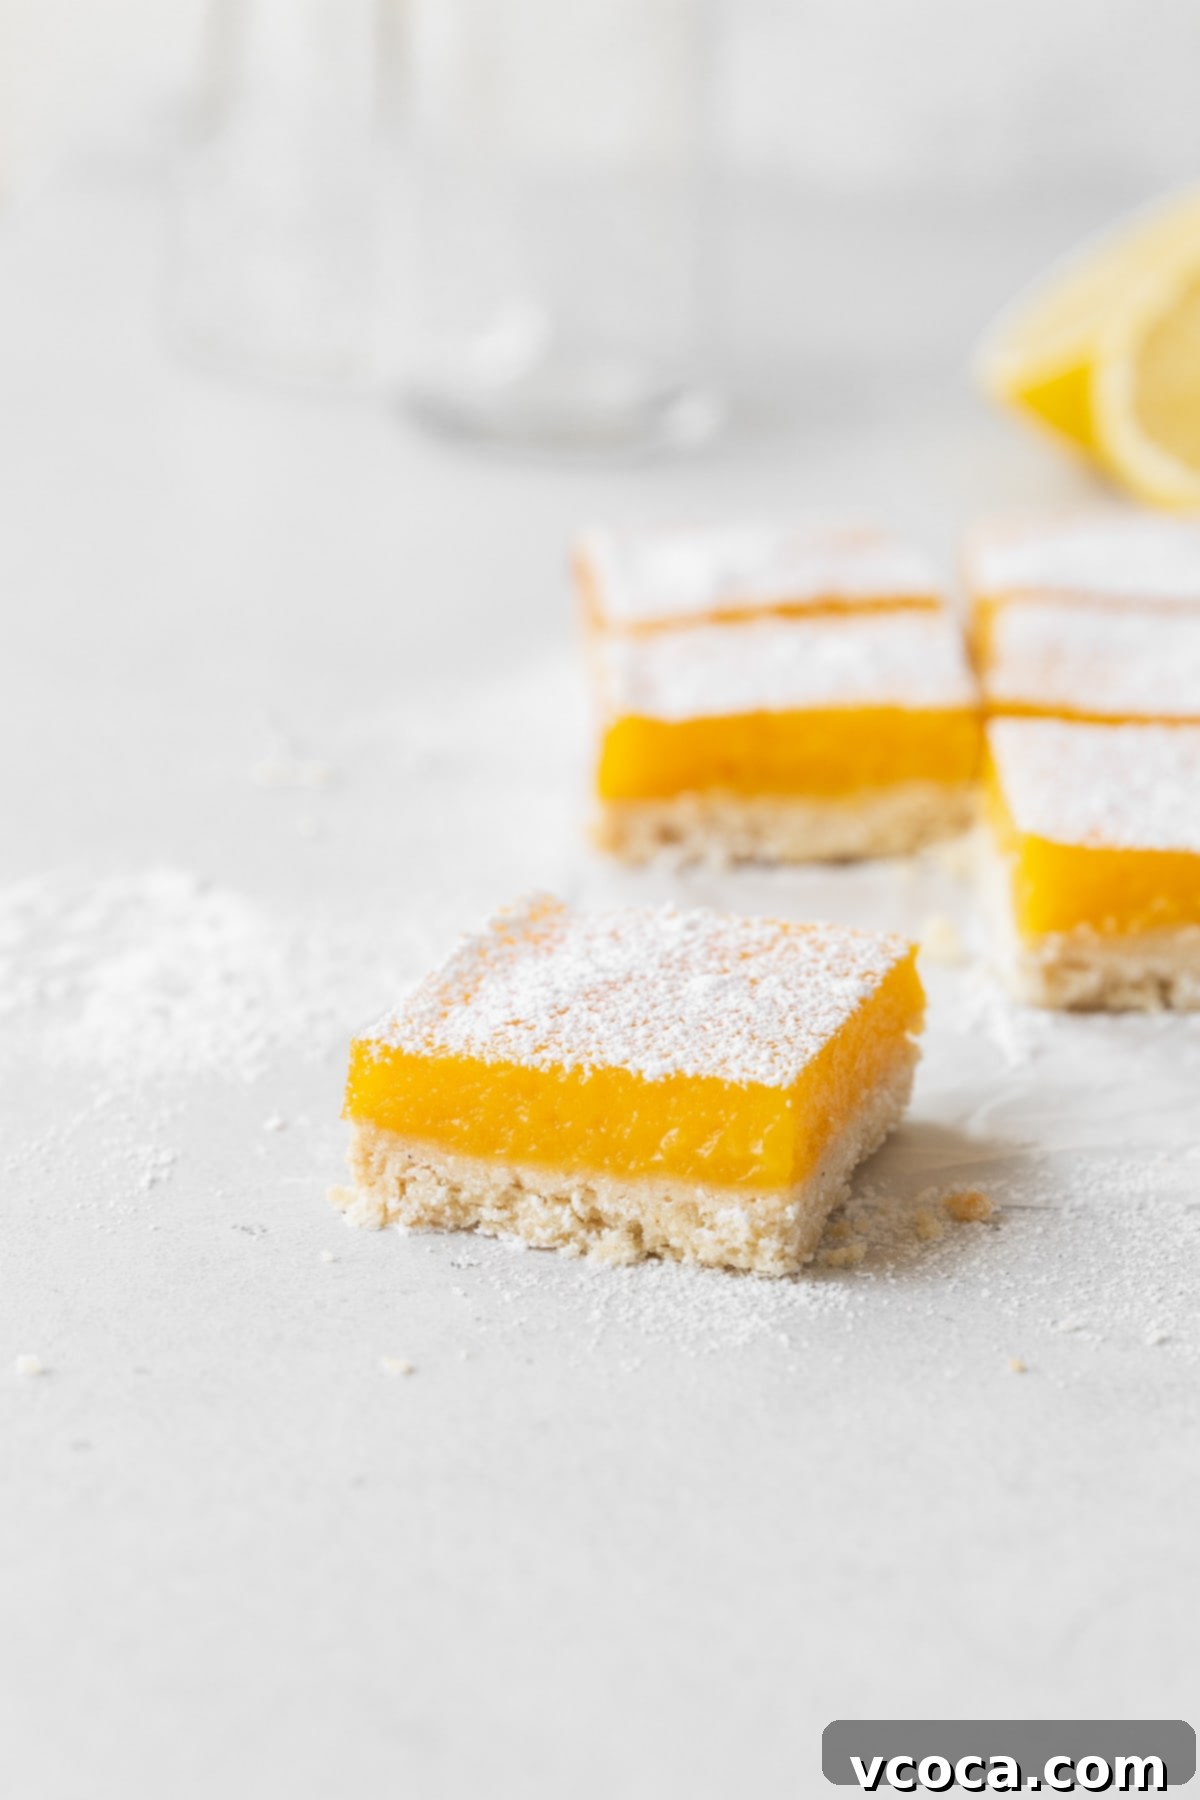
The dairy-free lemon curd filling is designed to be incredibly smooth, vibrant, and creamy, much like a traditional custard. The key to this luxurious texture, without any unwanted scrambled egg bits, lies in a careful technique called “tempering.” Scrambling occurs when eggs are exposed to too much heat too quickly, causing them to cook unevenly.
To prevent this, you must introduce the hot lemon juice mixture to the whisked eggs very slowly. Start by drizzling in just ¼ cup of the hot lemon mixture into the vigorously whisked eggs, continuing to whisk constantly as you pour. This gradual addition gently raises the temperature of the eggs, allowing them to acclimate to the heat without coagulating instantly. Ensure that each small addition of the hot mixture is fully incorporated into the eggs before adding the next ¼ cup. This patient process guarantees a perfectly smooth, luscious, and custardy lemon curd that sets beautifully.
Storing Your Dairy-Free Lemon Bars for Lasting Freshness
Proper storage ensures your dairy-free lemon bars remain fresh and delicious for days to come, or even months if you choose to freeze them.
- Refrigeration: Once the lemon bars have fully cooled and chilled, store any leftovers in an airtight container in the refrigerator. They will maintain their quality and flavor for 3-4 days. While covering them might cause a slight “sweat” on the surface (as mentioned in the tips), this is purely cosmetic and does not impact their delightful taste or texture.
- Freezing: Yes, you can freeze these wonderful bars! For optimal freshness, wrap individual squares tightly in parchment paper or plastic wrap, then place them in a freezer-safe container or a heavy-duty freezer bag. They can be stored in the freezer for up to 3 months, making them a perfect make-ahead dessert.
- Defrosting: To enjoy frozen lemon bars, simply thaw them at room temperature for 30 minutes to 1 hour, or for a more gradual thaw, place them in the refrigerator for 2-3 hours before serving.
Making Them Your Own: Dietary Adaptations for Dairy-Free Lemon Bars
This recipe is already thoughtfully designed to be dairy-free, butter-free, and vegetarian, making it accessible for many. But we can take it a step further!
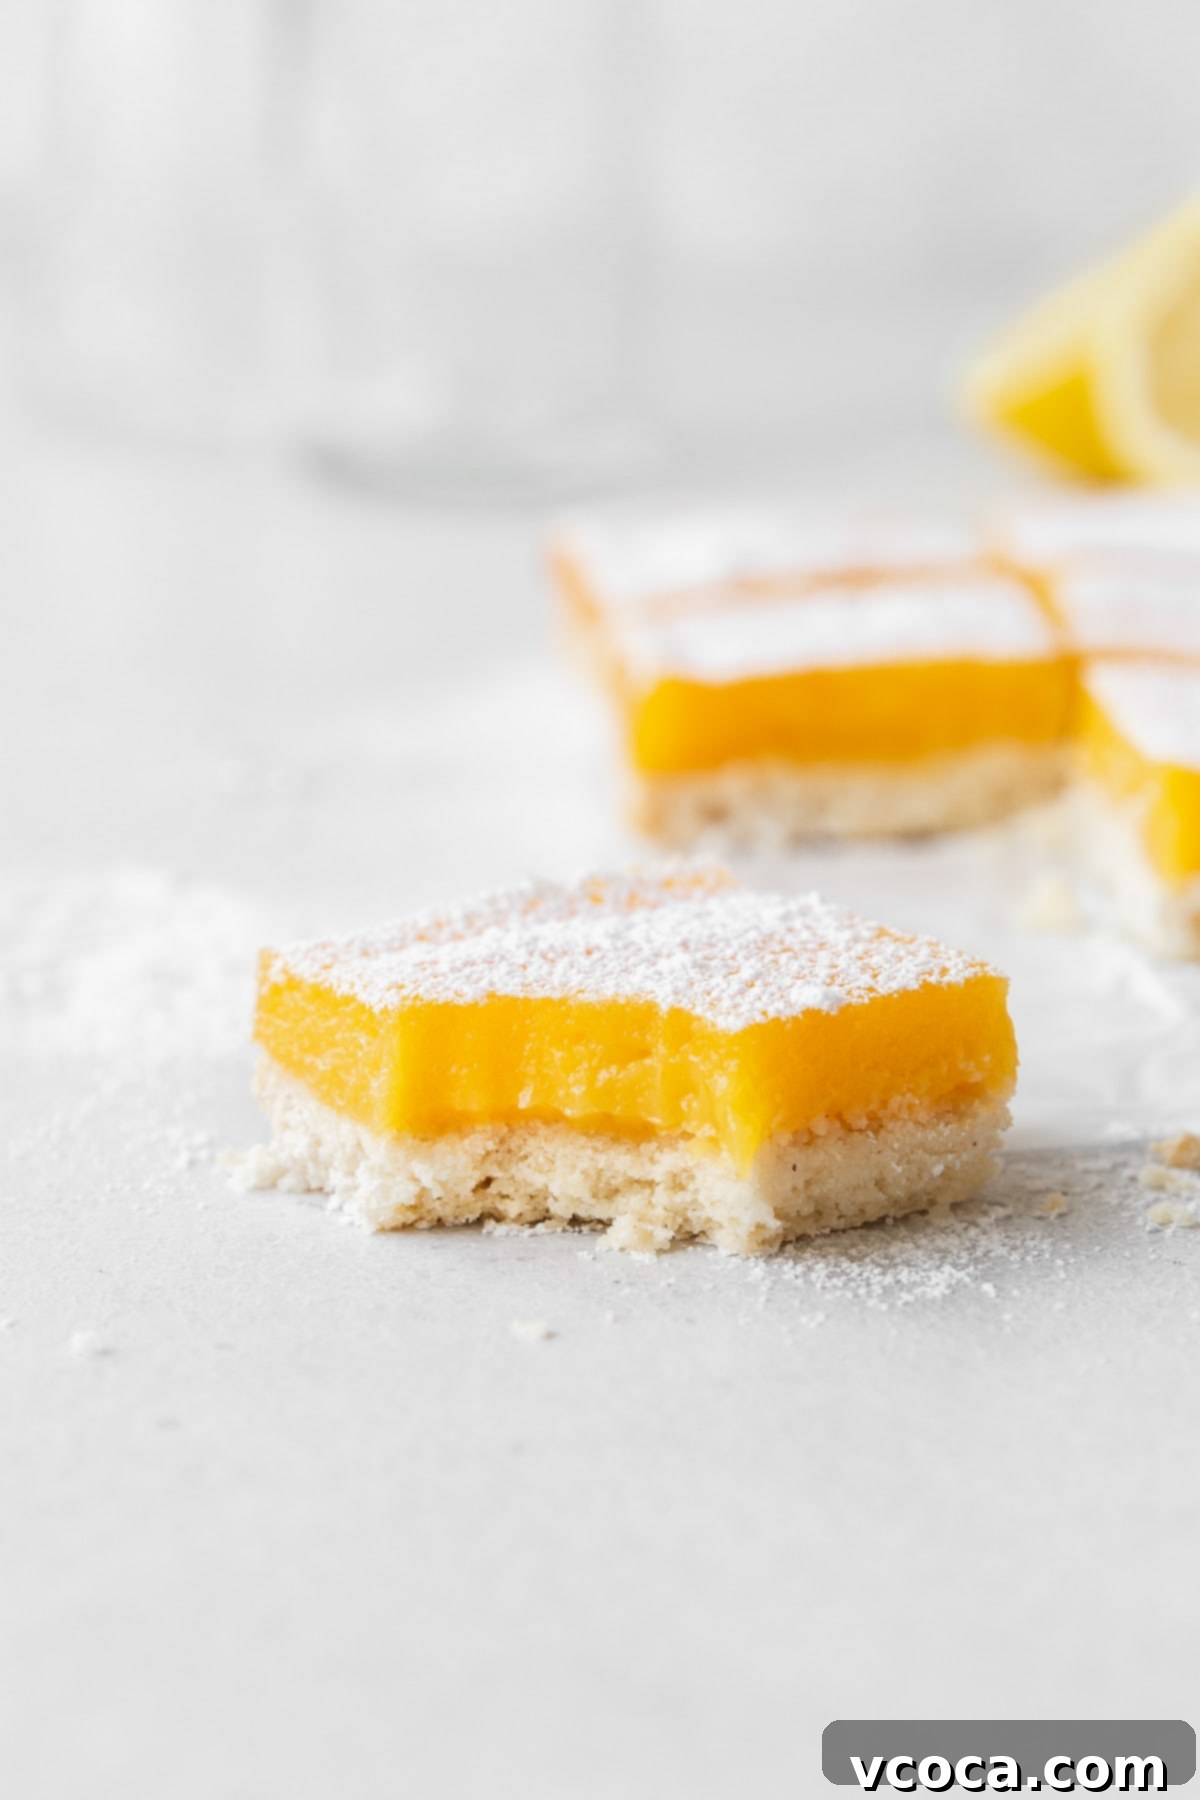
To create truly inclusive **gluten-free and dairy-free lemon bars**, the adaptation is incredibly simple. You only need to substitute the all-purpose flour in the crust with a high-quality 1-to-1 gluten-free baking flour blend. It’s important to use a blend that’s specifically formulated for 1-to-1 substitution in baking, as these typically contain a mix of gluten-free flours and binders (like xanthan gum) that mimic the properties of wheat flour. For instance, I’ve personally used 1¼ cups (185g) of Bob’s Red Mill Gluten-Free 1-to-1 Baking Flour with fantastic results – the bars came out perfectly, retaining their tender crust and luscious filling. Simply follow all other recipe directions as listed, and you’ll have a batch of delicious lemon bars suitable for even more guests!
Frequently Asked Questions About Dairy-Free Lemon Bars
Traditional lemon bar crusts are typically made from a shortbread base. This classic foundation consists of simple ingredients: all-purpose flour, granulated sugar, a pinch of salt, and cold butter. In our dairy-free version, we achieve the same rich, tender, and crumbly texture by substituting traditional butter with high-quality vegan butter.
If your lemon bars are runny, it’s almost always an indication that the lemon curd filling hasn’t fully cooked or set properly. This can happen for two main reasons: either the custard wasn’t thickened adequately on the stovetop before being poured onto the shortbread crust, or the bars didn’t bake long enough in the oven. To prevent runny squares, ensure that when you cook the curd on the stovetop, it’s thick enough to generously coat the back of your spoon (or reaches an internal temperature of 175°F / 79°C). After baking, the filling should be set around the edges with only a slight, gentle jiggle in the very center when you carefully shake the pan. If they are still too jiggly, return them to the oven for a few more minutes until firm yet still slightly tender.
If your lemon bars are not setting, it generally means they need more time in the oven. Don’t be afraid to put them back in! Continue baking them at the specified temperature, checking every 3-5 minutes. The filling should eventually firm up, exhibiting a slight, delicate jiggle only in the very center when gently shaken. Keep in mind that lemon bars also firm up significantly during the cooling and chilling process, so ensure they receive adequate time in the refrigerator after baking.
While fresh lemon juice is highly recommended for the best and most vibrant flavor, bottled lemon juice can be used as a convenient alternative if fresh lemons are unavailable. Be aware that the flavor profile might be slightly less bright and intense than with fresh juice.
To achieve perfectly clean and neat cuts, ensure your lemon bars are thoroughly chilled in the refrigerator for at least 1-2 hours (or longer) before slicing. Use a long, sharp knife, and wipe the blade clean with a damp cloth after each cut to prevent the filling from sticking and creating messy edges. You can also run the knife under hot water between cuts for an even smoother finish.
Discover More Dairy-Free Baking Recipes
If you’ve enjoyed these sunshine-filled Dairy-Free Lemon Bars, you’ll be thrilled to explore other incredible dairy-free (and often gluten-free or vegan) baking recipes. Expand your repertoire with these delicious options:
- Gluten-Free & Dairy-Free Tres Leches Cake
- Dairy-Free Peanut Butter Cookies
- Dairy-Free Buttercream Frosting
- Lemon Curd Cake
Thank you so much for joining me on this delightful culinary journey! I sincerely hope you loved this **Dairy-Free Lemon Bar Recipe** as much as I do. It’s truly a labor of love that brings joy to so many, regardless of dietary restrictions. For more mouth-watering dairy-free, gluten-free, and/or vegan dessert inspiration and to stay updated with my latest creations, make sure to follow me on Pinterest, Facebook, and Instagram. You can also get all of my newest content delivered straight to your inbox by signing up for my exclusive email newsletter — I promise to only send deliciousness, never spam!
Dairy-Free Lemon Bars
Print
Pin
Rate
Ingredients
Crust
- 1¼ cups all-purpose flour
- ¼ cup granulated sugar
- ¼ teaspoon fine salt
- 10 tablespoons vegan butter
Lemon filling
- 1 cup granulated sugar
- 1 tablespoon cornstarch
- 1½ tablespoons lemon zest
- ⅔ cup lemon juice
- pinch of salt
- 3 large eggs
- 3 egg yolks
- 4 tablespoons vegan butter
- powdered sugar for dusting optional
Instructions
Crust
-
Preheat the oven to 350°F (175°C) and line an 8×8-inch square pan with parchment paper, making sure all sides are covered.
-
In a bowl, combine flour, sugar, and salt. Whisk to combine. Add the vegan butter and work it into the flour mixture using a fork, pastry cutter, or your fingers. You can also do this step in the food processor.
-
Push the dough into the prepared pan, creating a flat layer. If the dough is too soft, stick it in the freezer for a few minutes to make it easier to work with.
-
Freeze the pan for 5 minutes to chill the dough, and bake for 30 minutes, until golden brown around the edges. Take the crust out of the oven.
Lemon filling
-
While the crust is cooling, preheat the oven to 325°F (160°C).
-
Add the sugar and lemon zest to a bowl, and use your fingers to pinch the lemon zest with the sugar. Put the lemon sugar and cornstarch into a saucepan and whisk until combined.
-
Add the lemon juice and salt to the pan, and heat it over medium heat while whisking occasionally for 2-3 minutes, or until the mixture thickens slightly. Take the pan off the heat.
-
In a large bowl, add the eggs and yolks and whisk until smooth. While whisking constantly, slowly drizzle in the hot lemon juice mixture ¼ cup at a time.
-
Once all of the lemon juice has been added to the eggs, pour the mixture back into the saucepan and heat it over medium-low heat and cook while whisking constantly.
-
When the mixture reaches 175°F (79°C) or is thick enough to coat the back of a spoon, about 5-7 minutes, take the saucepan off the heat.
-
Place a sieve over a bowl and pass the hot lemon curd through the fine mesh sieve to catch the lemon zest and any hardened bits of egg.
-
Add the vegan butter 1 tablespoon at a time, mixing after each addition until the lemon curd is smooth and silky.
-
Pour the lemon curd over the crust and smooth the surface using an offset spatula. Bake the lemon bars for 20-25 minutes, or until the mixture has a slight jiggle when you gently shake the pan.
-
Let the bars cool completely in the pan (about 2 hours at room temperature) before chilling in the fridge for 1 hour. Lift the bars out of the pan using the parchment paper and use a sharp knife to cut the lemon bars into squares. Wipe the knife clean after each cut.
-
Optional: dust with powdered sugar before serving.
Notes
- Storage Directions:
- Refrigeration: Leftover lemon bars keep covered in an airtight container in the refrigerator for 3-4 days. Covering them will cause the surface to get wet but will not affect the texture or flavor of the lemon bars.
- Freezing: The bars can also be frozen. Wrap them individually in parchment paper and freeze in a freezer-safe container for up to 3 months.
- Defrost: Thaw frozen lemon bars at room temperature for 30 minutes – 1 hour or in the refrigerator for 2-3 hours before enjoying.
- Gluten-Free: To make this recipe gluten-free, substitute 1-to-1 gluten-free flour (185g) for the all-purpose flour and follow the recipe directions as listed.
Nutrition
