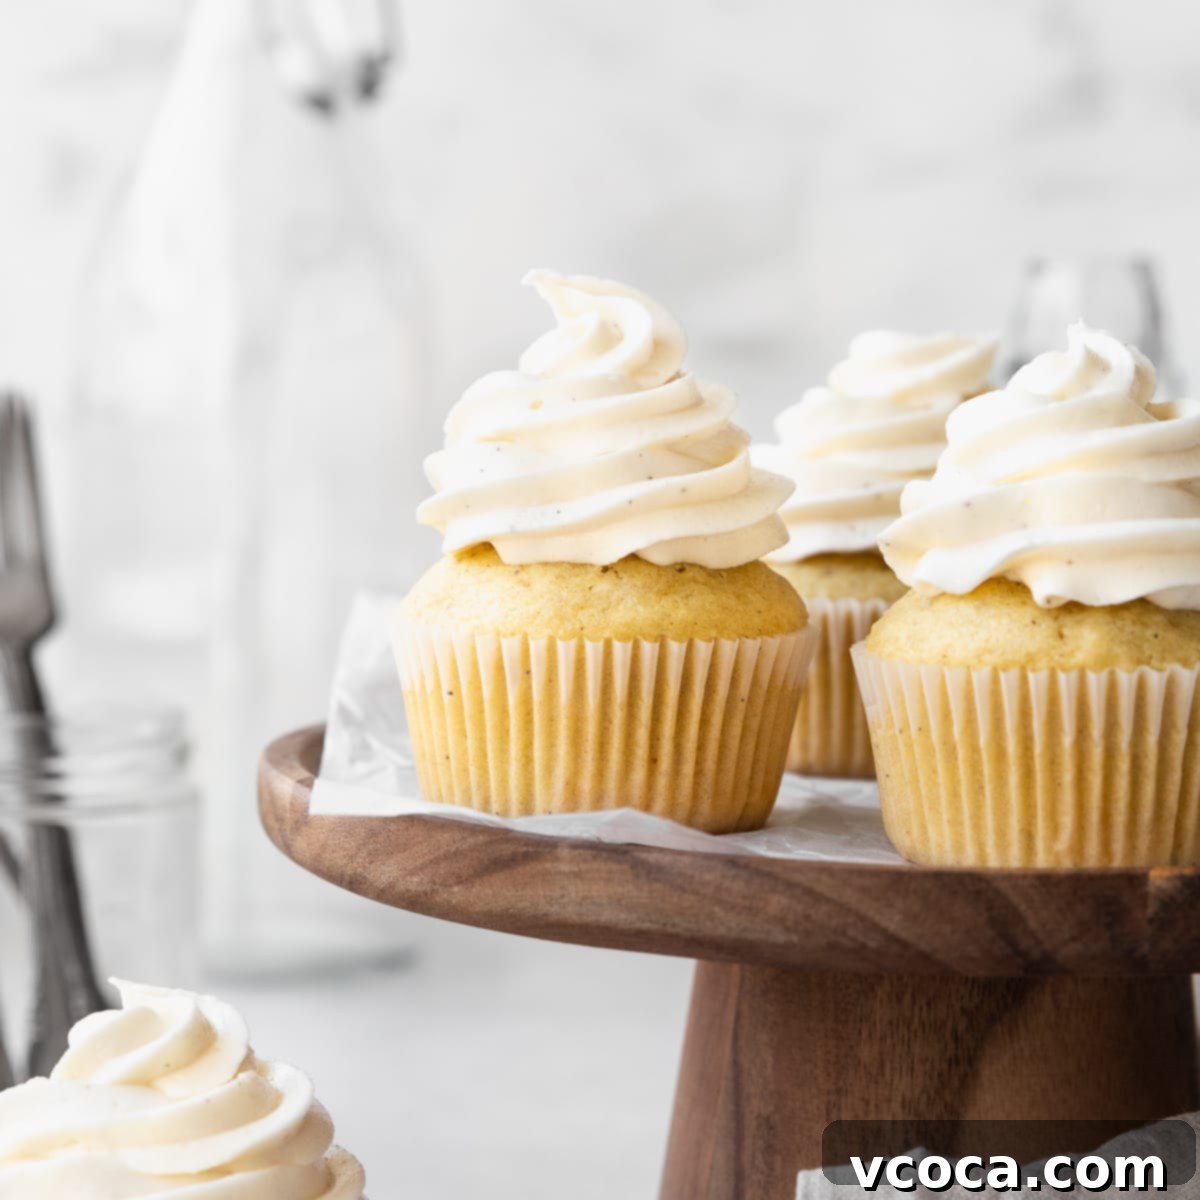
The Ultimate Guide to Delicious Dairy-Free Vanilla Cupcakes (with Vegan Buttercream!)
Craving a sweet treat but need to avoid dairy? Look no further! My dairy-free vanilla cupcakes are a true revelation, boasting an incredibly light, tender crumb and a generously rich, wonderfully creamy vegan buttercream frosting. This easy-to-follow recipe proves that you don’t need dairy to create a show-stopping dessert. Whether you’re managing dietary restrictions, catering to guests with allergies, or simply exploring plant-based baking, these delightful cupcakes are sure to become a cherished favorite. Get ready to bake a batch of pure happiness!
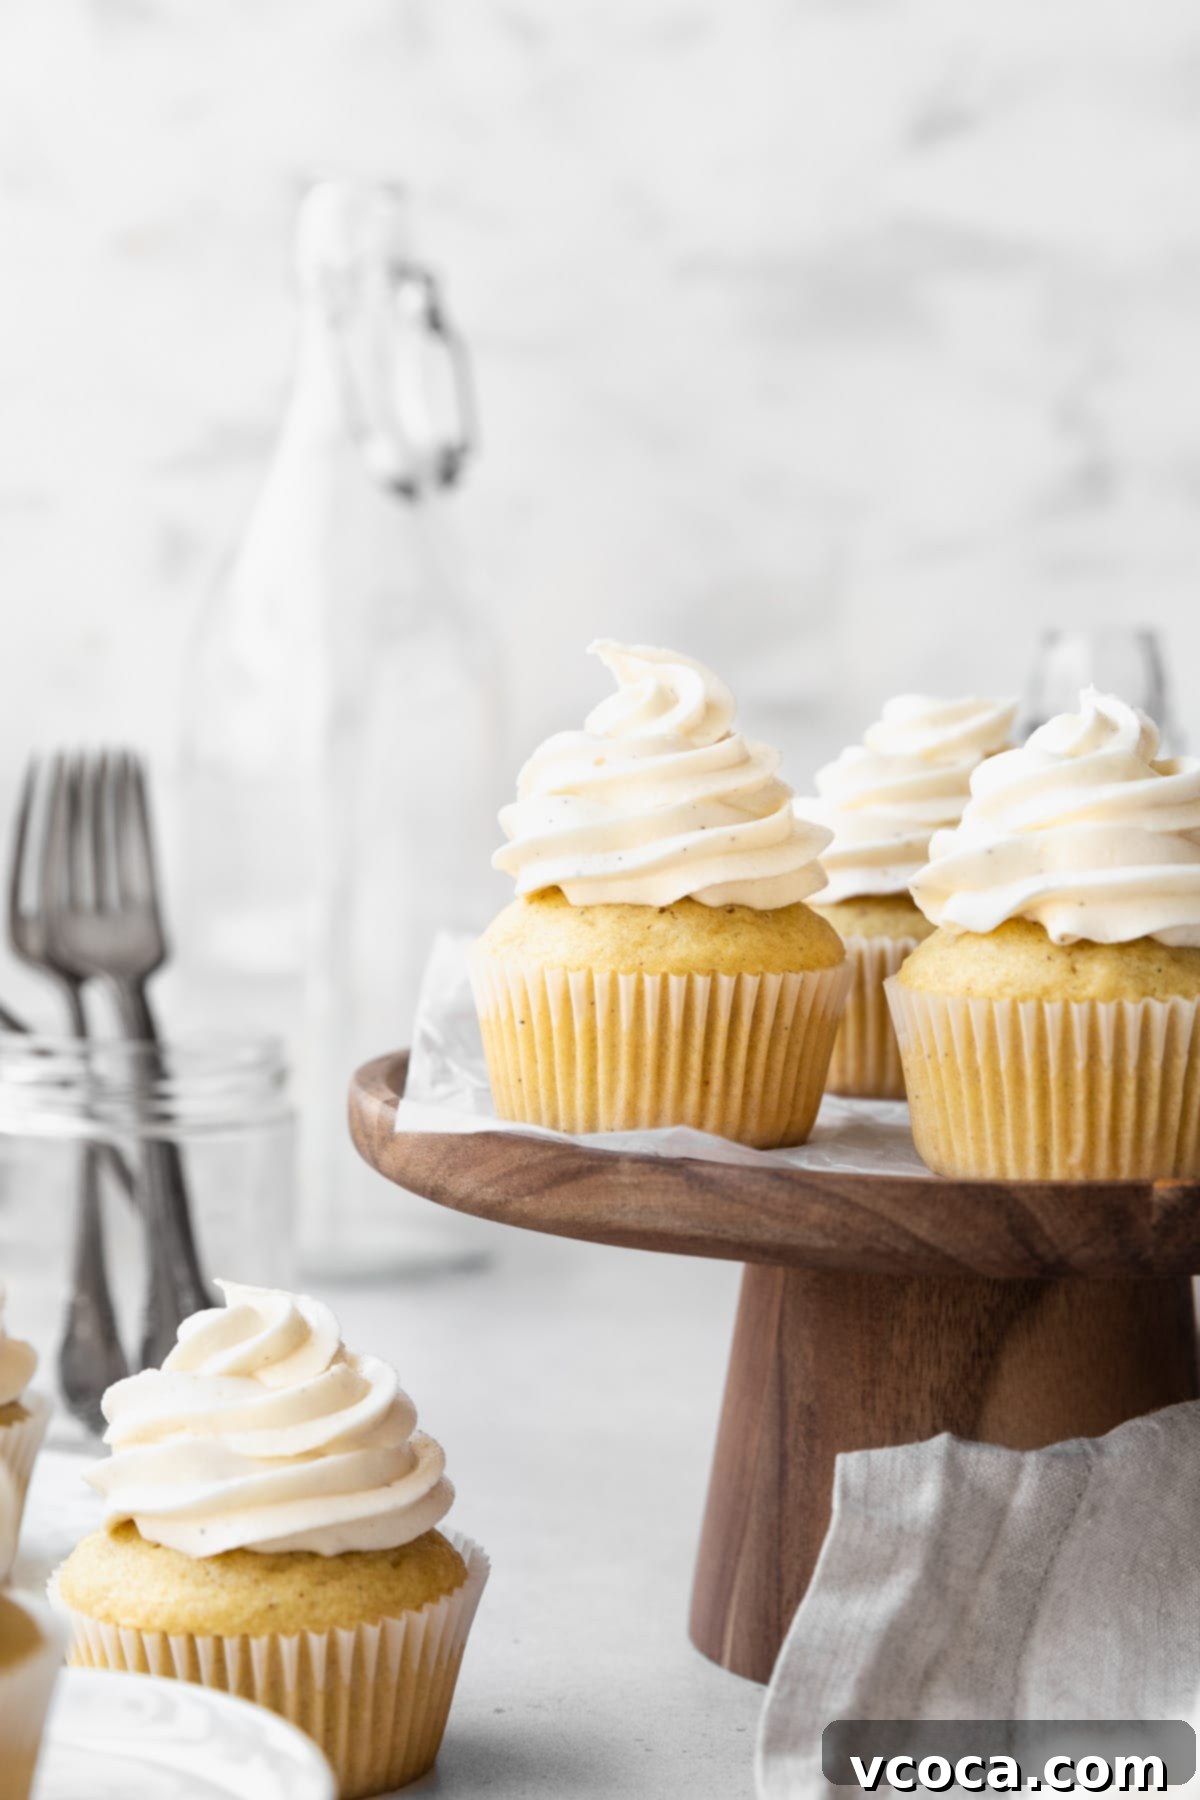
This recipe was originally published on January 6, 2023. It was updated with new photos and information on August 11, 2023, to ensure you have the most comprehensive and delightful baking experience.
Why Dairy-Free Cupcakes Are a Game-Changer
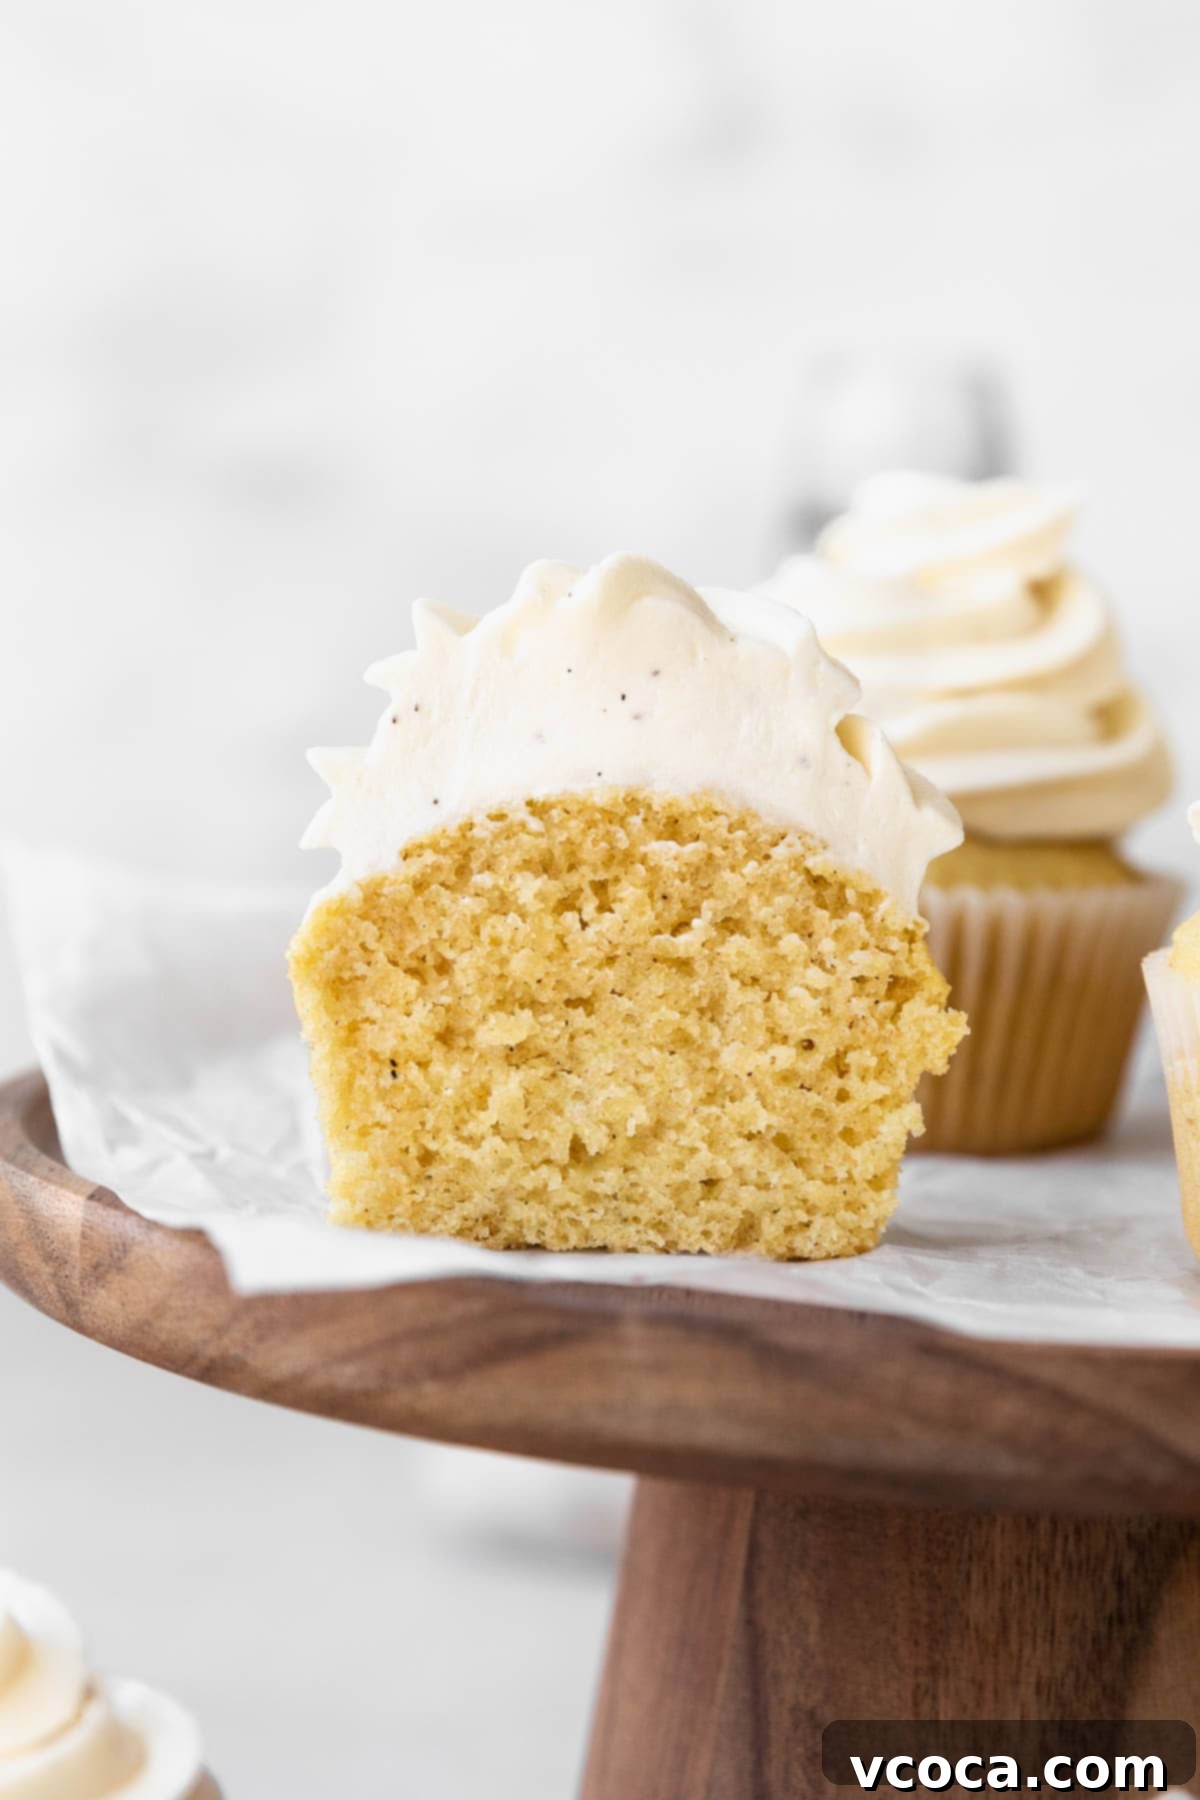
Many people assume that going dairy-free means sacrificing flavor and texture, especially when it comes to baked goods. However, this recipe is here to shatter that misconception! These vanilla cupcakes are proof that dairy-free baking can be just as, if not more, indulgent and satisfying than traditional recipes. Perfect for those with lactose intolerance, dairy allergies, or anyone choosing a plant-based lifestyle, these cupcakes ensure everyone can enjoy a classic dessert without compromise. The secret lies in carefully selected ingredients that mimic dairy’s richness and structure, resulting in a perfectly moist crumb and a frosting so luxurious, you’ll forget it’s dairy-free.
Essential Ingredients for Perfect Dairy-Free Vanilla Cupcakes
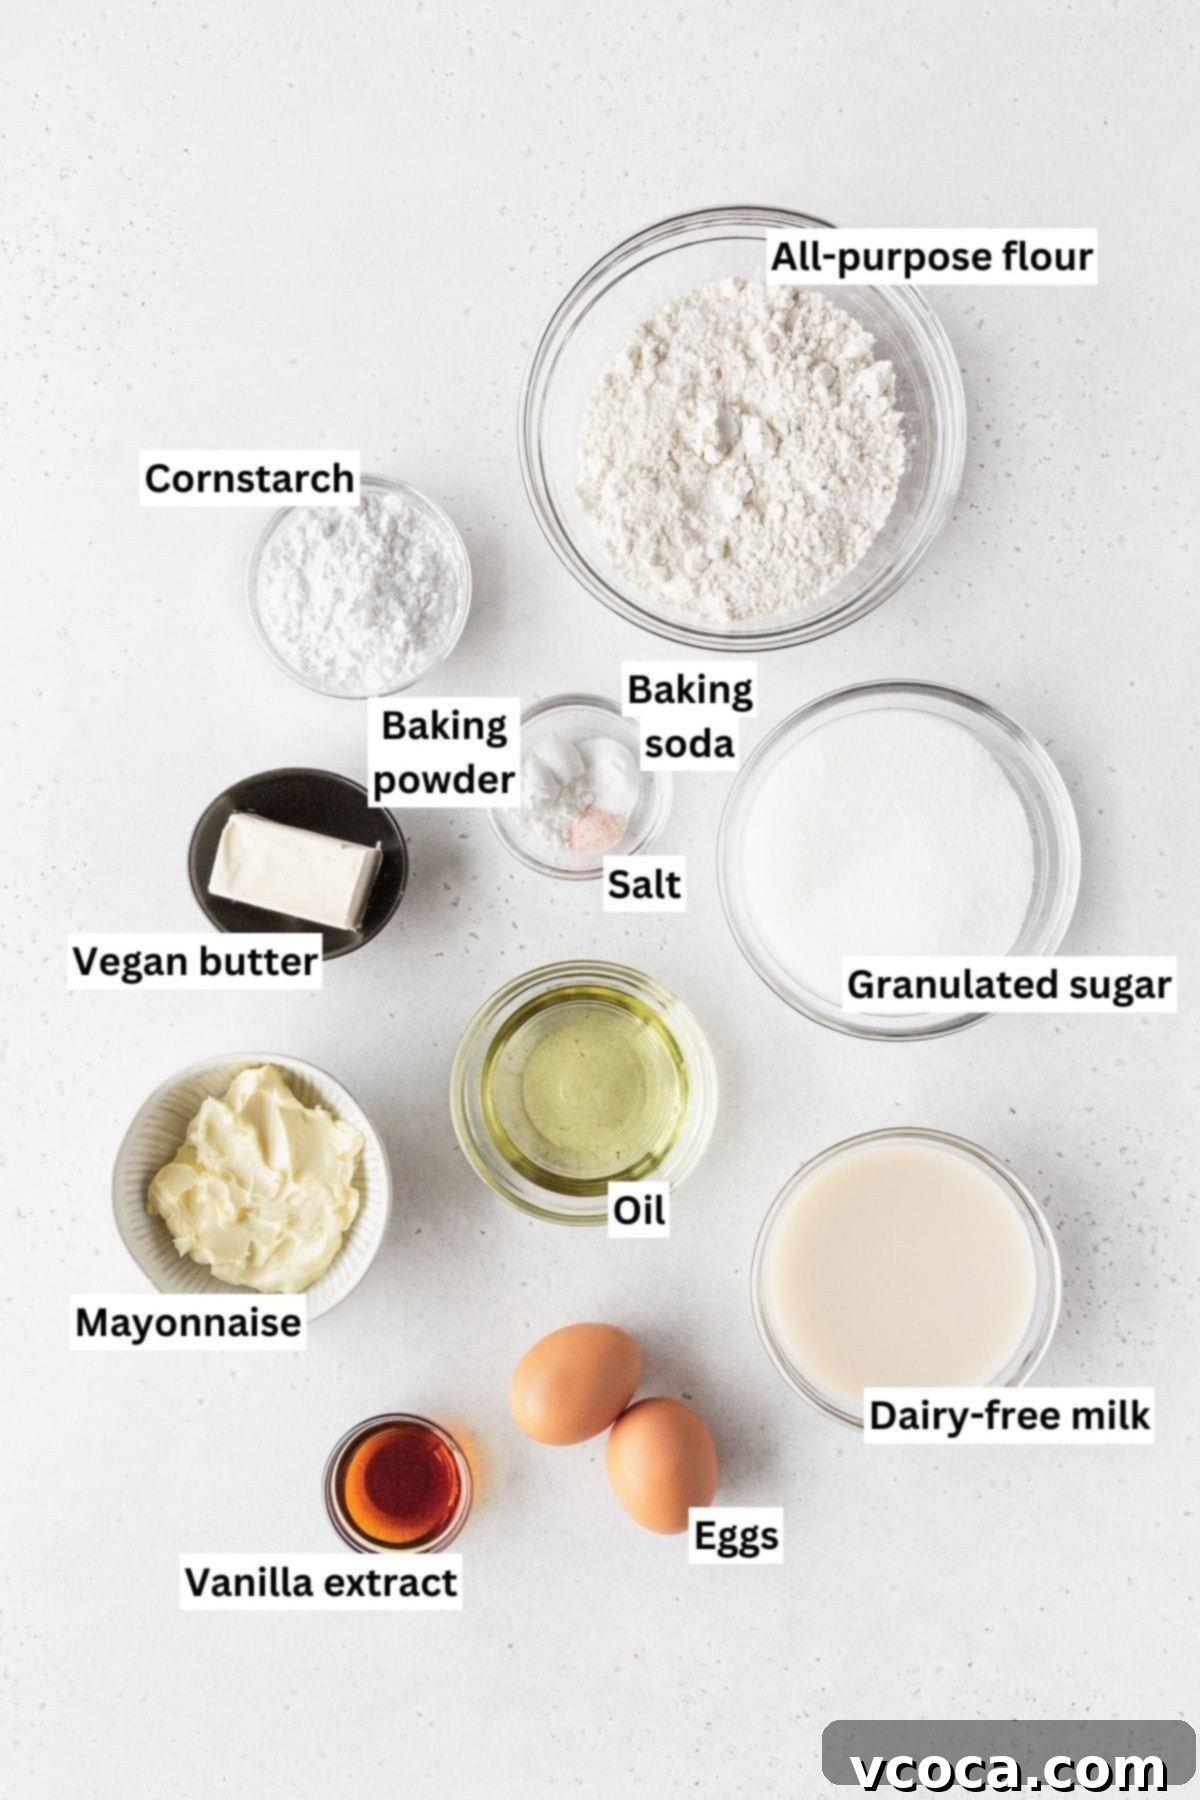
As promised, this dairy-free vanilla cupcake recipe is crafted using straightforward, easy-to-find ingredients that deliver exceptional results. Each component plays a crucial role in achieving the desired flavor and texture. Here’s a detailed look at everything you’ll need to make these incredible treats, including why each ingredient is chosen and potential substitutions:
- All-purpose flour: Standard plain white flour works beautifully here, providing the necessary structure for fluffy cupcakes. If you prefer, you can swap in cake flour for an even more delicate crumb. Just remember to adjust for the cornstarch if using cake flour, as it already contains a lower protein content.
- Cornstarch: This unsung hero is key to achieving that wonderfully tender, soft texture without resorting to specialty, expensive flours. It helps to lighten the flour mixture, preventing a dense cupcake. If corn is an issue for you, an equal amount of potato starch or arrowroot powder can be used as a suitable alternative.
- Fine salt: Essential for balancing the sweetness and enhancing all the flavors in the cupcakes. Fine salt dissolves quickly and evenly into the batter. If you’re using a different type of salt, like Kosher salt, please refer to a reliable conversion chart to ensure you use the correct amount, as different salts have varying densities.
- Baking soda & baking powder: This powerful duo of leavening agents is crucial for giving your cupcakes their perfect rise and airy texture. Baking soda reacts with the acidic ingredients (like mayonnaise), while baking powder provides additional lift, ensuring a light and fluffy result. Using both guarantees a well-risen, perfectly textured cupcake every time.
- Granulated sugar: Provides sweetness and helps create a tender crumb. Feel free to use organic cane sugar for a less refined option or superfine caster sugar for quicker dissolution and a smoother batter, especially if you’re concerned about texture.
- Vegan butter: Choose a high-quality vegan butter stick that’s firm and contains approximately 80% fat (about 8g of fat per 2 teaspoons). This fat content is crucial for mimicking the structure and richness of dairy butter, especially in the creaming process and for achieving a tender crumb. Ensure it’s softened to room temperature for optimal blending.
- Oil: A neutral-flavored oil adds moisture and helps keep the cupcakes incredibly tender and moist over time. My top recommendation is avocado oil due to its mild flavor and healthy fat profile. Other excellent choices include grapeseed oil, peanut oil, sunflower seed oil, or standard vegetable oil. The key is to select an oil that won’t overpower the delicate vanilla flavor.
- Eggs: Act as a binder, provide structure, and contribute to the richness and moistness of the cupcakes. It’s important to use large eggs at room temperature for the best emulsion and blending with other ingredients.
- Mayonnaise: This might seem like an unusual ingredient for cupcakes, but trust me, it’s a dairy-free baking secret weapon! Mayonnaise is a thick, acidic ingredient that effectively acts as a dairy-free sour cream substitute. Its acidity reacts with the baking soda, contributing significantly to the cupcakes’ fluffiness and delicate structure. While the batter might smell a little tangier than you’re used to, I promise you won’t taste it in the final baked cupcakes – only moist, tender goodness!
- Vanilla extract: The heart of vanilla cupcakes! For the purest and most pronounced vanilla flavor, always opt for pure vanilla extract or a high-quality vanilla paste. The difference in flavor from artificial vanilla is truly noticeable.
- Unsweetened dairy-free milk: Any variety of plain or vanilla-flavored plant-based milk will seamlessly integrate into this recipe. Popular choices include soy milk, oat milk, or almond milk. Ensure it’s unsweetened to control the overall sugar content of the cupcakes.
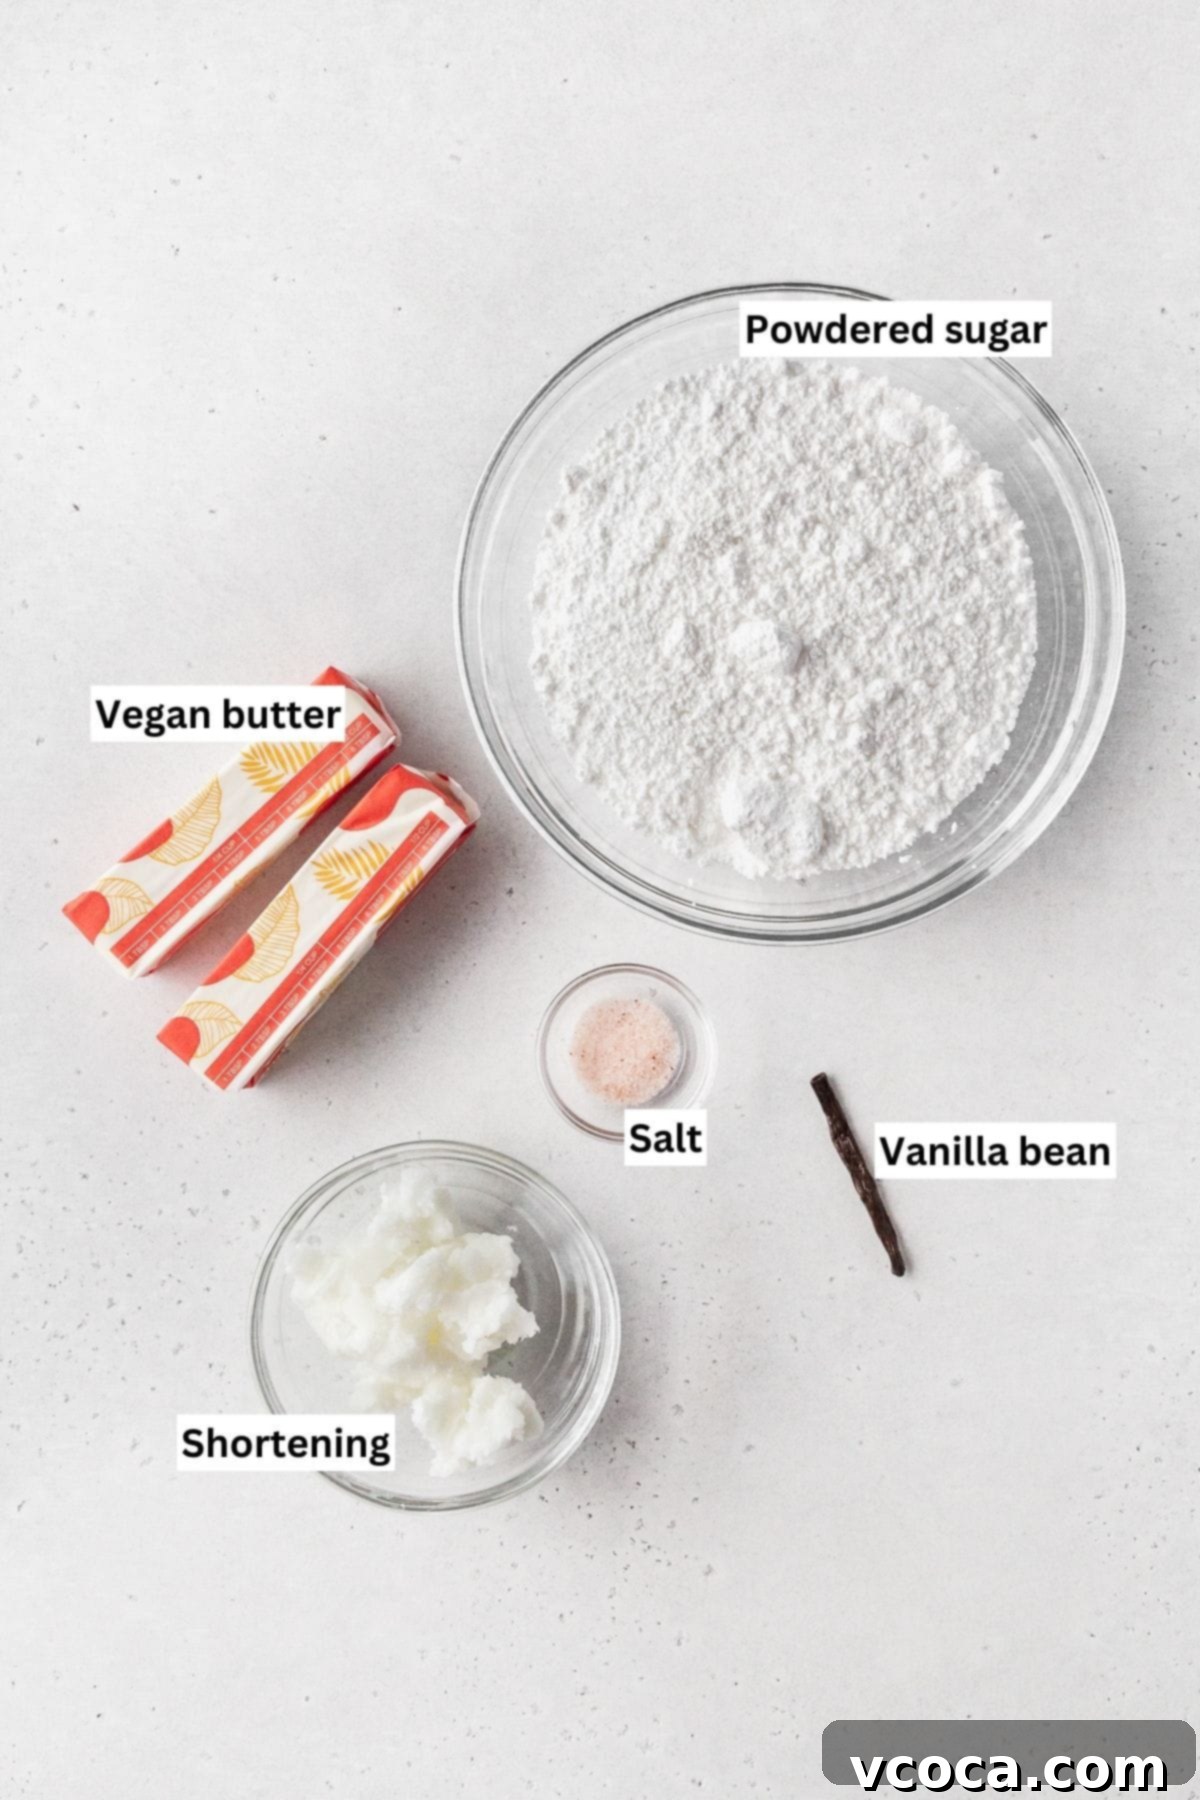
For the decadent vegan vanilla bean buttercream, you’ll also need these key ingredients:
- Shortening: Incorporating a small amount of shortening into your buttercream provides incredible stability, especially in warmer temperatures. It helps the frosting hold its shape beautifully for piping and creates a wonderfully smooth texture. If preferred, you can substitute an equal amount of softened vegan butter, though the frosting might be slightly less firm.
- Powdered sugar: Also universally known as icing sugar or confectioner’s sugar, this superfine powder is absolutely essential for achieving a soft, silky-smooth, and lump-free buttercream. Its fine consistency allows it to blend seamlessly. If you find yourself without powdered sugar, don’t fret! You can easily make your own by blending granulated sugar with a touch of cornstarch in a food processor or high-speed blender.
- Vanilla bean: For an unparalleled depth of vanilla flavor and those gorgeous, characteristic black flecks, a fresh vanilla bean is ideal. Scrape out the fragrant seeds to infuse your frosting with an intense aroma and visual appeal. As an excellent substitute, you can use 4 teaspoons of high-quality vanilla paste, which offers similar flavor and flecks, or 4 teaspoons of pure vanilla extract for concentrated flavor.
How To Bake Irresistibly Fluffy Dairy-Free Vanilla Cupcakes
Creating these delightful vanilla cupcakes without any milk or dairy is remarkably straightforward and just as simple as baking their traditional counterparts. Precision and a few key steps will ensure your cupcakes turn out perfectly moist and tender every time. Here’s your detailed guide:
Step 1: Prepare Your Baking Station. Begin by preheating your oven to a precise 340°F (170°C). This slightly lower temperature helps prevent over-browning and ensures an even bake, contributing to that perfect tender crumb. While the oven preheats, line your standard 12-cup cupcake pan with paper liners. Opt for good quality liners to prevent sticking and to showcase your beautiful cupcakes.
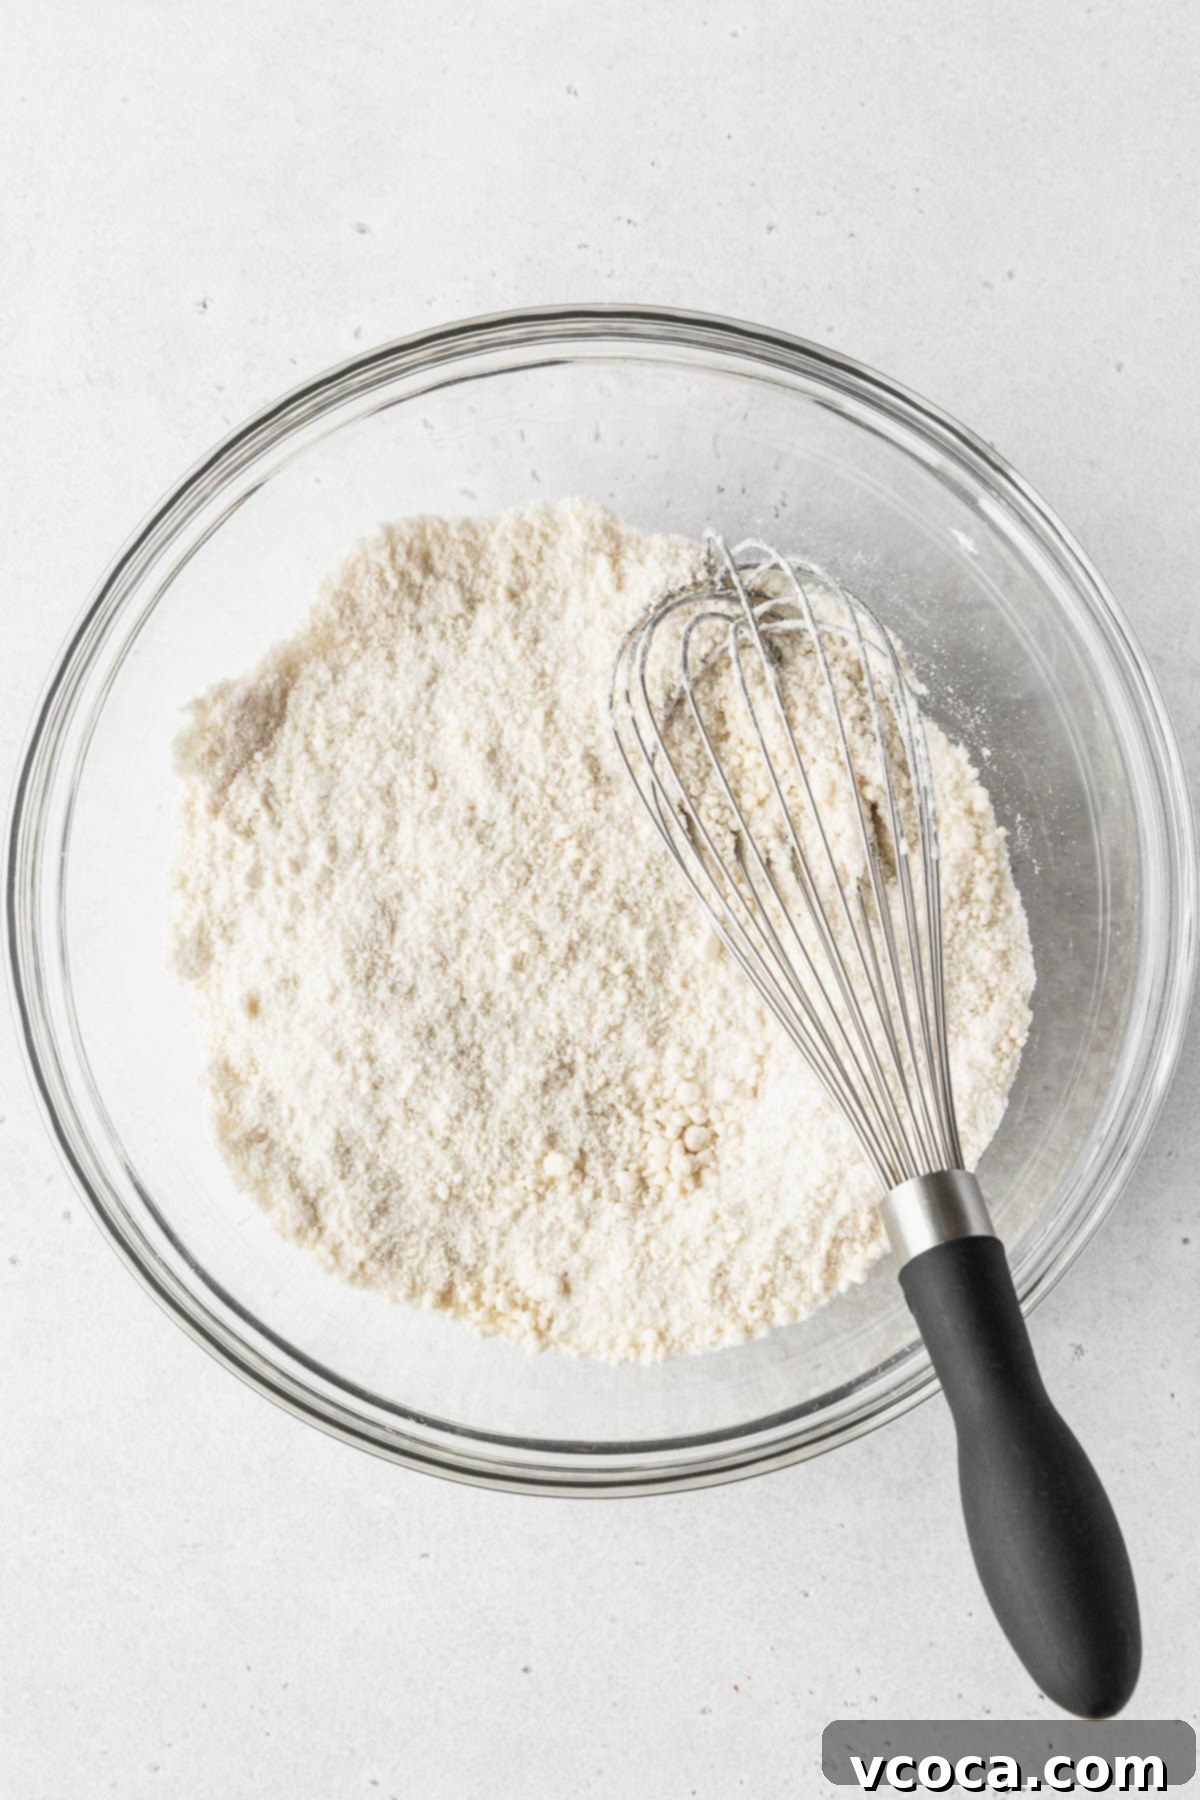
Step 2: Combine Dry Ingredients and Integrate Butter. In a spacious mixing bowl, thoroughly whisk together all your dry ingredients: the all-purpose flour, cornstarch, fine salt, baking soda, baking powder, and granulated sugar. Whisking ensures they are evenly distributed, which is crucial for a consistent rise. Next, add the softened vegan butter. Using your fingertips or a pastry blender, work the butter into the flour mixture until it resembles coarse sand. This “reverse creaming” method helps to coat the flour particles in fat, which inhibits gluten development, resulting in an exceptionally tender cupcake.
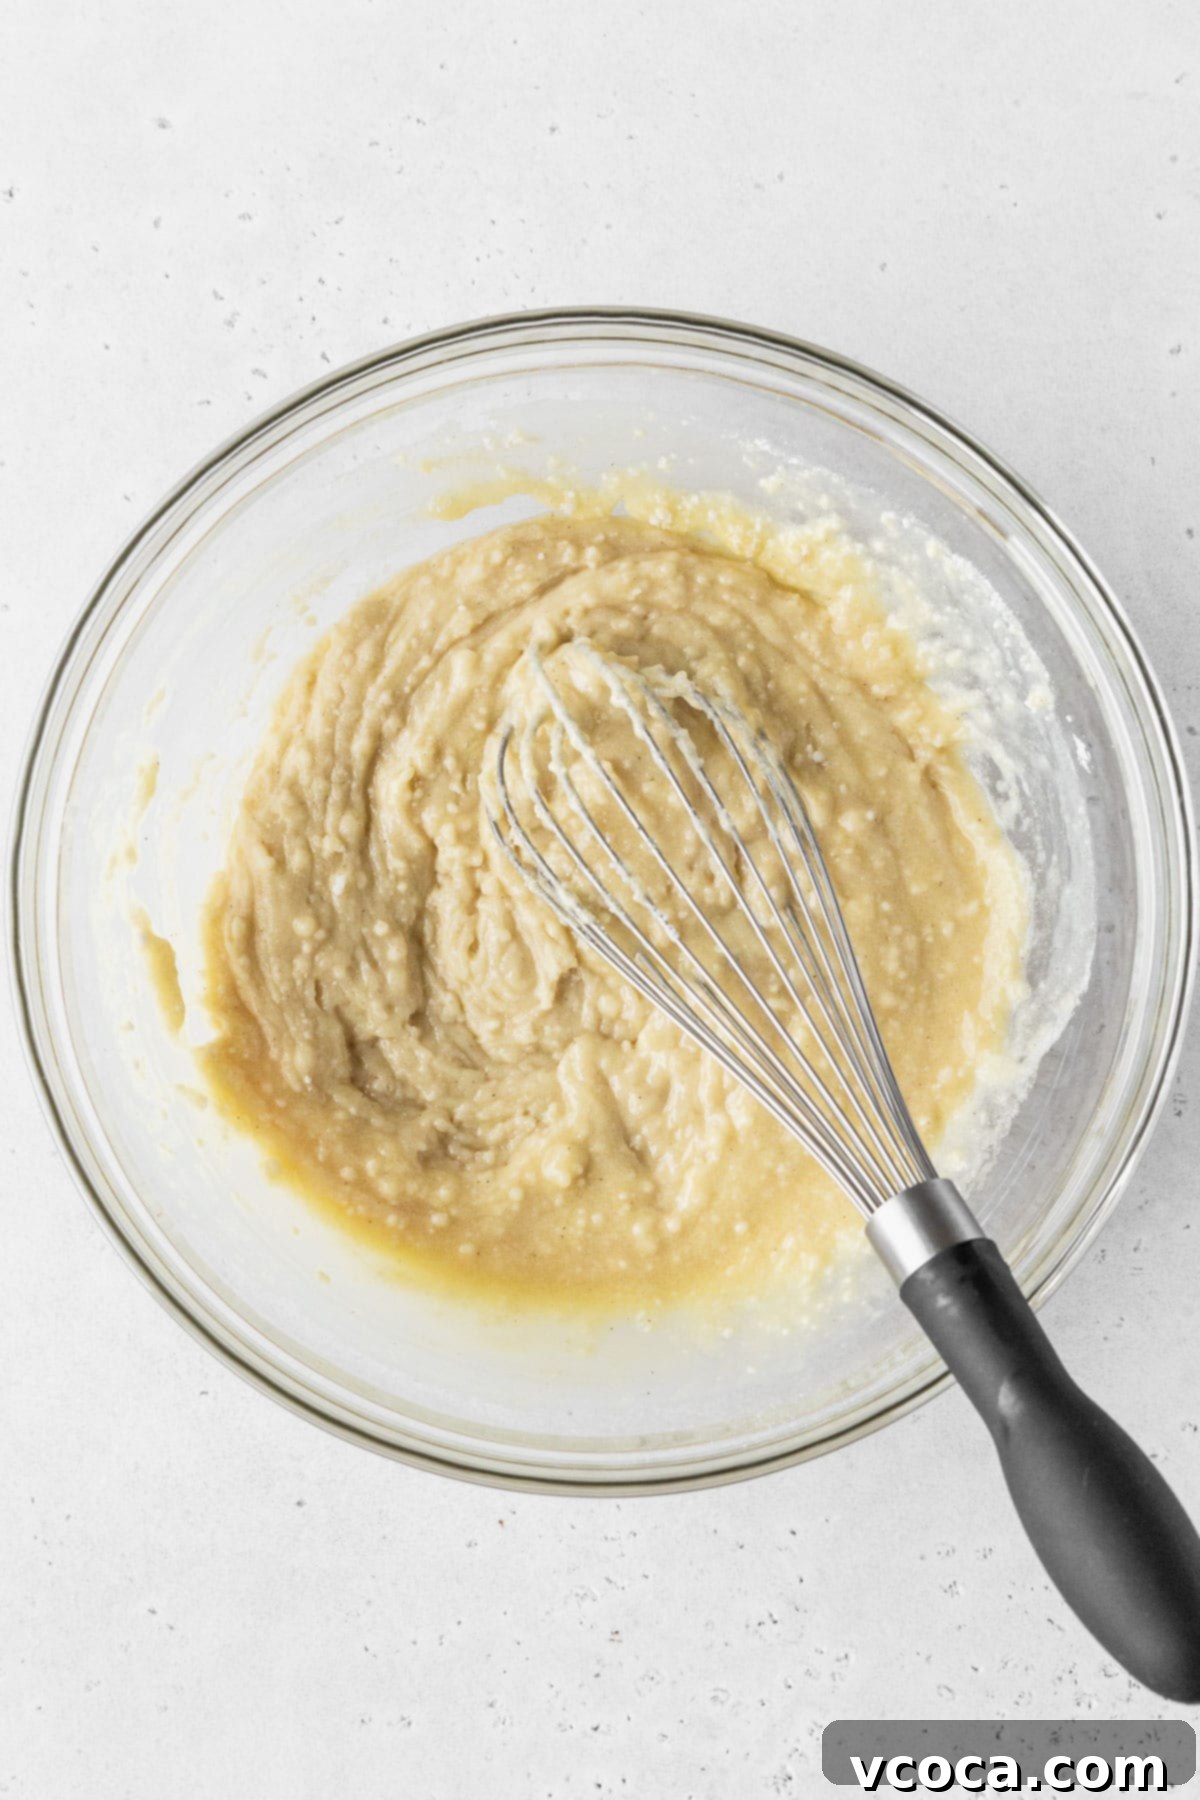
Step 3: Combine Wet Ingredients. In a separate, medium-sized bowl, whisk together the oil, room-temperature eggs, mayonnaise (our dairy-free secret!), and vanilla extract until the mixture is completely smooth and well-emulsified. Using room-temperature ingredients prevents the batter from seizing and ensures a uniform mixture. Gently add this wet mixture to your dry ingredients, mixing until just combined. Be careful not to overmix at this stage; a few lumps are perfectly fine.
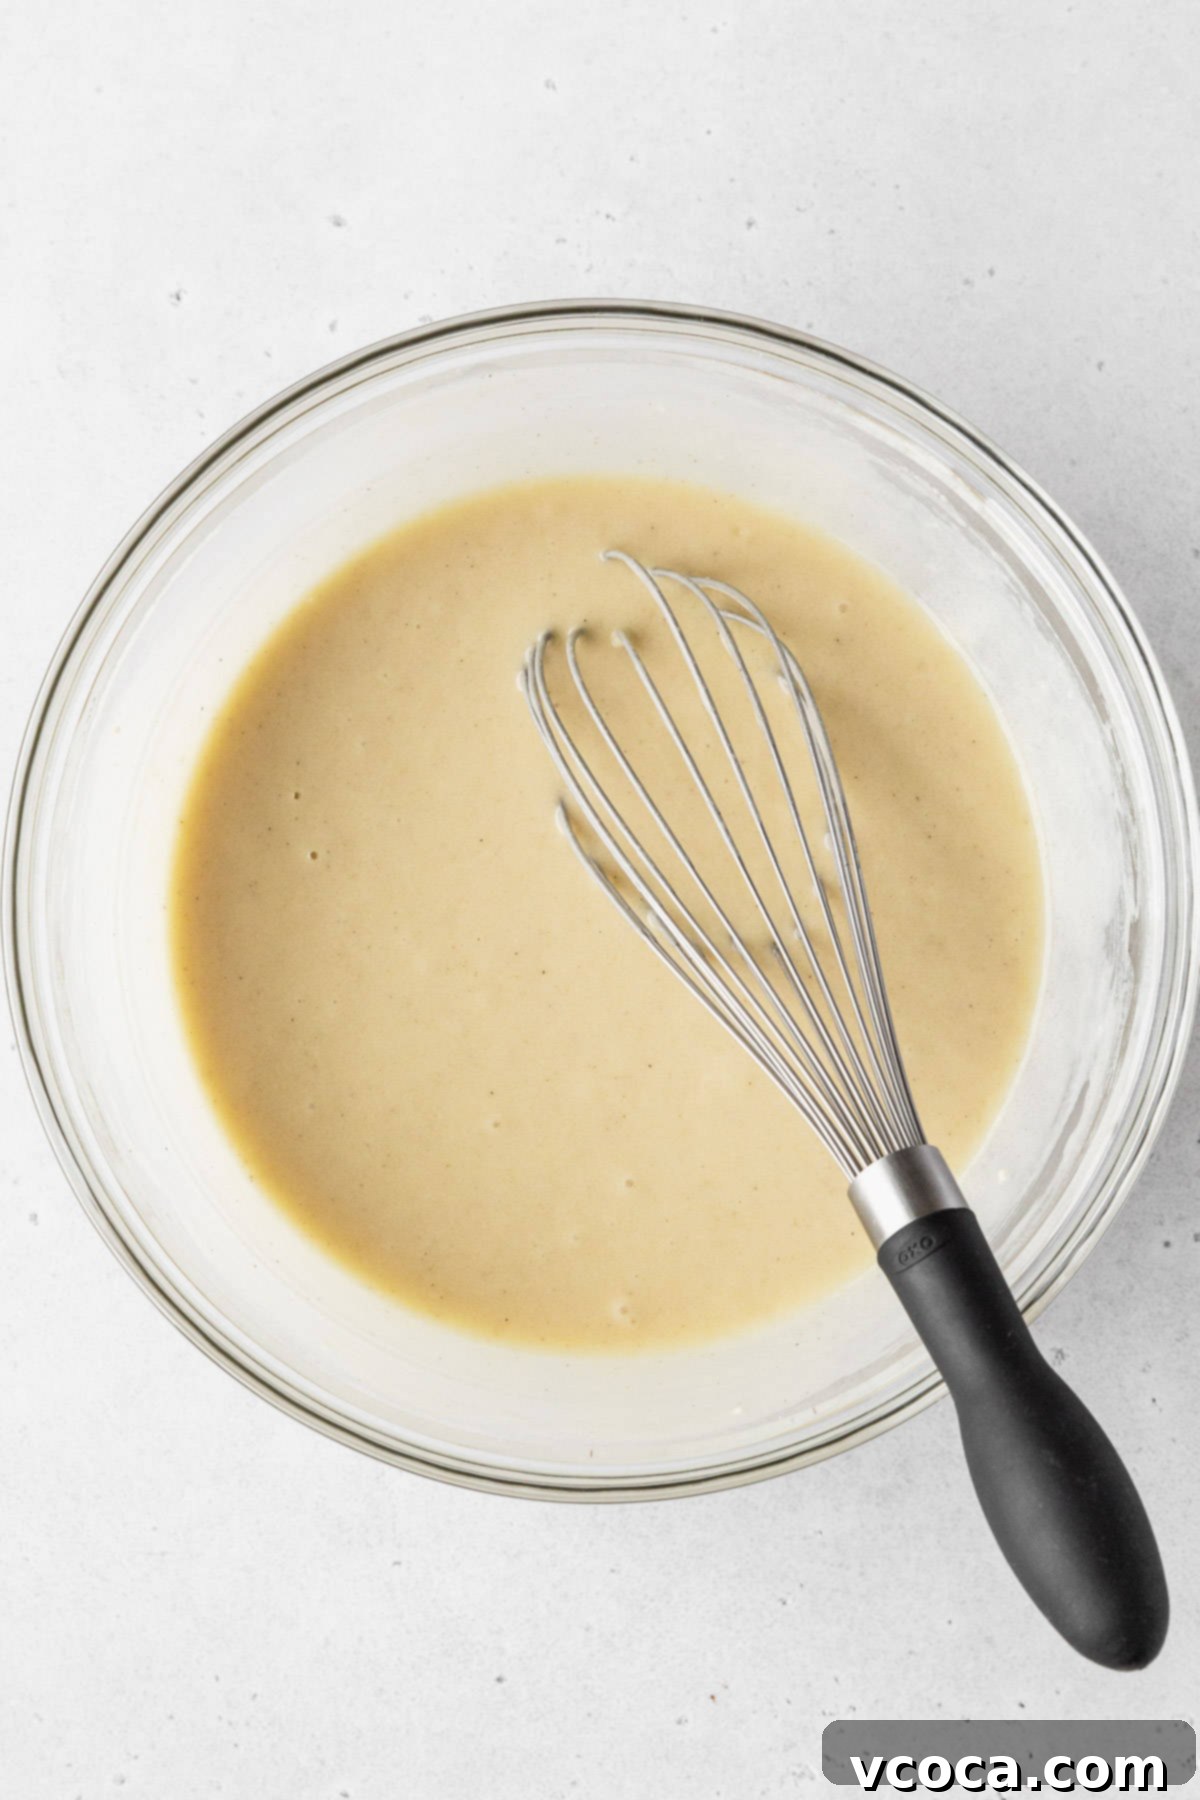
Step 4: Finish the Batter. Pour in the unsweetened dairy-free milk and stir gently until a smooth, cohesive batter forms. The milk helps to thin the batter to the perfect consistency for light cupcakes. After mixing, take a moment to scrape down the sides and bottom of the bowl with a rubber spatula to ensure all ingredients are fully incorporated, leaving no pockets of dry flour or unmixed batter.
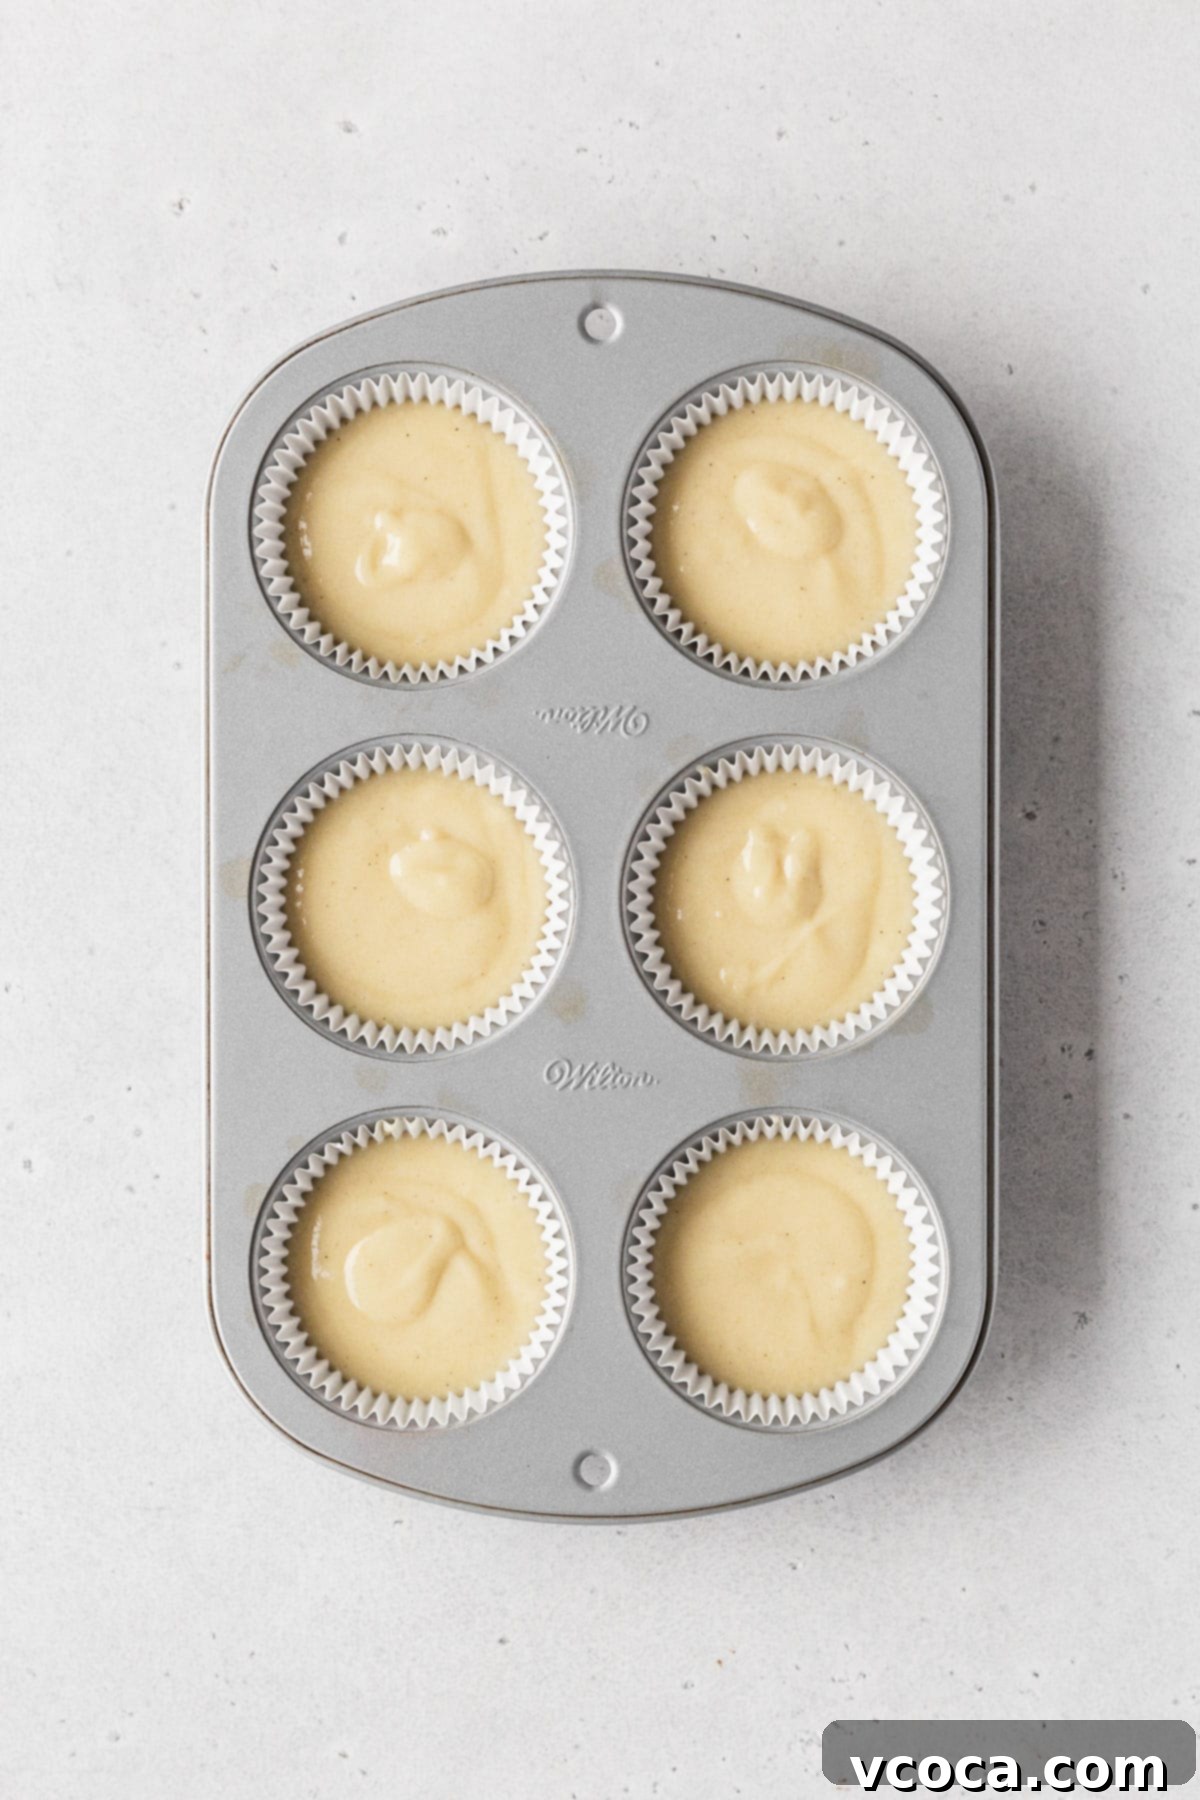
Step 5: Bake to Perfection. Evenly fill each paper liner with the cupcake batter, aiming for about ½ to ⅔ full. This ensures the cupcakes have enough room to rise without overflowing. Bake the cupcakes in your preheated oven for approximately 18 minutes. Baking times can vary by oven, so keep an eye on them. To check for doneness, insert a clean toothpick into the center of a cupcake. If it comes out clean or with a few moist crumbs attached, they’re ready! If you see wet batter, bake for another minute or two, checking frequently. Overbaking can lead to dry cupcakes, so be vigilant.
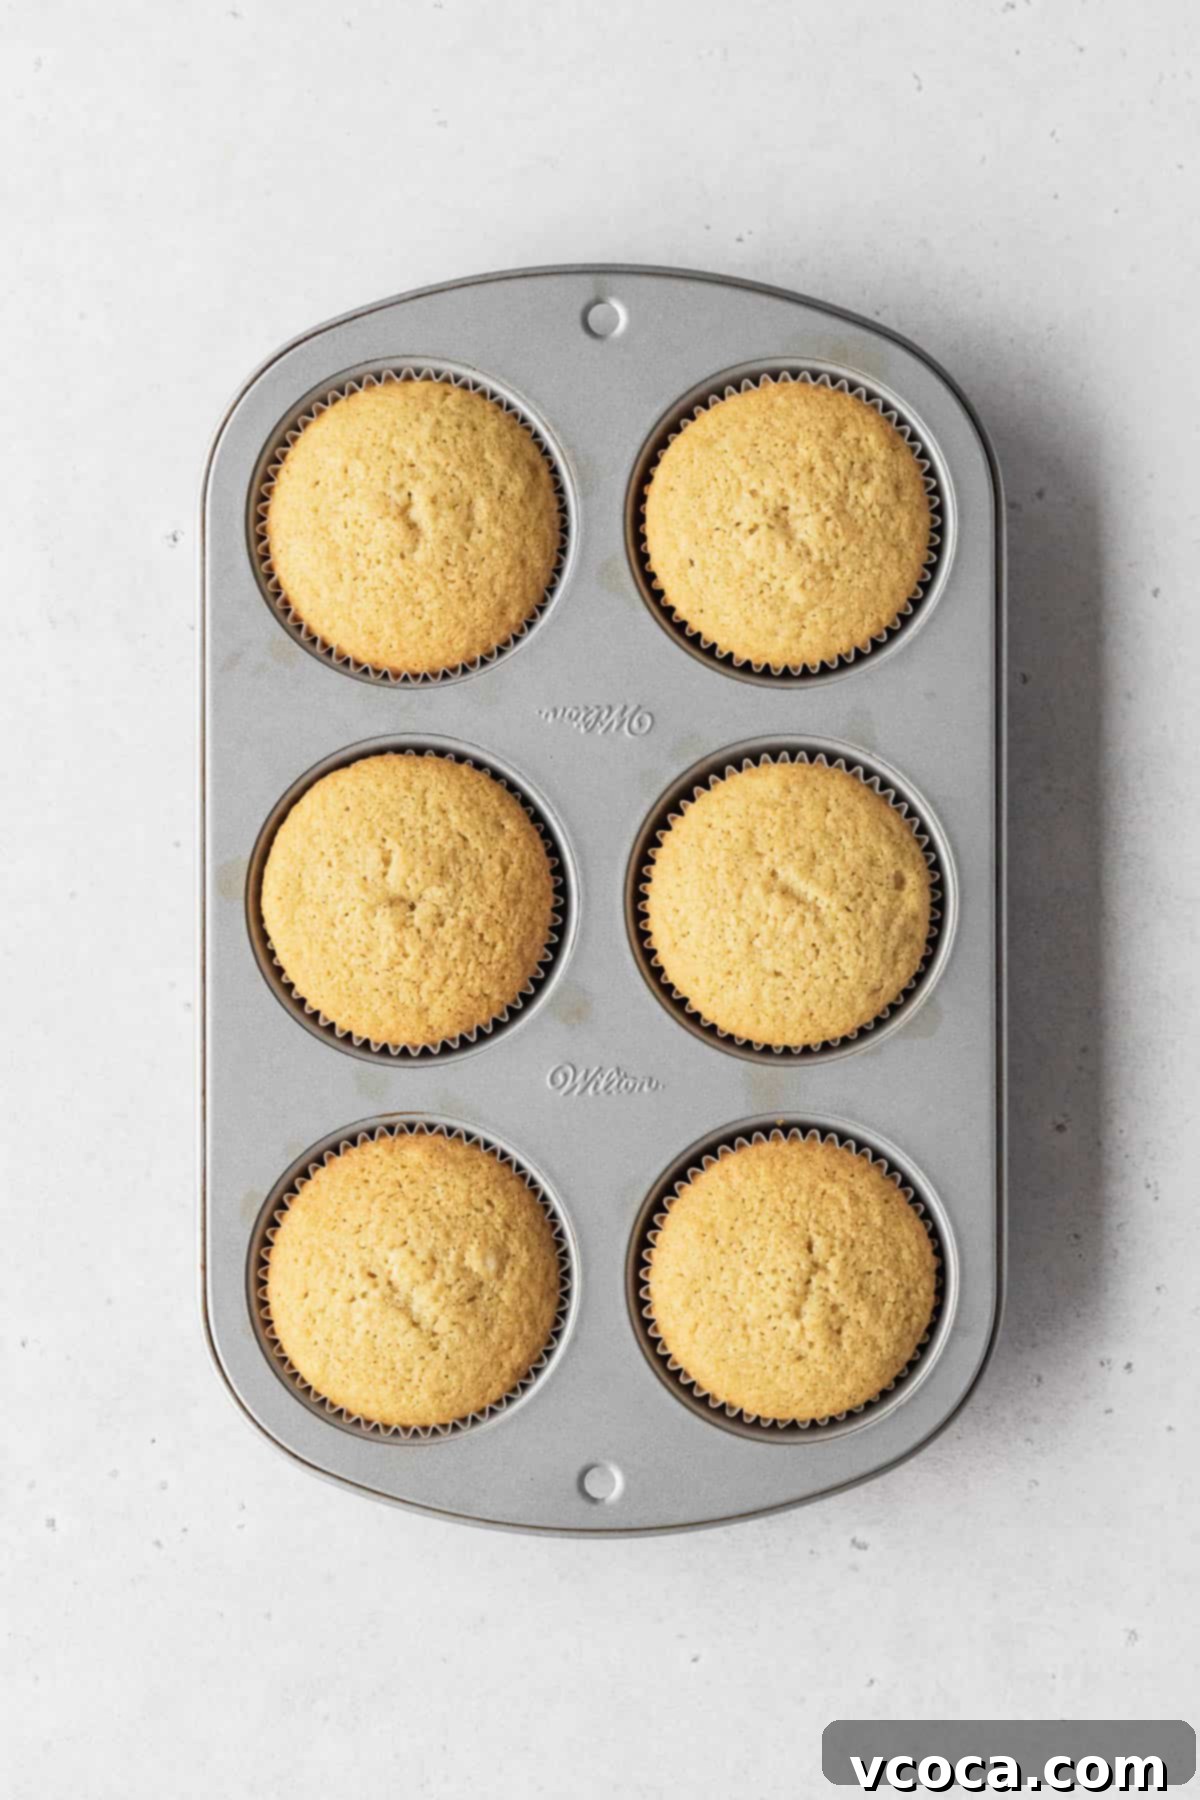
Step 6: Allow for Proper Cooling. Once baked, let the cupcakes cool in the pan for just 1 minute. This brief resting period helps them firm up slightly before you transfer them. Carefully remove the cupcakes from the pan and place them on a wire rack to cool completely. This is a critical step – attempting to frost warm cupcakes will result in melted, sliding frosting, so patience is key!
Step 7: Prepare the Vegan Buttercream Frosting. While your dairy-free vanilla cupcakes are baking and then cooling, it’s the perfect time to prepare the star of the show: my creamy dairy-free vanilla buttercream. For the most intense and authentic vanilla flavor, I highly recommend using the fragrant seeds scraped directly from a vanilla bean or a good quality vanilla paste. These options provide a richer, more complex vanilla profile compared to extract alone. Follow the instructions for that recipe to achieve a light, fluffy, and stable frosting.
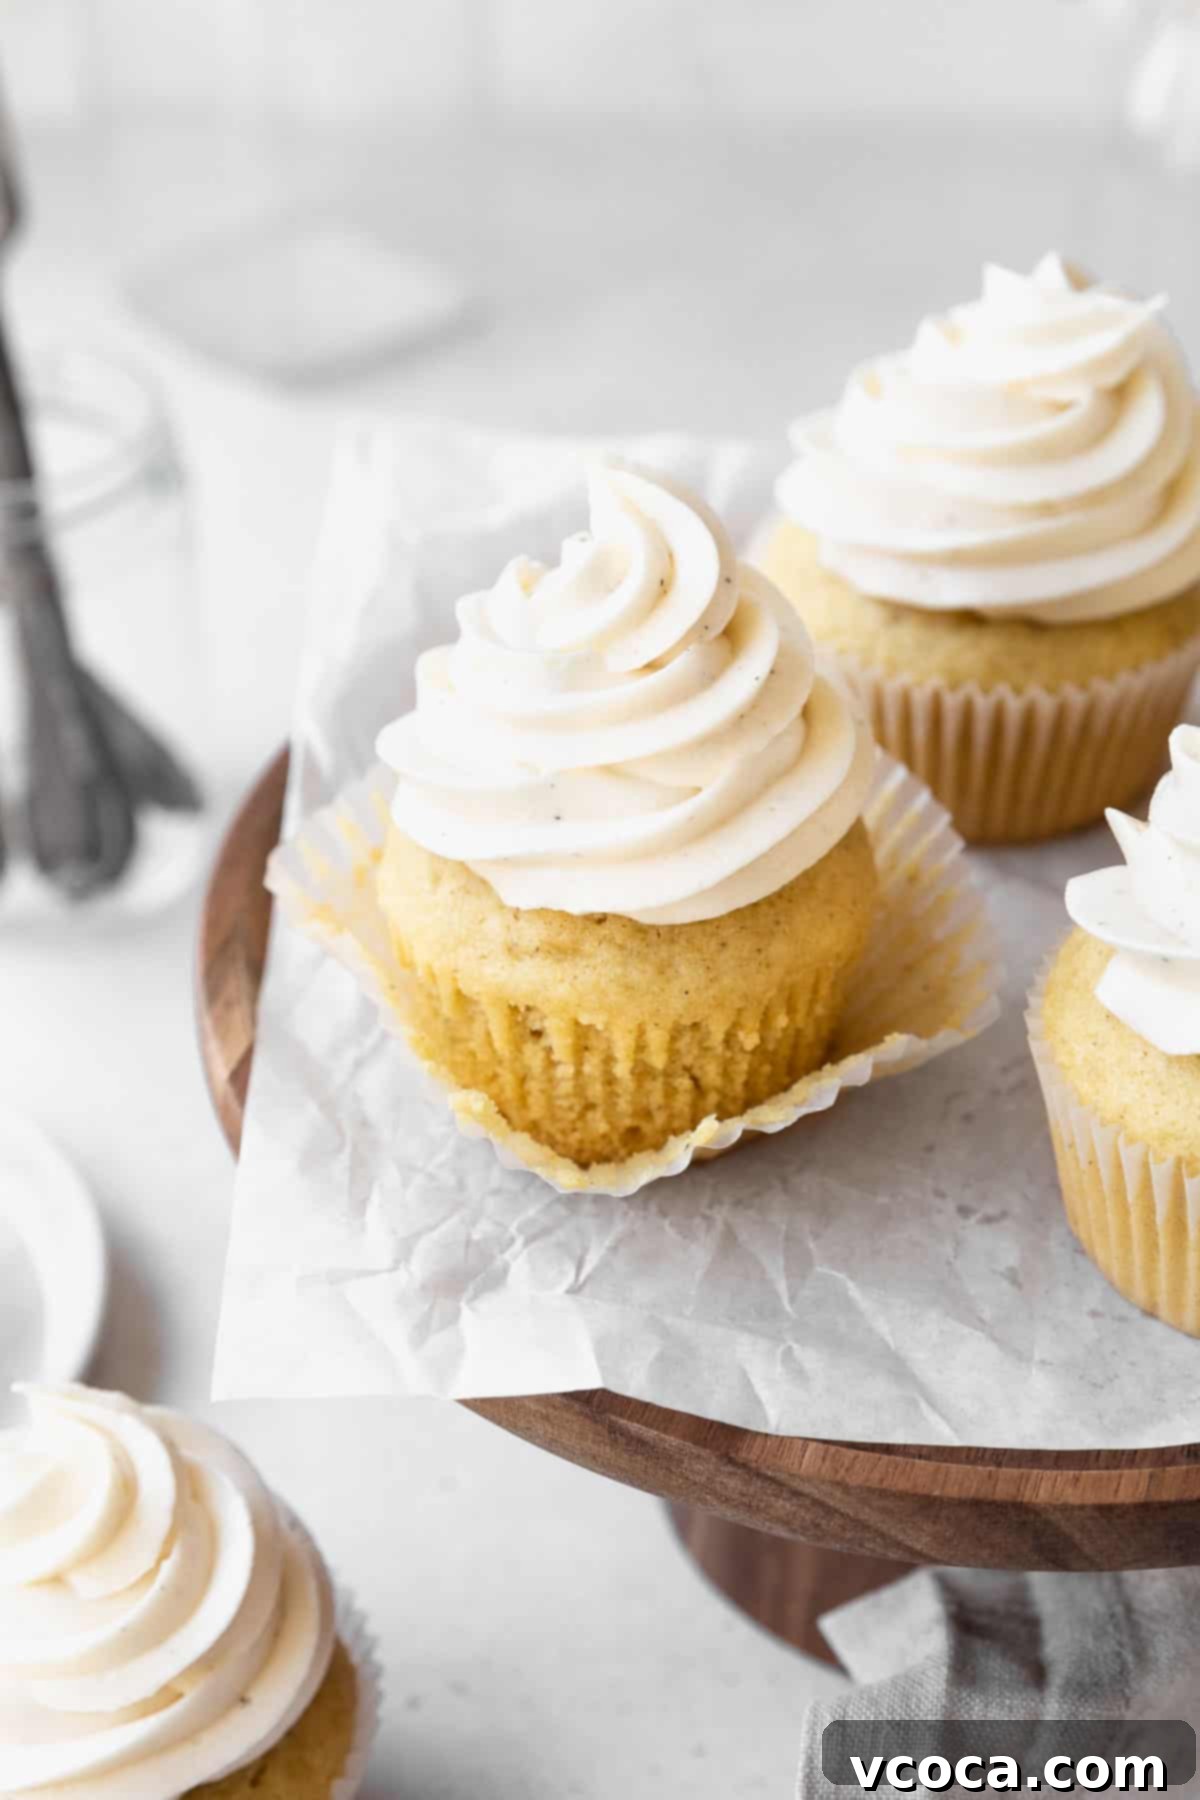
Step 8: Frost and Serve! Once your cupcakes have completely cooled to room temperature (this is non-negotiable for perfectly frosted results!), it’s time for the fun part! Get creative and frost the cupcakes any way you like. Use a piping bag with your favorite tip for elegant swirls, or simply spread the buttercream with an offset spatula for a charming, rustic look. Decorate with sprinkles, fresh fruit, or a dusting of cocoa powder if desired. Enjoy your homemade dairy-free delights!
Transforming into Gluten-Free Vanilla Cupcakes
For those who also need to avoid gluten, transforming this recipe into delicious dairy-free gluten-free cupcakes is surprisingly simple, primarily involving a single flour swap. The key is to use equal amounts of a high-quality measure-for-measure or 1-to-1 GF flour blend that already includes xanthan gum in its mixture. Bob’s Red Mill 1-to-1 Baking Flour is my personal go-to for its consistent results. (Note: 1⅓ cup of this blend is approximately 197g.)
To ensure your gluten-free dairy-free vanilla cupcakes achieve the perfect texture and rise, it’s crucial to follow these specific tips:
- Extended Mixing Time: After the gluten-free cupcake batter initially comes together, continue mixing it for an additional 2 minutes. This extended mixing period is vital for gluten-free flours, as it helps to properly hydrate the starches and activate the xanthan gum, which is essential for developing structure in the absence of gluten.
- Rest the Batter: Allow the gluten-free dairy-free cupcake batter to rest for a minimum of 30 minutes before baking. Gluten-free flours require extra time to fully absorb liquids and hydrate properly. Skipping this critical resting step can result in cupcakes with an undesirable grainy or gritty texture.
- Strategic Oven Preheat: Plan your oven preheating around the batter’s resting time. Many ovens automatically shut off if not used within about 20 minutes of preheating. Therefore, wait to preheat your oven until *after* you’ve prepared the batter and it’s beginning its rest. This ensures your oven is perfectly hot when your batter is ready.
- Complete Cooling is Essential: It can be tempting to try a warm cupcake straight from the oven, but for gluten-free baked goods, resist the urge! Gluten-free cupcakes continue to cook and set as they cool. If you eat them while still warm, they may feel a little mushy or have an unfinished texture. Allow them to cool completely on a wire rack to achieve their best firm yet tender consistency.
Expert Tips for Dairy-Free Cupcake Perfection
Achieving bakery-quality dairy-free cupcakes is entirely within reach with a few simple expert tips:
- Room Temperature Ingredients are a Must: Always, always use room-temperature ingredients, especially your eggs and vegan butter. This isn’t just a suggestion; it’s crucial for baking success. Room temperature ingredients emulsify much better, creating a smooth, uniform batter that doesn’t require overmixing. Overmixing can lead to tough cupcakes, even with dairy-free recipes, so start with ingredients that blend effortlessly.
- Scrape the Bowl Thoroughly: Between each addition of ingredients, take a moment to pause and thoroughly scrape down the sides and bottom of your mixing bowl with a rubber spatula. This simple step ensures that all ingredients are fully incorporated and prevents pockets of unmixed flour or butter, leading to a consistent and perfectly textured cupcake.
- Patience with Cooling: I cannot stress this enough: let your cupcakes cool completely before even thinking about frosting them. If the cupcakes are even slightly warm, the heat will melt the delicate vegan buttercream, causing it to slide right off, creating a mess instead of a masterpiece. Plan ahead and give them ample time to cool on a wire rack.
- Achieve Uniformity with a Scoop: For perfectly sized and evenly baked cupcakes, a cookie scoop (or ice cream scoop) is your best friend. It ensures consistent measurements for each liner, which translates to all your cupcakes baking at the same rate and looking beautifully uniform.
- Invest in Quality Liners: Don’t let your gorgeous mini cakes stick to their wrappers! Use high-quality cupcake liners. Cheaper liners can sometimes adhere to the cupcake, making them difficult to remove and enjoy. A good quality liner will peel away cleanly, preserving the integrity and beauty of your baked goods.
- Measure Flour Correctly: For consistent results, always spoon your flour into the measuring cup and then level it off with a straight edge. Scooping directly from the bag can compact the flour, leading to too much flour and a dry, dense cupcake.
- Don’t Overbake: As mentioned in the instructions, watch your cupcakes closely. Baking for too long will dry them out. The toothpick test is reliable; aim for moist crumbs, not a completely dry toothpick, which often indicates overbaking.
Storage Instructions for Freshness
To keep your delightful dairy-free vanilla cupcakes tasting their best, proper storage is key:
Refrigeration: Once baked and frosted, these DF vanilla cupcakes will maintain their deliciousness for about 3 days when stored in an airtight container in the fridge. While they might still be edible for a couple of days beyond that, their freshness and moist texture will diminish. For optimal enjoyment, let the cupcakes come to room temperature on the counter for 15-20 minutes before serving. This allows the vegan buttercream to soften to its ideal creamy consistency.
Freezing for Longer Storage: To extend their shelf life, you can easily freeze these cupcakes. First, chill the frosted cupcakes in the fridge until the frosting is completely firm, almost rock solid. This prevents the frosting from smudging. Then, carefully wrap each individual cupcake tightly with plastic wrap, ensuring no air exposure. Place the wrapped cupcakes in an airtight freezer-safe container or bag. They can be stored in the freezer for up to a month. To enjoy, transfer the frozen cupcakes to the fridge overnight to defrost. Once thawed, let them come to room temperature on the counter for 15-20 minutes before serving, allowing the buttercream to soften beautifully.
Frequently Asked Questions About Dairy-Free Cupcakes
To be honest, I haven’t personally attempted to make these cupcakes entirely egg-free, so I cannot provide a definitive answer with full confidence. Egg-free and gluten-free baked goods can be particularly finicky to develop, as eggs provide crucial binding and structure that is already challenging to replicate in gluten-free recipes. Therefore, I’m unsure what specific egg substitutes would work effectively without compromising the texture or rise of these cupcakes.
If you do experiment with making the recipe egg-free, I would be incredibly grateful if you could share your results and any insights by commenting below! Your feedback helps the entire baking community.
For these vanilla cupcakes, an unsweetened, neutral-flavored dairy-free milk works best. Soy milk, oat milk, and almond milk are all excellent choices. Avoid highly flavored or sweetened varieties unless you specifically want to incorporate that flavor, as they can alter the balance of the recipe.
Several factors can lead to dense cupcakes. Overmixing the batter is a common culprit; it develops the gluten in the flour too much, making the cupcakes tough. Ensure your leavening agents (baking soda and baking powder) are fresh and active. Also, make sure your ingredients are at room temperature, as cold ingredients can lead to a lumpy batter that requires more mixing. Lastly, improper measurement of flour (too much) or not enough liquid can also result in a dense texture.
Yes, you can use refined coconut oil if you prefer. Ensure it’s in its liquid state when adding it to the wet ingredients. Refined coconut oil has a very mild flavor and works well in baking. If you use unrefined coconut oil, be aware that it will impart a subtle coconut flavor to your cupcakes.
Check the nutrition label on your vegan butter package. Look for the “Total Fat” content per serving (usually 1 tablespoon or 2 teaspoons). If it’s around 8-10 grams of fat per 2 teaspoons, it’s a good quality vegan butter for baking that mimics traditional butter well. Brands like Miyoko’s Kitchen or Earth Balance (specifically the sticks) are often reliable for baking.
Explore More Delicious Dairy-Free Dessert Recipes
If you loved these dairy-free vanilla cupcakes, be sure to check out some of my other fantastic dairy-free dessert creations:
- These dairy-free peanut butter cookies are utterly chewy and satisfying! They feature a delightful crisp exterior, yielding to a soft, incredibly chewy center bursting with rich peanut butter flavor in every bite.
- For a perfect balance of sweet and tangy, try my dairy-free lemon bars. Imagine sinking your teeth into a square of buttery shortbread topped with a thick, luscious, and vibrant lemon curd – pure bliss!
- This dairy-free pumpkin pie offers an unbelievably silky and rich texture that’s absolutely divine. It’s an indispensable addition to any fall gathering or holiday feast.
More Irresistible Cupcake Recipes
If you’re a cupcake enthusiast, you’ll love exploring these other delectable recipes:
- My chocolate cupcakes are renowned for being super moist and delightfully fluffy – they consistently deliver on flavor and texture!
- For a classic with a twist, try my carrot cake cupcakes. They’re wonderfully spiced and generously topped with a tangy, lemony cream cheese frosting.
- If you adore matcha lattes, then these matcha cupcakes with white chocolate frosting are undoubtedly right up your alley – a unique and elegant treat!
- These chocolate peanut butter cupcakes are a dream come true for any Reese’s lover, combining two beloved flavors into one irresistible dessert!
Thanks so much for stopping by and taking the time to discover this incredible Dairy-Free Vanilla Cupcake Recipe. I truly hope you enjoyed making and tasting these delightful treats as much as I do! Don’t forget to connect with me and share your baking adventures on social media – follow me on Pinterest, Facebook, and Instagram for more recipes and inspiration. You can also ensure you never miss any of my newest content by signing up for my exclusive email newsletter, delivered straight to your inbox!
Dairy-Free Vanilla Cupcakes
Ingredients
Vanilla cupcakes
- 1⅓ cup all-purpose flour
- ⅓ cup cornstarch
- ½ teaspoon fine salt
- ½ teaspoon baking soda
- 2 teaspoons baking powder
- 1 cup granulated sugar
- ½ stick vegan butter softened at room temperature
- ¼ cup oil
- 2 large eggs
- ⅓ cup mayonnaise
- 4 teaspoons vanilla extract
- ⅔ cup unsweetened dairy-free milk
Vanilla buttercream frosting
- 2 sticks vegan butter softened at room temperature
- ⅓ cup shortening can substitute equal amounts vegan butter
- 3 cups powdered sugar
- ⅓ vanilla beans a 2 inch piece, with the seeds scraped out
- ¼ teaspoon fine salt
Instructions
Cupcakes
- Preheat your oven to 340°F (170°C) and line your cupcake pan with paper liners.
- In a large bowl, whisk together the flour, cornstarch, salt, baking soda, baking powder, and granulated sugar. Add the softened vegan butter and work it into the flour until the mixture looks like sand.
- In a separate bowl, mix the oil, eggs, mayonnaise, and vanilla extract until smooth. Add this to the dry ingredients and mix until combined.
- Stir in the milk until a smooth batter forms. Scrape the sides and bottom of the bowl.
- Fill the liners evenly with the batter, about ½ to ⅔ full. Bake the cupcakes in the preheated oven for 18 minutes. Check for doneness by inserting a toothpick into the center. If you see any crumbs, bake for another minute or two. Let the cupcakes cool in the pan for 1 minute before taking them onto a wire rack to cool completely.
Frosting
- In the bowl of a stand mixer, beat the softened vegan butter and shortening for 3 to 4 minutes until fluffy and light in color.
- Add a third of the powdered sugar and continue beating. Scrape the sides and bottom of the bowl with a spatula before each addition. After adding all of the sugar, taste to see if it’s sweet to your liking. Add more sugar if you’d like.
- Once the powdered sugar is all incorporated, add the salt and seeds inside the vanilla bean and beat again. Frost the cupcakes any way you like!
Notes
- Always use room-temperature ingredients, including your eggs. This ensures that everything blends together well without needing to overmix the batter.
- Scrape the bowl with a spatula between adding ingredients to make sure everything is being incorporated properly.
- Let the cupcakes cool completely before frosting. If they’re even slightly warm, the frosting will slide right off.
- Use an ice cream scoop for clean and even measurements.
- Use high-quality cupcake liners so they don’t stick to your gorgeous mini cakes.
