Indulge in the Best Moist & Rich Gluten-Free Chocolate Cake Recipe (A Decadent Delight!)
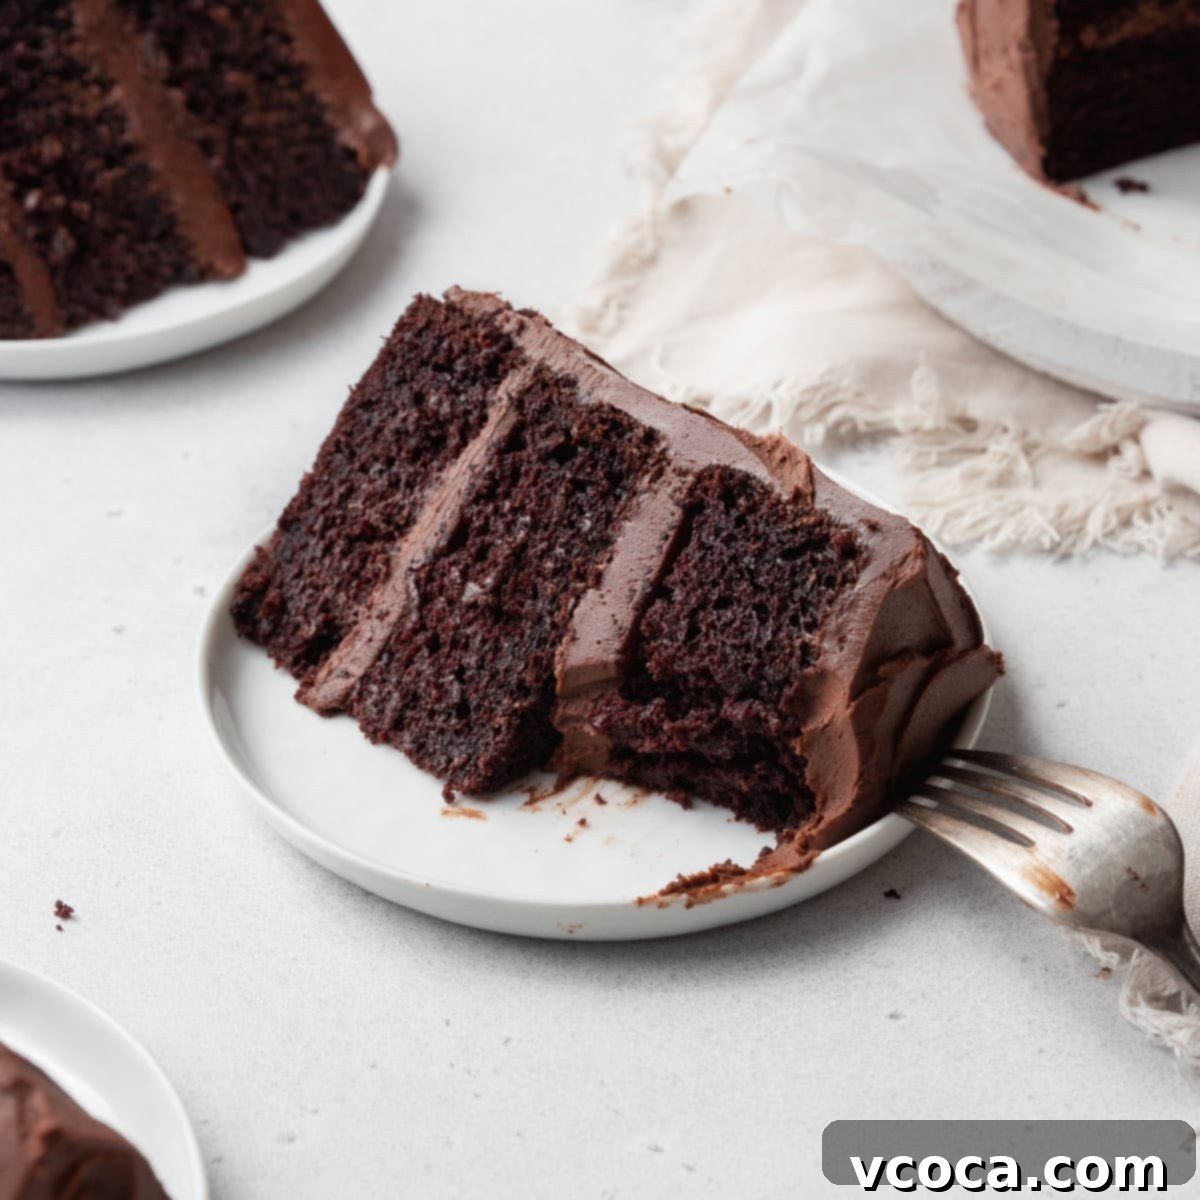
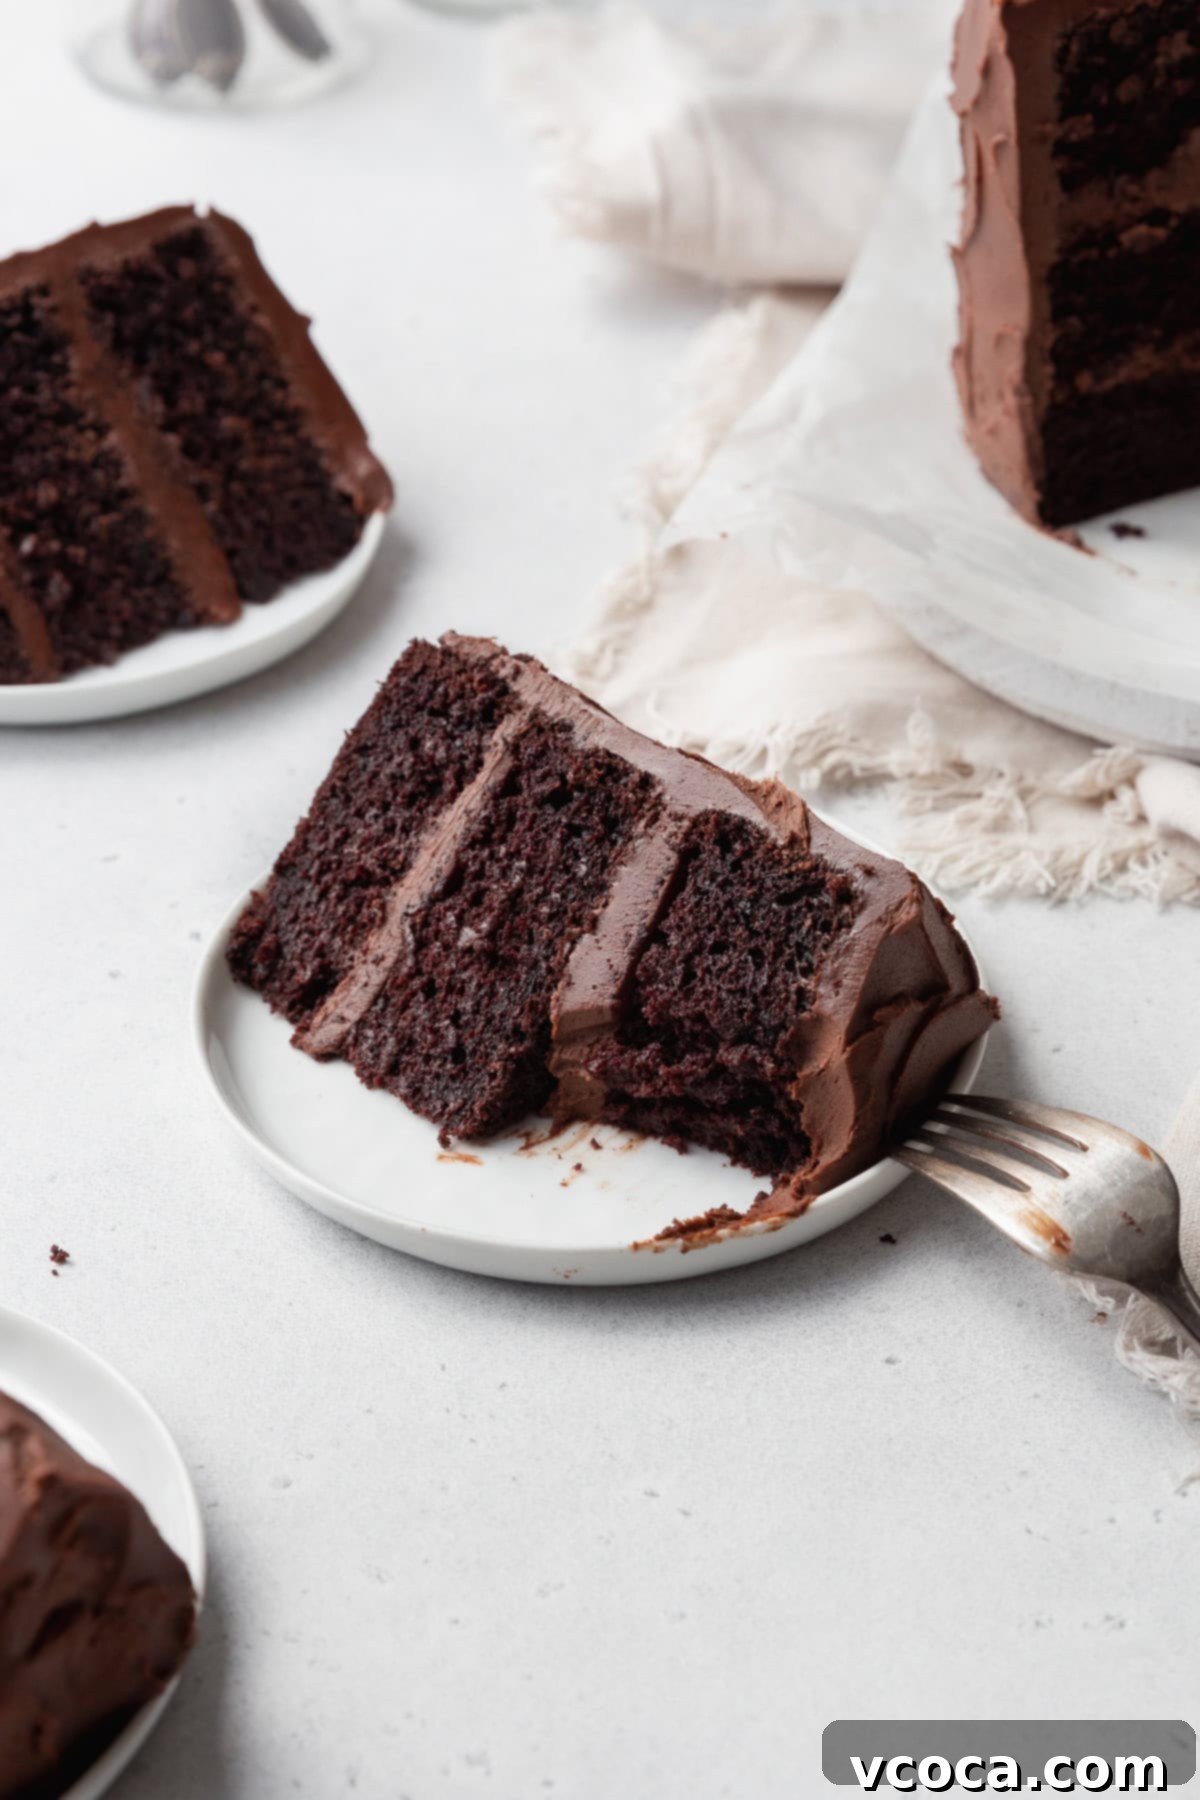
Prepare to be amazed by this truly sensational gluten-free chocolate cake! Don’t let the “gluten-free” label fool you – this isn’t just a good gluten-free cake; it’s an exceptional chocolate cake, period. With its incredibly rich, moist, and profoundly chocolatey flavor, it stands tall against any traditional recipe. Crafted with simple, readily available ingredients like cocoa powder, fresh eggs, fragrant vanilla, and more, you likely have most of what you need in your pantry right now. Crowned with a luxurious, creamy chocolate frosting, this cake is pure bliss in every bite.
Over the years, this recipe has become my go-to for countless special occasions. From joyous birthdays and festive holidays to elegant bridal parties and casual potlucks, it has graced many tables and consistently earned rave reviews. What’s truly remarkable is that no one ever suspects it’s gluten-free! Its perfect texture and deep flavor make it universally appealing, ensuring smiles all around.
Before you dive straight into the recipe card for the step-by-step instructions, take a moment to explore our detailed notes, expert tips, and essential ingredient insights. These invaluable pieces of advice are designed to help you achieve the absolute best gluten-free chocolate cake possible, making your baking experience smooth and successful.
Why This Gluten-Free Chocolate Cake is a Must-Try
What makes this particular gluten-free chocolate cake recipe stand out from the rest? Let’s break down the irresistible qualities that make it a consistent crowd-pleaser and a joy to bake:
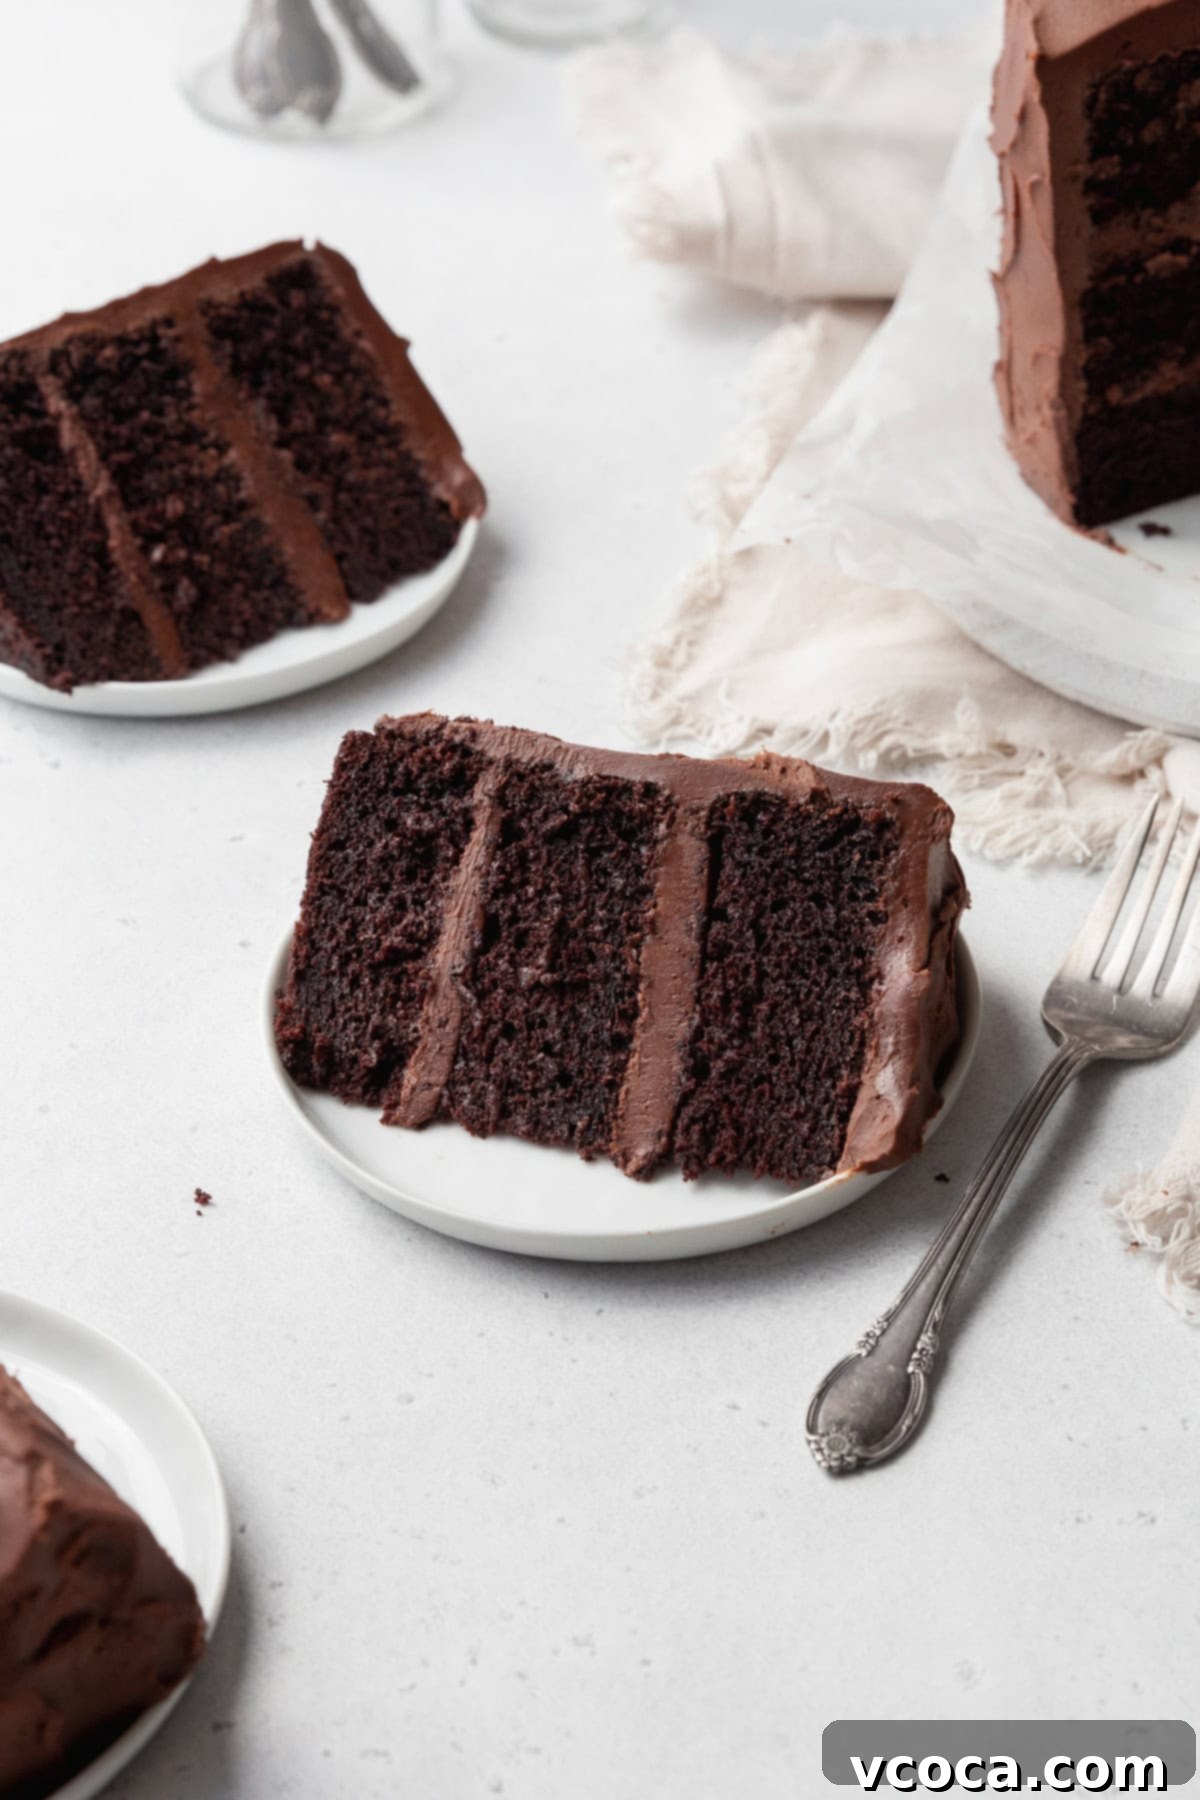
- Unbelievably Moist & Rich: Forget dry, crumbly gluten-free cakes. This recipe delivers a texture that is exceptionally soft, tender, and fluffy, boasting a luxurious moisture that melts in your mouth. The secret lies in a careful balance of ingredients and techniques that enhance its deep, authentic cocoa flavor.
- Remarkably Easy to Make: Despite its impressive results, this is a very straightforward recipe. Designed with simplicity in mind, it uses common ingredients and clear steps, making it accessible even for novice bakers. It’s so user-friendly, even my kid loves helping out with it!
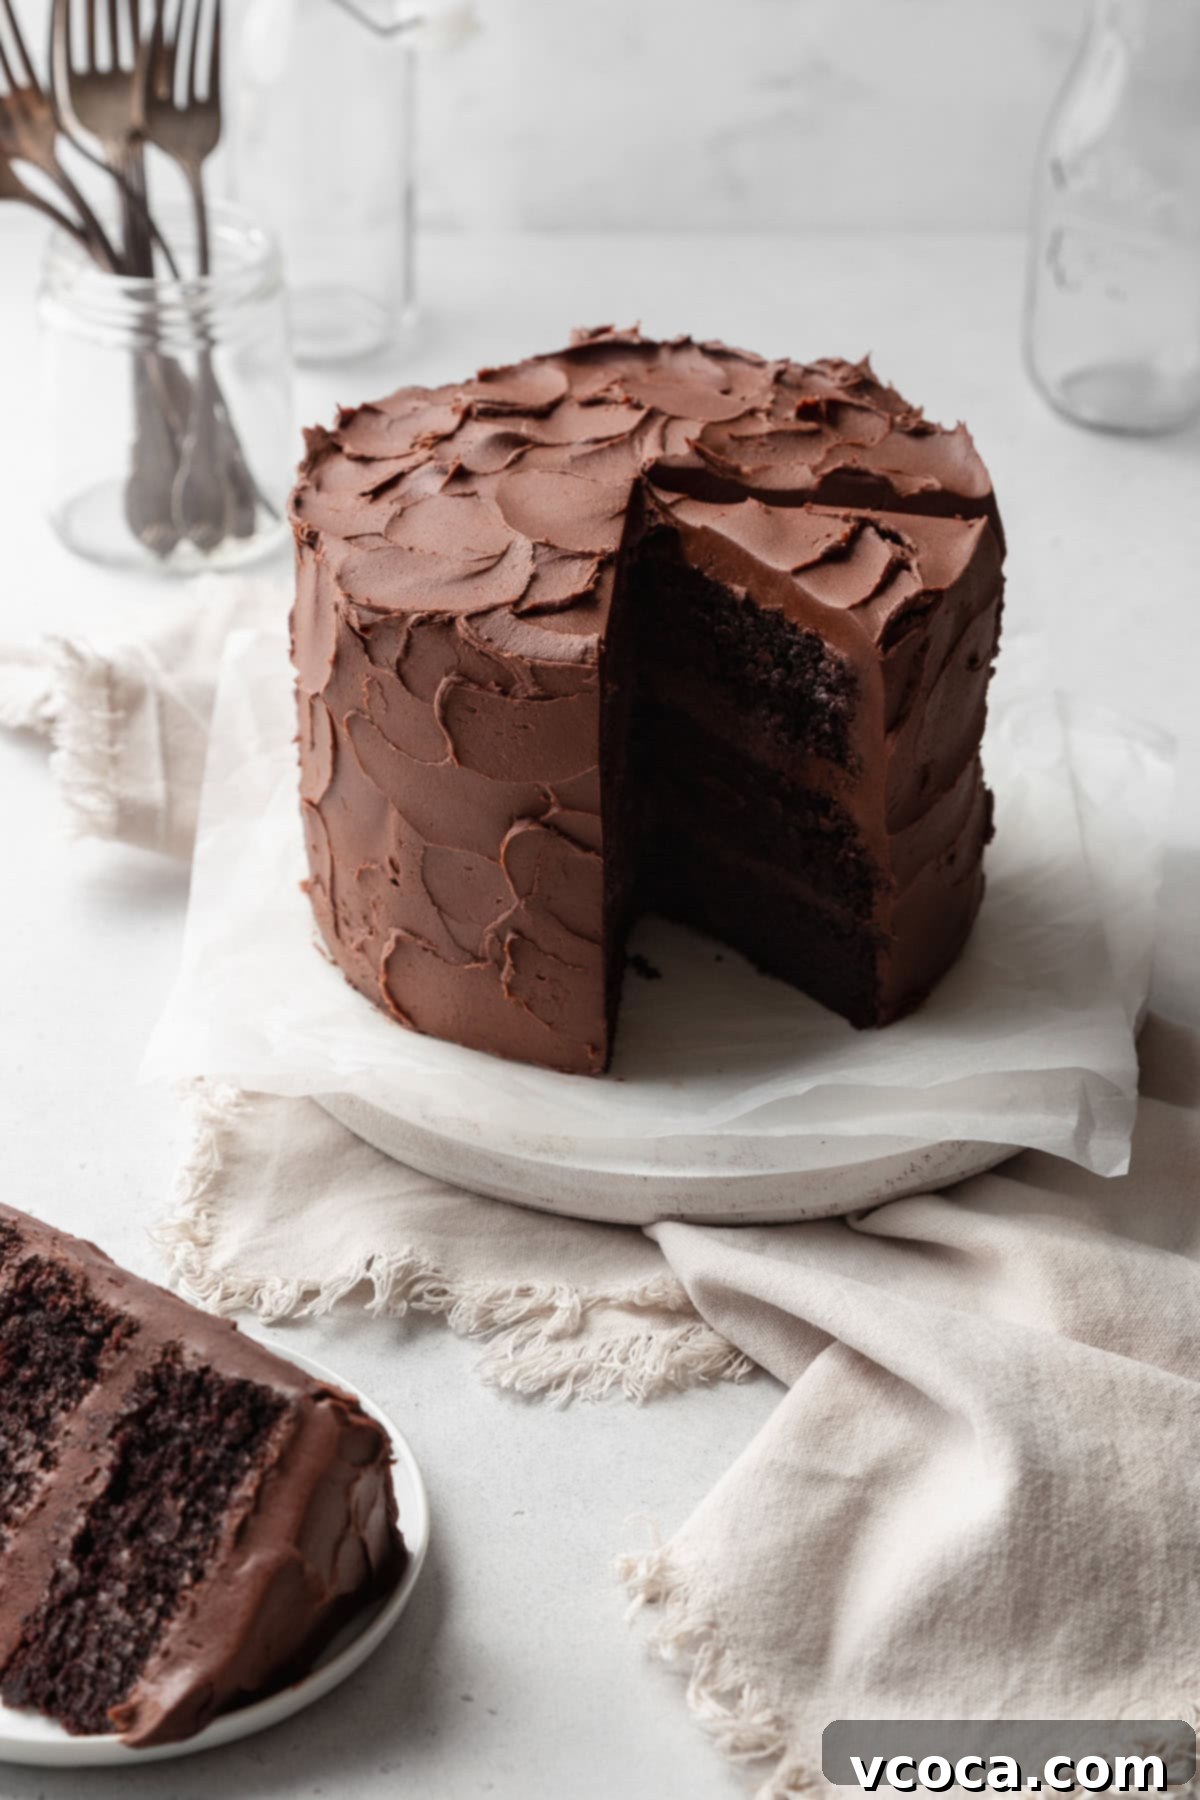
- Incredibly Versatile for Any Occasion: Adaptability is key! While I often bake this as an elegant three-layer 6-inch cake, the batter is perfect for various presentations. You can easily create a classic two-layer 8-inch cake, a convenient sheet cake for larger gatherings, or even adorable, individual cupcakes. Feel free to experiment with different pan sizes to suit your needs.
- A Universal Crowd Favorite: This cake transcends dietary preferences. Time and again, guests rave about this chocolate cake, often completely unaware that it’s gluten-free. It’s the ultimate dessert to serve when you want to impress everyone at the table, ensuring that both gluten-free and non-gluten-free eaters alike will ask for seconds!
Essential Ingredients for Your Perfect Gluten-Free Chocolate Cake
While the ingredients for this gluten-free chocolate cake recipe are generally simple, understanding a few key details about each can elevate your baking from good to absolutely fantastic. Paying attention to these specifics will ensure your cake turns out exceptionally moist, rich, and flavorful.
- Cocoa Powder: The Heart of the Chocolate Flavor
It’s crucial to use pure cocoa powder, not a hot cocoa mix, which often contains sugar and milk solids that will throw off the recipe’s balance. For this particular recipe, I highly recommend using Dutch-processed cocoa powder. Dutch-processed cocoa has been treated with an alkali to neutralize its acidity, resulting in a darker color and a smoother, milder chocolate flavor compared to natural cocoa powder. It also reacts differently with leavening agents, which is important for the cake’s rise and texture. Trust me, I’ve made the mistake of using the wrong kind, and the end result was quite disappointing! - Baking Powder: Your Leavening Agent Check
A common oversight in gluten-free baking is assuming all baking powder is naturally gluten-free. This isn’t always the case! Some brands use wheat starch as a filler. Always be sure to check the packaging to confirm it’s certified gluten-free. Baking powder, along with baking soda, is essential for giving the cake its beautiful rise and light, airy texture. - Oil: The Secret to Supreme Moisture
I prefer using neutral-flavored oils such as avocado oil or light olive oil in this cake. The reason is simple: using oil instead of solid fats like butter helps keep the cake incredibly moist and tender. Oil remains liquid at room temperature, contributing to a softer crumb, whereas butter can solidify, leading to a denser texture. Other great options include canola or vegetable oil. - Buttermilk: For Tender Crumb and Tangy Depth
Buttermilk is a superstar ingredient that significantly enhances the cake’s moisture and creates a wonderfully tender crumb. Its acidity also reacts with the baking soda, aiding in leavening. If you don’t have buttermilk on hand, don’t worry! You can easily make a substitute:- Dairy Buttermilk Substitute: Combine ¾ cup (180ml) whole milk with ¼ cup (60ml) sour cream or plain yogurt. Stir well and let it sit for 5-10 minutes until it slightly thickens and curdles.
- Dairy-Free Buttermilk Substitute: Mix ¾ cup (180ml) non-dairy milk (like almond or soy milk) with ¼ cup (60ml) mayonnaise. The acidity from the mayonnaise helps mimic the tang and texture of buttermilk in dairy-free baking.
- Hot Coffee: The Flavor Enhancer
This might sound unusual, but adding hot coffee is a game-changer! The hot liquid helps to “bloom” the cocoa powder, intensifying and deepening the chocolate flavor without making the cake taste like coffee. You can use freshly brewed coffee, reheated leftover coffee, or instant coffee dissolved in hot water. If you’d prefer to skip the coffee entirely, simply use an equal amount of hot water. Hot water will still help to bloom the cocoa, but it won’t add the subtle depth of flavor that coffee provides.
Choosing the Best Gluten-Free Flour for Your Cake
The choice of gluten-free flour is paramount for the success of this cake. It’s absolutely essential that you use a 1-to-1 gluten-free flour blend that contains xanthan gum. My personal favorite and go-to is Bob’s Red Mill 1-to-1 Baking Flour. Many popular blends, like King Arthur Gluten-Free Measure for Measure or Cup4Cup, are also excellent choices, provided they include xanthan gum.
Why is xanthan gum so important? In traditional baking, gluten provides structure and elasticity, preventing cakes from crumbling. In gluten-free baking, xanthan gum acts as a binder, mimicking the properties of gluten. It gives the cake structure, helps trap air for a good rise, and creates that desirable classic tender crumb you expect from a perfect cake. Without it, your gluten-free cake can turn out dry, brittle, and crumbly.
Avoid using single-ingredient gluten-free flours like almond flour, coconut flour, or oat flour on their own, as they have different absorption rates and structural properties. A balanced 1-to-1 blend is specifically formulated to replace wheat flour cup-for-cup in most recipes, making your baking much more straightforward and successful. For a deeper dive into different gluten-free flours and their uses, check out my comprehensive guide on all the gluten-free flours I keep in my pantry!
Expert Baking Tips for a Flawless Gluten-Free Cake
Achieving a perfect gluten-free chocolate cake isn’t just about the ingredients; it’s also about the technique. Follow these essential baking tips to ensure your cake turns out moist, tender, and beautifully risen every single time:
- Embrace Room Temperature Ingredients: This tip is crucial for both gluten-free and traditional baking. Allowing all your cold ingredients (like eggs and buttermilk) to come to room temperature ensures they combine smoothly and evenly with the other ingredients. This leads to a well-emulsified batter, which helps create a uniform crumb and a better rise in your final cake. Plan ahead by taking them out of the fridge at least 30 minutes to an hour before you start mixing.
- Let the Batter Rest – It’s Essential for GF: This is a non-negotiable step in gluten-free baking! After mixing your batter, let it rest for about 20-30 minutes before pouring it into your pans and baking. This crucial resting period allows the gluten-free flours to fully hydrate and absorb the liquid ingredients. Proper hydration helps to prevent the cake from having a dry, gritty, or crumbly texture – a common complaint with poorly made gluten-free baked goods. It results in a much smoother, more tender cake.
- Do Not Overbake Your Cake: Overbaking is the quickest way to turn a moist cake into a dry one. Begin checking for doneness at the 32-minute mark (or slightly before, depending on your oven). Insert a toothpick into the center of the cake. It should come out with only a few moist crumbs attached, but not wet batter. If the toothpick is completely clean, it’s likely already overbaked. Adjust your baking time as needed, but resist the urge to bake “just a few more minutes” if it looks ready.
Frosting & Decorating: Adding the Perfect Finish
While a classic chocolate buttercream is my personal favorite for this cake, its rich flavor profile makes it incredibly versatile. It would be equally delicious with a tangy cream cheese frosting, a nutty peanut butter buttercream, or a light and airy whipped ganache. Here are some invaluable tips to help you frost and decorate your gluten-free chocolate cake like a professional:
- Level Off Your Cake Layers: For a stable and aesthetically pleasing stacked cake, it’s vital to have flat layers. Before you begin stacking, use a long serrated knife or a dedicated cake leveler to gently trim the domed tops off your cooled cake layers. This creates uniform, flat surfaces that will stack neatly and prevent your cake from tilting.
- The Importance of a Crumb Coat: This simple step makes a world of difference for a beautifully smooth final frosting layer. Apply a very thin, even layer of frosting all over the cooled, leveled cake (sides and top). This “crumb coat” effectively seals in any loose crumbs, preventing them from mixing into your final layer of frosting. Once applied, chill the cake in the refrigerator for at least 30 minutes to allow the crumb coat to firm up. This firm base will make your final frosting layer much cleaner and smoother, giving your cake a professional finish.
- Get Creative with Garnishes: Don’t stop at just frosting! Elevate your cake with simple garnishes. Think chocolate shavings, colorful sprinkles, fresh berries, a dusting of cocoa powder, or even a drizzle of chocolate sauce. These small touches can add visual appeal and extra flavor.
Gluten Free Chocolate Cake Recipe
Print
Pin
Rate
Ingredients
Cake
- 1¾ cups Bob’s Red Mill gluten free 1-to-1 flour blend
- ¼ cup cornstarch
- ¾ cup Dutch processed cocoa powder
- 1 teaspoon fine sea salt
- 2 teaspoons baking soda
- 1 teaspoon baking powder
- 2 large eggs
- 1 cup granulated sugar
- ½ cup brown sugar
- ½ cup oil
- 1 cup buttermilk
- 2 teaspoons vanilla extract
- 1 cup hot coffee
Frosting
- 1½ cups butter softened at room temperature
- ¾ cup Dutch-processed cocoa powder
- 3 cups powdered sugar
- ½ teaspoon vanilla extract
- pinch of salt
- 1 to 3 tablespoons milk optional
Instructions
Cake
-
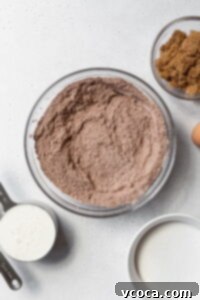
In a medium bowl, sift together gluten free flour, cornstarch, cocoa powder, salt, baking soda, and baking powder. This ensures there are no lumps and the dry ingredients are evenly distributed. Set it aside.
-
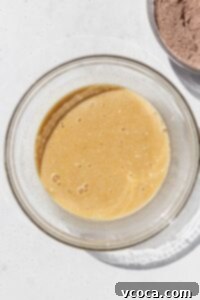
In a large bowl, whisk together the eggs, granulated sugar, brown sugar, oil, buttermilk, and vanilla extract until well combined and smooth.
-
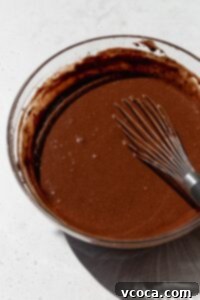
Gradually add the sifted dry ingredients to the wet ingredients. Mix until just combined, being careful not to overmix. Then, pour in the hot coffee and stir again until a smooth batter forms. Crucially, let the batter rest for at least 20 minutes; this allows the gluten-free flour to properly hydrate, ensuring a moist and tender cake.
-
While the batter rests, preheat your oven to 340°F (170°C). Prepare three 6-inch round pans (or two 8-inch round pans) by greasing them thoroughly and lining the bottoms with parchment paper. This prevents sticking and makes removal easy.
-
Evenly divide the rested batter into the prepared cake pans. Bake for 32-35 minutes, or until a toothpick inserted into the center comes out with moist crumbs (not wet batter). Allow the cakes to cool in the pans for 10 minutes before carefully inverting them onto a wire cooling rack to cool completely. This prevents them from collapsing and helps retain moisture.
Frosting
-
In the bowl of a stand mixer fitted with the paddle attachment, or with an electric hand mixer, cream the softened butter until it’s light, fluffy, and pale in color, about 2 minutes. Add the vanilla extract and a pinch of salt, and beat again until well incorporated.
-
Gradually add the Dutch-processed cocoa powder and powdered sugar, about ½ cup at a time, beating thoroughly after each addition. Make sure to scrape down the sides and bottom of the bowl with a spatula to ensure everything is fully combined and smooth.
-
If the frosting is too thick, add milk (dairy or non-dairy) one tablespoon at a time, beating until it reaches your desired smooth, spreadable consistency. Be careful not to add too much, as it can quickly become too thin.
-
Once your cakes are completely cool, frost and decorate them to your heart’s content! You can use an offset spatula for a rustic look or piping bags for more intricate designs.
Notes
Love this recipe?Snap a photo and share tagging @aimadeitforyou or tag #aimadeitforyou!
Nutrition
How to Store Your Gluten-Free Chocolate Cake for Freshness
Proper storage is key to keeping your delicious gluten-free chocolate cake fresh and moist for as long as possible. The best method largely depends on the type of frosting you’ve used.
- Cakes with Traditional Buttercream Frosting: If your cake is topped with a classic buttercream frosting (made with butter, powdered sugar, cocoa, and vanilla), you can store it in an airtight container at room temperature for up to 3 days. Ensure it’s away from direct sunlight or heat sources. For longer freshness, the refrigerator is always an option.
- Cakes with Cream Cheese or Dairy-Free Frosting: Frostings containing cream cheese or made with dairy-free substitutes (like vegan butter or mayonnaise in the “buttermilk”) are perishable. These cakes should always be stored in an airtight container in the refrigerator. They will remain fresh and delicious for up to 3 days. Remember to let refrigerated cake come closer to room temperature for about 30-60 minutes before serving for the best texture and flavor.
- Freezing for Long-Term Enjoyment: This cake freezes beautifully!
- For individual slices: Wrap each cake slice tightly with a couple of layers of plastic wrap, then place them in a freezer-safe bag or airtight container. They can be stored in the freezer for 1-2 months. Thaw individual slices in the refrigerator overnight or at room temperature for a few hours.
- For unfrosted cake layers: Once cooled completely, wrap each unfrosted cake layer individually in plastic wrap, then in a layer of aluminum foil. Place them in a freezer-safe bag. They can be frozen for up to 2-3 months. Thaw in the refrigerator before frosting.
Explore More Decadent Gluten-Free Cake Recipes
If you loved this gluten-free chocolate cake, you’re in for a treat! Here are more of my favorite delicious gluten-free cake recipes that promise flavor, moistness, and a delightful experience for everyone:
- For an even more indulgent chocolate experience, this rich and moist gluten-free German chocolate cake is absolutely calling your name! It features a luxurious, decadent coconut pecan frosting that perfectly complements its tender crumb.
- If you’re looking for an impressive cake that doesn’t rely on frosting, my vibrant gluten-free pineapple upside-down cake recipe is a fantastic choice. It’s stunningly beautiful and packed with sweet, caramelized pineapple flavor.
- Start your day (or enjoy a delightful brunch) with this comforting gluten-free coffee cake. It’s wonderfully fluffy, incredibly moist, spiced with warm cinnamon, and pairs absolutely perfectly with a good cup of coffee!
- Another exquisite option to serve at brunch or for a light dessert is my gluten-free lemon poppy seed cake. It strikes a beautiful balance of sweet and tangy, with a wonderfully moist texture that will brighten any occasion.
- Craving a classic? My gluten-free pound cake delivers that dense, buttery, and moist goodness you expect from a traditional pound cake. I love to serve it simply, with a dollop of whipped cream and some fresh berries.
- And for a fun, handheld treat, these gluten-free whoopie pies are a must-try! Are they considered cake or cookie? Whatever you call them, this recipe is definitely a keeper for their soft, cake-like texture and creamy filling.
