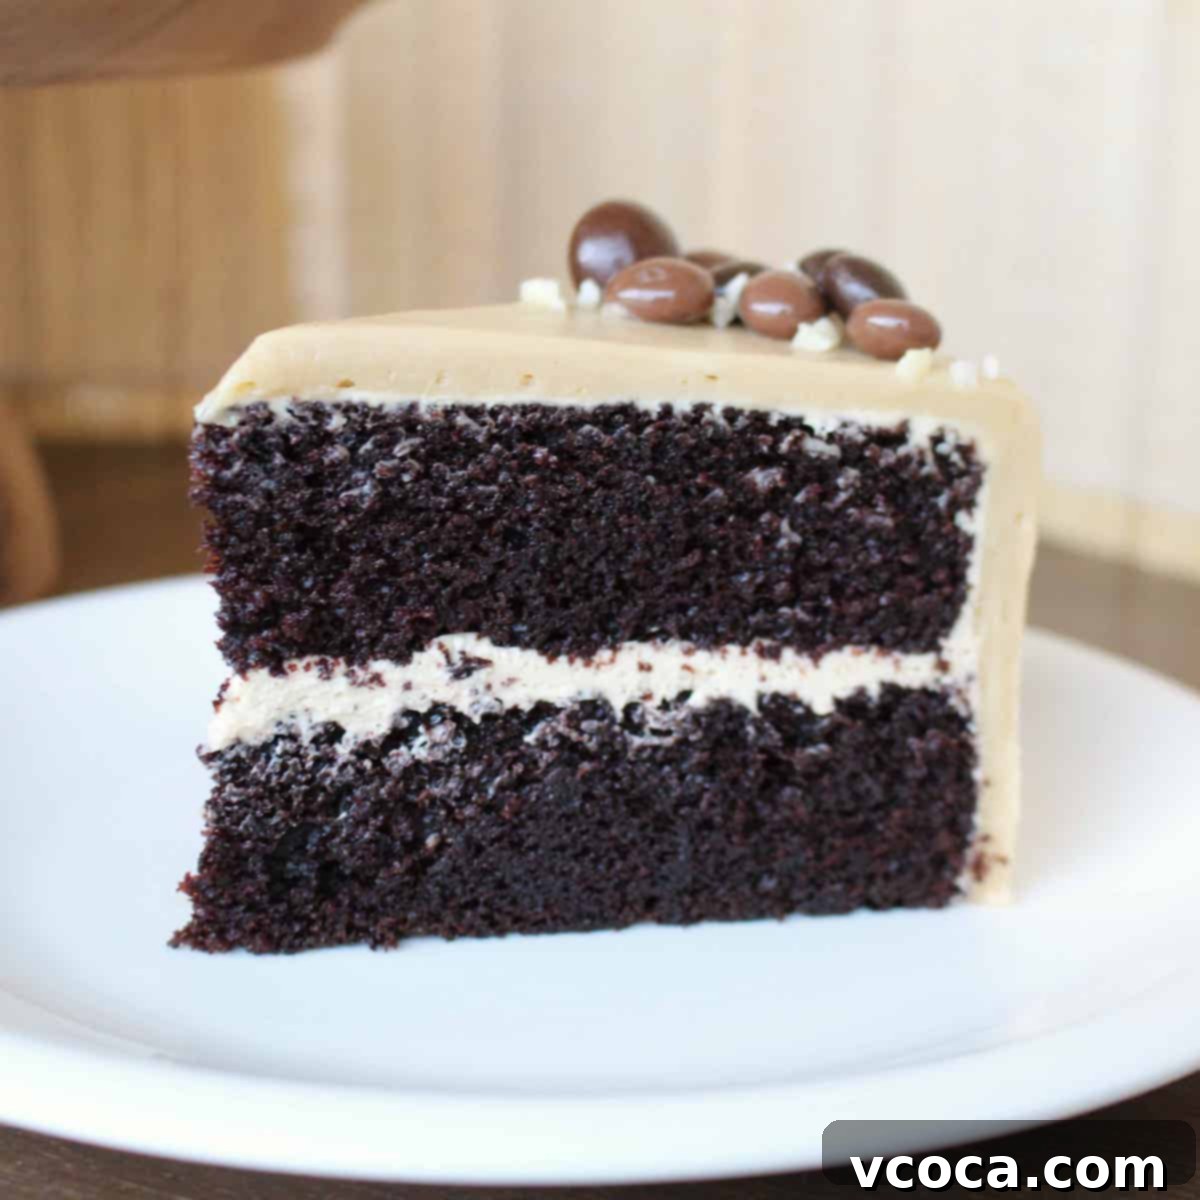
Indulge in the Best Homemade Chocolate Mocha Cake: A Rich & Easy Recipe
Guess what? It wasn’t too long ago that I celebrated my 27th birthday! Happy birthday to me indeed! And what better way to mark such an occasion than with a truly special cake? For my birthday, I decided to treat myself (and anyone else lucky enough to be around) to a magnificent Chocolate Mocha Cake. Yes, I baked my own birthday cake – there’s something incredibly satisfying about crafting your celebration treat from scratch!
I had ambitious plans to whip up this rich chocolate mocha masterpiece on Sunday, aiming to publish the recipe on my blog while the weekend vibes were still strong. But, as often happens with birthdays, the spirit of celebration (and a touch of well-deserved procrastination) took over. Every task was met with the mantra, “It’s my birthday! I deserve this!” and naturally, very little actual work got done. Then, the week kicked in with its usual demands, pulling me into the whirlwind of work and other commitments. So here I am, a few days past the big day, welcoming another weekend, but as they say, better late than never! At least I’m sharing this delightful recipe while it’s still my birthday month, keeping the festive spirit alive.
This isn’t just any cake; it’s a testament to the perfect marriage of deep, luscious chocolate and fragrant, invigorating coffee. The resulting cake is incredibly moist, intensely flavored, and truly decadent. It’s the kind of dessert that makes any occasion feel more special, and even a regular Tuesday breakfast feels like a celebration (don’t judge, it was leftovers!). If you’re ready to embark on a baking adventure that promises rich rewards, follow along, and let’s create a chocolate mocha cake that will impress and delight.
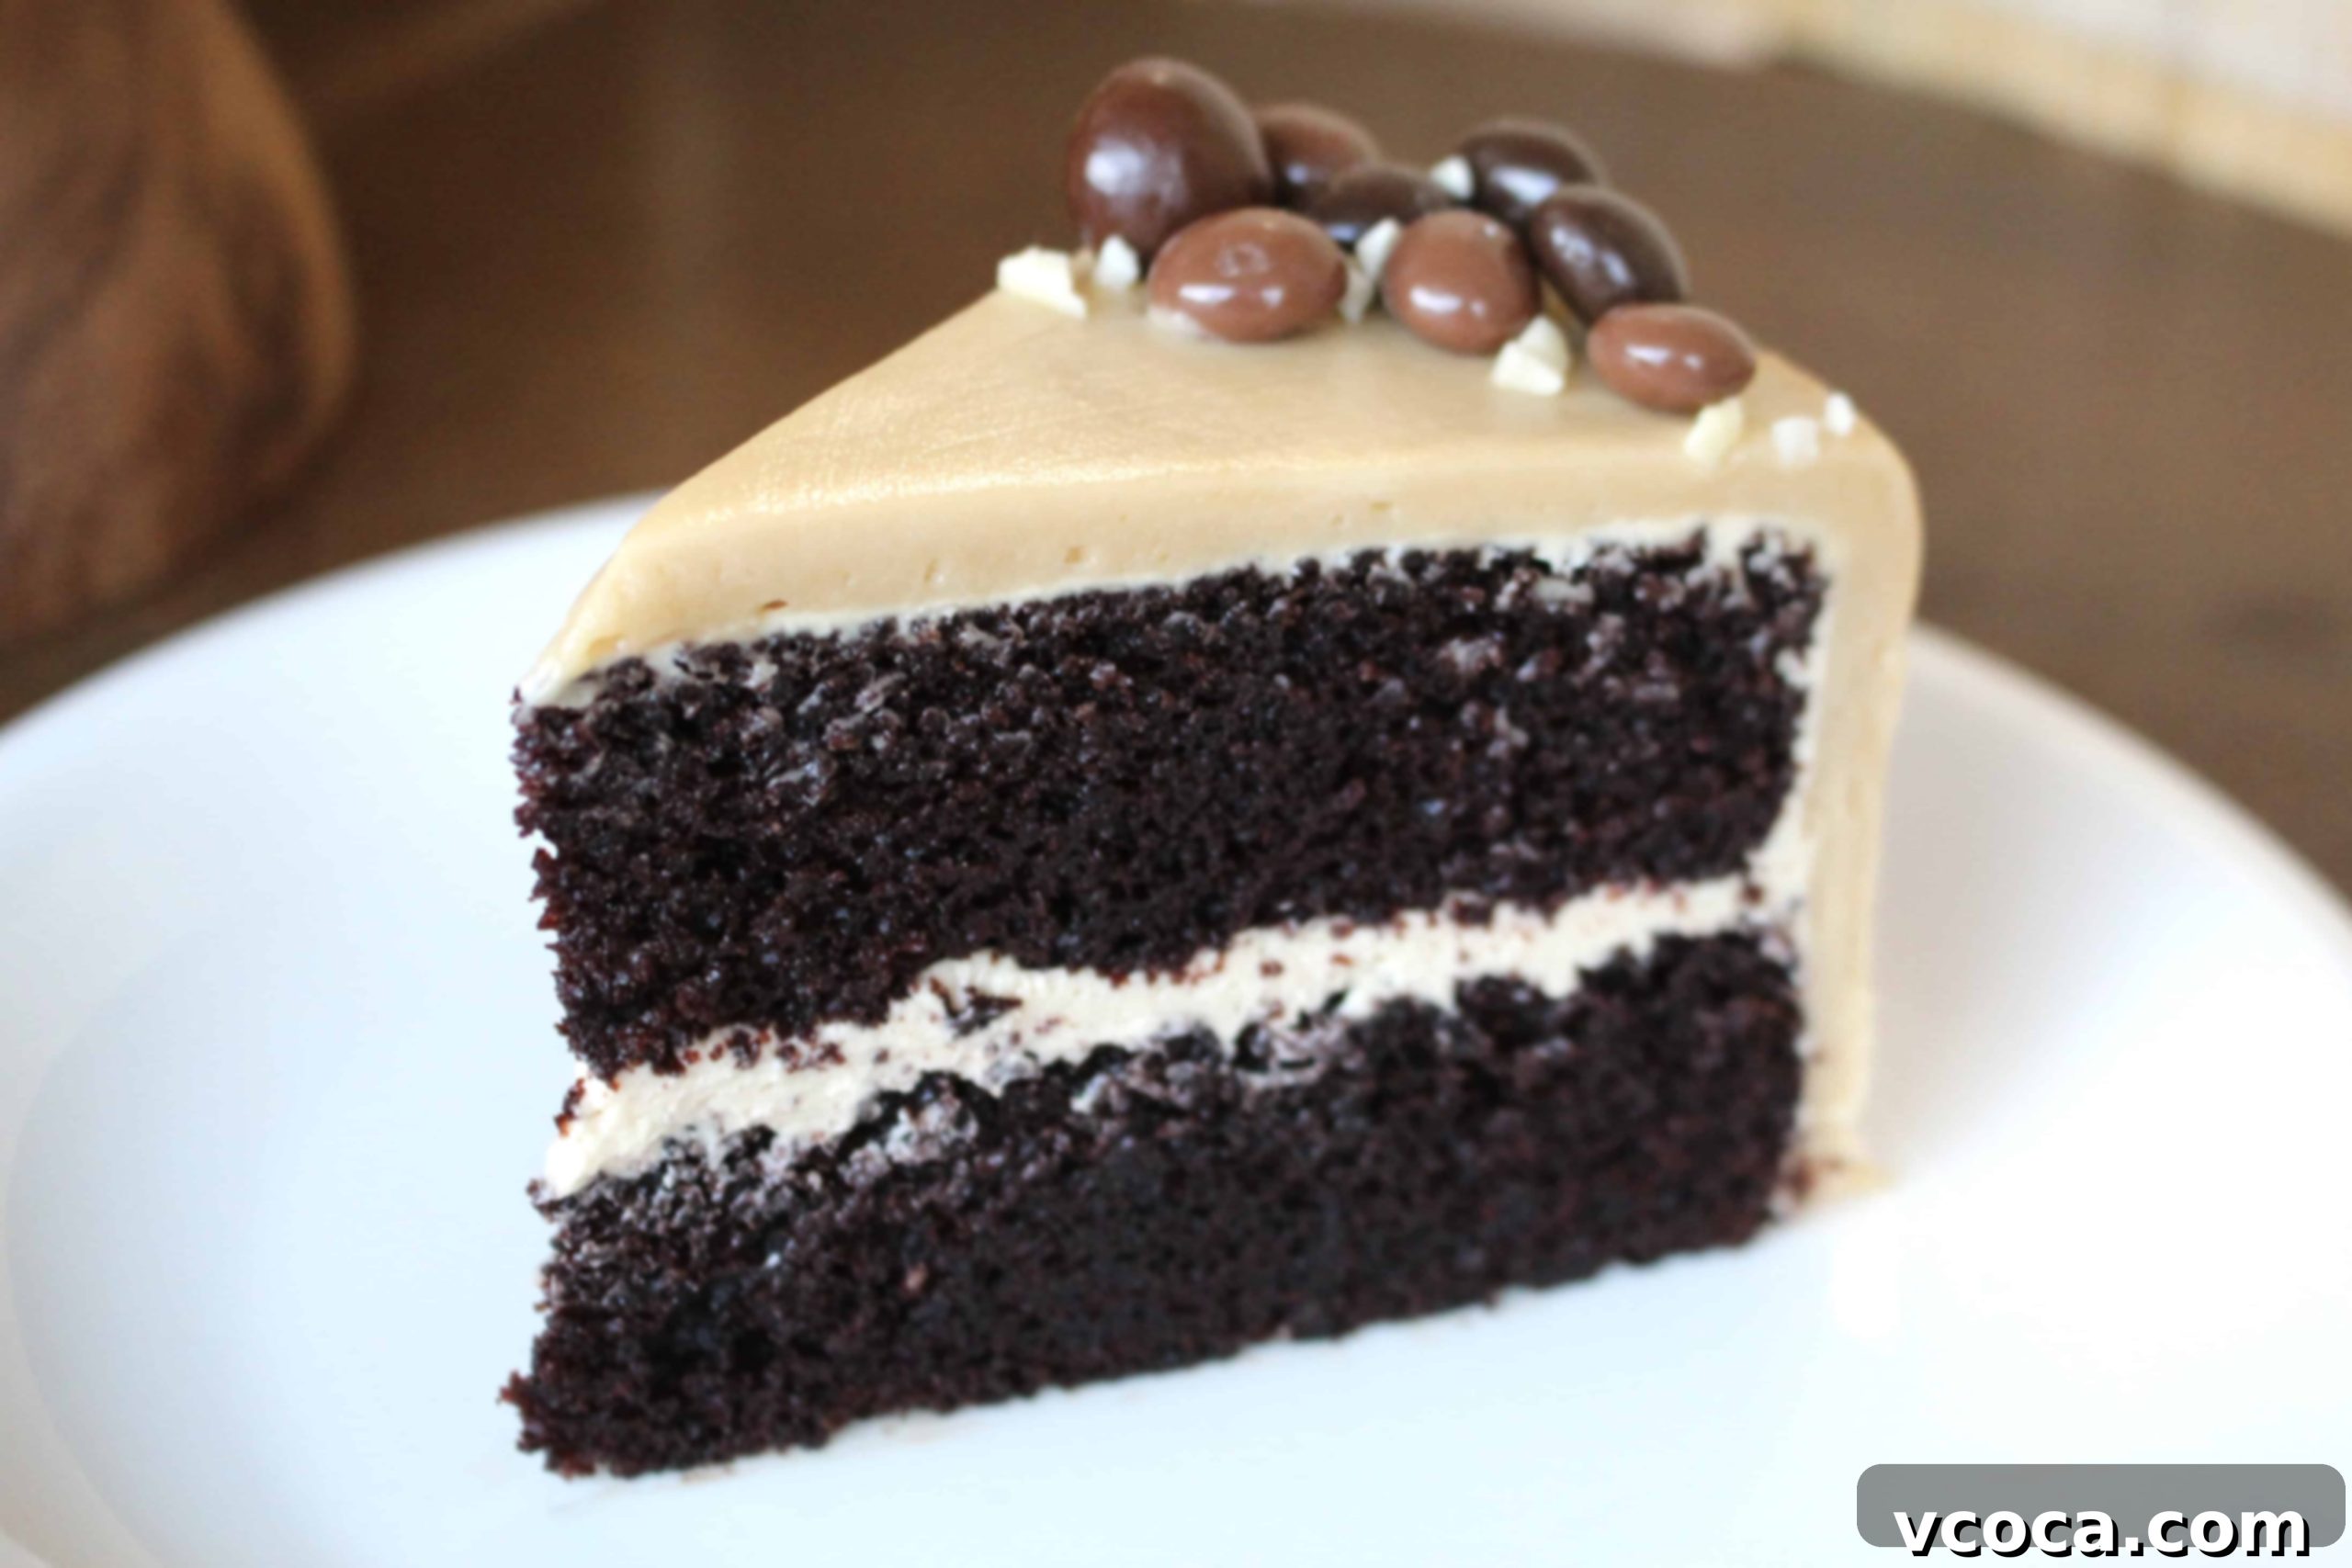
Crafting the Perfect Chocolate Mocha Cake Layers
Making the perfect chocolate mocha cake starts with meticulous preparation. First, preheat your oven to a precise 338°F (170°C). This ensures your cake bakes evenly from the moment it enters the oven. While the oven warms up, prepare your cake pans: grease and line the bottoms of two 8-inch cake pans with parchment paper. This simple step is crucial for preventing sticking and ensuring your beautiful cake layers release easily.
Next, let’s bring together the dry ingredients. In a medium-sized bowl, carefully combine the cake flour, Dutch processed cocoa powder (which provides a deeper, richer chocolate flavor compared to natural cocoa), fine sea salt, baking soda, and baking powder. Whisk them together thoroughly to ensure all leavening agents and flavorings are evenly distributed. Set this mixture aside.
In a separate, larger bowl, it’s time for the wet ingredients and sugars. Whisk together the granulated sugar, light brown sugar (for added moisture and a subtle caramel note), canola oil (for a tender crumb), sour cream (the secret to an incredibly moist cake), milk, the prepared coffee (from instant espresso and warm water), and pure vanilla extract. Once these are well combined, gradually add the dry ingredients to the wet mixture. Stir gently until just combined. Overmixing at this stage can lead to a tough cake, so stop as soon as you see no more streaks of flour.
Divide the batter evenly between your two prepared 8-inch cake pans. You can eyeball it, or for precision, use a kitchen scale to ensure perfectly even layers. Bake these for approximately 30 to 35 minutes. To check for doneness, insert a wooden skewer or toothpick into the center of the cake; if it comes out clean, your cake is ready. Allow the cakes to cool in their pans for about 10 minutes. This resting period helps the cakes set and prevents them from breaking when you transfer them. After 10 minutes, carefully invert the cakes onto a wire rack to cool completely. Patience is key here – frosting a warm cake is a recipe for disaster!
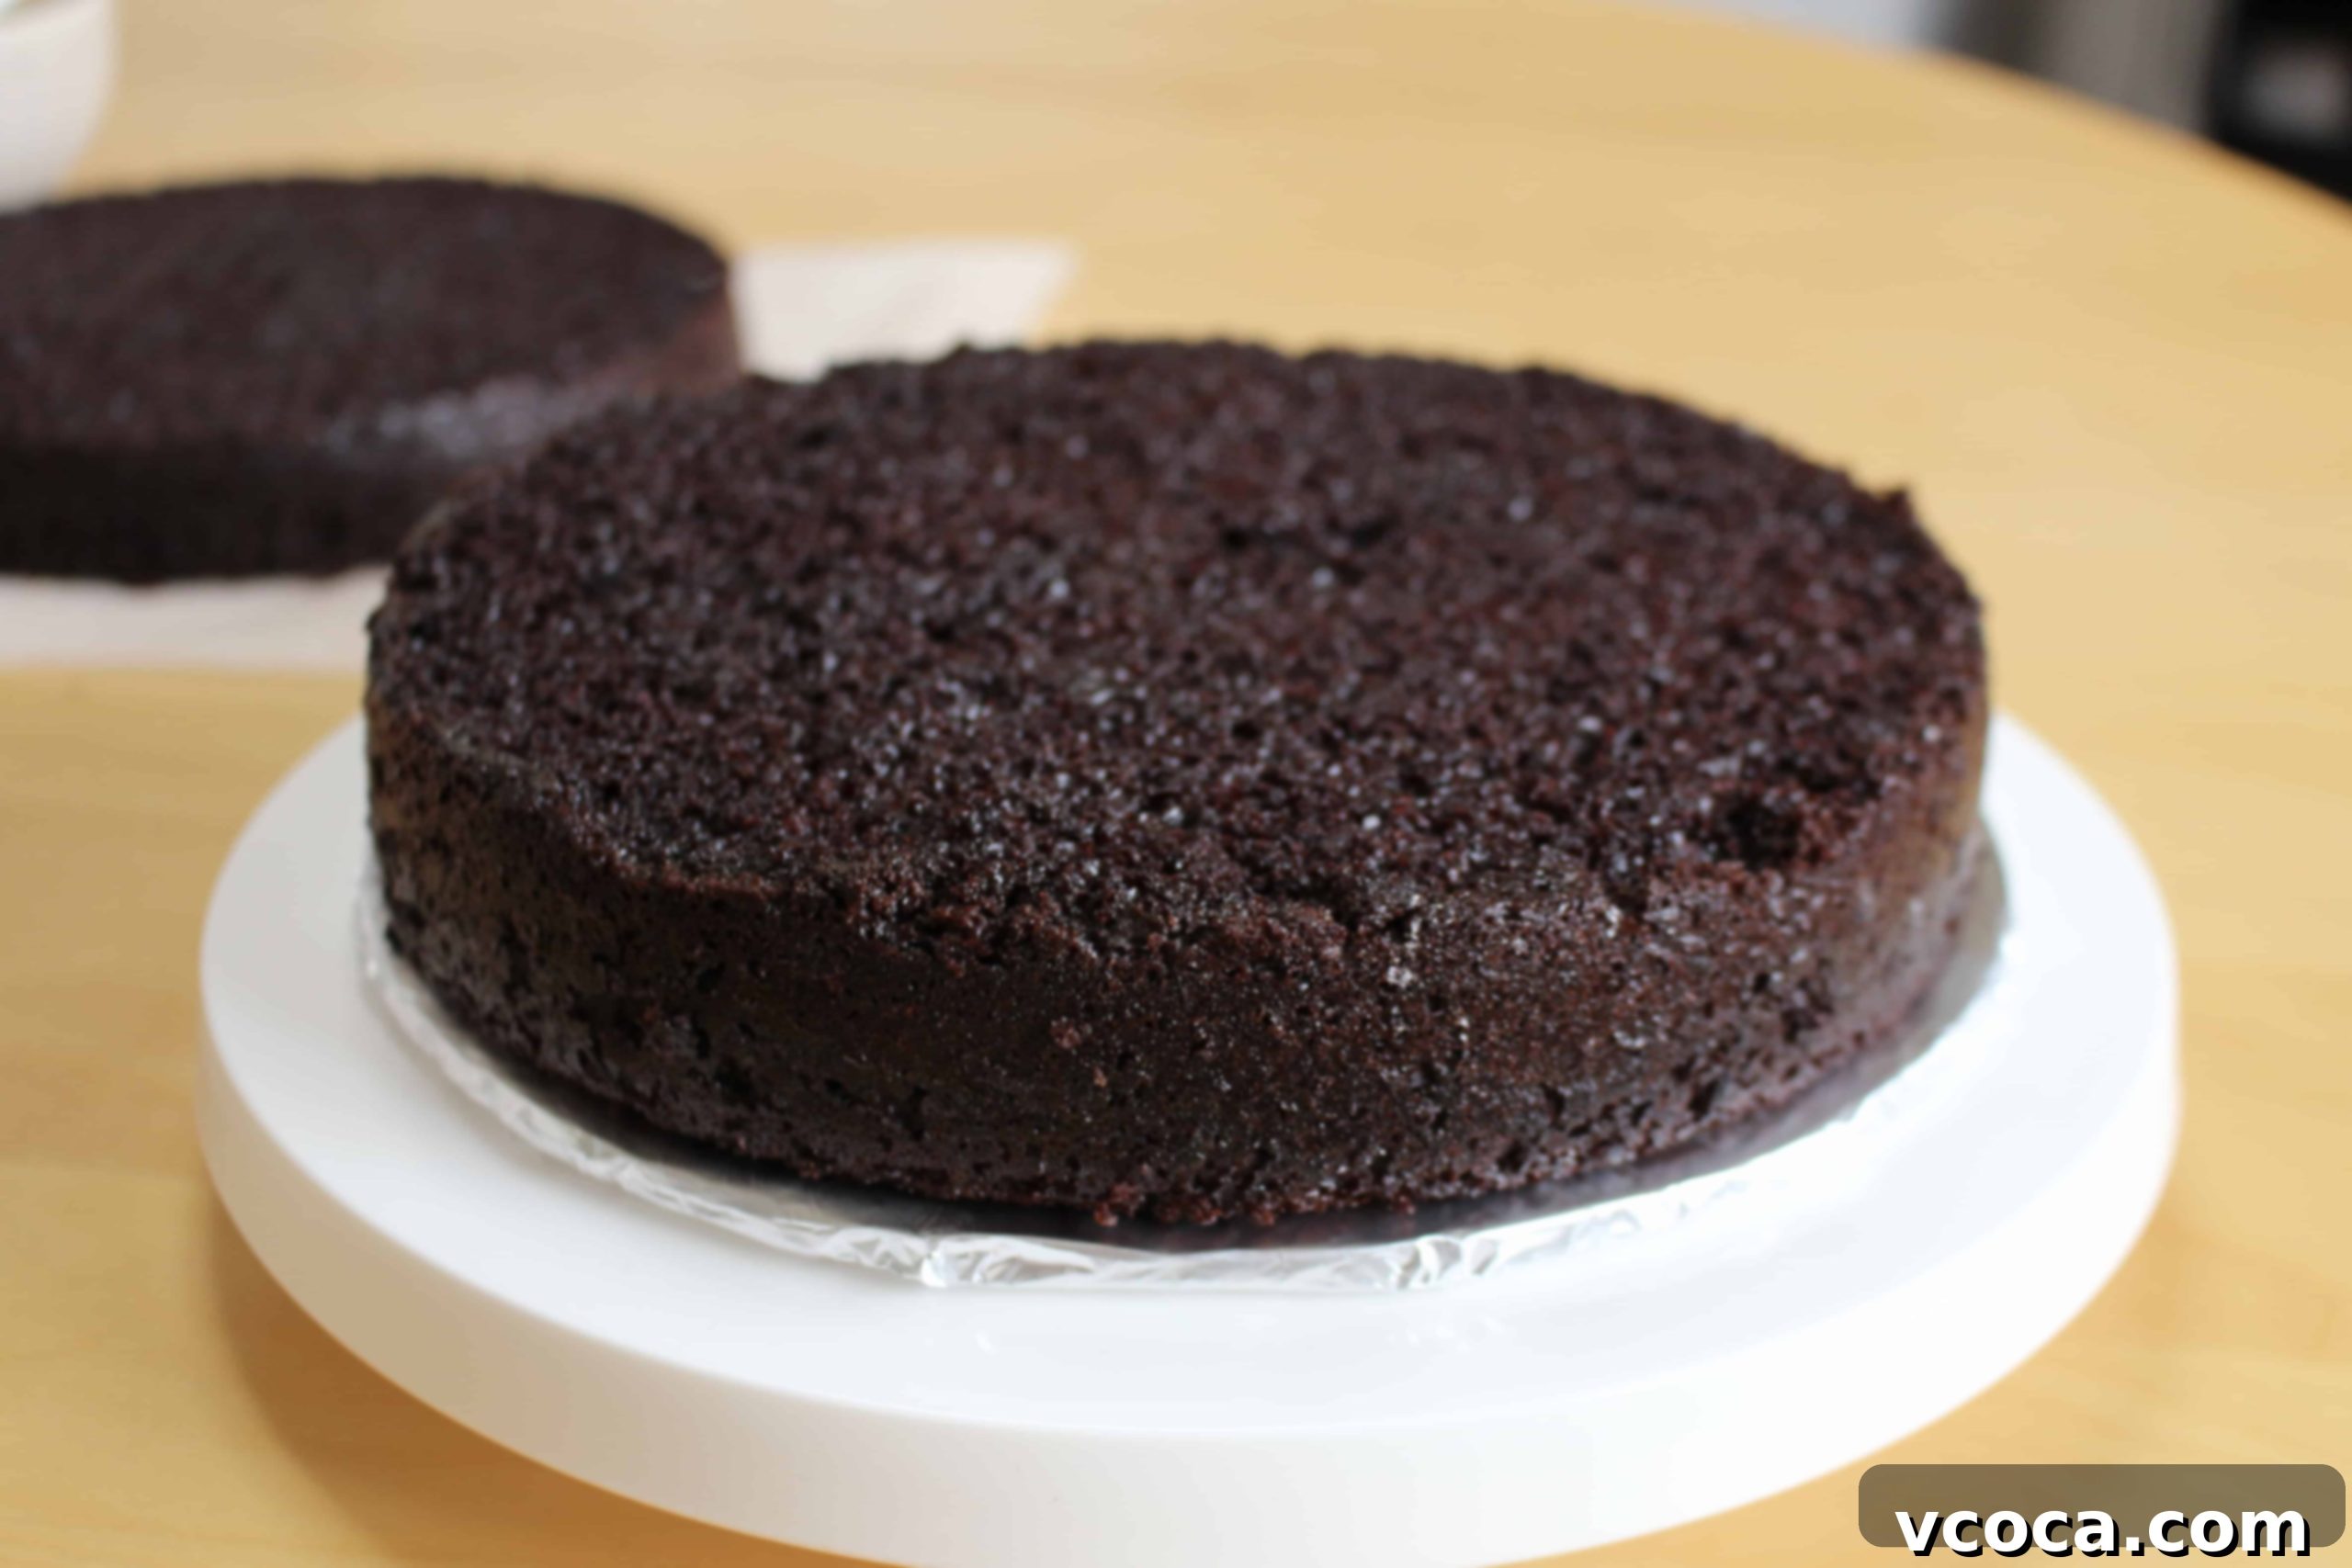
Once your cake layers have cooled completely – and I mean completely, not even slightly warm – it’s time to level them. Many cakes bake with a slight dome on top, and slicing these domes off creates perfectly flat layers, which are essential for a stable and beautiful layer cake. I like to be meticulous with this step, so I recommend using a ruler and a sharp serrated knife. Make small, even marks all around the cake at your desired height before you start slicing through. Is it a bit of extra effort? A little. But is it worth it for those professional-looking, even layers? Absolutely. You’ll be rewarded with two uniform cake layers, ready for assembly, and your final frosted cake will look incredibly polished. Don’t discard those delicious trimmed domes; they make excellent chef’s treats or can be crumbled for cake pops!
Now for a step that elevates this chocolate mocha cake from good to extraordinary: the simple syrup. While a coffee-based simple syrup might seem like the obvious choice for a mocha cake, I opted for an amaretto simple syrup. This decision was inspired by cherished childhood memories of waking up to the delightful aroma of amaretto coffee. The almond liqueur provides a subtle, sophisticated warmth that perfectly complements both the chocolate and coffee flavors without overpowering them. To make it, simply combine granulated sugar and amaretto (or water, if you prefer an alcohol-free version) in a small bowl and stir until the sugar is completely dissolved. Once dissolved, use a pastry brush to generously soak both cake layers with this fragrant syrup. This step adds incredible moisture and an extra layer of flavor, ensuring every bite is tender and delicious.
Next, let’s prepare the irresistible coffee buttercream frosting. This frosting is the crowning glory of our chocolate mocha cake, offering a creamy texture and a robust coffee kick. Begin by combining the instant espresso and warm water in a small bowl, stirring until the espresso is fully dissolved. Set this concentrated mixture aside to cool slightly. In a large mixing bowl, cream the unsalted butter until it’s light, fluffy, and pale in color. This process incorporates air, making your buttercream wonderfully airy. Gradually add the sifted confectioner’s sugar, beating until it’s fully incorporated and smooth. Sifting the sugar prevents lumps and ensures a silky texture. Finally, add the vanilla extract and the cooled concentrated espresso mixture. Beat everything together until combined, then continue beating for a few more minutes until the buttercream is light, fluffy, and spreadable. The strong espresso ensures a pronounced coffee flavor that truly shines alongside the chocolate.
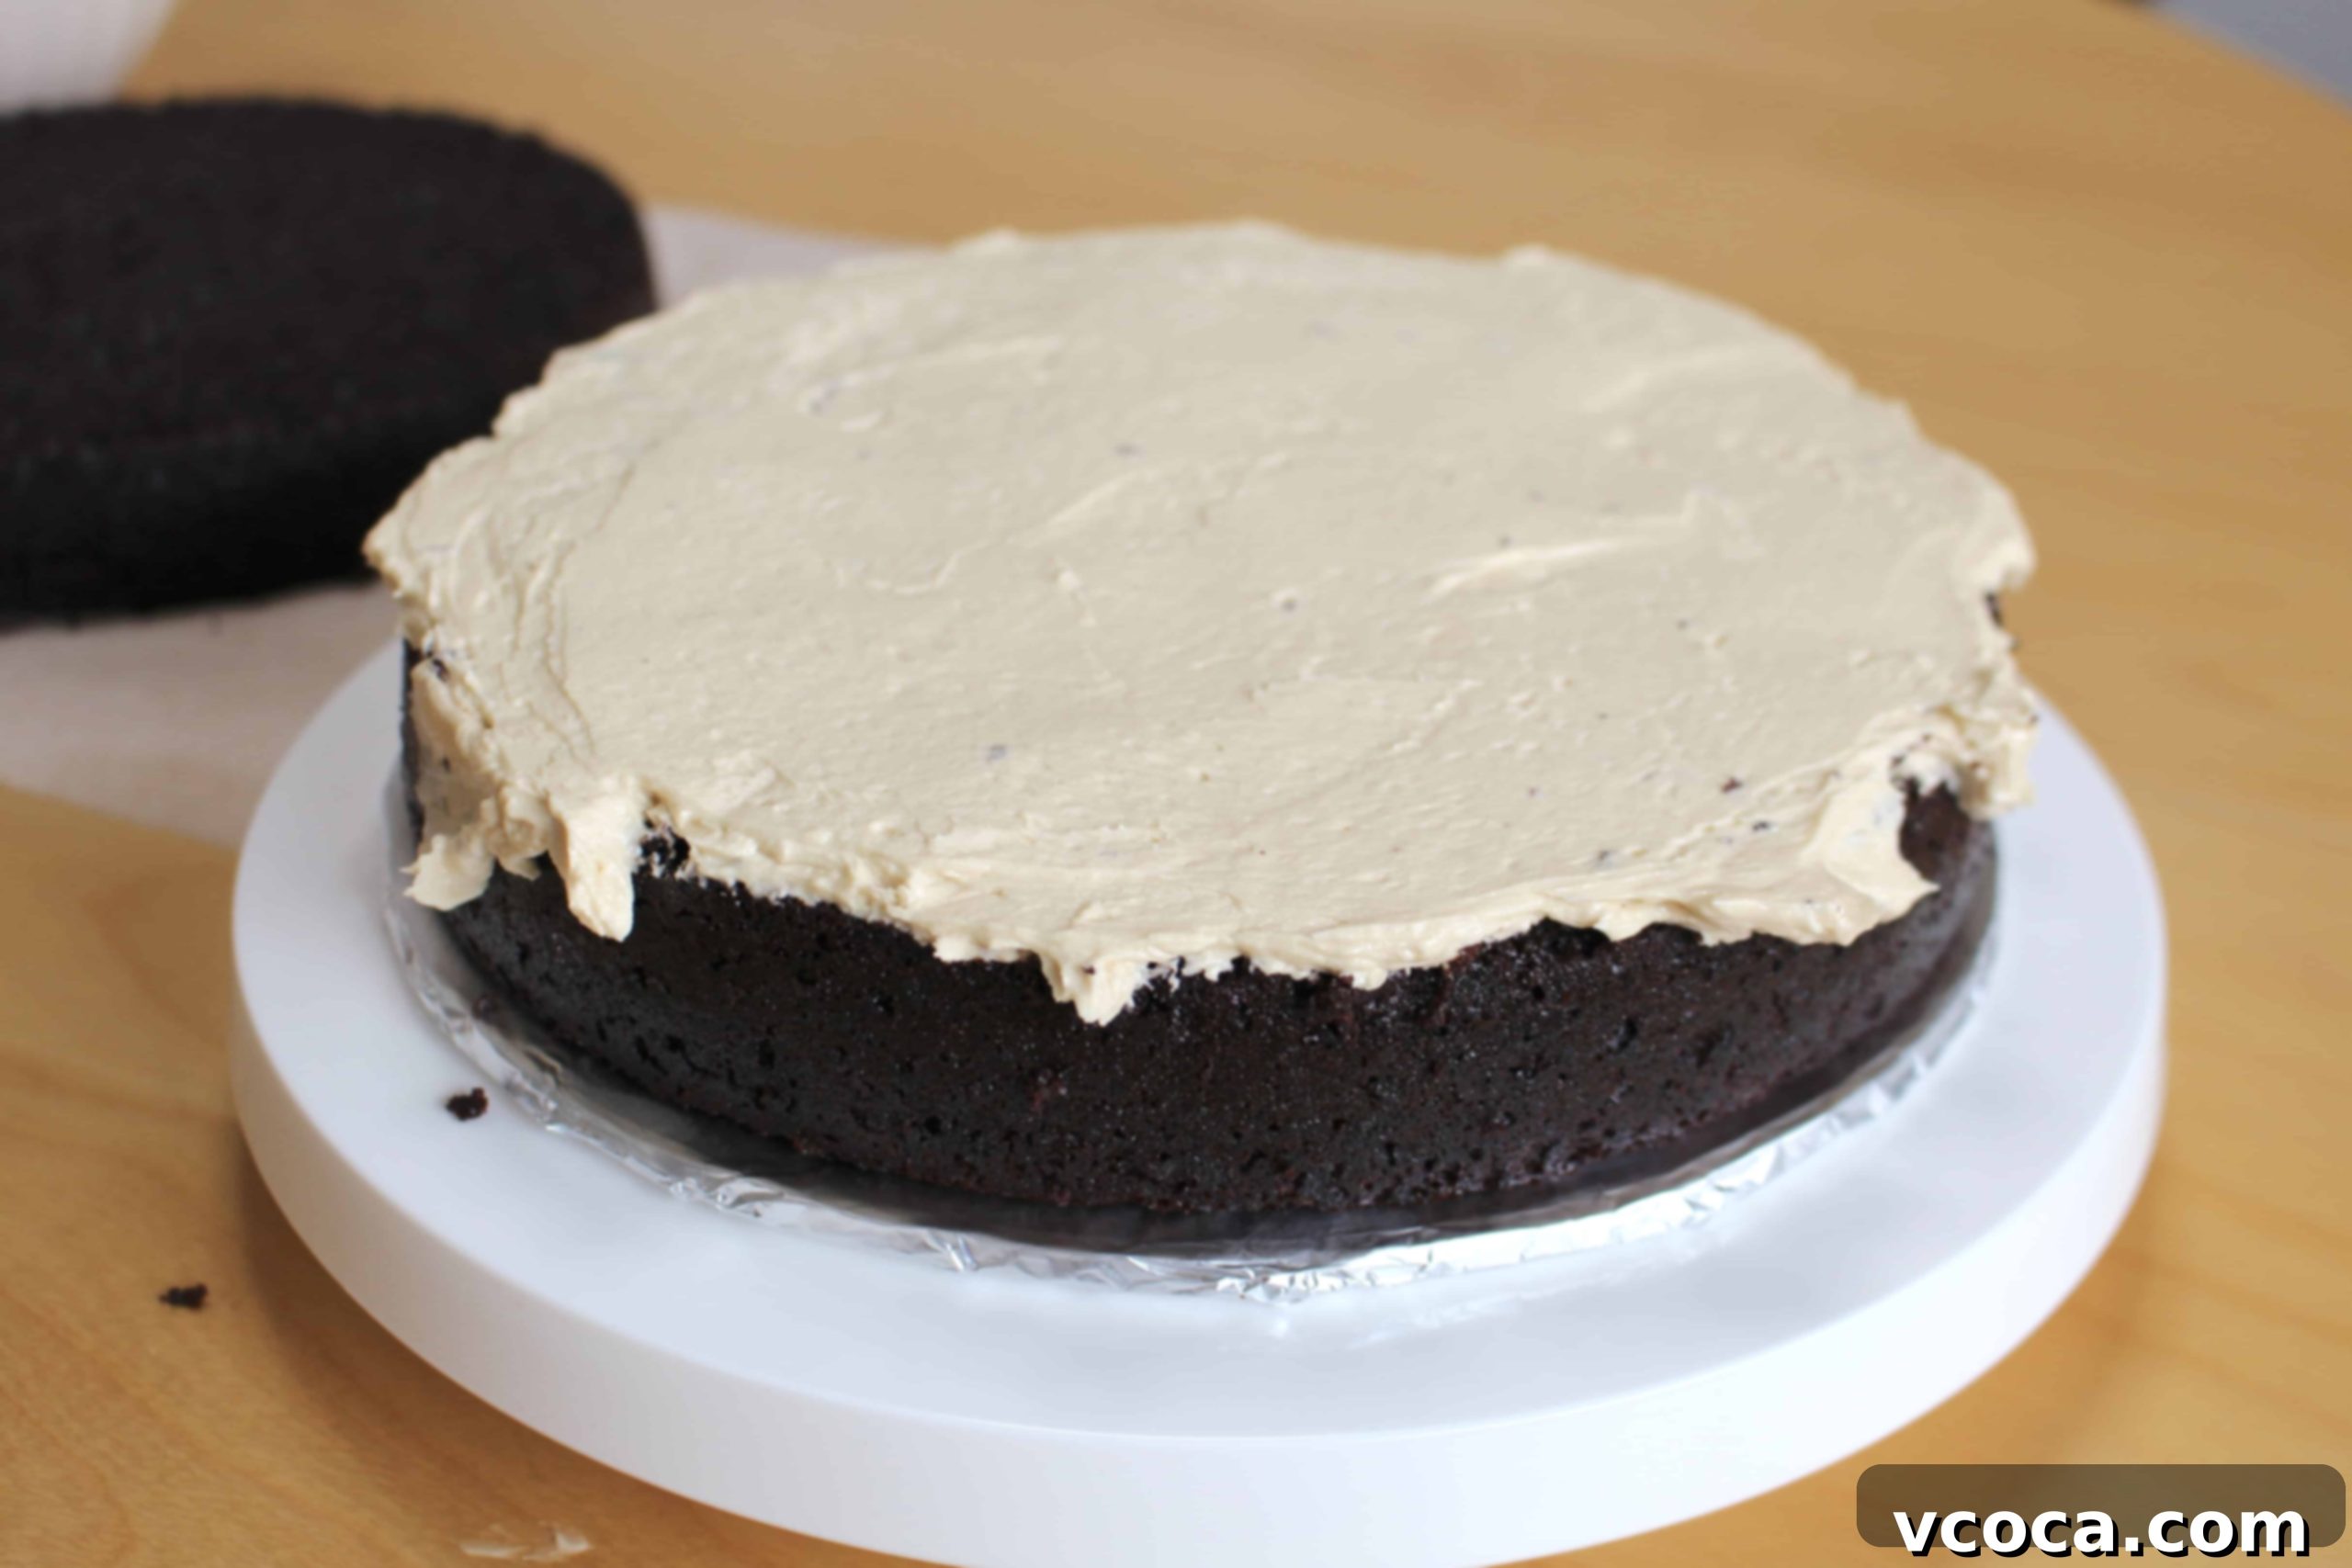
With our cake layers leveled and our frosting ready, it’s time to assemble. Place one cake layer on a serving plate or a cake turntable. Spread a generous layer of the coffee buttercream frosting evenly over the top. Then, carefully place the second cake layer on top, gently pressing down to secure it. This is where those evenly sliced layers truly pay off, creating a stable base for your tall, beautiful cake.
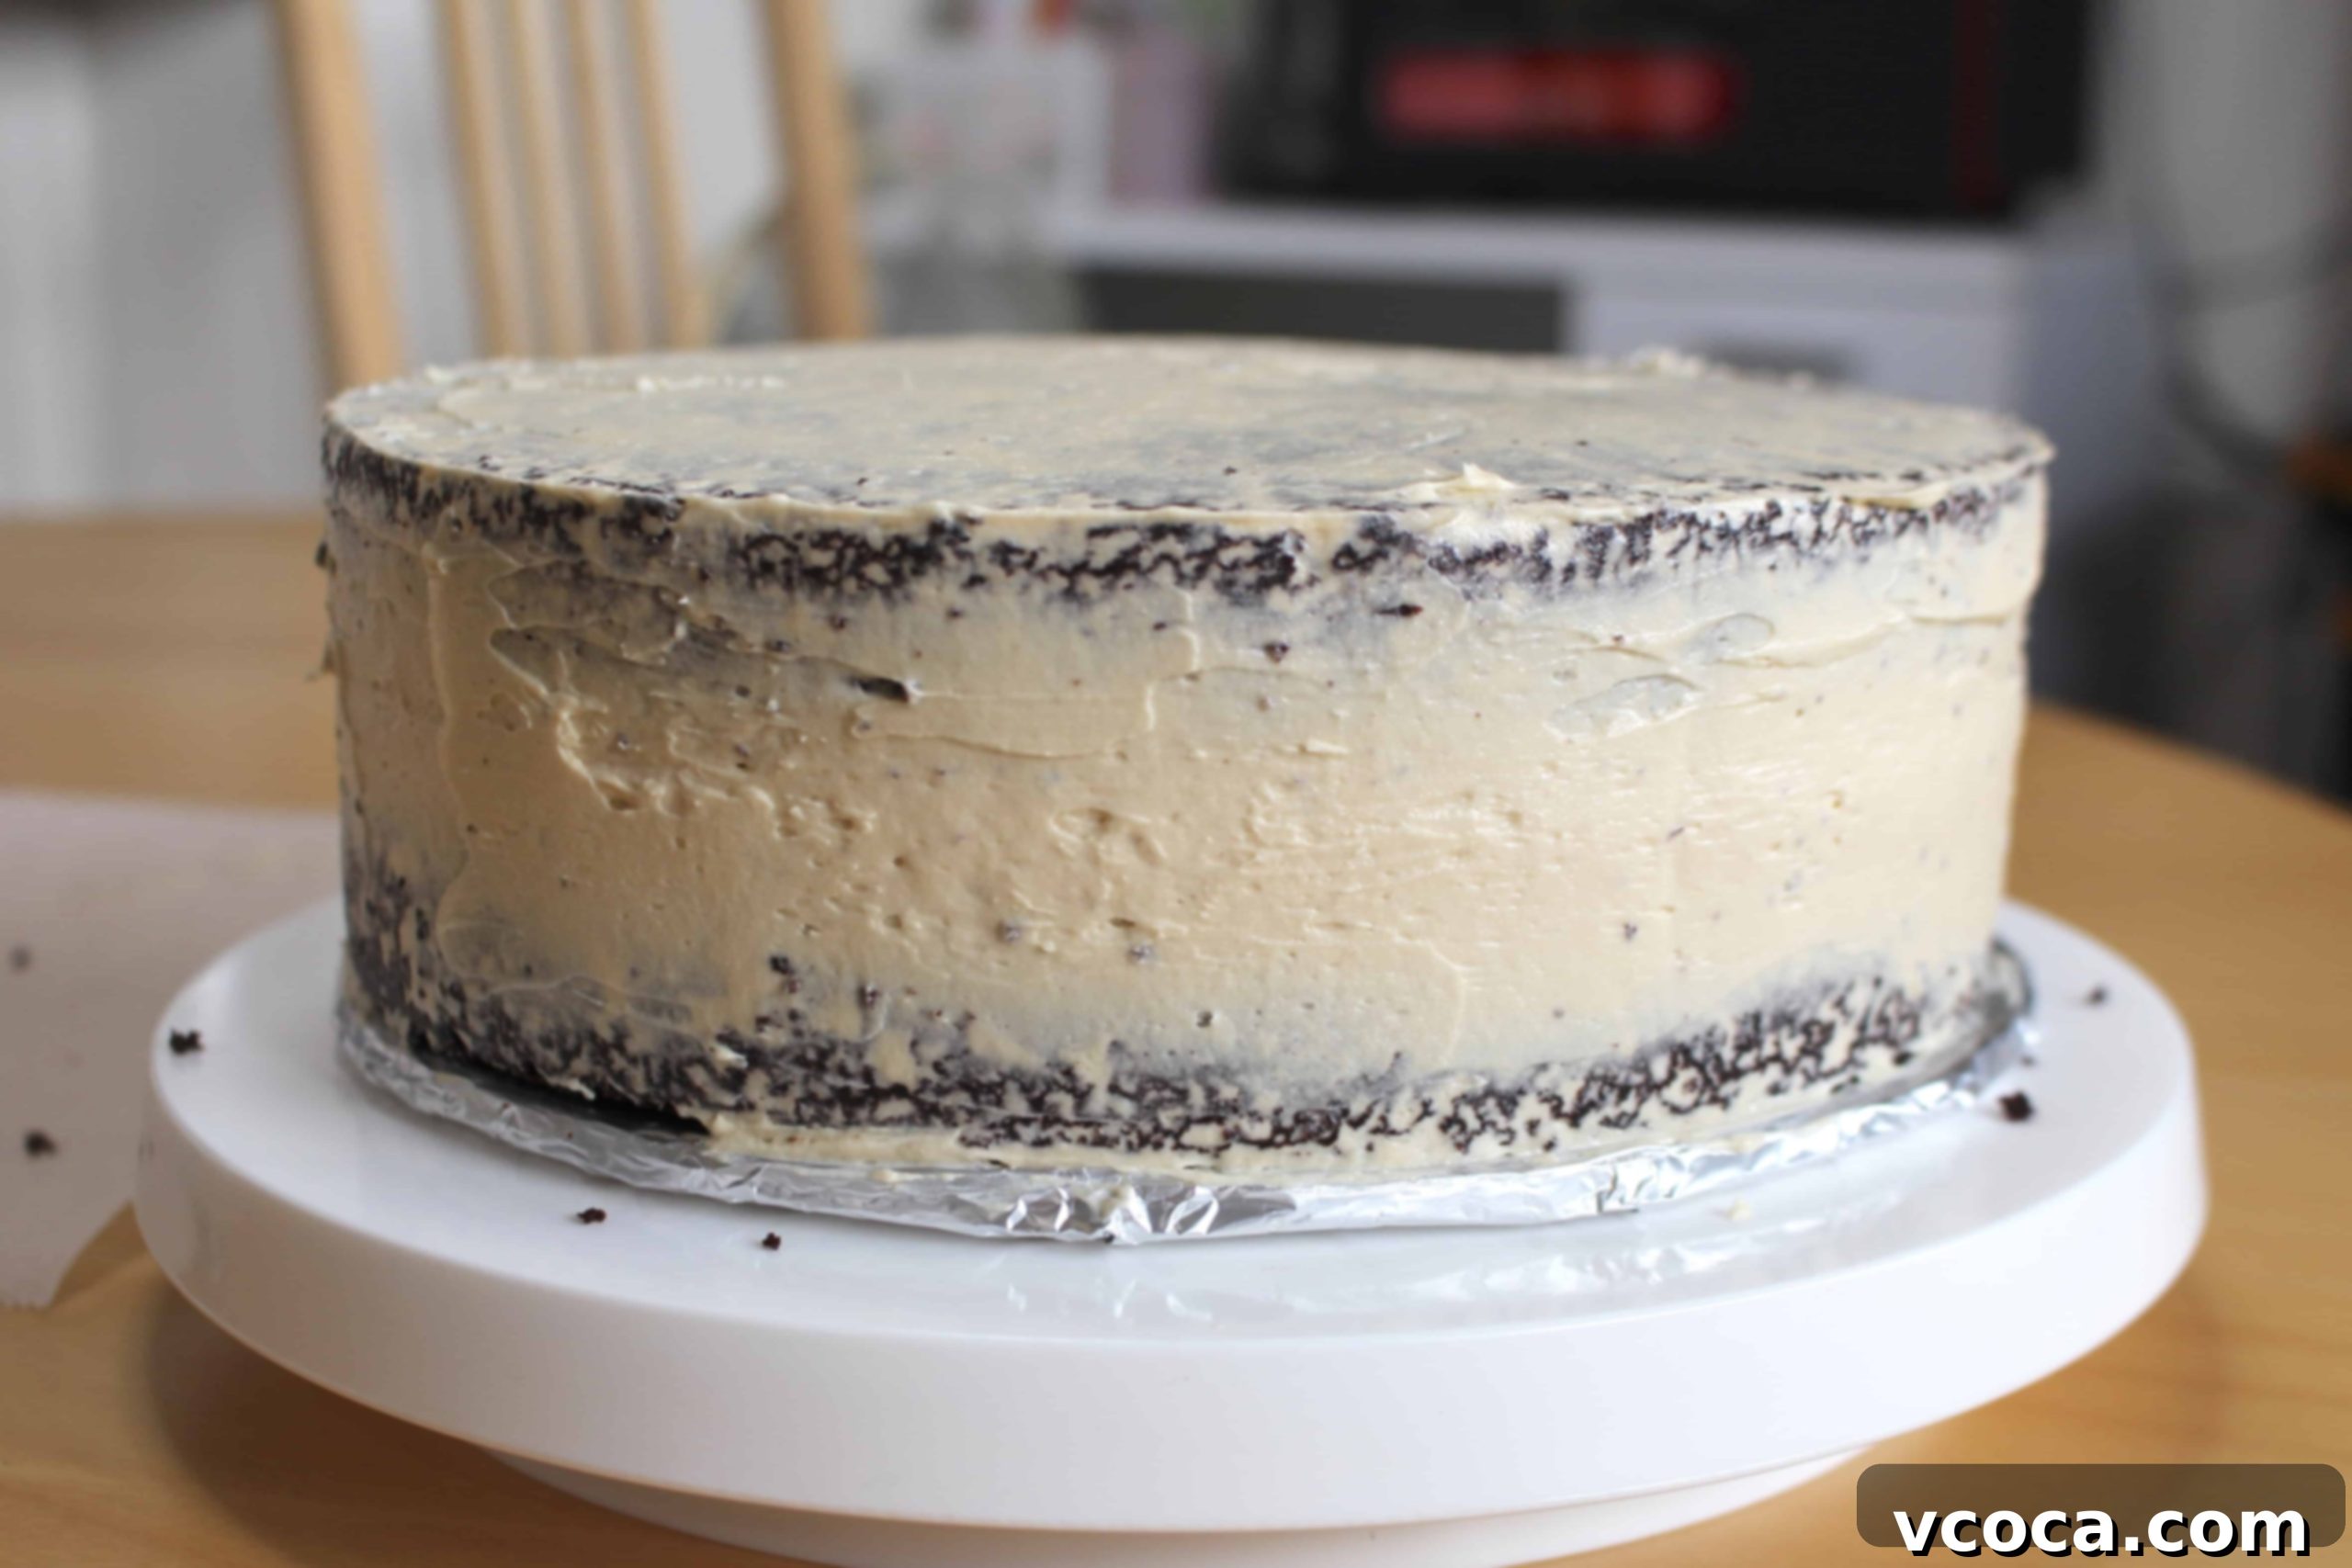
Now, it’s time for the all-important crumb coat. This thin layer of frosting is applied to the entire cake to trap any loose crumbs, ensuring a smooth, flawless finish for your final layer of frosting. Cover the entire cake with a very thin, even coating of your coffee buttercream. Don’t worry if it looks messy; its job is to collect crumbs, not to look pretty. Once applied, transfer the cake to the refrigerator and chill for about an hour, uncovered. This firming-up period makes the crumb coat sturdy, creating the perfect canvas for your final decorative layer.
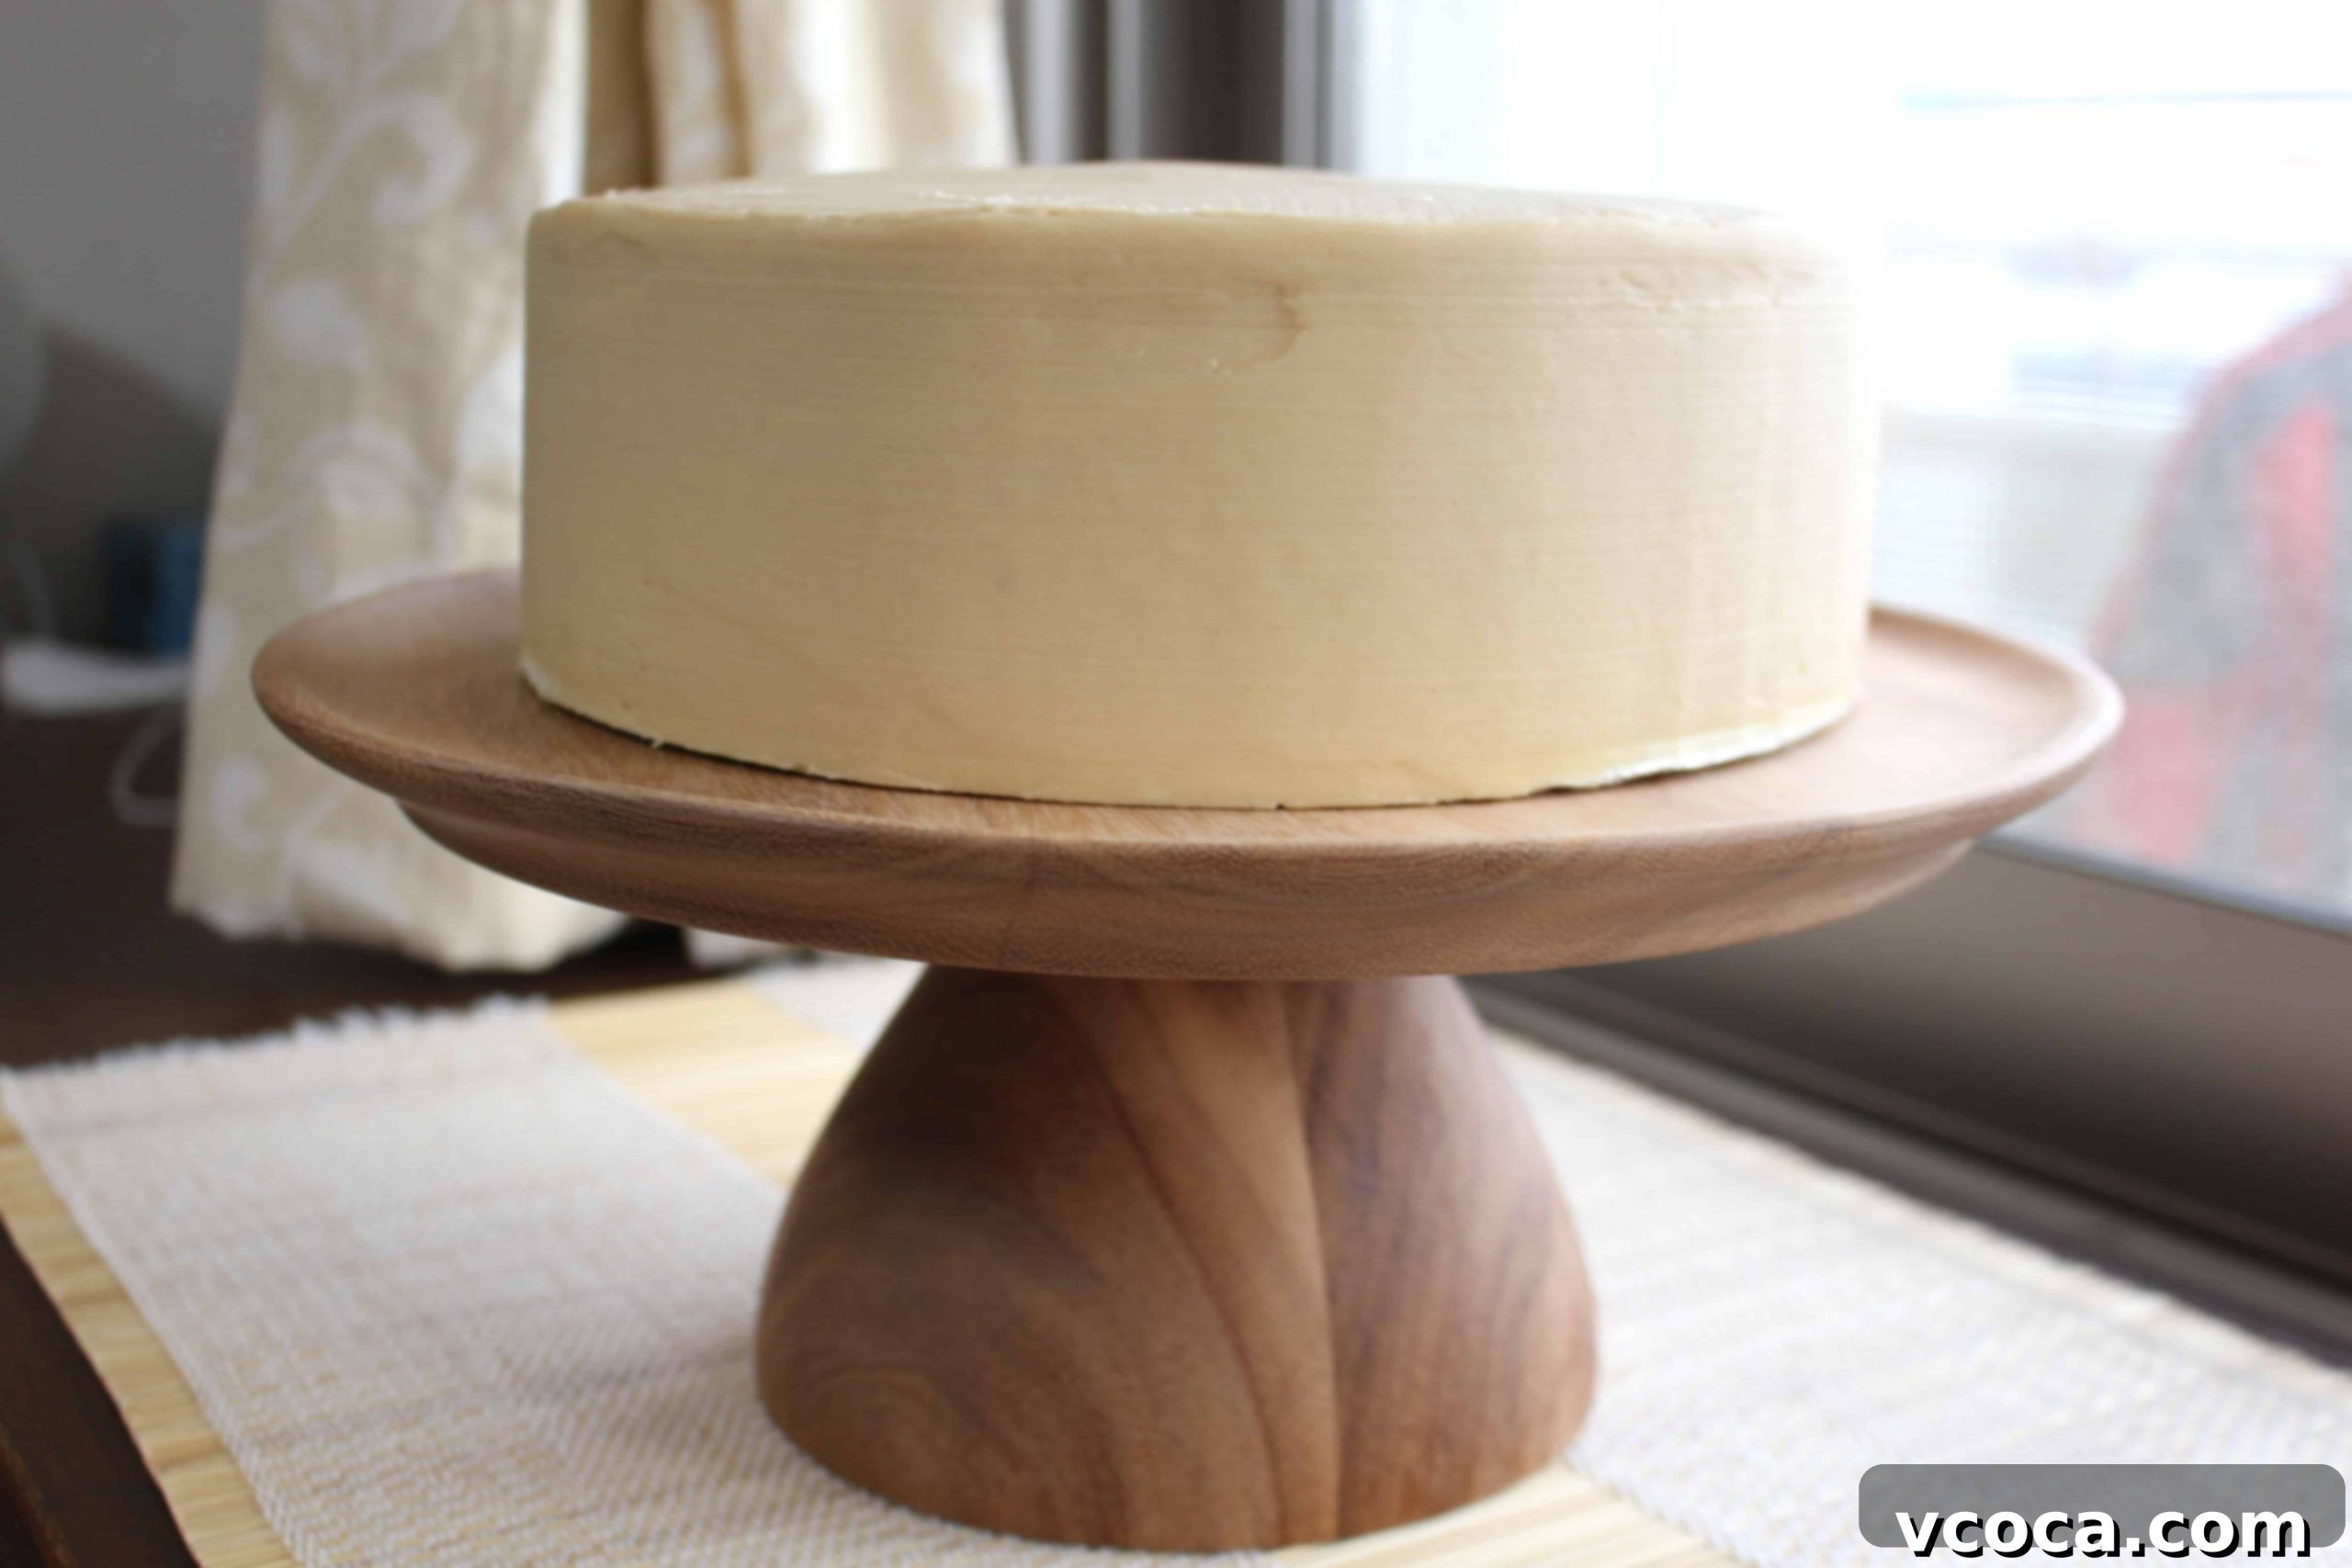
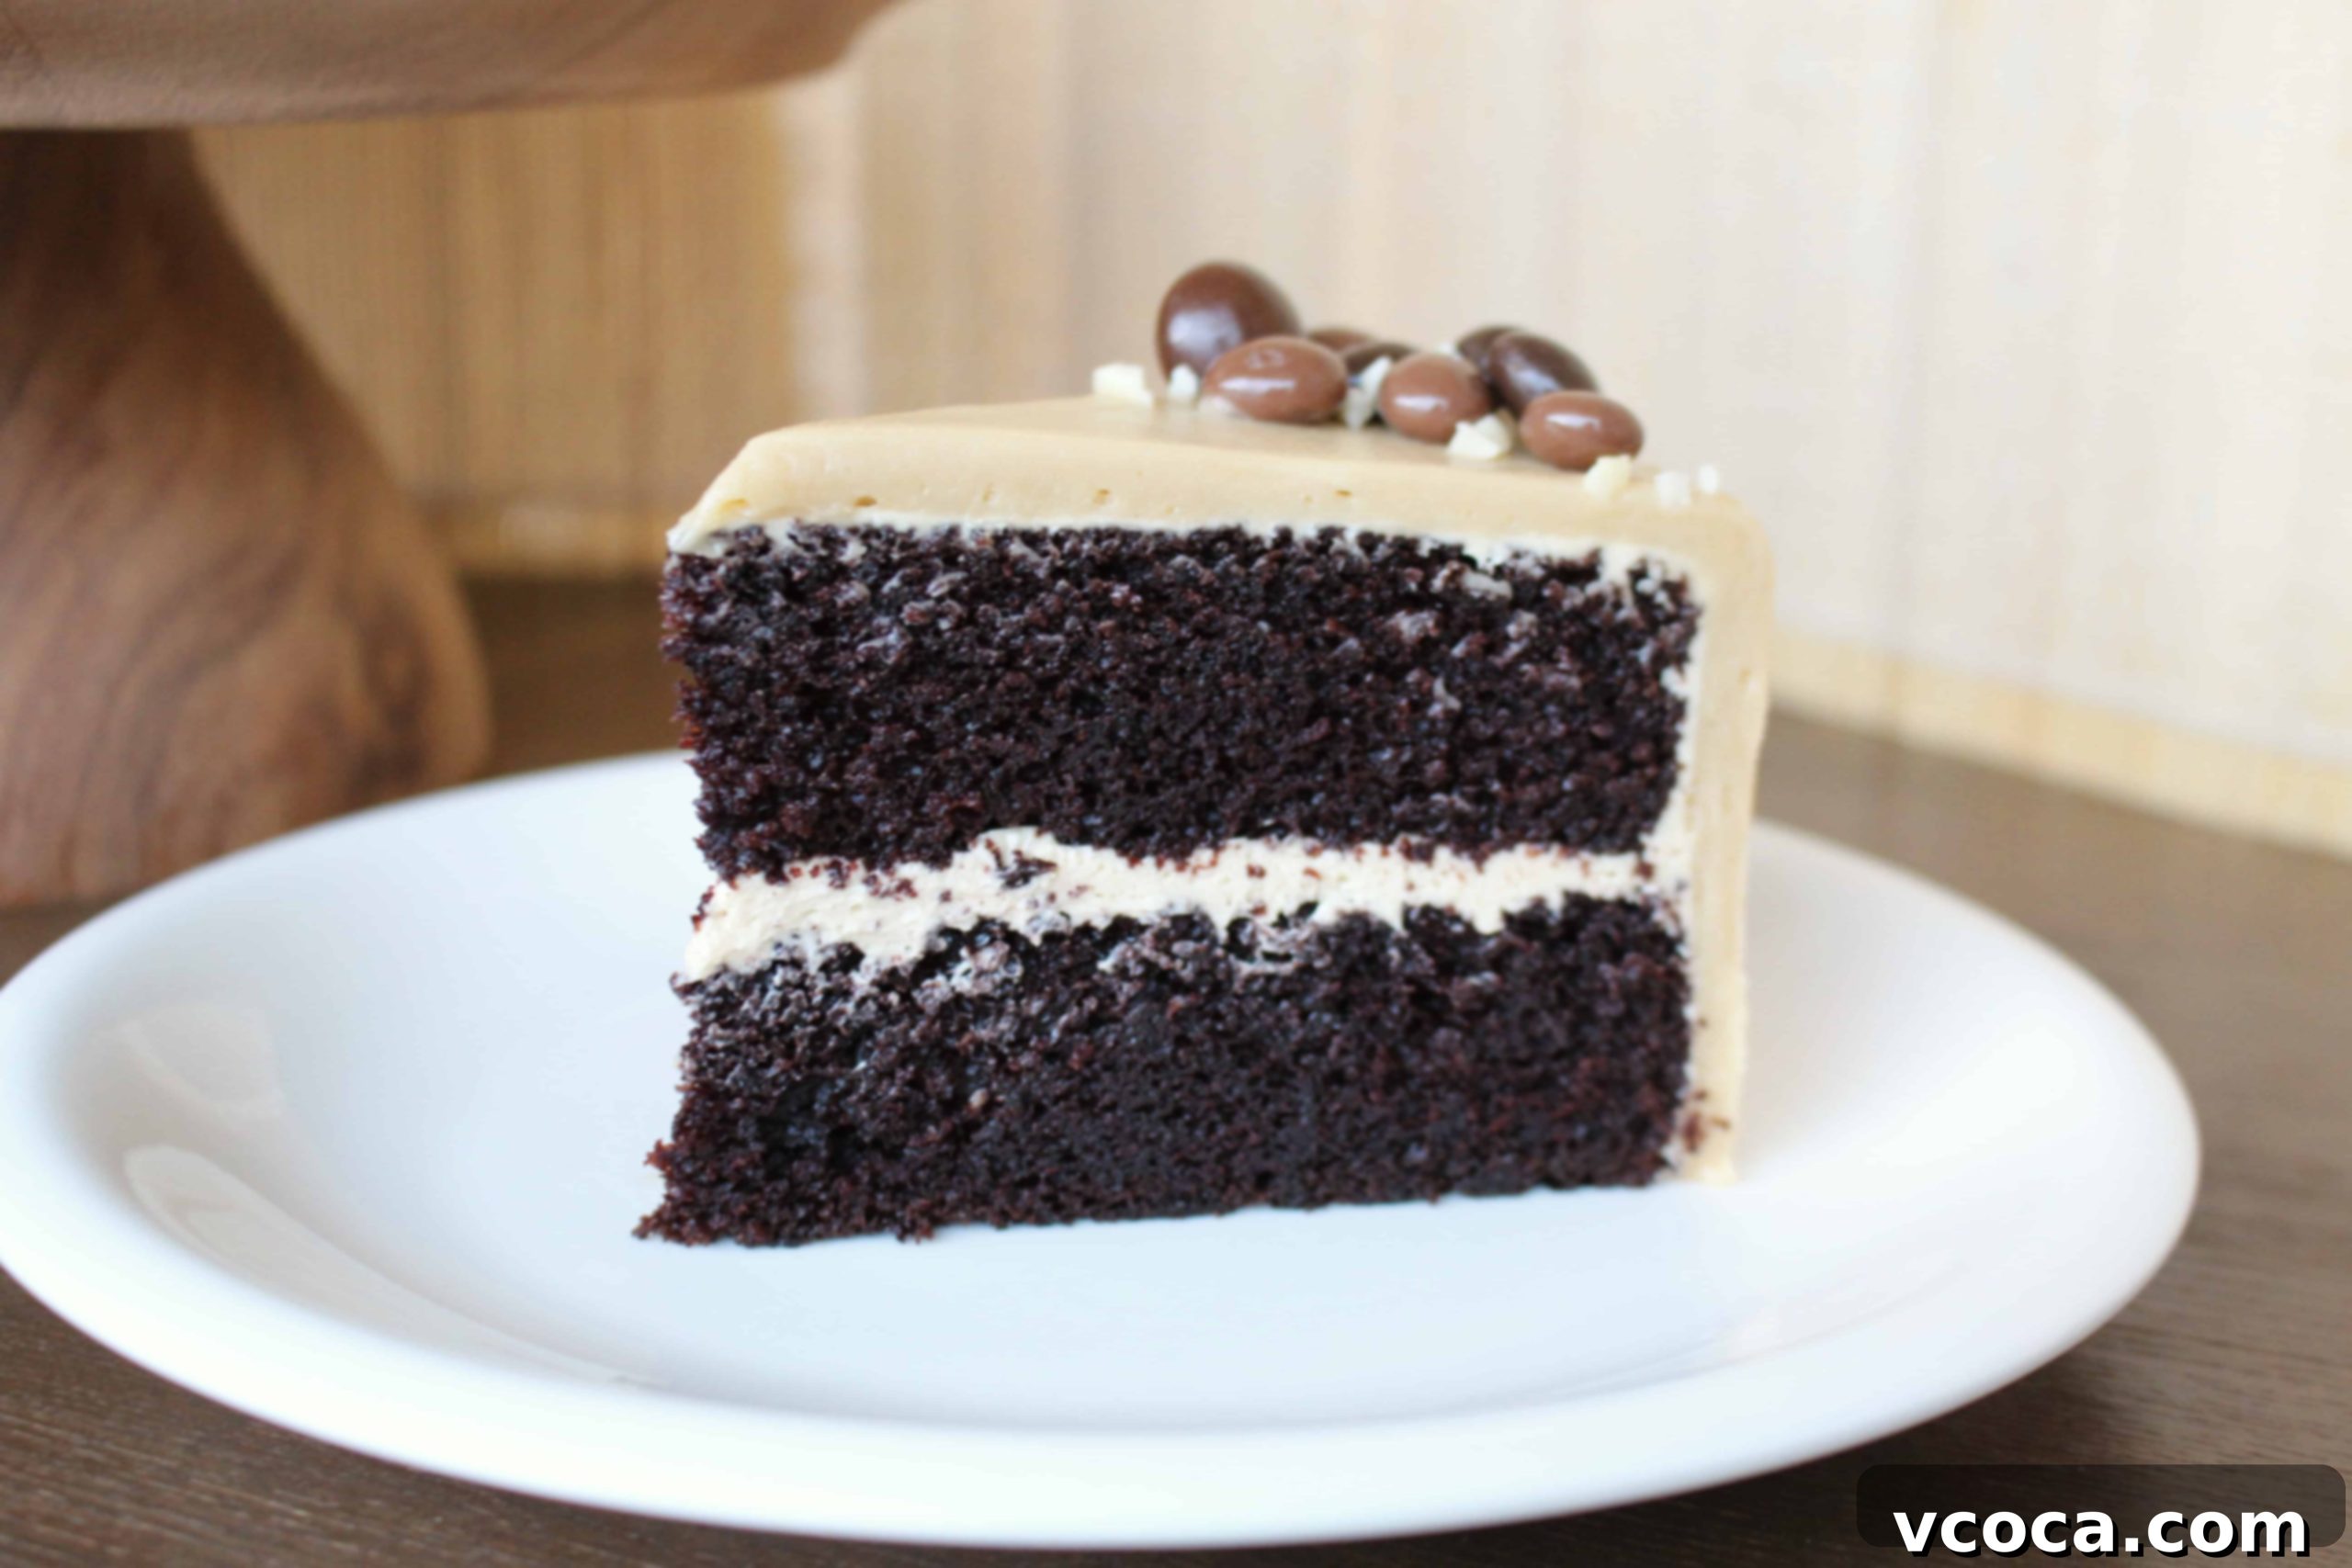
Once your cake is nicely chilled and the crumb coat is firm, it’s time for the grand finale: applying the remaining coffee buttercream frosting. Use an offset spatula or a bench scraper to spread the frosting evenly over the top and sides of the cake, aiming for a smooth, elegant finish. Take your time to achieve the desired look. Finally, it’s time to decorate! I chose to adorn this chocolate mocha cake with an assortment of toppings that enhance its rich flavors and add delightful texture. Chocolate-covered coffee beans provide a pleasant crunch and an extra boost of coffee flavor, while crushed almonds add a nutty undertone and a beautiful visual contrast. These elements aren’t just for show; they elevate the tasting experience, making each slice a symphony of flavors and textures.
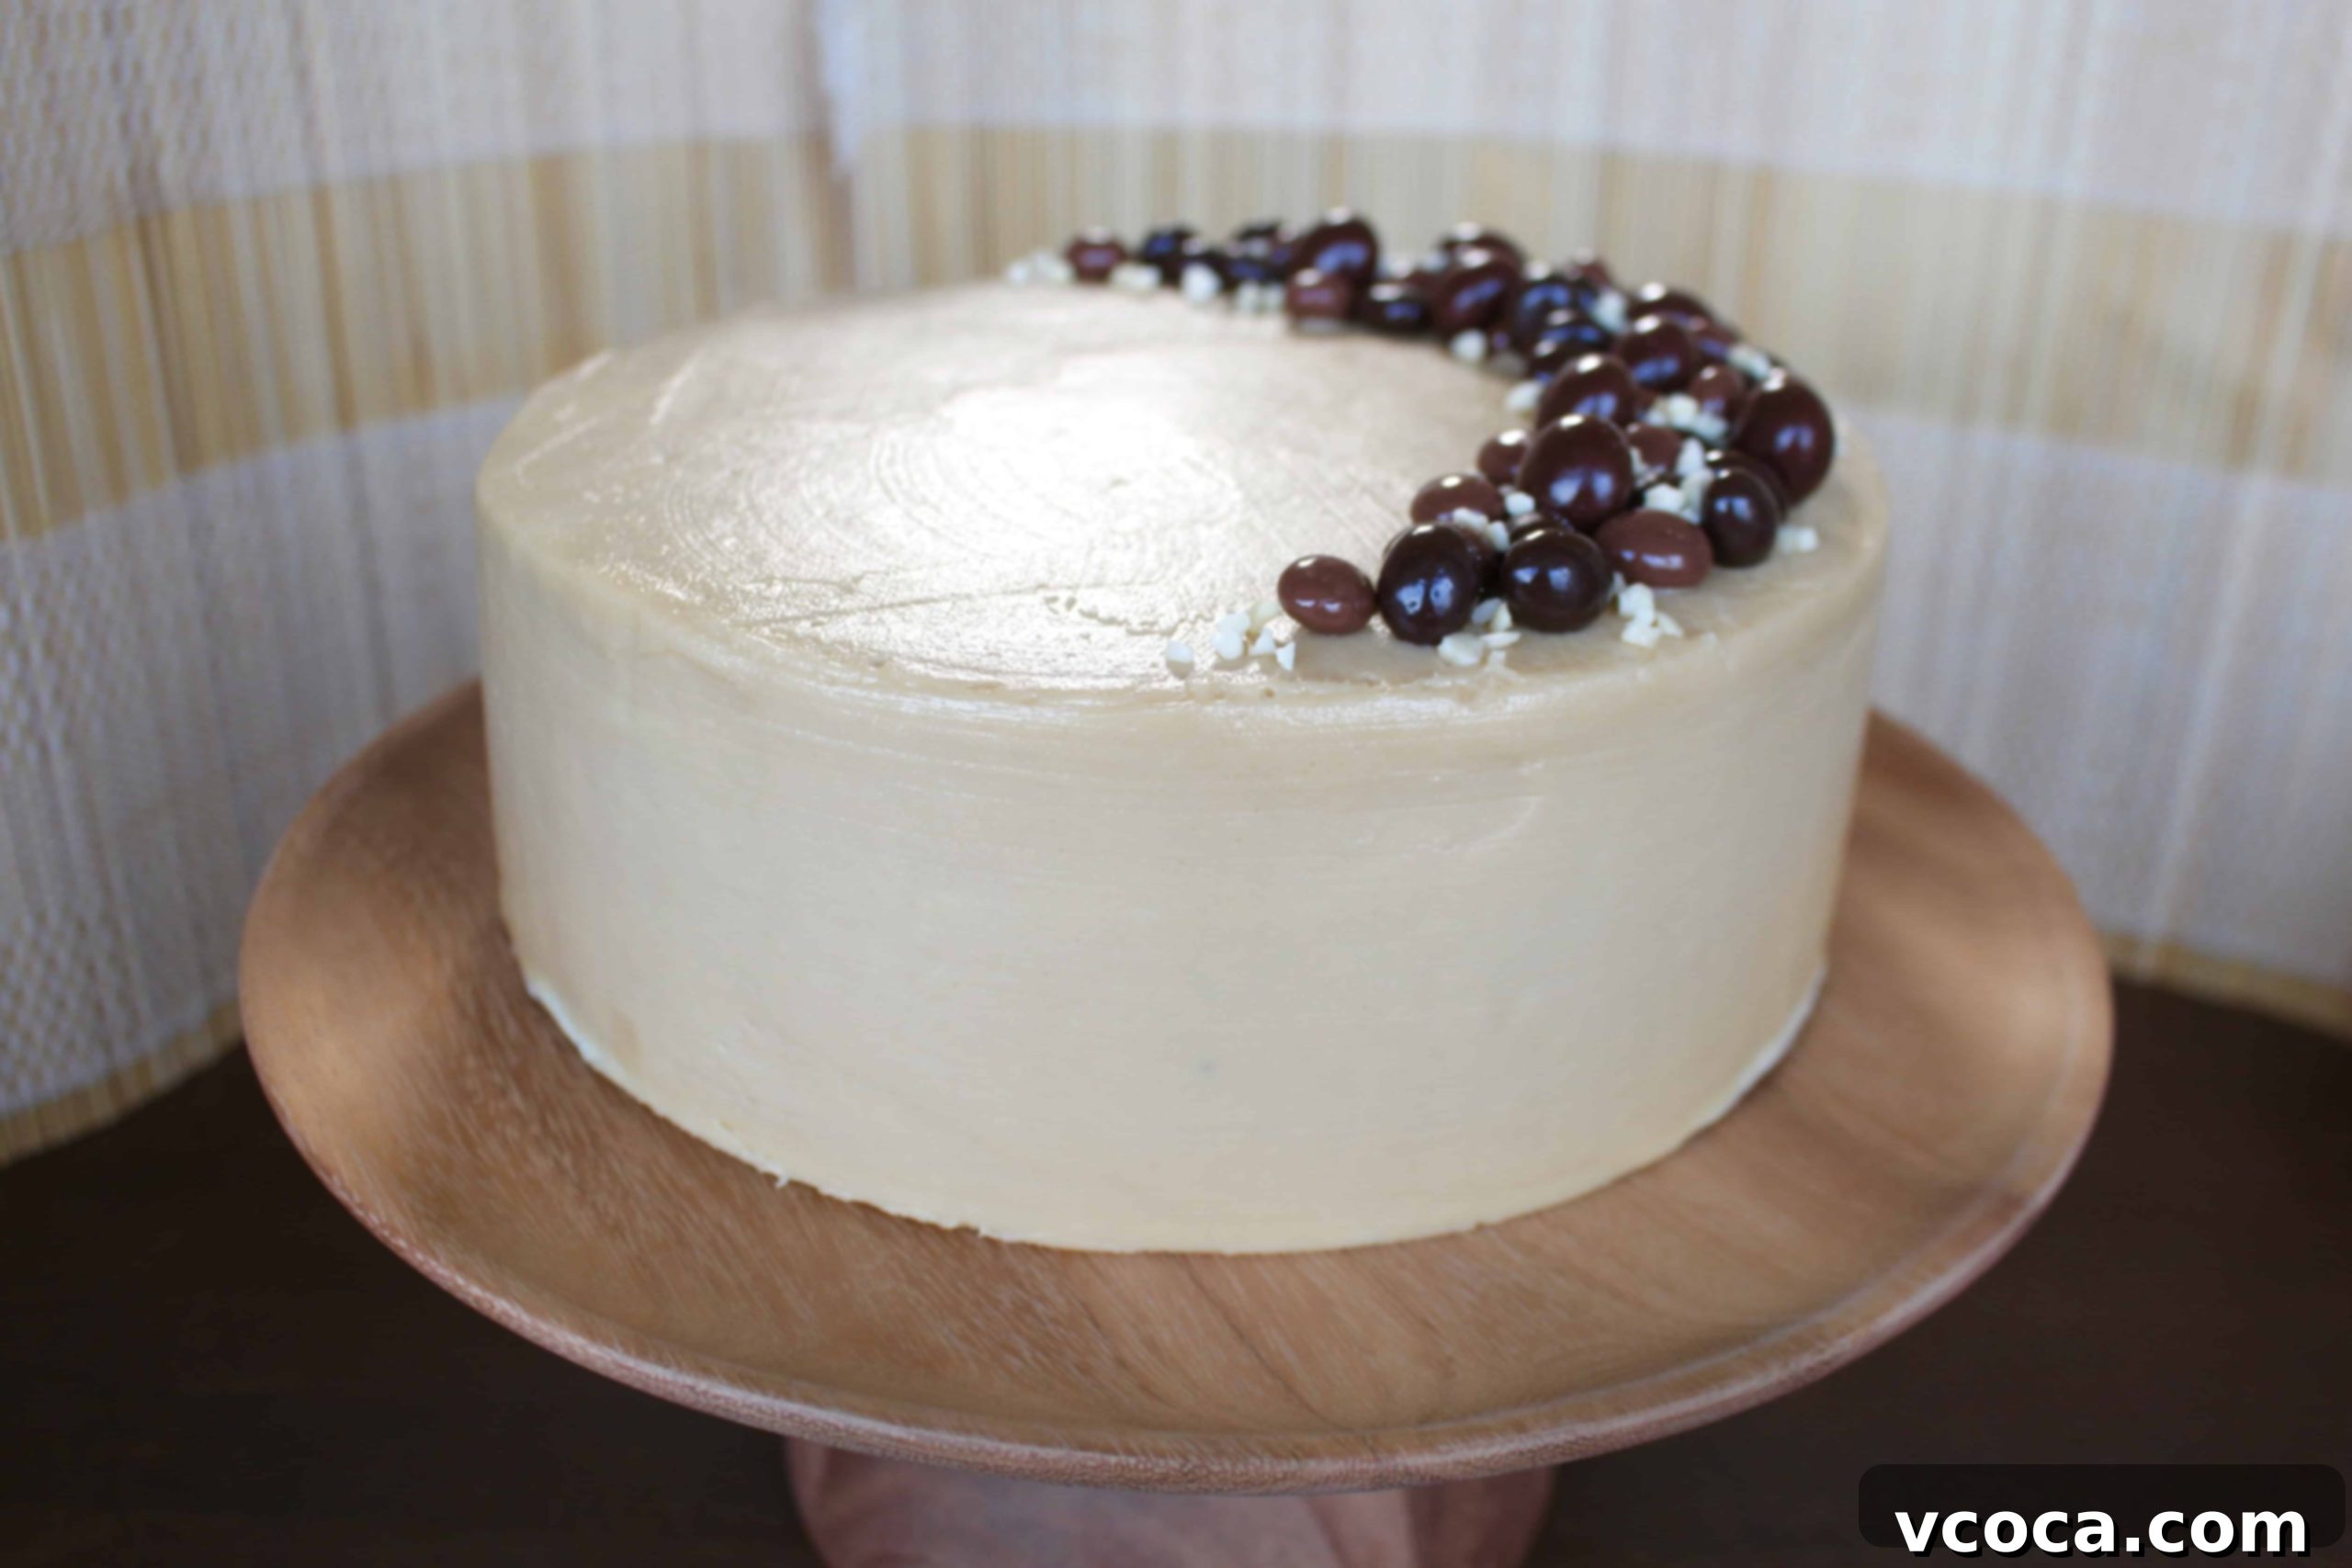
For my decoration, I experimented with a variety of chocolate-covered coffee beans – some milk chocolate, some dark, and even some dark chocolate beans with a surprise white chocolate center. I also considered adding wafer cubes with espresso cream and crispy cappuccino cookies, but decided against them to keep the focus on the main flavors. The beauty of this cake is that you can truly make it your own with your choice of toppings!
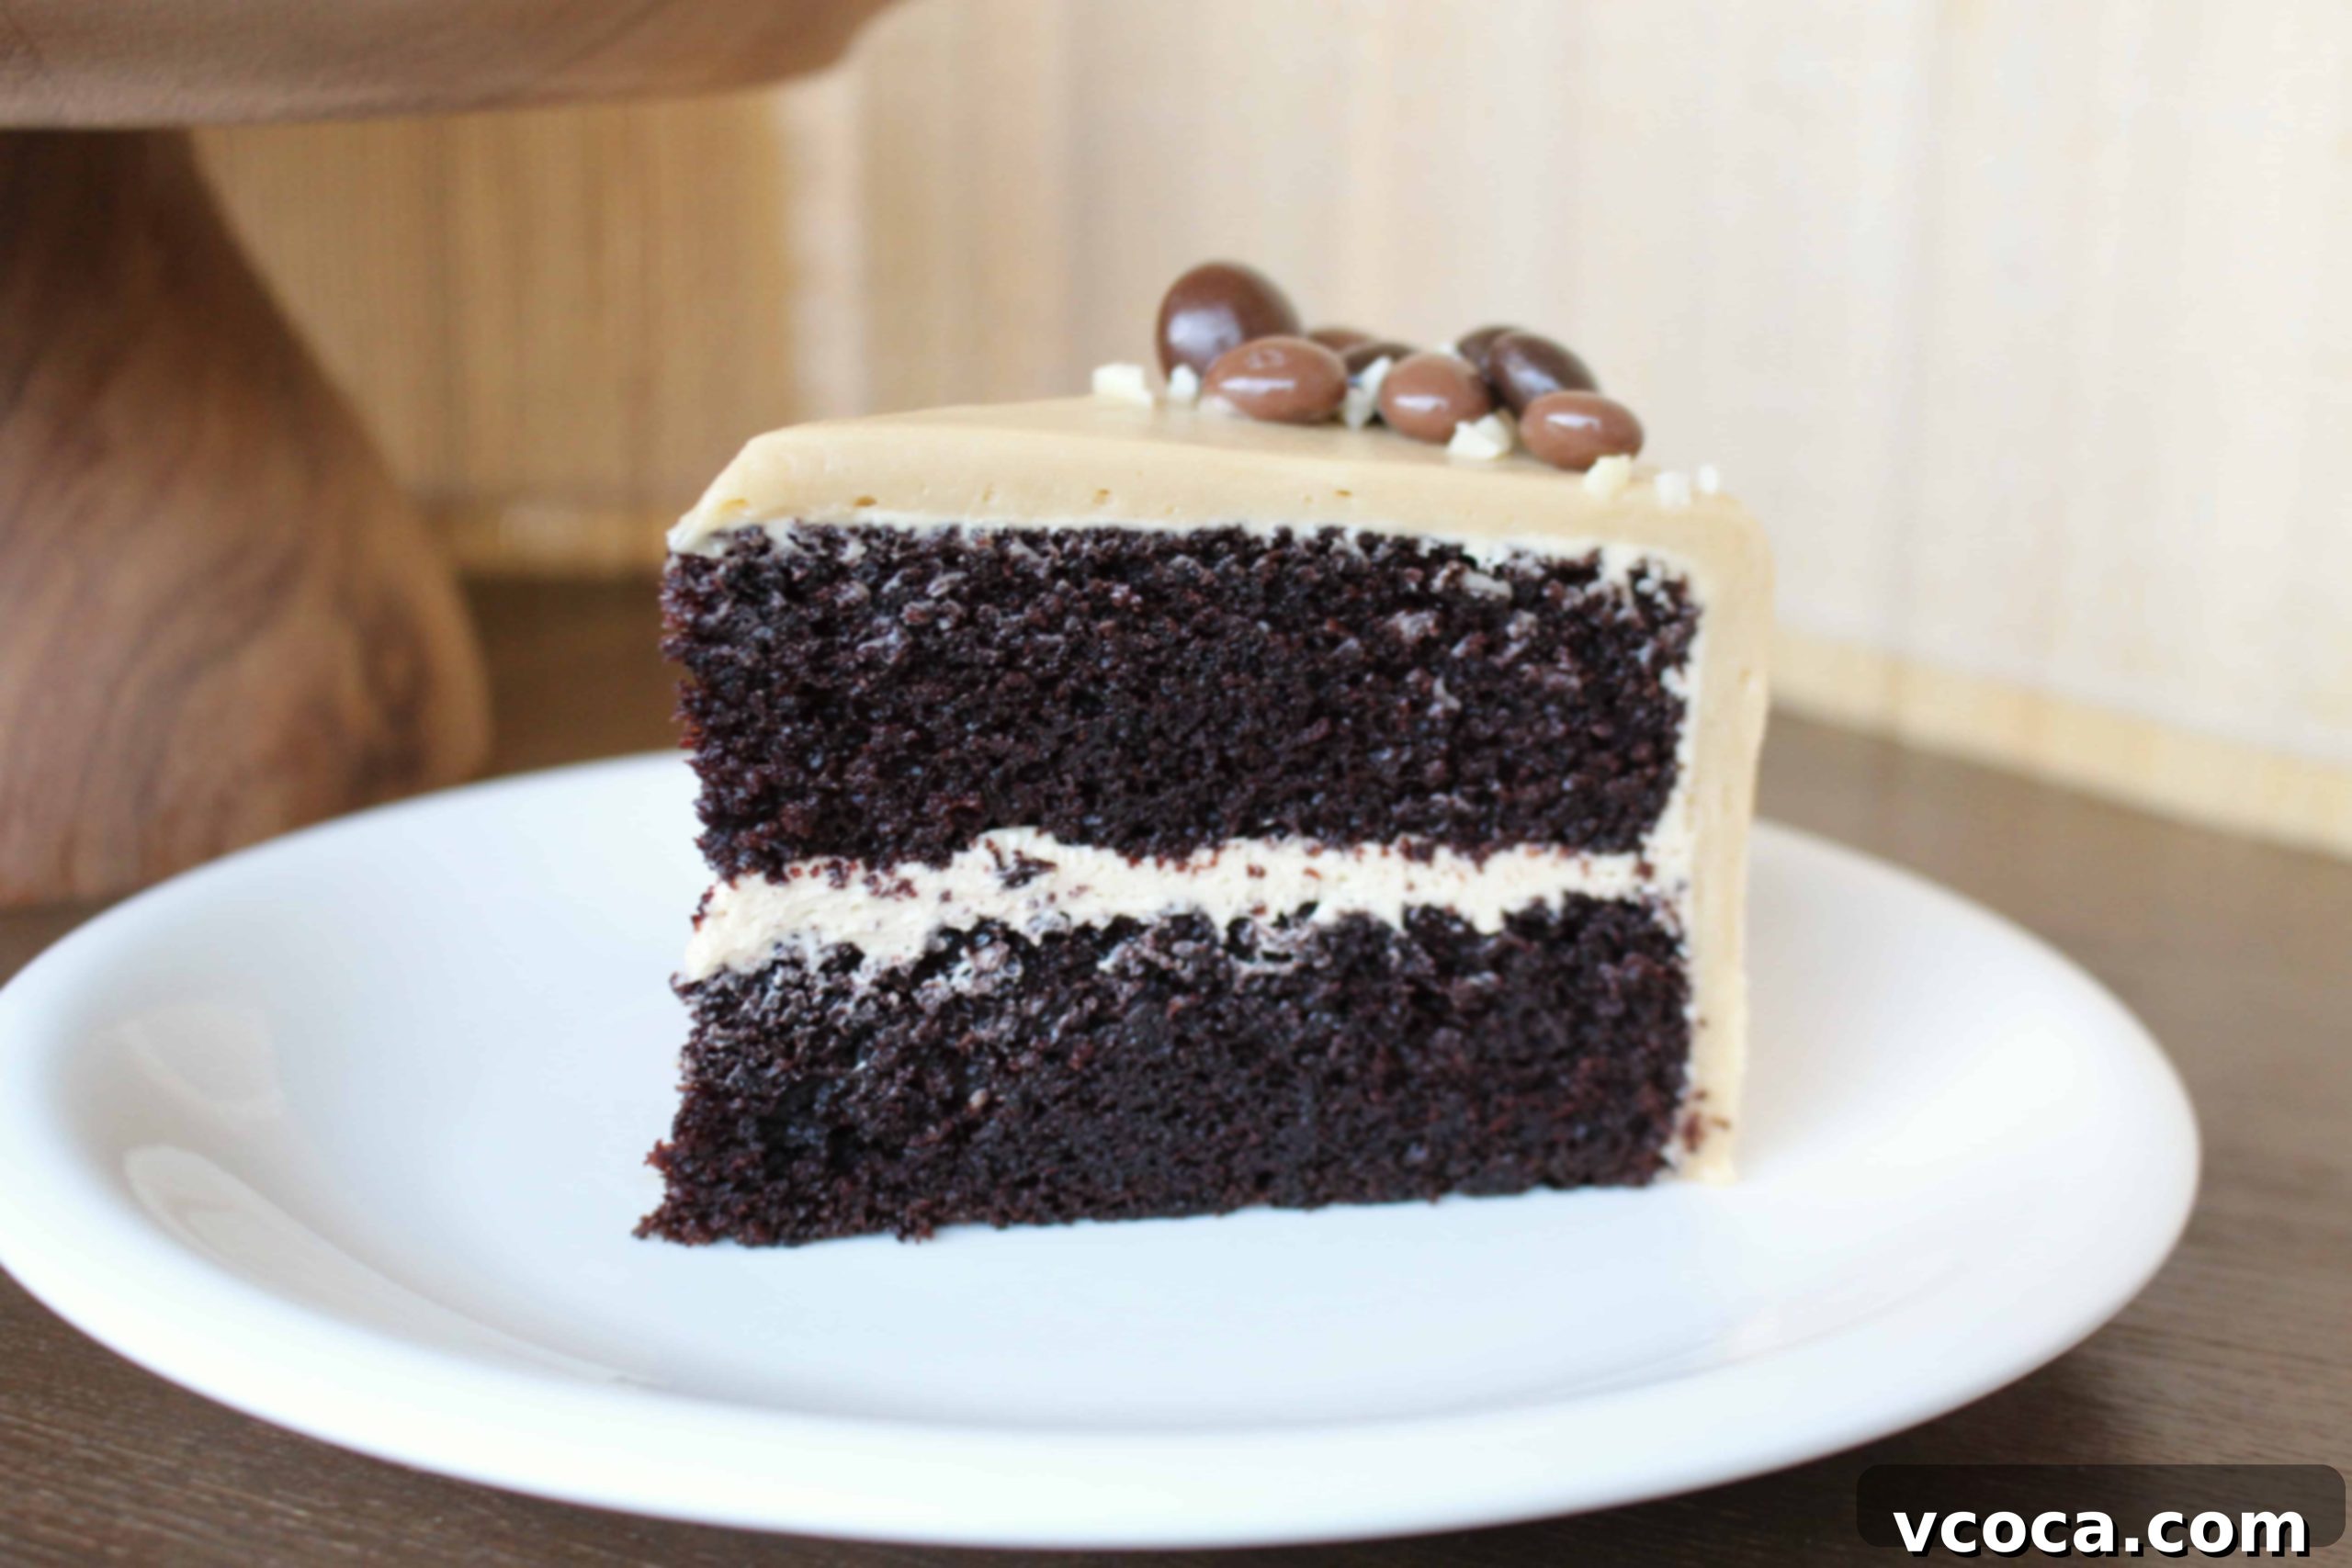
This chocolate mocha cake truly lives up to its promise: it’s rich, wonderfully moist, and utterly decadent. Thanks to my meticulous leveling technique with the ruler, it’s also one of the most visually pleasing layer cakes I’ve ever made – a true showstopper! While it’s a sizable cake for just me and Tristan at home, I thoroughly enjoyed the leftovers for breakfast on Tuesday and Wednesday. Those delightful slices really helped power me through a hectic week, turning ordinary mornings into miniature celebrations. The combination of deep chocolate and invigorating coffee is simply irresistible, making this cake a perfect treat for any time of day.
Explore More Decadent Chocolate Desserts
If you’ve fallen in love with the rich flavors of this chocolate mocha cake, you’ll be thrilled to discover more of my favorite chocolate-centric recipes. From fluffy cupcakes to fudgy brownies, there’s a chocolate treat for every craving and occasion:
- Craving individual portions of moist, rich chocolate? Try my moist chocolate cupcakes or these incredibly satisfying chocolate peanut butter cupcakes. They are effortlessly easy to make and boast an irresistibly fluffy texture.
- For a truly indulgent, deeply chocolatey experience, my gluten-free brownie recipe is absolutely top-notch! These brownies are spectacularly fudgy and packed with an intense chocolate flavor that will satisfy any sweet tooth.
- When a classic chocolate cake is what you desire, but with a gluten-free twist, my gluten-free chocolate cake recipe stands out as one of my all-time favorites. It’s perfect for any celebration or simply when you want a delicious, worry-free dessert.
- And if baking isn’t on your agenda but you still yearn for a satisfying chocolatey dessert, don’t miss this ingenious no-bake icebox cake. It’s ridiculously easy to prepare and delivers rich, cool layers of chocolatey goodness without ever turning on the oven!
Whether you’re celebrating a birthday, hosting a gathering, or simply want to treat yourself to something extraordinary, this homemade chocolate mocha cake is a perfect choice. Its rich flavors, moist texture, and impressive appearance make it a memorable dessert that’s well worth the effort. Happy baking, and enjoy every decadent bite!
Mocha Cake Recipe
Print
Pin
Rate
Ingredients
Chocolate Cake
- 2 cups cake flour
- ¾ cup Dutch processed cocoa powder
- 1 teaspoon fine sea salt
- 2 teaspoons baking soda
- 1 teaspoon baking powder
- 2 large eggs
- 1 cup granulated sugar
- 1 cup light brown sugar
- ½ cup canola oil
- ½ cup sour cream
- ½ cup milk
- 2 teaspoons instant espresso
- 1 cup warm water
- 2 teaspoons vanilla extract
Amaretto Simple Syrup
- 2 tablespoons granulated sugar
- 4 tablespoons amaretto, or water
Coffee Buttercream Frosting
- 1½ cups unsalted butter, softened
- 3 cups powdered sugar, sifted
- 1½ teaspoons vanilla extract
- 1 tablespoon instant espresso powder
- 1 teaspoon warm water
Instructions
Chocolate Cake
-
Preheat the oven to 338°F (170°C). Grease and line the bottoms of two 8-inch cake pans with parchment paper.
-
In a small bowl, combine the cake flour, cocoa powder, salt, baking soda, and baking powder. Whisk well and set aside.
-
In a large bowl, combine the granulated sugar, light brown sugar, canola oil, sour cream, milk, the prepared coffee (from instant espresso and warm water), and vanilla extract. Add the dry ingredients and stir until just combined, being careful not to overmix.
-
Pour the batter evenly into the two prepared pans and bake for approximately 30 to 35 minutes, or until a wooden skewer inserted into the center comes out clean.
-
Let the cakes cool in their pans for about 10 minutes before carefully inverting them onto a wire rack to cool completely.
Amaretto Simple Syrup
-
Combine the granulated sugar and amaretto (or water) in a small bowl. Stir until the sugar is completely dissolved.
Coffee Buttercream Frosting
-
In a small bowl, combine the instant espresso powder and warm water; stir until dissolved. Set aside to cool slightly.
-
In a large bowl, cream the softened unsalted butter until light and fluffy.
-
Gradually add the sifted powdered sugar and continue to beat until smooth.
-
Add the vanilla extract and the concentrated espresso mixture, then beat until fully combined and the frosting is light and fluffy.
Assembly
-
Once completely cool, slice the domes off both cake layers to create even surfaces. Generously soak both cakes with the prepared amaretto simple syrup using a pastry brush.
-
Place one cake layer on your serving plate or cake turntable. Spread a layer of coffee buttercream over the top. Carefully place the second cake layer on top. Apply a very thin layer of frosting (a crumb coat) over the entire cake to trap any loose crumbs. Refrigerate, uncovered, for about an hour to firm up the crumb coat.
-
Once chilled, cover the cake with the remaining coffee buttercream frosting, spreading it smoothly over the top and sides. Decorate as desired with chocolate-covered coffee beans and crushed almonds. Slice and serve!
Nutrition
