Bread Machine Strawberry Chocolate Rolls: An Easy Recipe for Fluffy, Fruity Treats
Last year, for my birthday, my parents gifted me a mini bread machine. Little did I know, this seemingly simple appliance would revolutionize my baking routine! While I’ve mostly used it to produce perfect loaves of plain white bread – the kind that makes mornings magical with its fresh aroma – I soon discovered its true potential for so much more than just simple toast. There’s a special joy in waking up to the inviting scent of freshly baked bread, filling the entire house with warmth and anticipation. It transforms an ordinary breakfast into an extraordinary experience, proving that sometimes, the simplest pleasures are the most profound.
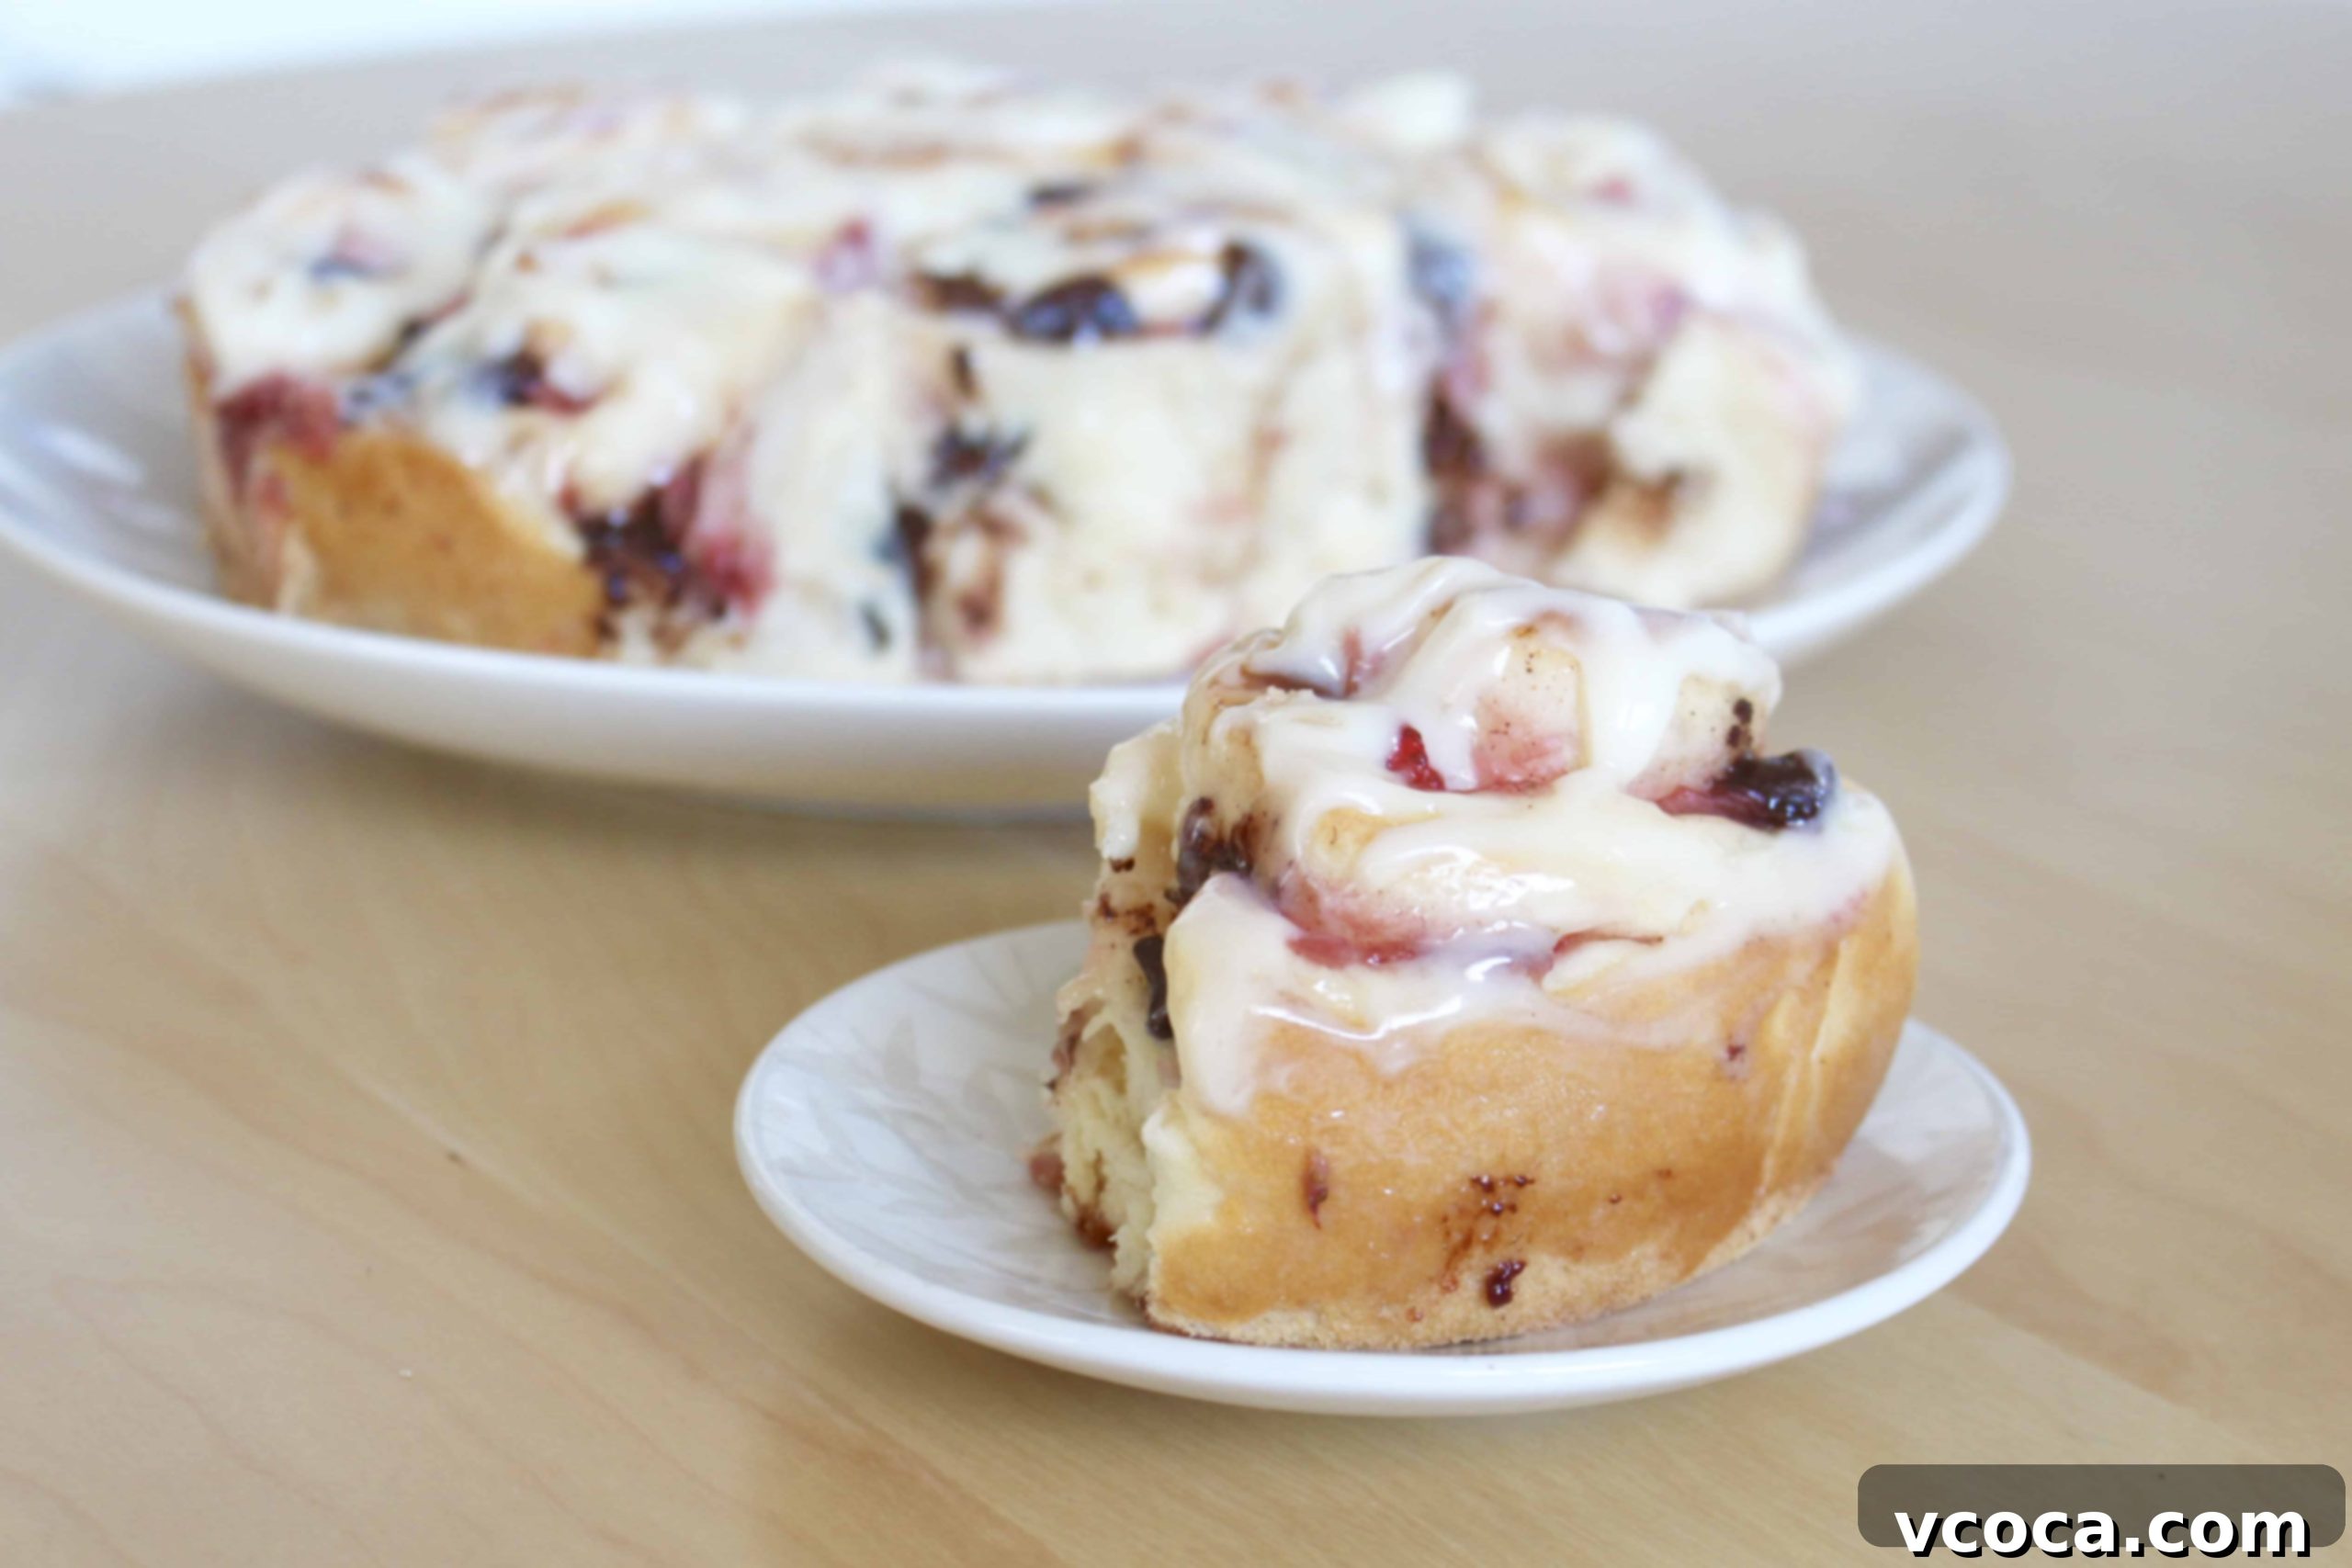
My first adventurous deviation from classic loaves was a batch of cinnamon rolls. And let me tell you, they were absolutely, unequivocally the best cinnamon rolls I had ever tasted. The dough, kneaded effortlessly by the machine, achieved a level of fluffiness and tender perfection that I could barely replicate by hand. My partner, Tristan, and I might have (definitely) licked our plates clean in an attempt to savor every last crumb. Inspired by that success, I experimented further, leading to the creation of these delightful Strawberry Chocolate Rolls. Think of them as the vibrant, springtime cousins to those classic cinnamon rolls – just as wonderfully fluffy, but with a lighter, fruitier twist from the addition of fresh, sweet strawberries and indulgent chocolate chips. They are truly the perfect treat to brighten up an early spring brunch, a special breakfast, or any moment you crave a sweet, comforting bite.
The Magic of Using a Bread Machine for Dough
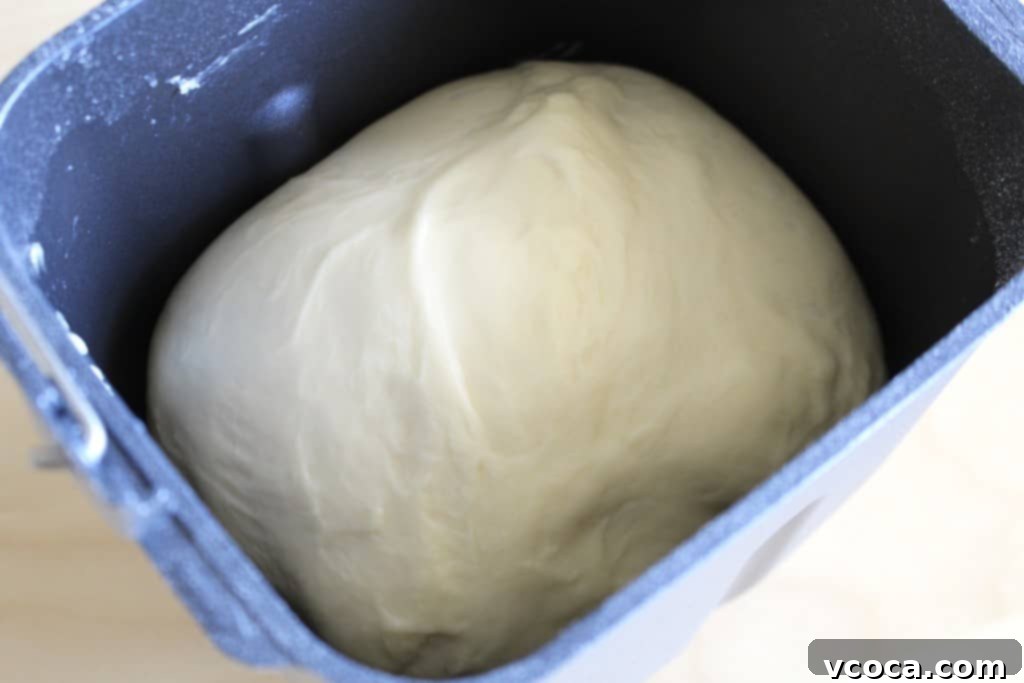
One of the biggest advantages of owning a bread machine, especially for recipes like these sweet rolls, is its ability to perfectly knead dough with minimal effort on your part. Gone are the days of sticky hands and tiring arm workouts! Simply add all the dough ingredients into the machine’s pan, select the “dough” setting, and let it do its magic. This setting typically kneads the dough and then allows it to rise for the first time in an ideal warm environment. This hands-off approach ensures a consistently smooth and elastic dough every time, which is the foundation for truly fluffy and tender rolls. It’s a game-changer for bakers who love homemade goods but are short on time or prefer a less messy process.
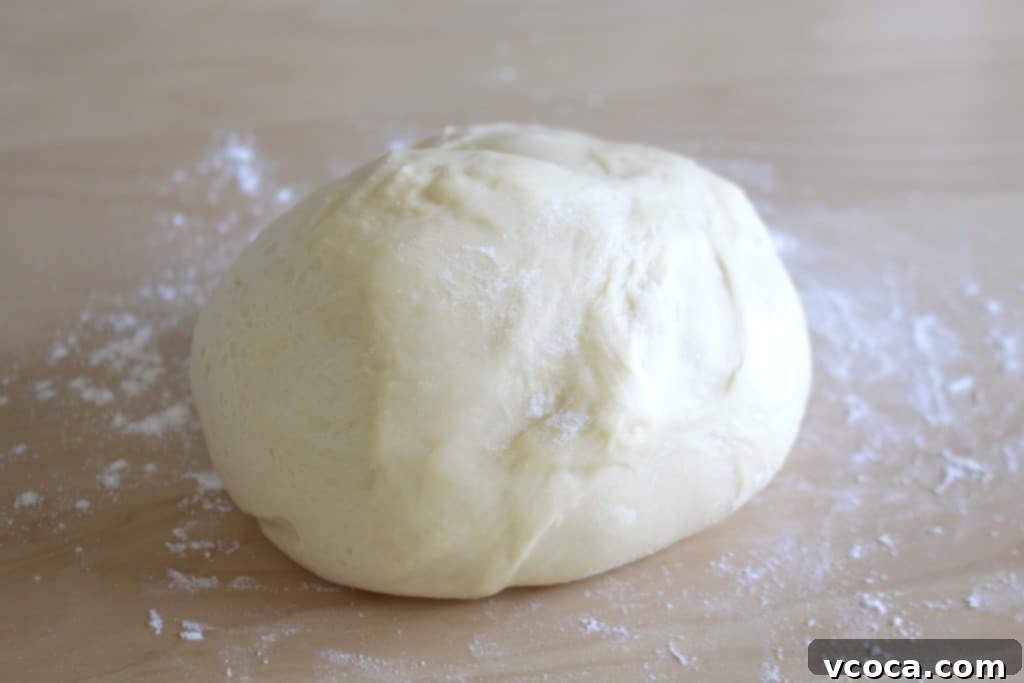
Once your bread machine has completed its dough cycle, you’ll be presented with a beautifully risen, supple dough. At this stage, transfer the dough from the machine onto a lightly floured surface. Covering it with plastic wrap or a clean tea towel and allowing it to rest for about 10 to 15 minutes is crucial. This brief resting period, often called “bench rest,” allows the gluten to relax after the kneading process, making the dough much easier to roll out and shape without it snapping back. It also contributes to the final tender texture of your rolls.
Crafting the Luscious Strawberry Filling
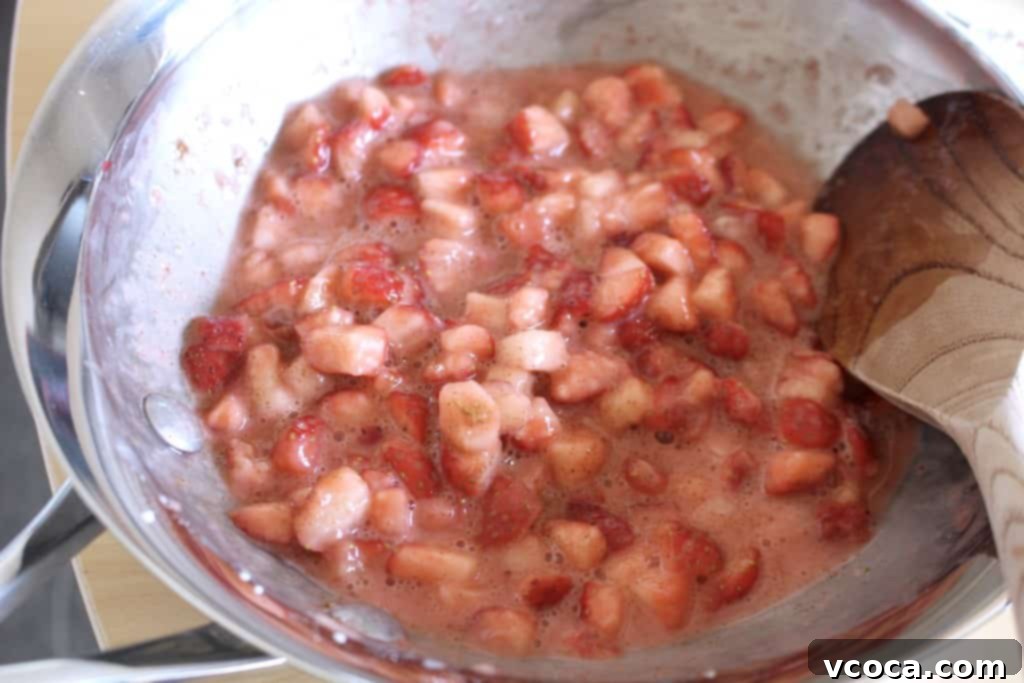
While your dough enjoys its brief rest, you can swiftly prepare the star of these rolls: the vibrant strawberry filling. In a small pan, combine your fresh chopped strawberries, a touch of granulated sugar to enhance their natural sweetness, a hint of cinnamon for warmth, and cornstarch. The cornstarch is essential here; it acts as a thickening agent, preventing the filling from becoming too watery and ensuring it stays beautifully contained within the rolls during baking. Cook this mixture over medium heat, stirring gently, until it thickens into a glossy, saucy consistency. The aroma alone will start your mouth watering! Once thickened, remove it from the heat and set it aside to cool completely. This cooling step is important to prevent the warm filling from melting the butter in your dough or making it difficult to work with later.
Assembling Your Delicious Strawberry Chocolate Rolls
With the dough rested and the filling cooled, it’s time for the fun part: assembly! Lightly flour your work surface and your rolling pin, then roll out the soft dough into a generous rectangle, approximately 20 inches by 12 inches (or 50cm by 30cm). Aim for an even thickness to ensure uniform rolls. Next, evenly spread your cooled strawberry mixture over the entire surface of the dough. Don’t be shy – cover it all! Then, liberally sprinkle your semisweet chocolate chips over the strawberry layer. Make sure to leave a small border (about half an inch) around the edges of the rectangle. This small margin is essential because it allows you to effectively seal the edges later, preventing the delicious filling from oozing out during the rolling and baking process. We want every bit of that strawberry and chocolate goodness to stay right where it belongs!
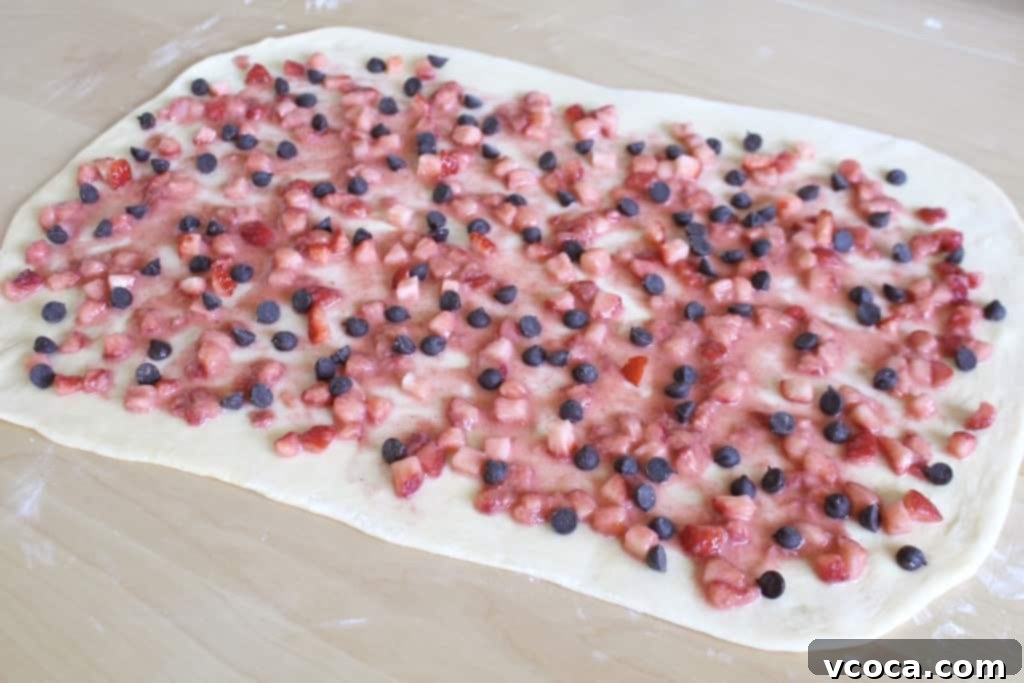
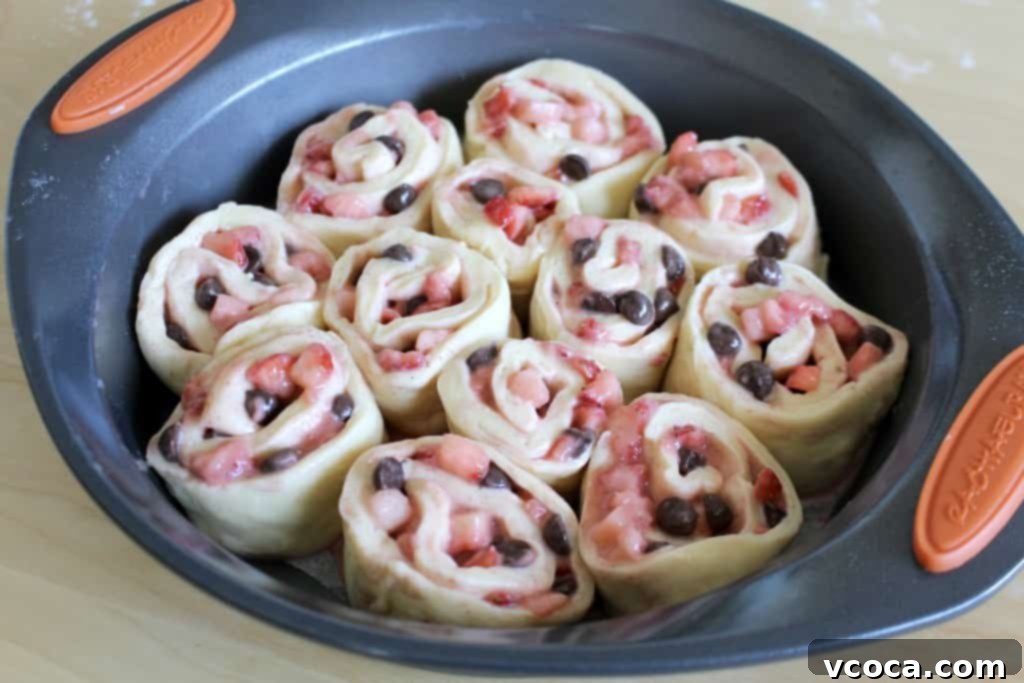
Carefully, starting from one of the long sides, roll the dough into a tight log. Once rolled, firmly pinch the seam along the entire length of the log to seal it completely. This ensures that the rolls hold their shape and the filling remains tucked inside. Now, using a sharp knife or even unflavored dental floss for a cleaner cut, slice your log into 12 equally sized rolls. I recommend using a 9-inch round baking pan, but any similar-sized baking dish will work beautifully. To ensure a perfect release and prevent any sticking, generously grease your pan with butter and, for extra peace of mind, line the bottom with parchment paper. Arrange the sliced rolls in the prepared pan, leaving a little space between each one to allow for expansion during their final rise. Cover the pan with a tea towel or plastic wrap and let the rolls rise in a warm spot for approximately 30 minutes. During this time, the rolls will become visibly puffier and even more tender. While they’re rising, preheat your oven to 375°F (190°C), so it’s ready when your rolls are.
Baking to Golden Perfection and Creamy Frosting
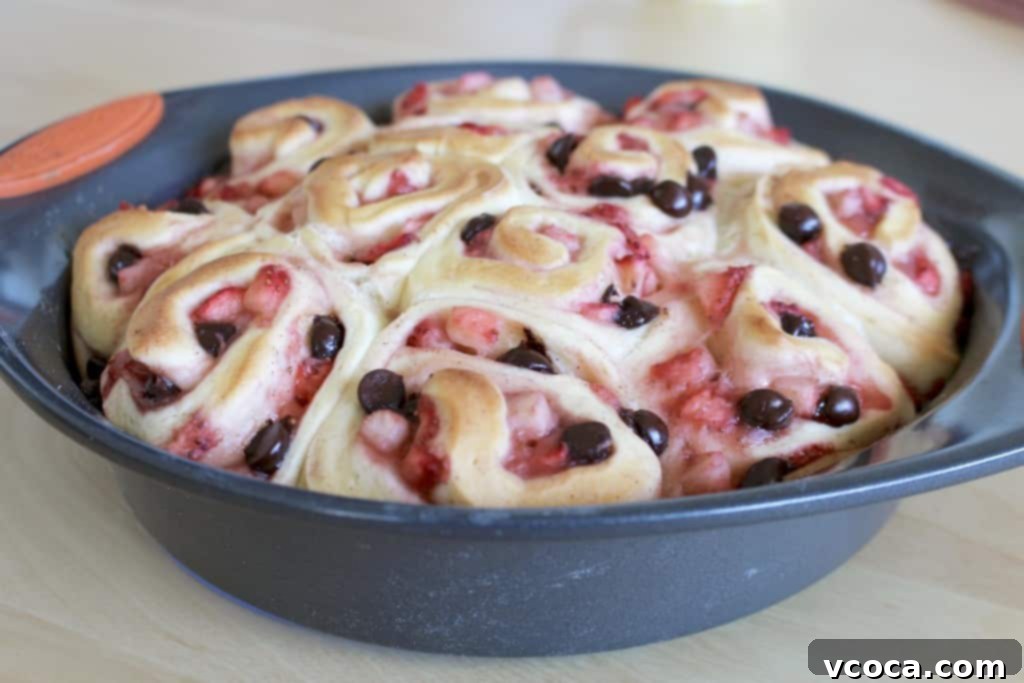
Now for the moment of truth: baking! Place your pan of risen rolls into the preheated oven and bake for approximately 20 minutes, or until the tops are beautifully golden brown and the rolls feel set. As they bake, your kitchen will be filled with an absolutely intoxicating aroma – a delightful blend of sweet strawberries, warm cinnamon, and rich chocolate. It’s truly unbelievable and a huge part of the joy of baking these rolls. This heavenly scent is a promise of the deliciousness to come.
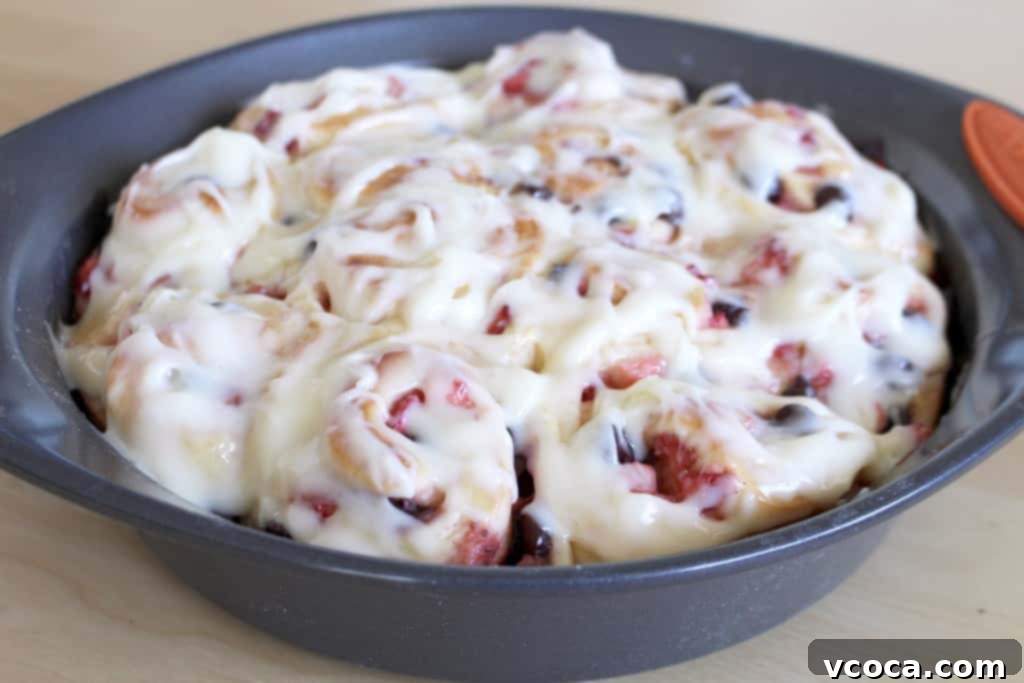
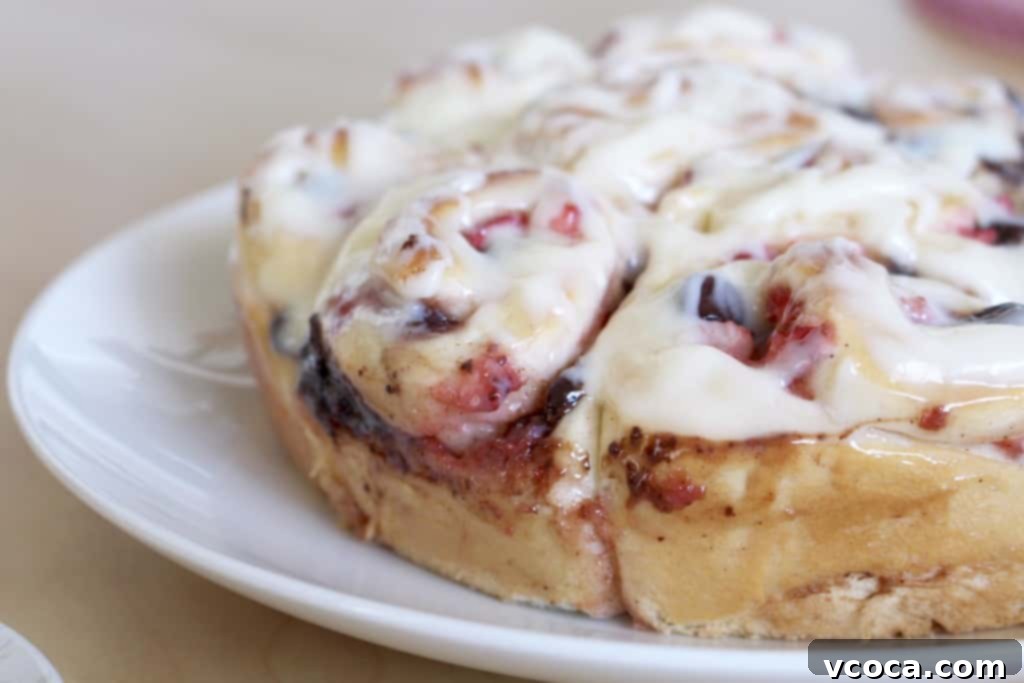
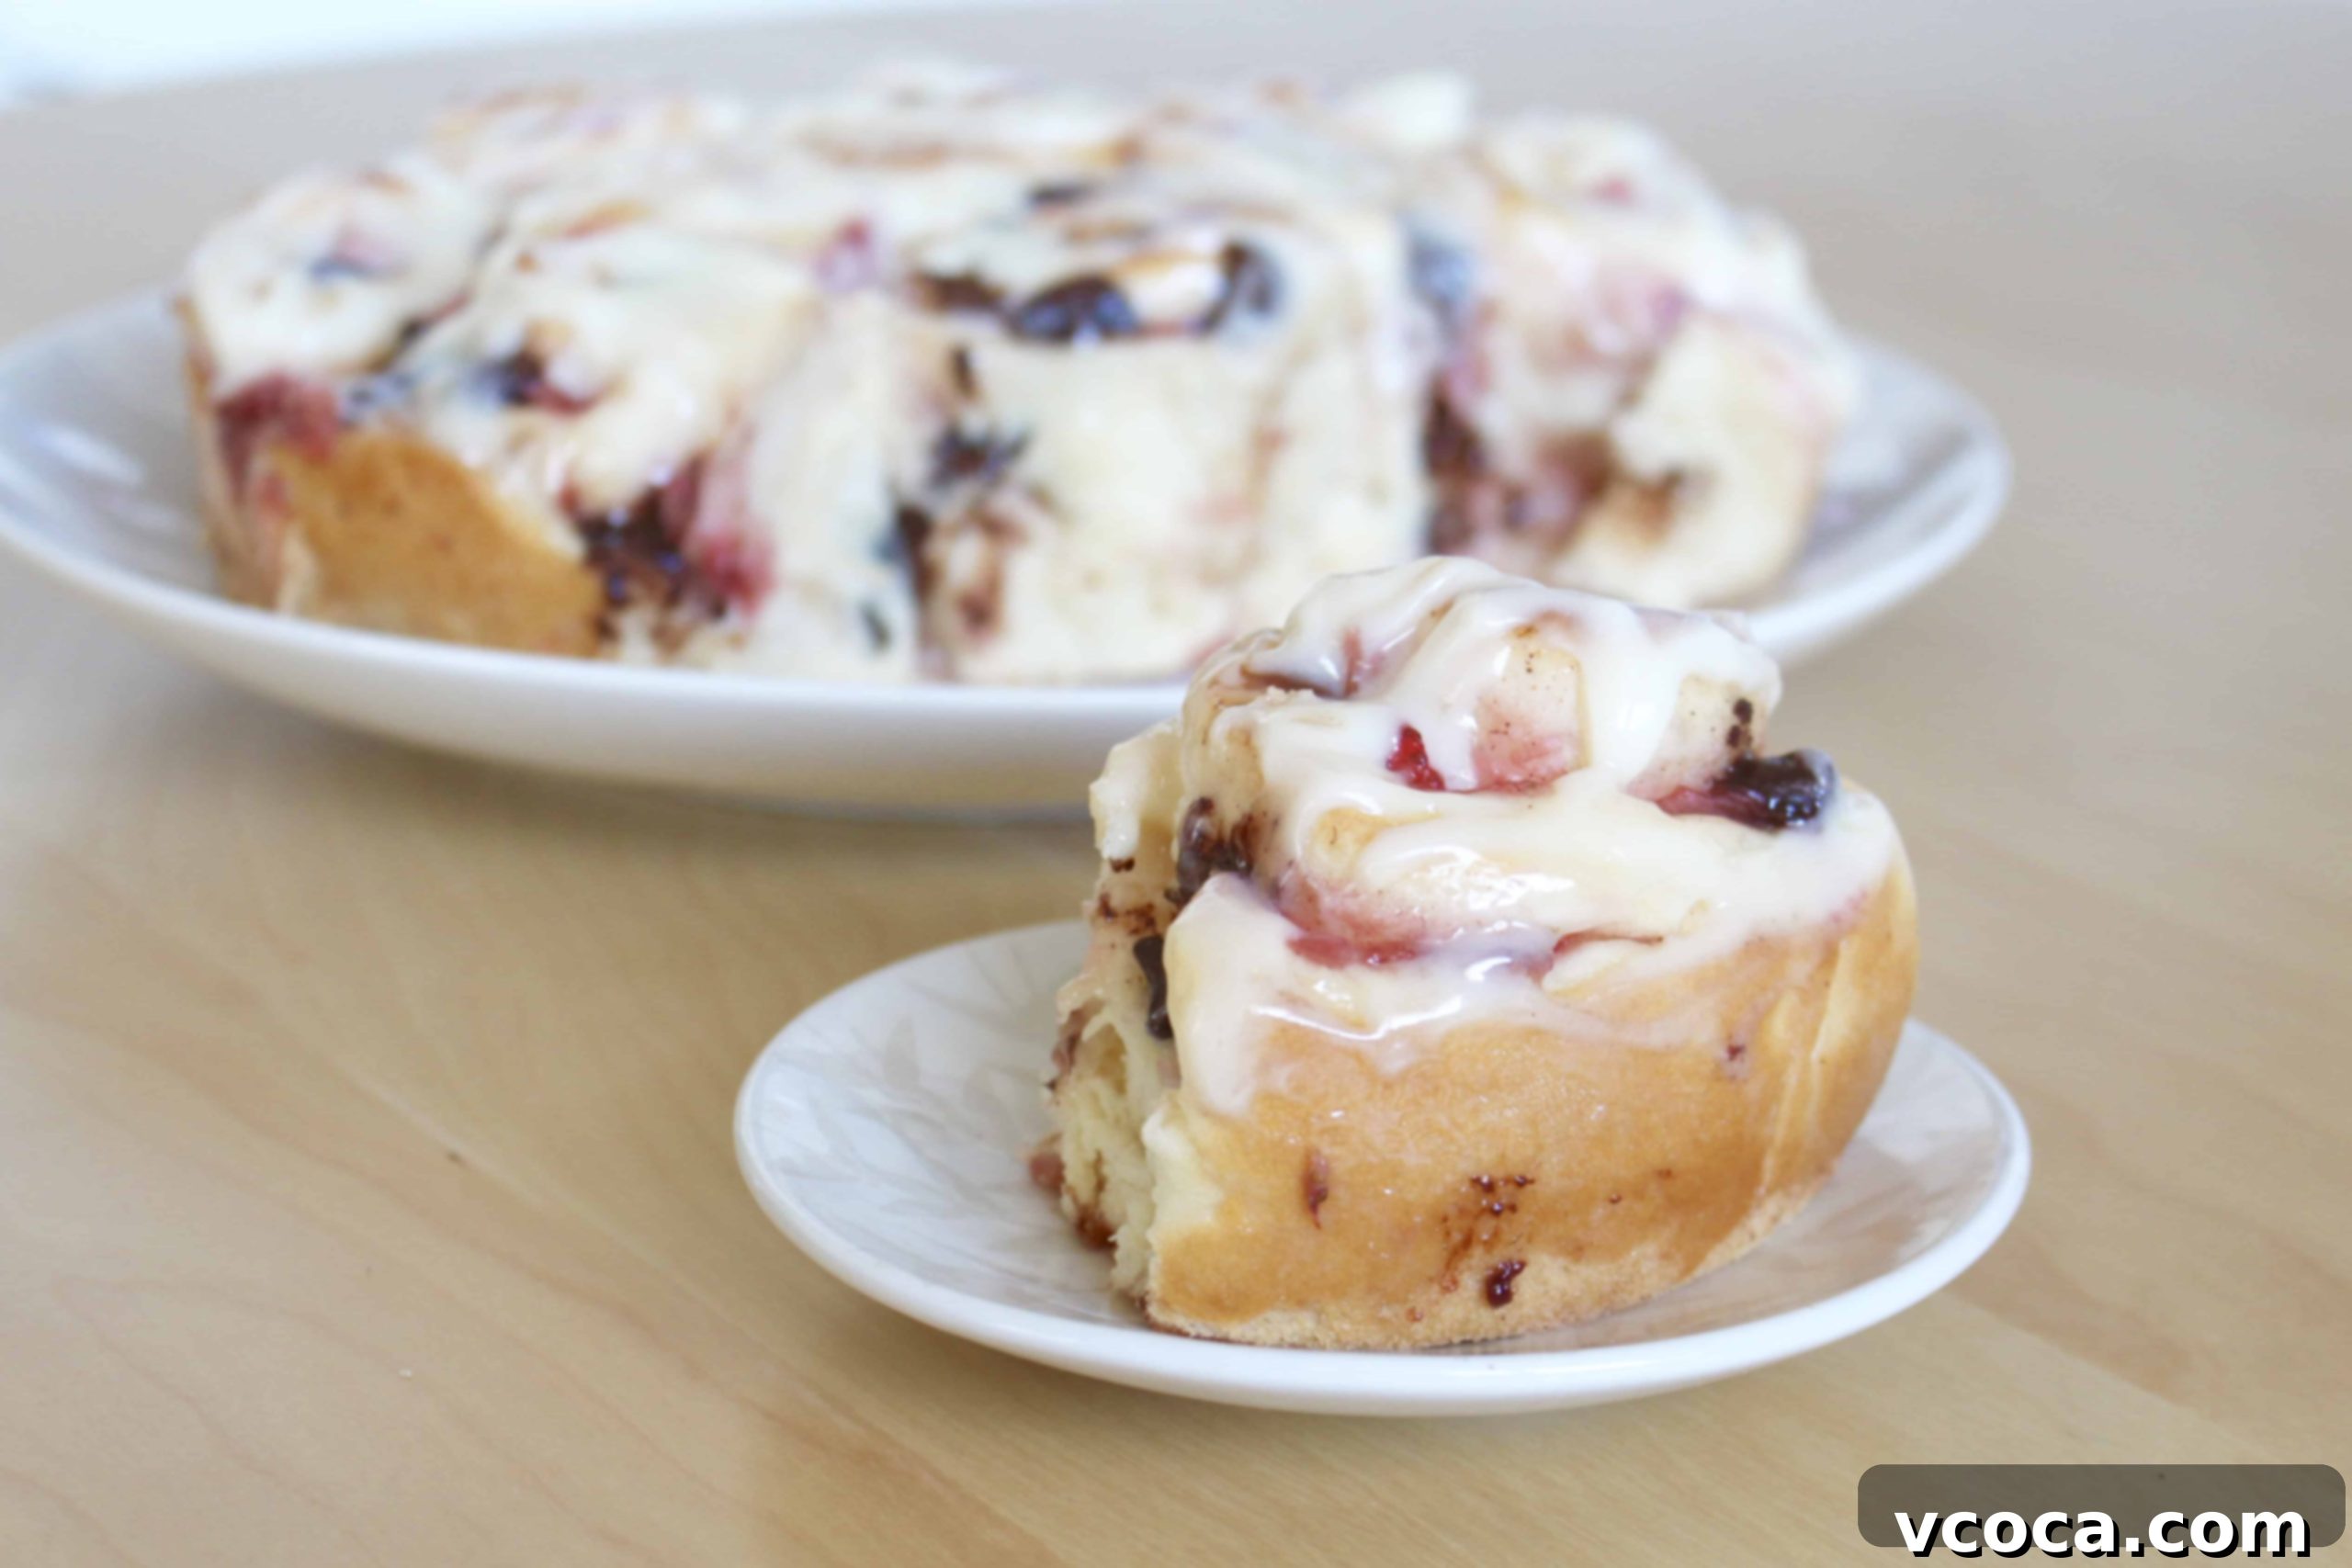
While your rolls are still warm from the oven, it’s the perfect time to add the final, irresistible touch: a creamy, dreamy cream cheese frosting. In a small bowl, simply mix together softened cream cheese, softened butter, and powdered sugar until smooth and fluffy. The warmth of the rolls will help the frosting melt slightly, creating a gooey, delightful glaze that seeps into every crevice, enhancing the rolls’ moisture and adding a wonderful tangy-sweet contrast to the fruit and chocolate. Spread this generous layer of frosting over the warm rolls, ensuring every inch is covered in deliciousness.
Tips for the Perfect Batch of Strawberry Chocolate Rolls
- Ingredient Temperature: For the dough, ensure your milk is warm (not hot!) and butter and egg are at room temperature. This helps activate the yeast effectively and creates a smoother dough. For the frosting, softened cream cheese and butter are crucial for a lump-free, creamy consistency.
- Don’t Over-Flour: When transferring and rolling out the dough, use just enough flour to prevent sticking. Too much flour can make your rolls dense and dry.
- Proper Rising: Don’t rush the rising process. A warm, draft-free spot is ideal for both the first rise in the bread machine and the second rise in the pan. Patience here yields the fluffiest results.
- Cool the Filling: Make sure your strawberry filling is completely cooled before spreading it on the dough. A warm filling can melt the butter in the dough, making it greasy and difficult to roll.
- Sealing is Key: Pinching the seam of the rolled log firmly is important to keep the filling from escaping during baking.
- Don’t Overbake: Keep an eye on the rolls during the last few minutes of baking. They should be golden brown, but overbaking can lead to dry rolls.
- Storage: If you happen to have any leftovers (a rare occurrence!), store the rolls in an airtight container at room temperature for up to 2 days, or in the refrigerator for up to 4 days. You can gently warm them in the microwave for a few seconds before serving to restore some of their fresh-baked goodness.
- Variations: Feel free to experiment with other berries like raspberries or blueberries, or even add a hint of orange zest to the strawberry filling for an extra burst of flavor. White chocolate chips could also be a delightful alternative!
A Sweet Conclusion: Indulge in Every Bite
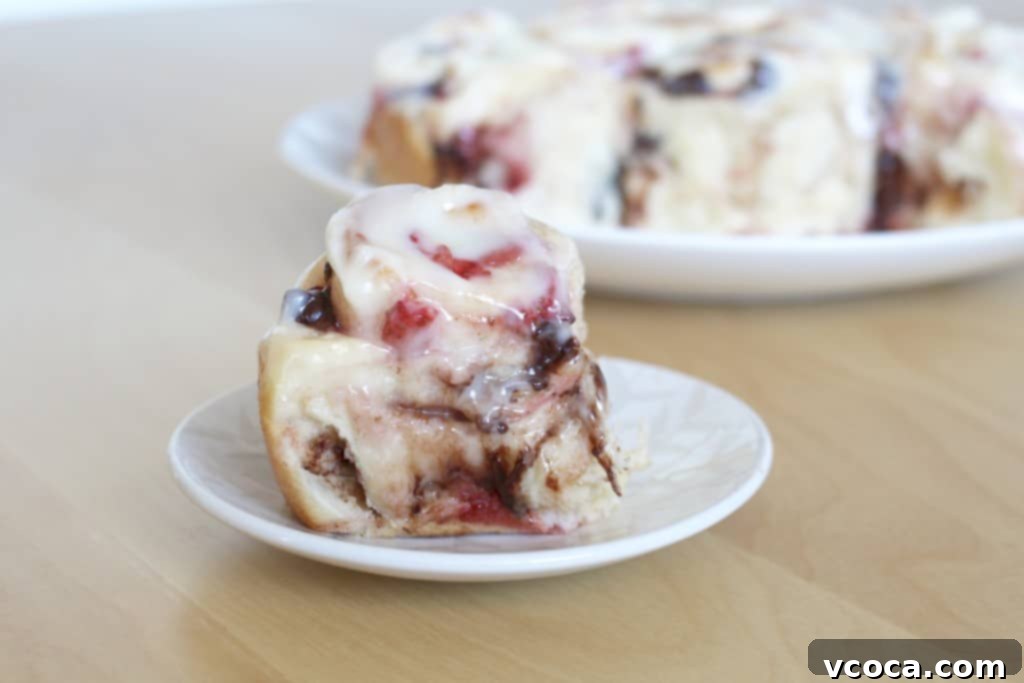
Now, the best part: just grab a roll (or two, or three, we won’t judge!) and enjoy the fruits of your labor. As you pull apart a roll, you’ll immediately notice the incredibly fluffy texture of the bread, a testament to the bread machine’s perfect kneading and rising environment. The vibrant strawberries and luscious chocolate chips melt into each other, creating pockets of fruity sweetness and rich, comforting cocoa. What I particularly love about this recipe is that I didn’t add excessive sugar to either the strawberry filling or the cream cheese frosting. This intentional choice means that despite the presence of delicious chocolate, these rolls are not overly sweet. They offer a balanced indulgence, allowing the natural tang of the strawberries and the rich flavor of the chocolate to truly shine through. Each bite is a harmonious blend of textures and tastes – a truly irresistible treat that’s perfect for any time of day.
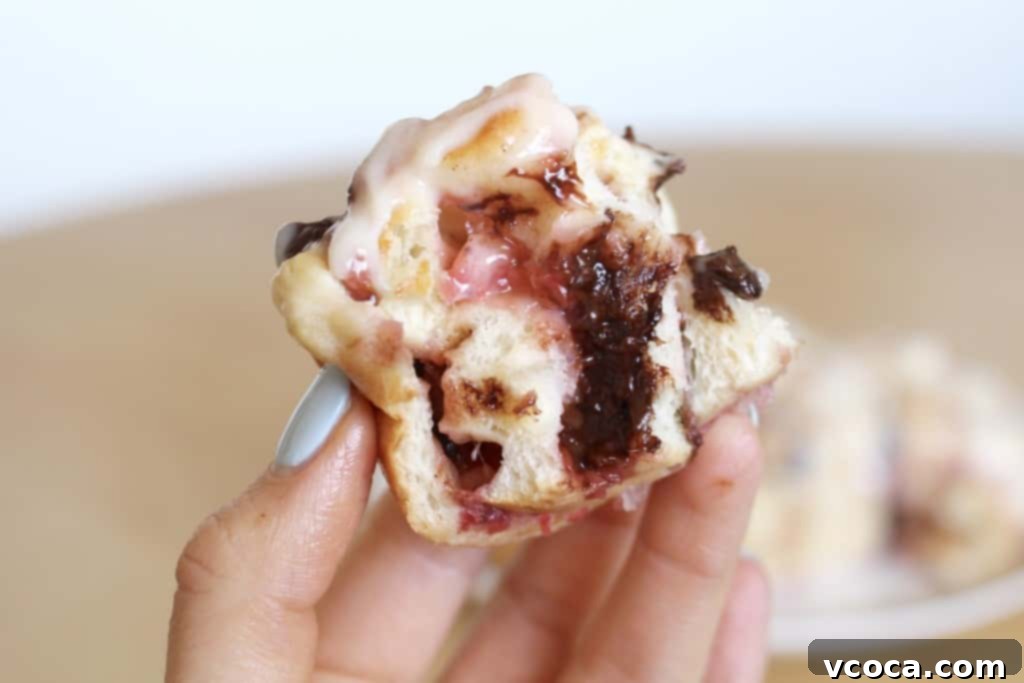
Just looking at these photos again has me craving another one. These Strawberry Chocolate Rolls are more than just a sweet treat; they’re a little bit of homemade magic, made simple thanks to a trusty bread machine. I hope you’ll give this recipe a try and experience the sheer delight of these fluffy, fruity, and utterly satisfying rolls. They are sure to become a new favorite in your household, perfect for any occasion that calls for a touch of sweetness.
Strawberry Chocolate Rolls
Breakfast, Snack
American
12
rolls
Ai Willis
Print
Pin
Rate
Ingredients
Dough
- 285g bread flour
- ½ teaspoon fine sea salt
- ¼ cup granulated sugar
- 38g butter, softened
- 1 large egg
- ½ cup warm milk
- 1¼ teaspoon active dry yeast
Filling
- 1 cup fresh strawberries, chopped
- 1 teaspoon granulated sugar
- ¼ teaspoon cinnamon
- 3 tablespoons cornstarch
- ½ cup semisweet chocolate chips
Frosting
- 50g cream cheese, softened
- 30g butter, softened
- ½ cup powdered sugar
Instructions
-
Add all the dough ingredients (bread flour, salt, granulated sugar, softened butter, egg, warm milk, active dry yeast) into your bread machine. Select the “dough” cycle and start the machine.
-
Once the dough cycle is complete, carefully remove the risen dough from the machine. Place it on a lightly floured surface, cover it with plastic wrap or a clean tea towel, and let it rest for 10 to 15 minutes to allow the gluten to relax.
-
While the dough rests, prepare the filling. In a small saucepan, combine the chopped fresh strawberries, granulated sugar, cinnamon, and cornstarch. Cook over medium heat, stirring occasionally, until the mixture thickens into a saucy consistency. Remove from heat and set aside to cool completely.
-
Roll out the rested dough on a lightly floured surface into a rectangle approximately 20 inches by 12 inches (50cm x 30cm). Evenly spread the cooled strawberry mixture over the dough, leaving about a ½-inch border around the edges. Sprinkle the semisweet chocolate chips over the strawberry layer.
-
Starting from a long side, tightly roll the dough into a log. Pinch the edges firmly along the seam to seal. Using a sharp knife or dental floss, slice the log into 12 equal rolls.
-
Grease a 9-inch round baking pan (or similar) with butter and, if desired, line the bottom with parchment paper. Arrange the sliced rolls in the prepared pan. Cover the pan with a tea towel or plastic wrap and let the rolls rise in a warm place for about 30 minutes, or until visibly puffy.
-
While the rolls are rising, preheat your oven to 375°F (190°C).
-
Bake the rolls for 20 minutes, or until they are beautifully golden brown on top.
-
While the rolls are baking, prepare the frosting: In a small bowl, combine the softened cream cheese, softened butter, and powdered sugar. Beat until smooth and fluffy.
-
As soon as the rolls come out of the oven, generously spread the cream cheese frosting over them while they are still warm. Serve immediately and enjoy!
Love this recipe?Snap a photo and share tagging @aimadeitforyou or tag #aimadeitforyou!
