Updated June 11, 2019 (Originally posted April 10, 2016)
Easy Homemade Doughnuts: Fluffy, Yeasted Perfection from Your Bread Machine
There’s nothing quite like the irresistible aroma and melt-in-your-mouth texture of freshly made doughnuts. Forget the store-bought versions; once you experience the joy of homemade, you’ll never look back! For a while, I was on a mission to perfect the ultimate homemade doughnut recipe. My initial attempts were, well, a learning experience. The doughnuts would deflate as they cooled, leaving a noticeable oily taste, and the dough itself was often bland, even with rich chocolate ganache or creamy pastry fillings trying to save them. But after much experimentation and fine-tuning, I’ve finally cracked the code!
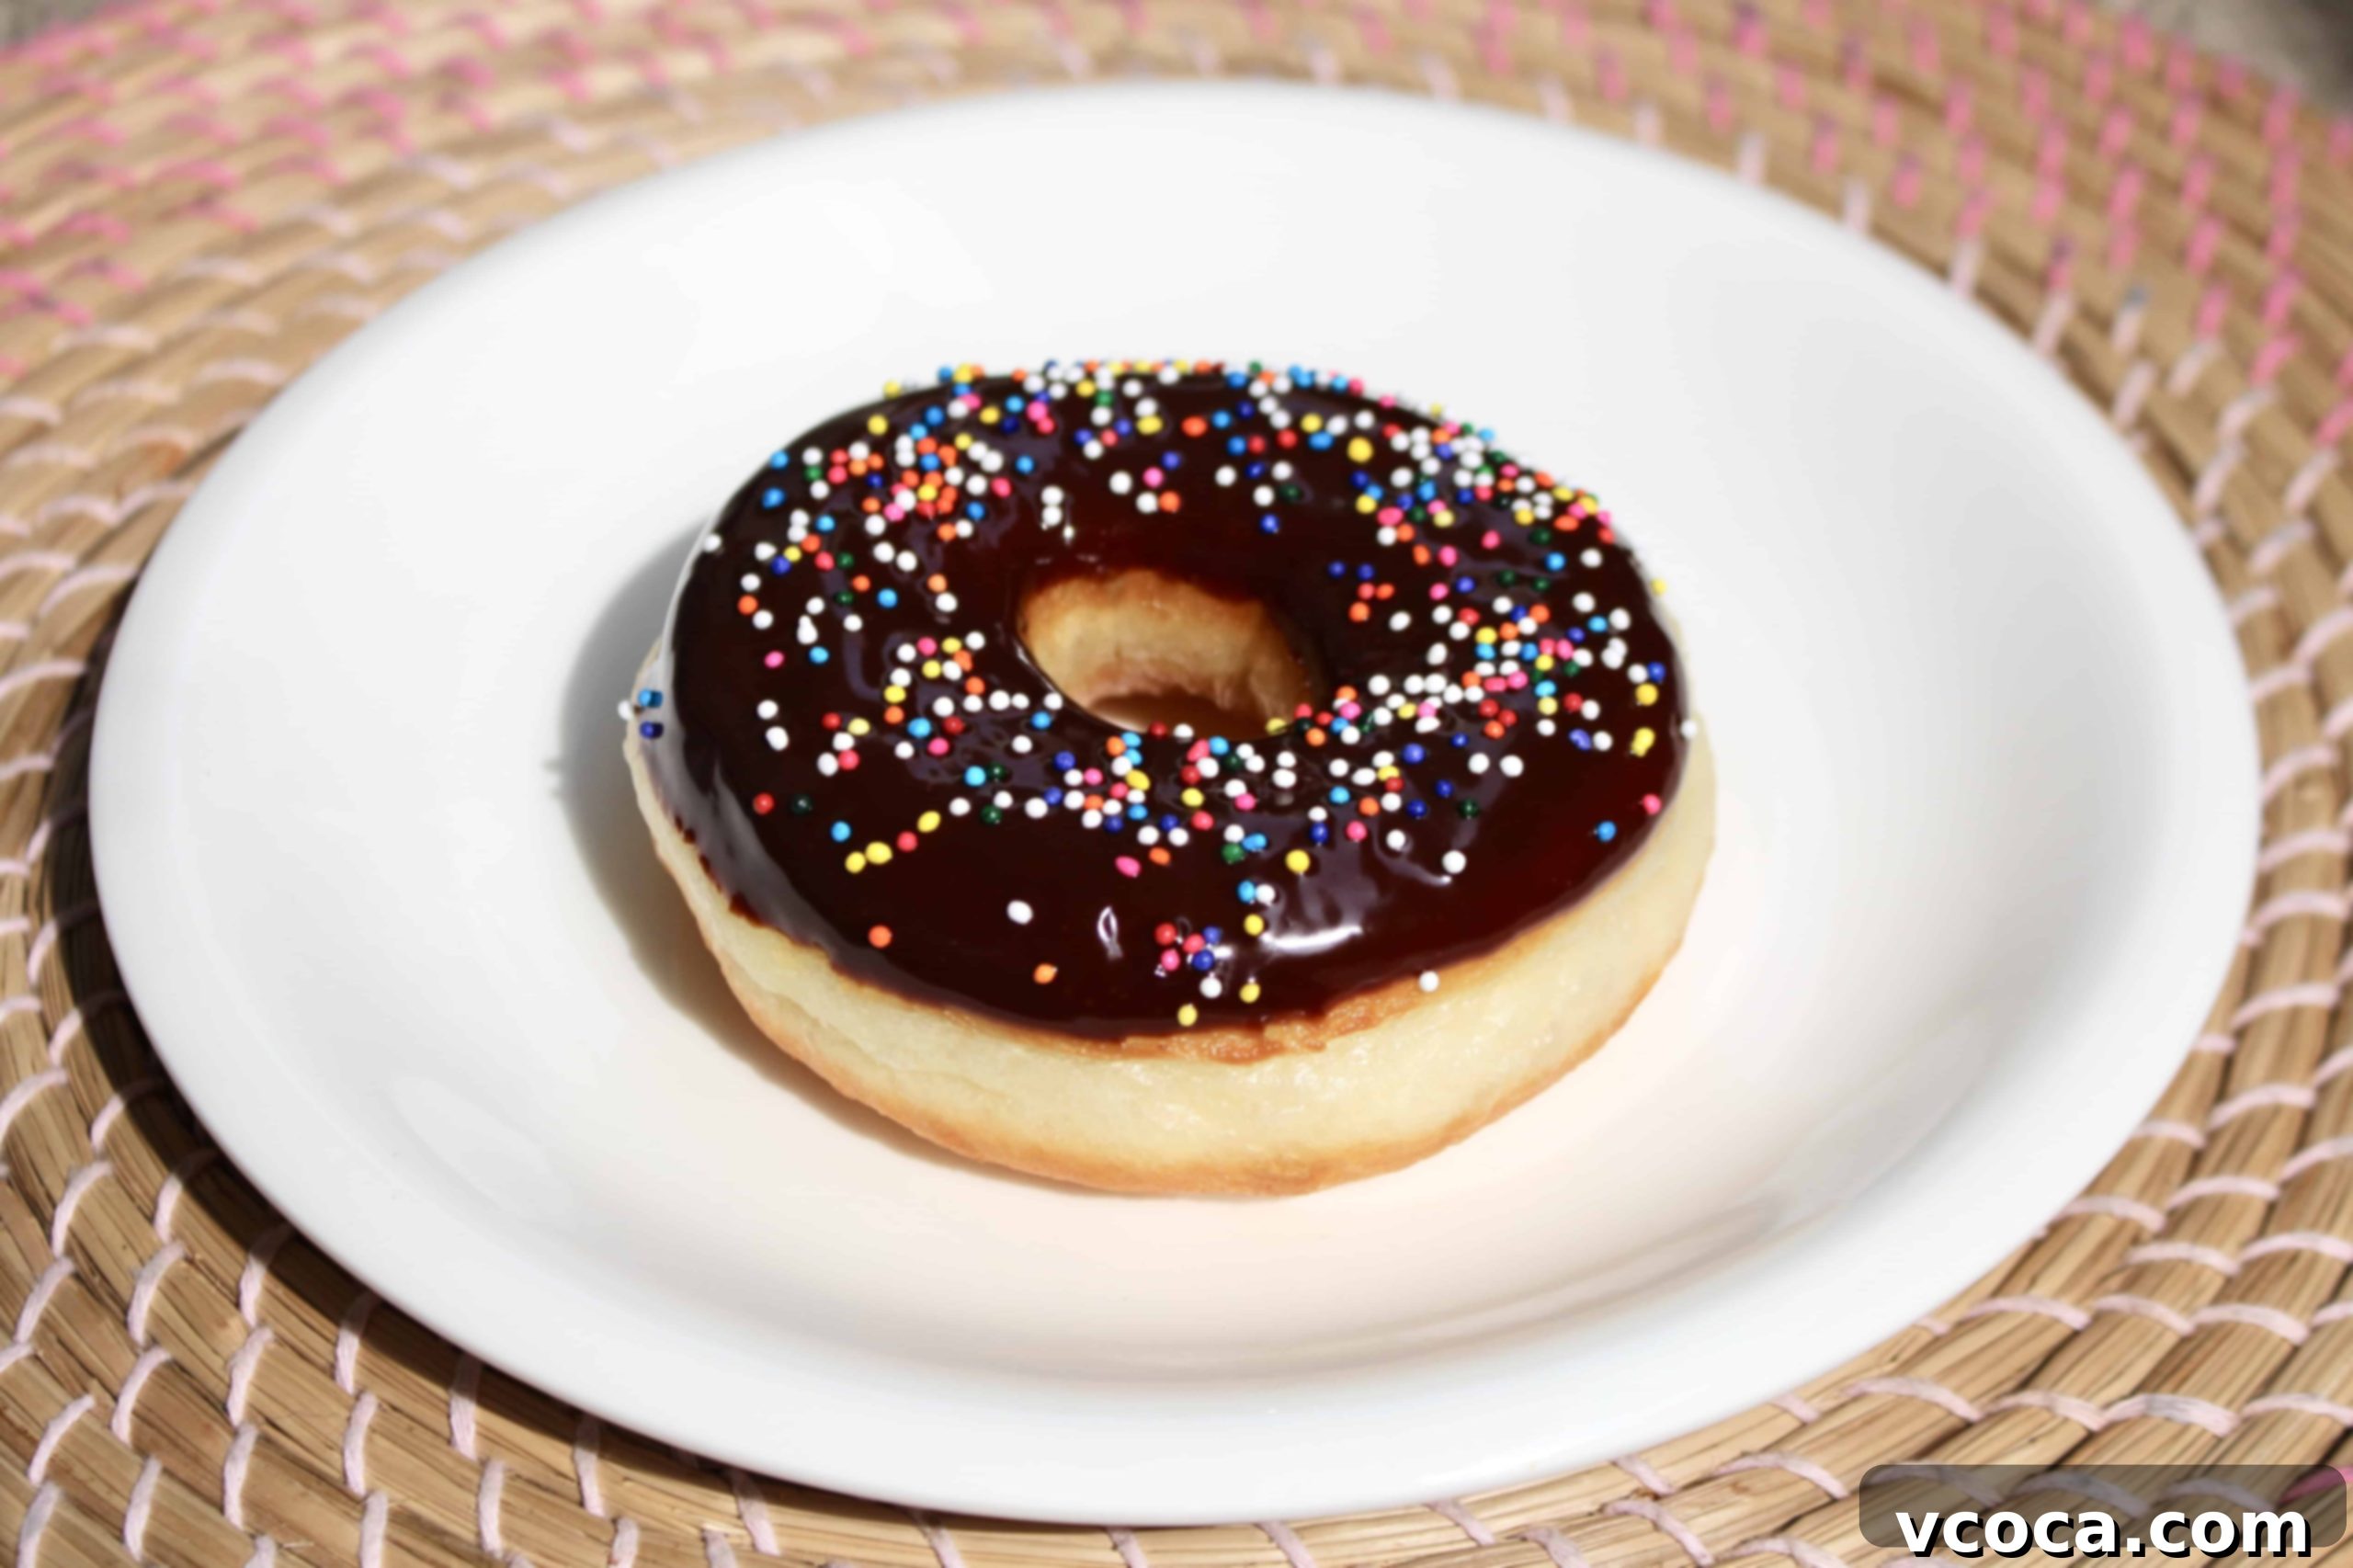
The result? A truly exceptional basic doughnut recipe that yields fluffy, airy, and incredibly delicious rings of pure joy. While these might not be the fanciest jelly-filled or maple-bacon topped creations you’ve seen, they are the quintessential classic doughnut—perfectly light, subtly sweet, and wonderfully satisfying. And the best part? This recipe is surprisingly simple, especially if you have a secret weapon in your kitchen: a bread machine!
How to Make Homemade Doughnuts: Step-by-Step Guide
Using Your Bread Machine for Effortless Dough
This recipe truly shines with the help of a bread machine, turning what can sometimes be a labor-intensive process into an almost hands-off experience. The bread machine handles all the kneading and the first rise, providing the perfect warm and consistent environment for the yeast to work its magic. Simply add all the ingredients to your bread machine pan in the order specified by your machine’s manual (usually liquids first, then dry ingredients, with yeast on top), set it to the “dough” cycle, and let it do all the hard work. This means you can kick back, relax on your couch, and anticipate perfectly proofed dough without any effort!
Manual Dough Preparation (No Bread Machine? No Problem!)
Don’t have a bread machine? No worries! You can absolutely achieve these fluffy homemade doughnuts using a stand mixer or even by hand. The key steps remain the same:
- Activate the Yeast: Start by gently warming your water to about 104°F (40°C). This temperature is crucial – too cold, and the yeast won’t activate; too hot, and you’ll kill it. Stir in the yeast and a pinch of sugar (from the recipe’s total sugar amount) and let it sit for about 5-10 minutes. You’ll know it’s active when it becomes foamy and bubbly, indicating the yeast is alive and ready to make your doughnuts rise beautifully.
- Combine Ingredients: In a large bowl, whisk together your dry ingredients (flour, remaining sugar, salt, and milk powder). In a separate bowl, combine the room-temperature beaten egg and melted butter. Pour the activated yeast mixture, egg, and butter into the dry ingredients.
- Knead the Dough: If using a stand mixer, attach the dough hook and knead on medium-low speed for 8-10 minutes until the dough is smooth, elastic, and pulls away from the sides of the bowl. If kneading by hand, turn the dough out onto a lightly floured surface and knead for 10-15 minutes until it reaches the same smooth and elastic consistency. This thorough kneading develops the gluten, which is essential for that signature chewy-yet-fluffy doughnut texture.
- First Rise: Lightly grease a large bowl with butter or oil, place your dough inside, turning it once to coat. Cover the bowl tightly with plastic wrap or a clean kitchen towel and place it in a warm, draft-free spot. Let it rise for 1-1.5 hours, or until it has visibly doubled in size. A slightly warm oven (turned off, but briefly warmed by a pilot light or residual heat) can be a perfect spot.
Shaping and the Second Rise (Proofing)
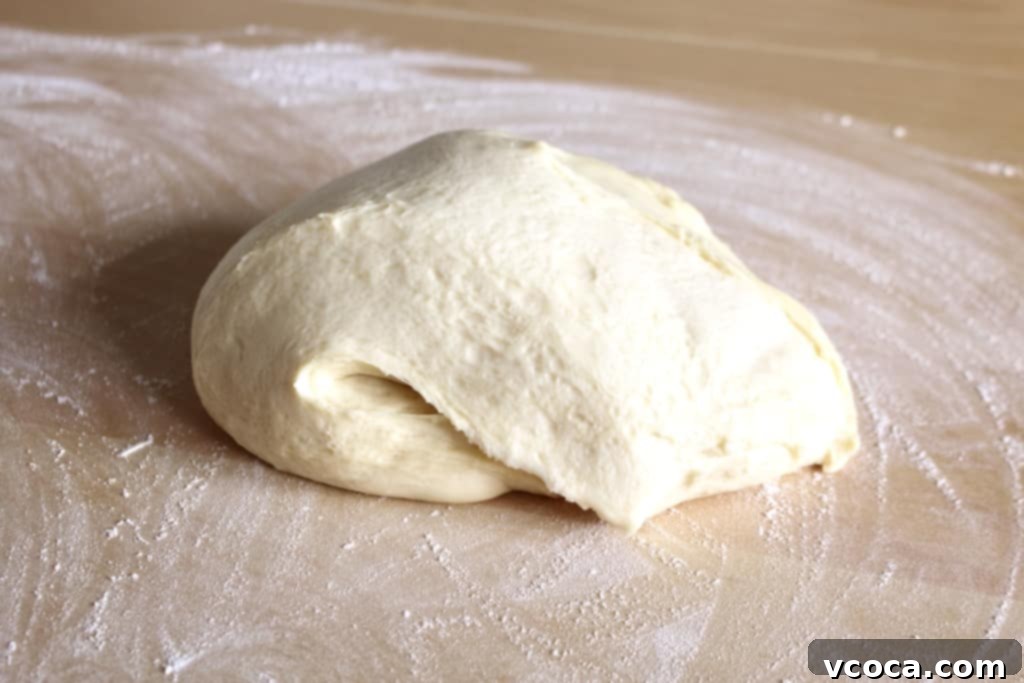
Once your dough has completed its first rise, gently punch it down to release the air. Turn it out onto a lightly floured surface. Using a rolling pin, carefully roll the dough to an even thickness of about ½ inch (1.3 cm). Aim for consistent thickness to ensure even frying. Grab your favorite 3-inch (8 cm) round cookie cutter—if you don’t have one, the rim of a drinking glass works perfectly! Cut out as many doughnut circles as possible.
For the classic doughnut shape, you’ll need to cut out a smaller circle from the center of each larger doughnut. I often use the larger end of an extra-large piping tip for this, or a small bottle cap. Don’t discard these small center pieces; they are perfect for frying into delightful doughnut holes, often called “Timbits” or “Munchkins” by popular doughnut chains!
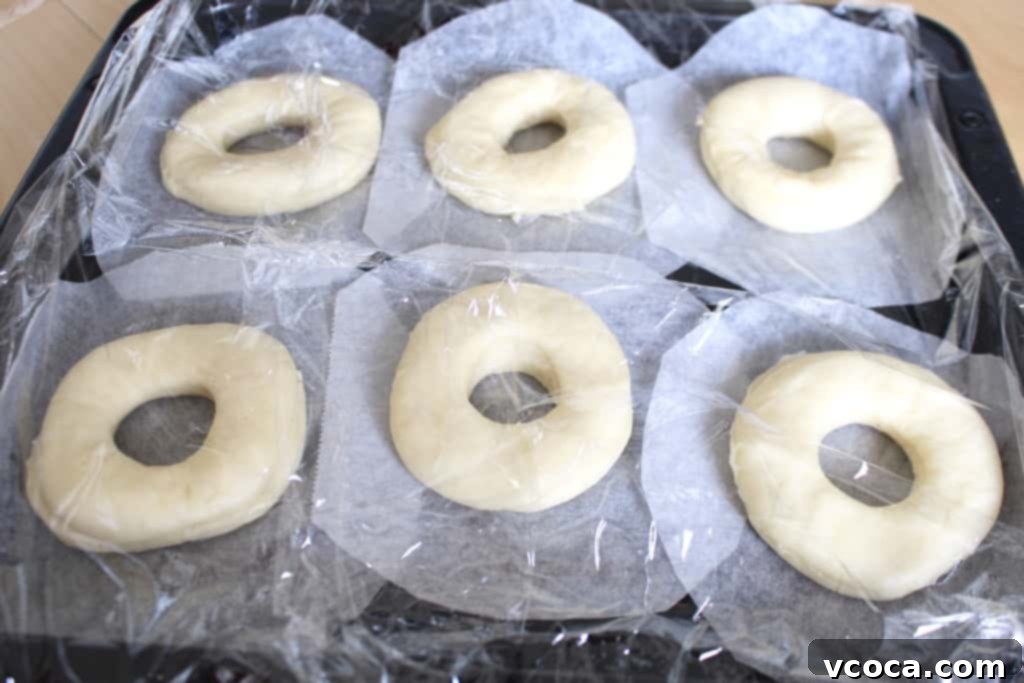
Carefully transfer your cut doughnuts onto individual squares of parchment paper. This step, as detailed in our tips section below, is a game-changer for easy frying. Arrange them on a baking sheet, cover them loosely with plastic wrap or a clean kitchen towel, and let them rise again in a warm place until they’ve doubled in size. This second rise, known as proofing, is crucial for achieving that incredibly light and airy texture. For me, this typically takes about 30 minutes in a warm environment around 95°F (35°C). You’ll notice they look significantly puffier and lighter.
Frying Your Perfect Doughnuts
Now for the exciting part! In a deep pot or Dutch oven, heat your neutral oil (like canola, vegetable, or peanut oil) to a steady 356°F (180°C). A candy thermometer or deep-fry thermometer is essential here to maintain the correct temperature. Too low, and your doughnuts will absorb too much oil, becoming greasy; too high, and they’ll brown too quickly on the outside while remaining raw inside.
Carefully lower one or two doughnuts at a time into the hot oil (don’t overcrowd the pot, as this lowers the oil temperature). Fry each doughnut for about one minute per side, or until they are a beautiful golden brown. As they cook, you’ll see them puff up even more and develop a lovely “white ring” around the middle. This white ring is actually a sign of properly proofed dough and perfectly fried doughnuts—it means your yeast did its job and the doughnut rose beautifully in the hot oil!
Once golden, use a slotted spoon or tongs to carefully remove the fried doughnuts and transfer them to a wire rack lined with paper towels. This allows any excess oil to drain off, ensuring your doughnuts remain light and non-greasy.
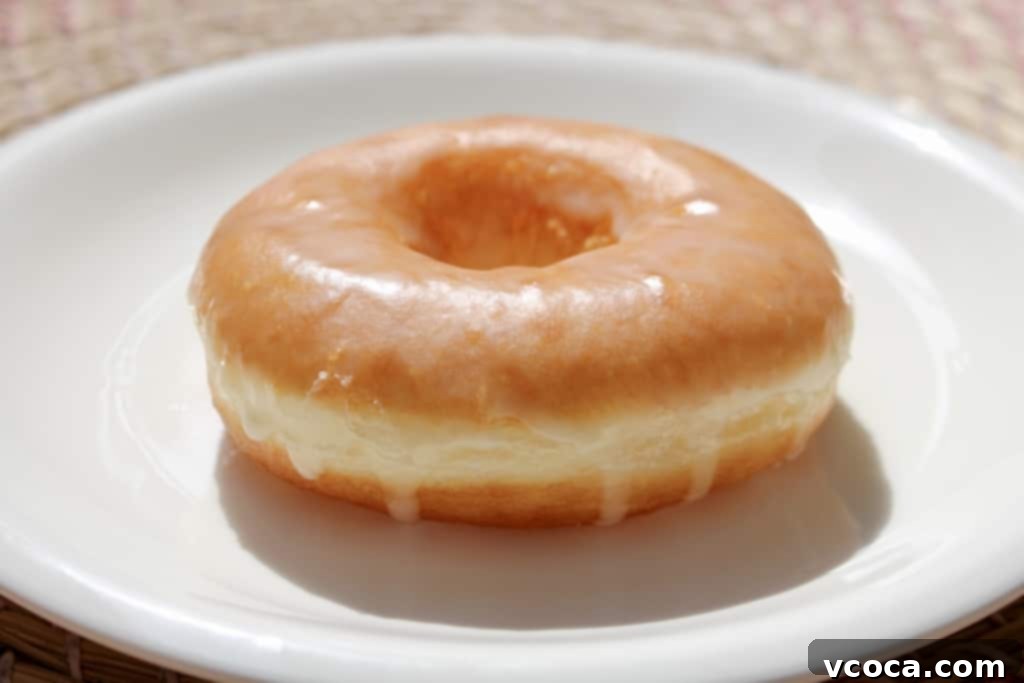
Finishing Touches: Glazing and Topping Your Doughnuts
Once cooled slightly, your fluffy homemade doughnuts are ready for their grand finale! The possibilities are endless:
- Classic Glaze: A simple powdered sugar glaze (powdered sugar, a splash of milk, and a hint of vanilla) is always a winner. Dip the warm doughnuts for a quick set.
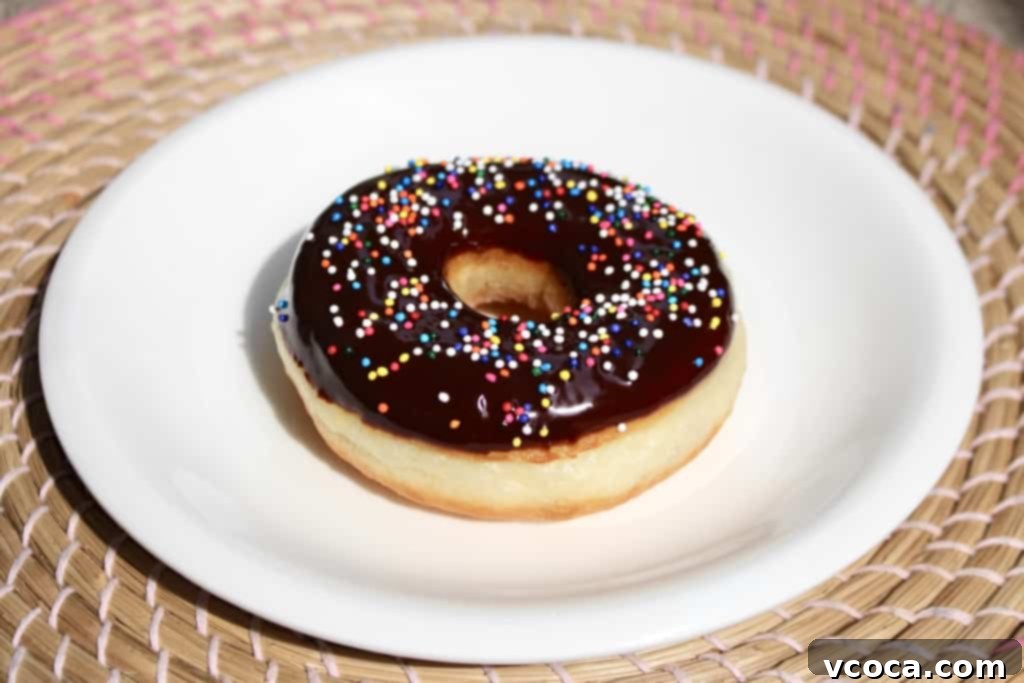
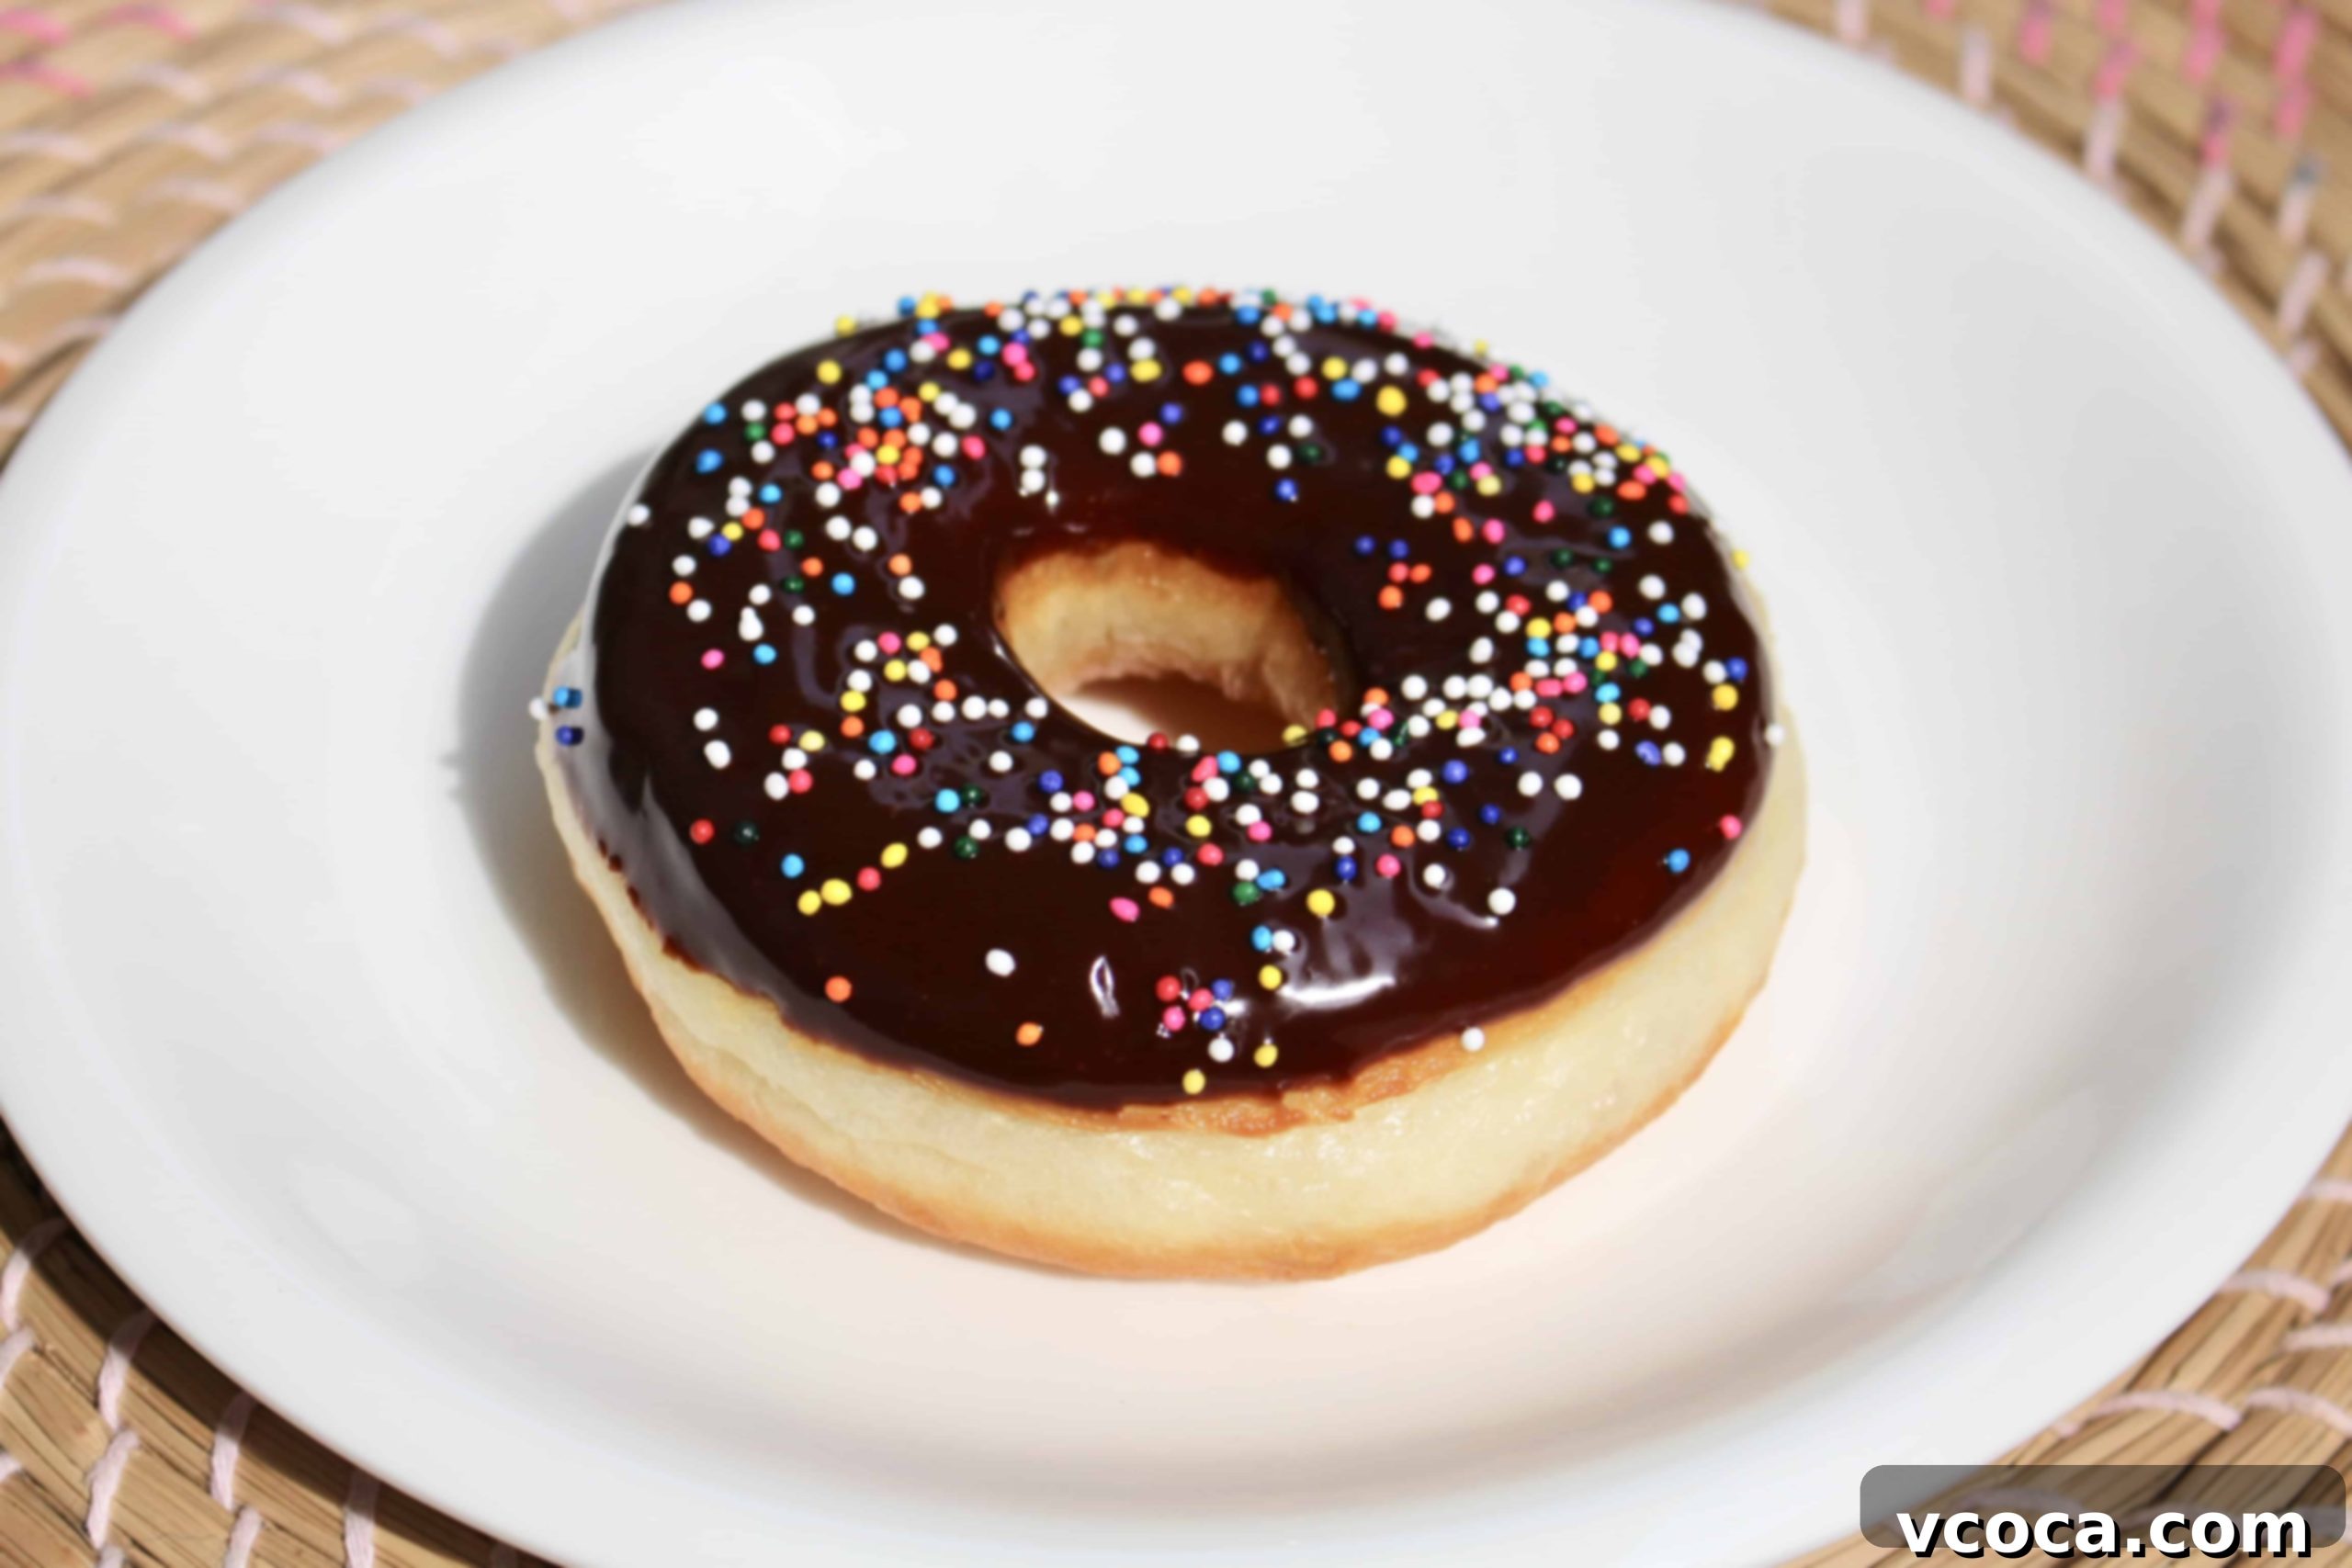
- Chocolate Ganache: For chocolate lovers, a rich chocolate ganache dip is divine. Add some colorful sprinkles for extra festivity!
- Cinnamon Sugar: Roll warm doughnuts in a mixture of granulated sugar and cinnamon for a wonderfully crunchy and aromatic coating.
- Powdered Sugar: A simple dusting of powdered sugar adds elegance and sweetness.
Feel free to get creative and “go nuts” with your doughnuts! Whether you prefer them plain, glazed, or decked out, these fluffy creations are sure to impress.
Expert Tips for Making Perfect Homemade Doughnuts
To ensure your doughnut-making experience is smooth and successful, keep these handy tips in mind:
1. Let the doughnuts rise on individual pieces of parchment paper. This is a game-changer! Instead of letting them rise on one large sheet or directly on the counter, cut parchment paper into squares slightly larger than your doughnuts. Place each cut doughnut on its own square before the second rise. When it’s time to fry, you can simply drop the entire parchment square (with the doughnut) into the hot oil. The doughnut will float off the paper, and you can easily remove the paper with tongs or chopsticks after a few seconds, preventing any distortion of your perfectly proofed dough. This method preserves their shape and makes transferring them to the hot oil significantly easier and safer.
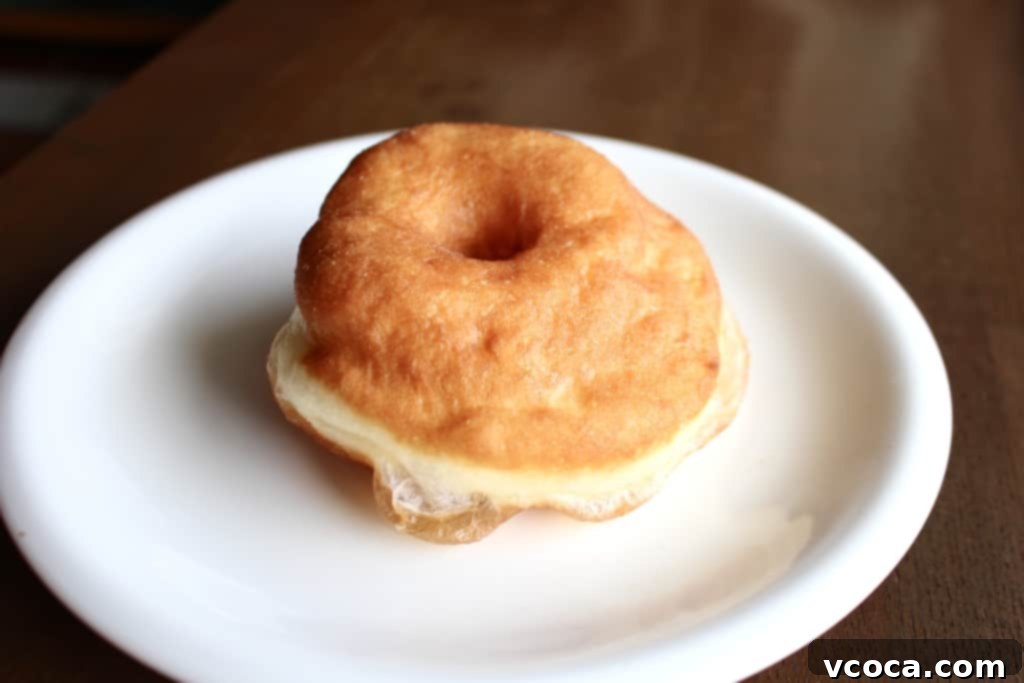
2. Dough NOT reroll the scraps (see what I did there?). It’s tempting to gather up all those leftover dough scraps, re-knead them, and cut out more doughnuts. However, resist the urge! Rerolling the dough compacts the gluten, resulting in dense, tough, and often lumpy doughnuts that will look and taste like a “train wreck.” Instead, embrace the beauty of variety. You can simply cut the scraps into small, irregular shapes using a dough scraper or knife, or turn them all into extra doughnut holes. These smaller pieces fry up quickly and are perfect for a taste test or rolling in cinnamon sugar!
3. Maintain consistent oil temperature. As mentioned earlier, oil temperature is paramount for perfect doughnuts. Use a reliable thermometer and adjust your heat as needed. If the oil gets too cold, the doughnuts will soak it up, becoming greasy. If it’s too hot, they’ll burn on the outside and be raw on the inside. Keeping it around 350-360°F (175-182°C) is ideal for that golden-brown exterior and thoroughly cooked, fluffy interior.
4. Don’t overcrowd the pot. Fry only a few doughnuts at a time, depending on the size of your pot. Overcrowding significantly drops the oil temperature, leading to greasy, poorly cooked doughnuts. Give them enough space to float and cook evenly.
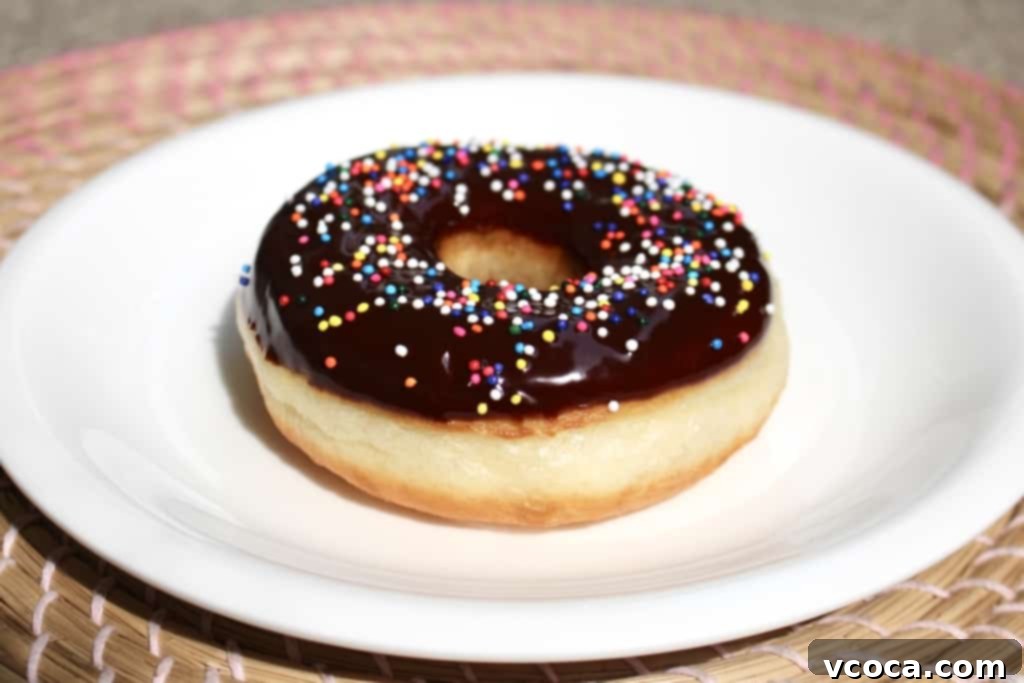
When you take that first bite into these homemade doughnuts, you’re going to be absolutely blown away by their heavenly fluffy texture! Despite being fried, they are remarkably light and airy, with no hint of greasiness. This is everything a perfect yeast doughnut should be – a delightful treat that tastes like it came straight from a gourmet bakery, but made with love in your own kitchen.
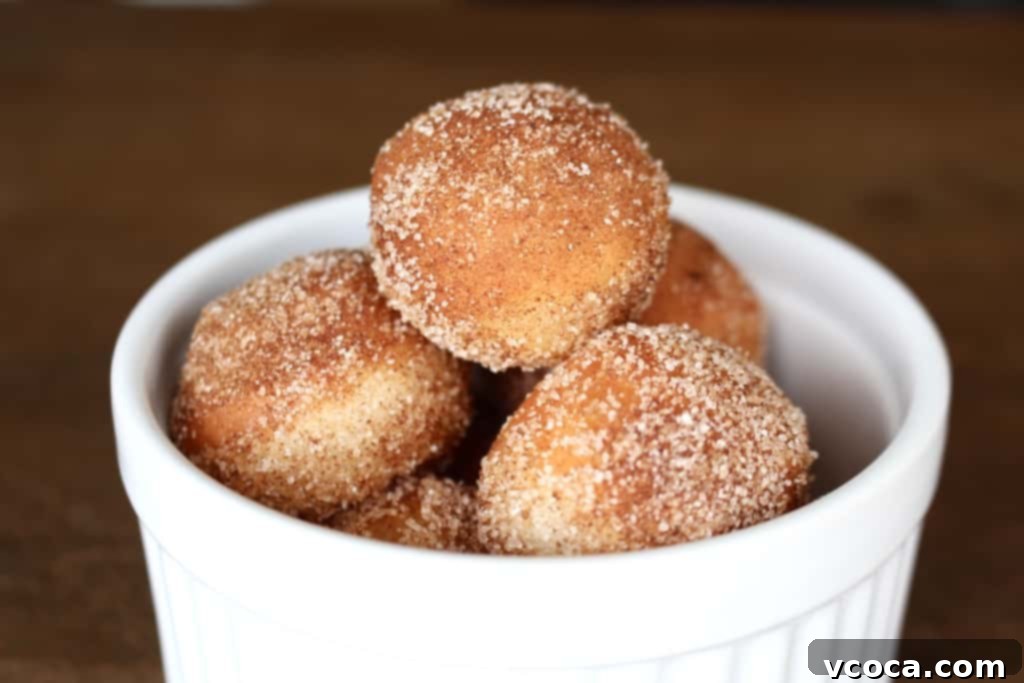
And let’s not forget the doughnut holes! I rolled mine in some cinnamon sugar while they were still warm, and they were an equally delicious, bite-sized indulgence. They make for a fantastic snack or a way to sample your efforts while the main doughnuts cool.
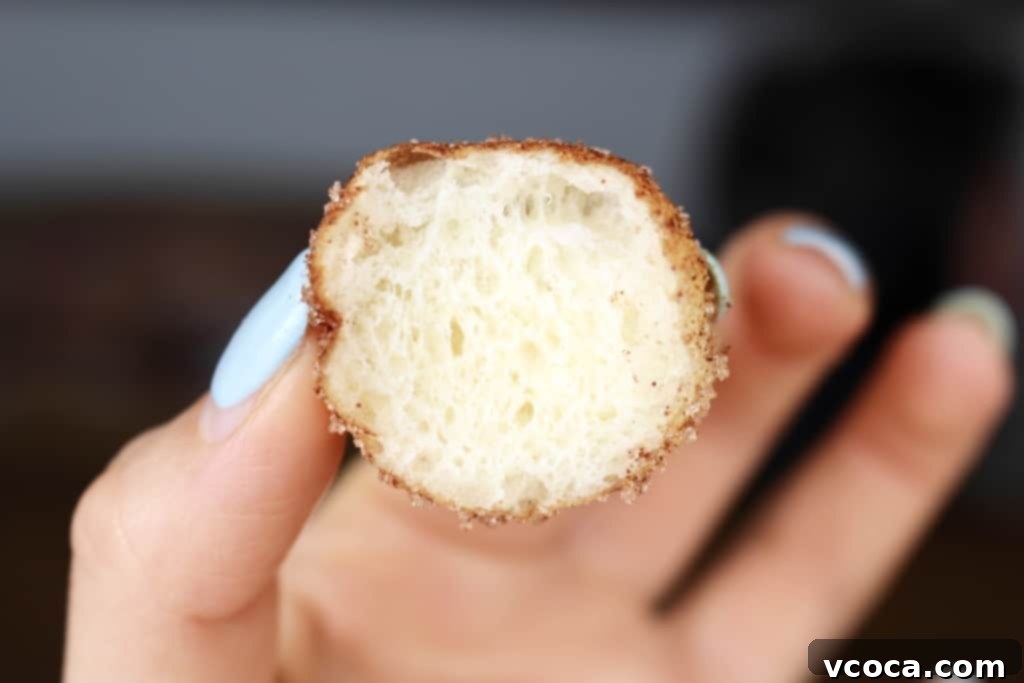
That fluff dough (ha!).
If you’re a true doughnut aficionado and enjoyed this recipe, you might also love exploring my other delightful doughnut creations. Try my blueberry cream cheese doughnuts for a fruity and tangy twist, or my apple doughnuts for a taste of autumn any time of year!
Homemade Doughnuts
Print
Pin
Rate
Equipment
-
1 bread machine with dough setting (optional, see text for manual instructions)
Ingredients
- 2¼ cups bread flour
- 2½ tablespoons granulated sugar
- ½ tablespoon fine sea salt
- 1 tablespoon milk powder
- ½ tablespoon active dry yeast
- 2½ tablespoons unsalted butter, melted and cooled
- 1 large egg, room temperature, lightly beaten
- ½ cup water, warmed to 104°F/40°C
Instructions
-
For bread machine users: Place all the ingredients into your bread machine pan according to your machine’s manual (typically liquids first, then dry ingredients, with yeast last). Set it on the “dough” setting and let the machine complete its cycle. Once done, proceed to step 2.
-
For manual dough: In a small bowl, combine warm water (104°F/40°C), yeast, and a pinch of sugar. Let sit for 5-10 minutes until foamy. In a large bowl, whisk together bread flour, remaining granulated sugar, sea salt, and milk powder. Add the beaten egg, melted butter, and activated yeast mixture to the dry ingredients. Knead the dough by hand or with a stand mixer for 8-15 minutes until smooth and elastic. Place the dough in a greased bowl, cover, and let rise in a warm spot for 1-1.5 hours until doubled in size.
-
Gently punch down the risen dough and turn it out onto a lightly floured surface. Roll the dough to an even thickness of about ½ inch (1.3 cm). Using a 3-inch (8 cm) cookie cutter, cut out circles. Use a smaller cutter (or piping tip) to cut out the centers for doughnut holes. Place each doughnut and doughnut hole onto individual small squares of parchment paper.
-
Arrange the parchment squares with doughnuts on a baking sheet, cover loosely with plastic wrap, and let them rise again in a warm spot for about 30 minutes, or until doubled in size and visibly puffy.
-
Heat about 2-3 inches of neutral oil in a deep pot or Dutch oven to 356°F (180°C). Carefully lower 1-2 doughnuts (still on their parchment paper) into the hot oil. Fry for about 1 minute per side until golden brown and puffed. The parchment paper will float off; remove it with tongs. Transfer fried doughnuts to a wire rack lined with paper towels to drain excess oil.
-
Once cooled slightly, glaze or top your homemade doughnuts as desired. Enjoy immediately for the best flavor and texture!
Nutrition

Don’t forget to save this incredible recipe to Pinterest for later, so you can revisit the joy of homemade doughnuts whenever a craving strikes!
