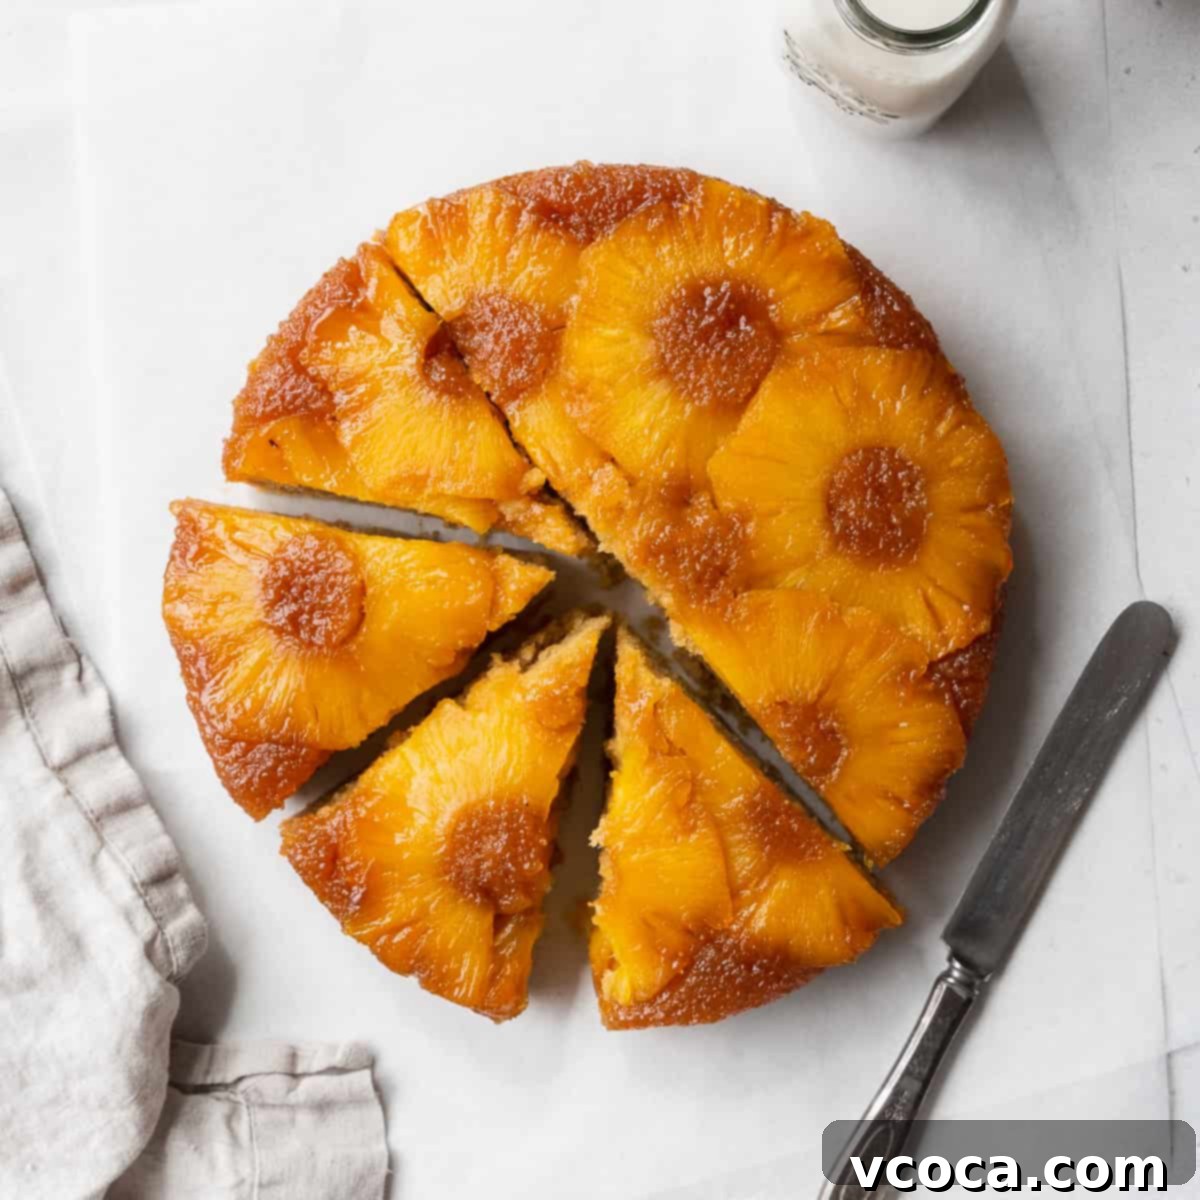
The Ultimate Gluten-Free Pineapple Upside Down Cake: A Moist, Caramelized Tropical Treat for Everyone
Transport yourself to a sun-drenched tropical shore with this absolutely irresistible **gluten-free pineapple upside down cake**! Far from a compromise, this recipe elevates the classic dessert to new heights, featuring a rich, golden caramelized pineapple topping that glistens with buttery sweetness and a remarkably moist, tender cake crumb beneath. It’s so deliciously satisfying, it will have even your gluten-eating friends reaching for a second slice, completely unaware it’s **gluten-free**. Get ready to bake a showstopper that’s both easy to make and a true crowd-pleaser, delivering pure tropical bliss in every single bite. This isn’t just a cake; it’s a celebration of flavor and texture, meticulously crafted for everyone to enjoy.
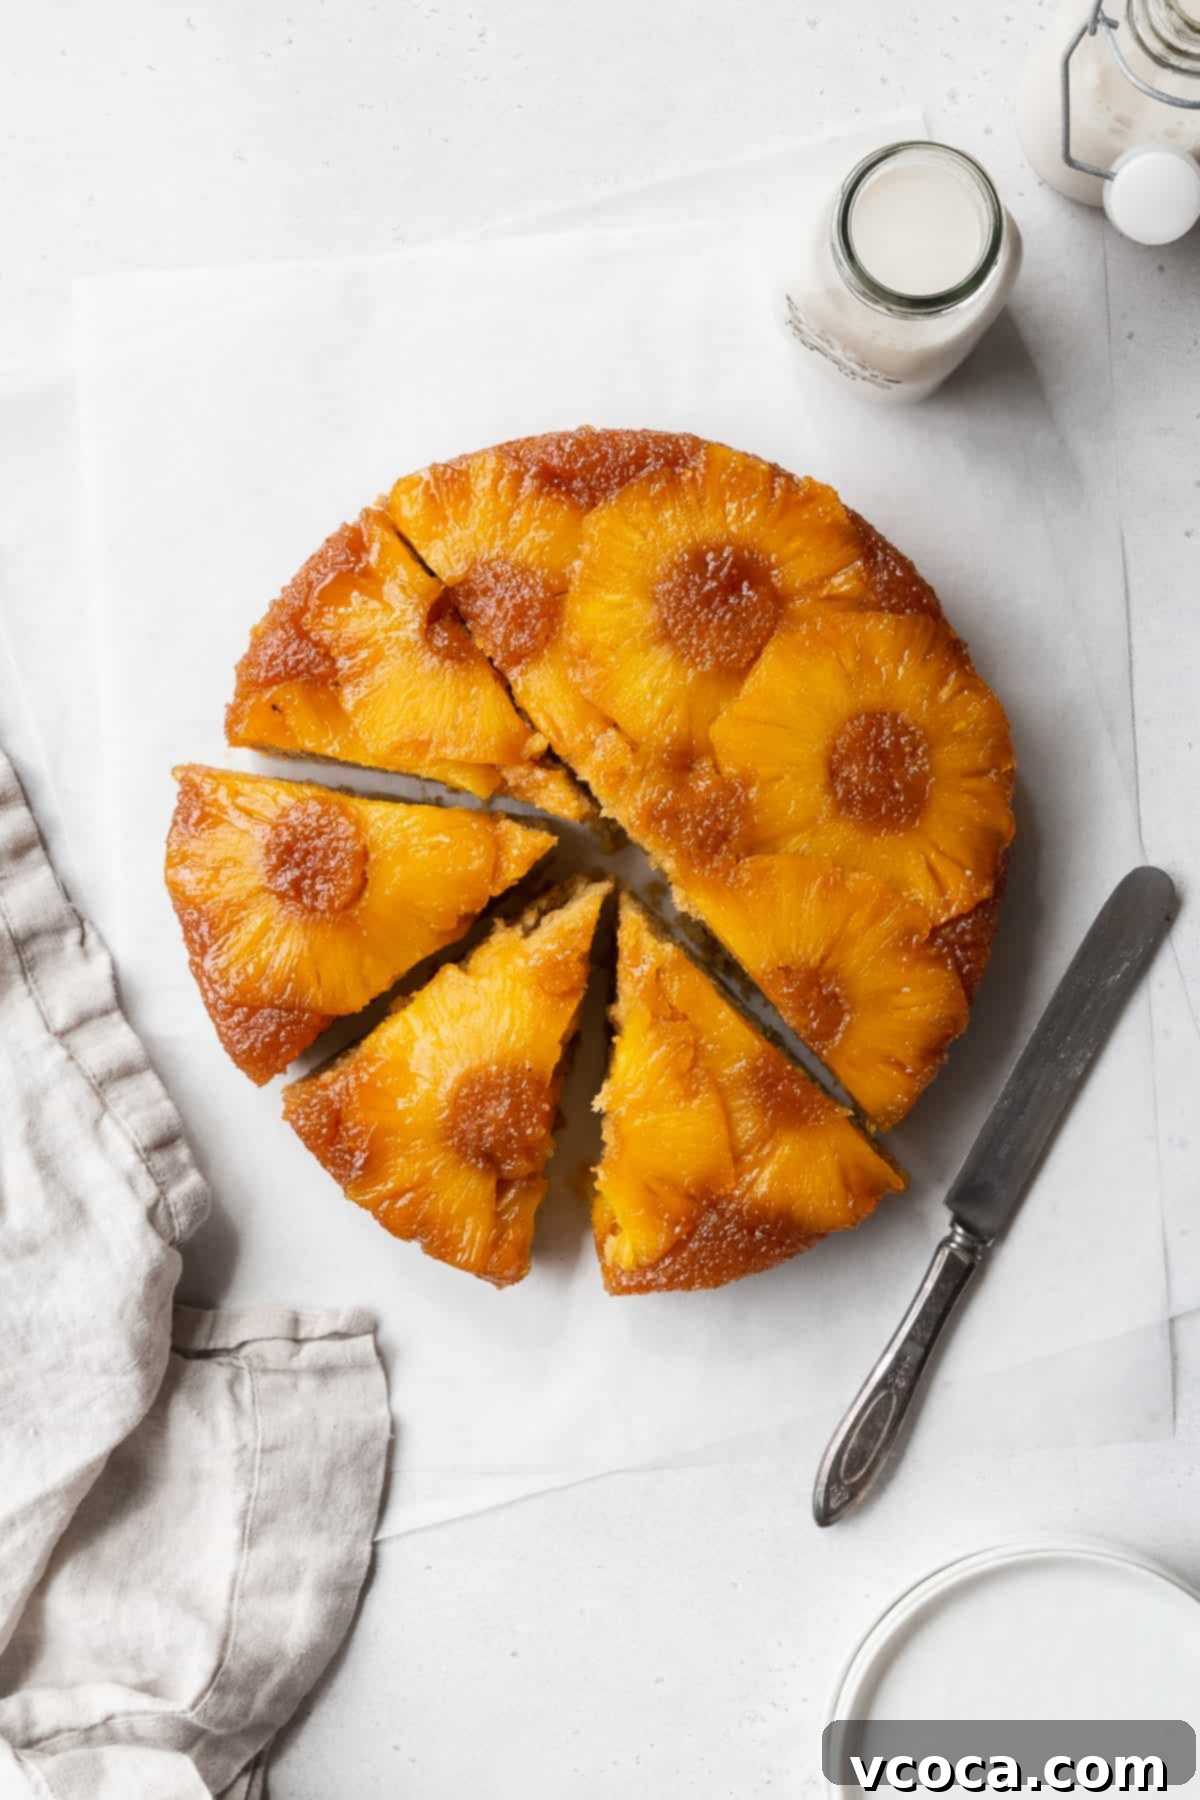
Recipe Highlights: Why You’ll Love This Gluten-Free Pineapple Upside Down Cake
- Remarkable Texture: Prepare for a delightful experience with every forkful. This **gluten-free pineapple upside down cake** boasts an incredibly soft, moist, and delicate sponge that practically melts in your mouth. The secret lies not just in our carefully selected gluten-free flour blend, but also in the generous, buttery brown sugar and pineapple topping. This luscious layer seeps down into the cake during baking, infusing it with extra moisture and a rich, sweet caramelization that creates a truly unforgettable texture. You’ll genuinely forget it’s gluten-free!
- Irresistible Flavor: There’s an undeniable magic to the flavor profile of a perfectly executed **pineapple upside down cake**, and our gluten-free version is no exception. It’s a symphony of sweet, tangy pineapple brightened by subtle notes of caramel from the brown sugar, all perfectly balanced by a rich, buttery base. Hints of warm spices like cinnamon and cardamom (optional, but highly recommended!) add depth and complexity, transforming a simple cake into an exotic, comforting dessert that evokes sunny days and happy memories. Each bite is a harmonious blend of tropical freshness and comforting sweetness that will transport you instantly.
- Allergy-Friendly & Inclusive: Beyond being wonderfully **gluten-free**, this recipe is also incredibly versatile, making it a fantastic option for various dietary needs. It’s super easy to adapt into a **dairy-free pineapple upside down cake** with just a few simple ingredient swaps, which we’ll detail below. This means more people can enjoy this delightful treat without compromise, making it a perfect dessert for gatherings where diverse dietary requirements are present. We believe everyone deserves a delicious slice of cake!
- Surprisingly Easy to Make: Don’t let the elegant appearance of this **gluten-free pineapple upside down cake** fool you – it’s surprisingly straightforward to make. While the recipe involves a few distinct steps, none are overly complicated or require advanced baking skills. We’ve broken down each stage into simple, easy-to-follow instructions. Plus, we’ve included all our expert tips and tricks, ensuring your cake comes out perfectly structured and beautiful every time, preventing the common worry of a cake falling apart. From preparing the pineapple to mixing the batter, we guide you to baking success.
Essential Ingredient Notes for Your Gluten-Free Cake
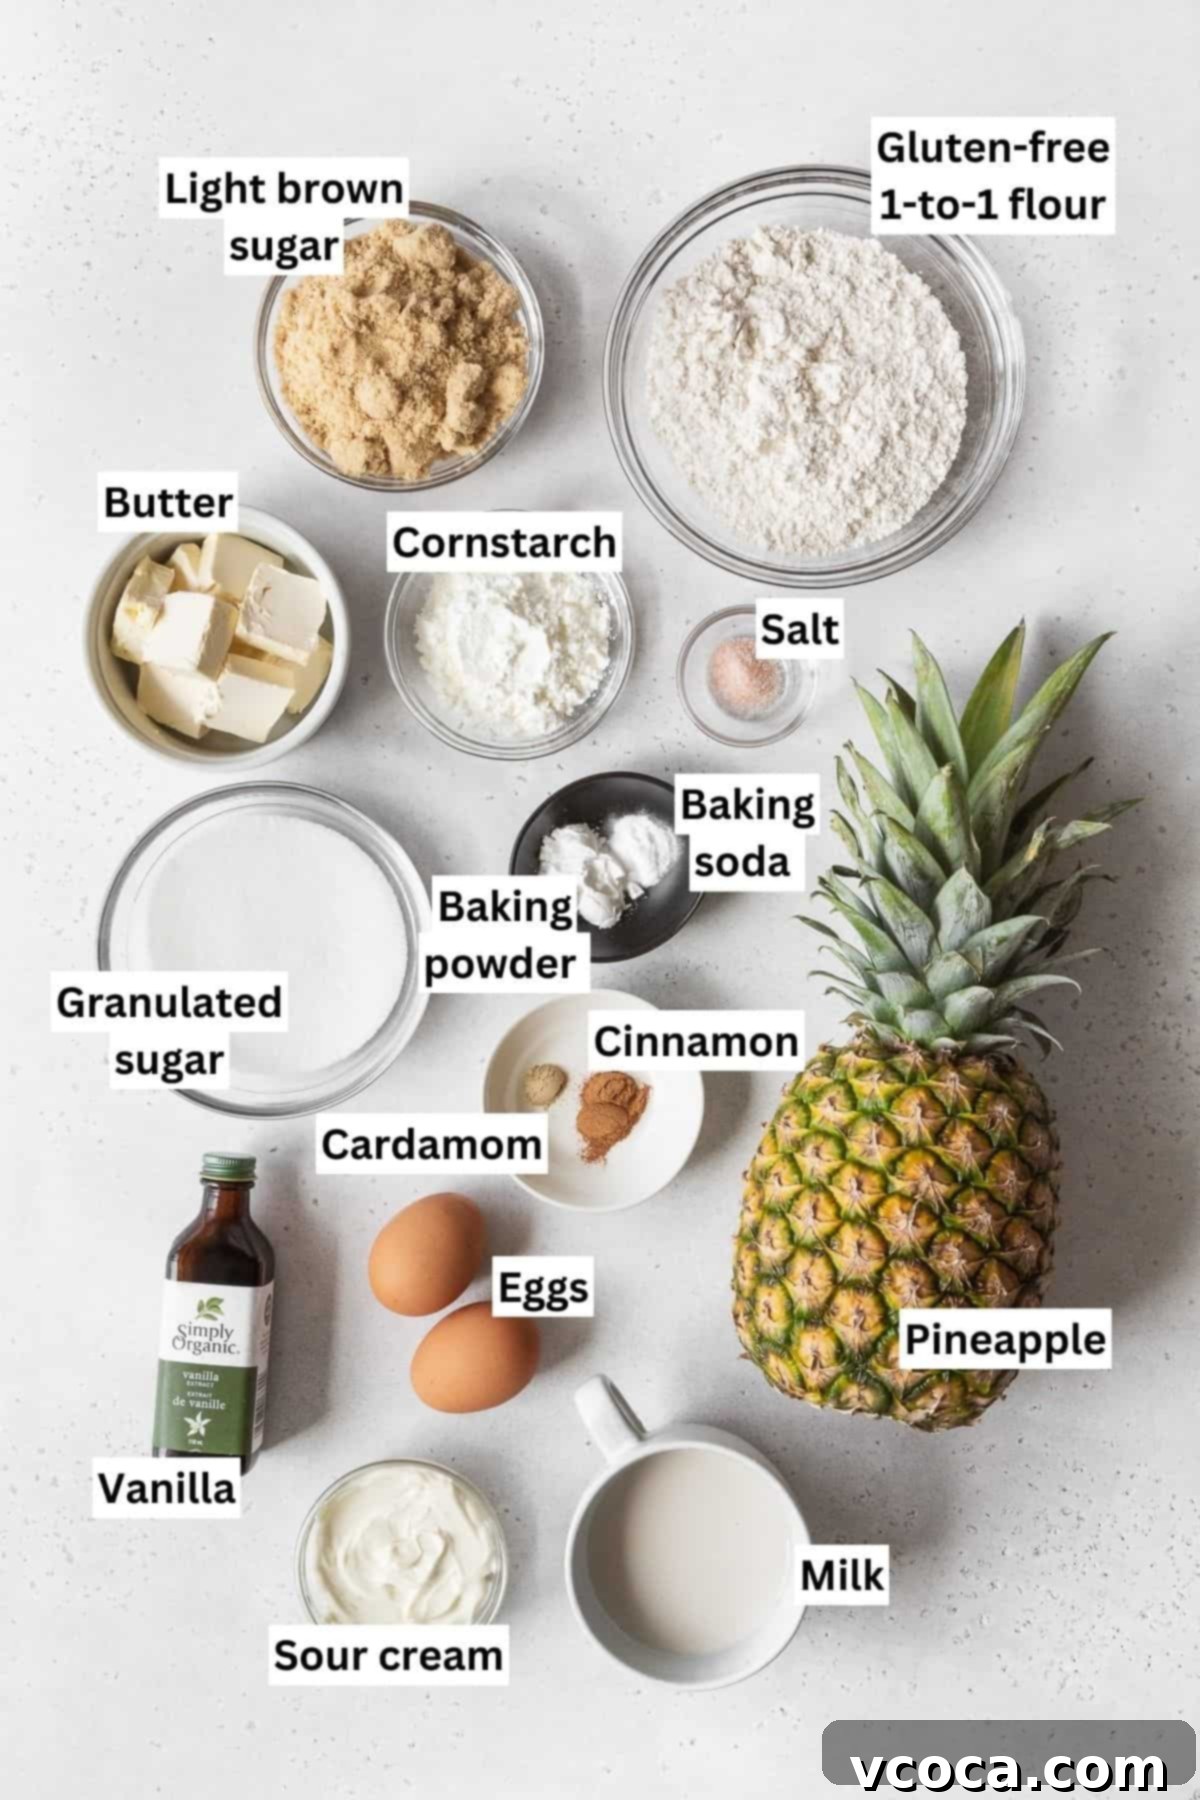
Understanding the role of each ingredient is key to baking a perfect **gluten-free pineapple upside down cake**. Here are some detailed notes about the crucial components in this recipe:
Pineapple: The Tropical Star
The star of our **gluten-free pineapple upside down cake**! We recommend using a fresh pineapple for the best flavor and texture, but quality canned pineapple (in juice, not syrup) can also work in a pinch. When slicing, aim for ½-inch thick rings – thick enough to hold their shape and provide a juicy bite, but not so thick they overwhelm the cake. A crucial step often overlooked: don’t forget to reserve 2 tablespoons of the pineapple juice that collects on your cutting board after slicing, or squeeze a little from an extra slice. This juice is essential for creating that perfect caramelized syrup layer that makes this cake so special.
Butter: For Richness and Flavor
This recipe calls for butter, which contributes significantly to the rich flavor and moistness of both the caramel topping and the cake itself. It helps create that beautifully golden, bubbling topping and a tender crumb. For a **dairy-free pineapple upside down cake**, it’s incredibly simple to swap traditional unsalted butter for high-quality vegan butter sticks. Ensure your vegan butter is solid and performs similarly to regular butter in baking to achieve the best results.
Gluten-Free Flour: The Foundation of Your Cake
The foundation of our **gluten-free cake** is a well-balanced all-purpose gluten-free flour blend. It’s vital to choose a blend that contains xanthan gum. Xanthan gum acts as a binder, mimicking the elasticity that gluten provides in traditional flours, which is crucial for preventing a crumbly or dry cake. Our top recommendation is Bob’s Red Mill’s 1-to-1 Gluten-Free Baking Flour, known for its consistent results in gluten-free baking. Using a blend without xanthan gum may require adding it separately (typically ½ teaspoon per cup of flour).
Cornstarch: The Secret to Tenderness
A little secret ingredient that takes your **gluten-free cake** from good to phenomenal! Adding a small amount of cornstarch to the dry ingredients helps create a more tender, delicate, and incredibly fluffy crumb. It lightens the texture of the gluten-free flour, ensuring your cake isn’t dense or gummy, a common concern with gluten-free baking. This simple addition makes a noticeable difference in the overall mouthfeel.
Sour Cream: For Unrivaled Moisture
Sour cream is a game-changer for moisture in cakes. Its acidity tenderizes the cake crumb, reacting with the baking soda to create a soft, moist, and incredibly rich texture. The fat content also contributes to a luxurious feel. To make it a **dairy-free pineapple upside down cake**, you can easily substitute sour cream with an equal amount of full-fat mayonnaise. While it might sound unusual, mayonnaise (made with oil and eggs) provides the necessary fat and emulsification to maintain moisture and tenderness without imparting any ‘mayo’ flavor to the final baked good.
Milk: For a Smooth Batter
Use either whole milk or your favorite plain non-dairy milk (such as oat milk, almond milk, or soy milk). Milk contributes to the liquid content of the batter, ensuring it’s smooth, pourable, and perfectly hydrated. The fat content in whole milk adds richness, while dairy-free alternatives can still achieve excellent results, allowing for a delicious **vegan pineapple upside down cake** option.
Spices: Adding Depth and Warmth
While the classic **pineapple upside down cake** is wonderful on its own, a touch of spice can elevate its flavor profile beautifully. We adore the warming combination of ground cinnamon and a hint of ground cardamom. Cinnamon brings a comforting sweetness, while cardamom adds an intriguing, slightly floral, and exotic note. If cardamom isn’t to your taste or isn’t available, feel free to skip it, or consider adding a touch of nutmeg for a different kind of warmth. These spices complement the pineapple and caramel wonderfully without overpowering them.
Pro Tips for a Perfect Gluten-Free Pineapple Upside Down Cake
Achieving a perfectly moist and beautifully presented **gluten-free pineapple upside down cake** is easy with these expert tips:
- Mix the Batter Thoroughly: Unlike traditional wheat-based cake batters, where overmixing can develop gluten and lead to a tough cake, **gluten-free cake batters** actually benefit from thorough mixing. Since there’s no gluten in the flour, you actually *need* to give the batter a few extra good stirs. This isn’t about developing gluten, but rather about fully hydrating the gluten-free flour and allowing the xanthan gum (if present in your blend) to activate and provide necessary structure. A well-mixed gluten-free batter leads to a more cohesive, less crumbly cake that holds together beautifully.
- Let the Batter Rest: This is a crucial step often skipped but essential for the best **gluten-free pineapple upside down cake** texture. Allowing the batter to rest for at least 30 minutes gives the gluten-free flour time to fully hydrate and absorb the liquids. This process is vital for creating that wonderfully moist and delicate crumb, preventing a gritty or dry texture often associated with gluten-free baked goods. Don’t rush it – patience here pays off in a superior cake that has excellent structure and mouthfeel.
- Carefully Pour the Cake Batter Over the Pineapples: The beautiful pineapple layer at the bottom of your pan is the visual highlight of this cake. To preserve its perfect arrangement, gently and slowly pour the cake batter over the pineapple slices. If you pour too quickly or forcefully, the batter can displace the pineapple rings, leading to a less appealing presentation. A gentle hand ensures each slice stays perfectly in place, creating a stunning caramelized top once flipped.
- Cool the Cake Briefly Before Turning Out: Resist the urge to immediately flip your piping hot cake! Allowing the cake to cool in the pan for about 20-30 minutes before inverting it is key. During this brief cooling period, the cake structure sets further, and the caramelized pineapple topping has a chance to slightly firm up and release from the pan more easily. This significantly reduces the risk of the cake breaking apart or sticking to the pan, ensuring a clean, beautiful presentation every time.
- Preheat Oven Accurately: Always ensure your oven is fully preheated to the specified temperature (350°F / 177°C) before placing your cake inside. An accurately preheated oven ensures even baking and proper rising, which is particularly important for gluten-free cakes that rely on consistent heat to set their structure.
- Don’t Overbake: While thorough mixing is good, overbaking is the enemy of a moist cake, especially a **gluten-free cake**. Start checking for doneness at the lower end of the suggested baking time. A toothpick inserted into the center should come out clean, or with a few moist crumbs attached, but not wet batter. Overbaking will dry out your delicious cake and compromise its tender texture.
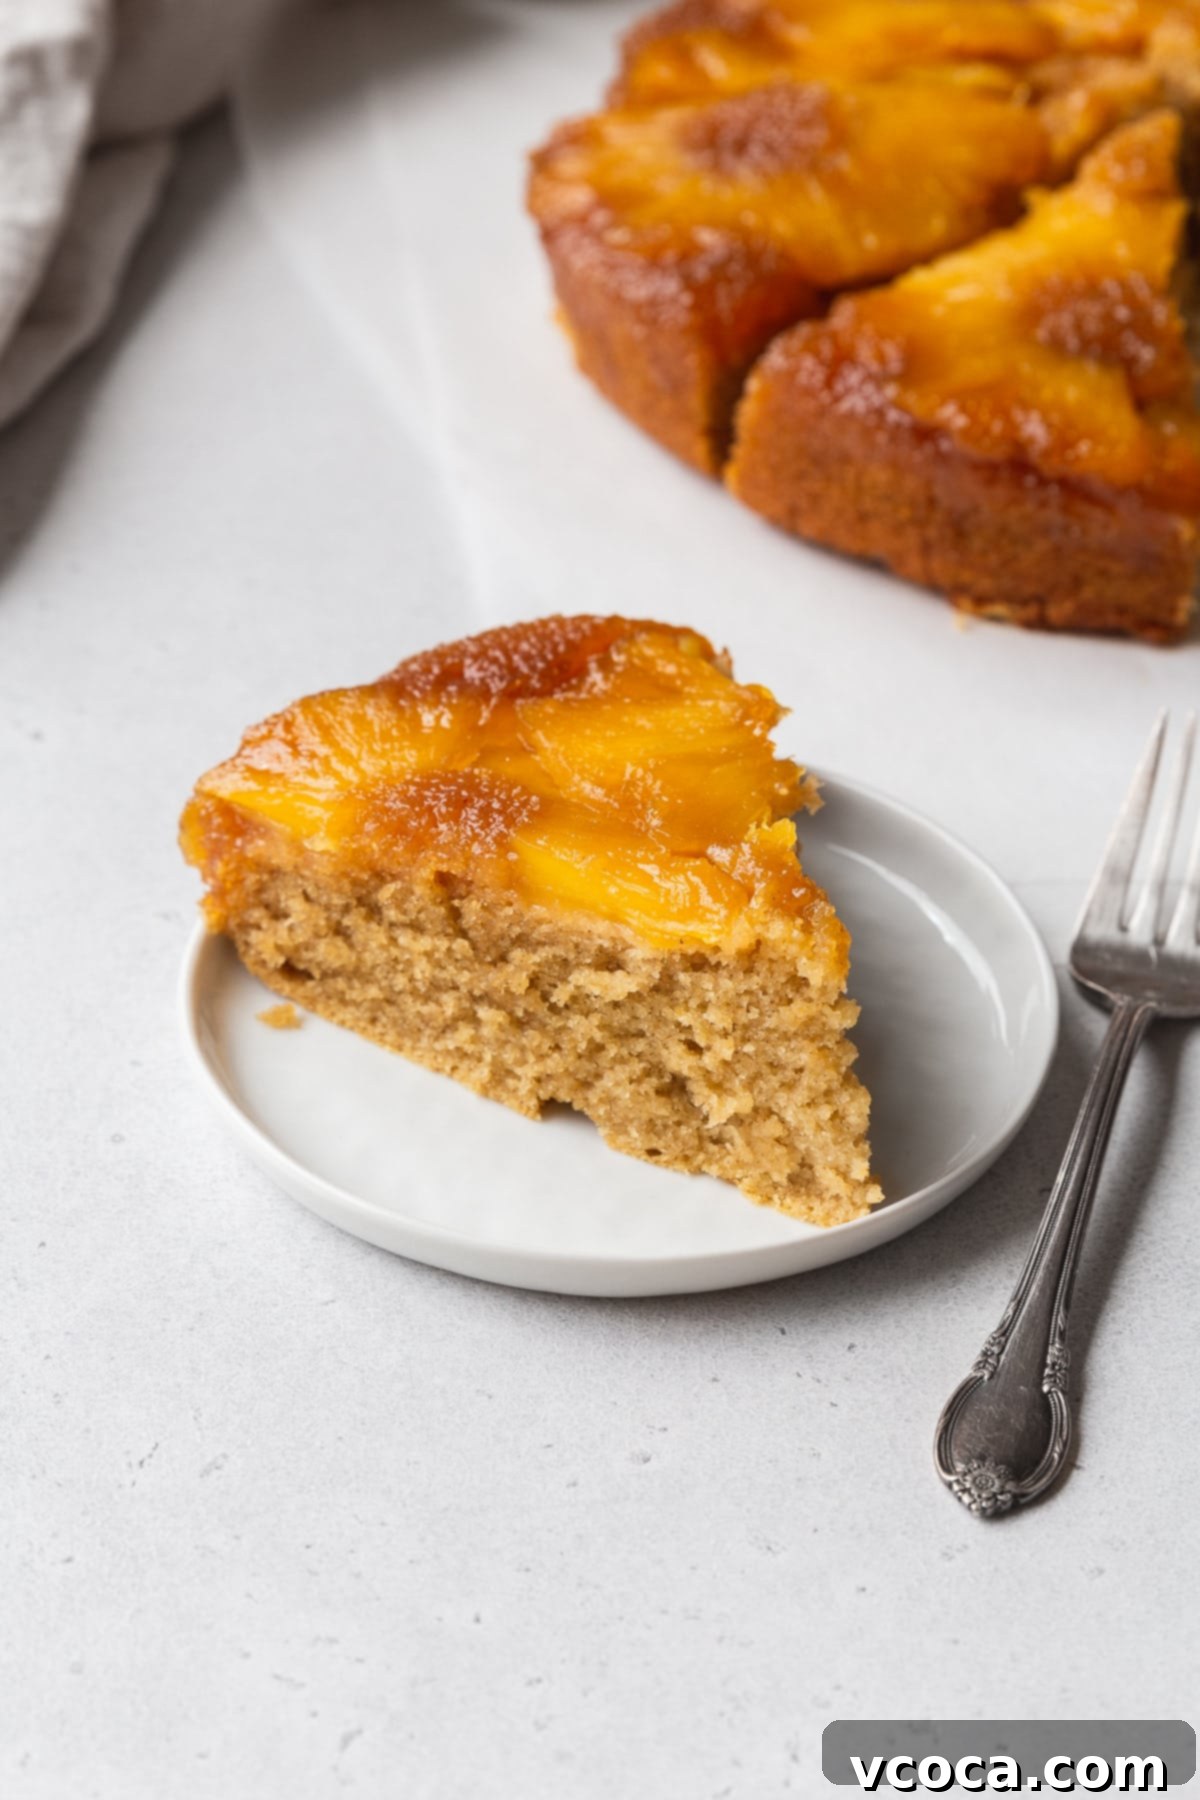
Why Choose a Gluten-Free Pineapple Upside Down Cake?
In today’s diverse culinary landscape, more and more people are exploring gluten-free options, whether due to celiac disease, gluten sensitivity, or simply a preference for a different dietary approach. But going gluten-free doesn’t mean sacrificing flavor or texture, especially when it comes to beloved desserts like **pineapple upside down cake**.
Our **gluten-free pineapple upside down cake** recipe is specifically crafted to deliver all the deliciousness of the traditional version without any gluten. We’ve carefully selected and balanced ingredients to ensure that the cake remains incredibly moist, tender, and flavorful. This recipe proves that gluten-free baking can be just as, if not more, indulgent than its conventional counterparts.
It’s an ideal choice for:
- Those with Celiac Disease or Gluten Sensitivity: Enjoy a classic dessert without worrying about adverse reactions, allowing everyone to partake in the joy of a homemade cake.
- Inclusive Entertaining: Easily accommodate guests with dietary restrictions, ensuring everyone can partake in dessert and feel celebrated. This cake is a fantastic centerpiece for any gathering.
- Exploring New Flavors and Textures: Gluten-free flours can often bring unique nuances and delightful textures to baked goods that are worth discovering.
- Health-Conscious Eaters: While still a treat, choosing gluten-free can align with broader wellness goals for some individuals, offering a delicious option that fits their lifestyle.
This cake is more than just a recipe; it’s an invitation to experience joy and deliciousness, no matter your dietary needs. It demonstrates that a **moist gluten-free cake** is not only possible but truly exceptional and can impress any palate.

Gluten-Free Pineapple Upside Down Cake Recipe
Print
Pin
Rate
Ingredients
Pineapple Layer
- ¼ cup unsalted butter (or vegan butter sticks)
- ¾ cup light brown sugar
- 1 small pineapple (fresh, peeled, cored, and sliced into ½-inch rings)
- pinch of salt
- 2 tablespoons reserved pineapple juice (from slicing the pineapple)
Cake Batter
- 1⅓ cups gluten-free 1-to-1 flour blend (containing xanthan gum, e.g., Bob’s Red Mill)
- ⅓ cup cornstarch
- ½ teaspoon fine salt
- ½ teaspoon baking soda
- 2 teaspoons baking powder
- ½ teaspoon ground cinnamon
- ⅛ teaspoon ground cardamom (optional, but recommended)
- ¾ cup granulated sugar
- ½ cup unsalted butter (or vegan butter, softened to room temperature)
- 2 large eggs
- 2 teaspoons vanilla extract
- ⅓ cup sour cream (or full-fat mayonnaise for dairy-free)
- ⅔ cup whole milk (or your favorite plain non-dairy milk)
Instructions
-
Prepare the Pineapple: Carefully peel the tough outer skin from your fresh pineapple, then remove any remaining ‘eyes’. Lay the pineapple on its side and slice it into consistent ½-inch thick rings. Next, use a small cookie cutter or a paring knife to remove the fibrous core from the center of each pineapple slice. You’ll typically need 6-7 perfectly sliced rings for a standard 9-inch round pan. As you work, natural pineapple juice will collect on your cutting board; make sure to reserve at least two tablespoons of this precious liquid. If you don’t have enough, simply press an extra small piece of pineapple to extract the juice. This juice is critical for the caramel layer.
-
Make the Caramel Topping: In a medium skillet, combine the ¼ cup of unsalted butter (or vegan butter), ¾ cup of light brown sugar, a pinch of salt, and the reserved two tablespoons of pineapple juice. Place the skillet over medium heat and cook, stirring continuously with a spatula or whisk. The mixture will melt and bubble, gradually thickening into a rich, golden caramel syrup. This process usually takes about 3-5 minutes. Once it has slightly thickened and is smooth, remove the skillet from the heat.
-
Infuse Pineapple Rings: Carefully add your prepared pineapple slices to the warm brown sugar caramel mixture in the skillet. Arrange them in a single layer if possible. Allow the pineapple to gently cook in the syrup for approximately 10 minutes, flipping each slice halfway through to ensure both sides are beautifully coated and infused with the caramel flavor. This step not only sweetens the pineapple but also starts the caramelization process, resulting in those irresistible golden edges. Take the skillet off the heat and set aside.

-
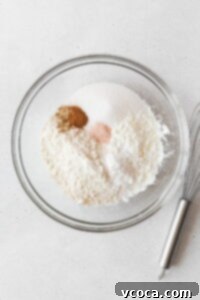
Combine Dry Ingredients: In a large mixing bowl, whisk together the 1⅓ cups of gluten-free 1-to-1 flour blend, ⅓ cup of cornstarch, ½ teaspoon of fine salt, ½ teaspoon of baking soda, 2 teaspoons of baking powder, ½ teaspoon of ground cinnamon, and ⅛ teaspoon of ground cardamom (if using). Whisk thoroughly for about 30 seconds to ensure all ingredients are evenly distributed and to break up any lumps in the dry mixture.
-
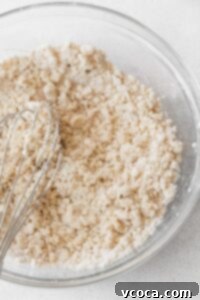
Incorporate Butter into Dry Ingredients: Add the ½ cup of softened butter (or vegan butter) to the dry ingredient mixture. Using your fingers or a pastry cutter, work the butter into the flour blend until the mixture resembles coarse sand or small pea-sized crumbs. This method helps create a tender crumb in the final cake by coating the flour particles with fat, preventing excessive liquid absorption.
-
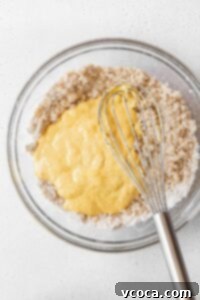
Prepare Wet Ingredients: In a separate medium bowl, whisk the 2 large eggs, ⅓ cup of sour cream (or mayonnaise for dairy-free), and 2 teaspoons of vanilla extract together until well combined and smooth. The sour cream provides essential moisture and a tenderizing effect to the cake batter.
-
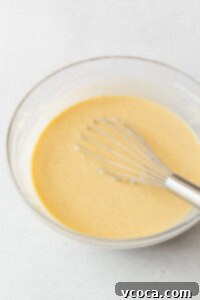
Combine and Rest the Batter: Add the wet mixture to the dry ingredient mixture and whisk vigorously to combine. While continuing to mix the batter, slowly pour in the ⅔ cup of whole milk (or non-dairy milk) until the batter becomes smooth, homogenous, and pourable. It should be thick but flow easily off the whisk. Crucially, cover the mixing bowl with plastic wrap or a clean kitchen towel and let the batter rest at room temperature for at least 30 minutes. This resting period allows the gluten-free flours to fully hydrate, preventing a gritty texture and ensuring a wonderfully moist final cake.
-
Preheat Oven & Prepare Pan: While the batter rests, preheat your oven to 350°F (177°C). Prepare a 9-inch round baking pan by generously greasing its sides with butter or baking spray. This is essential for preventing sticking and ensuring a clean release of the cake, especially with the caramelized topping.
-
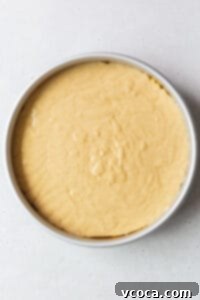
Assemble the Cake: Once the batter has rested, carefully arrange the caramelized pineapple slices in a single layer at the bottom of the greased 9-inch round pan. Try to create an appealing pattern, as this will be the top of your cake. Pour any remaining brown sugar syrup from the skillet evenly over the arranged pineapple slices. Then, with utmost care, gently and slowly pour the rested cake batter over the pineapple layer. Use an offset spatula or the back of a spoon to gently smooth out the surface of the batter, being careful not to disturb the pineapple slices beneath.

-
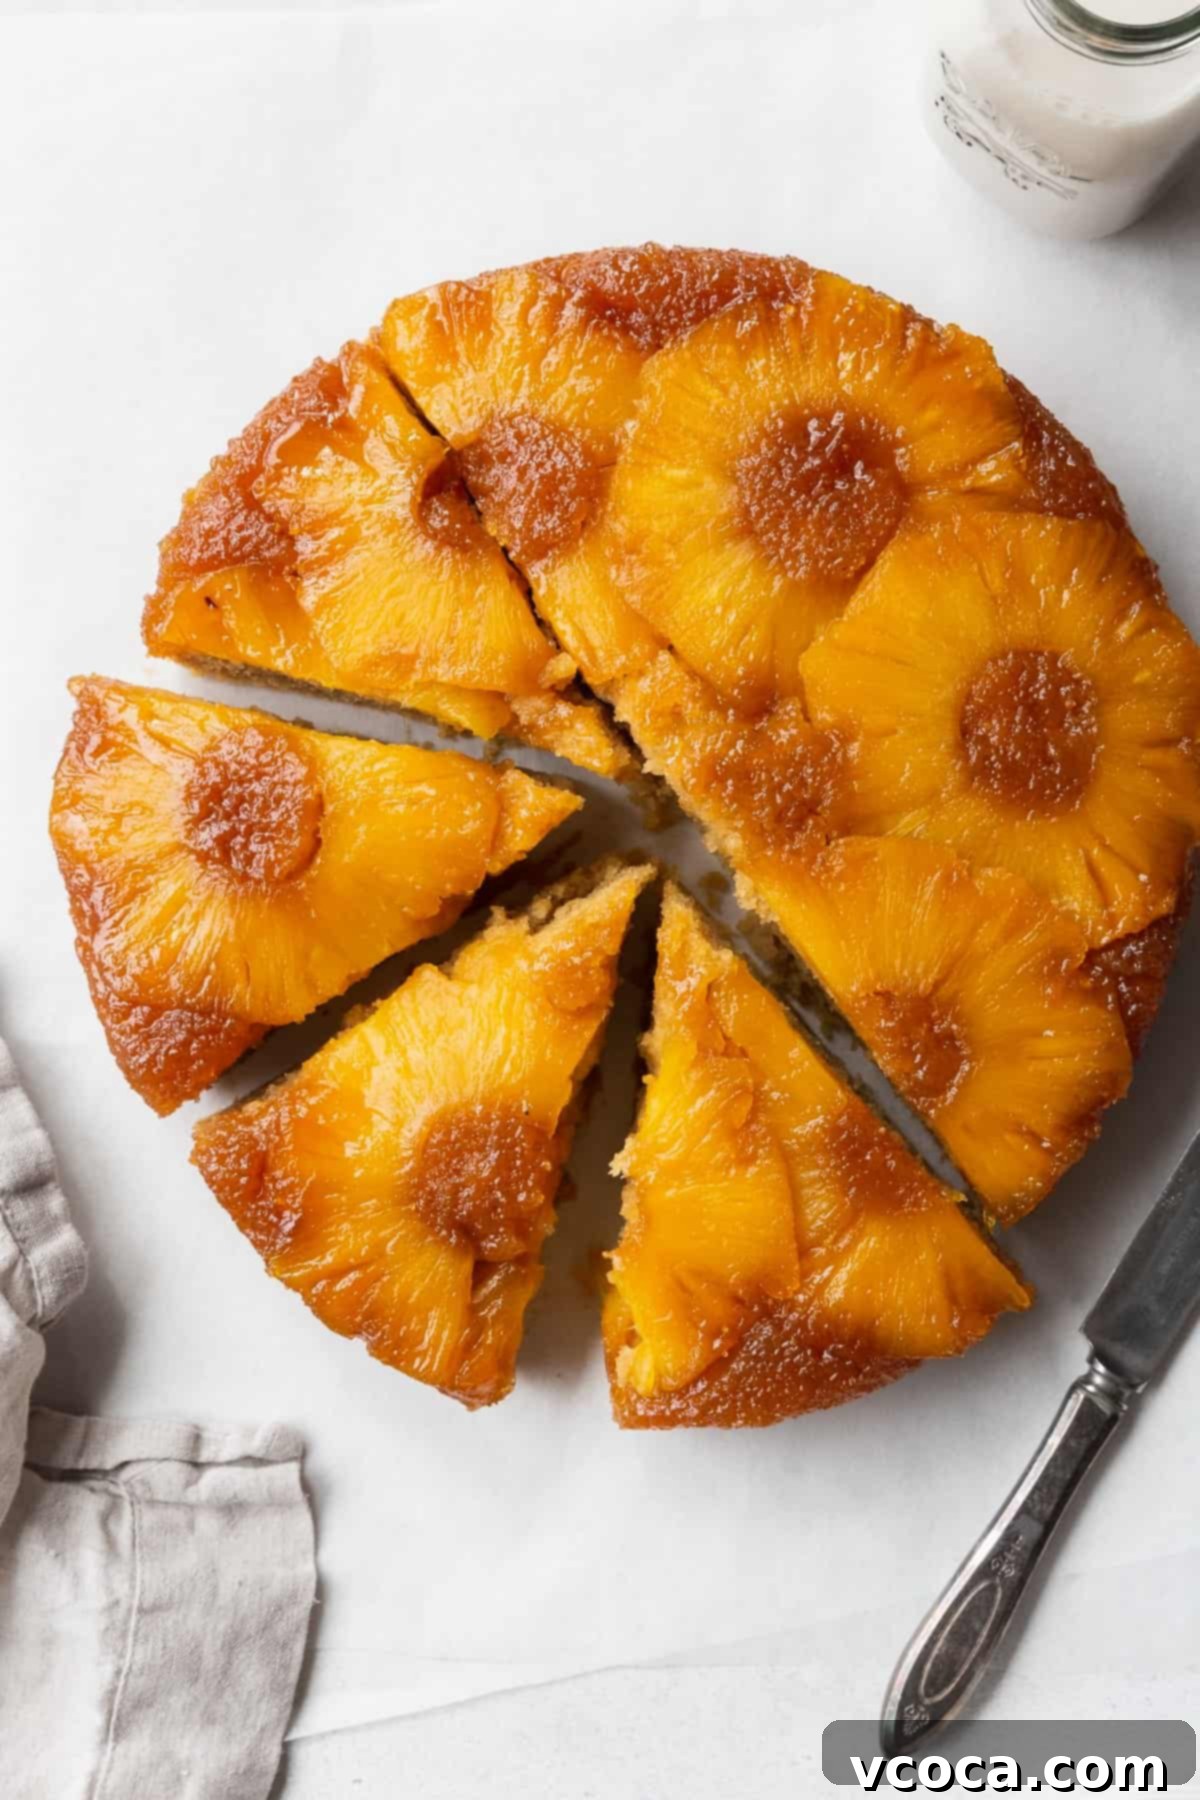
Bake and Cool: Place the assembled cake in the preheated oven and bake for 40-43 minutes. Baking time can vary slightly depending on your oven, so start checking for doneness around the 40-minute mark. The cake is ready when a wooden toothpick or skewer inserted into the center comes out clean or with only a few moist crumbs attached. Once baked, remove the cake from the oven and let it cool in the pan on a wire rack for about 20-30 minutes. This cooling period is vital for the cake to set and for the caramelized topping to firm up and release easily. After this time, carefully invert the cake onto a serving plate. If any pineapple or caramel sticks to the pan, gently scrape it off with a rubber spatula and place it back onto the cake. Serve warm or at room temperature.
Notes
- Refrigeration: Leftover **gluten-free pineapple cake** keeps beautifully! Once completely cooled, cover the cake in an airtight container or with a cake dome and store it in the refrigerator for 3-4 days. This keeps the pineapple fresh and prevents spoilage.
- Freezing: The baked cake can also be frozen for longer storage. Place it in a freezer-safe container for up to 3 months. For convenience, you can freeze the cake whole or wrap up individual slices tightly in plastic wrap before placing them in the freezer-safe container. This allows for easy thawing of single servings.
- Defrosting: To enjoy frozen slices, simply defrost individual pieces of **pineapple cake** at room temperature for about 1 hour. If thawing a full cake, place it covered in the refrigerator for 3-4 hours, or until entirely defrosted.
Dairy-Free Option: To effortlessly make this a **dairy-free pineapple upside down cake**, substitute mayonnaise for sour cream, use high-quality vegan butter sticks for unsalted butter, and swap dairy milk for your favorite plain non-dairy plant milk (like oat, almond, or soy milk). These substitutions will ensure a rich and moist cake without dairy.
Nutrition
Serving Your Gluten-Free Pineapple Upside Down Cake
This **gluten-free pineapple upside down cake** is truly a stand-alone masterpiece, but a few accompaniments can elevate the experience even further. Serve it slightly warm for the ultimate indulgence, allowing the caramelized pineapple to be at its most succulent.
- With a Dollop of Whipped Cream: A cloud of freshly whipped cream adds a delightful contrast in texture and a touch of richness that complements the sweet pineapple beautifully.
- A Scoop of Vanilla Ice Cream: For a truly decadent dessert, a scoop of your favorite vanilla bean ice cream melting into the warm cake is simply divine. The cold creaminess against the warm cake is a classic combination.
- Dusting of Powdered Sugar: For a simpler, yet elegant presentation, a light dusting of powdered sugar adds a touch of sweetness and a beautiful visual appeal.
- Pair with Toasted Coconut Flakes: To enhance the tropical theme, a sprinkle of lightly toasted coconut flakes adds both flavor and a pleasant crunch.
No matter how you choose to serve it, this **moist gluten-free cake** is guaranteed to be a hit and leave a lasting impression!
Delicious Variations to Try
While the classic **gluten-free pineapple upside down cake** is perfect as is, don’t hesitate to get creative with these delightful variations to suit your taste or experiment with new flavors:
- Cherry Embellishments: For a classic look and extra burst of color and flavor, place a maraschino cherry (drained well) in the center of each pineapple ring before pouring the batter.
- Different Fruits: Experiment with other fruits! Sliced peaches, apricots, apples, or even a mix of berries can create a unique “upside down” cake. Adjust baking times as needed for different fruit moisture levels.
- Nutty Crunch: Sprinkle a layer of finely chopped pecans, walnuts, or macadamia nuts over the caramelized pineapple before adding the batter for an added layer of texture and nutty flavor that complements the fruit perfectly.
- Spice It Up: Enhance the spice profile by adding a tiny pinch of ground ginger, nutmeg, or allspice to the cake batter, further complementing the tropical notes of the pineapple.
- Coconut Infusion: For a more pronounced tropical flavor profile, consider adding 1/4 cup of shredded unsweetened coconut to the cake batter. This adds both flavor and a lovely texture.
Frequently Asked Questions About Gluten-Free Pineapple Upside Down Cake
Yes, absolutely! Fresh pineapple is naturally **gluten-free** and poses no risk for those avoiding gluten. It contains no wheat, barley, or rye products. However, it’s always good practice to ensure it hasn’t come into contact with gluten-containing foods if you have severe sensitivities (cross-contamination). When using canned pineapple, nearly all brands are gluten-free, but always double-check the ingredient label for any hidden additives or thickeners, just to be safe. Our recipe specifically uses fresh pineapple for optimal flavor and texture.
It can be disappointing when your beautiful cake doesn’t release cleanly. The most common reasons for a **gluten-free pineapple upside down cake** falling apart include:
- Insufficient Greasing: The pan must be very well greased. The caramelized sugar can stick if the pan isn’t adequately prepared, causing the cake to tear upon inversion.
- Flipping Too Soon: If you invert the cake while it’s still piping hot, the structure might not be fully set, and the hot caramel can still be too liquid, causing the cake to break or stick. Allow it to cool for at least 20-30 minutes in the pan. This allows everything to set properly.
- Banging the Pan: Instead of gently inverting, sometimes people hit or bang the pan to release the cake, which can cause structural damage. A gentle, quick flip is best after the proper cooling time.
- Undermixed GF Batter (less common but possible): While overmixing is typically bad for regular cakes, an *undermixed* gluten-free batter can lack proper structure. As our tips suggest, ensure your gluten-free batter is thoroughly mixed to help develop its inherent structure.
- Not Resting the Batter: The resting period for gluten-free batter allows the flour to fully hydrate and the cake to develop a stronger, more stable structure, making it less prone to crumbling.
Yes, it is highly recommended to refrigerate your **pineapple upside down cake** after it has completely cooled to room temperature. The fresh fruit (pineapple) and the moist caramel topping create an environment that can spoil more quickly at room temperature. To keep your cake fresh and safe to eat, ensure it’s cooled to room temperature, then cover it tightly with a cake dome or plastic wrap and store it in the refrigerator for up to 3-4 days. This preserves its flavor, moisture, and prevents the fruit from fermenting or turning sour.
Preventing a gummy texture is a key challenge in **gluten-free baking**, but entirely achievable with the right techniques:
- Use a Quality GF Flour Blend with Xanthan Gum: This is paramount. Xanthan gum provides the elasticity and structure that gluten would, preventing both a crumbly *and* gummy texture. Without it, the cake can be either too dry or overly wet and sticky.
- Allow Batter to Rest: As mentioned in our success tips, resting the batter for 30 minutes allows the gluten-free flours to properly hydrate. This results in a smooth, delicate, and non-gummy crumb because the flour absorbs moisture evenly before baking.
- Thorough Mixing: While not overmixing for *too long*, ensuring the batter is well-combined and homogenous helps the starches fully absorb liquid and activate any binders, contributing to a better texture.
- Avoid Overbaking (but also underbaking): Overbaking dries out the cake, but underbaking can leave it raw and gummy in the center. Bake until a toothpick inserted into the center comes out clean or with only a few moist crumbs attached.
- Correct Ingredient Ratios: Follow the recipe precisely, especially liquid-to-dry ingredient ratios, as gluten-free baking is more sensitive to these balances than traditional baking.
A Tropical Escape in Every Slice: Your New Favorite Gluten-Free Dessert
There you have it – the definitive guide to baking a truly exceptional **gluten-free pineapple upside down cake**. This recipe is more than just a dessert; it’s an experience, a slice of tropical paradise that caters to everyone, regardless of dietary needs. With its glistening caramelized pineapple, remarkably moist and tender crumb, and delightful balance of sweet and tangy flavors, it’s destined to become a staple in your baking repertoire. We’ve covered everything from ingredient selection to expert tips, ensuring your baking journey is both enjoyable and successful. Gather your ingredients, follow our detailed instructions and success tips, and prepare to impress both gluten-free and gluten-loving friends alike. Happy baking, and enjoy your delicious escape to a tropical paradise!
Explore More Delicious Gluten-Free Desserts
If you loved this recipe and are craving more delightful **gluten-free desserts**, you’re in luck! We have a wide array of recipes that are equally delicious and satisfying:
- Want more cake? Try my gluten-free coffee cake–it’s wonderfully spiced and perfect for any brunch gathering or a cozy afternoon treat!
- My gluten-free lemon poppy seed cake and gluten-free pound cake are perfect if you want a simple yet elegant cake without the fuss of frosting. They’re incredibly moist and flavorful on their own.
- If you’re a chocolate lover, you must try my gluten-free chocolate cake recipe or the decadent gluten-free German chocolate cake. They’re both incredibly moist, rich, and always receive rave reviews from everyone who tries them!
- For something super easy and fruity, especially seasonally, make this gluten-free rhubarb crisp in the spring and early summer, and this comforting gluten-free apple crisp in the fall! And if it’s blueberry season, you can’t go wrong with these fluffy gluten-free blueberry muffins for breakfast or a snack.
Happy baking and indulging in delicious gluten-free treats!
