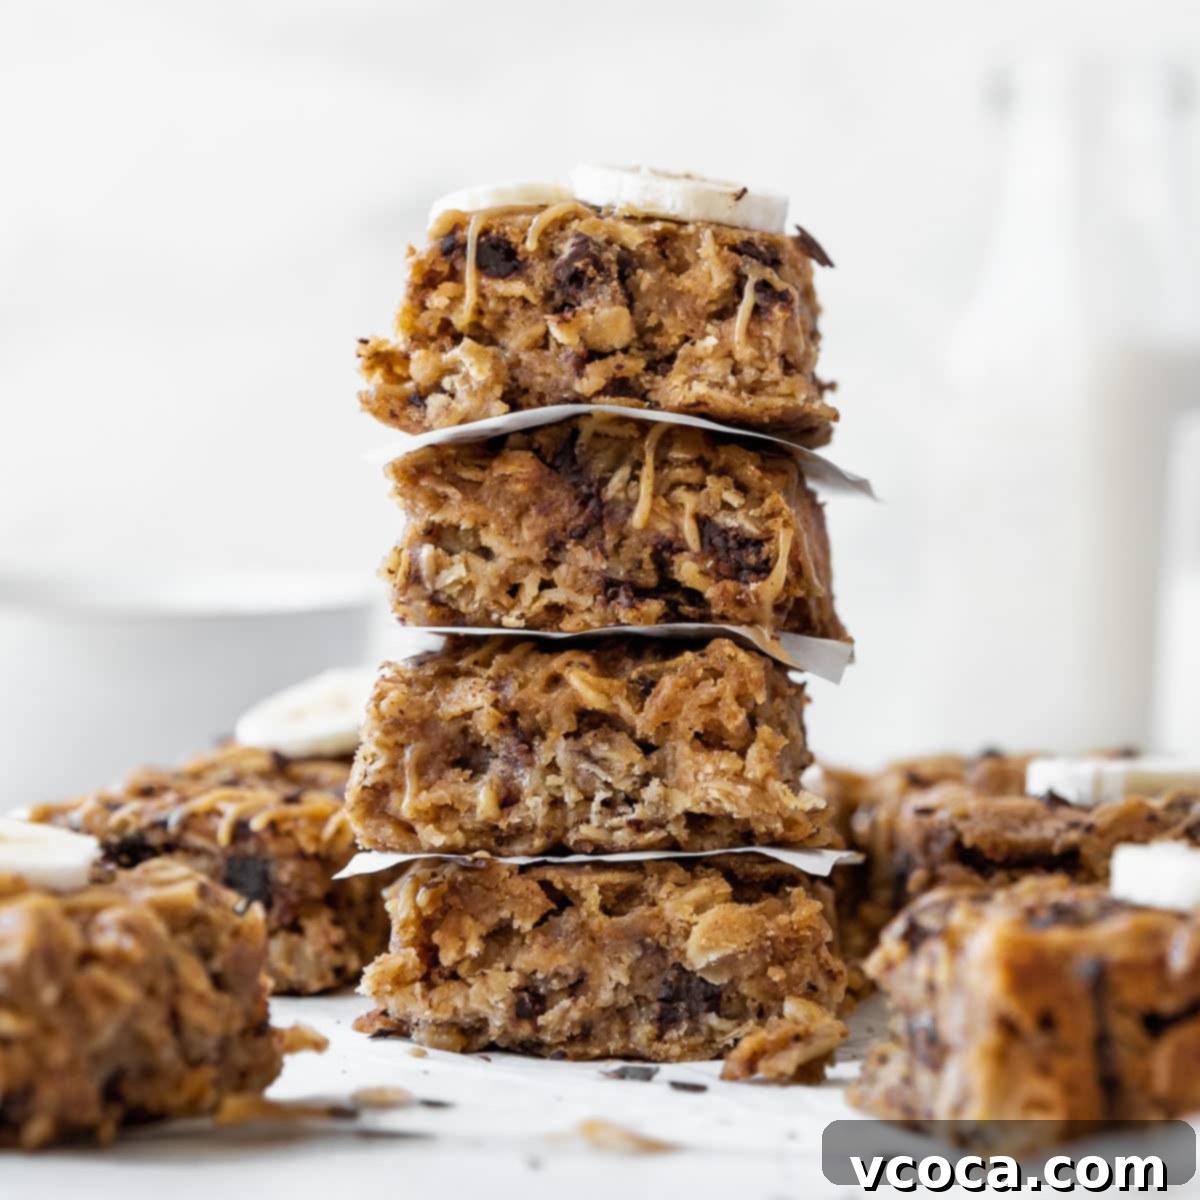
Easy & Healthy Gluten-Free Peanut Butter Oatmeal Breakfast Bars: A Delicious Vegan Recipe
Craving a wholesome, satisfying, and utterly delicious treat that fits perfectly into your busy lifestyle? Look no further! This incredible Peanut Butter Oatmeal Breakfast Bar Recipe is a true kitchen gem. Bursting with the rich flavors of peanut butter, the hearty goodness of oats, the natural sweetness of banana, and delightful bursts of chocolate chips, these bars are an absolute must-try. What makes them even better? They’re a simple, one-bowl wonder, naturally gluten-free, dairy-free, and entirely vegan, ensuring they satisfy everyone, regardless of dietary preferences.
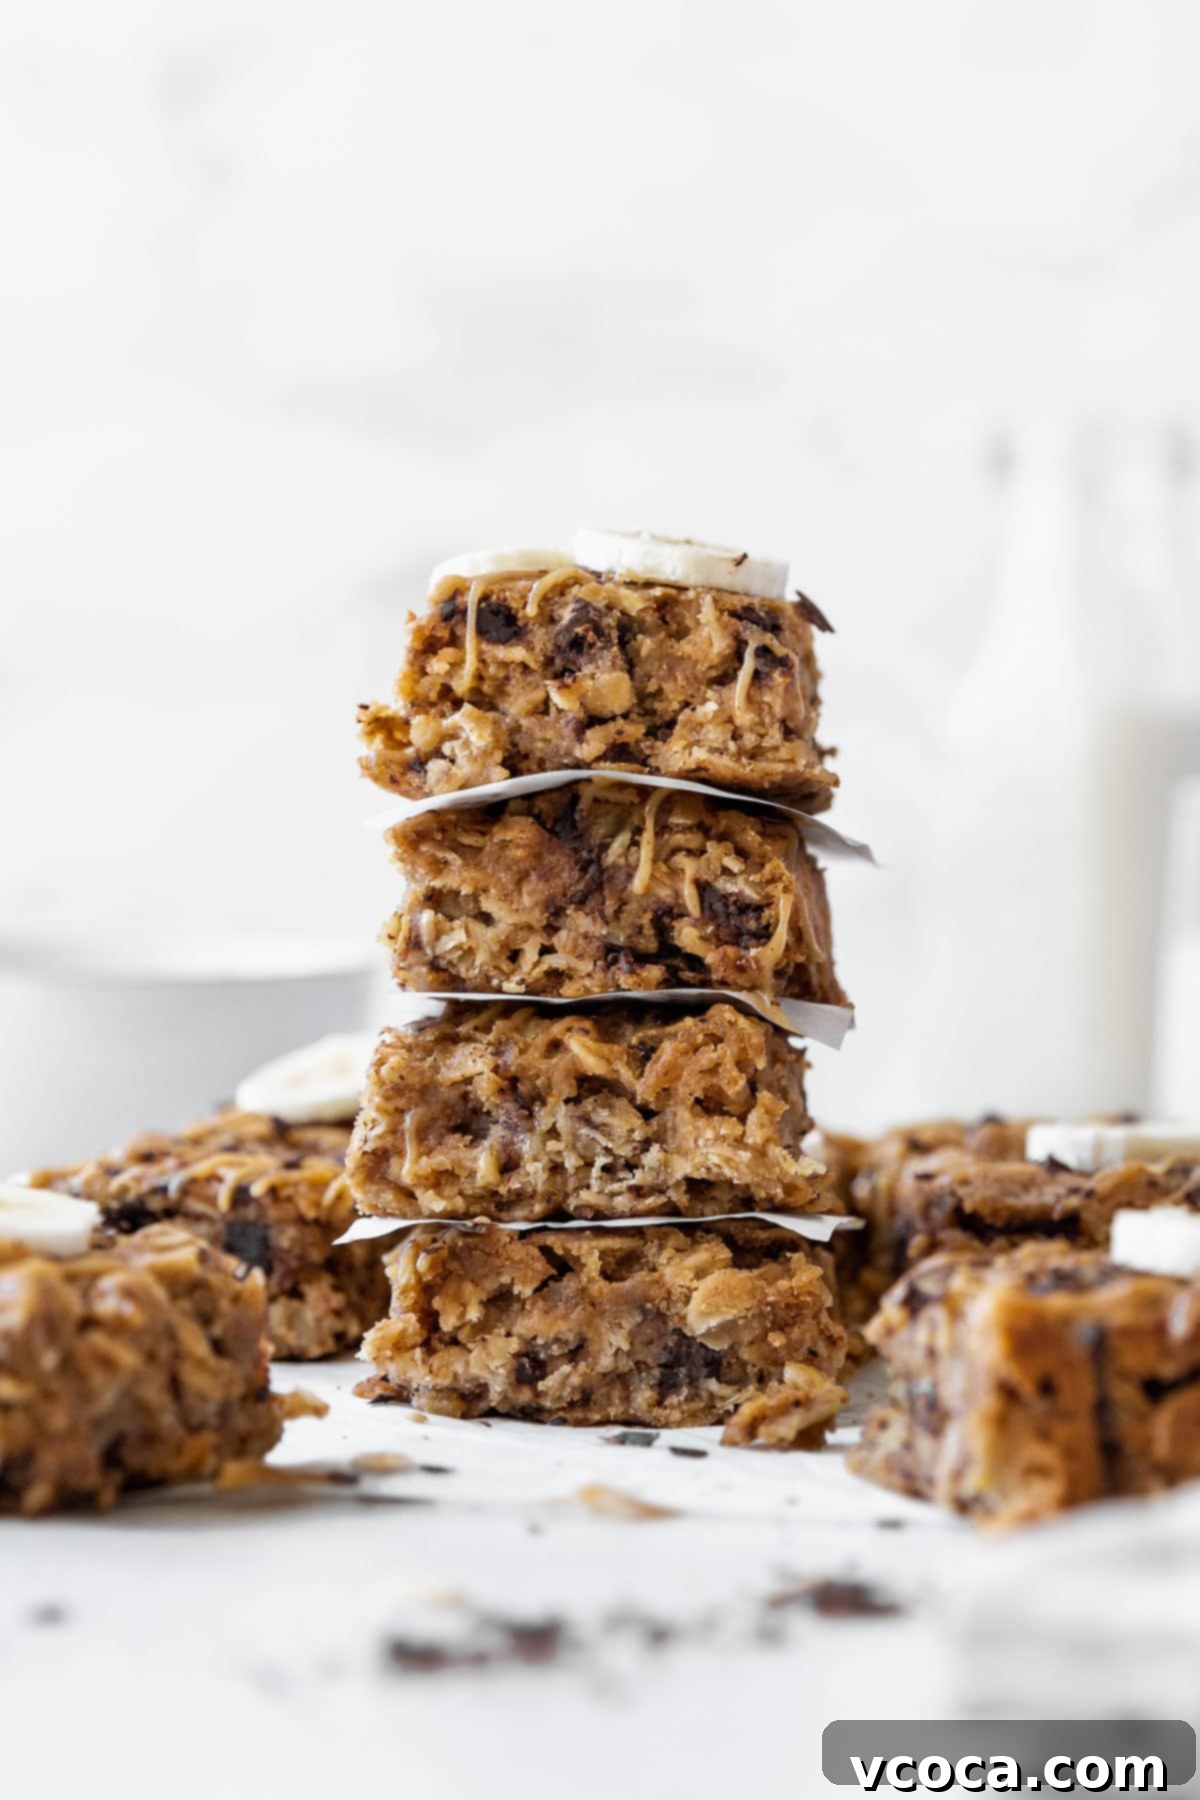
This post was originally published on March 7, 2021. It was updated with new recipe information and photos on May 22, 2023.
Why You’ll Adore These Chocolate Peanut Butter Oatmeal Bars
These peanut butter oatmeal bars aren’t just a recipe; they’re a convenient and delicious solution for busy mornings, afternoon slumps, or late-night cravings. Here’s why they’re destined to become a favorite in your kitchen:
- Wonderfully Nutritious: Crafted with wholesome ingredients like hearty oats, naturally sweet mashed bananas, and a touch of maple syrup, these healthy breakfast bars are as good for your body as they are comforting to your soul. Oats are known for their fiber content, bananas provide essential vitamins and potassium, and peanut butter offers healthy fats and protein, making these bars a powerhouse of goodness.
- Effortless One-Bowl Preparation: Say goodbye to a sink full of dishes! This recipe is designed for maximum convenience, requiring just one bowl from start to finish. You won’t need a hand mixer or a stand mixer, keeping the process simple and mess-free. This means less cleanup and more time to enjoy your delicious creations!
- Incredibly Versatile: These peanut butter banana oatmeal bars are a true chameleon in your diet. They are absolutely perfect for a quick energizing breakfast, a satisfying mid-day snack, or even a delightful healthier dessert. As one friend happily noted, they make an excellent late-night snack too! No matter when hunger strikes, these bars are sure to hit the spot.
- Diet-Friendly: Gluten-Free & Vegan: Catering to diverse dietary needs, these vegan oatmeal bars contain no wheat products, eggs, or other animal ingredients. They are an ideal choice for our gluten-free and plant-based friends, ensuring everyone can enjoy a slice of this deliciousness without compromise. They are also naturally dairy-free.
- Perfect for Meal Prep: Whip up a batch of these oatmeal bars on the weekend, and you’ll have delicious, grab-and-go breakfasts or snacks ready for the entire week. They store beautifully, making your meal planning a breeze.
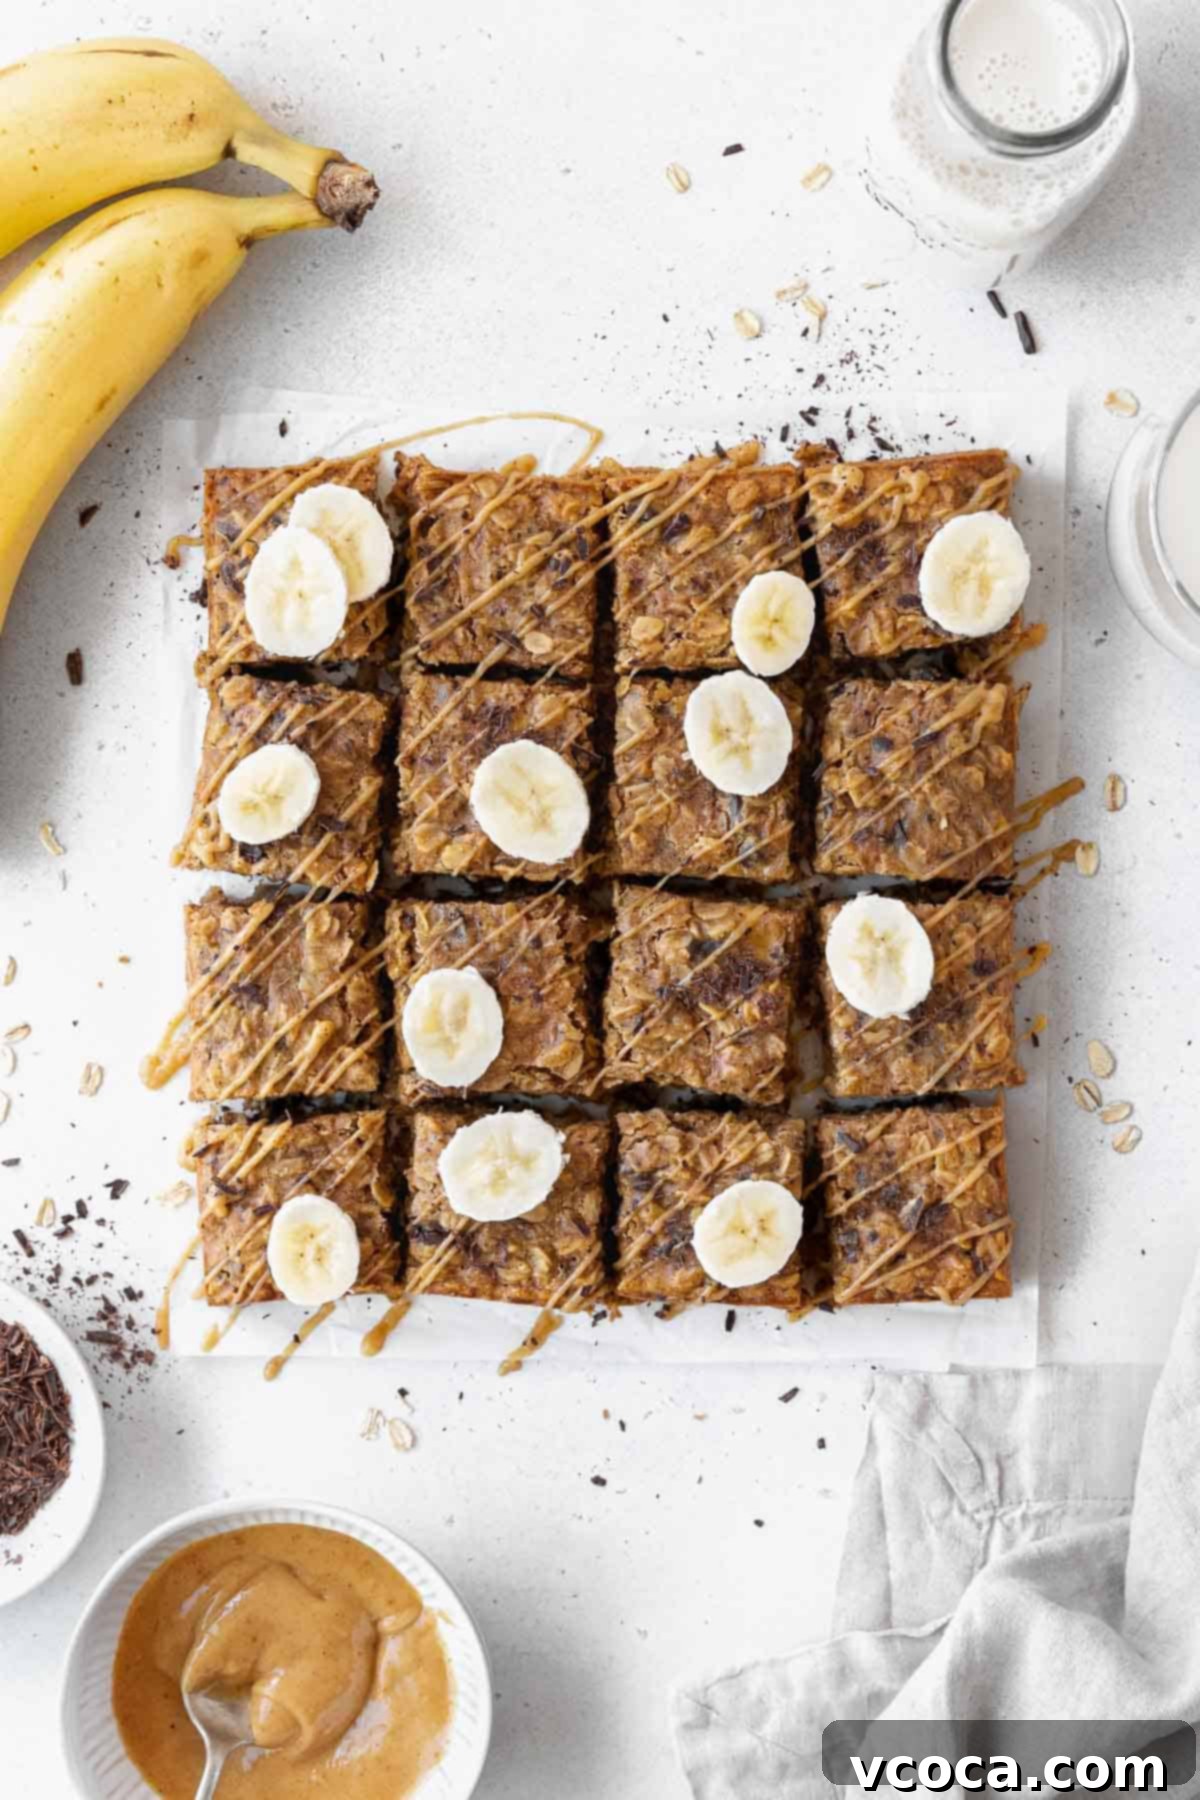
Essential Ingredients for Your Healthy Oatmeal Bars
These incredibly satisfying gluten-free, vegan, and dairy-free bars are crafted from a handful of readily available pantry staples. Each ingredient plays a vital role in creating their perfect texture and heartwarming flavor profile:
- 1-to-1 Gluten-Free Flour: This special blend is crucial for providing structure and a tender crumb without any gluten. It helps achieve a texture similar to traditional baked goods. My go-to brands for reliable results are King Arthur’s Measure for Measure Flour and Bob’s Red Mill Gluten-Free 1-to-1 Baking Flour. Always opt for a blend specifically designed for a 1-to-1 substitution to ensure success.
- Gluten-Free Rolled Oats: Old-fashioned (rolled) oats are the star of this recipe, lending a wonderfully chewy texture and wholesome appeal. It’s essential to use certified gluten-free oats, as not all oats are processed in facilities free from cross-contamination with wheat. Look for the “gluten-free certified” label on the packaging to ensure your bars are truly gluten-free.
- Peanut Butter: The creamy, nutty base that ties all the flavors together! I personally prefer natural peanut butter (the kind with just peanuts and salt) for its richer flavor and healthier profile, but classic jarred peanut butter (like Jif or Skippy, if you’re not concerned about added sugars/oils) will also work. Just be aware that different types of peanut butter can affect the final texture, so natural varieties might require a slight adjustment in liquid.
- Ripe Bananas: This is where the magic happens! Overripe bananas (the browner and blacker, the better!) are not only excellent for adding natural sweetness and moisture but also provide a subtle banana flavor that complements the peanut butter beautifully. This recipe is a fantastic way to use up those bananas sitting on your counter.
- Chocolate Chips: Who can resist chocolate? Semisweet chocolate chips are my recommended pick for a balanced sweetness that isn’t overpowering. For a truly vegan and dairy-free recipe, be sure to use certified vegan chocolate chips, which are widely available in most grocery stores now. Chocolate chunks can also be used for a more rustic look and satisfying bite.
- Brown Sugar: This sweetener adds a lovely caramel-like depth that perfectly enhances the flavors of peanut butter and banana. Make sure to pack the brown sugar tightly into your measuring cup to ensure you get the correct amount for optimal sweetness and moisture.
- Maple Syrup: A wonderful natural sweetener that contributes another layer of rich, warm flavor, creating an even more complex and delicious profile with the nut butter, banana, and oats. Use pure maple syrup for the best taste.
- Vegan Butter: Just a quarter cup of vegan butter provides essential richness, moisture, and a tender texture to the bars. It helps bind the ingredients and contributes to that desirable melt-in-your-mouth quality without any dairy.
- Non-Dairy Milk: Any non-dairy milk will work beautifully here! Options like almond milk, oat milk, cashew milk, or even light coconut milk will provide the necessary liquid to bring the batter to the perfect consistency while keeping the recipe dairy-free and vegan.
- Ground Cinnamon: A touch of ground cinnamon introduces warm, aromatic spice notes that elevate the overall flavor profile, making these bars feel even more comforting and inviting.
- Baking Powder & Salt: Baking powder acts as a leavening agent, helping the bars rise slightly and achieve a lighter texture. Fine salt is crucial for balancing the sweetness and enhancing all the other wonderful flavors, making them pop. Don’t skip the salt!
Smart Substitutions to Adapt Your Bars
One of the best things about this peanut butter oatmeal bar recipe is its flexibility! Here are some common substitutions you can make, depending on what you have on hand or your specific dietary needs:
- Flour Alternatives: While the recipe is designed for gluten-free 1-to-1 flour, you can certainly use the same amount of regular all-purpose flour if gluten is not a concern for you. Just remember that doing so will make the recipe no longer gluten-free.
- Nut Butter Variety: If peanut butter isn’t your favorite, or if you have a peanut allergy, feel free to substitute it with other nut or seed butters. Almond butter or cashew butter are excellent choices for similar creaminess and flavor. For a nut-allergy-friendly version, sunflower butter (sunbutter) or even tahini can be used. Be aware that tahini has a slightly more bitter, earthy flavor, which can be delicious but different.
- Milk Options: If you’re not strictly dairy-free or vegan, regular dairy milk can be used in place of plant-based milk. The bars will still be delicious, but they will no longer be considered dairy-free or vegan.
- Butter Alternatives: Similarly, if you don’t need the recipe to be vegan or dairy-free, unsalted dairy butter can be used instead of vegan butter. The flavor profile will be slightly different, but the bars will still turn out wonderfully.
- Sweetener Swaps: While brown sugar and maple syrup offer the best flavor, you could experiment with coconut sugar or agave nectar as alternatives, adjusting quantities to taste as their sweetness levels can vary.
- Add-ins: Feel free to experiment with other delicious add-ins! Shredded coconut, chopped nuts (if not making nut-free), dried cranberries or raisins, or even a swirl of jam can add extra flavor and texture.
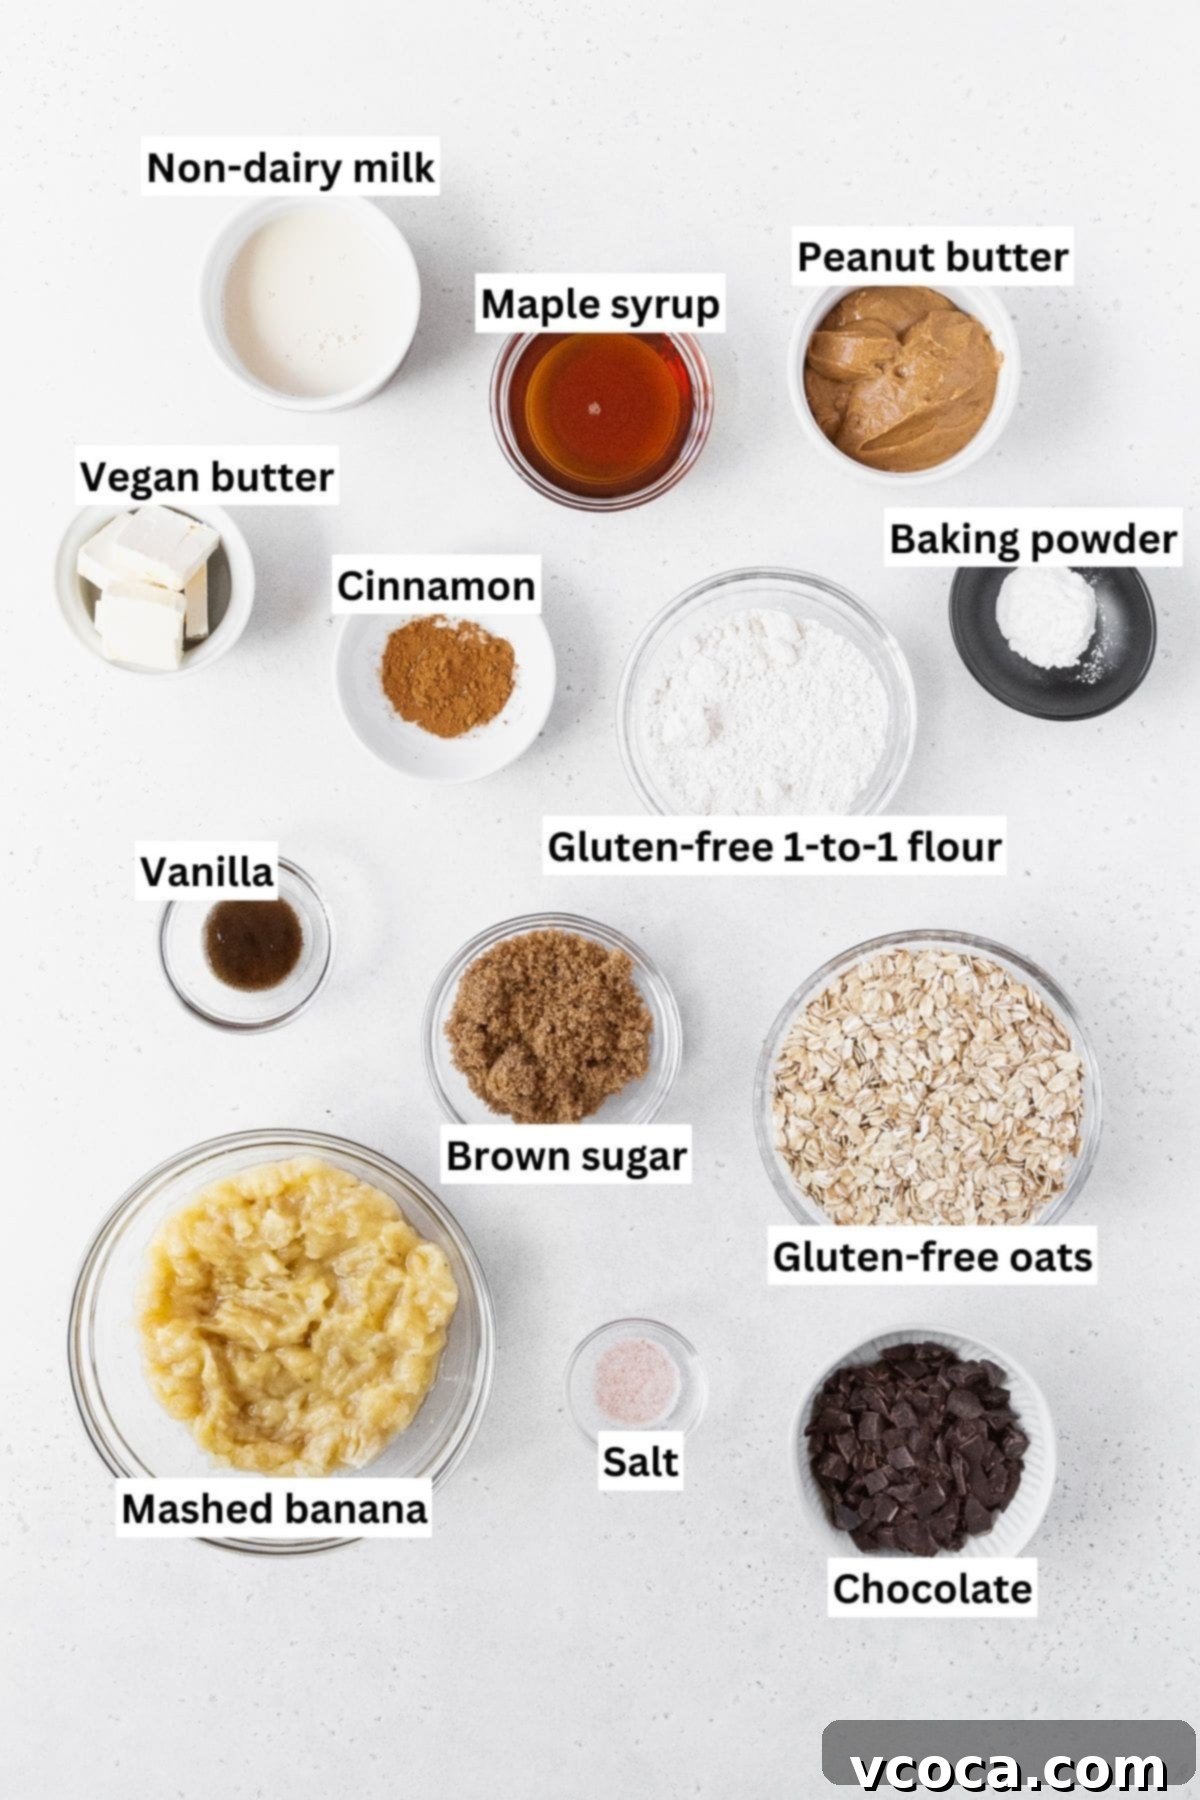
How to Bake These Irresistible Gluten-Free Peanut Butter Oatmeal Breakfast Bars
Making these chocolate peanut butter banana oatmeal bars is not only incredibly satisfying but also a joy from start to finish. Follow these simple steps to whip up a batch of deliciousness:
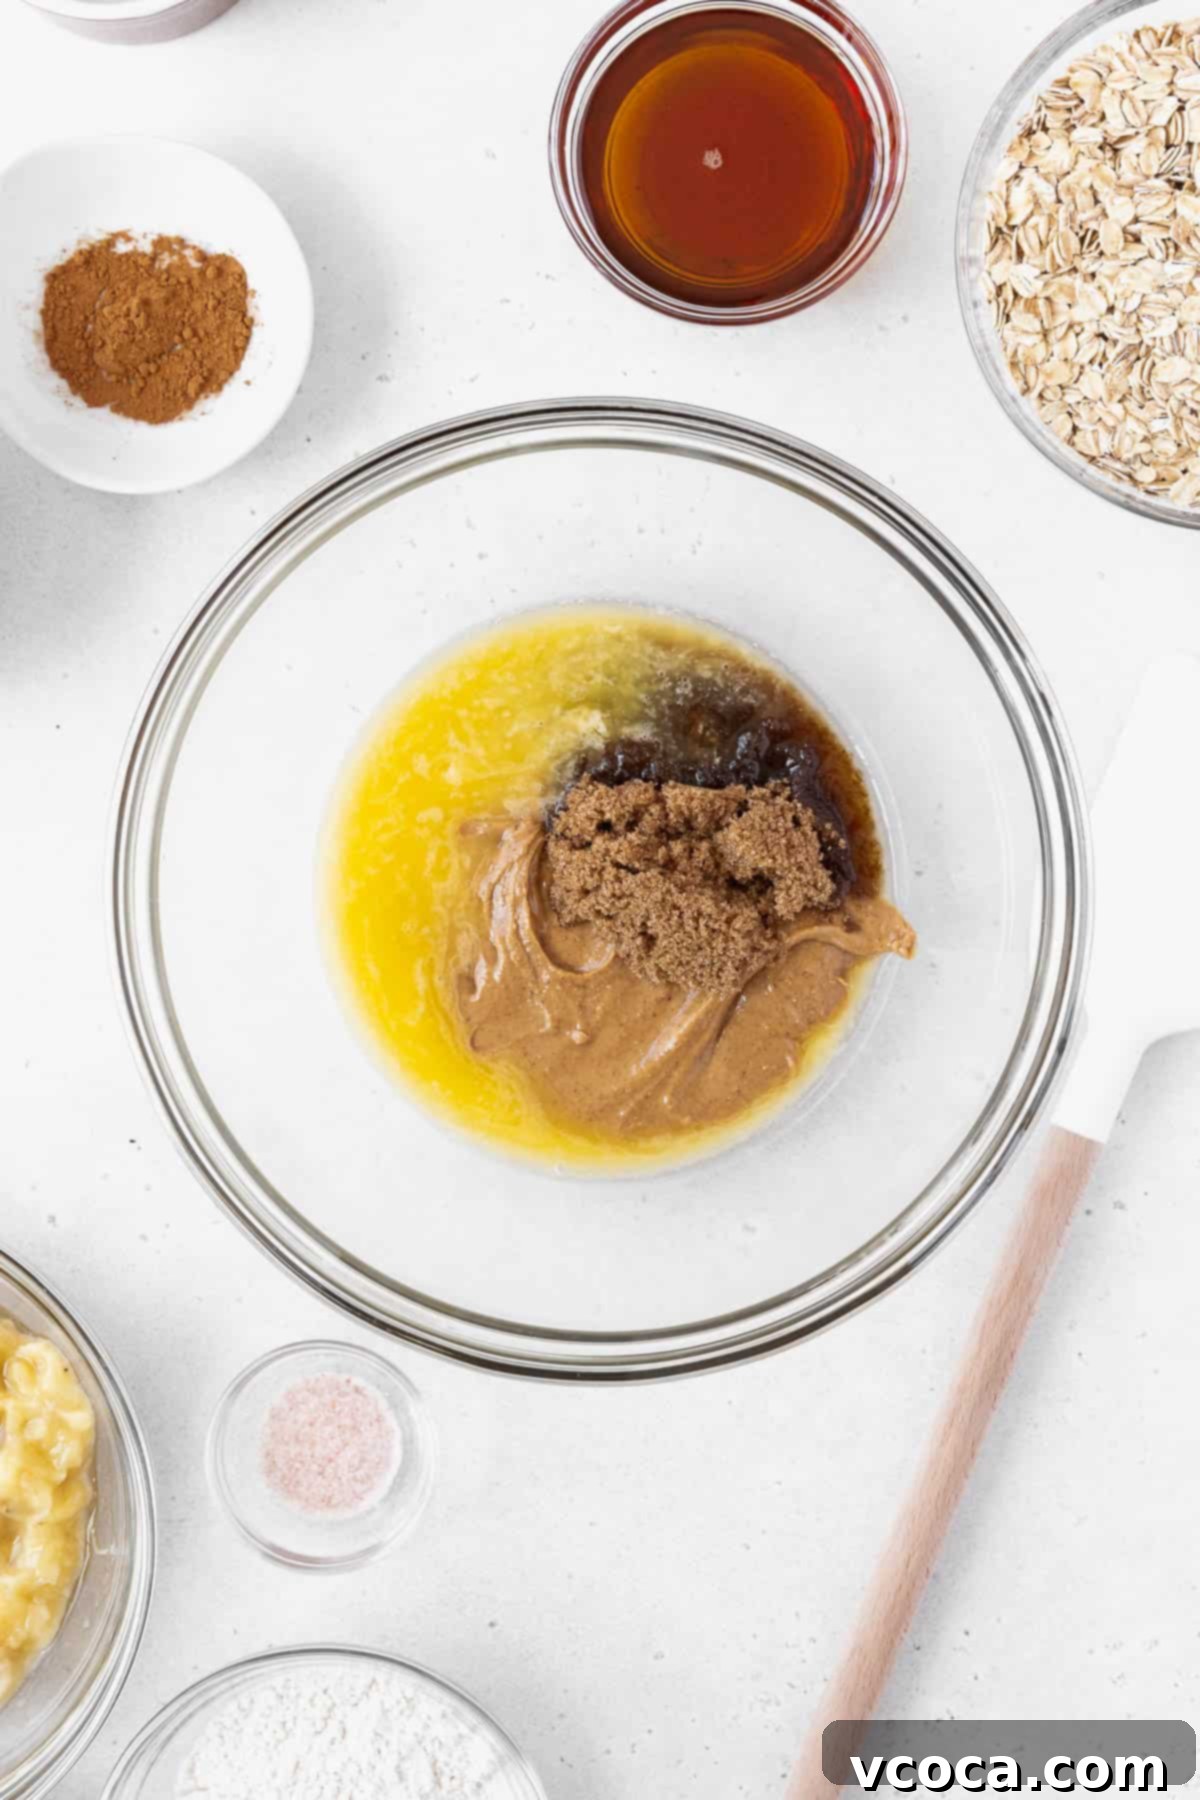
Step 1: Melt the Fats and Sweetener. In a large, microwave-safe mixing bowl, combine the vegan butter and peanut butter. Heat them in the microwave for approximately 20 to 30 seconds, or until they are just melted and easily stirrable. Be careful not to overheat, especially with natural peanut butter. Once melted, add the brown sugar to the bowl and mix everything together until it’s well combined and smooth. This creates the rich, gooey base for your bars.
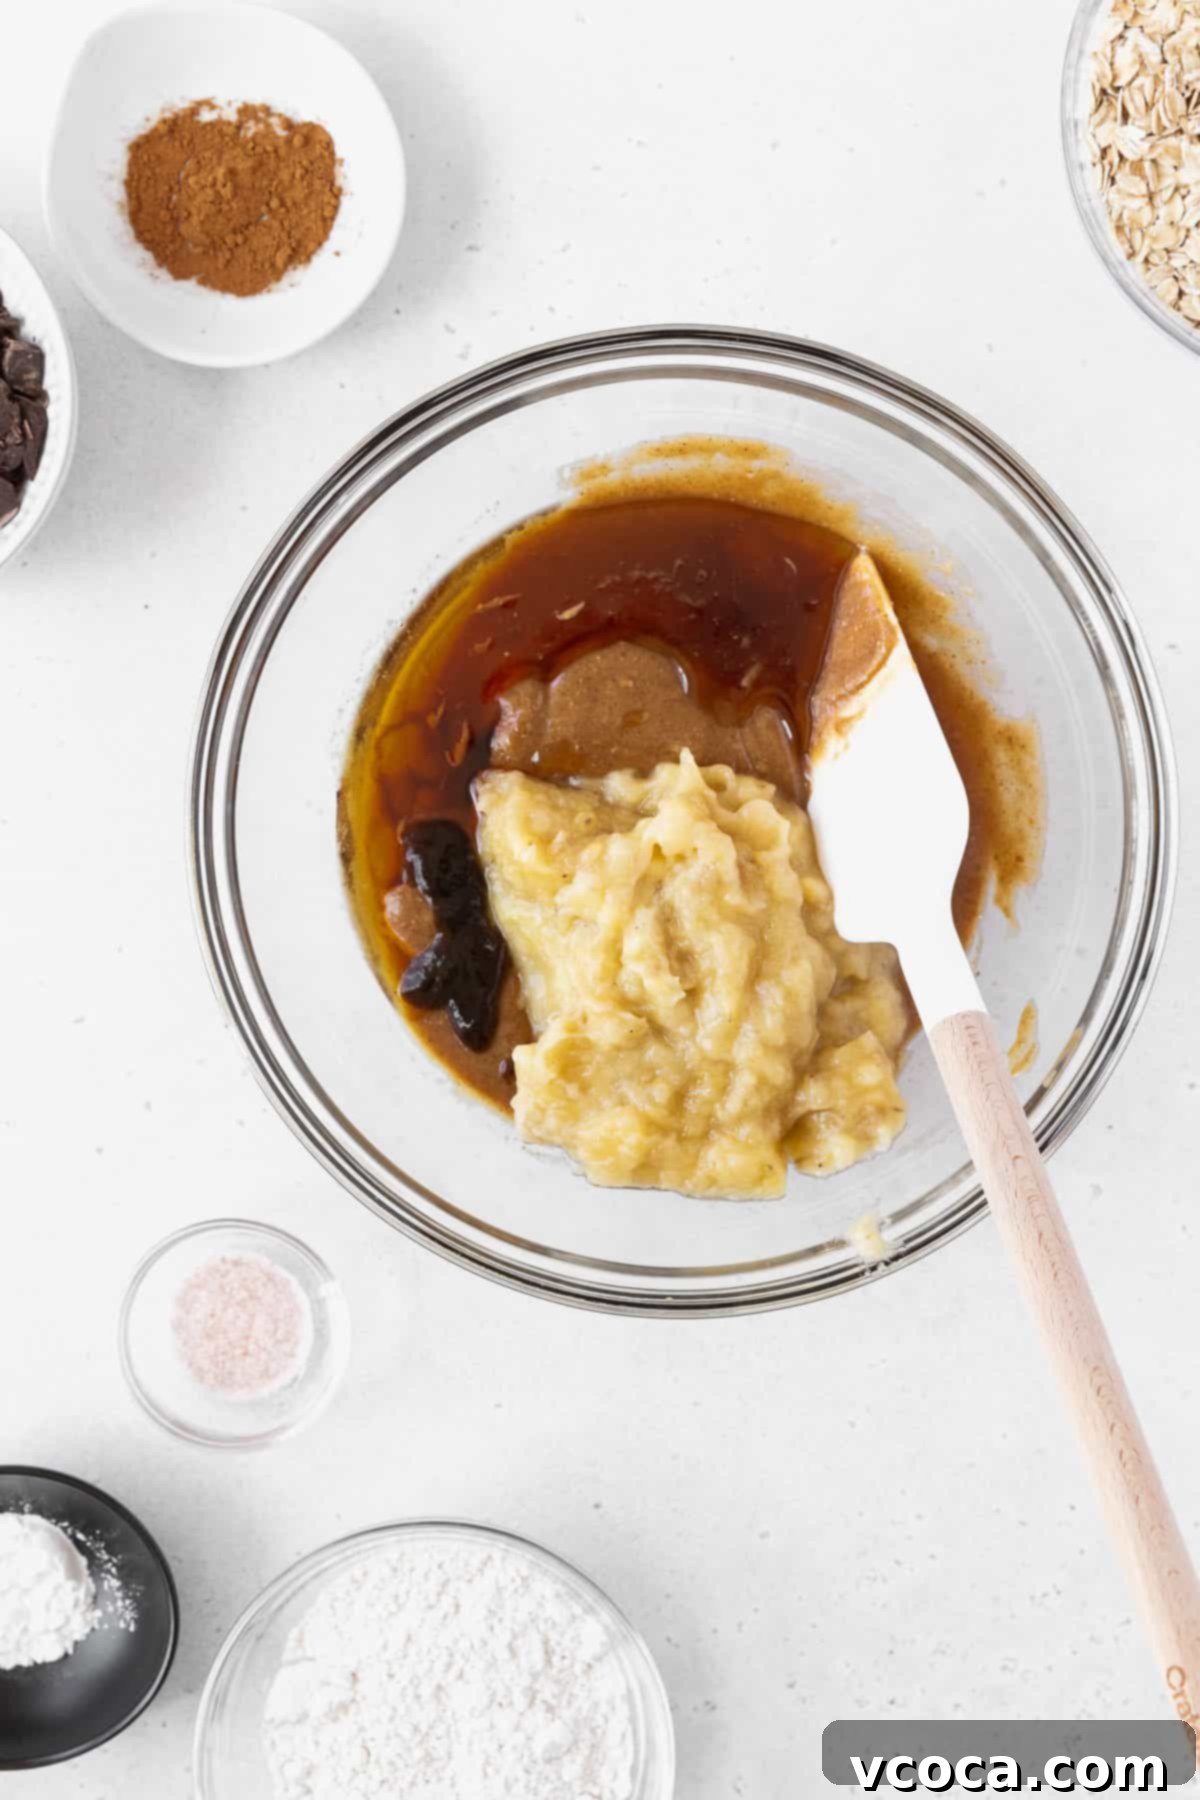
Step 2: Incorporate Wet Ingredients. To the same mixing bowl, add the mashed banana, maple syrup, and vanilla extract. Stir these ingredients thoroughly until they are fully integrated with the peanut butter mixture. The banana adds natural sweetness and moisture, while vanilla enhances all the other flavors.
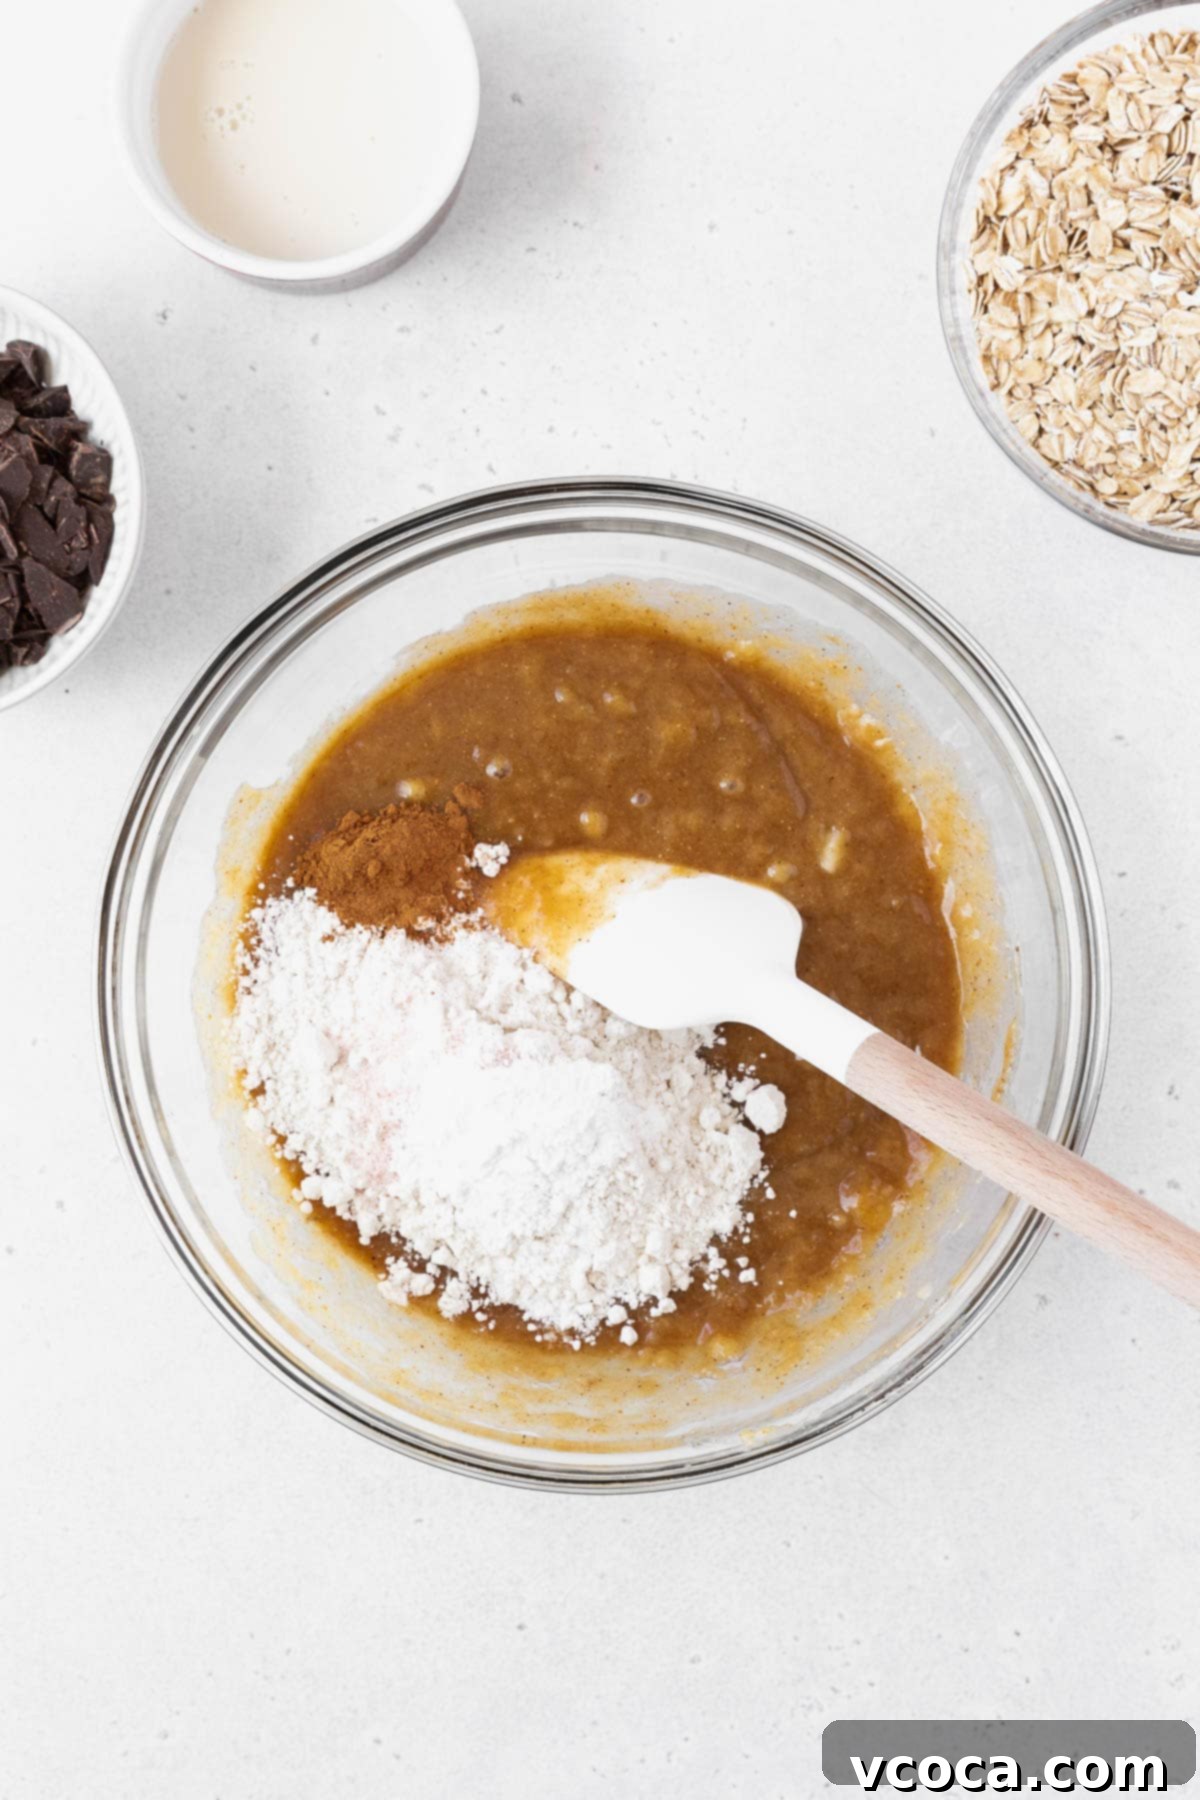
Step 3: Add Dry Ingredients. Now, it’s time for the dry elements. Stir in the gluten-free flour, salt, baking powder, and ground cinnamon. Mix gently but thoroughly until the batter is smooth and no dry streaks of flour remain. Be careful not to overmix, as this can affect the texture of gluten-free baked goods.
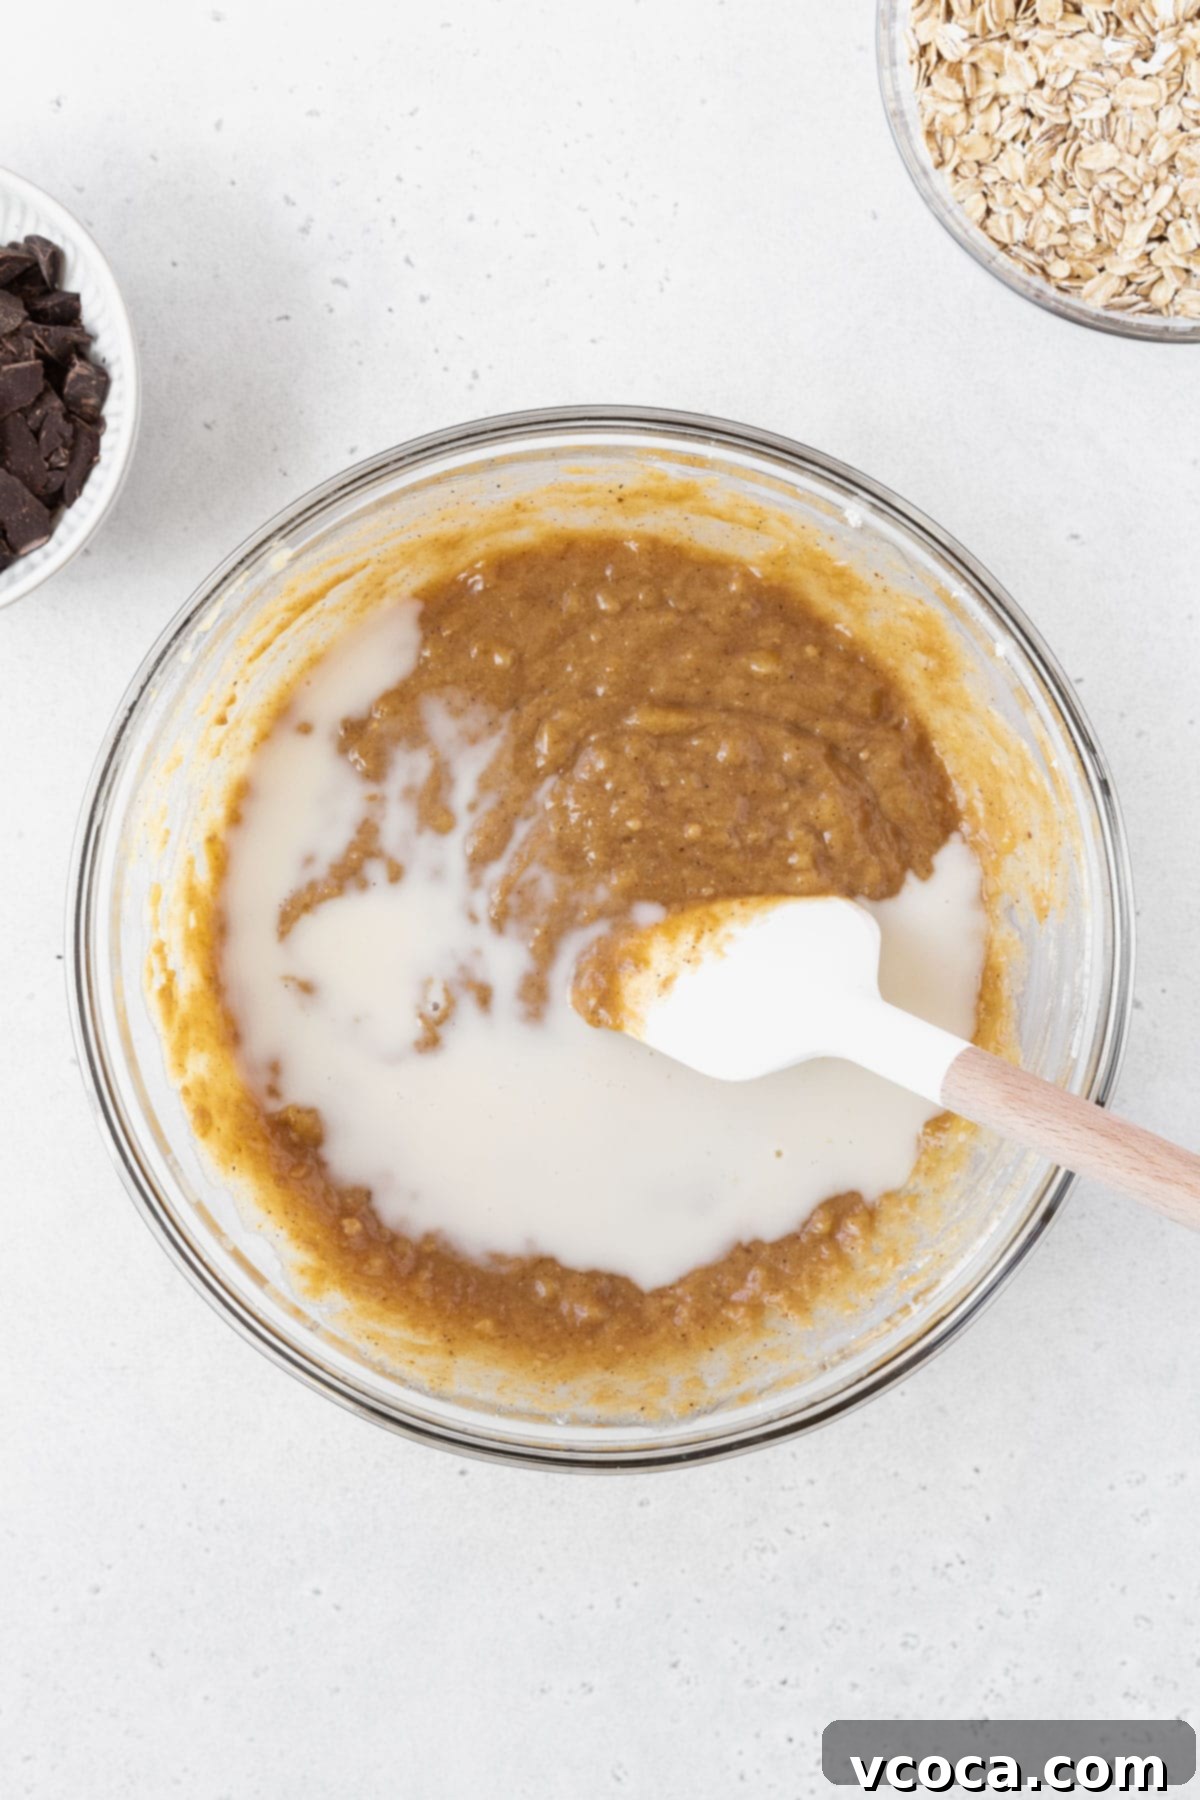
Step 4: Introduce Non-Dairy Milk. Stir in the non-dairy milk until the batter reaches a smooth, consistent, and slightly looser texture. This step helps ensure the oats will soften and the bars will remain moist.
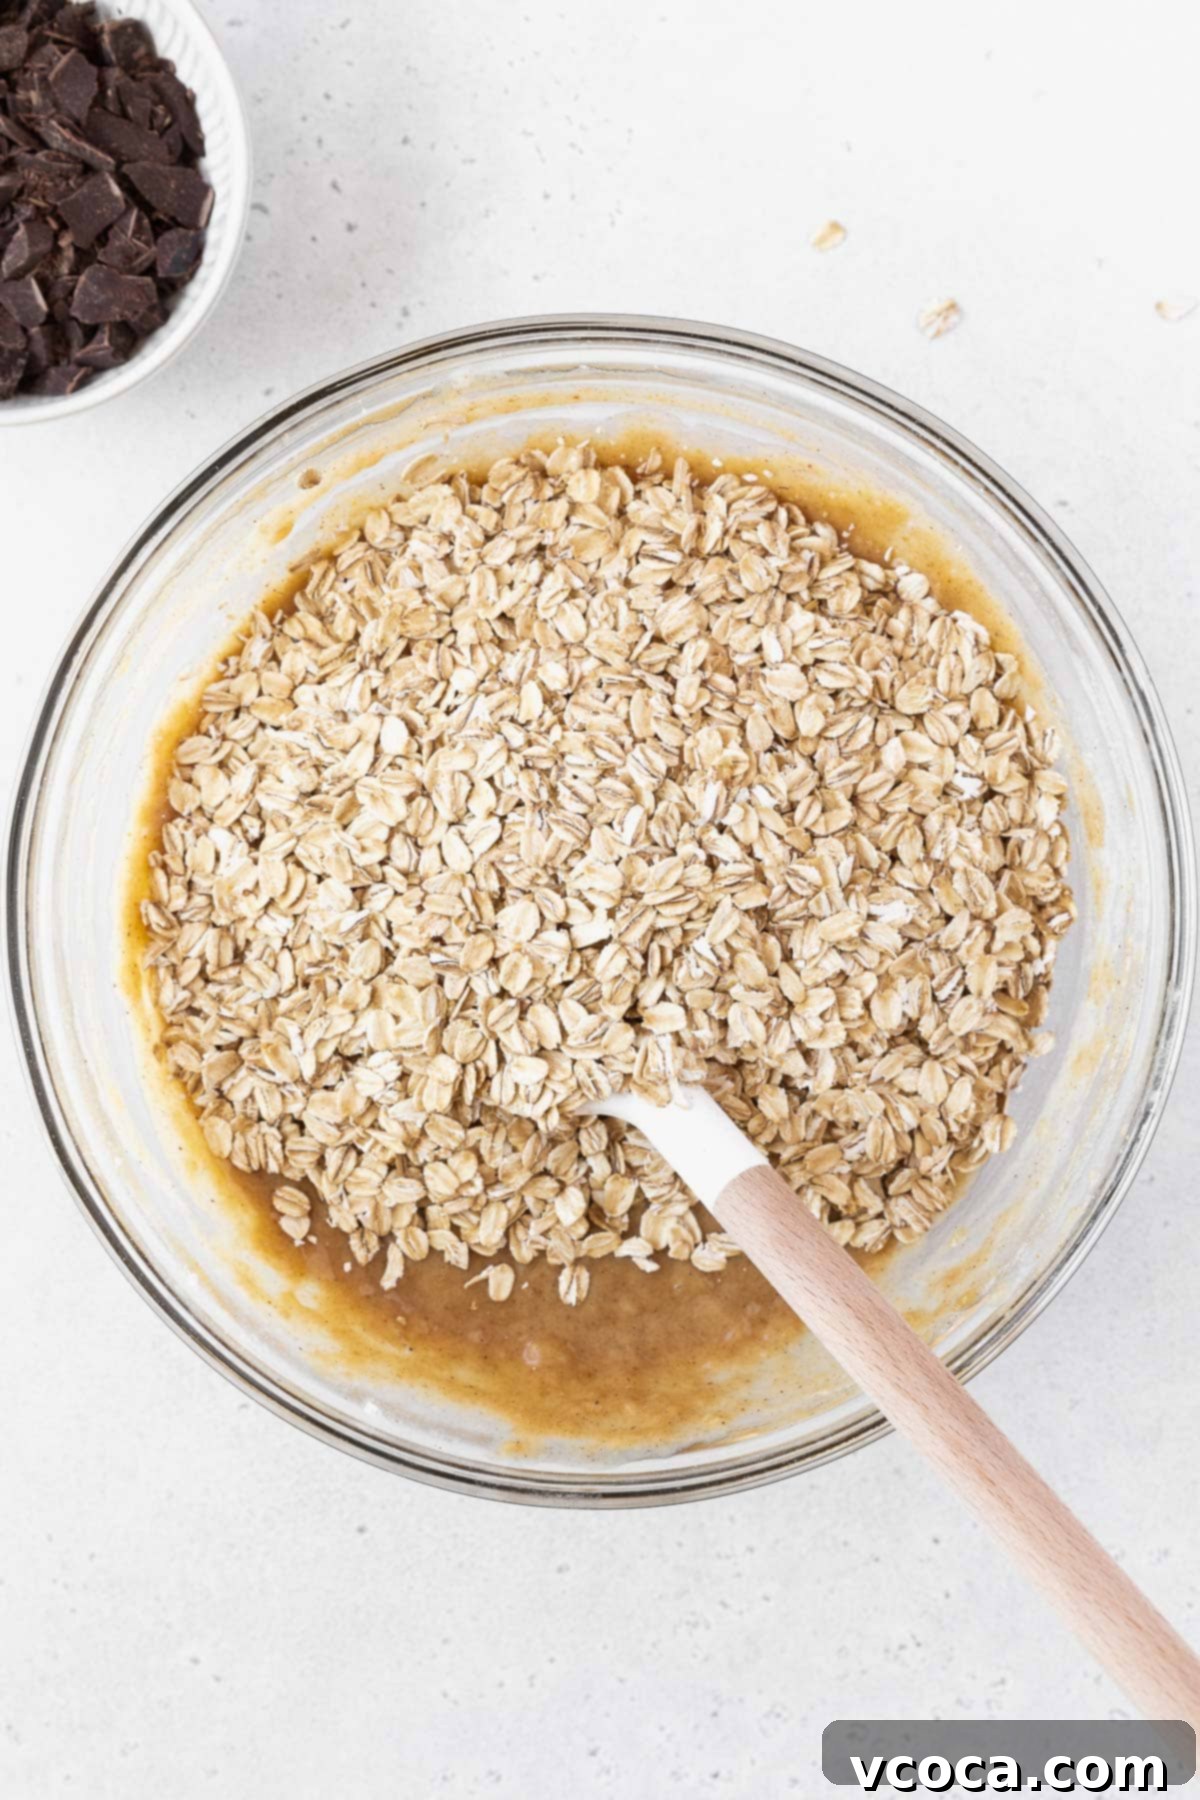
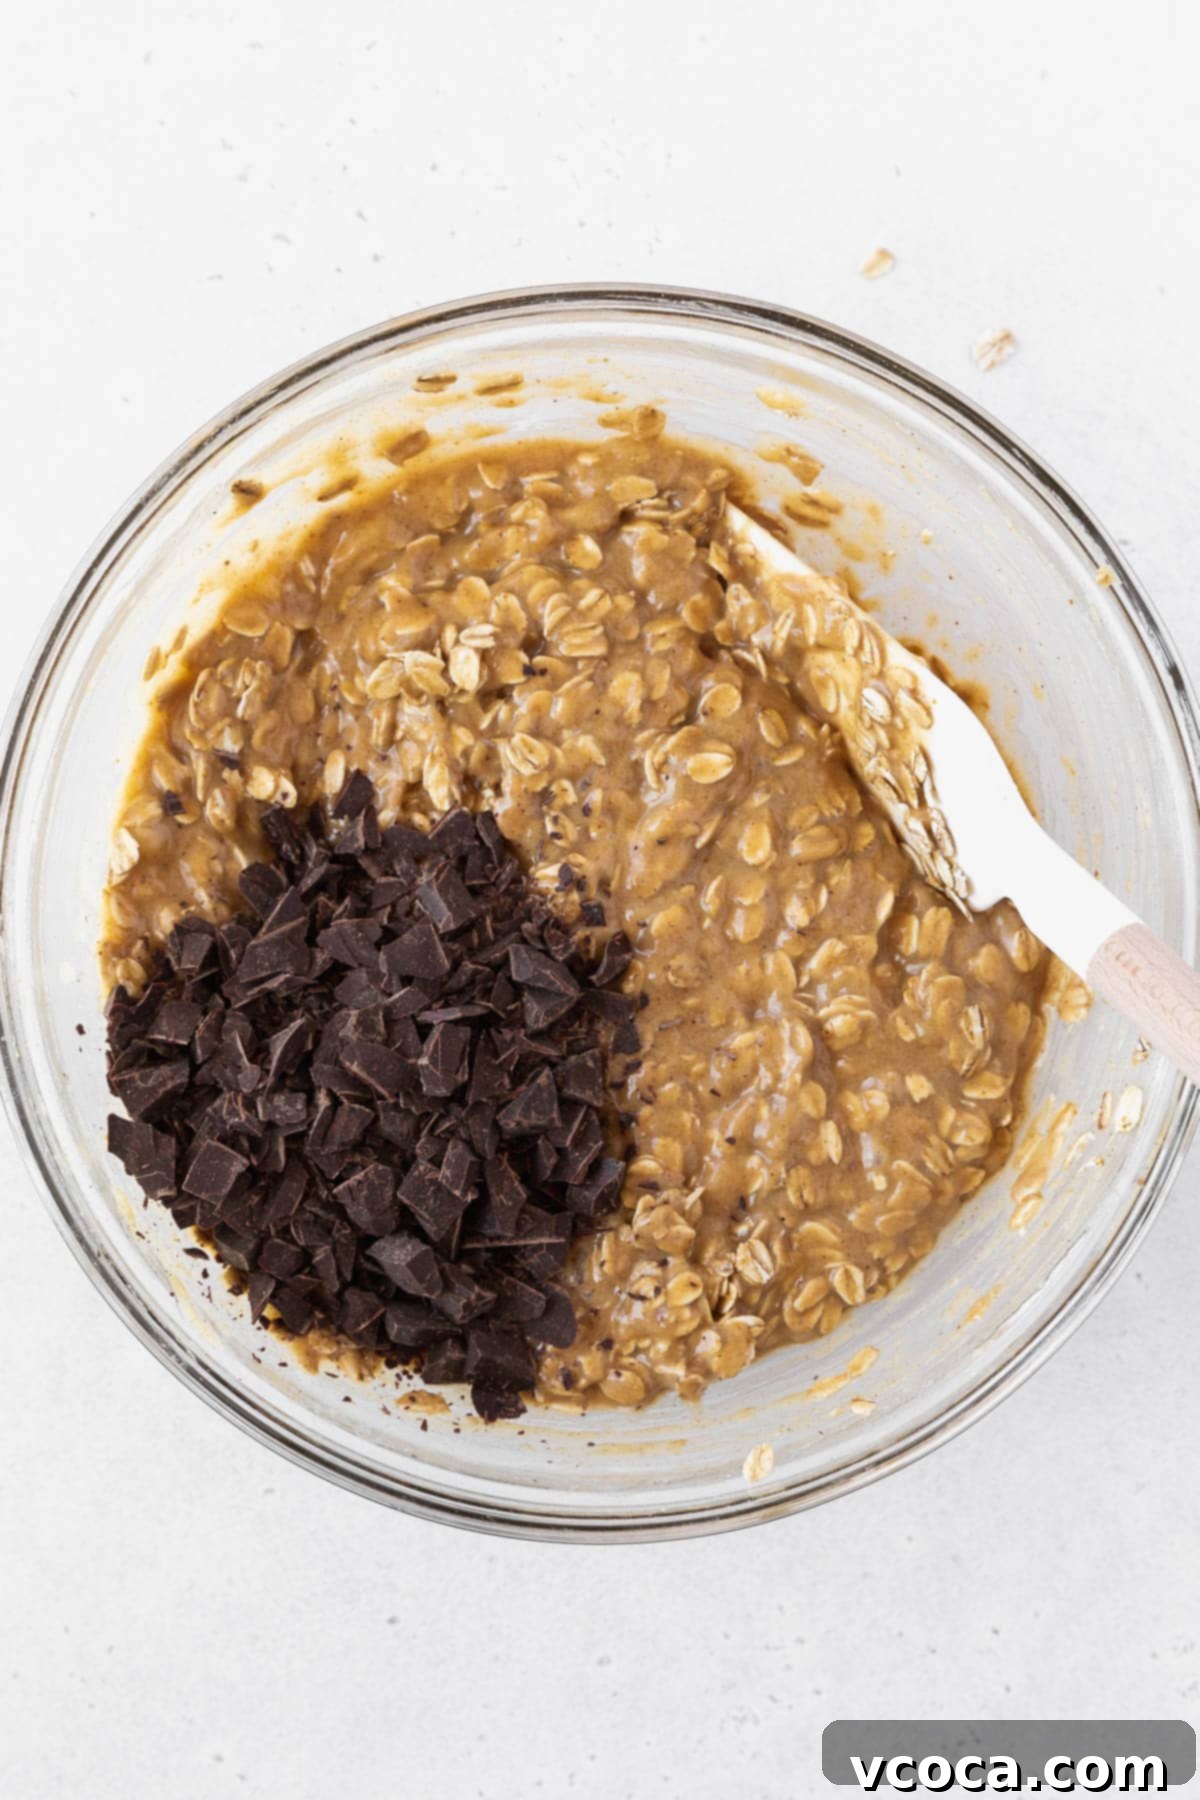
Step 5: Fold in Oats and Chocolate, Then Rest. Gently fold the old-fashioned oats and vegan chocolate chips into the batter. Mix until just combined; you don’t want to overmix. Now, the crucial step: let the batter rest for 30 minutes. This resting period allows the gluten-free flour and oats to properly hydrate and absorb the moisture, which is key for achieving the best possible texture in your baked bars.
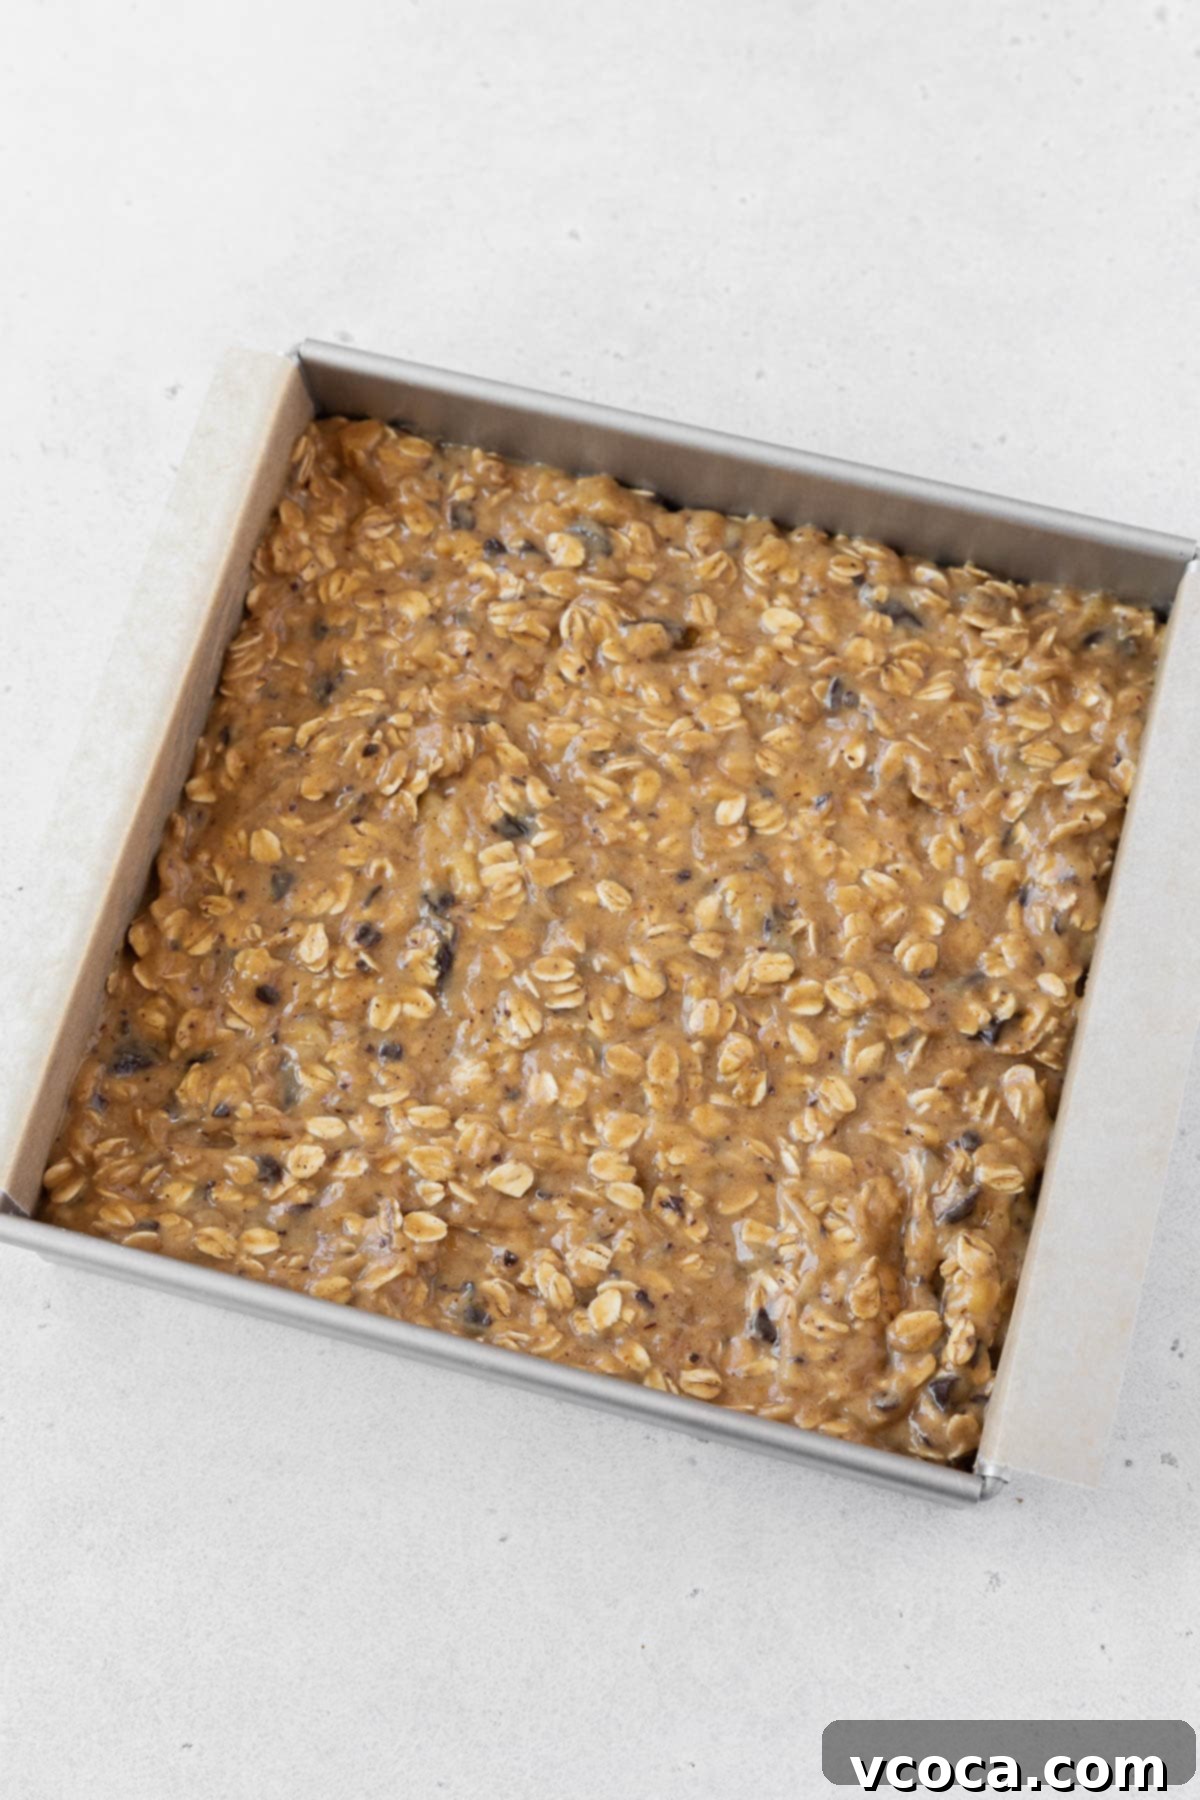
Step 6: Prepare for Baking. While your batter is resting, preheat your oven to 350°F (177°C). Line an 8 x 8-inch baking pan with parchment paper, leaving an overhang on the sides to easily lift the bars out later. Once the oven is preheated and the batter has rested, pour the batter evenly into the prepared baking pan. Use a spatula to spread it out smoothly, ensuring an even thickness for uniform baking.
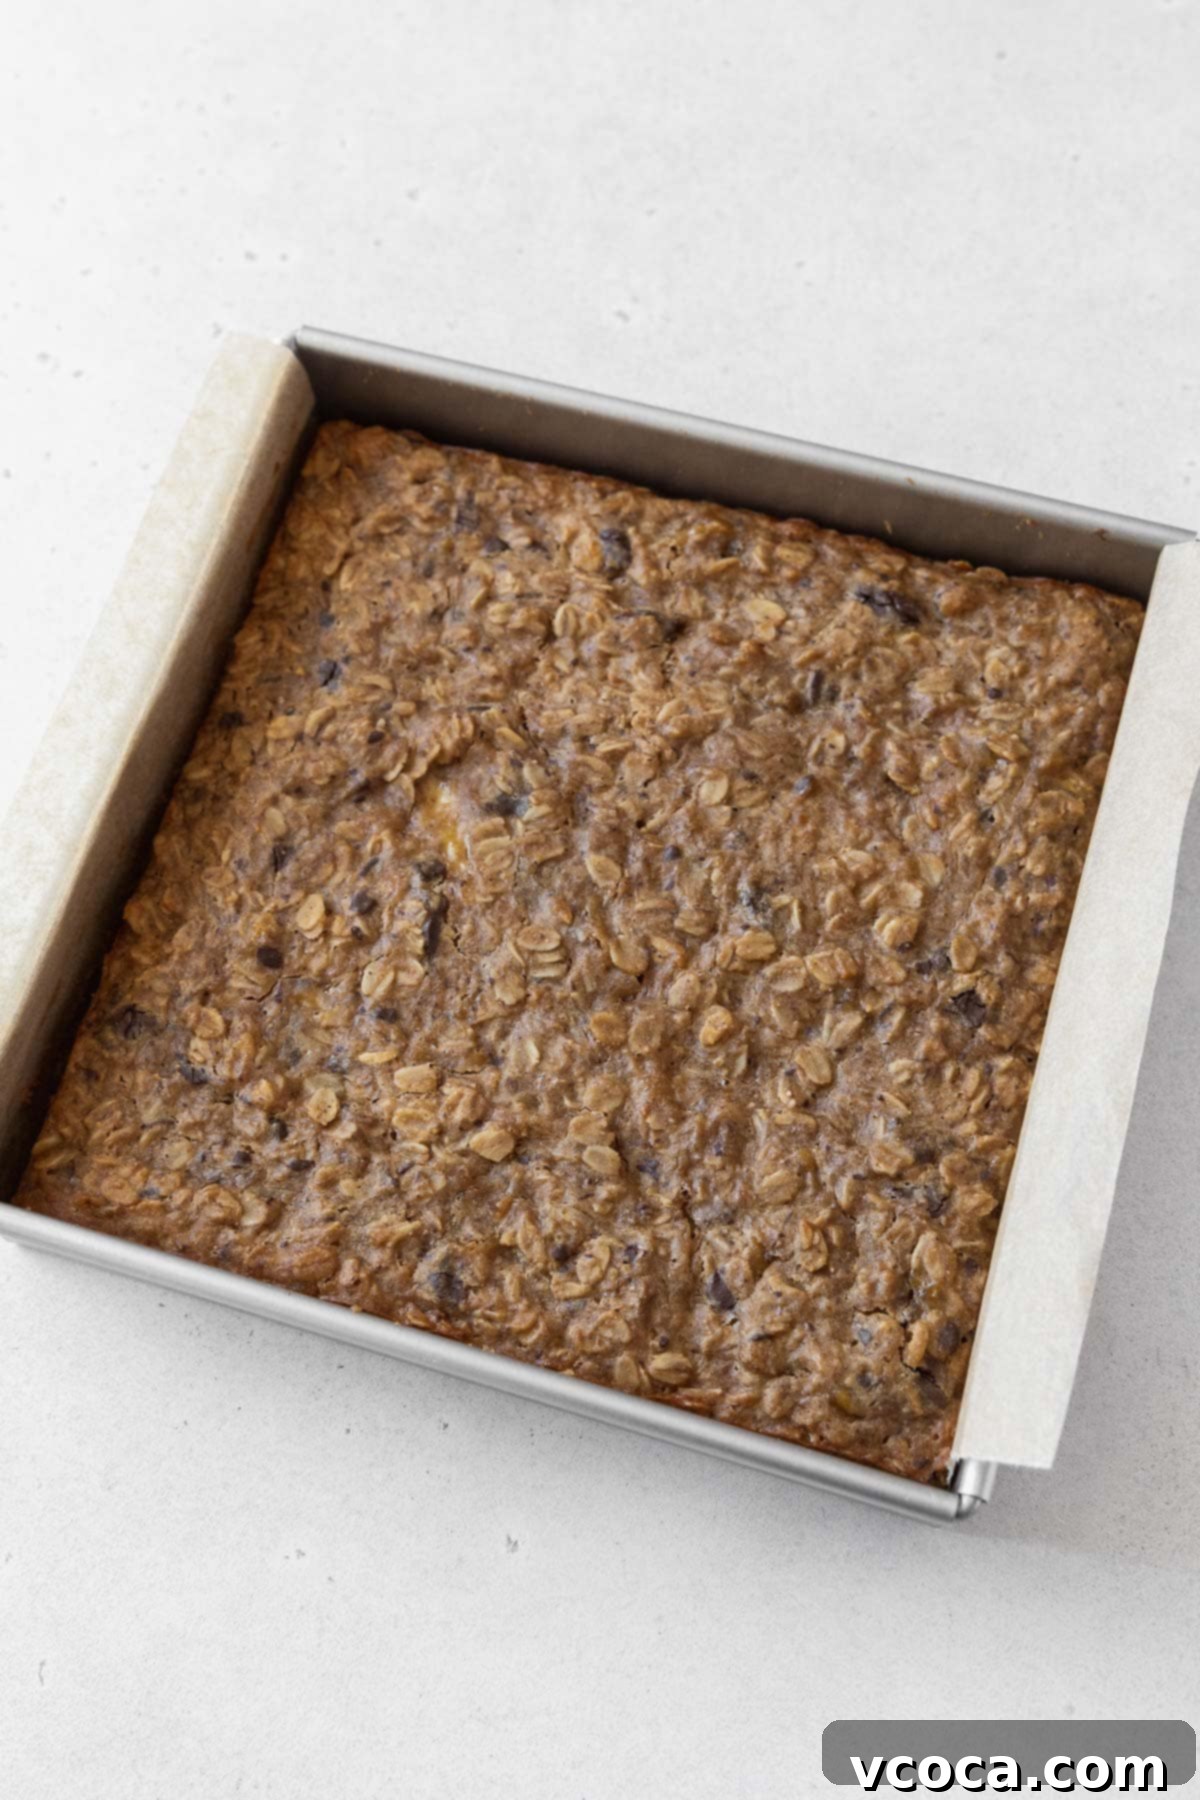
Step 7: Bake and Cool. Bake the gluten-free peanut butter oatmeal bars for 30-35 minutes, or until a toothpick inserted into the center comes out clean. The edges should be lightly golden. Once baked, remove the pan from the oven and place it on a wire rack to cool completely. This cooling step is crucial for the bars to set properly and develop their best texture and flavor. Patience is key here!
Pro Tips for Perfect Peanut Butter Oatmeal Bars Every Time
Achieving bakery-quality dessert bars or breakfast bars requires a few key insights. Keep these tips in mind to ensure your peanut butter oatmeal bars are absolutely perfect:
- Mind the Melting Temperature: When melting the peanut butter and vegan butter together, aim for medium heat and only heat until just melted – about 20 to 30 seconds in the microwave. Overheating, especially with natural peanut butter, can cause it to seize up and become gummy or tough, which will negatively impact the texture of your bars. Gentle warming is key!
- Embrace Overripe Bananas: The browner and spottier your bananas are, the better! As bananas ripen, their starches convert to sugars, making them incredibly sweet and imparting a richer flavor to your baked goods. This natural sweetness is a fundamental component of these gluten-free banana bars, contributing to their moistness and delicious taste. Don’t be afraid of very dark bananas – they’re perfect!
- Allow the Batter to Rest: This is a crucial step for gluten-free baking. Letting the oatmeal bar batter rest for 30 minutes before baking allows the gluten-free flour blend and oats sufficient time to fully absorb the moisture in the recipe. This hydration process prevents gritty textures and results in a wonderfully soft, moist, and cohesive bar. Don’t skip this rest period!
- Cool Completely for Best Texture: Patience is a virtue, especially when baking with gluten-free flour blends. It is absolutely essential to let the baked goods cool completely before slicing and enjoying them. Gluten-free flours continue to set and firm up as they cool. Cutting into warm bars can result in a crumbly or mushy texture. For quicker cooling, you can place the pan of bars in the refrigerator or even the freezer for a short period. This ensures they reach their optimal firm, yet tender, consistency.
- Use Good Quality Ingredients: While these bars are simple, the quality of your ingredients can make a difference. Opt for good quality peanut butter (natural if possible), fresh, ripe bananas, and certified gluten-free oats for the best flavor and texture.
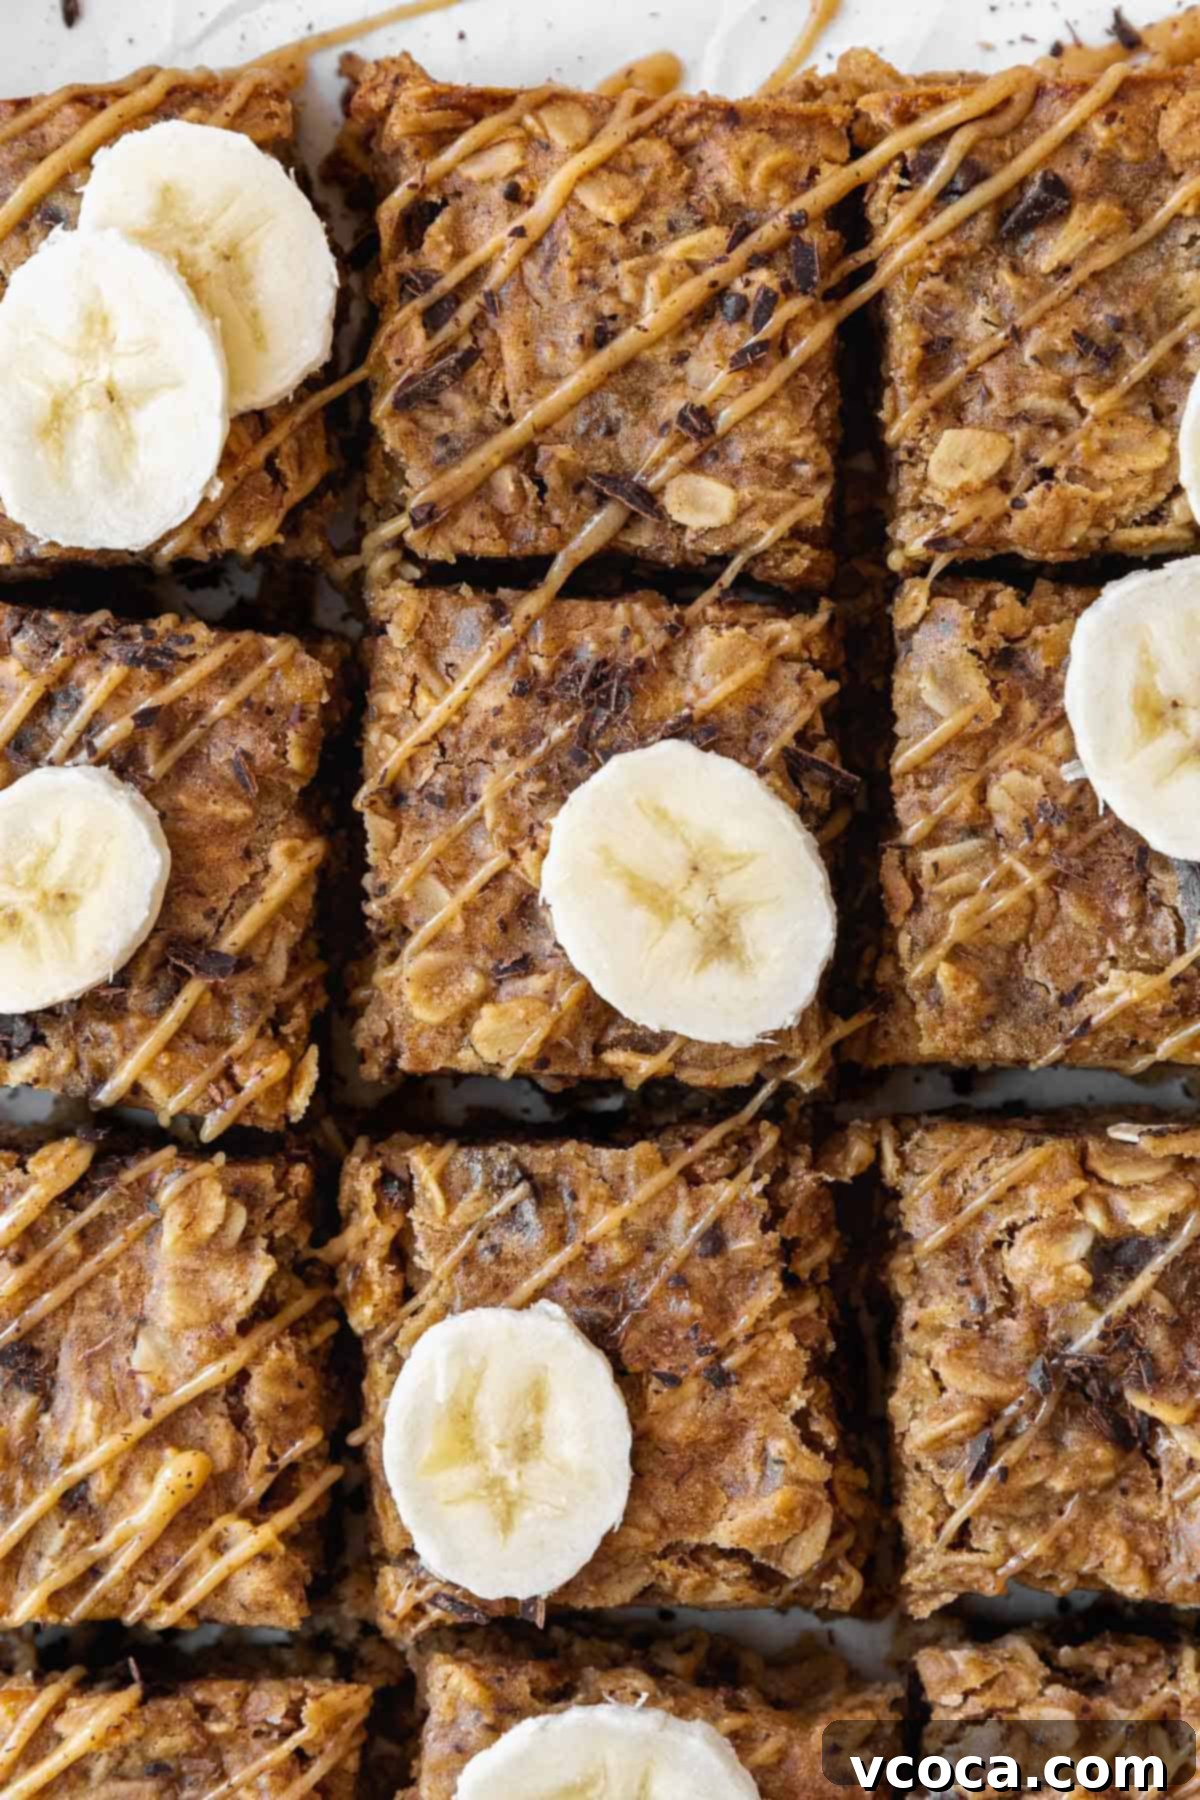
Delicious Ways to Serve Your Peanut Butter Oatmeal Bars
Once your irresistible peanut butter banana bars have fully cooled and set, they are ready to be enjoyed! While they’re delightful at room temperature, you can also gently warm them up for a comforting treat. If you prefer them warm, pop a bar into the microwave on low heat for 10-15 seconds before serving.
Whether served warm or at room temperature, these oatmeal banana bars are fantastic on their own, but they also pair wonderfully with a variety of accompaniments:
- Beverage Buddies: Enjoy your bar with a freshly brewed cup of coffee, a soothing tea, or a creamy latte for a complete breakfast or afternoon pick-me-up.
- Fresh Fruit Boost: Serve alongside a bowl of sliced fresh fruit like berries, apple slices, or extra banana for added vitamins and a refreshing contrast.
- Extra Nutty Goodness: Spread a thin layer of extra peanut butter (or your favorite nut/seed butter) on top for an extra dose of flavor and protein.
- Yogurt Pairing: Crumble a bar over a bowl of your favorite plain or vanilla yogurt (dairy or non-dairy) for a delicious parfait-style snack or breakfast.
- Ice Cream Indulgence: For a more decadent dessert, serve a warm bar with a scoop of vegan vanilla ice cream and a drizzle of chocolate sauce.
- On the Go: Simply grab one as you head out the door for a convenient and energizing snack during a busy day.
Storage Tips for Freshness and Convenience
These peanut butter chocolate oatmeal bars are perfect for making ahead, and storing them correctly ensures they stay fresh and delicious for days, or even months!
- Room Temperature or Refrigerator Storage: Store these bars in an airtight container at room temperature for up to 4 days. If you live in a warmer climate or prefer a firmer texture, they can also be stored in the refrigerator for up to 5 days. Ensure they are completely cool before storing to prevent condensation, which can make them soggy.
- Freezing for Longer Shelf Life: For an even longer storage solution, these bars freeze beautifully! Place them in a freezer-safe container or freezer bag, and they will keep well in the freezer for up to 3 months. For ultimate convenience and to allow for individual thawing, wrap each bar in parchment paper or plastic wrap before placing them in the freezer bag. This prevents them from sticking together.
- Defrosting: When you’re ready to enjoy a frozen bar, simply remove it from the freezer and let it thaw at room temperature for 30 minutes to 1 hour, or until fully defrosted. You can also briefly warm it in the microwave if you prefer a warm bar.
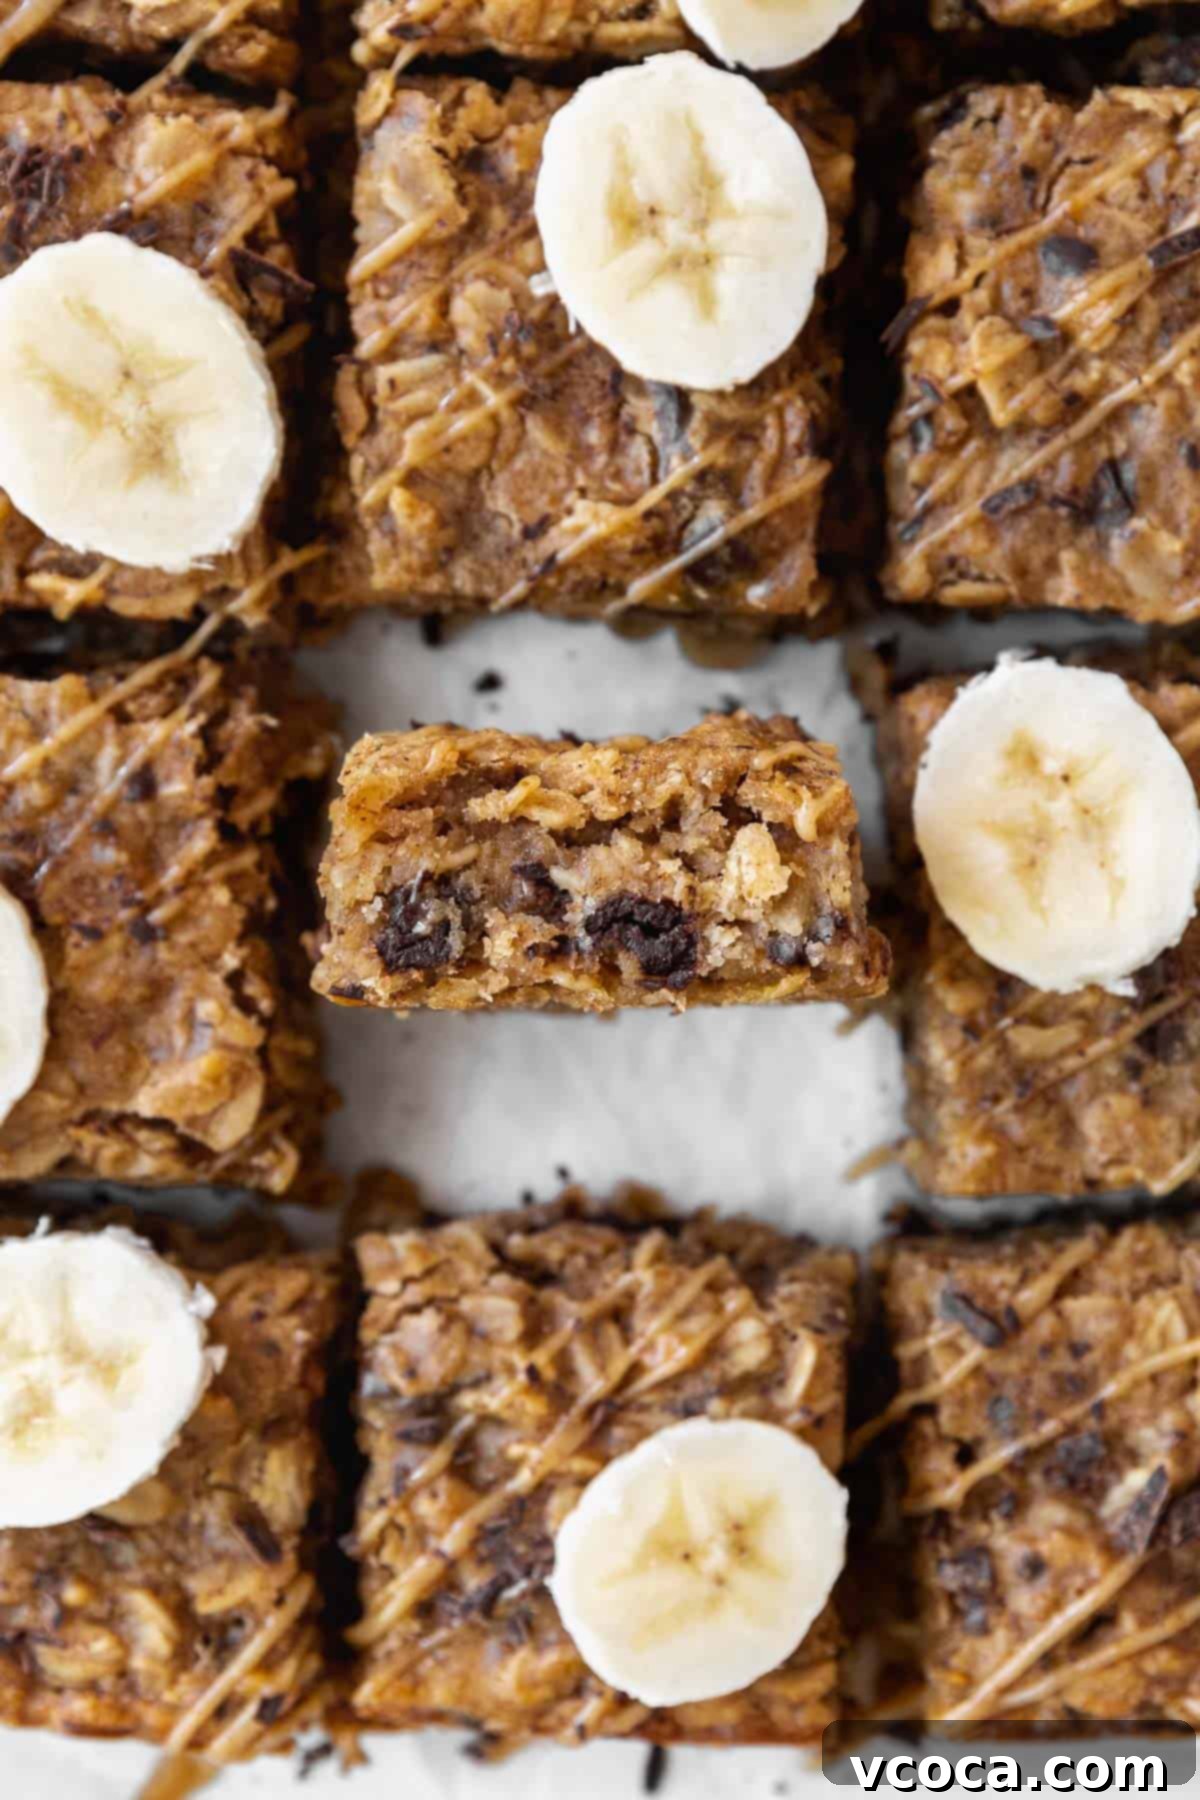
Frequently Asked Questions About Oatmeal & Gluten-Free Baking
Here are some common questions you might have about oats and the health aspects of these delightful breakfast bars:
It’s a common misconception that all oats are naturally gluten-free. While pure oats themselves do not contain gluten, they are very frequently grown, harvested, transported, and processed in facilities that also handle wheat, barley, and rye. This cross-contamination means that non-certified oats often contain detectable levels of gluten. Therefore, if you follow a gluten-free diet due to Celiac disease or gluten sensitivity, it is absolutely essential to purchase oats that are specifically labeled and certified as gluten-free. Always double-check for the certification label to ensure your safety and adherence to a gluten-free lifestyle.
Thankfully, the market for certified gluten-free oats has expanded significantly, making it easier to find safe options. In the United States, several reputable brands offer certified gluten-free rolled oats. Some of the most popular and widely available brands include Bob’s Red Mill Gluten-Free Old Fashioned Rolled Oats, O Organics (available at Safeway/Albertsons family stores), One Degree Organic Foods Sprouted Rolled Oats, and Quaker Gluten-Free Oats. Always check the packaging for the “gluten-free certified” symbol to ensure compliance with strict gluten-free standards.
While I am not a registered dietitian or a medical professional and therefore cannot provide definitive health claims or medical advice, I can confidently state that this specific recipe for peanut butter oatmeal breakfast bars is made with a foundation of nutritious whole-food ingredients. It features healthy components like fiber-rich oats, potassium-packed bananas, protein and healthy fat-contributing peanut butter, and natural maple syrup. When compared to many store-bought breakfast bars that are often high in refined sugars and artificial ingredients, these homemade bars offer a more wholesome and satisfying option. For a comprehensive analysis of how this recipe fits into your individual dietary needs and health goals, I highly recommend consulting a qualified nutrition professional or a registered dietitian.
Absolutely! If you’re not a fan of chocolate or simply want to reduce the sugar content, you can easily omit the chocolate chips from this recipe. The bars will still be incredibly flavorful and satisfying thanks to the peanut butter, banana, and oats. If you want to add a different element, consider stirring in some dried fruit like raisins or cranberries, or even some chopped nuts (if not avoiding nuts) for extra texture and flavor.
More Delicious Gluten-Free & Vegan Recipes You’ll Love!
If you enjoyed these wholesome and easy-to-make peanut butter oatmeal breakfast bars, you’re in for a treat! Here are more of my favorite recipes that are perfect for starting your day, satisfying a craving, or sharing with loved ones:
- This gluten-free granola is another fantastic way to kickstart your morning! You can prepare a large batch on the weekend, and you’ll have a versatile and delicious topping for yogurt or a standalone snack all week long.
- For those mornings when you have a little extra time to indulge, my gluten-free waffles or festive red velvet waffles are an absolute delight. Both recipes promise a soft, fluffy interior with a perfectly crisp exterior, making breakfast feel like a special occasion.
- If you’re feeling a bit tired but still want a delicious and quick breakfast that will please the whole family, my muffin mix pancakes are an ingenious solution. They’re incredibly easy and always a crowd-pleaser!
- Craving more satisfying dessert bar recipes? You absolutely must try my vegan magic bars recipe, wonderfully fudgy gluten-free brownies, or my luscious cheesecake bars. They are all among my personal favorites and are guaranteed to impress!
Thank you so much for visiting and exploring this wonderful banana oatmeal bars recipe! I sincerely hope you enjoy making and savoring them as much as I do. For even more mouth-watering inspiration for dairy-free, gluten-free, and/or vegan desserts and treats, be sure to follow me on Pinterest, Facebook, and Instagram. To ensure you never miss out on my newest content and exclusive recipes, don’t forget to sign up for my email newsletter — I promise to keep your inbox happy, not spammed!
Peanut Butter Oatmeal Breakfast Bars (Gluten-Free!)
Ingredients
- ½ cup natural peanut butter
- ¼ cup vegan butter
- ¼ cup brown sugar
- 1 cup mashed bananas
- ¼ cup maple syrup
- 1 teaspoon vanilla extract
- ½ cup gluten-free 1-to-1 flour
- 1 teaspoon baking powder
- ½ teaspoon fine salt
- ½ teaspoon ground cinnamon
- ¼ cup non-dairy milk
- 2 cups old fashioned oats
- ½ cup chocolate chips
Instructions
-
In a large microwave-safe bowl, add the butter and peanut butter and heat for 20 to 30 seconds, or until melted. Add the brown sugar and mix until combined.
-
Add the mashed banana, maple syrup, and vanilla extract to the mixing bowl. Stir again.
-
Stir in the gluten-free flour, salt, baking powder, and cinnamon. Mix until the batter is smooth.
-
Stir in the non-dairy milk.
-
Fold the oats and chocolate into the batter. Let the batter rest for 30 minutes.
-
Preheat the oven to 350°F (177°C). Pour the batter into a prepared 8 x 8-inch baking pan. Spread it out so the surface is even.
-
Bake the gluten-free peanut butter bars for 30-35 minutes, or until a toothpick inserted into the center of the bars comes out clean. Cool the bars completely on a wire rack. Enjoy!
