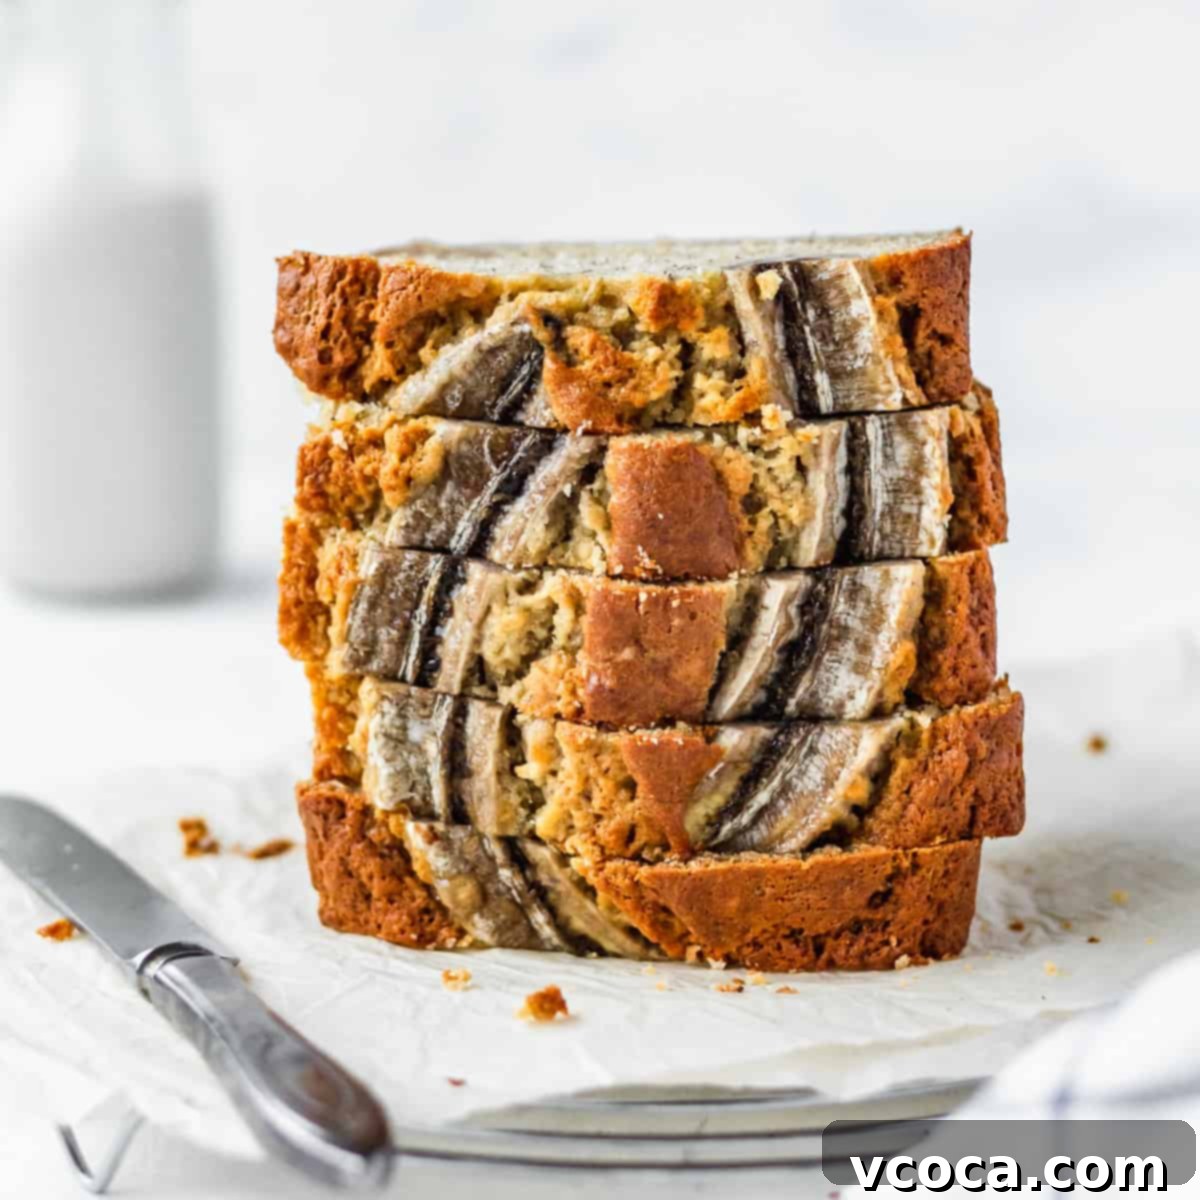
Mom’s Secret: The Ultimate Super Moist Banana Bread Recipe (Made with Cake Flour!)
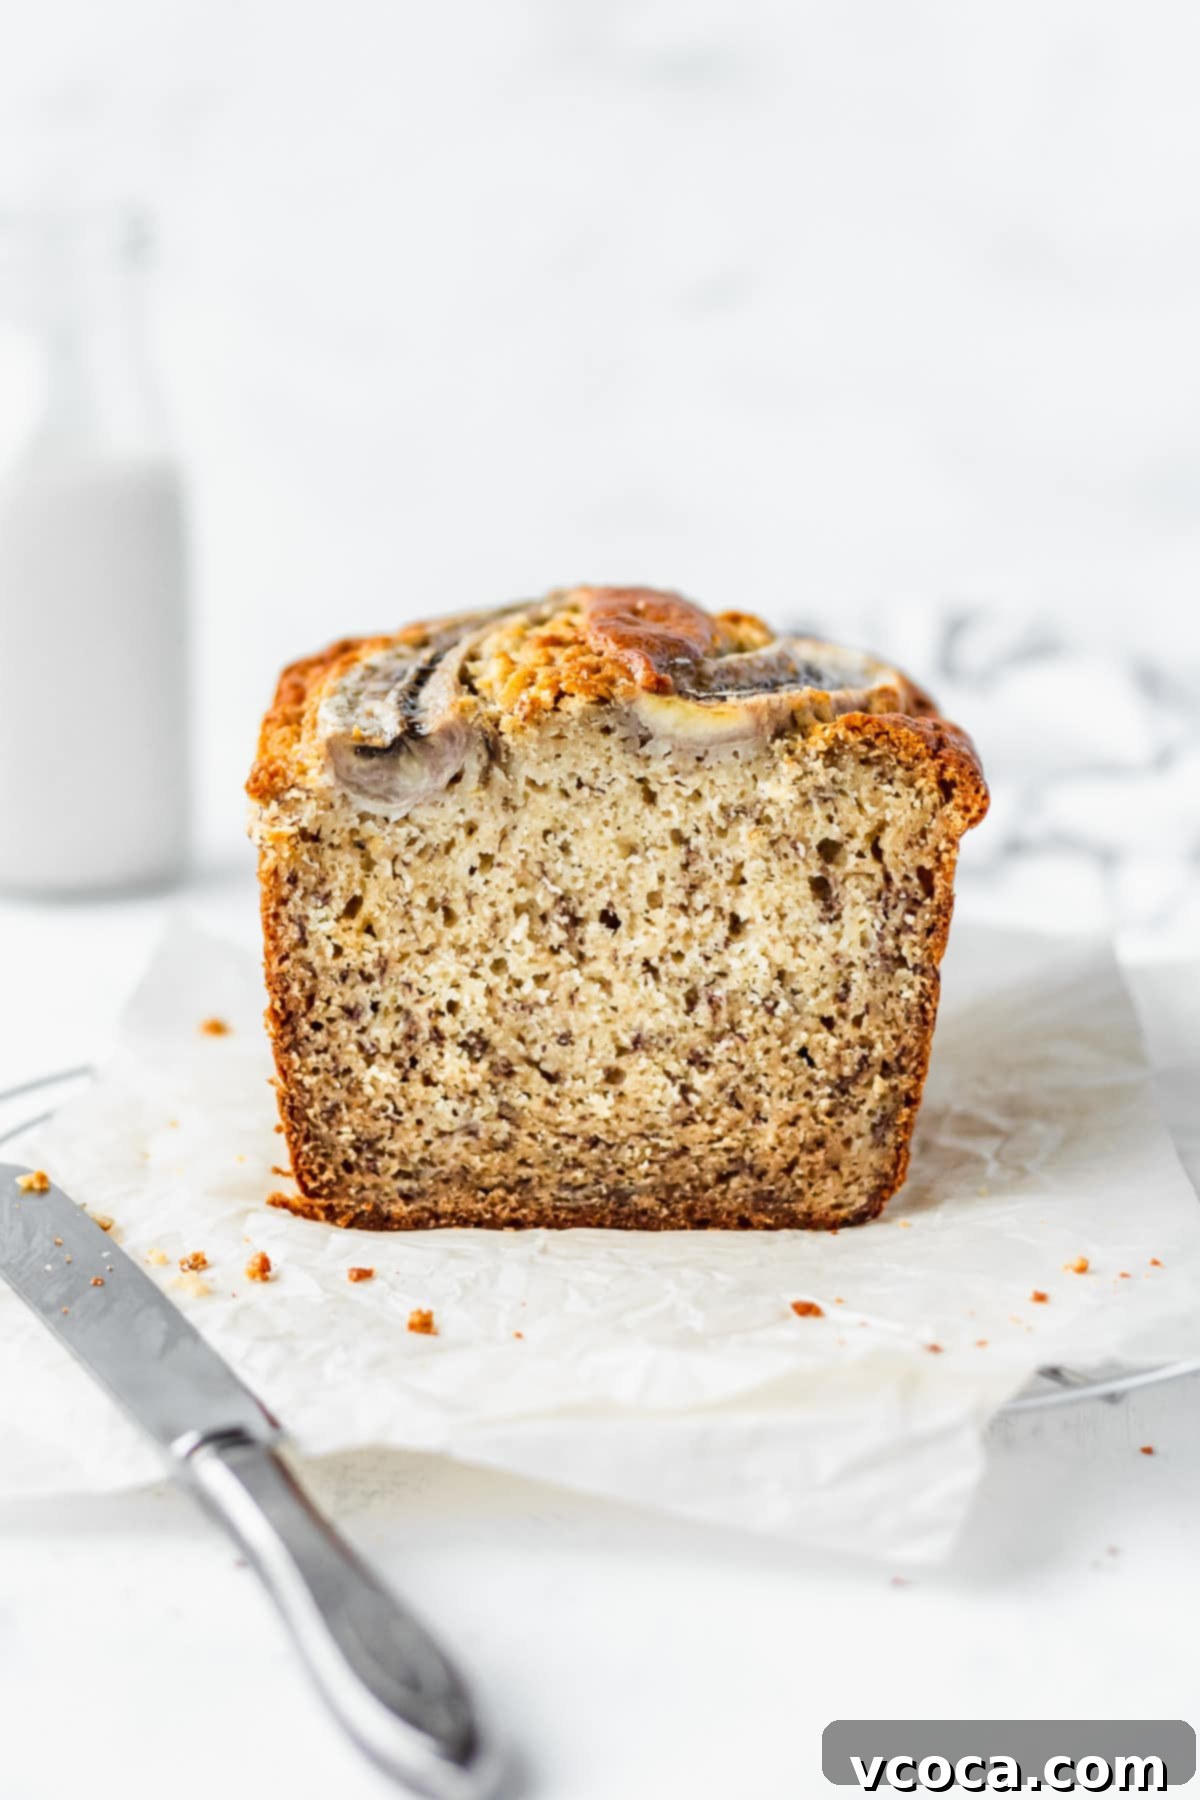
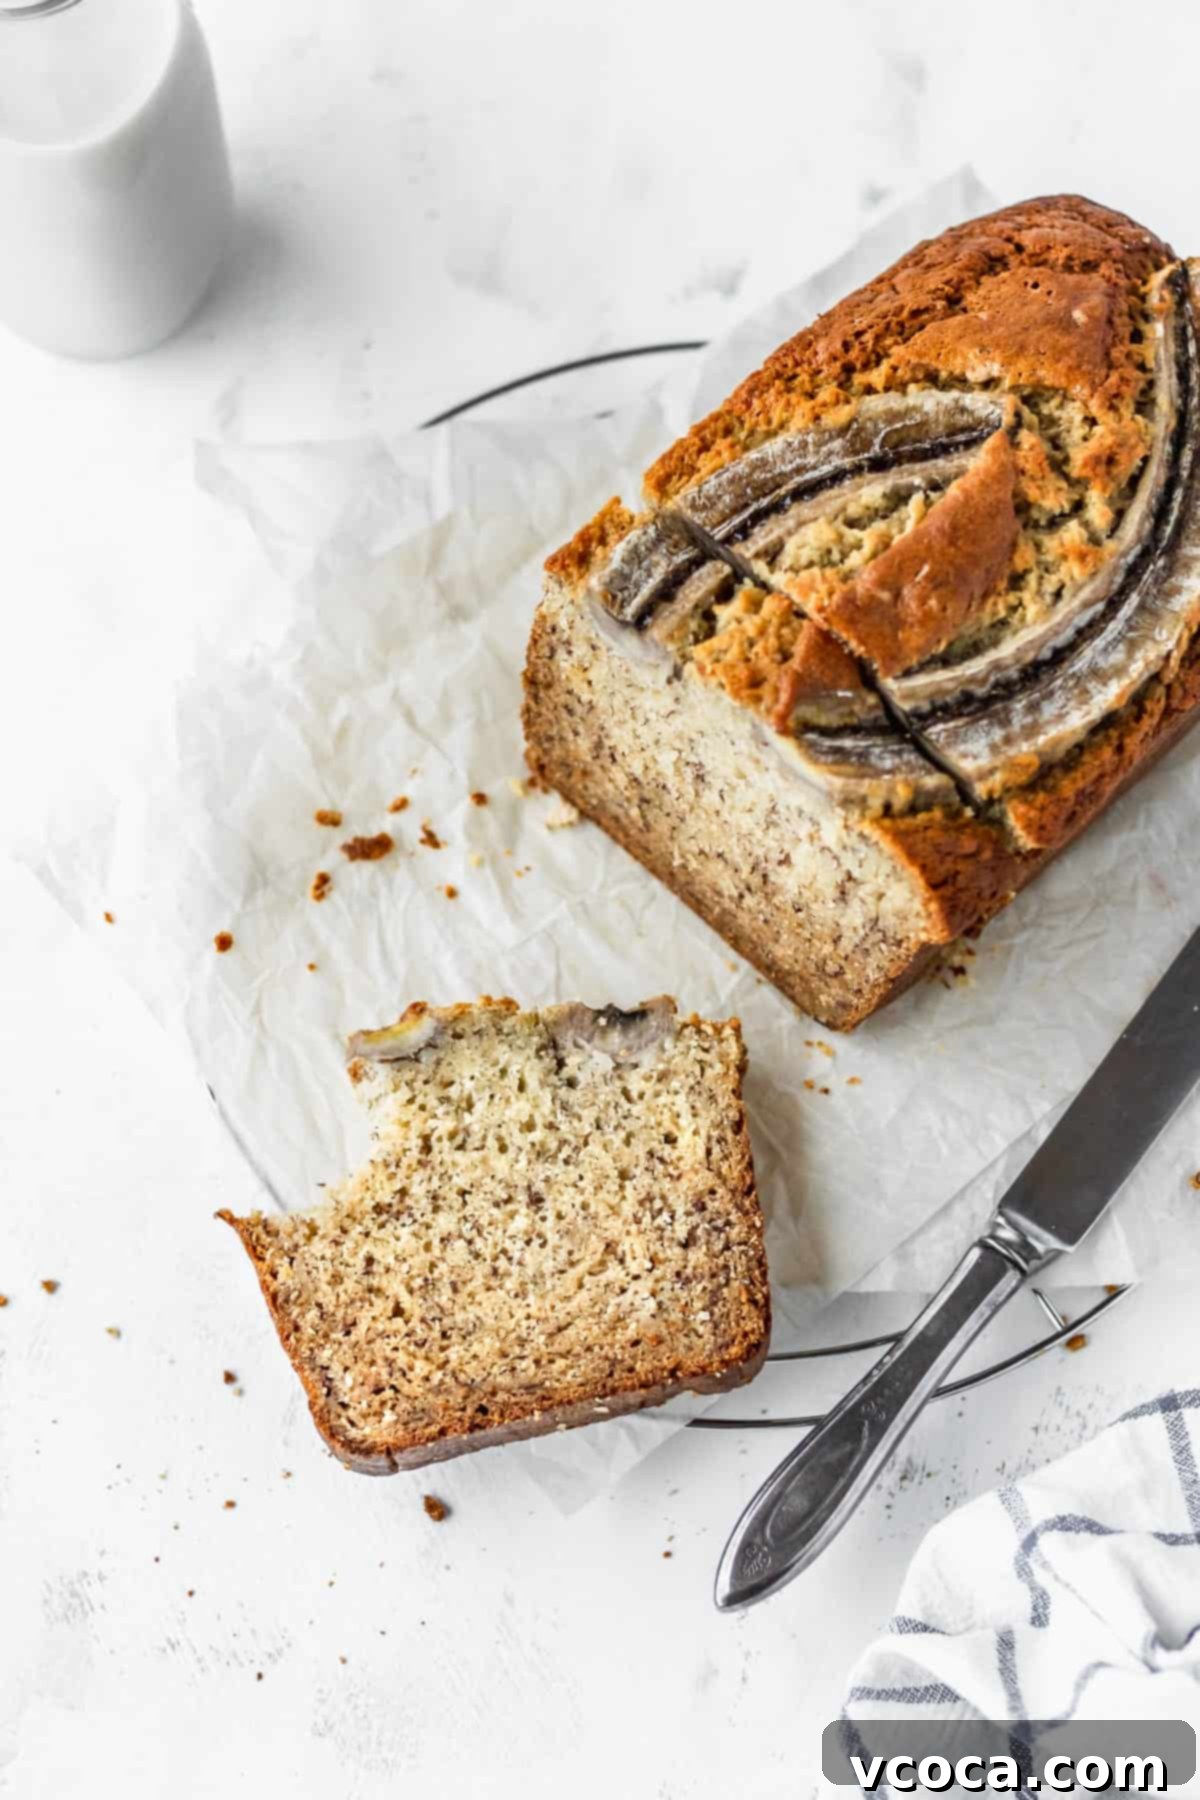
There’s nothing quite like the comforting aroma of freshly baked banana bread filling your home. And when it comes to banana bread, my mom’s recipe is, without a doubt, the absolute best. It’s not just good; it’s *super* moist and incredibly soft, a delightful texture achieved by a few key secrets that set it apart from typical recipes. Forget dry, crumbly loaves – this is the only banana bread recipe you’ll ever need, guaranteed to deliver bakery-quality results every single time.
What makes this recipe so special? It all comes down to two crucial elements: using cake flour instead of regular all-purpose flour, and harnessing the natural sweetness and moisture of plenty of extra overripe bananas. This combination creates a banana bread that’s tender, rich, and utterly irresistible. Whether you’re a seasoned baker or just starting out, you’ll find this recipe straightforward, rewarding, and perfect for turning those forgotten brown bananas into a golden, delicious treat.
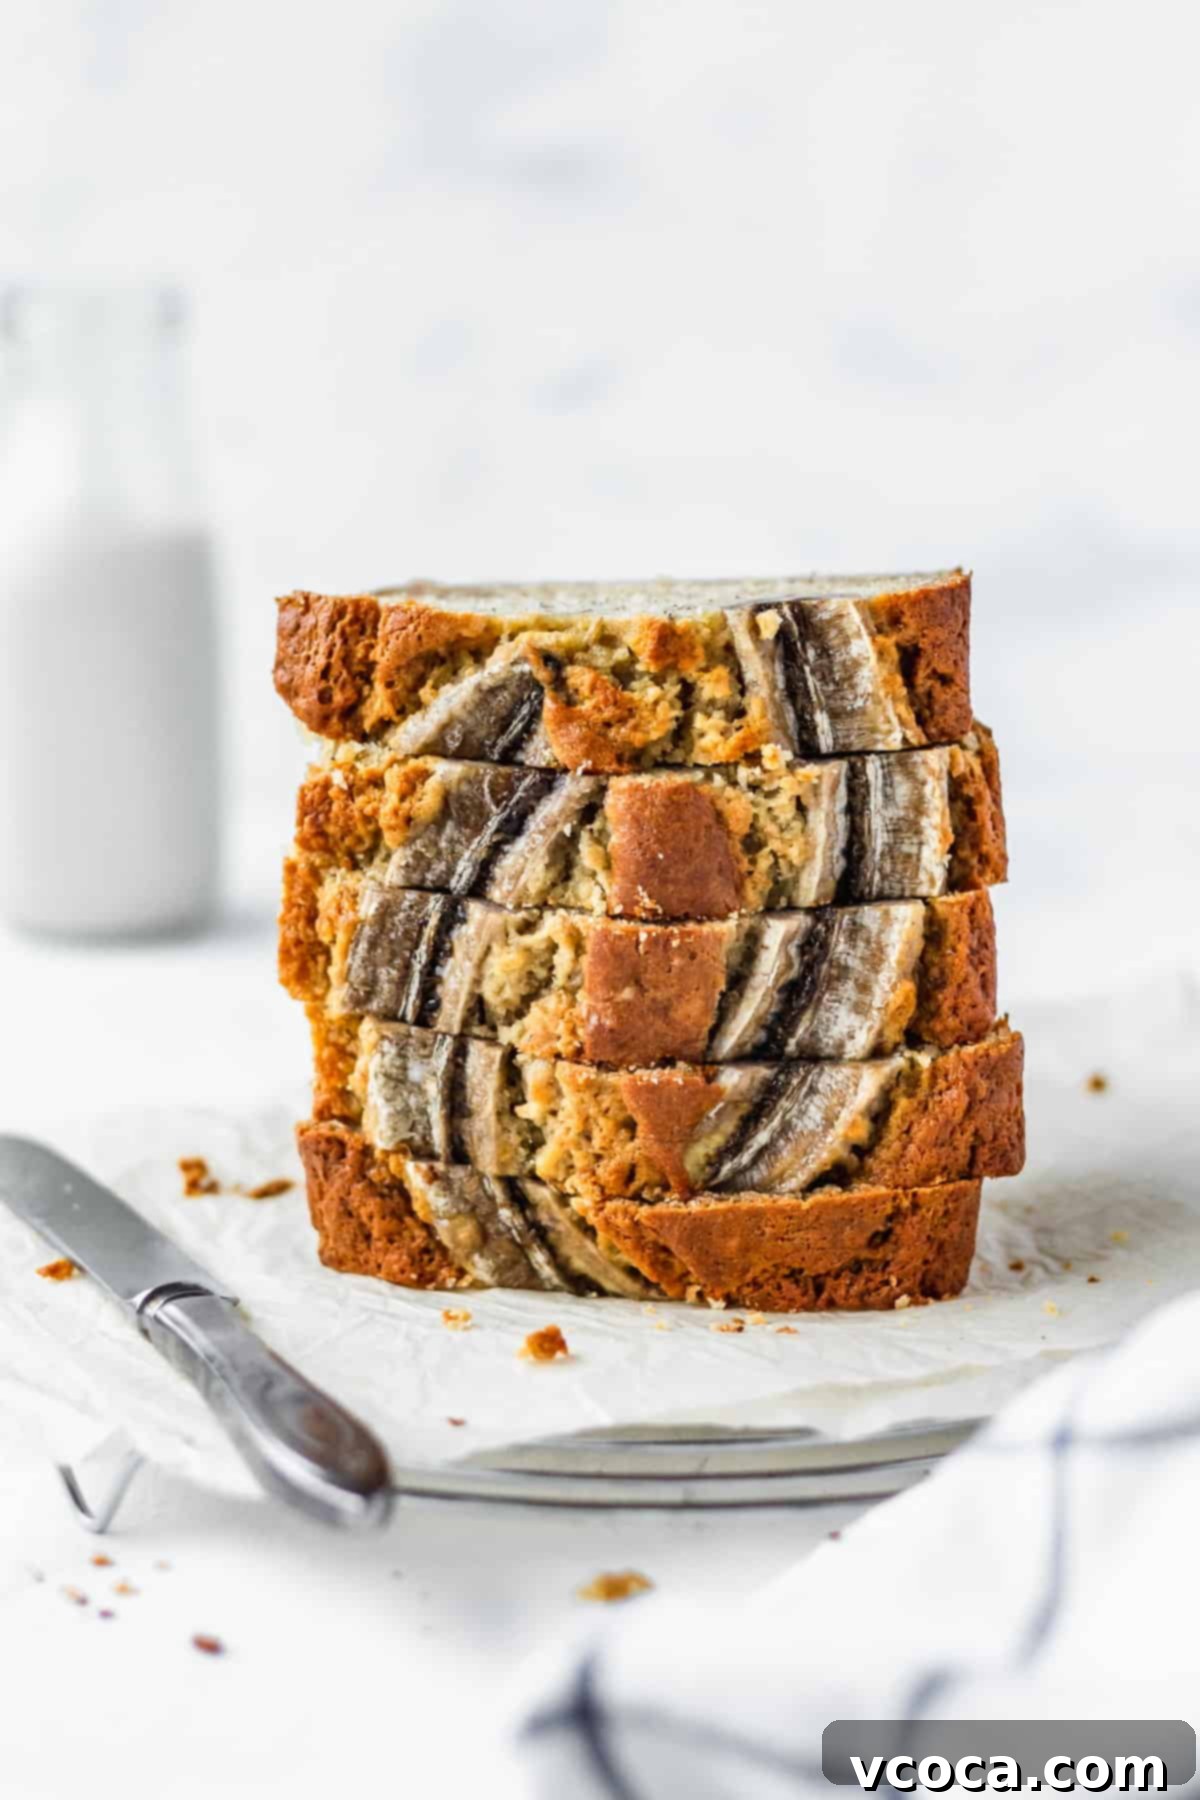
This timeless recipe was originally shared on February 23, 2016, and has since been adored by many. To continue its legacy and provide the best experience for our readers, it was updated with fresh new photos and enhanced information on January 18, 2024. Get ready to bake your new favorite moist banana bread!
Key Ingredients for the Perfect Moist Banana Bread
Creating the best banana bread starts with understanding each ingredient’s role. Here’s a closer look at what you’ll need and why these components are essential for achieving that signature moist and tender texture:
- Cake flour. This is the secret weapon! Cake flour is milled to a finer consistency and boasts a lower protein content compared to all-purpose flour. This means it develops less gluten when mixed, resulting in a significantly softer, more tender, and crumbly banana bread rather than a chewy one. In Japan, where I grew up, “flour” typically refers to cake flour, and all-purpose flour is much less common in stores. This cultural preference influenced my mom, and in turn me, to use cake flour for all our baked goods, a tradition that consistently yields superior results.
- Baking soda. A crucial leavening agent, baking soda reacts with acidic ingredients in the batter (like the yogurt and bananas) to produce carbon dioxide bubbles. These bubbles expand during baking, helping your homemade banana bread rise beautifully and achieve a light, airy crumb. Make sure your baking soda is fresh for optimal lift!
- Salt. Don’t underestimate the power of a pinch of salt. It doesn’t just add flavor; it balances the sweetness of the bananas and sugar, enhancing all the other ingredients and making the overall taste more complex and well-rounded. I prefer fine salt, such as pink Himalayan salt or fine sea salt, as it dissolves quickly and distributes evenly.
- Butter. This recipe calls for softened, salted butter. Creaming butter with sugar is a foundational step in many baking recipes because it incorporates air into the mixture, contributing to a lighter, more tender texture in the finished bread. The fat in butter also adds richness and moisture. If you prefer, you can substitute it with a neutral-flavored oil like avocado or light olive oil, but be aware that this might result in a slightly denser banana bread with a different flavor profile. Ensure your butter is at room temperature for proper creaming.
- Light brown sugar. While granulated sugar provides sweetness, light brown sugar offers much more. Its molasses content adds depth of flavor with subtle caramel notes that beautifully complement the bananas. It also contributes to the moistness of the bread, as molasses is hygroscopic (attracts and retains moisture).
- Eggs. Large eggs play a vital role in providing structure, richness, and, most importantly, moisture to the banana bread. They also act as an emulsifier, helping to bind the wet and dry ingredients together for a cohesive batter. Using room temperature eggs allows them to incorporate more easily into the batter, preventing curdling and ensuring a smooth, uniform mixture.
- Bananas. The star of the show! It’s absolutely essential to use overripe bananas—the browner and spottier, the better. As bananas ripen, their starches convert to sugars, making them sweeter and softer. This sweetness reduces the need for excessive added sugar, and their increased moisture content is key to a truly moist banana bread. You can easily mash the bananas with a fork or a potato masher for a textured bread, or use a food processor for an extra smooth, almost puréed batter. About 4 medium bananas usually yield 1½ cups of mashed banana.
- Plain yogurt & milk. This combination is my go-to for a homemade buttermilk substitute, and it’s fantastic in this recipe! Buttermilk (or its substitute) is a necessary acidic ingredient that reacts with the baking soda, activating it to produce the leavening needed for a good rise. The acidity also helps to tenderize the gluten in the flour, contributing to that soft texture. Don’t skip it! Sour cream and milk also make a great alternative.
- Vanilla. For the best, most aromatic flavor, always use pure vanilla extract or high-quality vanilla paste. Vanilla elevates the overall taste profile, adding warmth and depth that beautifully enhances the banana and caramel notes from the brown sugar.
- Mix-ins (Optional). While not listed in the main ingredients, don’t forget options like chopped toasted walnuts, chocolate chips, or blueberries. These can add delightful texture and flavor variations to your ultimate moist banana bread!
Quick Tips: How to Ripen Bananas for Baking
The success of this super moist banana bread hinges on using truly overripe bananas. If your bananas are still green or yellow, don’t despair! Here are two quick methods to get them baking-ready in no time:
- Bake them for speed. This is the fastest way to ripen bananas for baking. Place unpeeled bananas directly on a baking sheet. Bake them in a preheated oven at 300°F (150°C) for 15 to 20 minutes, or until their skins turn completely black and shiny. As they bake, their starches convert to sugars, and their flavor intensifies. Once baked, allow them to cool completely to room temperature before peeling and mashing. Be careful, as they will release some liquid, which is perfect for adding moisture to your bread!
- Use a paper bag for a natural approach. If you have a little more time, the paper bag method is excellent. Place your bananas in a paper bag (a grocery bag works perfectly) along with an apple or a ripe banana. Close the bag loosely. Both bananas and apples naturally release ethylene gas, a plant hormone that accelerates the ripening process. Keep them in the bag for 24-48 hours, checking periodically until they reach the desired level of brown and spotty ripeness.
Pro Tip for Future Baking: If you ever find yourself with more overripe bananas than you can use immediately, don’t let them go to waste! Peel them and place them in a freezer bag or an airtight container. Store them in the freezer for up to several months. When you’re ready to bake this super moist banana bread, simply defrost them in the refrigerator overnight or at room temperature for a few hours. They might look a bit watery and dark, but they’ll be perfectly sweet and soft for your batter!
How to Make the Best Super Moist Banana Bread: A Step-by-Step Guide
Follow these simple steps to create a truly exceptional loaf of banana bread. Precision and gentle mixing are key to its renowned moist and tender texture:
Step 1: Prepare Your Pan and Preheat Your Oven. First, preheat your oven to 320°F (160°C) if you are using a dark metal pan, or 350°F (175°C) for light metal pans. The difference in temperature accounts for how different pan materials absorb and conduct heat. Darker pans absorb more heat, so a slightly lower temperature prevents over-browning on the outside before the inside cooks. Next, thoroughly grease and flour a 9-inch loaf pan, or line it with parchment paper, leaving an overhang on the sides. This ensures easy removal once baked.
Step 2: Combine Your Dry Ingredients. In a medium bowl, sift together the cake flour, baking soda, and salt. Sifting is an important step that aerates the flour, prevents lumps, and ensures even distribution of the leavening agent and salt, leading to a more uniform texture in your banana bread. If you plan to add mix-ins like walnuts or chocolate chips, take a couple of spoonfuls of this flour mixture into a separate small bowl and toss your mix-ins with it. This light coating of flour helps to prevent them from sinking to the bottom of the pan during baking, ensuring they are evenly distributed throughout the loaf. Set this aside.
Step 3: Mix Your Wet Ingredients. In a large mixing bowl, using an electric mixer or a sturdy whisk, cream together the softened butter and light brown sugar until the mixture is light and fluffy. This step incorporates air, which is vital for a tender crumb. Next, add the large eggs one at a time, mixing well after each addition. Then, incorporate the mashed overripe bananas, plain yogurt, milk, and vanilla extract. Mix everything until just combined. It’s okay if the mixture looks a little lumpy from the bananas; avoid overmixing at this stage to keep the bread tender.
Step 4: Gently Combine Wet and Dry Mixtures. Gradually add the dry ingredients (from Step 2) to the wet ingredients (from Step 3). Using a spatula or wooden spoon, gently stir until *just* combined. The most crucial rule for moist banana bread is to avoid overmixing! Overmixing develops the gluten in the flour too much, which can lead to a tough and chewy bread instead of a soft and tender one. A few streaks of flour are perfectly fine. If using, gently fold in your flour-tossed mix-ins now. Pour the batter evenly into your prepared loaf pan.
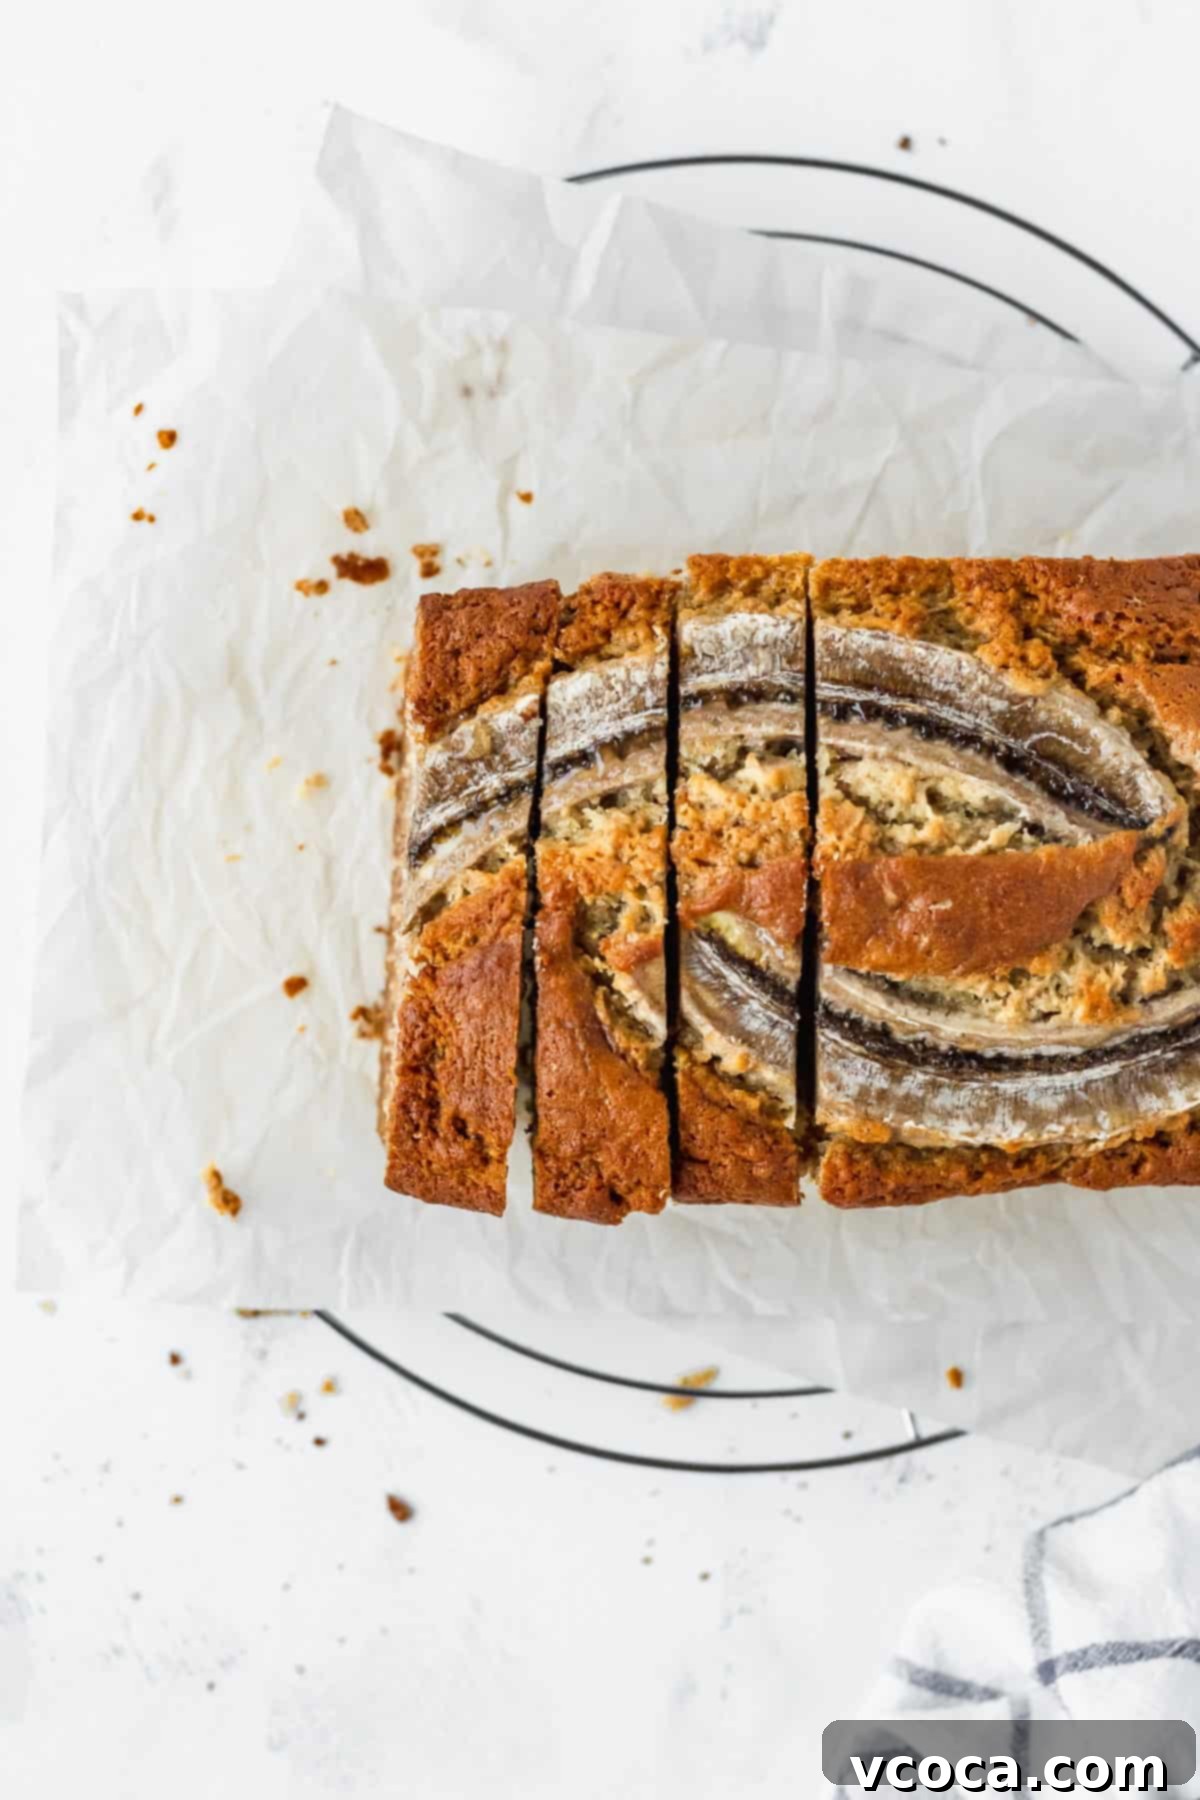
Step 5: Bake to Golden Perfection. Place the loaf pan in the preheated oven and bake for approximately 1 hour and 15 minutes. Baking times can vary depending on your oven, so keep an eye on it. To test for doneness, insert a wooden skewer, toothpick, or even a piece of dry spaghetti into the center of the loaf. If it comes out clean or with a few moist crumbs attached (not wet batter), your banana bread is perfectly baked. Let the banana bread cool in the pan for about 5 minutes before carefully transferring it to a wire rack to cool completely. This initial cooling in the pan helps it set and prevents it from crumbling when moved. Cooling on a wire rack allows air to circulate, preventing the bottom from becoming soggy.
Storage Directions for Maximum Freshness
Once you’ve enjoyed your first slice (or two!), proper storage is essential to keep your homemade moist banana bread fresh and delicious for as long as possible. Here’s how:
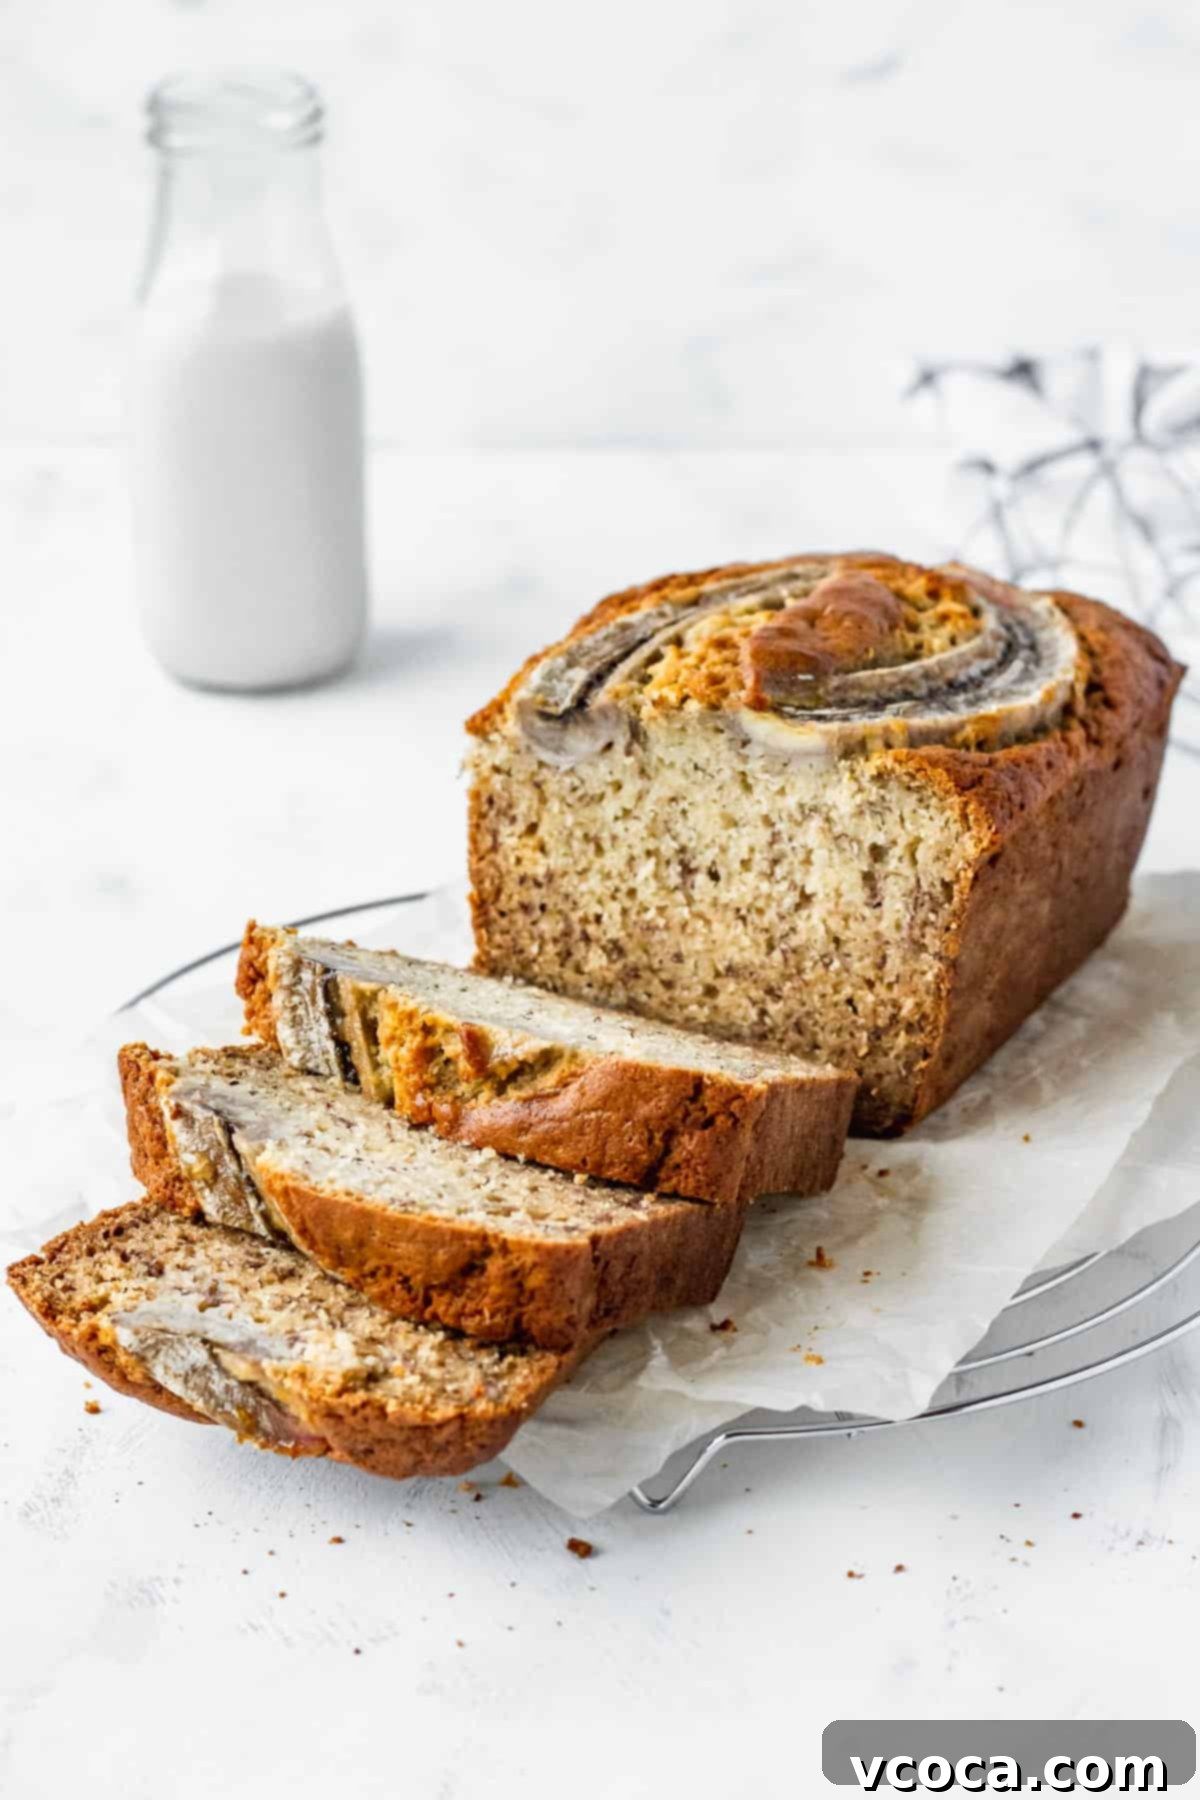
Store any leftover banana bread in an airtight container at room temperature for up to 4 days. To maintain its moisture and prevent it from drying out, a clever trick is to only slice the portions you intend to eat in one sitting, rather than cutting the entire loaf at once. The uncut surface of the loaf acts as a natural barrier, locking in that precious moisture. You can also wrap the whole loaf tightly in plastic wrap before placing it in an airtight container for extra protection.
How to Freeze Banana Bread for Later Enjoyment
Banana bread freezes beautifully, making it perfect for meal prepping or simply having a delicious treat on hand whenever a craving strikes. To freeze: first, ensure the banana bread is completely cooled. Then, wrap each individual slice with a couple of layers of plastic wrap, making sure it’s sealed tightly to prevent freezer burn. Once wrapped, place the slices in a freezer-safe bag or an airtight container. You can store them in the freezer for up to 2 months. When you’re ready to enjoy, simply defrost them in the refrigerator overnight, or for a quicker option, gently warm a slice in the microwave until soft and fragrant.
Frequently Asked Questions About Moist Banana Bread
Absolutely! Adding mix-ins is a fantastic way to customize your moist banana bread. Classic choices include crunchy walnuts (my mom’s favorite!), decadent chocolate chips, or sweet blueberries. For banana nut bread, I highly recommend toasting your nuts in the oven first to enhance their flavor and crunch; let them cool completely before adding to the batter. A pro tip for any mix-ins: toss them with a couple of tablespoons of your combined dry ingredients (flour, baking soda, salt) before folding them into the batter. This light coating helps prevent the mix-ins from sinking to the bottom of the pan, ensuring they are evenly distributed throughout your delicious loaf.
I highly recommend using a metallic loaf pan over a glass one because metal conducts heat more efficiently and evenly, promoting better browning and a more consistent bake. However, be mindful of the color of your pan. Dark metal pans absorb more heat, which can cause the exterior of your banana bread to brown (or even burn) before the center is fully cooked. If you’re using a dark metal pan, it’s best to bake your bread at a slightly lower temperature of 325°F (160°C). For light metal pans, which reflect more heat, a temperature of 350°F (175°C) is ideal. Regardless of the pan material, plan for a baking time of approximately 1 hour and 15 minutes, always testing for doneness.
The best way to tell if your moist banana bread is fully baked is by using the skewer test. Insert a toothpick, a wooden skewer, or even a piece of dry spaghetti directly into the center of the loaf. If it comes out clean, or with just a few moist crumbs clinging to it (not wet batter), then your banana bread is ready to be taken out of the oven. If you see wet batter, continue baking for another 5-10 minutes and test again. The top should also be golden brown and spring back slightly when gently pressed.
Yes, absolutely! Using frozen overripe bananas is a fantastic way to reduce food waste and always have baking-ready bananas on hand. If you’re like me and keep extra overripe bananas in the freezer, simply let them defrost completely before mashing them to use in this recipe. They will release a bit of liquid as they thaw, which is perfectly fine—just add it along with the mashed banana for extra moisture and flavor!
You certainly can! This versatile recipe works wonderfully for banana muffins. To convert it, simply divide the batter among a standard 12-cup muffin pan lined with paper liners or greased thoroughly. Bake them at the same oven temperature (320°F/160°C or 350°F/175°C depending on your pan) but for a shorter duration, typically about 20 to 25 minutes, or until a toothpick inserted into the center of a muffin comes out clean. This will yield a batch of equally delicious and super moist banana muffins!
Explore More Delicious Banana Recipes
If you’ve fallen in love with the moist and tender texture of this banana bread, you’re in for a treat! We have a collection of other fantastic banana-based recipes that are just as easy to make and equally delightful:
- For another twist on a classic, try my double chocolate banana bread. It’s packed with rich chocolate flavor and retains all the beloved moisture.
- If you’re looking for a gluten-free option that doesn’t compromise on taste or texture, my gluten-free banana bread recipe is a must-try. It’s incredibly moist and satisfying!
- Craving something sweet and tender without eggs? My vegan banana cupcakes and vegan chocolate banana cupcakes are both incredibly soft, fluffy, and perfect for those with dietary restrictions or anyone looking for a lighter treat.
- If you’re aiming to impress, this stunning banana upside-down cake is a showstopper, featuring caramelized bananas and a tender coconut cake base.
And if you’re a fan of moist loaf cakes but want to venture beyond banana desserts, I’ve got you covered! Explore these other easy-to-make, super moist recipes that are perfect for any occasion:
- Brighten your day with my zesty gluten-free lemon poppy seed cake, bursting with citrus flavor.
- Embrace the flavors of autumn with my gluten-free pumpkin bread, spiced perfectly for a cozy treat.
- For a delightful way to use up garden zucchini, my gluten-free zucchini bread is incredibly moist and flavorful.
Each of these recipes shares the same commitment to ease of preparation and, most importantly, achieving that wonderfully moist and tender texture that makes this banana bread recipe a cherished favorite. Happy baking!
Moist Banana Bread Recipe
Ingredients
- 2½ cups cake flour
- 1 teaspoon baking soda
- 1 teaspoon salt
- ½ cup salted butter softened at room temperature
- 1 cup light brown sugar
- 2 large eggs
- 1½ cups mashed overripe bananas about 4 medium bananas
- ¼ cup plain yogurt
- ¼ cup milk
- 1 teaspoon vanilla extract
- 1 cup chopped toasted walnuts, chocolate chips, or other mix-ins optional
Instructions
-
Preheat the oven to 320°F (160°C) for dark metal pans or 350°F (175°C) for light metal pans. Grease and line a 9-inch loaf pan with parchment paper.
-
In a bowl, sift together cake flour, baking soda, and salt. If adding mix-ins, take a couple spoonfuls of the flour mixture into a separate bowl and toss the walnuts with it. Set aside.
-
In a large bowl, cream together softened butter and sugar. Add the eggs, banana, yogurt, milk, and vanilla and mix until combined.
-
Add the dry ingredients to the wet ingredients and stir only until combined. Fold in mix-ins if using, and pour into the prepared loaf pan.
-
Bake for 1 hour 15 minutes and test for doneness with a skewer or spaghetti. Let it cool in the pan for 5 minutes before transferring to a wire rack to cool completely.
