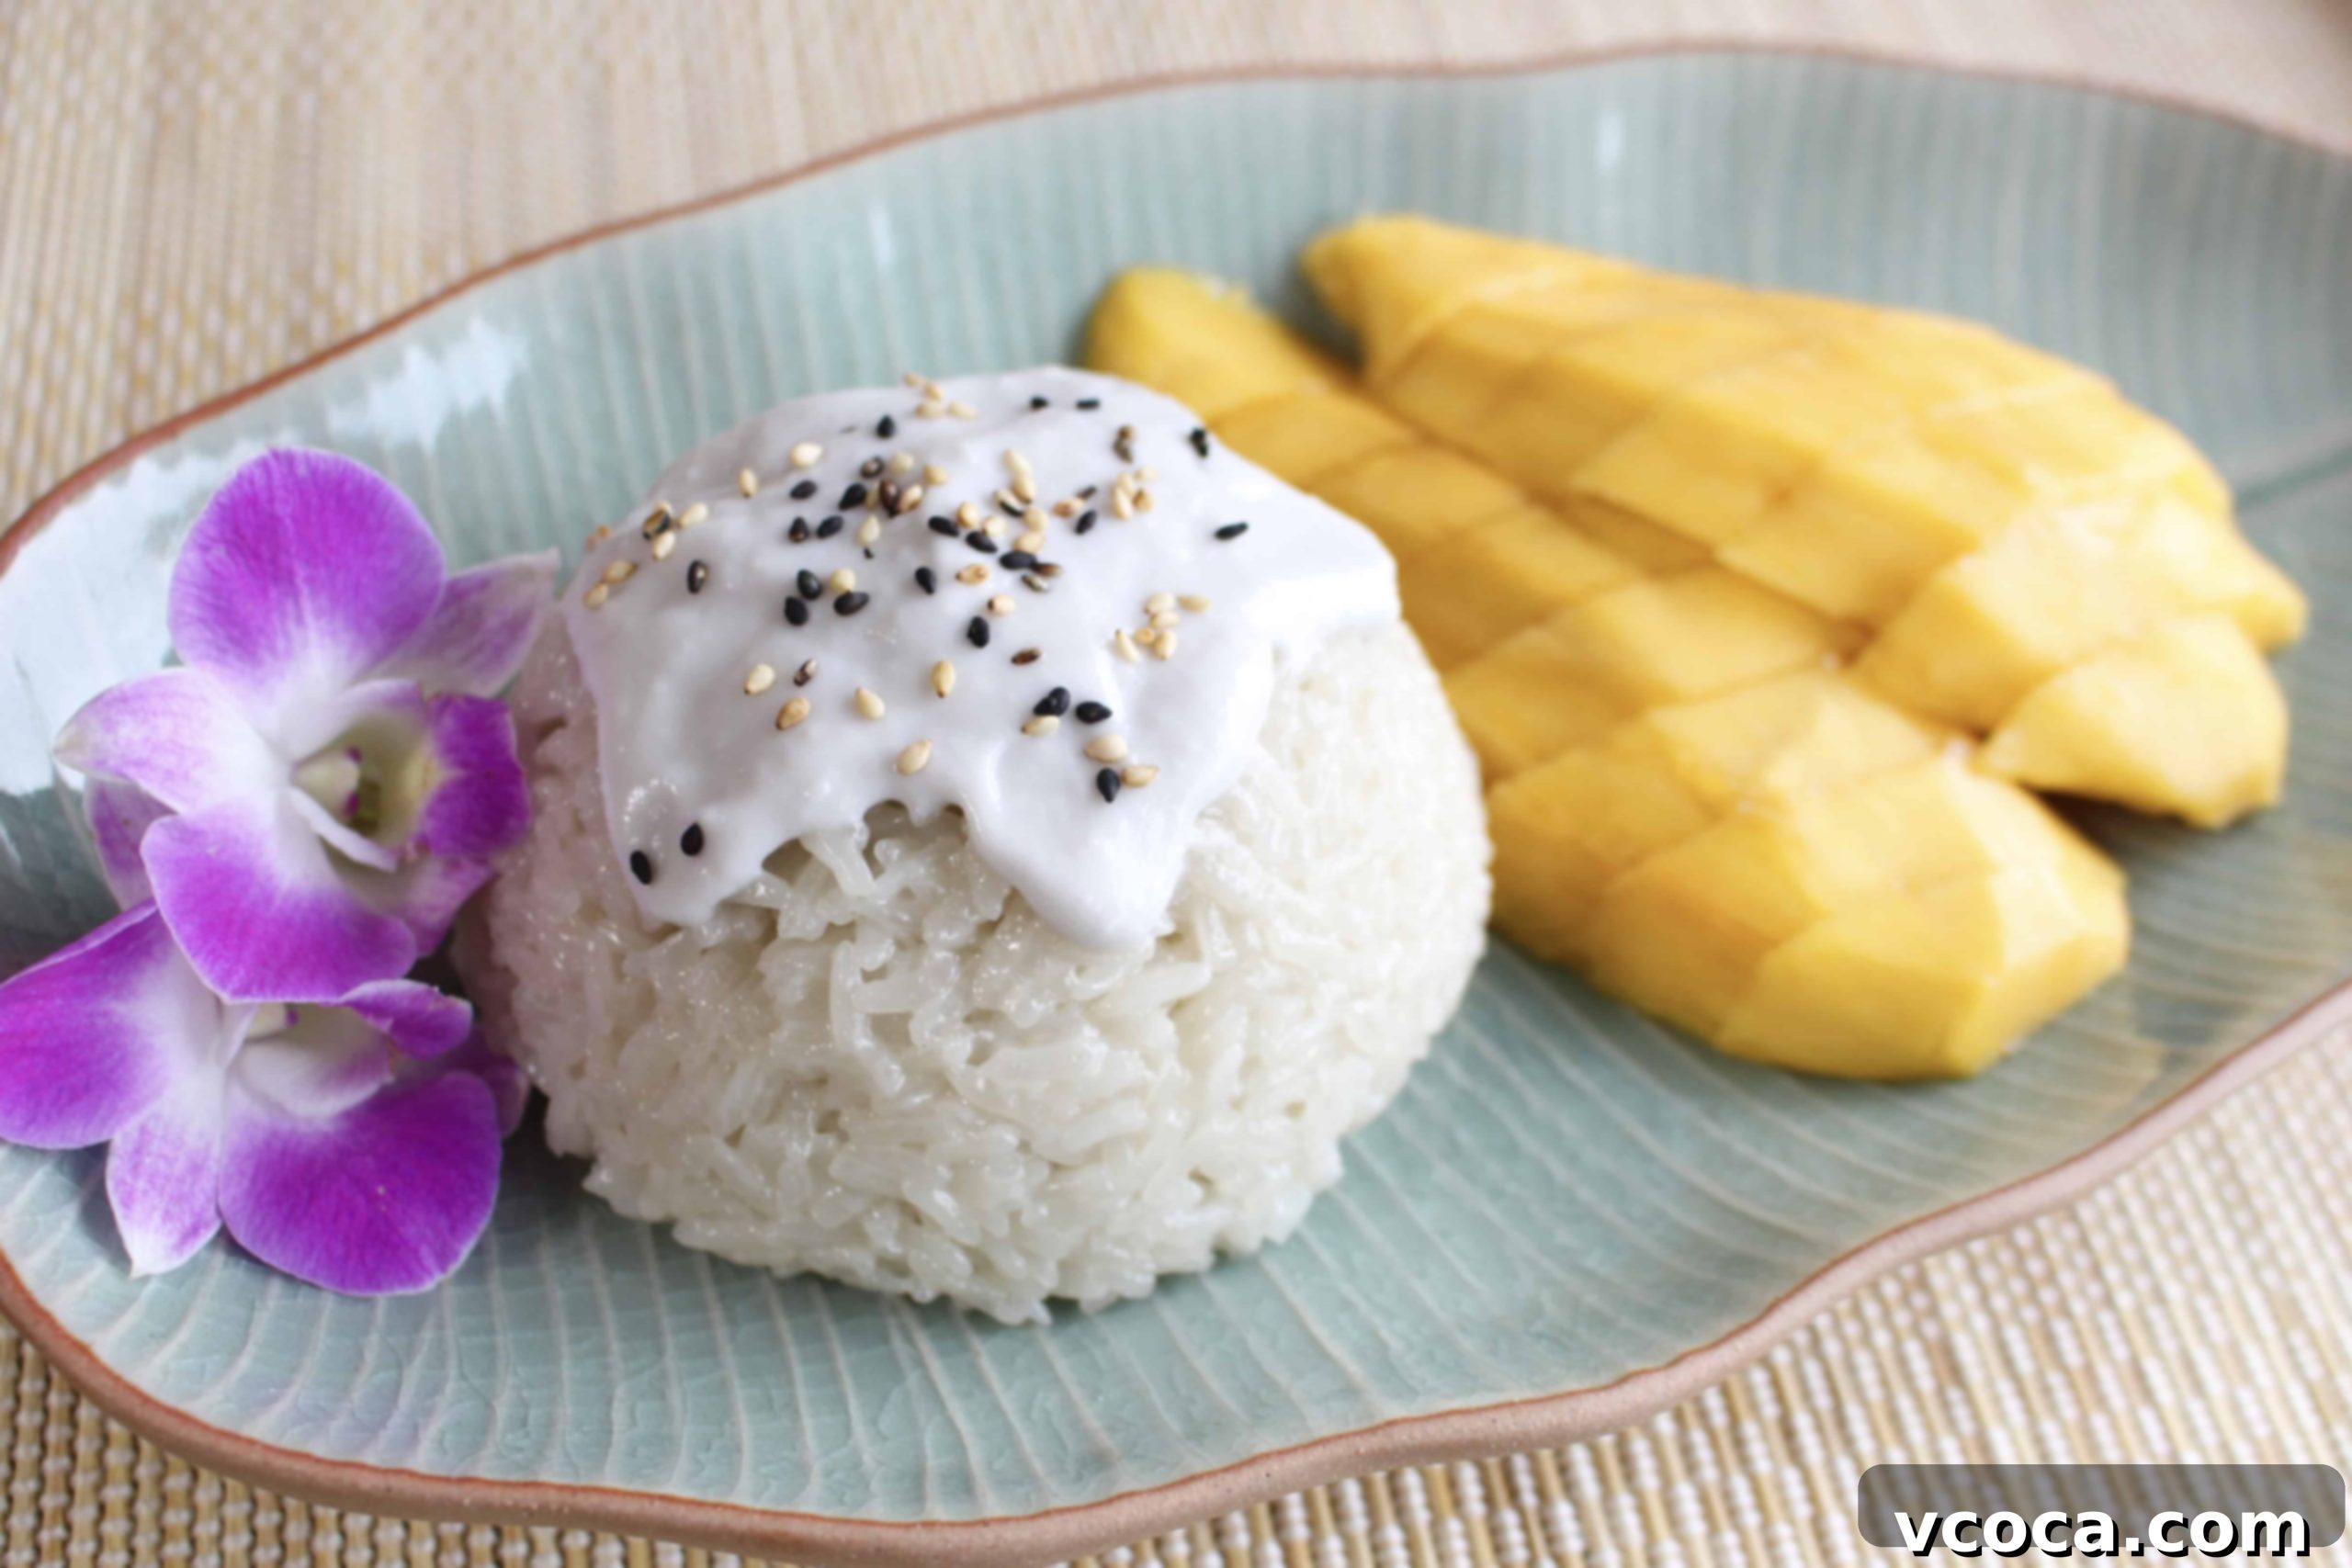
Authentic Thai Mango Sticky Rice (Khao Niao Mamuang): A Culinary Journey from Phuket to Your Kitchen
My culinary journey with Thai cuisine truly began two summers ago during my first-ever genuine vacation. It was a memorable trip to the beautiful island of Phuket with Tristan, a trip that marked a significant milestone in my life. Prior to this, my travels to various countries, primarily for high school volleyball and softball tournaments, offered little opportunity for true sightseeing or leisurely exploration. While I had also visited relatives in a couple of U.S. states, anyone who’s done that knows it hardly qualifies as a relaxing holiday. Phuket, however, was different. It was an immersive experience, a chance to truly unwind, explore, and most importantly, discover incredible new flavors.
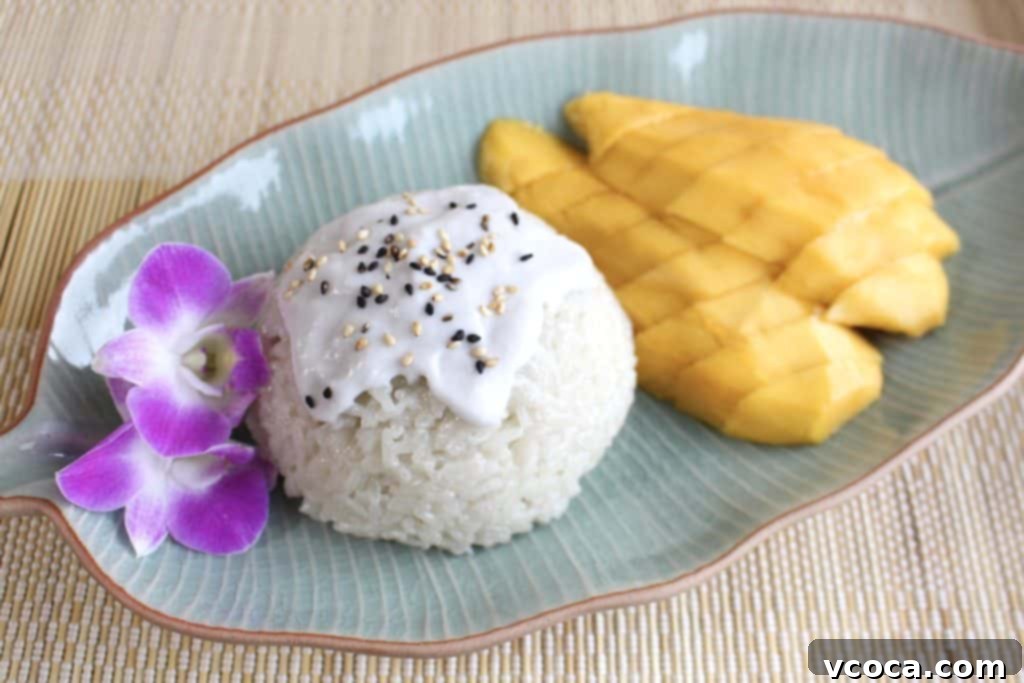
One of the highlights of our hotel in Thailand was undoubtedly the lavish breakfast buffet. Each morning presented a feast of local and international delights, but one particular item captured my heart and palate instantly: bite-sized portions of creamy coconut sticky rice, perfectly topped with a succulent cube of fresh mango. I had never encountered this exquisite combination before, known as khao niao mamuang in Thai, but from that first bite, I was completely obsessed. Every morning, I found myself returning for more, piling my plate with these delightful morsels alongside other tempting offerings like fried rice and noodles. My fondness for this dessert was so profound that I ended up gaining about 4lbs (2kgs) during my single week in Phuket! It was a small price to pay for such culinary bliss.
My newfound love for mango sticky rice led to a rather amusing incident one evening. We decided to dine at the hotel’s restaurant, and naturally, I ordered a full portion of my beloved dessert. When the waitress approached our table, she presented the dish and, with a cheerful smile, asked, “Manko rice?” Tristan and I had to physically bite our tongues to suppress an outburst of laughter. You see, the word “manko” in Japanese slang has a rather vulgar meaning, referring to a part of the female anatomy. The innocent mispronunciation from the kind waitress was completely unintentional, of course, but it certainly added a layer of unexpected humor to our authentic Thai dining experience, making it a story we still chuckle about to this day.
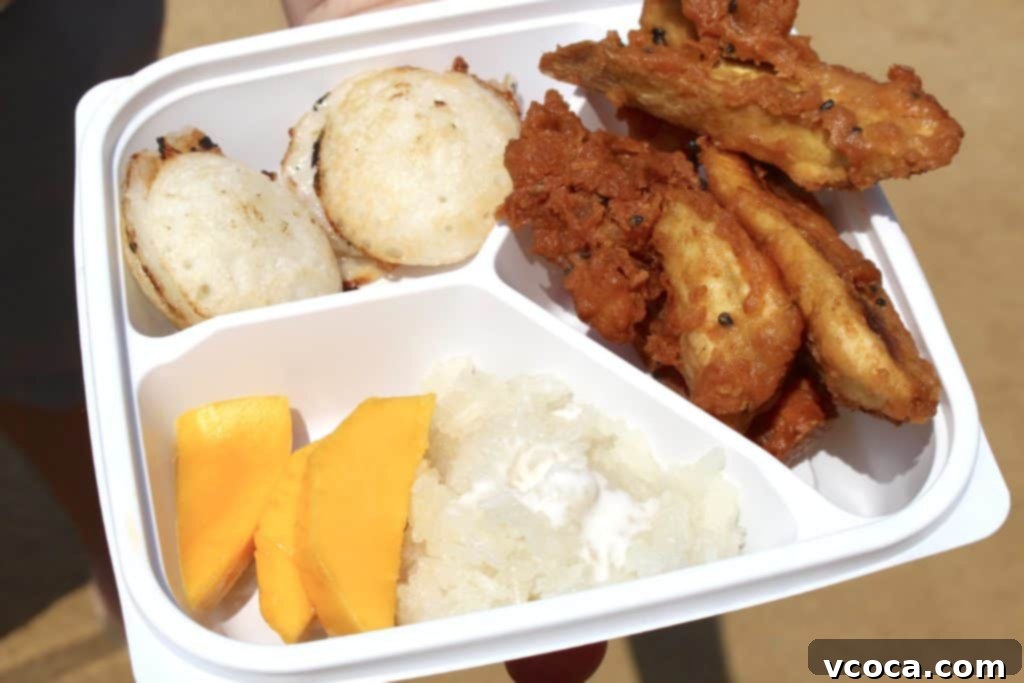
That unforgettable taste lingered in my memory long after our trip. So, when I attended the Thai festival in Osaka with my parents last weekend, my primary mission was clear: find authentic mango sticky rice. The festival was a vibrant spectacle, set in a large, open dirt field right beside the majestic Osaka Castle. Numerous booths lined the grounds, offering a plethora of Thai street food and cultural delights. After some determined searching, I finally located a stall that offered my beloved dessert. However, I was also tempted by other delicious Thai sweets, so I opted for a dessert platter. This delightful assortment included mango with sticky rice, fluffy coconut pancakes (kanom krok), and crispy deep-fried bananas and sweet potatoes. The moment I took a bite of that juicy, perfectly ripe mango paired with the warm, sweet, and coconut-infused sticky rice, I was instantly transported back to the sun-drenched beaches of Thailand. The nostalgic rush of flavors confirmed it: I absolutely had to learn how to make this myself.
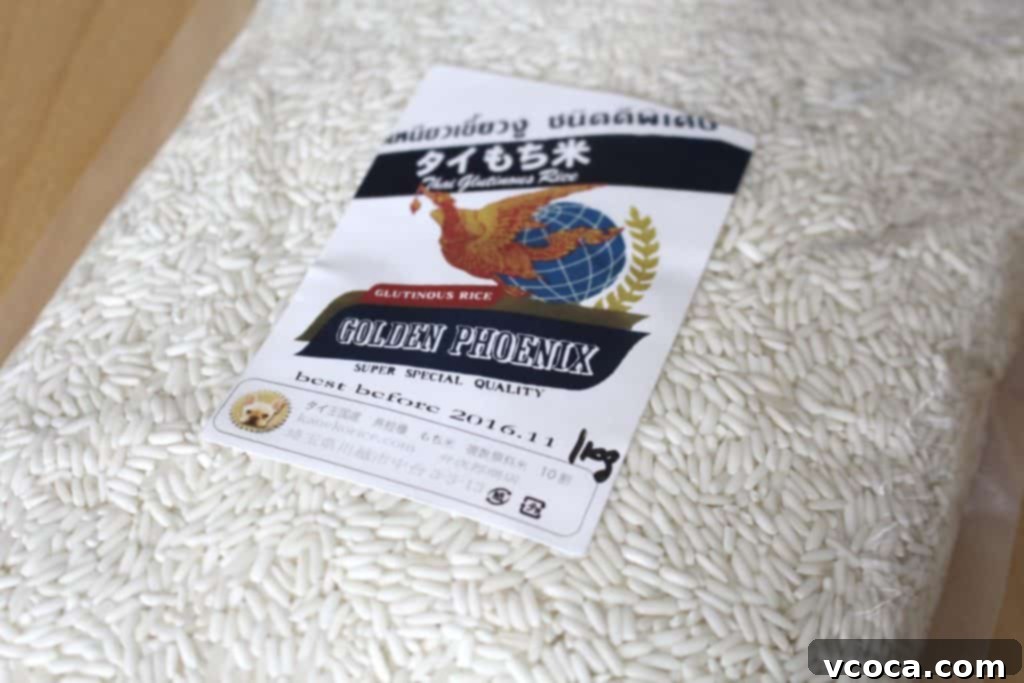
My journey to recreate this dessert began with some important research. I quickly discovered that Thai sticky rice, or khao niao, is distinct from the sticky rice commonly used in Japanese cuisine. While both are glutinous rice varieties, Thai sticky rice typically has a longer grain and a slightly different starch composition, leading to a unique texture when cooked correctly—chewier and more distinct. To ensure authenticity and the perfect texture, I decided to order specific Thai sticky rice online. This step is crucial for achieving the traditional taste and consistency of an authentic Mango Sticky Rice.
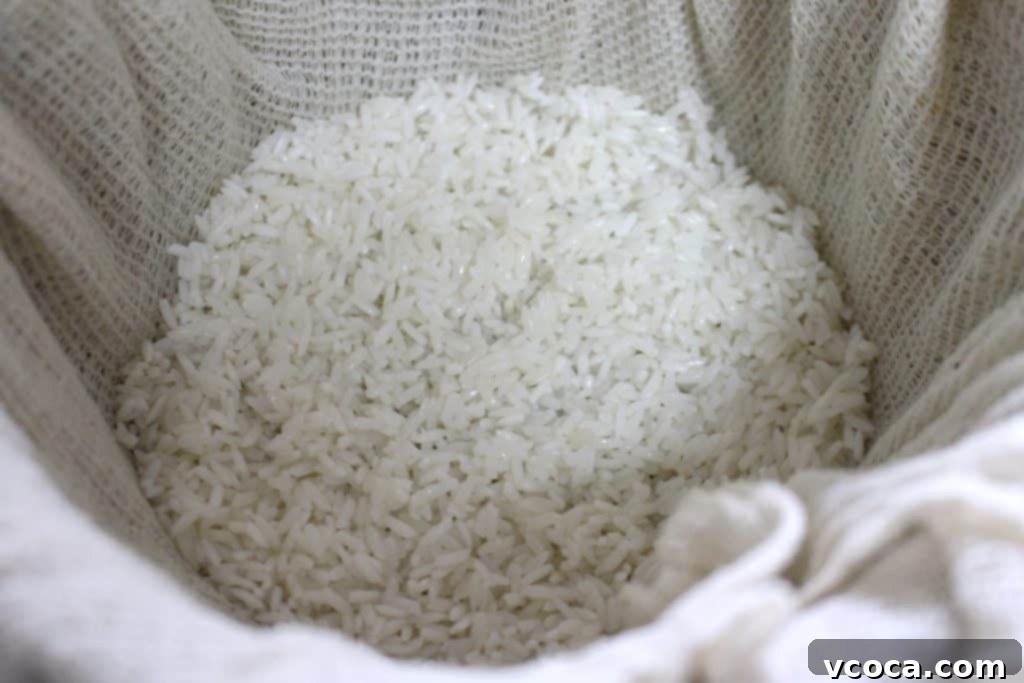
The preparation for this delicious dessert begins with properly preparing the rice. First, meticulously rinse the Thai sticky rice until the water runs clear. This removes excess starch, preventing the rice from becoming too gummy. After rinsing, soak the rice in water for a minimum of 4 hours, or ideally overnight. Soaking is a critical step, as it softens the grains, allowing them to cook more evenly and become wonderfully tender yet chewy. Once soaked, drain the water thoroughly. Unlike Japanese sticky rice, which is often cooked in a rice cooker on a dedicated “sticky rice” setting, traditional Thai sticky rice is steamed. This method is believed to yield a superior texture and a more authentic flavor profile. Transfer the drained rice onto a cheesecloth-lined steamer basket, ensuring it’s spread somewhat evenly for optimal steam circulation.
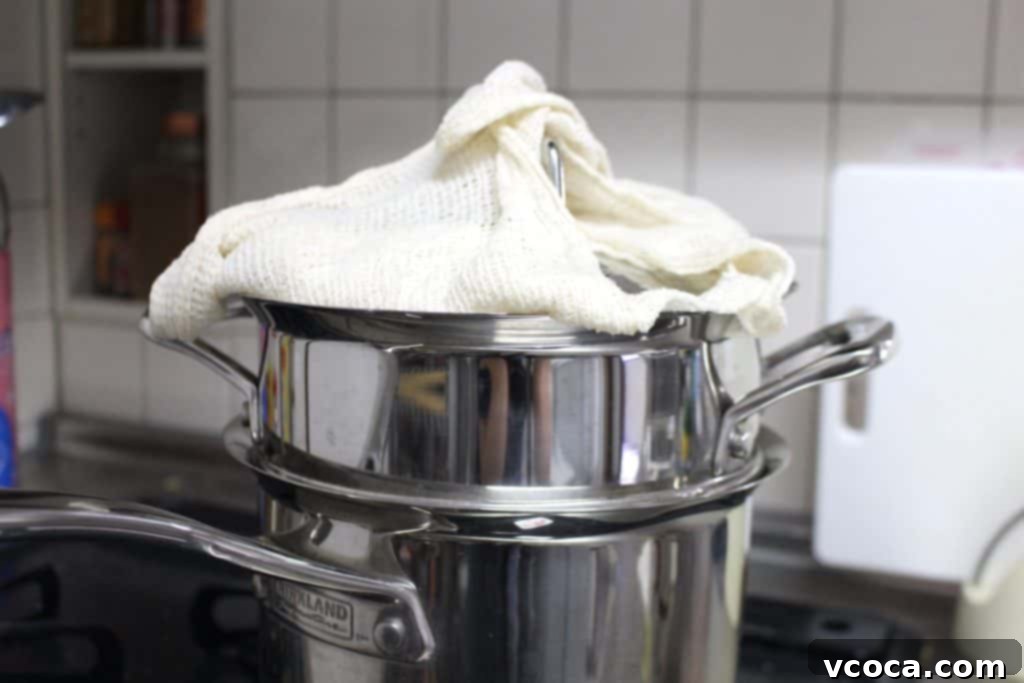
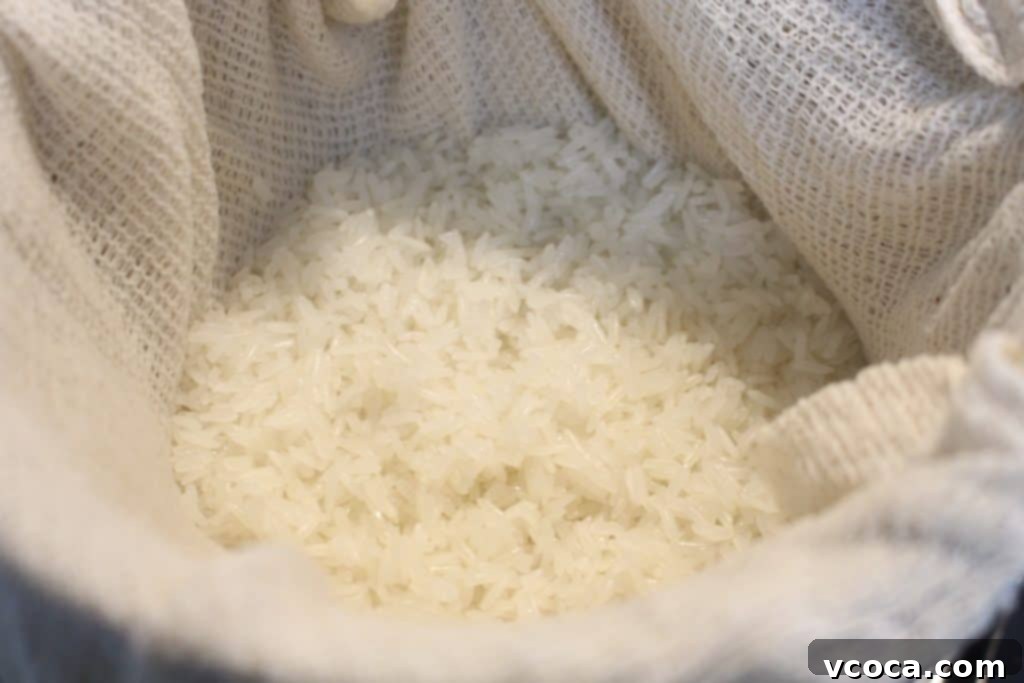
Steam the sticky rice for approximately 20 to 25 minutes over rapidly boiling water. A crucial tip for achieving uniformly cooked and moist rice is to flip or gently stir the rice halfway through the steaming process. This ensures that all the grains are exposed to the steam, preventing the top layer from becoming dry and hard while the bottom remains perfectly tender. After steaming, the rice should be perfectly translucent and sticky, yet still retain a slight chewiness, characteristic of authentic Thai sticky rice. This is the foundation of our delightful dessert.
While the rice is steaming, prepare the sweet coconut milk mixture that will infuse the sticky rice with its characteristic flavor. In a small saucepan, combine canned coconut milk, granulated sugar, and a pinch of fine sea salt. Gently heat this mixture over low to medium heat, stirring continuously until the sugar completely dissolves. Be careful not to boil it vigorously, as you simply want to warm it and dissolve the sugar, allowing the flavors to meld. This sweet and slightly salty coconut milk is what transforms plain sticky rice into the delectable dessert base. The salt helps to balance the sweetness and brings out the richness of the coconut.
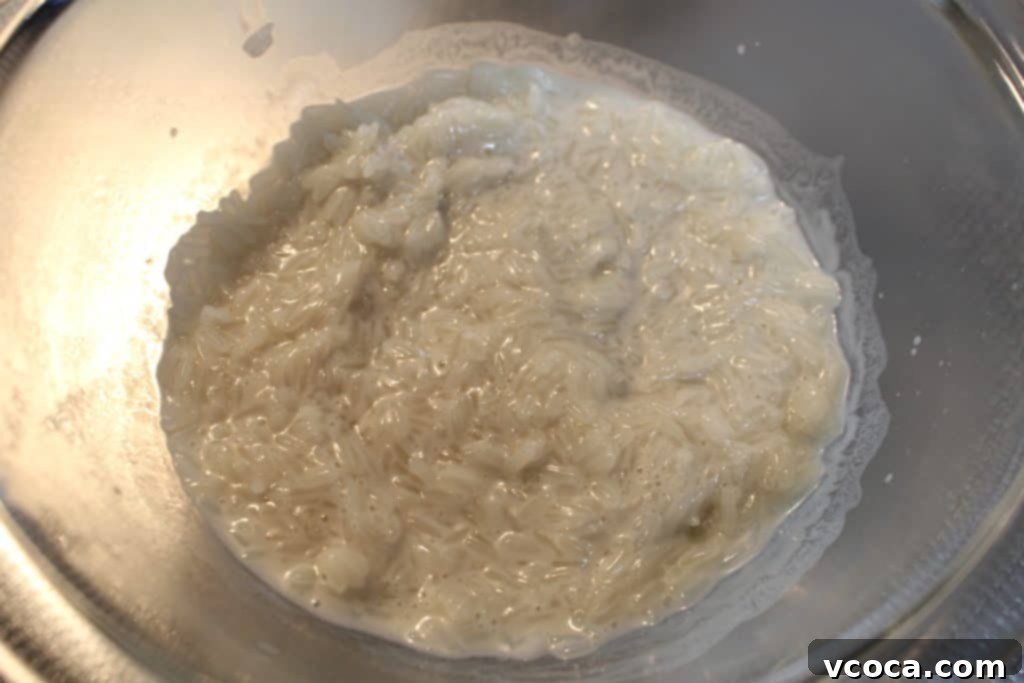
Once the sticky rice is steamed, transfer it immediately to a clean bowl. While still warm, pour the prepared sweet coconut milk mixture evenly over the rice. Using a spoon or spatula, gently fold and mix the ingredients together, ensuring every grain of rice is coated with the fragrant coconut milk. This is where the magic happens, as the warm rice quickly absorbs the sweet liquid, becoming incredibly flavorful and tender. After mixing, cover the bowl and let the rice sit for about 15 minutes. This resting period allows the rice to fully soak up the coconut milk, resulting in a perfectly moist and rich consistency. Don’t rush this step, as it contributes significantly to the final texture and taste of your homemade mango sticky rice.
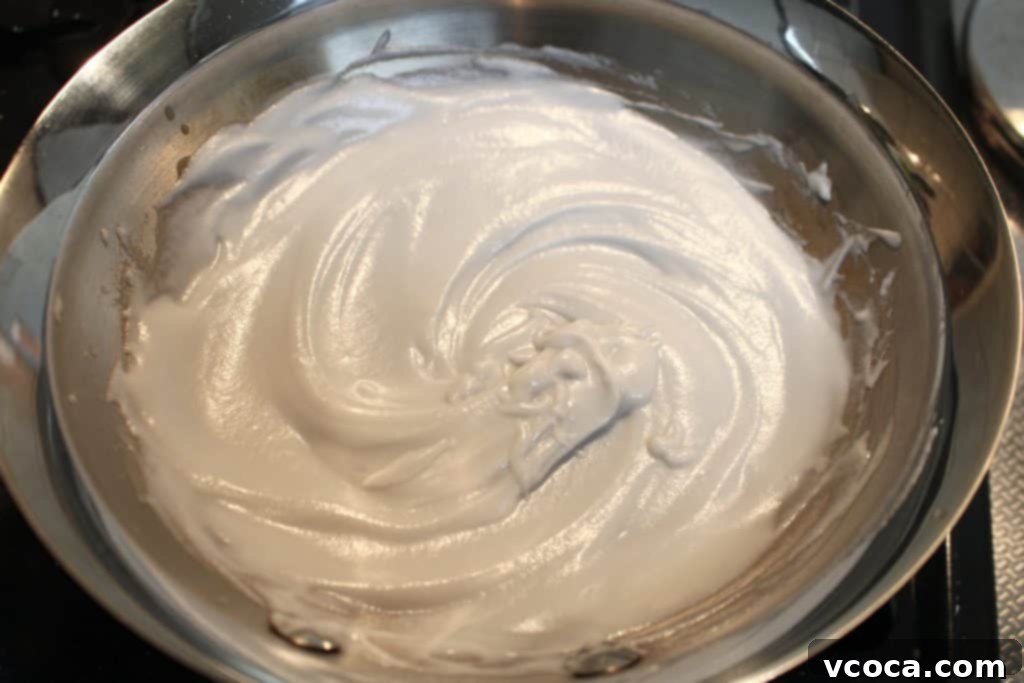
While the sticky rice is resting and absorbing all that delicious coconut flavor, you can prepare the optional but highly recommended coconut sauce. This sauce isn’t just for decoration; it adds a crucial layer of rich, slightly salty creaminess that perfectly complements the sweetness of the mango and sticky rice. To make it, combine additional coconut milk, a teaspoon of rice flour (this acts as a thickener, giving the sauce a luscious consistency), a pinch of sugar, and a bit more fine sea salt in a small pan. Whisk these ingredients together until smooth, then heat over medium-low heat, stirring constantly, until the mixture thickens and just comes to a gentle boil. As soon as it thickens, turn off the heat and let it sit. The combination of sweet and salty in this sauce elevates the entire dessert, making each bite a symphony of flavors.
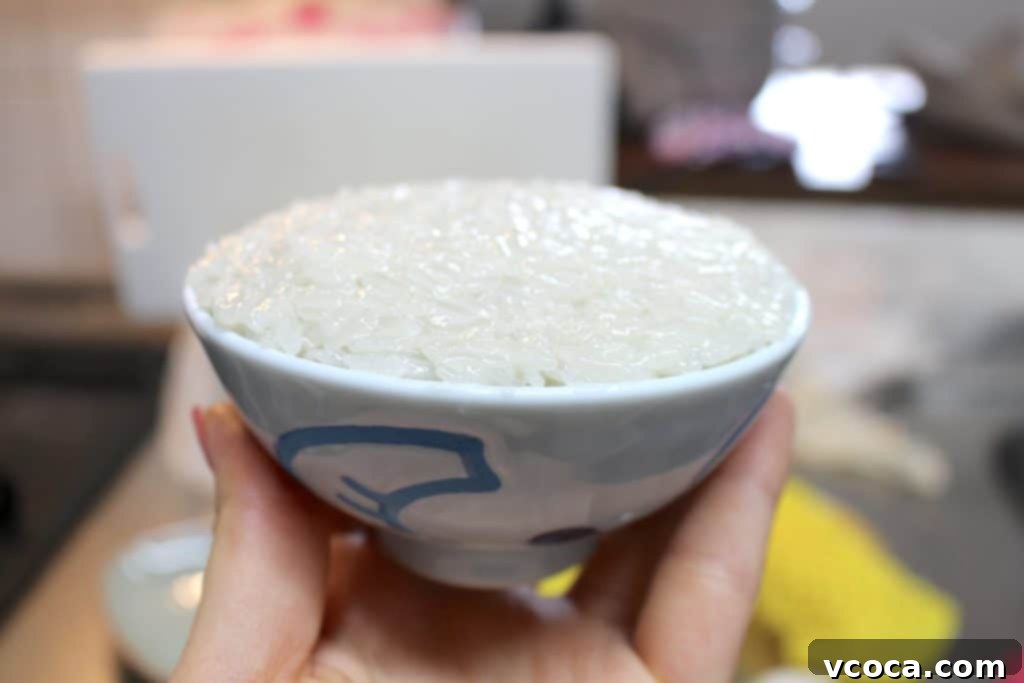
At this point, your sticky rice is ready to be plated. However, for a touch of elegance and to mimic the presentation I enjoyed at the hotel in Thailand, I wanted a perfectly rounded mound of rice. To achieve this, I used my charming blue elephant rice bowl—yes, the one typically meant for kids! I carefully packed the sweet coconut sticky rice into the bowl, pressing it gently to form a compact, smooth shape. This small detail truly makes a difference in presentation, making the dessert feel even more special and reminiscent of its origins.
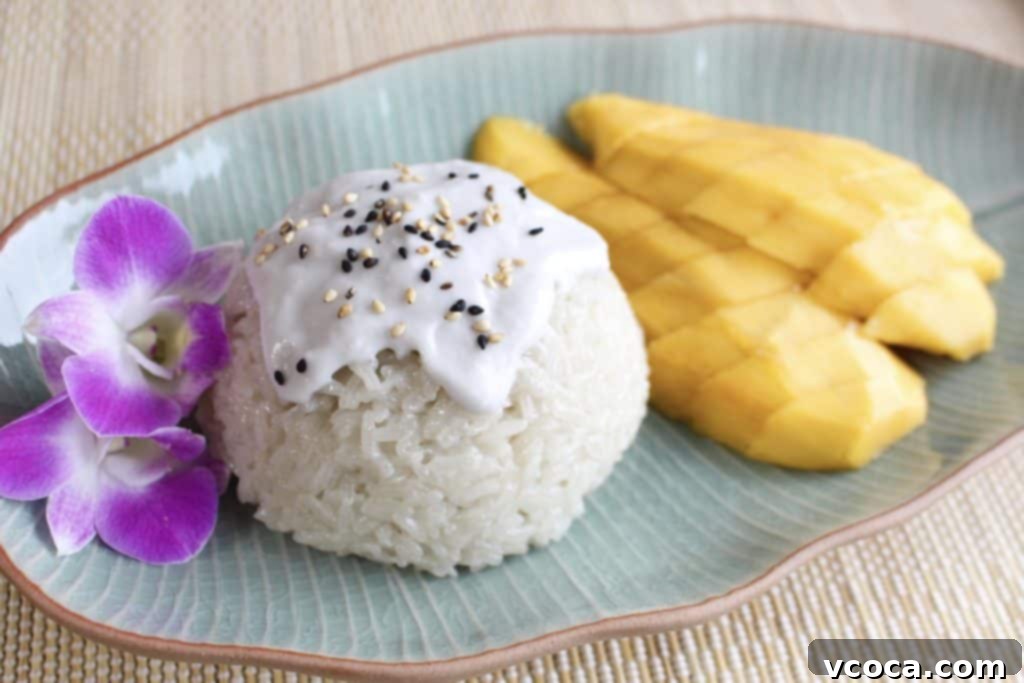
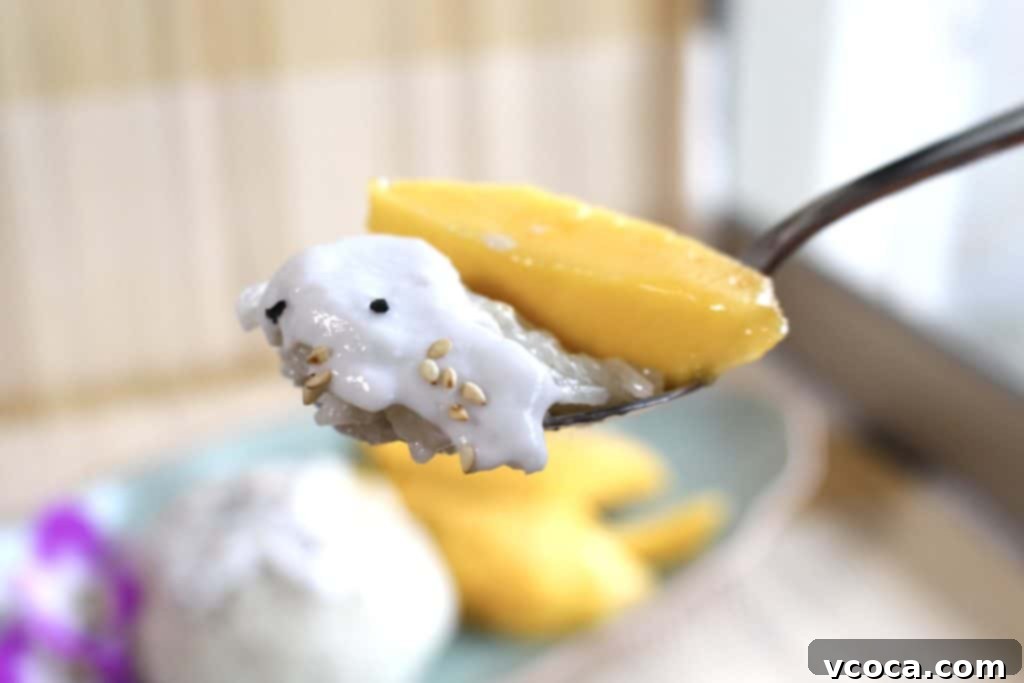
To assemble your masterpiece, carefully unmold the perfectly shaped sticky rice onto a serving plate. Arrange generous slices of fresh, ripe mango alongside the rice. The vibrant yellow of the mango against the glistening white rice creates a beautiful contrast, making the dish as appealing to the eyes as it is to the palate. Finally, pour a generous drizzle of the prepared coconut sauce over the rice and sprinkle some toasted sesame seeds on top for an added crunch and nutty aroma. The sesame seeds are an optional but highly recommended garnish, enhancing both the visual appeal and the texture of the dessert.
I cannot express how thrilled I am to be able to recreate my all-time favorite Thai dessert, Mango Sticky Rice, right here in my own home! Each bite instantly transports me back to those blissful days in Phuket, lying on a pristine beach, sipping on refreshing coconut juice, and savoring the simple joys of a perfect vacation. This recipe isn’t just about making a dessert; it’s about reliving cherished memories and bringing a piece of Thailand’s culinary magic into my kitchen. It’s a testament to how food can connect us to places, people, and unforgettable experiences. I encourage you to try making this easy and incredibly rewarding dessert at home.
If you’re a fan of chewy, comforting sticky rice desserts, you might also enjoy this Sakura Mochi recipe! It’s another delightful treat that’s surprisingly easy to make, incredibly pretty, and absolutely delicious. Exploring different sticky rice desserts opens up a world of delightful textures and flavors that are well worth the effort in your kitchen.
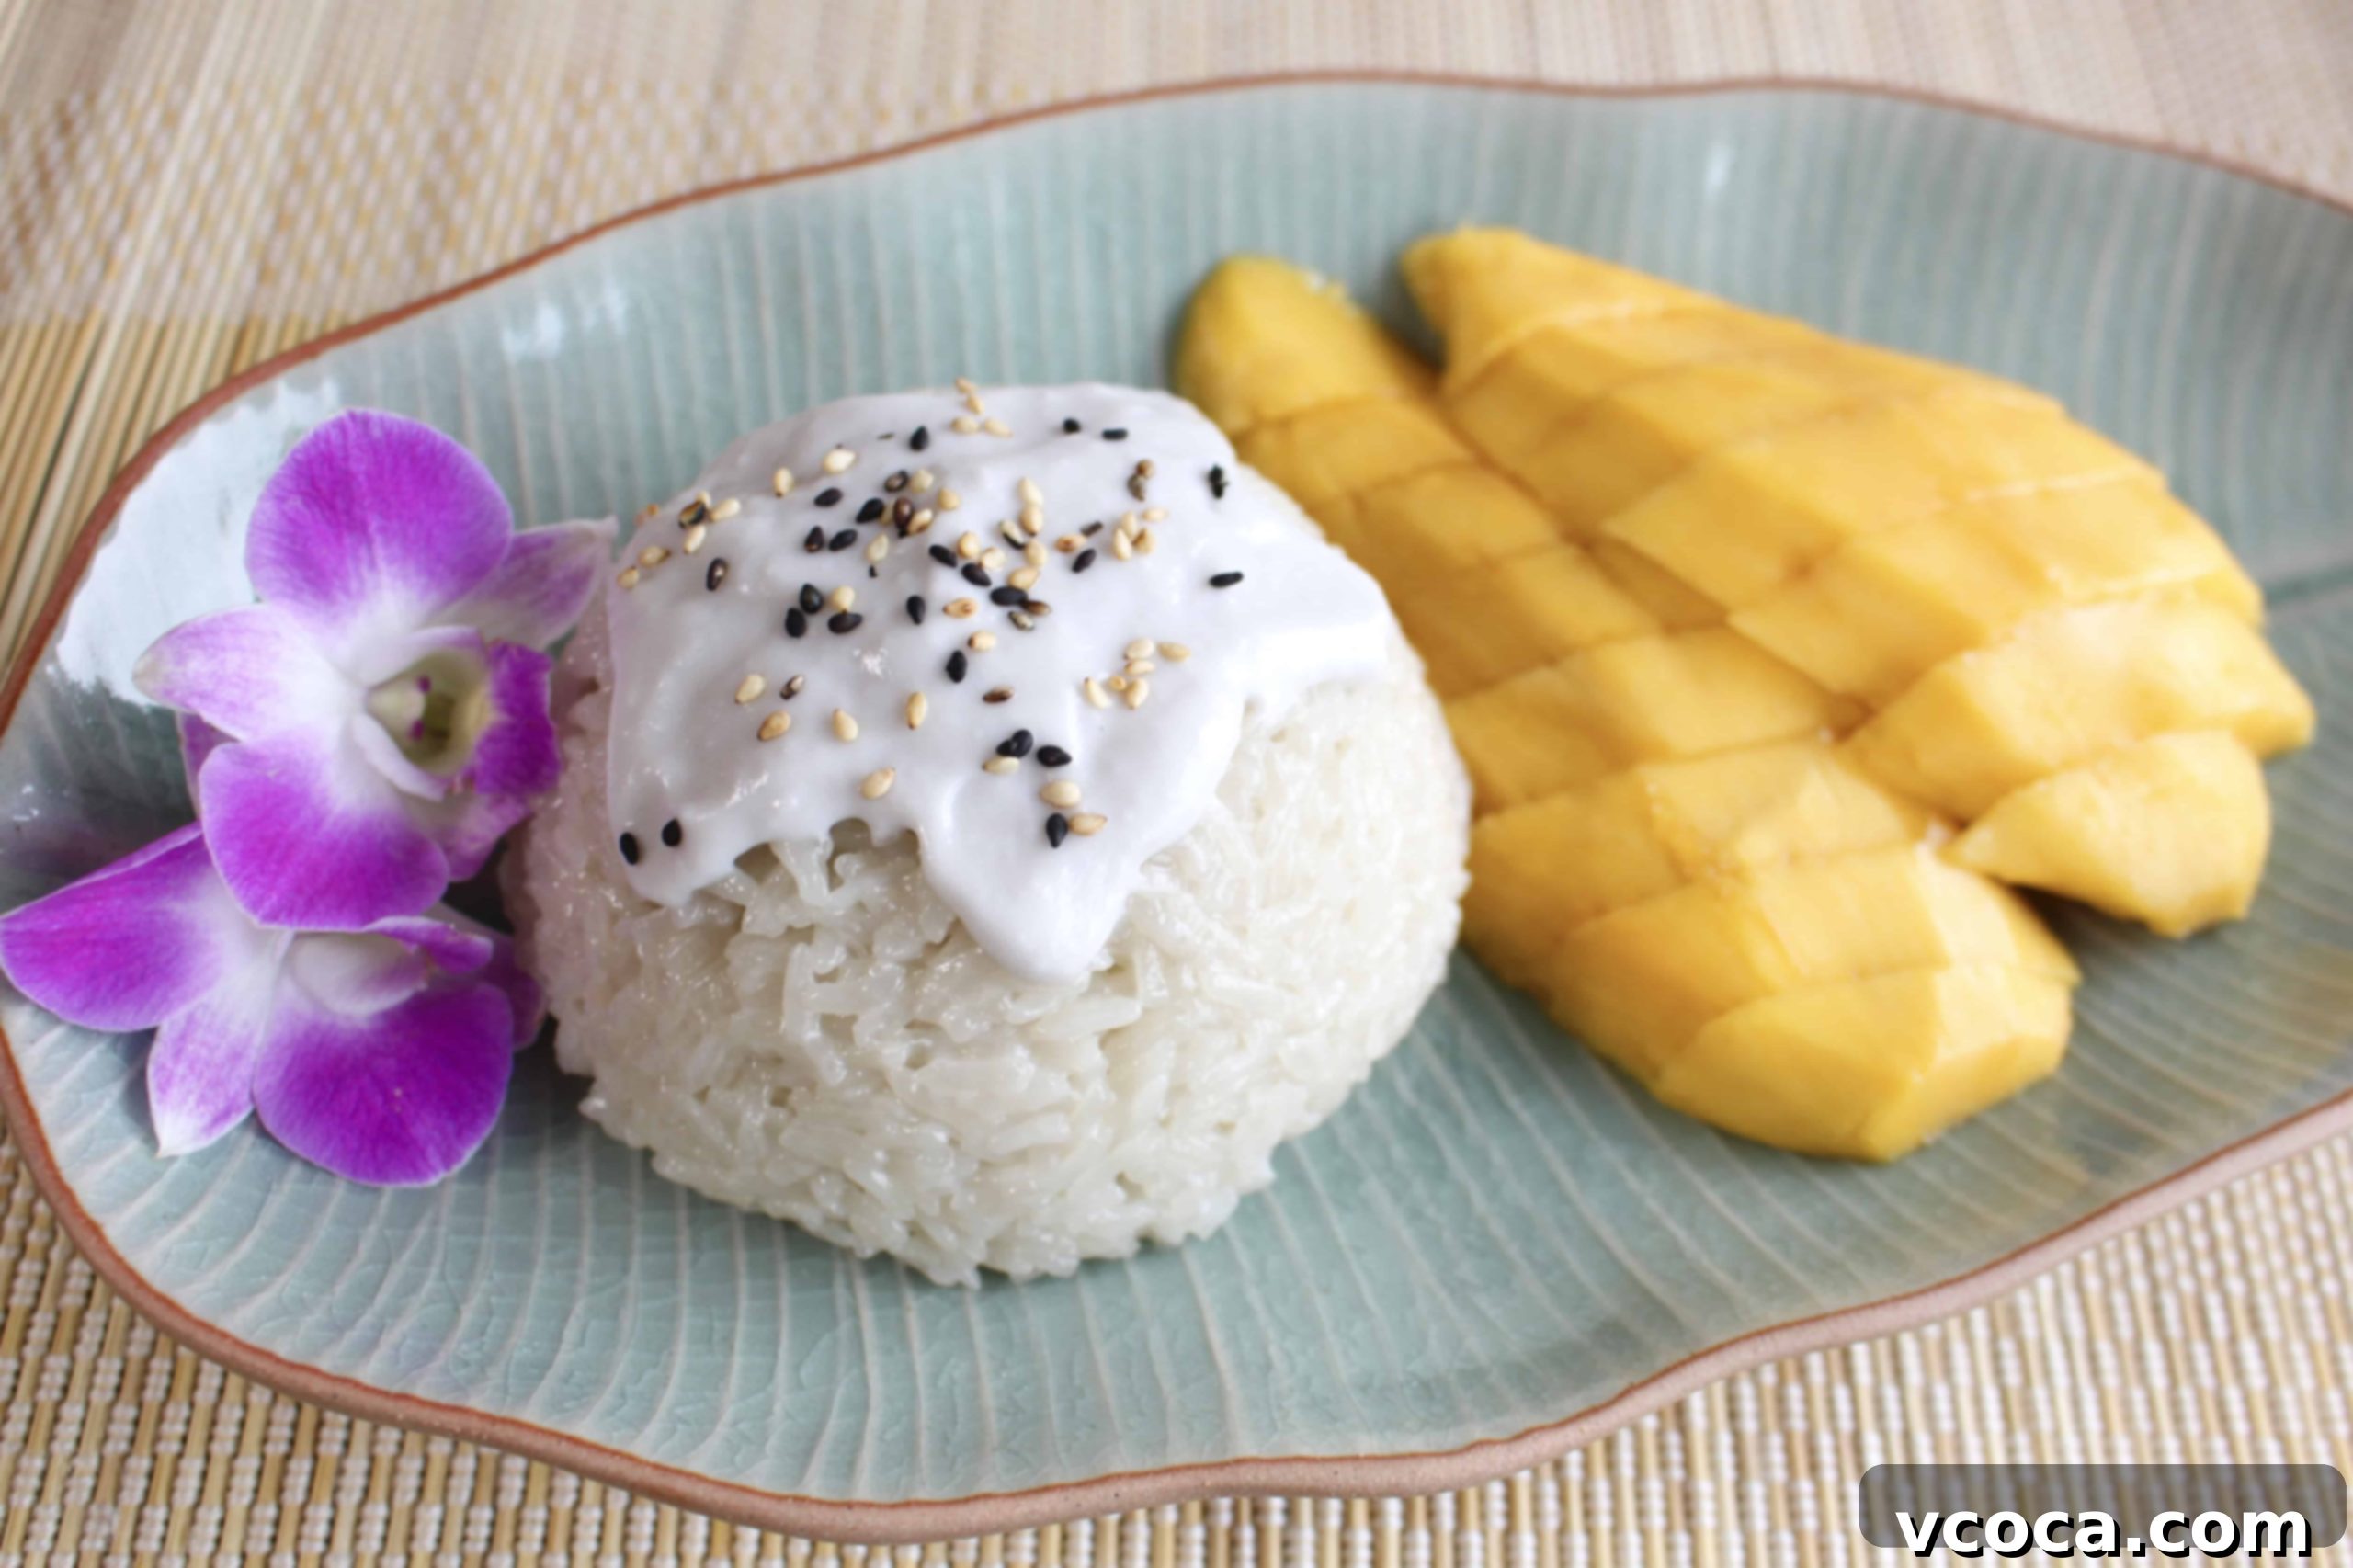
Mango with Sticky Rice (Khao Niao Mamuang)
Dessert
Thai
Ai Willis
Print
Pin
Rate
Ingredients
Sticky Rice
- ½ cup (100g) Thai sticky rice
- ½ cup (120ml) canned coconut milk
- 2 tablespoons granulated sugar
- ¼ teaspoon fine sea salt
Coconut Sauce
- ⅓ cup (80ml) canned coconut milk
- 1 teaspoon rice flour
- ⅛ to ¼ teaspoon fine sea salt
- pinch of sugar
Toppings
- 2 ripe mangoes, sliced
- toasted sesame seeds (optional)
Instructions
Sticky Rice
-
Rinse the Thai sticky rice thoroughly and then soak it in water for 4 hours, or ideally overnight, to ensure proper softening.
-
Drain the soaked rice completely and spread it onto a cheesecloth-lined steamer basket. Steam for 20 to 25 minutes, remembering to gently flip the rice halfway through to ensure even cooking and prevent drying on top.
-
While the rice is steaming, prepare the sweet coconut infusion: combine ½ cup of canned coconut milk, 2 tablespoons of granulated sugar, and ¼ teaspoon of fine sea salt in a small saucepan. Heat gently until the sugar fully melts, stirring occasionally. Do not bring to a rolling boil.
-
Transfer the hot steamed sticky rice to a mixing bowl. Pour the warm coconut milk mixture over the rice. Mix thoroughly with a spoon or spatula until all the rice grains are coated and absorb the liquid. Cover the bowl and let it sit for at least 15 minutes to allow the flavors to meld and the rice to become perfectly tender and sweet.
Coconut Sauce (Optional)
-
For the optional savory coconut sauce: In a separate pan, combine ⅓ cup of canned coconut milk, 1 teaspoon of rice flour, ⅛ to ¼ teaspoon of fine sea salt, and a pinch of sugar. Whisk constantly over medium-low heat until the mixture thickens and just comes to a gentle boil. Remove from heat and set aside.
Assembly
-
To serve, you can simply plate the sticky rice, or for a more elegant presentation, pack it into a small bowl and invert it onto the plate to create a neat mound. Arrange slices of fresh, ripe mango alongside the rice. Drizzle the prepared coconut sauce (if using) generously over the rice and sprinkle with toasted sesame seeds for an extra layer of flavor and texture. Serve warm or at room temperature.
Love this recipe?Snap a photo and share tagging @aimadeitforyou or tag #aimadeitforyou!
