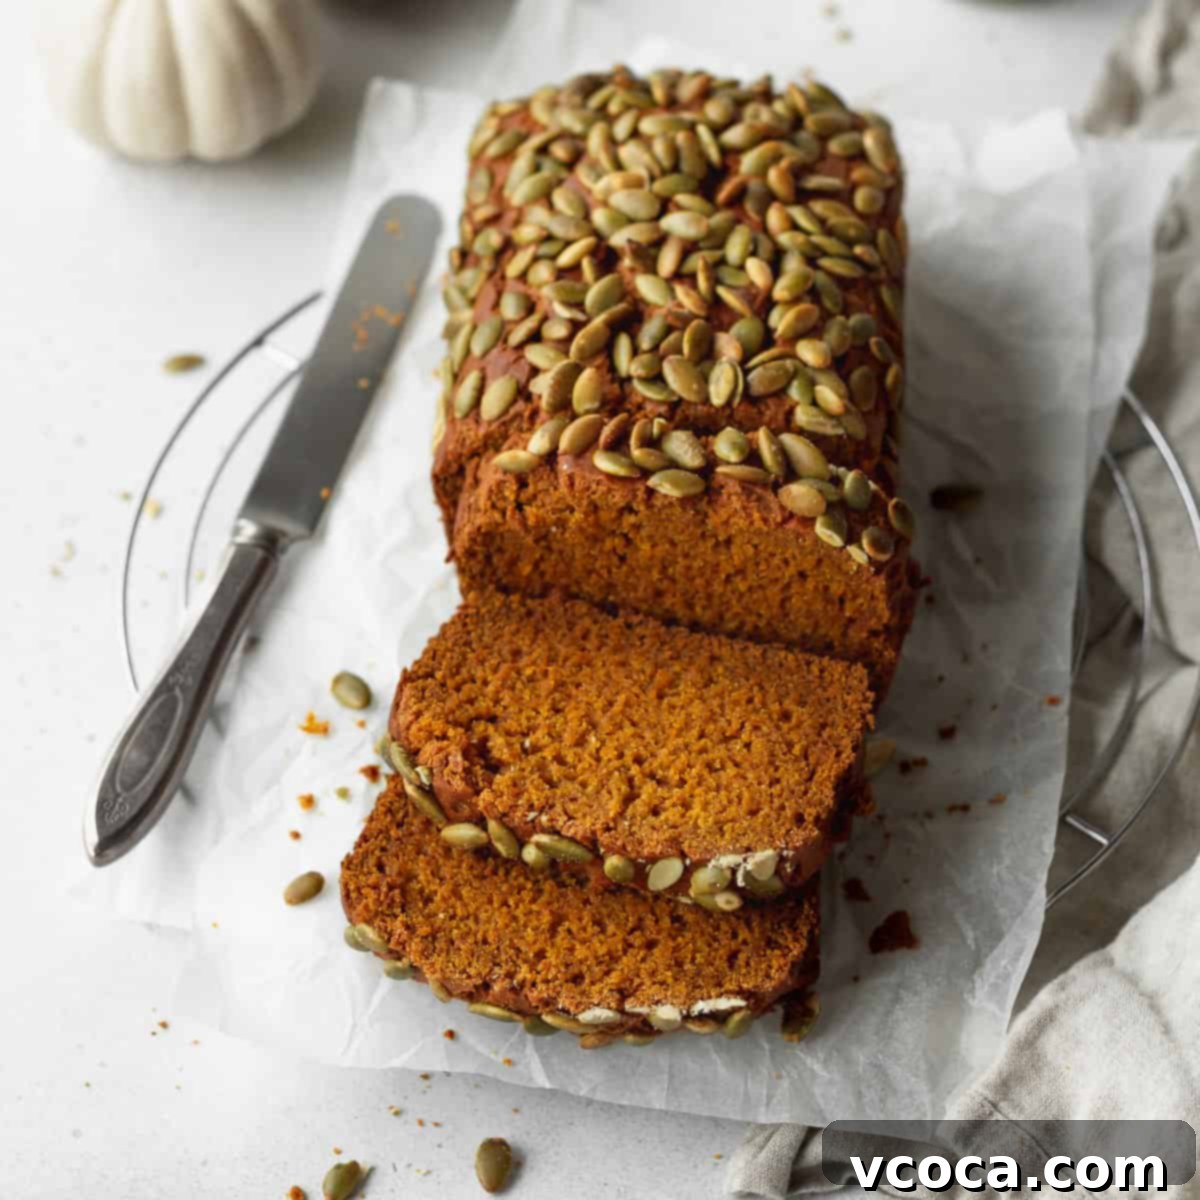
Irresistibly Moist Gluten-Free Pumpkin Bread: Your Ultimate Fall Baking Go-To
Embrace the cozy flavors of autumn with this incredibly moist and perfectly spiced gluten-free pumpkin bread. Infused with the rich sweetness of maple syrup, which contributes both deep flavor and unparalleled moisture, and topped with delightful crunchy pepitas, this bread promises love at first bite. It’s a truly special treat that will quickly become a cherished part of your fall baking traditions.
After years of experimenting with countless gluten-free recipes, this particular pumpkin bread stands out as my absolute favorite—and for good reason! It consistently yields a professional bakery-style loaf that impresses everyone, regardless of whether they follow a gluten-free diet or not. The recipe is surprisingly straightforward, making it accessible for bakers of all skill levels. I’m confident that this easy-to-follow recipe will soon find a permanent place in your home, bringing warmth and delicious aromas throughout the fall season and beyond.
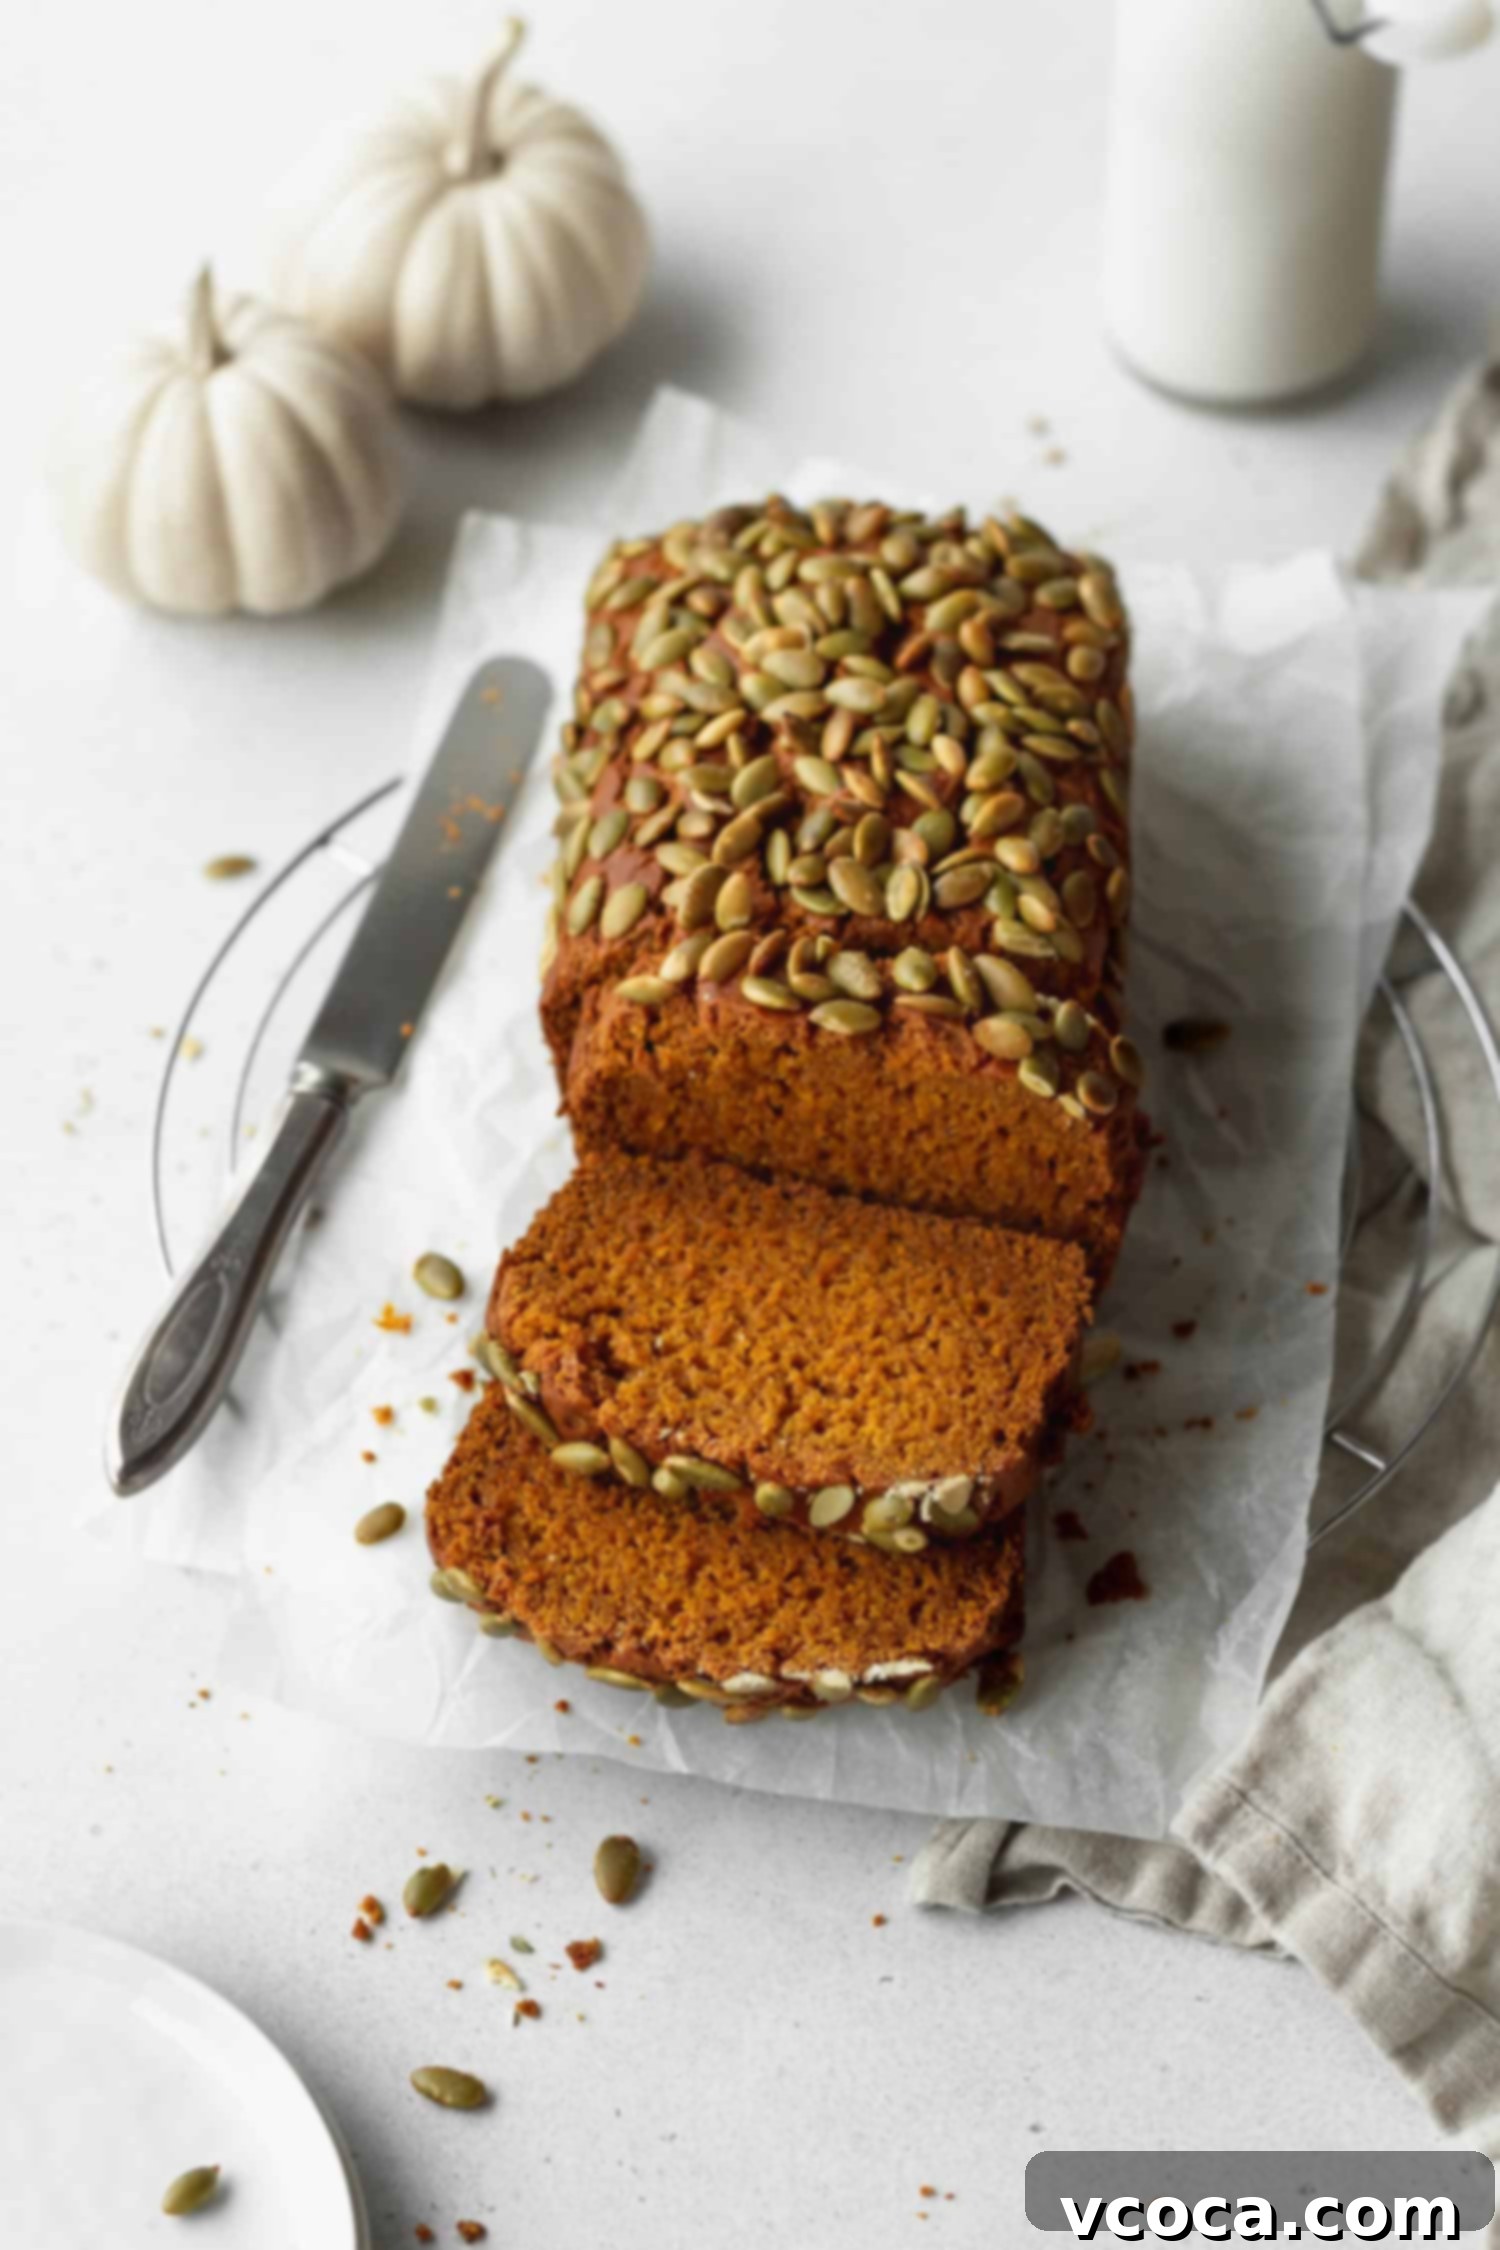
This recipe was originally published on August 29, 2020. It was updated with new information on August 29, 2025.
Why This Gluten-Free Pumpkin Bread Shines
What makes this gluten-free pumpkin bread truly exceptional? It’s a combination of thoughtfully selected ingredients and precise techniques designed to overcome common challenges in gluten-free baking. You’ll achieve a bread that’s not just “good for gluten-free” but genuinely delicious in its own right. The inclusion of maple syrup creates an unparalleled moist crumb, while a careful balance of spices evokes the quintessential flavors of autumn. Plus, the delightful crunch from the pepitas on top adds a textural contrast that elevates every slice. It’s an easy-to-make recipe that delivers consistent, bakery-quality results, making it perfect for holiday gatherings, cozy breakfasts, or simply a comforting treat.
Essential Ingredient Notes for the Perfect Loaf
To ensure your gluten-free pumpkin bread turns out perfectly moist, flavorful, and structurally sound, paying attention to the ingredients is key. Here are a few important things to note about some of the core components (you can find the full list of ingredients and precise measurements down in the recipe card below):
Gluten-free 1-to-1 flour – This is the foundation of our gluten-free bread, so choosing the right blend is crucial. Always opt for a gluten-free flour blend specifically formulated as a 1-to-1 replacement for all-purpose flour. Most importantly, ensure your chosen blend explicitly states that it *includes xanthan gum*. Xanthan gum acts as a binder, mimicking the gluten structure that is naturally absent in gluten-free flours. Without it, your bread might crumble and lack the desired structure. My personal favorite and highly recommended blend for consistent, reliable results is Bob’s Red Mill 1-to-1 Baking Flour, which already contains xanthan gum.
Cornstarch – This seemingly small addition plays a significant role in achieving a tender, soft crumb. Gluten-free baked goods can sometimes develop a slightly chewy or gummy texture, and cornstarch helps to counteract this by promoting a finer, more delicate crumb. If you don’t have cornstarch on hand, or prefer to omit it, you can substitute it with an equal amount of your chosen gluten-free 1-to-1 flour blend, though the texture might be slightly different.
Spices – The heart of any great pumpkin bread lies in its spice blend. This recipe features a harmonious combination of ground cinnamon, ginger, nutmeg, and cloves, which together create a wonderfully warm and inviting flavor profile. For the best taste, always check the freshness of your spices; stale spices lose their potency and won’t impart the vibrant flavor you’re looking for. If individual spices aren’t readily available or you prefer a simpler approach, you can easily swap this blend for 1 teaspoon of your favorite pre-mixed pumpkin pie spice.
Canned pumpkin – It’s absolutely essential to use pure pumpkin purée, not pumpkin pie filling. This distinction is critical because pumpkin pie filling is pre-sweetened and pre-spiced, which will throw off the delicate balance of flavors and sweetness in this recipe. Always double-check the label to ensure you’re getting 100% pure pumpkin. If you’re feeling ambitious, you can also use homemade pumpkin purée, just make sure it’s smooth and has a similar consistency to canned.
Maple syrup – Beyond its natural sweetness, pure maple syrup (preferably medium or dark grade for a richer flavor) adds a unique depth and subtle caramel note to this gluten-free pumpkin bread. More importantly, it contributes significantly to the bread’s incredible moisture content, working in conjunction with the oil and pumpkin to create a tender, soft crumb that stays fresh longer.
Oil – For a light and neutral base that allows the pumpkin and spices to shine, I love using avocado oil in all my baking and most of my cooking. However, any other neutral-flavored liquid oil will work beautifully here. Great alternatives include grapeseed oil, or even a light olive oil, which contributes a mild fruitiness without overpowering the pumpkin flavor. The oil provides essential fat for moisture and tenderness.
Raw pepitas – While technically an optional garnish for the top of the pumpkin bread, I highly recommend including raw pepitas (shelled pumpkin seeds). They add a fantastic textural contrast—a delightful crunch that complements the soft, moist interior of the bread. If pepitas aren’t your preference, you can bake the bread without them, or simply sprinkle a bit of raw sugar or cinnamon sugar on top before it goes into the oven for a different kind of sweet crunch.
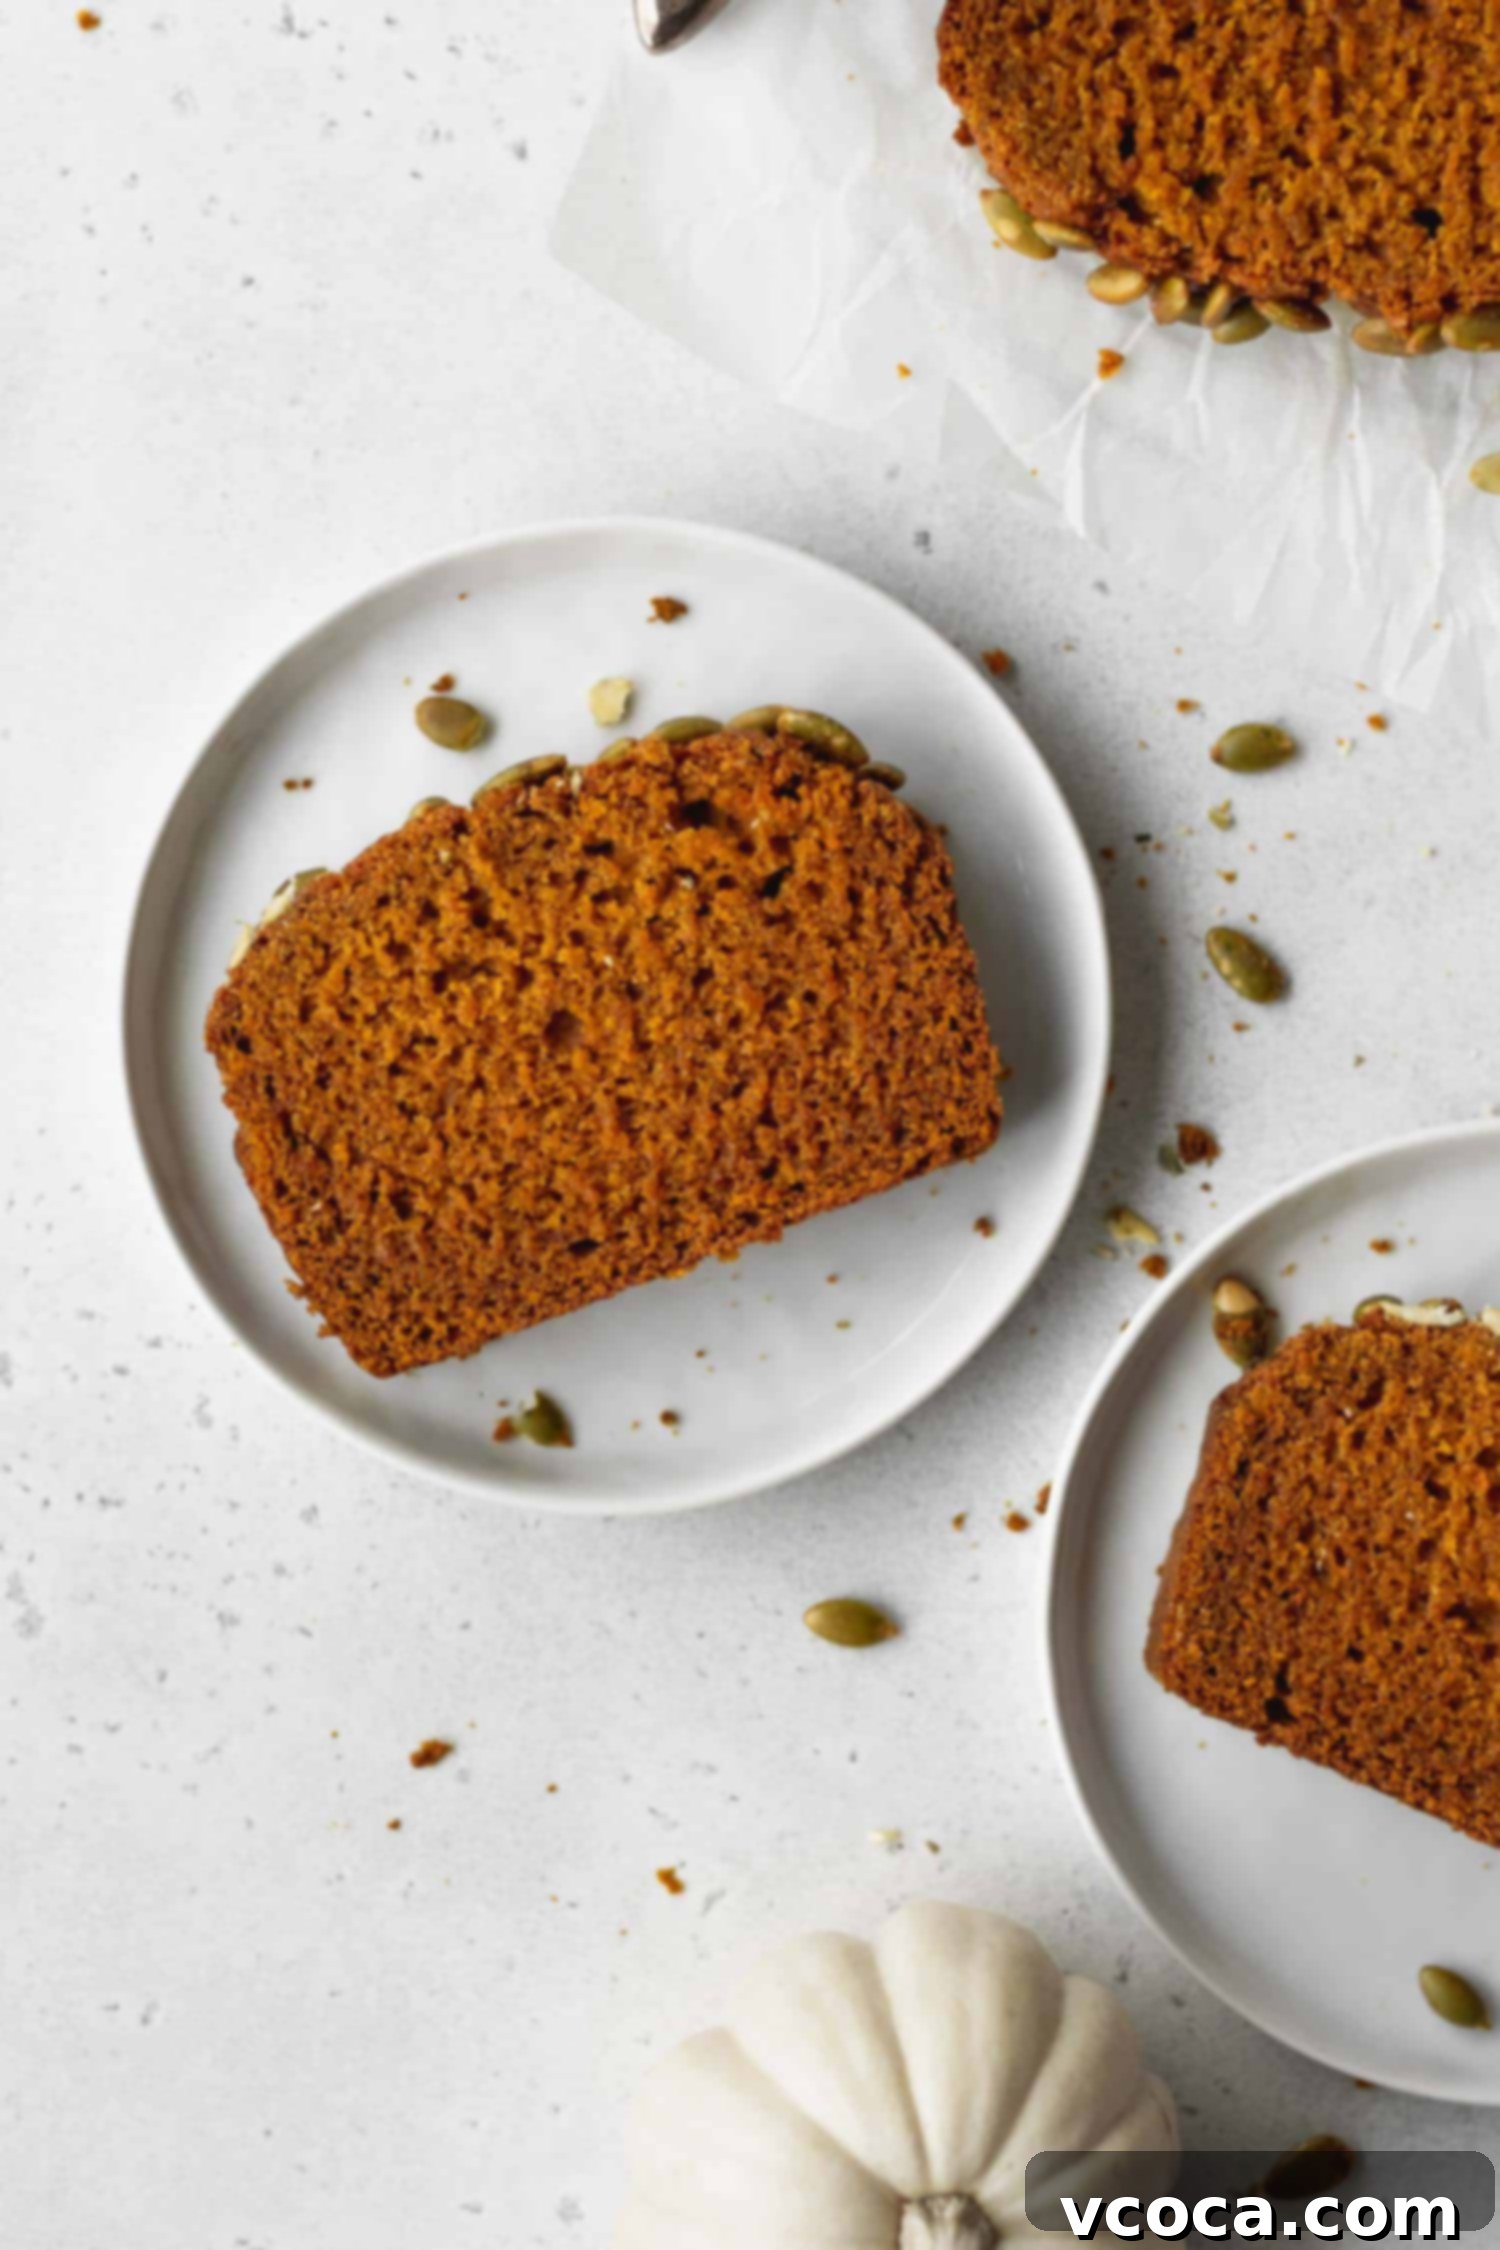
Step-by-Step Guide to Making Irresistible Gluten-Free Pumpkin Bread
Creating this delicious gluten-free pumpkin bread is a remarkably simple process, even for beginner bakers. Follow these easy steps to achieve a perfect loaf every time:
1. Prepare Your Dry and Wet Ingredients
Begin by combining all your dry ingredients – the gluten-free flour blend, cornstarch, salt, baking soda, baking powder, and your fragrant blend of cinnamon, ginger, nutmeg, and cloves – in a medium-sized bowl. Whisk them together thoroughly to ensure all the leavening agents and spices are evenly distributed. Set this bowl aside. In a separate, larger bowl, whisk together all the wet ingredients: the pure pumpkin purée, light brown sugar, maple syrup, large egg, and your chosen neutral oil. Once both mixtures are ready, gradually add the dry mixture to the wet ingredients. Stir gently with a spoon or spatula until just combined. Be careful not to overmix, as this can lead to a tougher texture in gluten-free baked goods.
2. Allow the Batter to Rest (The Secret to Success!)
This step is absolutely crucial for achieving the best texture in your gluten-free pumpkin bread. Once you have a smooth, well-combined batter, cover the bowl and let it rest at room temperature for 20 to 30 minutes. Unlike traditional wheat flour, gluten-free flours require more time to fully hydrate. This resting period allows the liquid to be absorbed completely, preventing your baked bread from having a gritty or crumbly texture. Don’t skip this step – your patience will be rewarded with a wonderfully smooth and moist loaf!
3. Preheat and Prepare Your Loaf Pan
While your batter is resting and hydrating, it’s the perfect time to prepare your baking vessel. Preheat your oven to 340°F (170°C). Then, take an 8.5×4.5 inch loaf pan, lightly grease it, and line it with parchment paper. Ensure the parchment paper hangs over the sides slightly, creating “slings” that will make it incredibly easy to lift your precious pumpkin bread out of the pan after baking. This step is a simple yet effective way to prevent any sticking and ensure a clean release.
4. Bake to Golden Perfection
Once the batter has rested and the oven is preheated, pour the prepared batter into your lined loaf pan. If you’re using pepitas for that delightful crunch, sprinkle them evenly over the top of the batter now. Transfer the pan to the preheated oven and bake for approximately 55-60 minutes. The best way to check for doneness is to insert a toothpick, a thin skewer, or even a piece of dry spaghetti into the very center of the loaf. It should come out clean or with just a few moist crumbs attached, indicating that the bread is baked through. Once baked, remove the pan from the oven and let the bread rest in the pan for 5-10 minutes. This allows the bread to set further. Then, use the parchment paper slings to carefully lift the loaf onto a wire rack to cool completely. Cooling completely is vital for gluten-free bread to achieve its final, perfect texture.
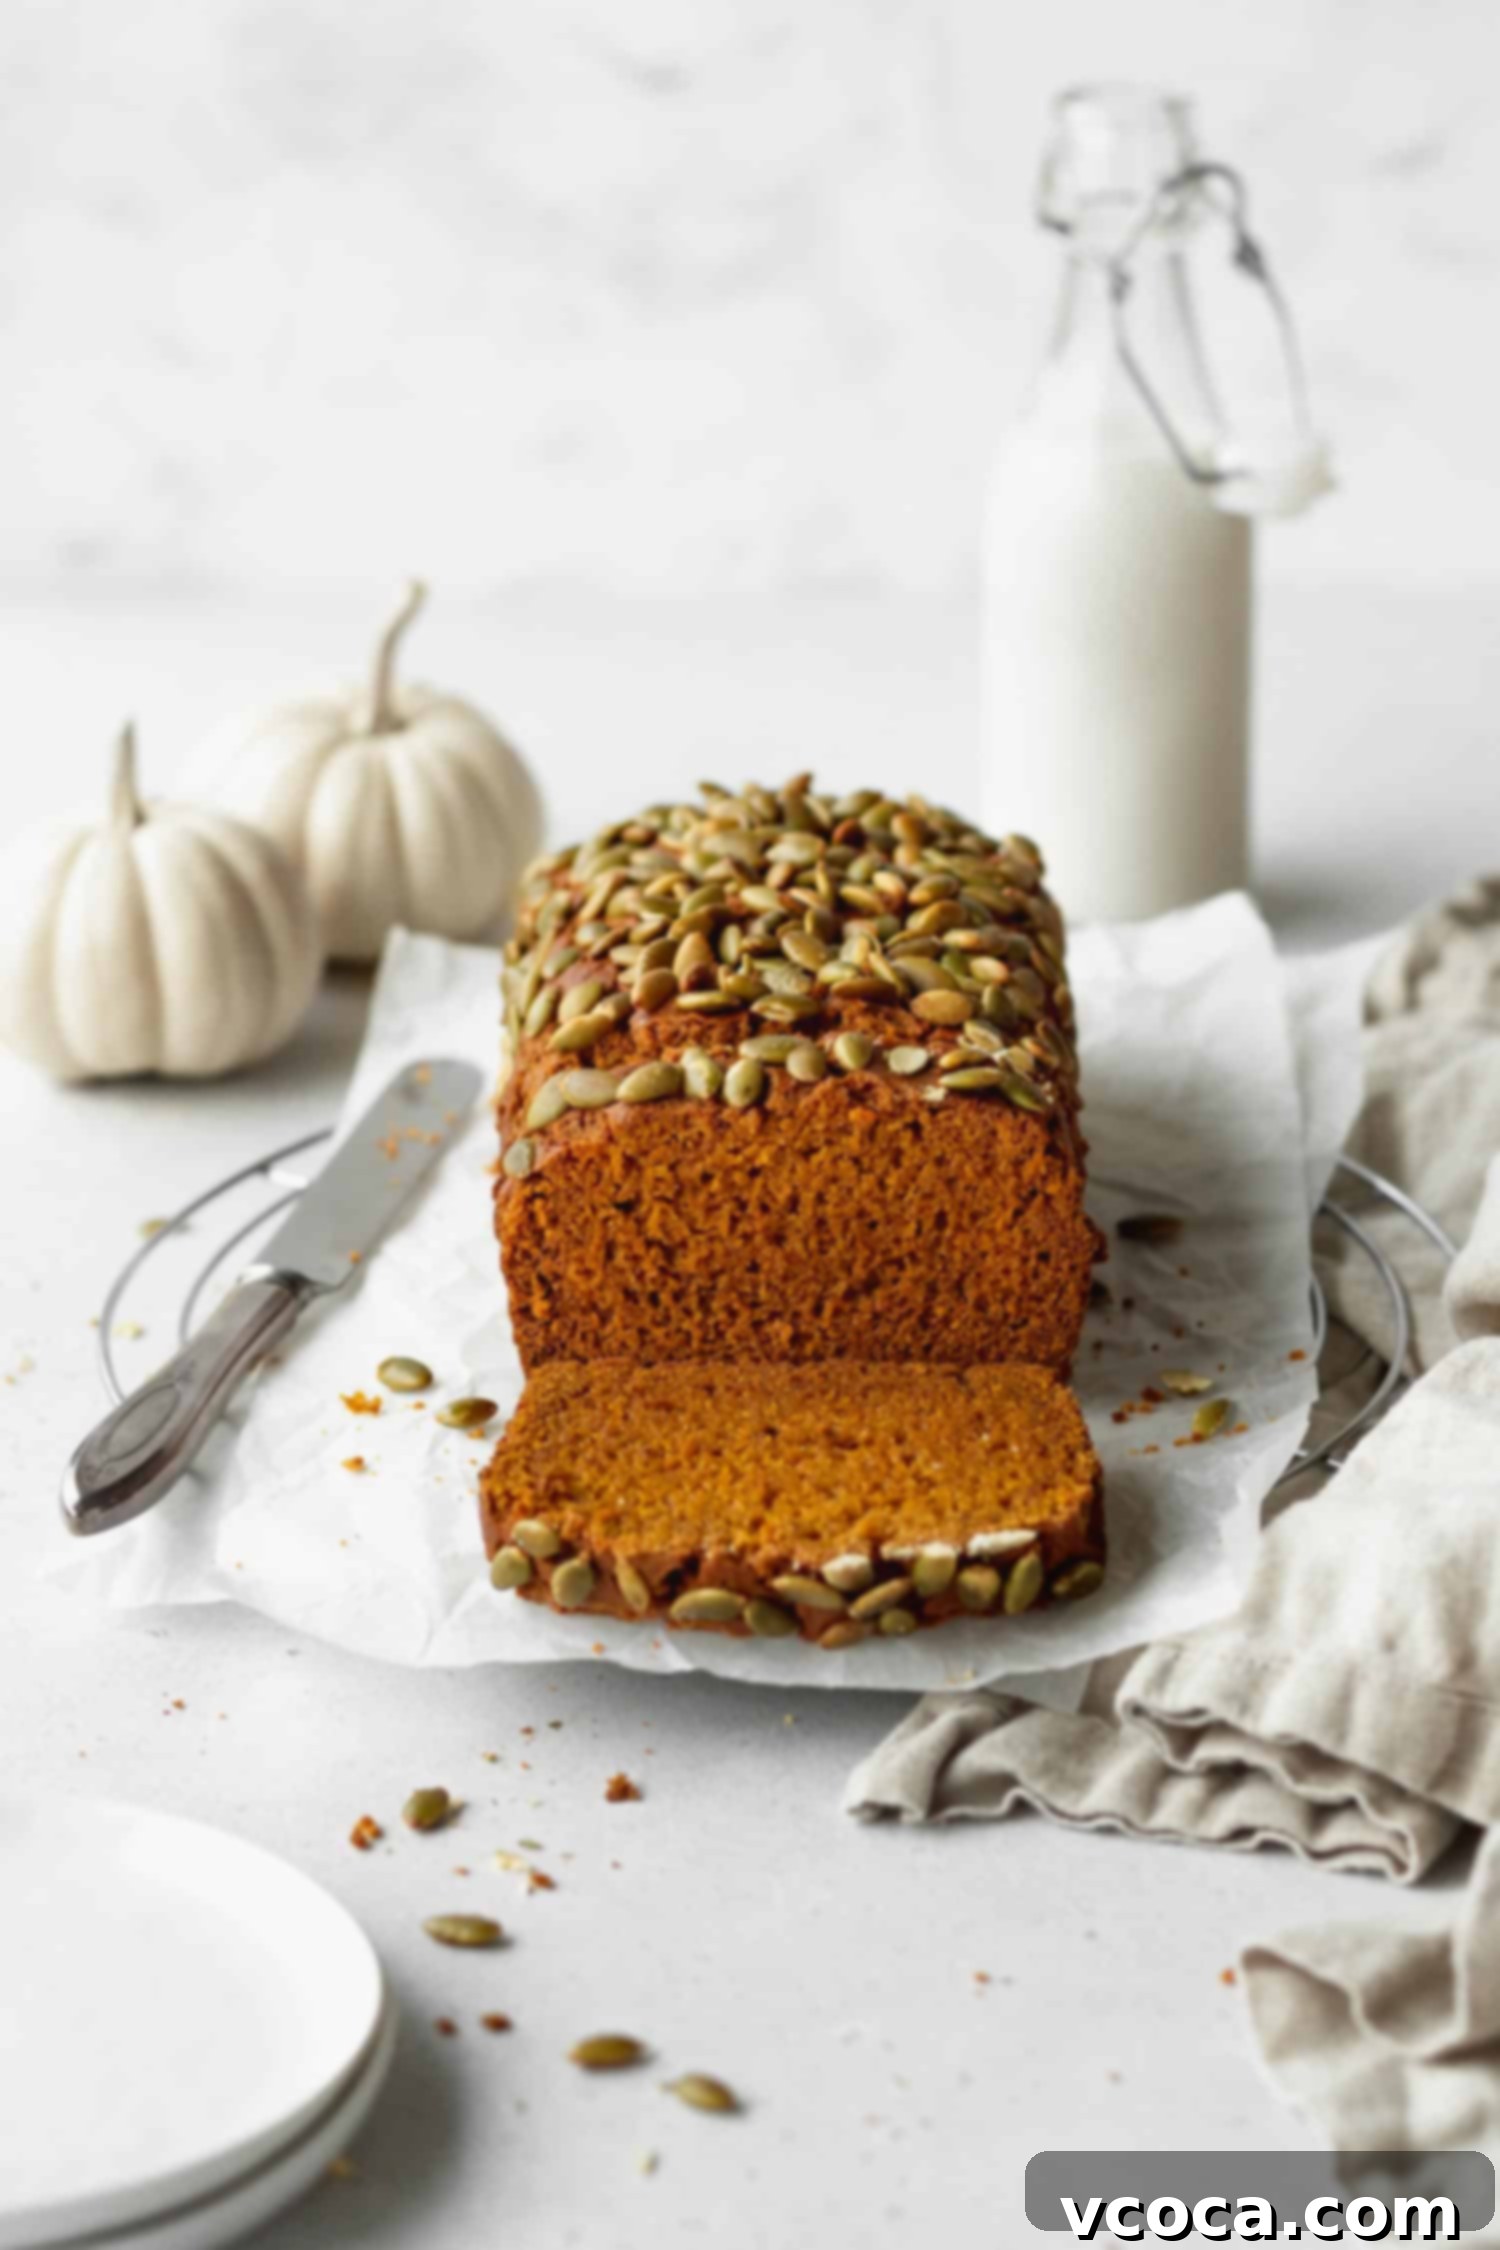
Pro Baking Tips for Gluten-Free Success
Gluten-free baking can be incredibly rewarding, but it often benefits from a few specific techniques to ensure flawless results. Here are my top tips to help you master this gluten-free pumpkin bread and apply to other gluten-free recipes:
Weigh your ingredients for accuracy. This is perhaps the most critical tip for consistent gluten-free baking. Using a kitchen scale to measure your ingredients, especially flour, is the most accurate method and dramatically reduces the margin for error. When you scoop flour with a measuring cup, or even spoon it in and level it off, you can inadvertently add too much flour, which leads to dense, dry, or crumbly baked goods. Considering that gluten-free flour blends are often more expensive than traditional flours, precise measurement ensures you get the delicious, bakery-quality results you paid for, without any disappointments.
Opt for a light-colored metal pan. The type of baking pan you use can significantly impact the final texture and appearance of your bread. Metal pans are superior to glass or ceramic for baking quick breads and cakes because metal conducts heat more efficiently and evenly. For gluten-free recipes, I highly recommend using a light-colored metallic pan. If you only have a dark metal pan, which absorbs more heat, you should decrease the oven temperature by 20°F (about 10°C) and start checking for doneness a bit earlier. This adjustment helps prevent the edges of your bread from becoming too dark, dry, or burnt before the center is fully cooked.
Always cool completely. This tip is paramount for all gluten-free baked goods, especially quick breads like this pumpkin bread. Gluten-free flours continue to cook and set as they cool down. If you cut into and eat this pumpkin bread (or any other gluten-free bread or cake) while it’s still warm, you’ll likely find it has a mushy, gummy, or overly moist texture in the center. Resisting the temptation to slice it immediately might be hard, but your patience will truly pay off with a perfectly firm yet tender crumb once it’s fully cooled – I promise!
Avoid overmixing. While gluten-free batters don’t develop gluten like traditional ones, overmixing can still incorporate too much air or break down the starches, leading to a tougher or less tender final product. Mix until just combined, allowing the resting period to do the work of hydration.
Ensure your oven temperature is accurate. An oven thermometer is an inexpensive tool that can save many baking mishaps. Ovens can often be off by 10-25 degrees, which can greatly affect baking times and results, especially in sensitive gluten-free recipes.
Gluten-Free Pumpkin Bread Recipe
Ingredients
- 1¼ cups gluten-free 1-to-1 flour blend make sure it contains xanthan gum
- ¼ cup cornstarch
- ¾ teaspoon fine salt
- 1 teaspoon baking soda
- 1 teaspoon baking powder
- ½ teaspoon ground cinnamon
- ¼ teaspoon ground ginger
- ⅛ teaspoon ground nutmeg
- ⅛ teaspoon ground cloves
- 7.5 ounces canned pumpkin (half a 15oz can, pure pumpkin purée)
- ¾ cup light brown sugar
- ¼ cup maple syrup
- 1 large egg
- ⅓ cup light olive oil or avocado oil
- 1½ tablespoons raw pepitas
Instructions
-
In a bowl, mix together gluten-free flour, cornstarch, salt, baking soda, baking powder, cinnamon, ginger, nutmeg, and cloves. Whisk well to combine. Set aside.
-
In a large bowl, combine pumpkin, light brown sugar, maple syrup, egg, and olive oil (or avocado oil). Add the dry flour mixture to the wet ingredients and stir gently until just combined. Cover the bowl and let the batter rest for 30 minutes to properly hydrate the gluten-free flour.
-
While the batter rests, preheat the oven to 340°F (170°C). Grease and line an 8.5×4.5in (20x10cm) loaf pan with parchment paper, allowing it to overhang slightly on the long sides for easy removal.
-
Pour the batter into the prepared loaf pan and top with raw pepitas, if using. Bake for 55-60 minutes, or until a skewer inserted into the middle comes out clean or with a few moist crumbs. Let the bread rest in the pan for 5-10 minutes before carefully lifting it out onto a wire rack to cool completely. Cooling completely is crucial for the best texture.
Notes
Nutrition
Frequently Asked Questions About Gluten-Free Pumpkin Bread
While this recipe is optimized for a loaf pan, baking ratios and times for muffins differ slightly. For the best possible results and to ensure perfectly moist and fluffy individual servings, I highly recommend using my dedicated recipe for gluten-free pumpkin muffins instead! That recipe is specifically formulated for muffins and includes a delightfully crunchy streusel topping.
Absolutely, adding mix-ins is a fantastic way to customize your pumpkin bread! Chocolate chips (dark, milk, or white chocolate), toasted chopped pecans, or walnuts would all be incredibly delicious additions. You can stir in about ½ to ¾ cup of your preferred mix-ins into the batter just before the resting period. For an extra special touch, you could also add a classic streusel topping, drizzle it with a tangy cream cheese frosting once cooled, or simply serve warm slices with a dollop of homemade honey butter.
To maintain optimal freshness, store any leftover pumpkin bread in an airtight container at room temperature for up to 3 days. To prevent the exposed, sliced surface from drying out, I recommend pressing a piece of parchment paper, plastic wrap, or aluminum foil directly against the cut side of the bread before sealing the container. This helps lock in the moisture and keeps your bread tender and delicious for longer.
Yes, this pumpkin bread freezes beautifully! To freeze, first allow the loaf to cool completely. Then, slice the bread into individual portions. Wrap each piece tightly with plastic wrap, followed by aluminum foil, to prevent freezer burn. Place the wrapped slices into a freezer-safe bag or container and store them in the freezer for up to 3 months. When you’re ready to enjoy, simply thaw individual slices on the counter for an hour or two, or gently warm them in the microwave for 10-20 seconds until soft and fragrant.
Yes, good news! This recipe is naturally dairy-free as written. The wonderful moisture and rich texture come from the egg, maple syrup, neutral oil, and of course, the pure canned pumpkin purée. There is no milk, butter, or other dairy products used in the ingredients, making it suitable for those with dairy sensitivities or allergies.
Unfortunately, this particular recipe is not easily adaptable to be vegan. The egg is an essential structural component and binding agent in this recipe, contributing significantly to its texture and rise. Substituting it with an egg replacer would likely alter the final consistency and may not yield the same moist, bakery-style results.
While coconut oil is a popular choice in some baking, I wouldn’t recommend using it for this pumpkin bread, whether refined or virgin. Coconut oil has a heavier texture and a distinct flavor that might overpower the delicate pumpkin and spice notes. It also solidifies at cooler temperatures, which could affect the bread’s texture when stored. For the best results, stick with a light, neutral-flavored liquid oil like avocado oil or light olive oil. If you prefer a butter-like flavor and don’t need dairy-free, you could also use an equal amount of melted dairy or vegan butter, just ensure it’s fully melted and slightly cooled before adding to the wet ingredients.
For the perfect domed top and ideal bake, I strongly recommend using an 8.5 x 4.5-inch loaf pan. This size may seem slightly smaller than some standard loaf pans (which are often 9×5 inches), but it’s key to preventing a flat loaf. Using a larger 9-inch pan will cause the batter to spread out too thinly, resulting in a bread that bakes up flat and potentially dry. The slightly smaller pan ensures your loaf rises beautifully with a lovely domed crown, giving you that impressive bakery-style appearance.
Yes, if you do not follow a gluten-free diet and prefer to use traditional flour, you can substitute the gluten-free 1-to-1 flour blend with an equal amount of all-purpose flour. You can also omit the cornstarch in that case. The recipe will still yield a wonderfully moist and flavorful pumpkin bread, though the texture will naturally be slightly different due to the presence of gluten.
You can slightly reduce the sugar by about ¼ cup if you prefer a less sweet bread. However, keep in mind that sugar not only adds sweetness but also contributes to the moisture and browning of the bread. Reducing it too much might affect the texture and how moist the bread remains over time. Maple syrup already adds a good amount of moisture, so small adjustments to the brown sugar should be fine.
This bread is incredibly versatile! It’s delicious on its own as a simple breakfast, a mid-day snack with coffee or tea, or a light dessert. For an elevated experience, try it warm with a spread of butter, cream cheese, or a drizzle of extra maple syrup. It also pairs wonderfully with a scoop of vanilla ice cream for a more decadent treat. Don’t forget, it’s also perfect for sharing during holiday gatherings!
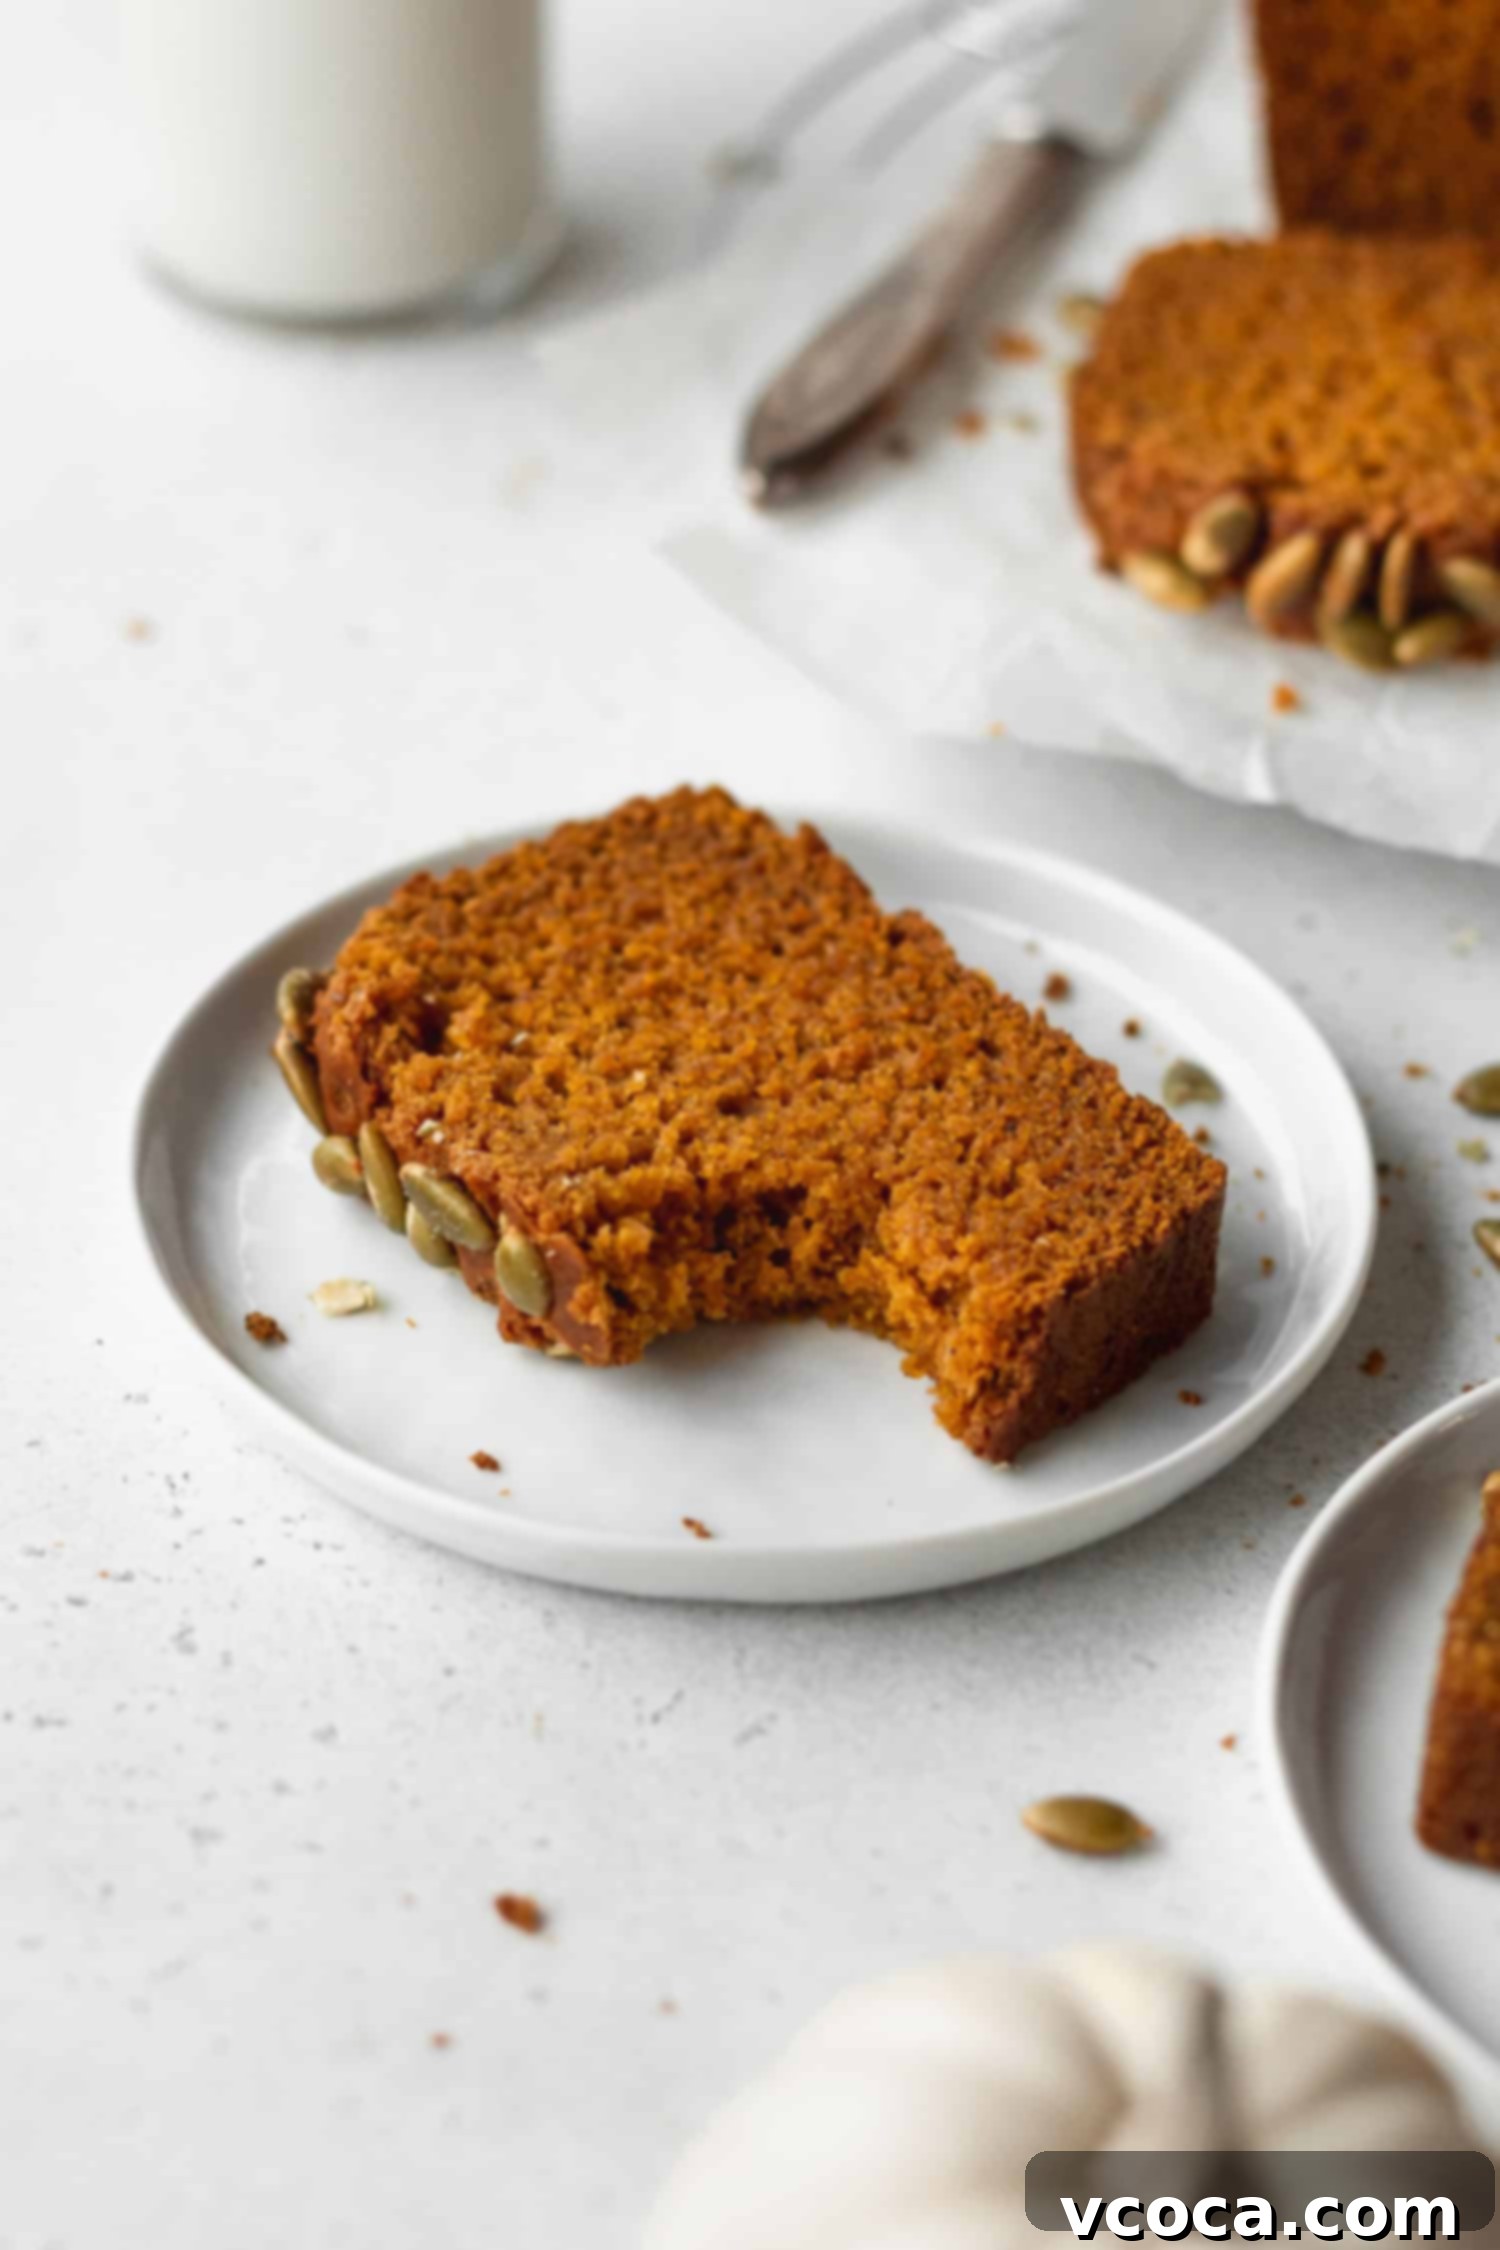
More Delightful Gluten-Free Dessert Recipes to Explore
If you’ve fallen in love with this super moist gluten-free pumpkin bread recipe, you’re in for a treat! The world of gluten-free baking is full of delicious possibilities. Here are some more top-rated gluten-free sweets and baked goods from my kitchen that I highly recommend you try next. Each one is designed for incredible flavor and texture, proving that gluten-free doesn’t mean compromising on taste:
- Craving more gluten-free pumpkin delights? You absolutely must try my gluten-free pumpkin muffins! They are incredibly fluffy and moist, crowned with a irresistible streusel topping that adds a perfect crunch.
- For a timeless classic, these gluten-free sugar cookies are simply a must-make! They boast a wonderfully soft texture with a crisp bottom, just like those beloved sugar cookies you remember from your favorite bakery or grocery store.
- Are you more of a chewy cookie aficionado? Then you’ll adore these gluten-free chocolate chip cookies! Or, for festive occasions, don’t miss out on these charming gluten-free Christmas cookies.
- All chocolate lovers, listen up! You need to make these super fudgy gluten-free brownies right now. They deliver that iconic shiny, crackly surface and intense chocolate flavor that dreams are made of.
- In the mood for another delightful loaf cake? Explore my equally moist and easy-to-make gluten-free chocolate chip banana bread, fresh and flavorful gluten-free zucchini bread, or this bright and zesty lemon poppy seed cake! Each one is a testament to excellent gluten-free baking.
- Looking for even more inspiration? This comprehensive list of gluten-free dairy-free desserts offers a wide array of recipes to satisfy any sweet craving!
I hope you enjoy exploring these recipes as much as I enjoyed creating them. Happy baking!
