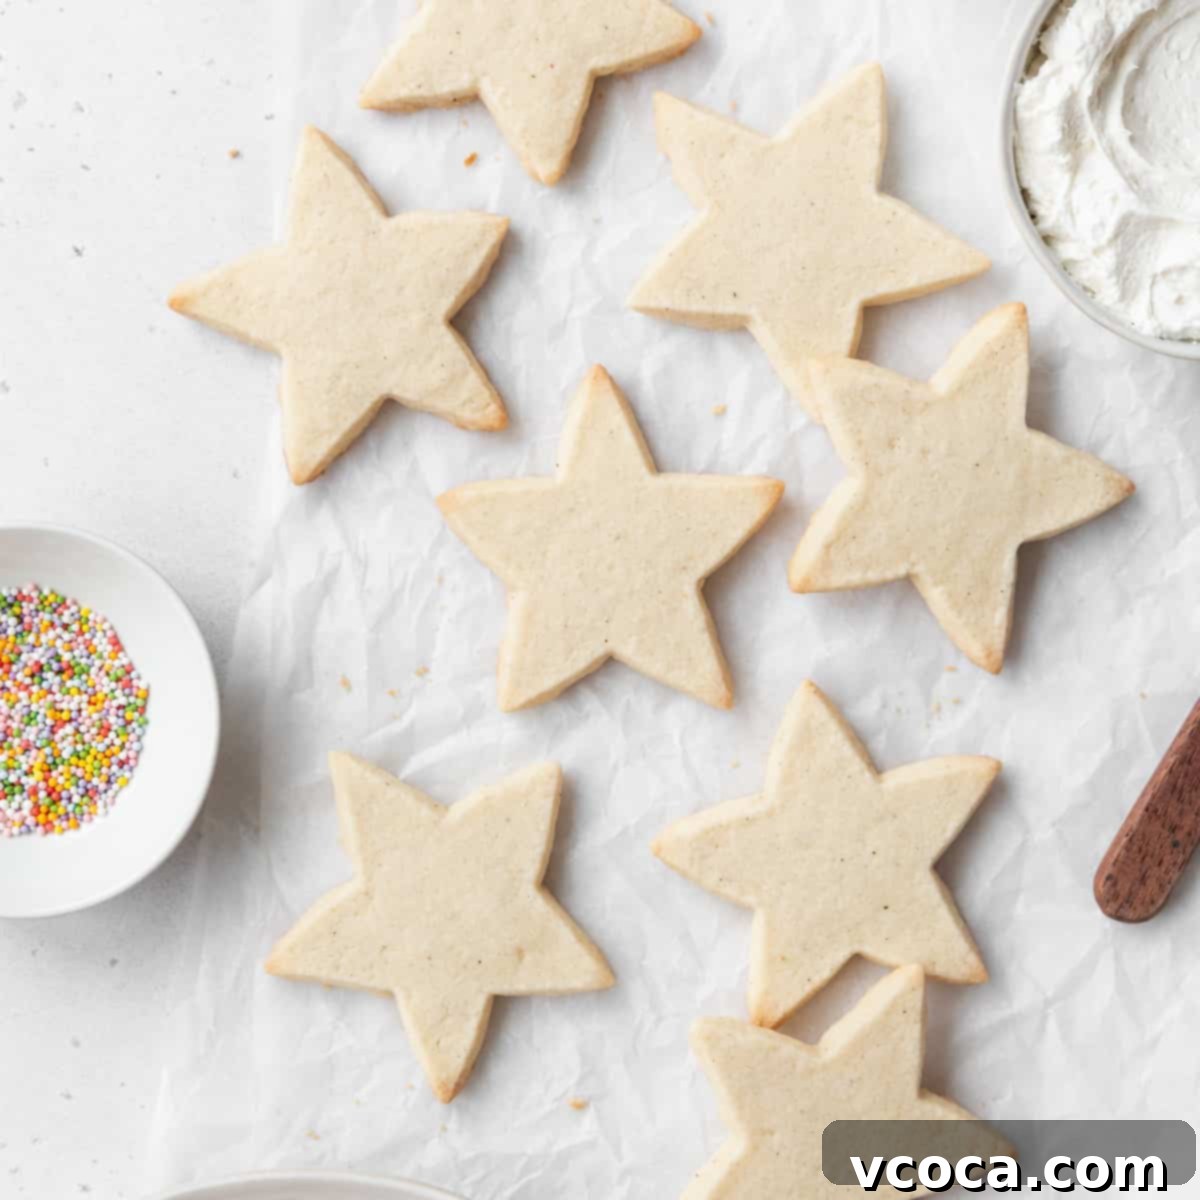
The Ultimate Gluten-Free Sugar Cookie Recipe: Soft, Buttery & Perfectly Sweet
Discover the absolute best Gluten-Free Sugar Cookie Recipe that will revolutionize your baking! These delightful cookies boast a tender, buttery texture, a wonderfully soft bite, and just the right amount of sweetness – all without any gluten. Whether you’re celebrating holidays like Christmas, Valentine’s Day, or Halloween, or simply craving a classic cookie, this recipe is your go-to. Grab your favorite cookie cutters and prepare to bake a batch of irresistible treats that everyone, gluten-free or not, will adore.
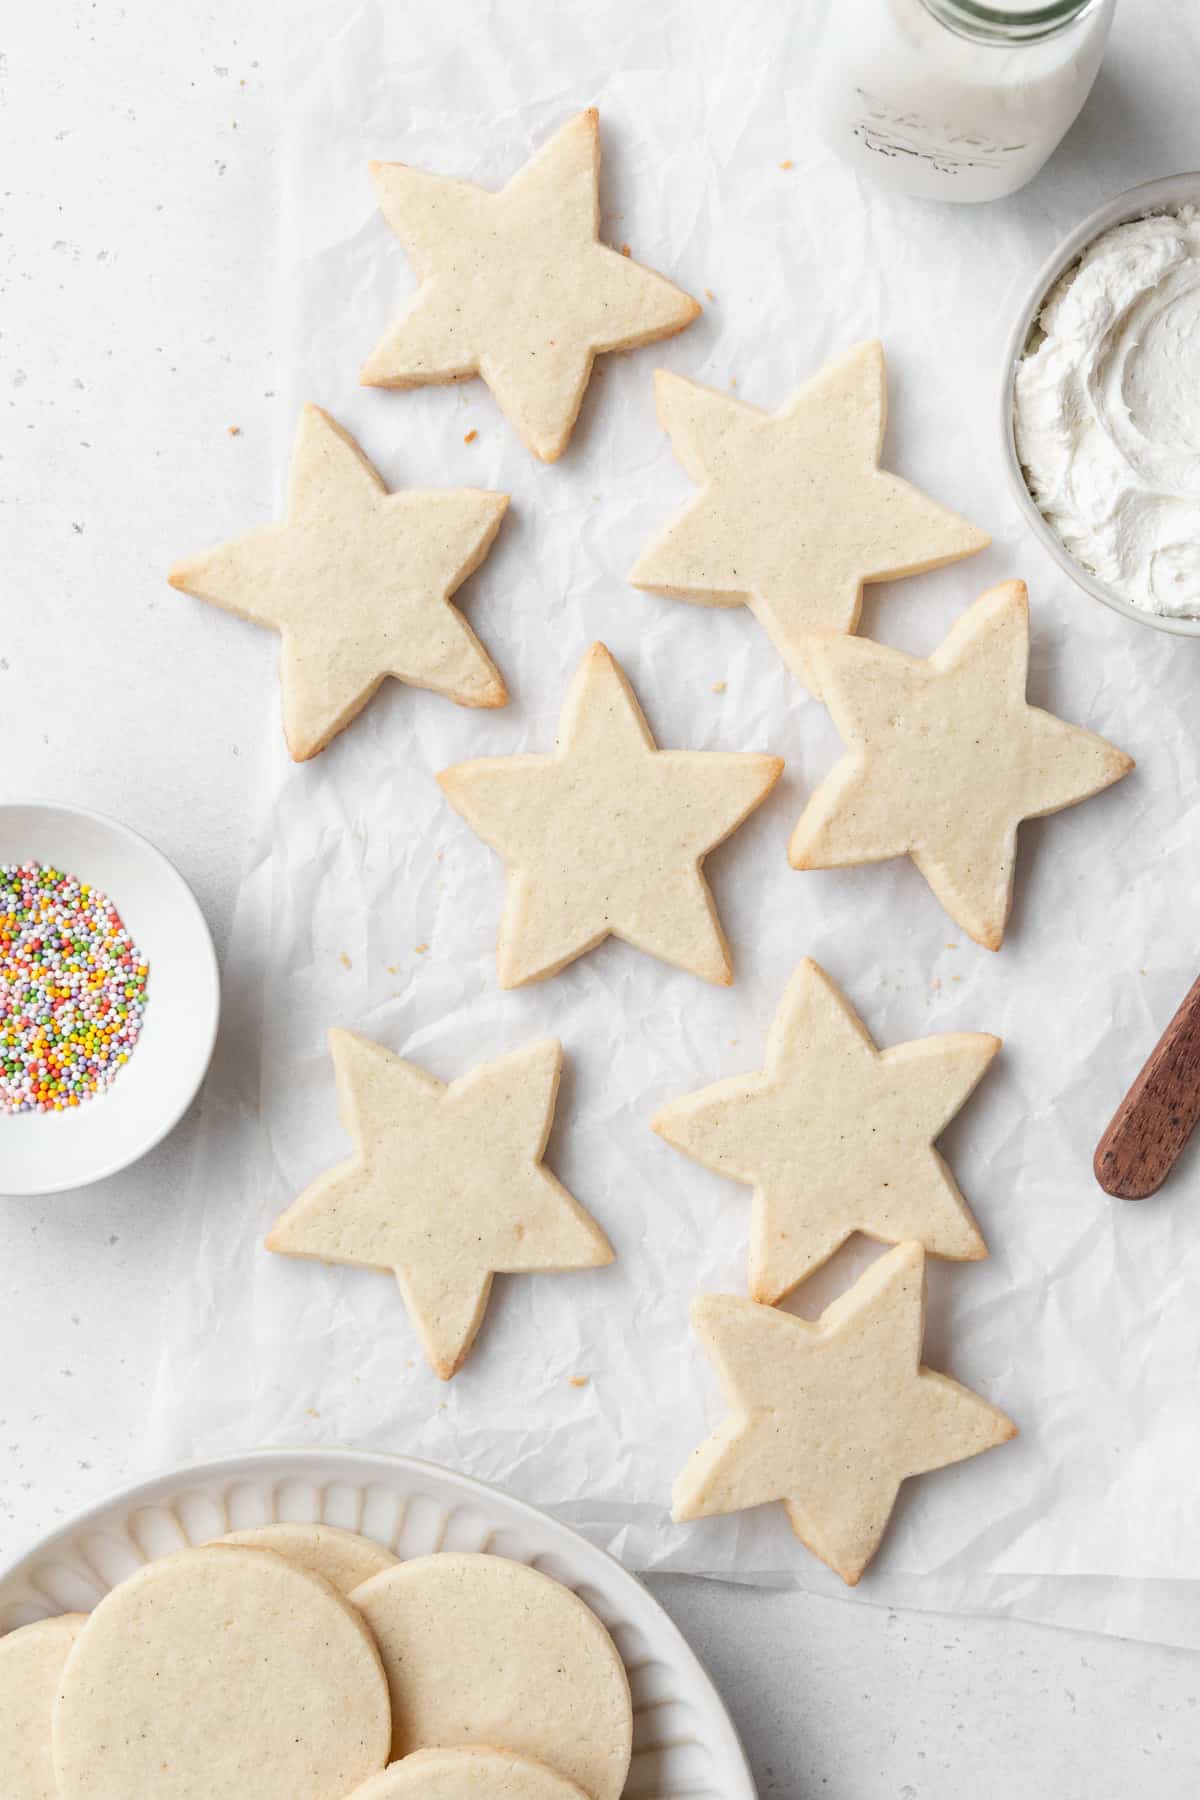
Creating delicious gluten-free treats can sometimes feel like a challenge, but these sugar cookies prove that it doesn’t have to be. This recipe delivers all the classic charm and delightful taste of traditional sugar cookies, perfectly adapted for a gluten-free diet. The key lies in selecting the right ingredients and following a few simple steps, ensuring your cookies are never dry or crumbly, but instead moist, flavorful, and a joy to decorate. Get ready to impress your family and friends with these spectacular cut-out cookies!
Essential Ingredients for Perfect GF Sugar Cookies
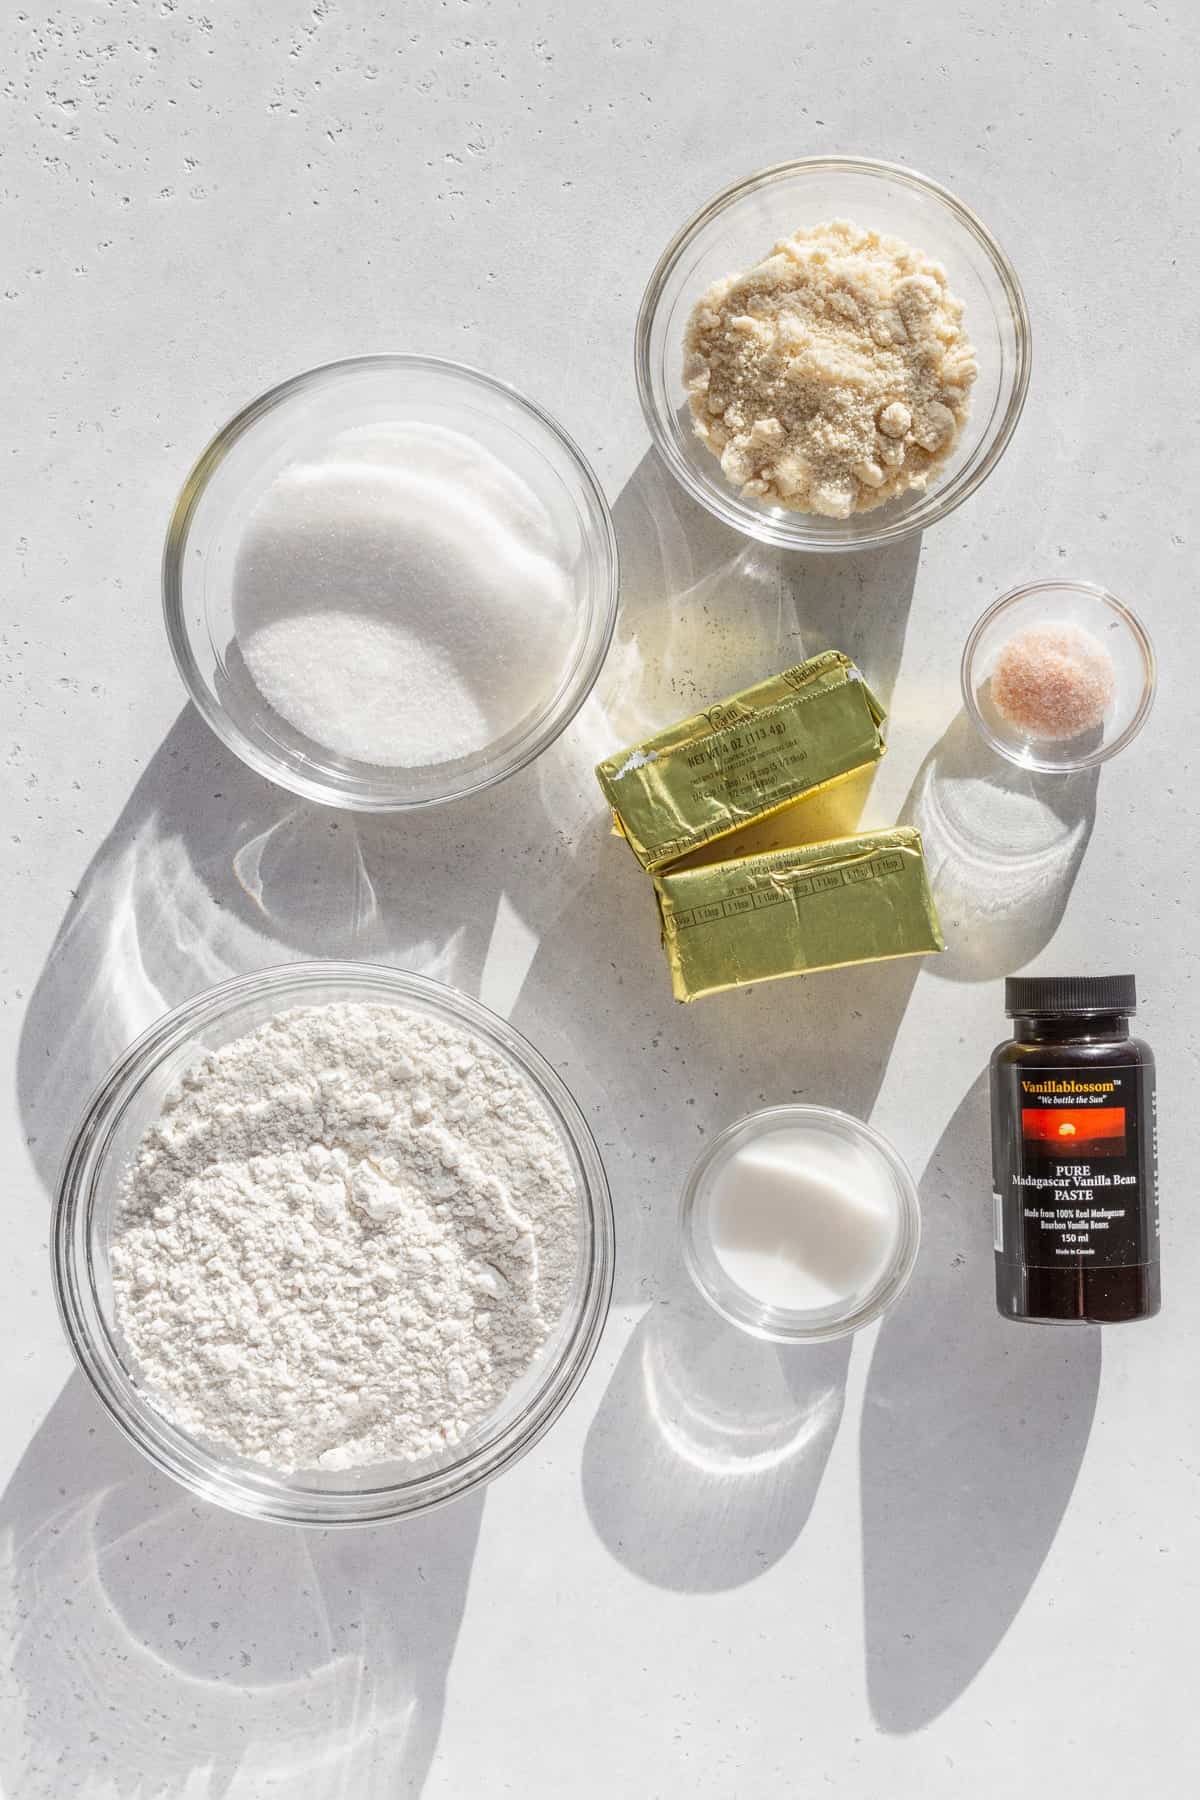
You’ll be pleased to know that all the ingredients required for these fantastic gluten-free sugar cookies are readily available at most major grocery stores. Here’s a detailed look at what you’ll need and why each component is crucial:
- Gluten-Free 1-to-1 Flour – This is the cornerstone of our gluten-free baking. Flour blends specifically formulated as 1-to-1 baking flours, like Bob’s Red Mill 1-to-1 Baking Flour, are designed to mimic the performance of all-purpose wheat flour without the gluten. They usually contain a balanced mix of gluten-free grains and starches, often including xanthan gum, which helps with structure and prevents a gritty texture. This means you won’t need to add extra xanthan gum, simplifying your baking process.
- Almond Flour – Adding a touch of almond flour to this recipe enhances the cookies with a delightful nutty depth, a richer buttery flavor, and a wonderfully tender crumb. If you need a nut-free option, don’t worry! You can easily swap the almond flour for an equal amount of your chosen gluten-free 1-to-1 flour blend. This versatility ensures everyone can enjoy these cookies.
- Butter – For the best flavor and control over saltiness, unsalted butter is recommended. However, if salted butter is all you have, it will still work beautifully; just be sure to slightly reduce any added salt in the recipe. For those seeking a dairy-free alternative, vegan butter sticks are an excellent substitute. When selecting a vegan butter, ensure it contains at least 8 grams of fat per 2 teaspoons (or 10g) of butter for optimal texture and richness. Make sure your butter is softened to room temperature for proper creaming.
- Milk – Just a single tablespoon of milk makes a significant difference in the final texture of these cookies. It provides the perfect amount of moisture, contributing to their signature softness and tenderness. Feel free to use either dairy milk or your favorite plant-based milk (such as almond milk or oat milk) – both work equally well.
- Vanilla Extract – For a truly exceptional flavor profile, always opt for pure vanilla extract or vanilla bean paste. The high-quality vanilla elevates the overall taste of the cookies, adding a warm and inviting aroma that is synonymous with classic sugar cookies.
- Granulated Sugar – This essential ingredient provides the classic sweetness and helps achieve that delightful crispness around the edges while keeping the centers soft. Granulated sugar also contributes to the smooth texture of the dough, making it easy to roll and cut.
- Salt – A pinch of fine salt is crucial for balancing the sweetness and enhancing all the other flavors in the cookies. Don’t skip it, as it brings out the best in every bite.
How to Make Irresistible Gluten-Free Sugar Cookies
Making these gluten-free sugar cookies is a surprisingly simple and enjoyable process! The recipe is straightforward, yielding beautifully consistent results every time. Follow these steps to create your perfect batch:
Step 1: Combine Dry Ingredients. In a medium-sized mixing bowl, whisk together your gluten-free 1-to-1 flour blend, almond flour (if using), and salt. Whisking thoroughly ensures all dry ingredients are evenly distributed, which is crucial for uniform cookies. Set this aside.
Step 2: Cream Wet Ingredients. In a separate, larger bowl or the bowl of a stand mixer fitted with a paddle attachment, cream together the softened butter and granulated sugar. Beat on medium-high speed for about 3 minutes until the mixture becomes light, fluffy, and noticeably creamy. This step incorporates air, which contributes to the cookies’ tender texture. Remember to scrape down the sides and bottom of the bowl frequently to ensure everything is well combined. Once light and fluffy, add the tablespoon of milk and the vanilla extract, beating just until they are fully incorporated.
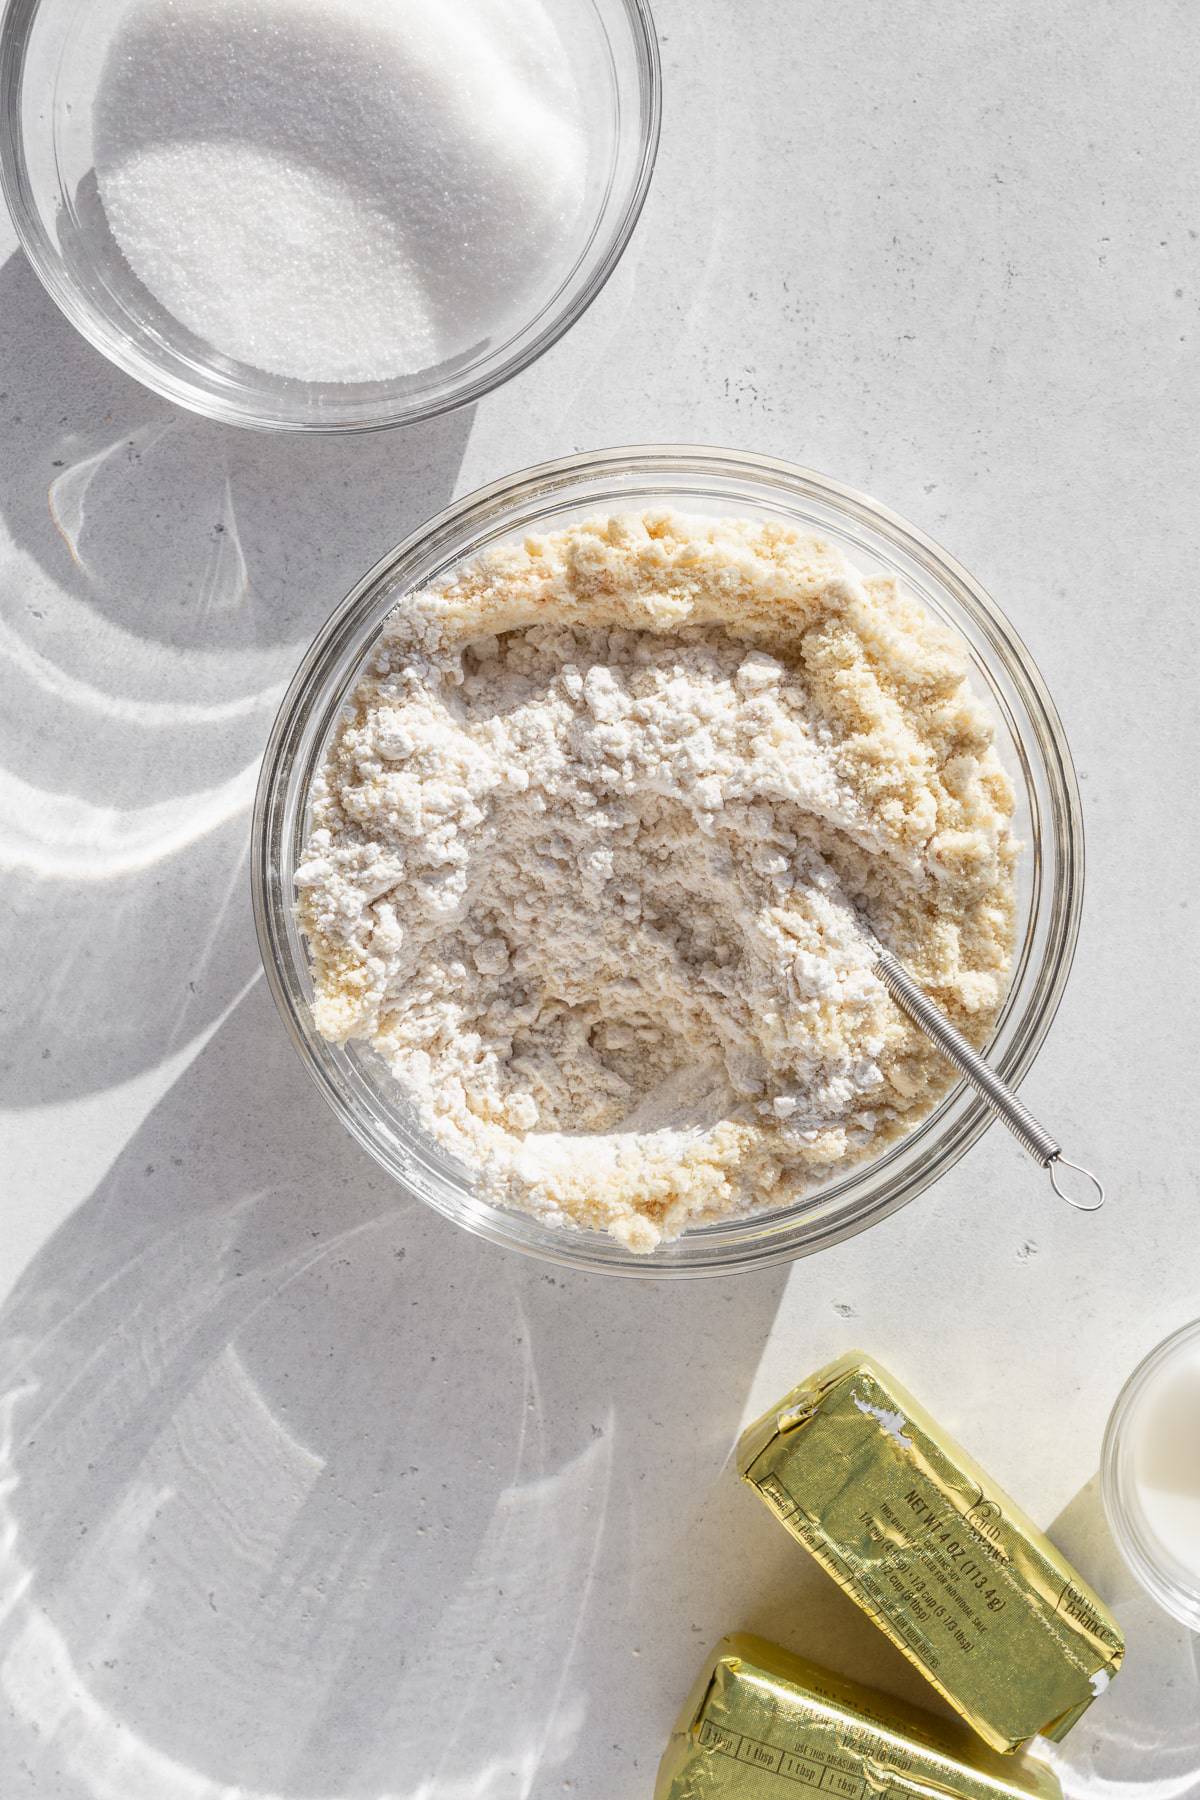

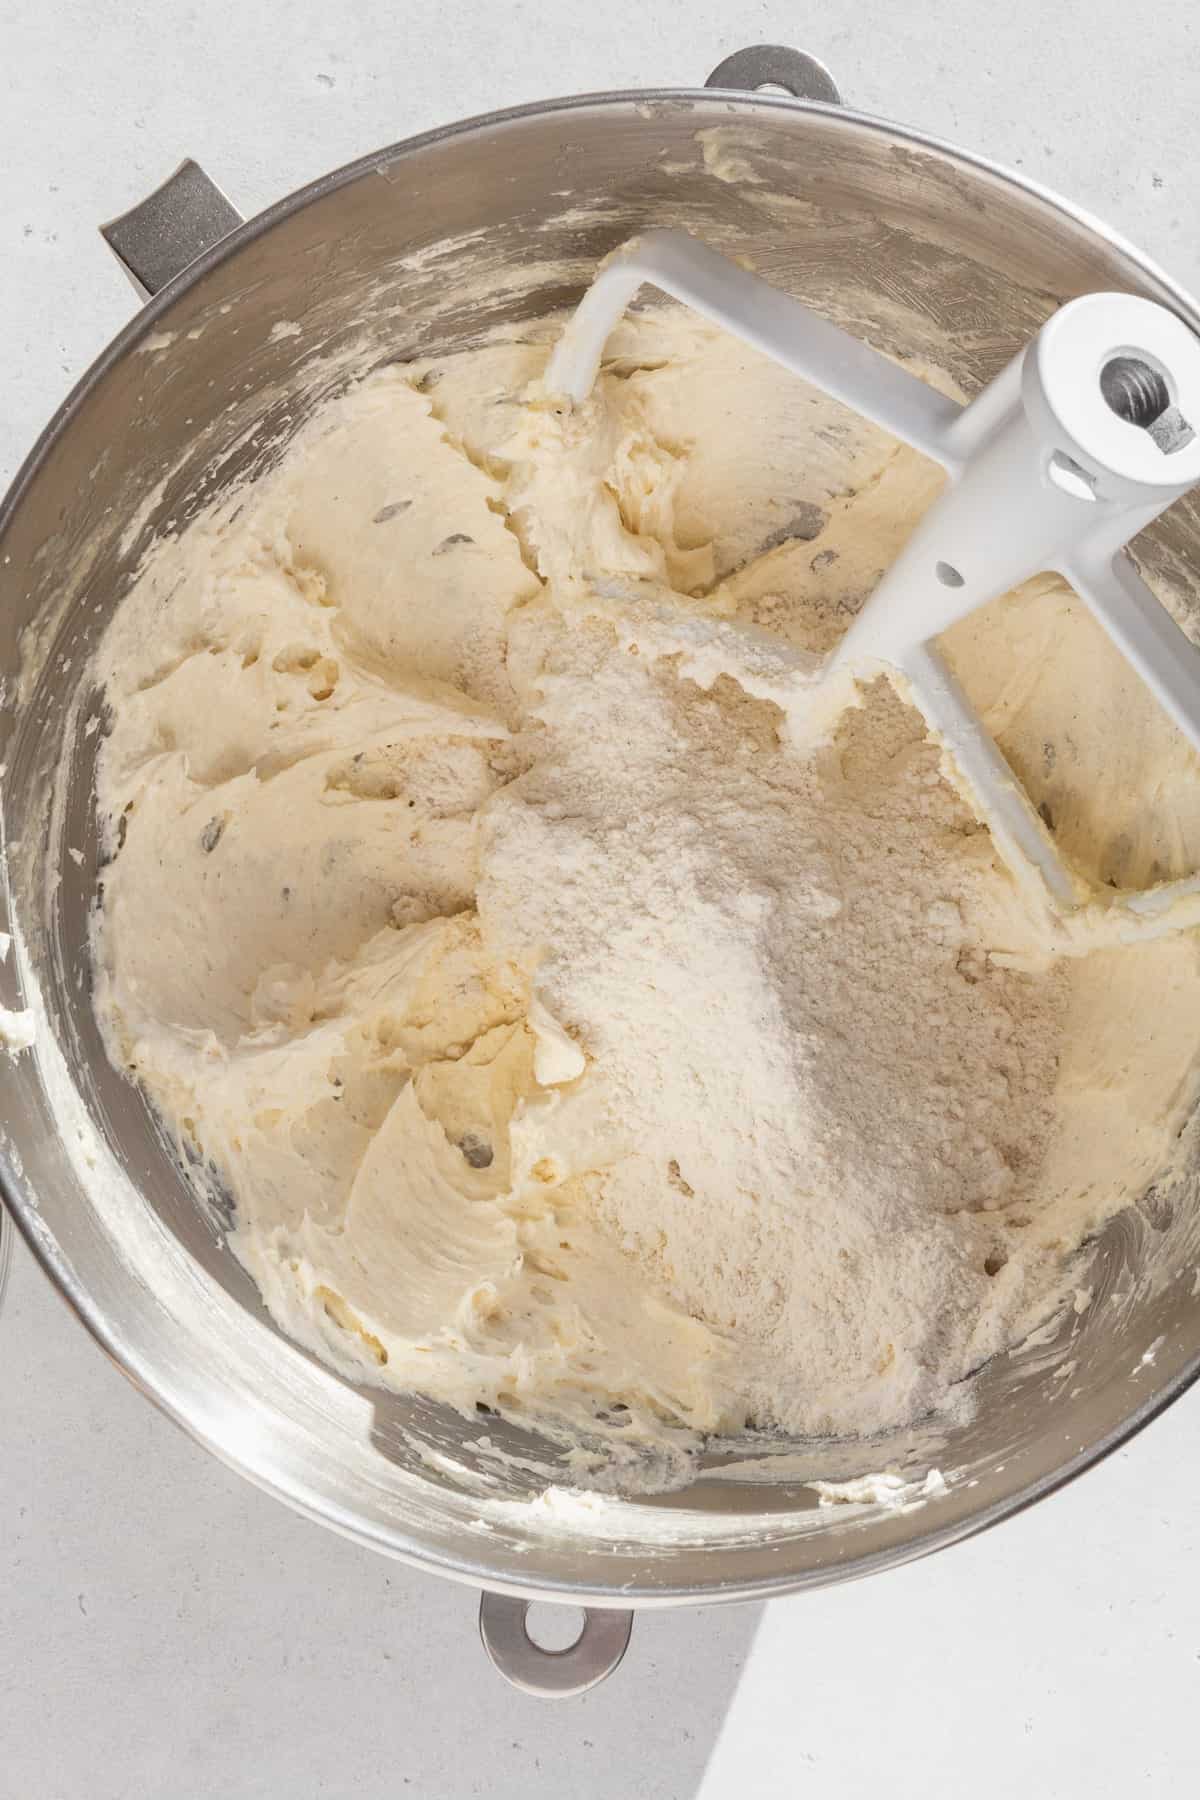
Step 3: Gradually Add Dry to Wet. With the mixer on low speed, gradually add the whisked flour mixture to the creamed butter mixture. Mix until just combined and no visible streaks of flour remain. Be careful not to overmix, as this can lead to tougher cookies, especially with gluten-free flours. Scrape the bowl once more to ensure all ingredients are evenly incorporated.
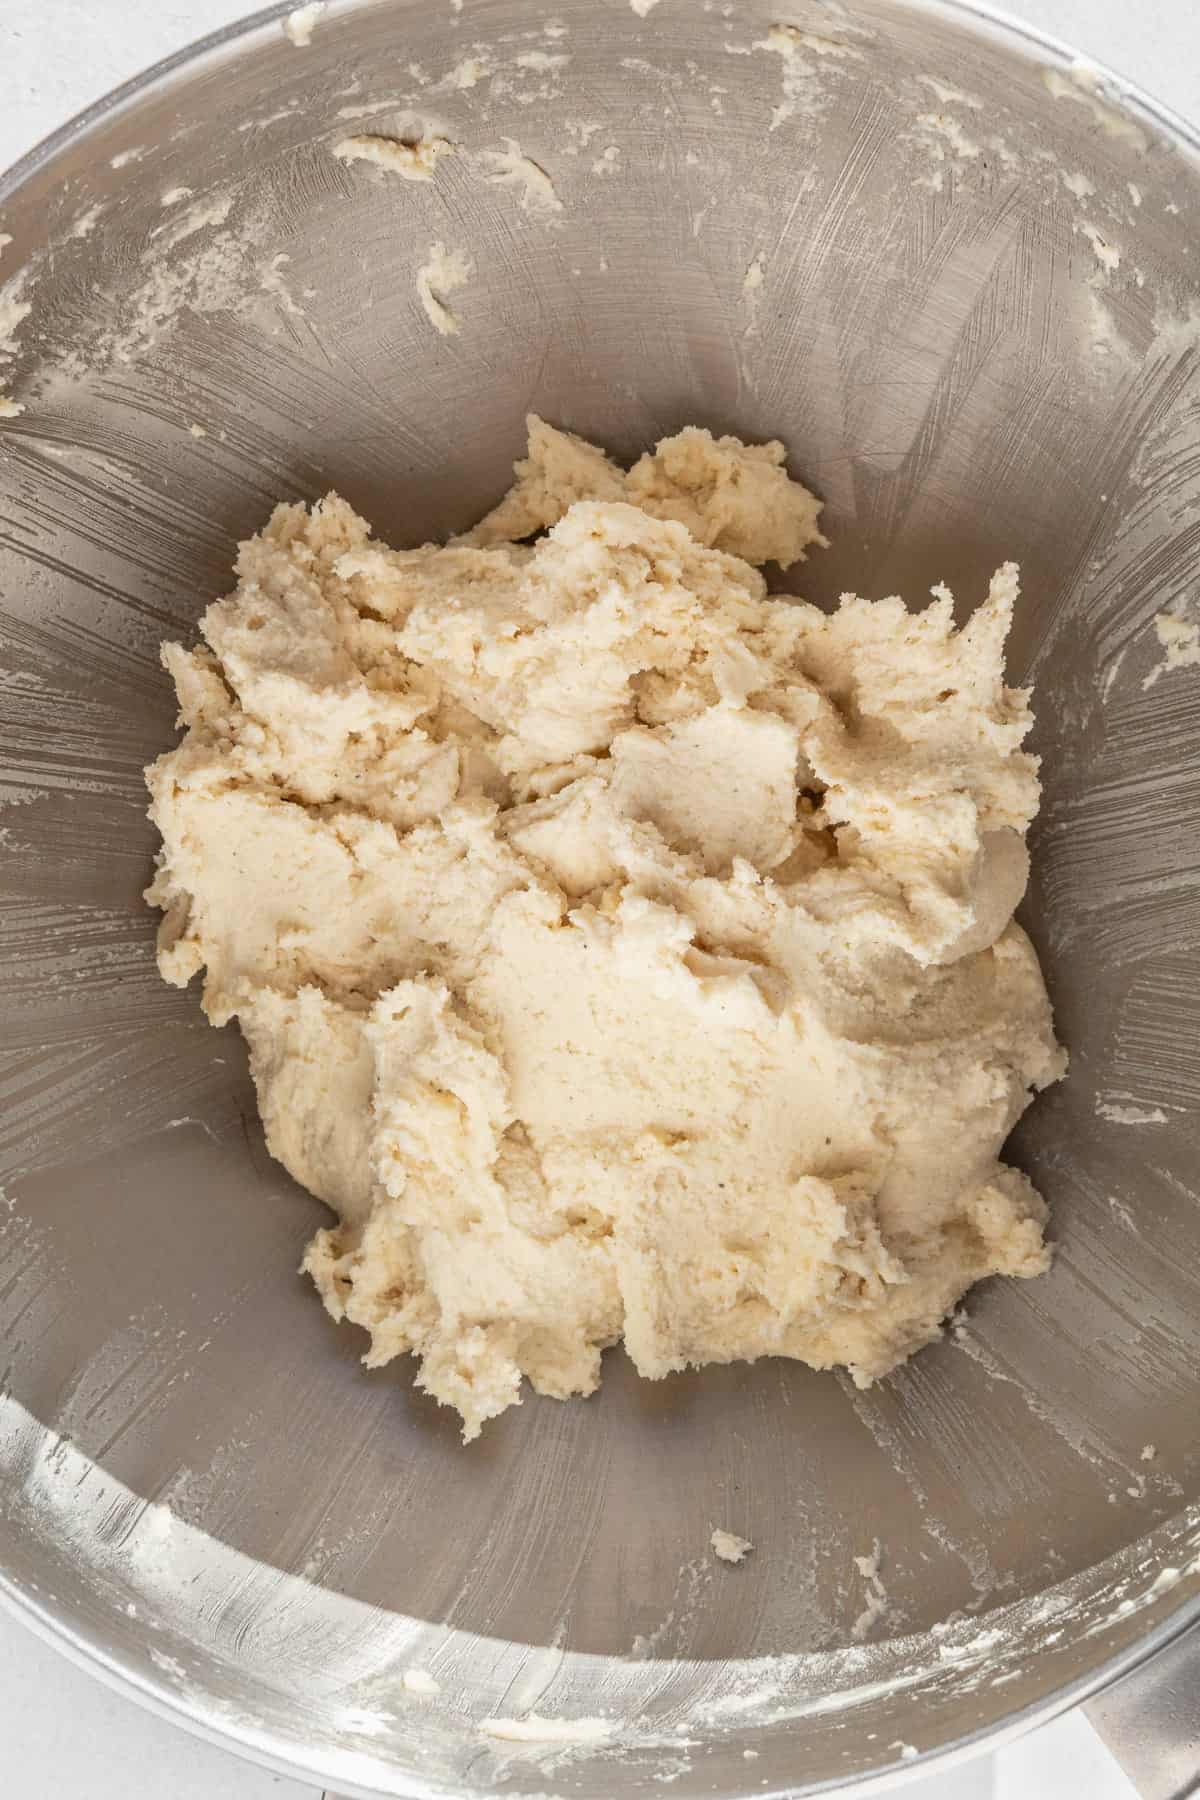
Step 4: Rest the Dough. Cover the bowl containing your cookie dough with plastic wrap and let it rest on the counter at room temperature for at least 30 minutes. This resting period is a crucial step for gluten-free baking. It allows the flour blend to properly hydrate, preventing the cookies from becoming dry, crumbly, or gritty. This small act of patience will yield incredibly tender and soft cookies!
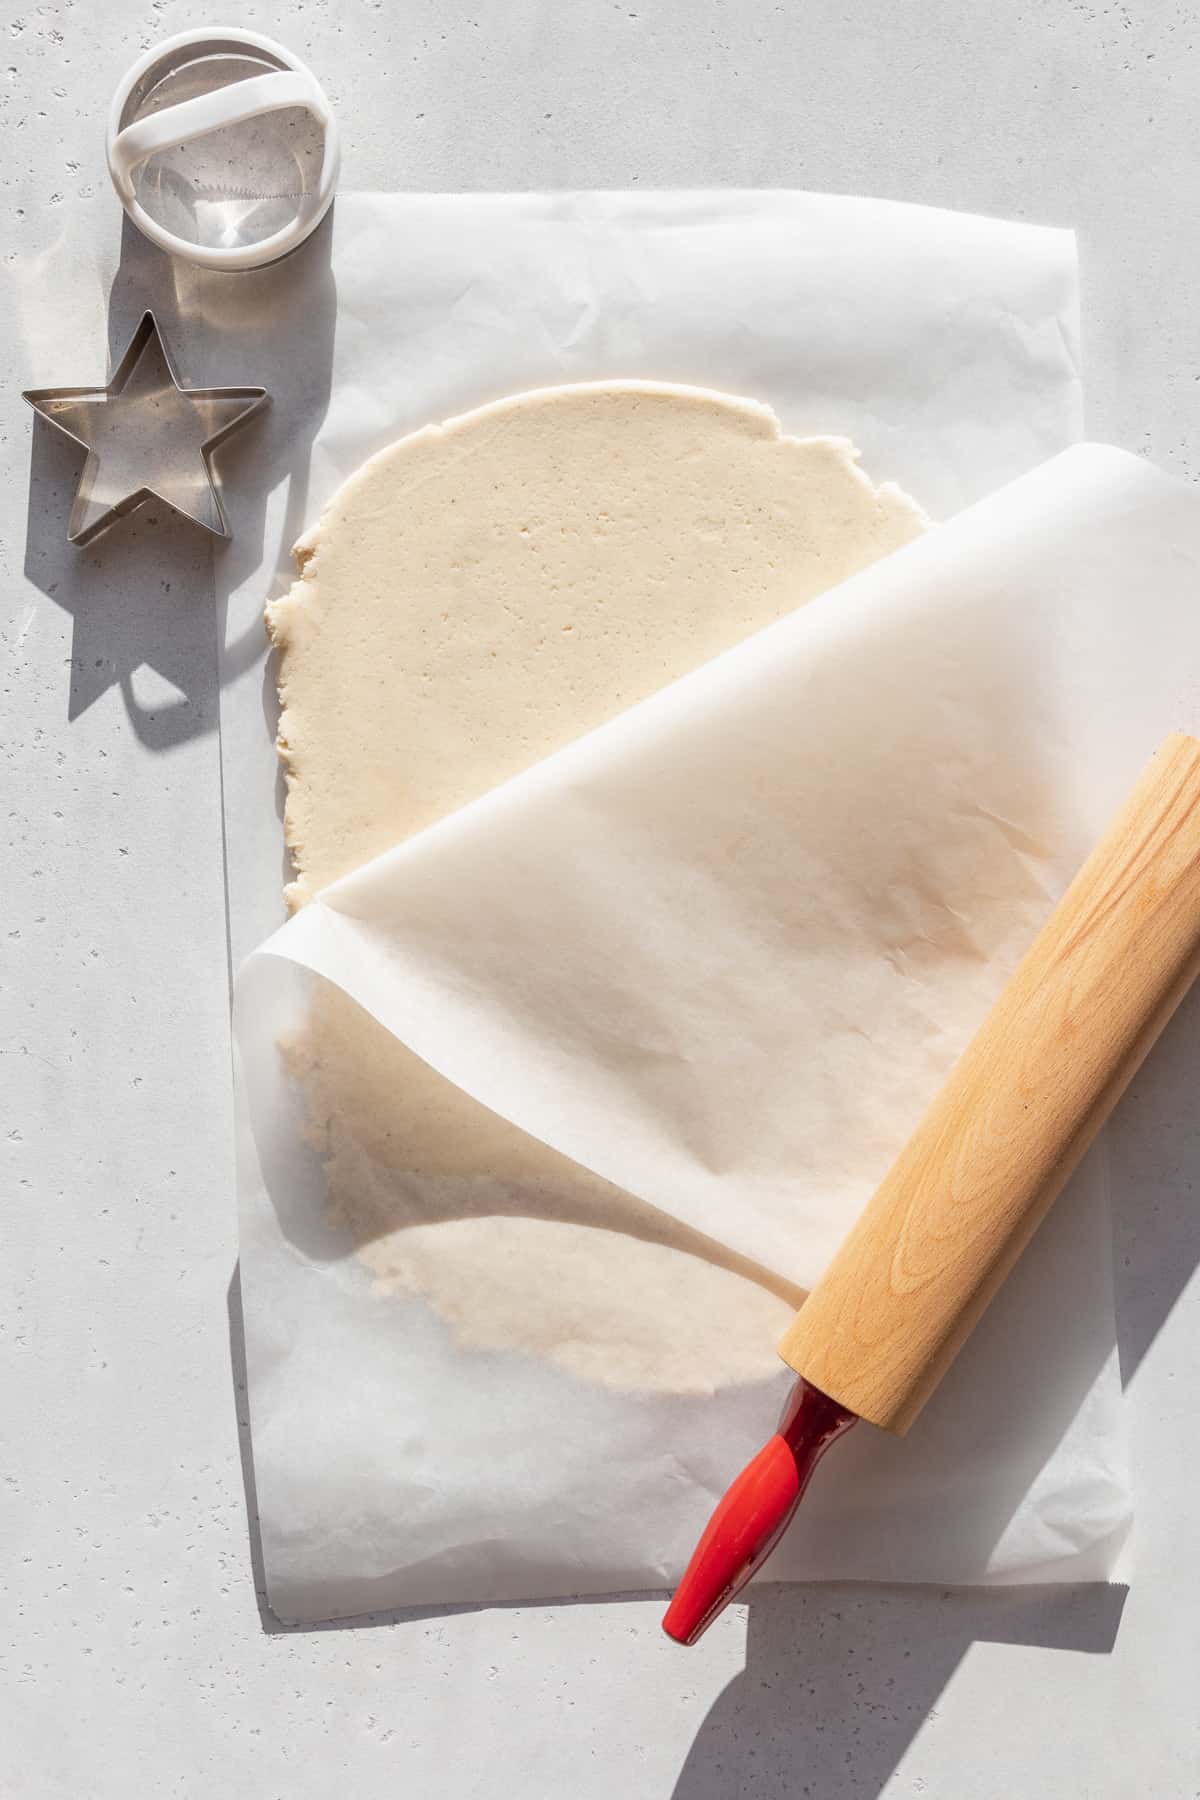
Step 5: Roll and Chill the Dough. Once rested, turn the dough out onto a piece of parchment paper. Place another sheet of parchment paper on top and roll the dough evenly to about ¼ inch (approximately ½ cm) thickness. Rolling between parchment paper prevents sticking and ensures an even thickness. Carefully transfer the rolled dough (still between the parchment sheets) to the refrigerator to chill while you preheat your oven. Chilling the dough is essential to prevent the cookies from spreading too much during baking, helping them maintain their perfect cut-out shapes.
Step 6: Prepare for Baking. Preheat your oven to 375°F (190°C). While the oven heats, line a large baking sheet with fresh parchment paper. This will ensure easy cleanup and prevent the cookies from sticking.
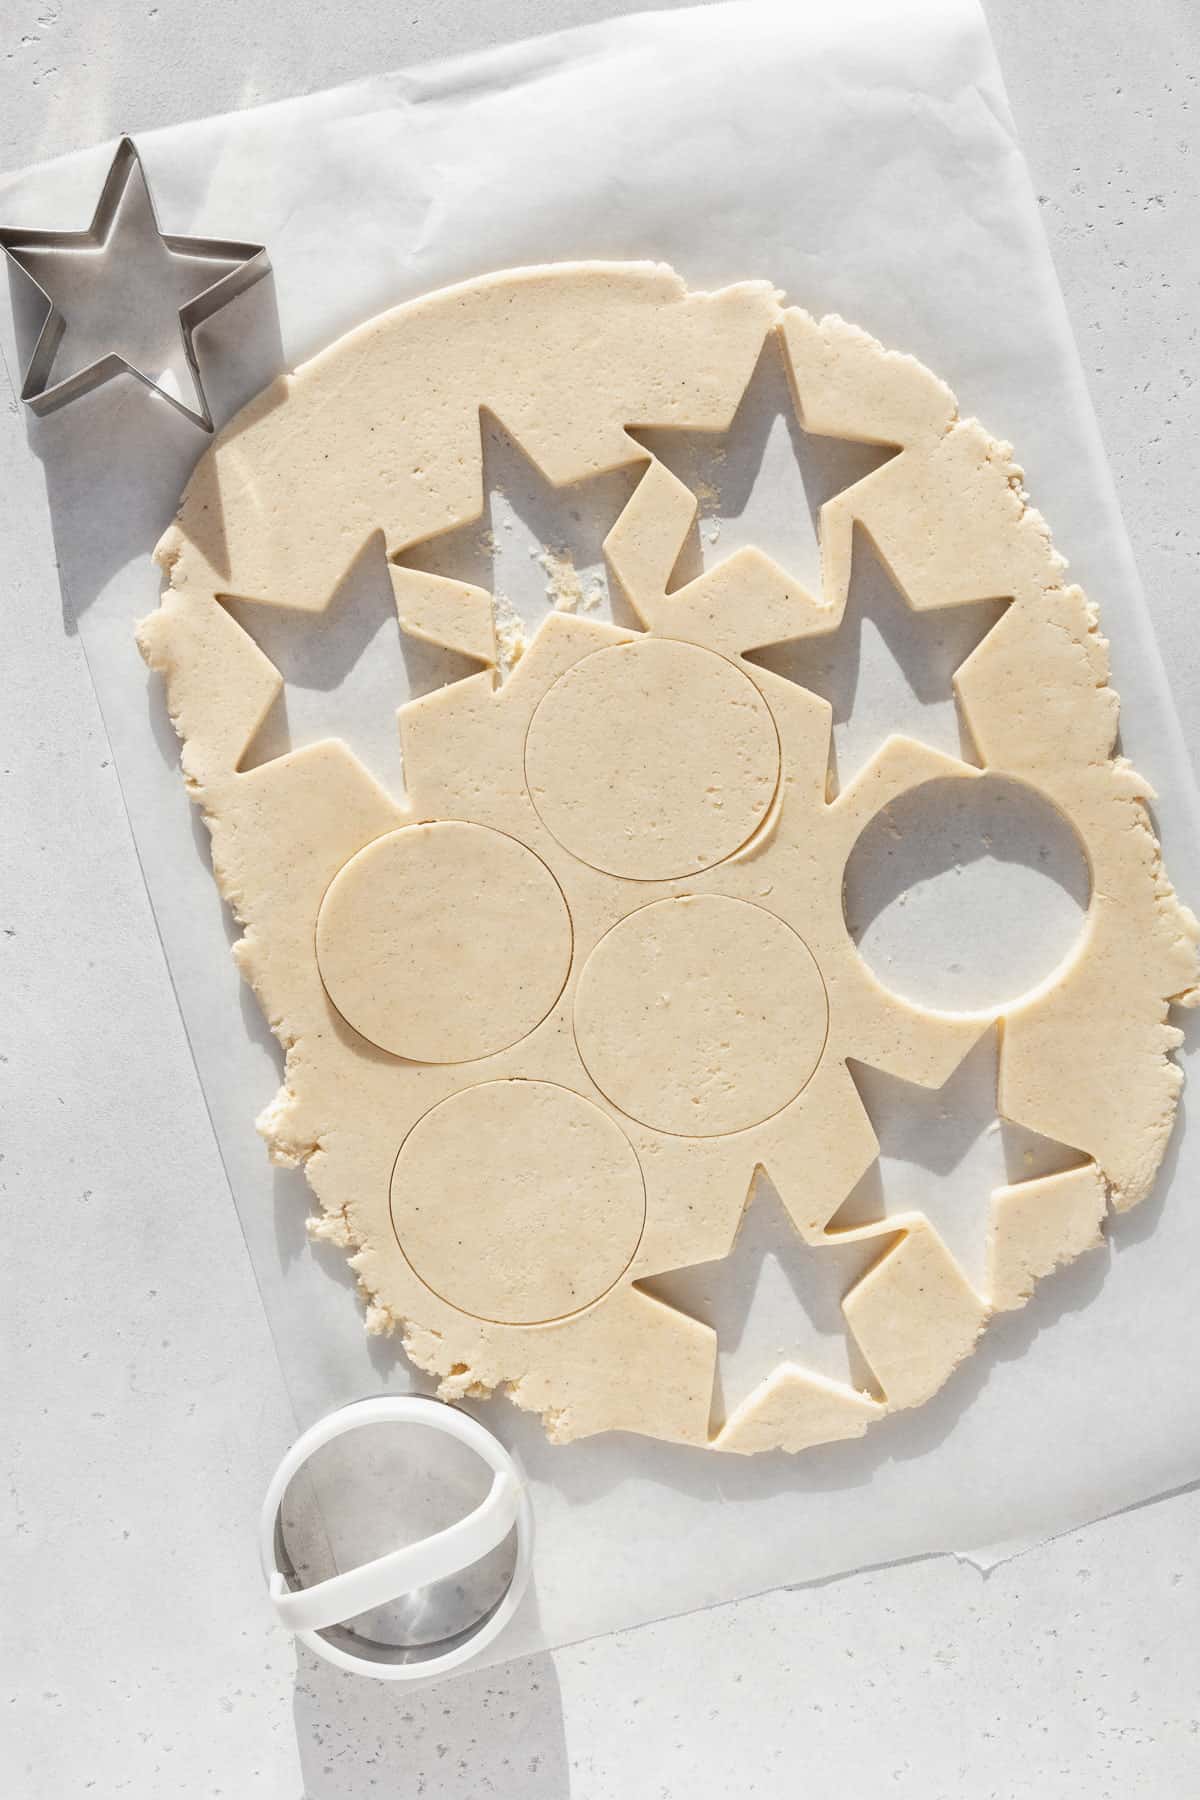
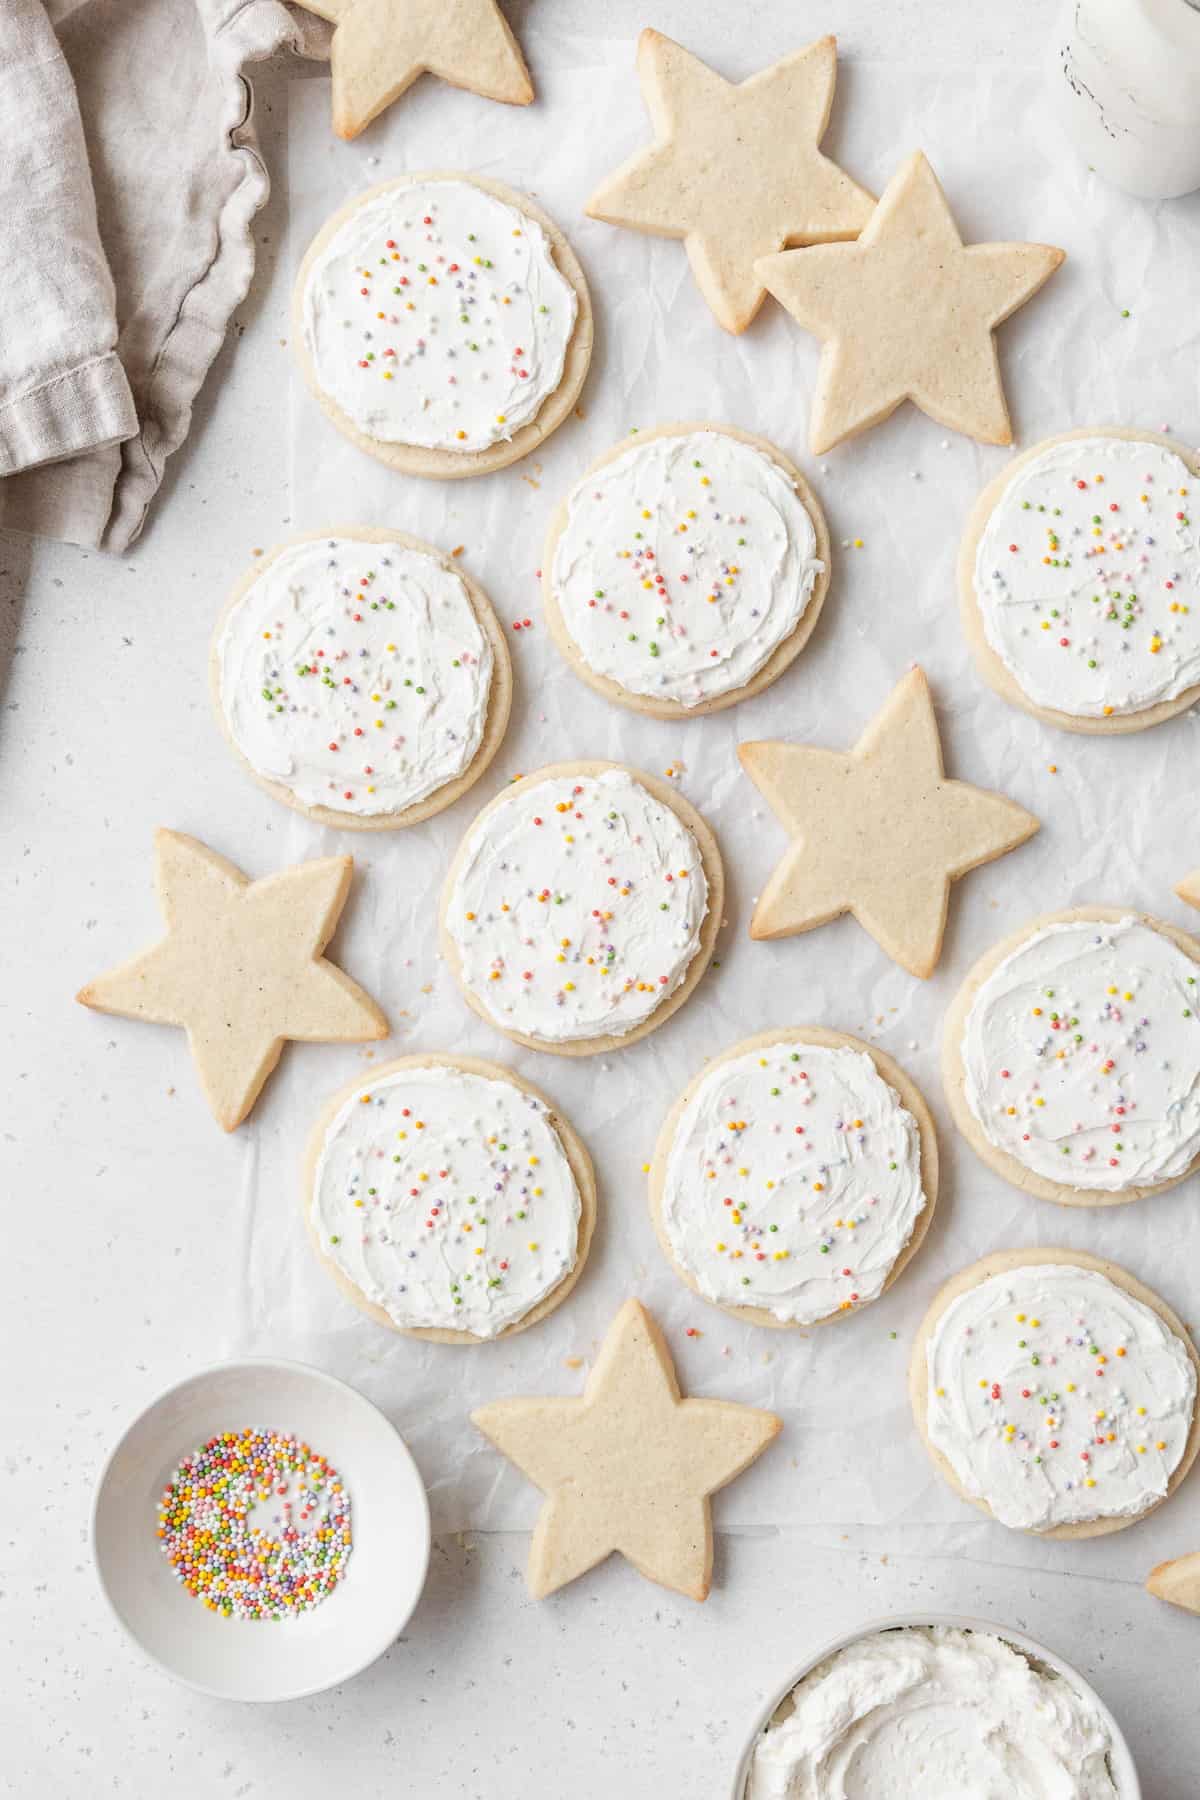
Step 7: Cut Out Shapes. Remove the chilled, rolled-out cookie dough from the refrigerator. Using your favorite cookie cutters, carefully cut out various shapes. Arrange the cut-out cookies on the prepared baking sheet, leaving a little space between each one to allow for slight expansion.
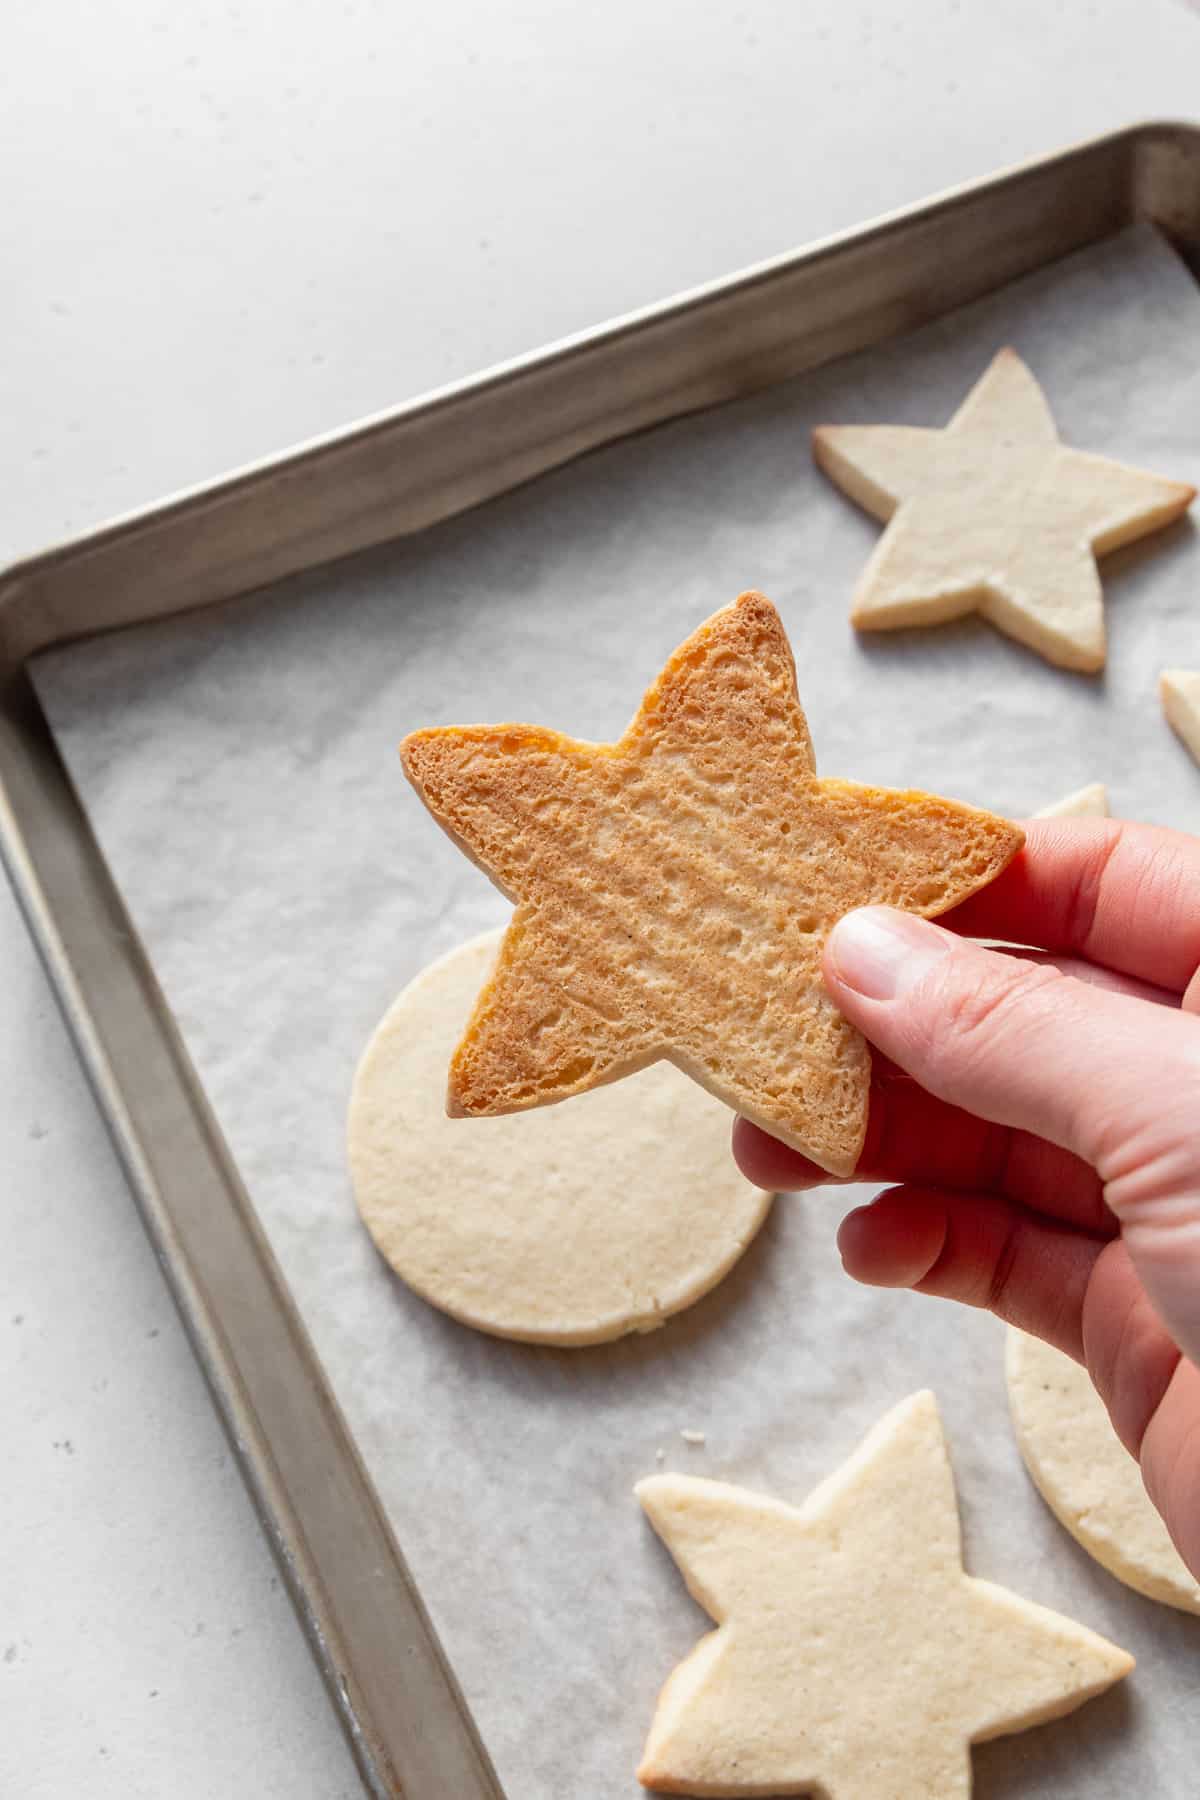
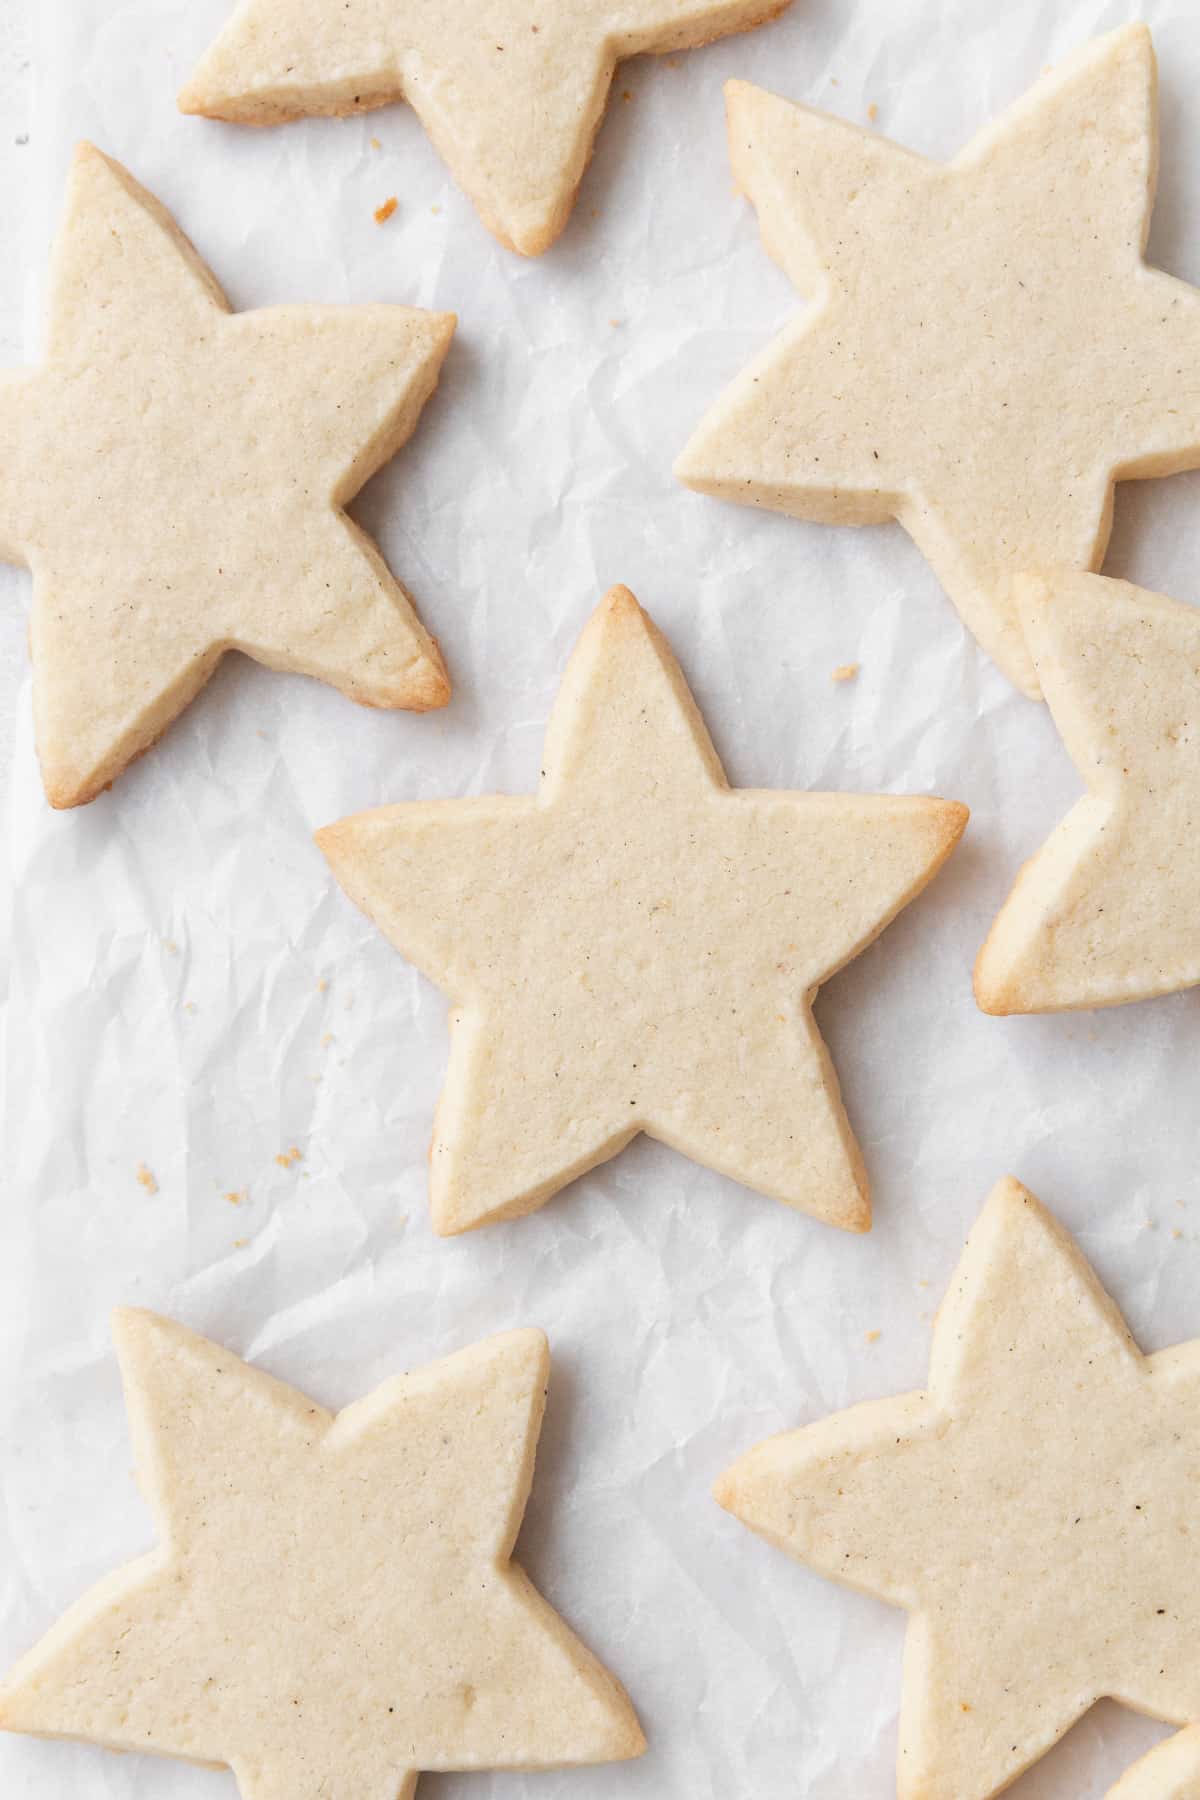
Step 8: Bake to Perfection. Place the baking sheet with the gluten-free cut-out cookies into the preheated oven. Bake for 8-10 minutes. Keep a close eye on them; you’re looking for the edges to just begin turning a light golden color. Overbaking gluten-free cookies can make them dry, so it’s better to slightly underbake than overbake for that soft, tender center.
Step 9: Utilize Leftover Dough. Gather any leftover cookie dough scraps, gently press them together, and re-roll them between two fresh pieces of parchment paper. Cut out more shapes and continue baking until all the dough is used up. This minimizes waste and maximizes your cookie yield!
Step 10: Cool Completely. Once baked, remove the cookies from the oven and allow them to cool completely on the baking sheet. This initial cooling helps them firm up and prevents breakage. After they’ve cooled a bit, carefully transfer them to a wire rack to finish cooling entirely. Patience is key here, especially if you plan to decorate them.
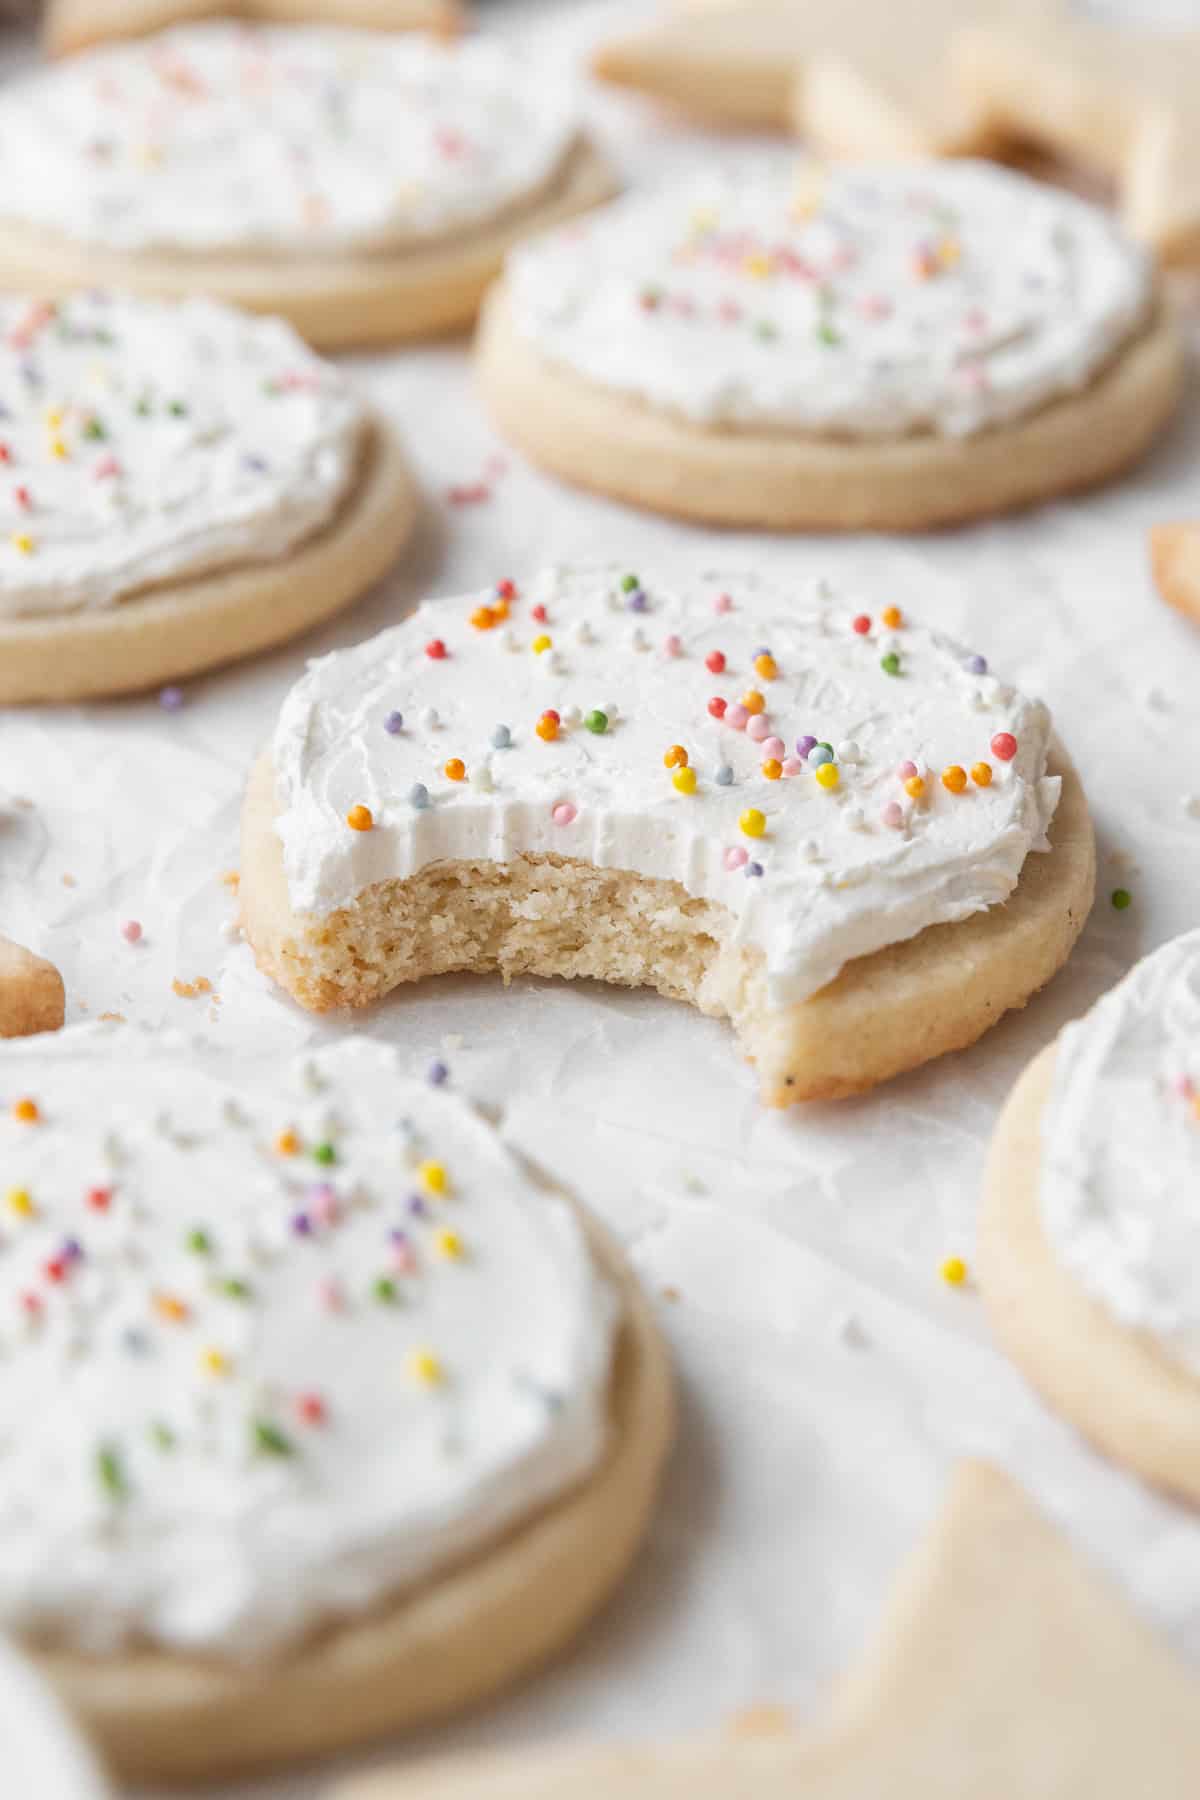
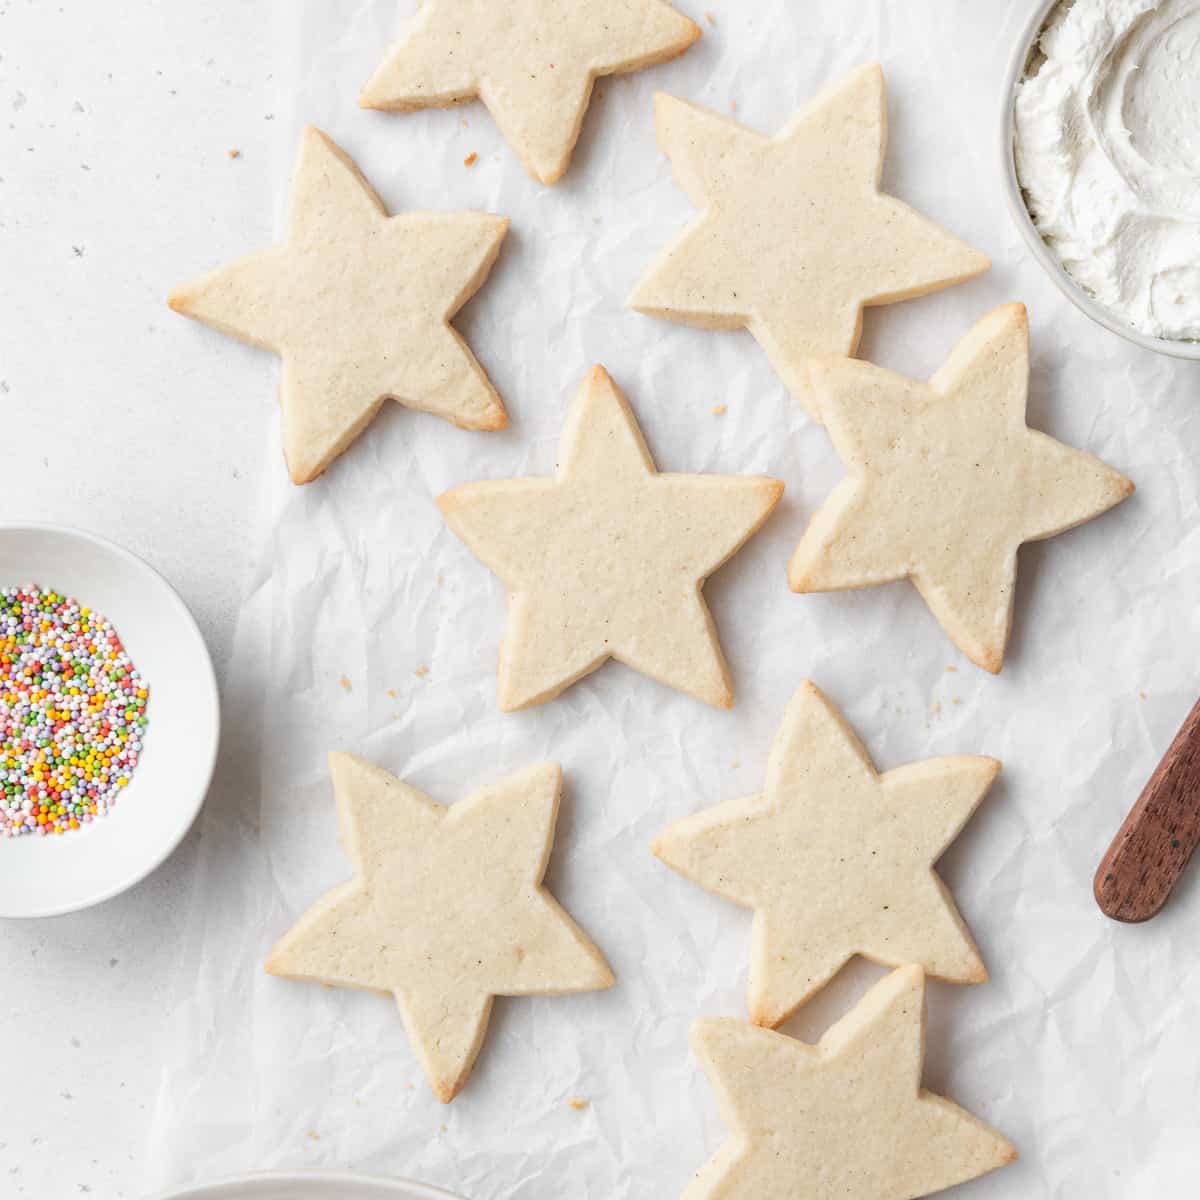
While these delicious gluten-free sugar cookies are absolutely delightful on their own, they truly shine when decorated. Whether you prefer the intricate designs of royal icing or the simple elegance of a creamy buttercream frosting, adding a decorative touch makes them perfect for any celebration. You’ll find my favorite buttercream frosting recipe conveniently included in the recipe card below, ready to transform your cookies into edible works of art!

Expert Tips for Gluten-Free Sugar Cookie Success
- Don’t Skip the Dough Rest! This is perhaps the most important secret to achieving truly tender and moist gluten-free sugar cookies. Allowing the dough to rest for at least 30 minutes at room temperature gives the gluten-free flours ample time to fully hydrate. This hydration process prevents the cookies from having a dry, sandy, or gritty texture, resulting in a perfectly soft and enjoyable bite.
- Accurate Measurements are Key. Baking, especially gluten-free baking, is a science. For the most consistent and best results, always measure your flour by weight using a kitchen scale. If you don’t have a scale, lightly spoon the flour into your measuring cup and level it off with a straight edge, rather than packing it down. This prevents adding too much flour, which can lead to dry cookies.
- Adjust Baking Time for Cookie Size. Not all cookie cutters are created equal! Larger cookie cutouts will naturally require a longer baking time, while smaller, more delicate shapes might bake faster. Always keep a close eye on your cookies as they bake. Look for the edges to just begin turning a very light golden brown. Pull them out of the oven when they still look slightly soft in the middle; they will continue to set as they cool on the hot baking sheet.
- Always Use Parchment Paper or Silicone Mats. Lining your baking sheets with parchment paper or a silicone baking mat is crucial. This ensures that your cookies bake as evenly as possible and, more importantly, prevents them from sticking to the pan. Gluten-free cookies can be more delicate, so easy release is essential to keep their beautiful shapes intact.
- Avoid Overworking the Dough. Once you’ve added the flour mixture to the wet ingredients, mix only until just combined. Overmixing gluten-free dough can develop any existing proteins (like those in almond flour) and lead to tougher cookies. A light hand will result in a more tender crumb.
- Creative Decorating Variations. This easy gluten-free sugar cookie recipe serves as the perfect canvas for your creativity! Make these cookies uniquely yours by experimenting with different decorations. Tint your royal icing or buttercream with a drop or two of food coloring to match any theme. Add variety by using different types of sprinkles – try sanding sugar for a glistening effect, non-pareils for classic fun, or even edible glitter for extra sparkle. The possibilities are endless!
Storage Directions for Maximum Freshness
Proper storage is essential to maintain the delicious taste and tender texture of your gluten-free sugar cookies. Unfrosted or frosted (with a stable frosting like royal icing), leftover cookies keep beautifully when stored in an airtight container at room temperature for up to 3 days. To extend their freshness even longer, transfer them to an airtight container and store them in the refrigerator for 4-5 days. If you’ve opted for a dairy-free frosting, which can be more susceptible to melting or softening at room temperature, it’s highly recommended to keep these cookies in the refrigerator.
Can You Freeze Gluten-Free Sugar Cookies?
Absolutely, these gluten-free sugar cookies are excellent for freezing, making them perfect for meal prepping or having a stash of treats on hand! Once any icing or frosting has fully set and hardened, carefully arrange the frosted or unfrosted cookies in a single layer in a freezer-safe container. You can place parchment paper between layers to prevent sticking. They will keep well in the freezer for up to 3 months. When you’re ready to enjoy them, simply defrost them at room temperature for 10-15 minutes, or until fully thawed.
For ultimate convenience, you can also freeze the rolled-out and cut-out cookie dough shapes before baking. Arrange them on a parchment-lined baking sheet and flash freeze until firm. Then, transfer them to a freezer bag or airtight container. When baking from frozen, you can place them directly on your baking sheet and into the preheated oven. You might need to add an extra minute or two to the baking time, but it’s a fantastic way to enjoy freshly baked cookies anytime!
Frequently Asked Questions About Gluten-Free Sugar Cookies
My absolute favorite and go-to recommendation is the 1-to-1 baking flour by Bob’s Red Mill. It consistently yields excellent results, mimicking traditional flour beautifully. However, I’ve also had great success and highly recommend measure-for-measure flour blends from King Arthur Baking Company and Cup4Cup. The key is to use a “1-to-1” or “measure-for-measure” blend, as these are specifically formulated to replace wheat flour in recipes without needing additional ingredients like xanthan gum.
Yes, absolutely! To make these cookies entirely nut-free, you can easily omit the almond flour. Simply replace the ½ cup (74g) of almond flour with an additional ½ cup (74g) of your chosen gluten-free 1-to-1 flour blend. The cookies will still be wonderfully tender and delicious, just without the subtle nutty undertone provided by the almond flour.
While you technically *can* substitute other sugars like brown sugar or coconut sugar, it’s important to understand that doing so will significantly alter the flavor, texture, and color of your sugar cookies. Brown sugar adds moisture and a slight caramel note, making cookies chewier and darker. Coconut sugar has a distinct flavor and a coarser texture. For a classic sugar cookie taste and appearance, granulated sugar is best. If you’re out of granulated sugar, organic cane sugar would be the closest substitute in terms of flavor and texture.
The two most critical secrets to achieving buttery, tender, and moist gluten-free cookies are: 1) using a high-quality 1-to-1 gluten-free flour blend, and 2) allowing the dough to rest before rolling it out. Resting the dough at room temperature for at least 30 minutes gives the gluten-free flours sufficient time to fully absorb the liquid ingredients. This hydration process prevents the dough from feeling dry and gritty, resulting in a much more tender, pliable dough and ultimately, a wonderfully moist cookie that won’t crumble apart.
Absolutely! If you’re not a fan of almond flavor or prefer a purely vanilla frosting, feel free to skip the almond extract entirely. The frosting will still be incredibly delicious with just the vanilla extract. You can even add a little extra vanilla extract (an additional ¼ teaspoon) to boost the vanilla flavor further.
For vibrant, natural, dye-free food coloring, I highly recommend the liquid food coloring by Watkins. Another fantastic option for intense colors derived from natural sources are the Suncore powders. When it comes to dye-free sprinkles, my top choices are Supernatural Sprinkles and Watkins Sprinkles. These brands offer beautiful, fun, and naturally colored options to make your cookies pop!
This recipe is designed to make approximately 24 delicious gluten-free sugar cookies. However, the exact number can vary depending on the size of the cookie cutters you choose to use. Larger cookie cutters will produce fewer, bigger cookies, while smaller, more intricate cutters will yield a greater quantity of smaller treats. This recipe is easily adaptable if you need to double it for a larger crowd or scale it down for a smaller batch.
No, it is not recommended to replace the butter with applesauce in this specific sugar cookie recipe. Butter plays a crucial role in providing fat, flavor, and contributing to the desired crisp-yet-tender texture of sugar cookies. Applesauce is a fat substitute that primarily adds moisture and sweetness, and while it works in some baking recipes, it would drastically change the texture of these sugar cookies, preventing them from being crisp and potentially making them too soft or cakey.
For the most accurate and consistent baking results, especially with gluten-free flours, weighing your ingredients using a kitchen scale is always the superior method. It eliminates variations that can occur when scooping. If you don’t have a kitchen scale and prefer not to purchase one, the next best method for measuring flour is to “spoon and level”: spoon the flour lightly into a dry measuring cup until it overflows, then use a straight edge (like a knife or the back of a spoon) to level off the excess, without packing the flour down.
Explore More Delicious Gluten-Free Cookie Recipes
If you’re loving these gluten-free sugar cookies and eager to expand your gluten-free baking repertoire, you’re in luck! Here are some other fantastic cookie recipes that are completely gluten-free and equally delicious:
- For fans of jam-filled delights, you must try my gluten-free thumbprint cookies! These are not only gluten-free but also entirely vegan, offering a delightful twist on a classic.
- Searching for the ultimate chocolate chip cookie? My gluten-free dairy-free chocolate chip cookies are an all-time favorite, boasting crisp edges and wonderfully fudgy, chewy centers.
- Indulge in bright and zesty flavors with these lemon curd cookies. They feature a rich, buttery sugar cookie base generously filled with silky, homemade lemon curd.
- Calling all chocoholics! Dive into these decadent gluten-free double chocolate chip cookies for an intensely rich and satisfying chocolate experience.
Thanks so much for stopping by and exploring this incredible gluten-free sugar cookie recipe! I truly hope you loved making and tasting them as much as I do. For more mouth-watering dairy-free, gluten-free, and/or vegan dessert inspiration, make sure to follow me on Pinterest, Facebook, and Instagram. You can also get all of my newest content and exclusive baking tips delivered straight to your inbox by signing up for my email newsletter — I promise not to spam you!
Gluten-Free Sugar Cookie Recipe
Ingredients
Sugar Cookies
- 2 cups gluten-free 1-to-1 flour
- ½ cup almond flour
- ½ teaspoon fine salt
- 1 cup butter regular or dairy-free
- ⅔ cup granulated sugar
- 1 tablespoon milk regular or dairy-free
- 1½ teaspoons vanilla extract
Cookie Frosting (Optional)
- ½ cup butter regular or dairy-free
- 1⅔ cups powdered sugar
- ¼ teaspoon vanilla extract
- ¼ teaspoon almond extract
- 1 tablespoon milk regular or dairy-free
- sprinkles optional
Instructions
Sugar Cookies
-
Whisk the gluten-free flour blend, almond flour, and salt together in a mixing bowl.
-
In a separate bowl with a hand mixer or in the bowl of a stand mixer fitted with a paddle attachment, cream the softened butter and granulated sugar together until light and fluffy, about 3 minutes. Add the milk and vanilla extract and beat again until combined.
-
Add the flour mixture to the butter mixture and mix until no streaks of flour remain. Cover the dough and let it rest on the counter for 30 minutes.
-
Turn the dough out onto a piece of parchment paper. Cover it with another sheet of parchment paper and roll it out to ¼ inch (½ cm) thickness. Put the sheet of rolled out dough into the refrigerator while you preheat the oven.
-
Preheat the oven to 375°F (190°C) and line a baking sheet with parchment paper.
-
Take the chilled rolled-out cookie dough out of the refrigerator and cut out shapes using cookie cutters. Put the cutouts on the parchment-lined baking sheet and bake for 8-10 minutes.
-
Re-roll any leftover cookie dough and bake more cookies, until you have no more cookie dough left.
-
Cool the cookies completely on the baking sheet before moving them onto a wire rack.
Cookie Frosting
-
In a bowl, beat the butter until light and fluffy, about 3 minutes.
-
Add half of the powdered sugar and beat until the mixture is creamy. Scrape the bowl with a spatula and beat in the remainder of the powdered sugar.
-
Beat in the vanilla and almond extract, and milk. Scrape the bowl again to make sure there aren’t any hidden pockets of powdered sugar.
-
Put as much or little frosting as you like on each cooled cookie, and top with sprinkles.
