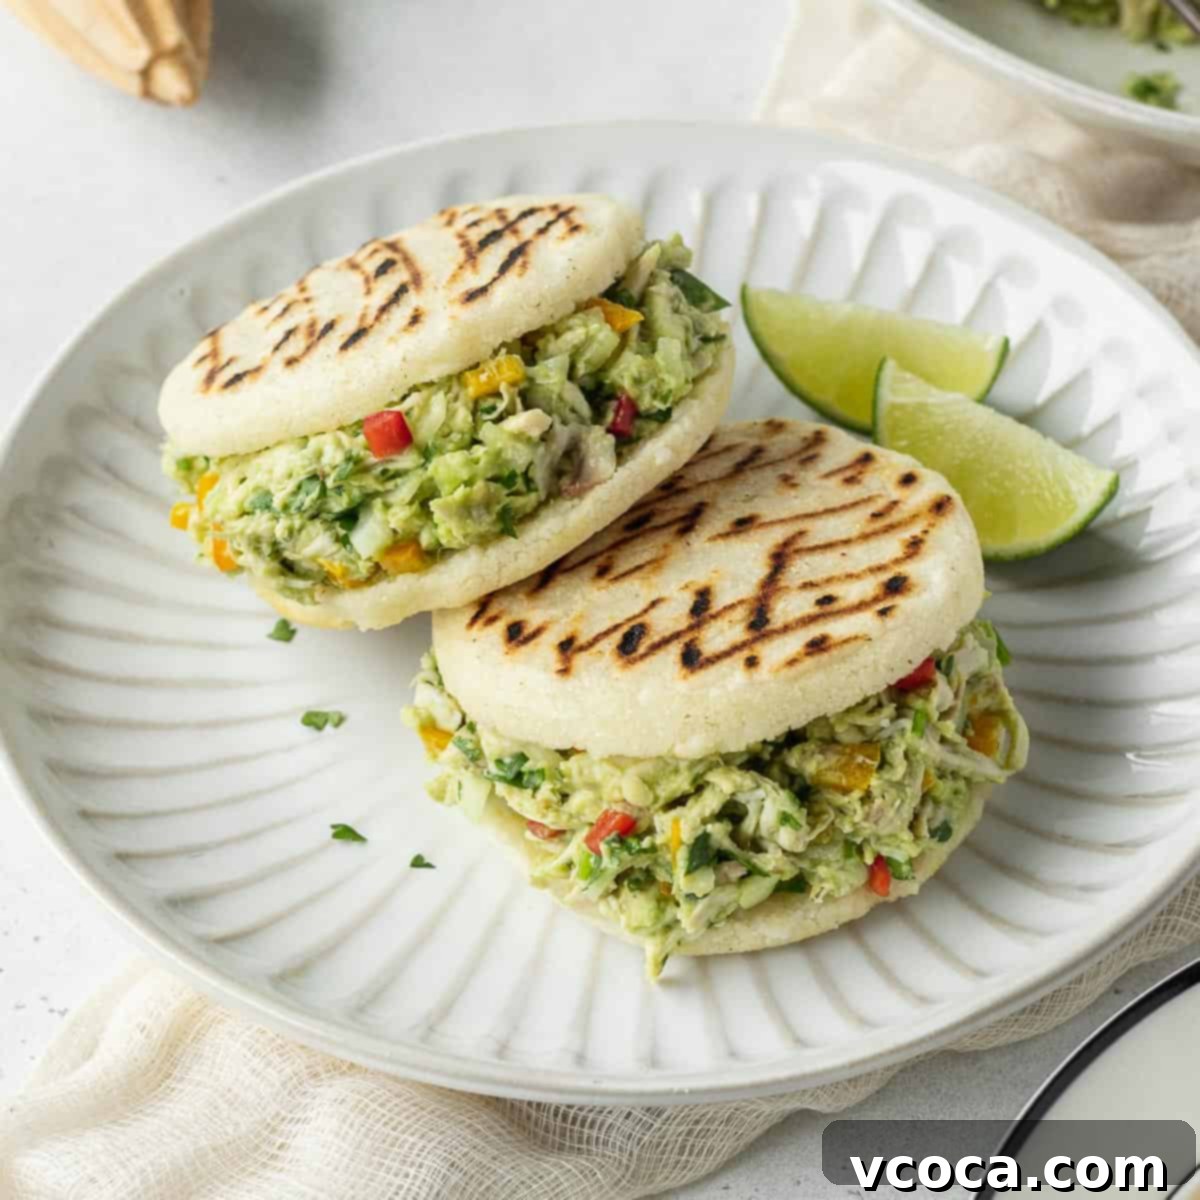
Authentic Reina Pepiada Recipe: The Ultimate Venezuelan Chicken & Avocado Arepa
Prepare to fall in love with Reina Pepiada, a truly iconic Venezuelan chicken and avocado filling that transforms simple arepas into an unforgettable culinary experience! These aren’t just any sandwiches; arepa Reina Pepiada offers a perfect harmony of fresh, creamy, and satisfying flavors that makes it a standout. My own journey with this incredible dish began years ago when a dear Colombian friend introduced me to her favorite arepa filling. From that moment, I was captivated by its vibrant taste and comforting texture. What’s more, this entire delightful meal is naturally gluten-free, making it a fantastic option for anyone following a gluten-free diet, without compromising on flavor or enjoyment!
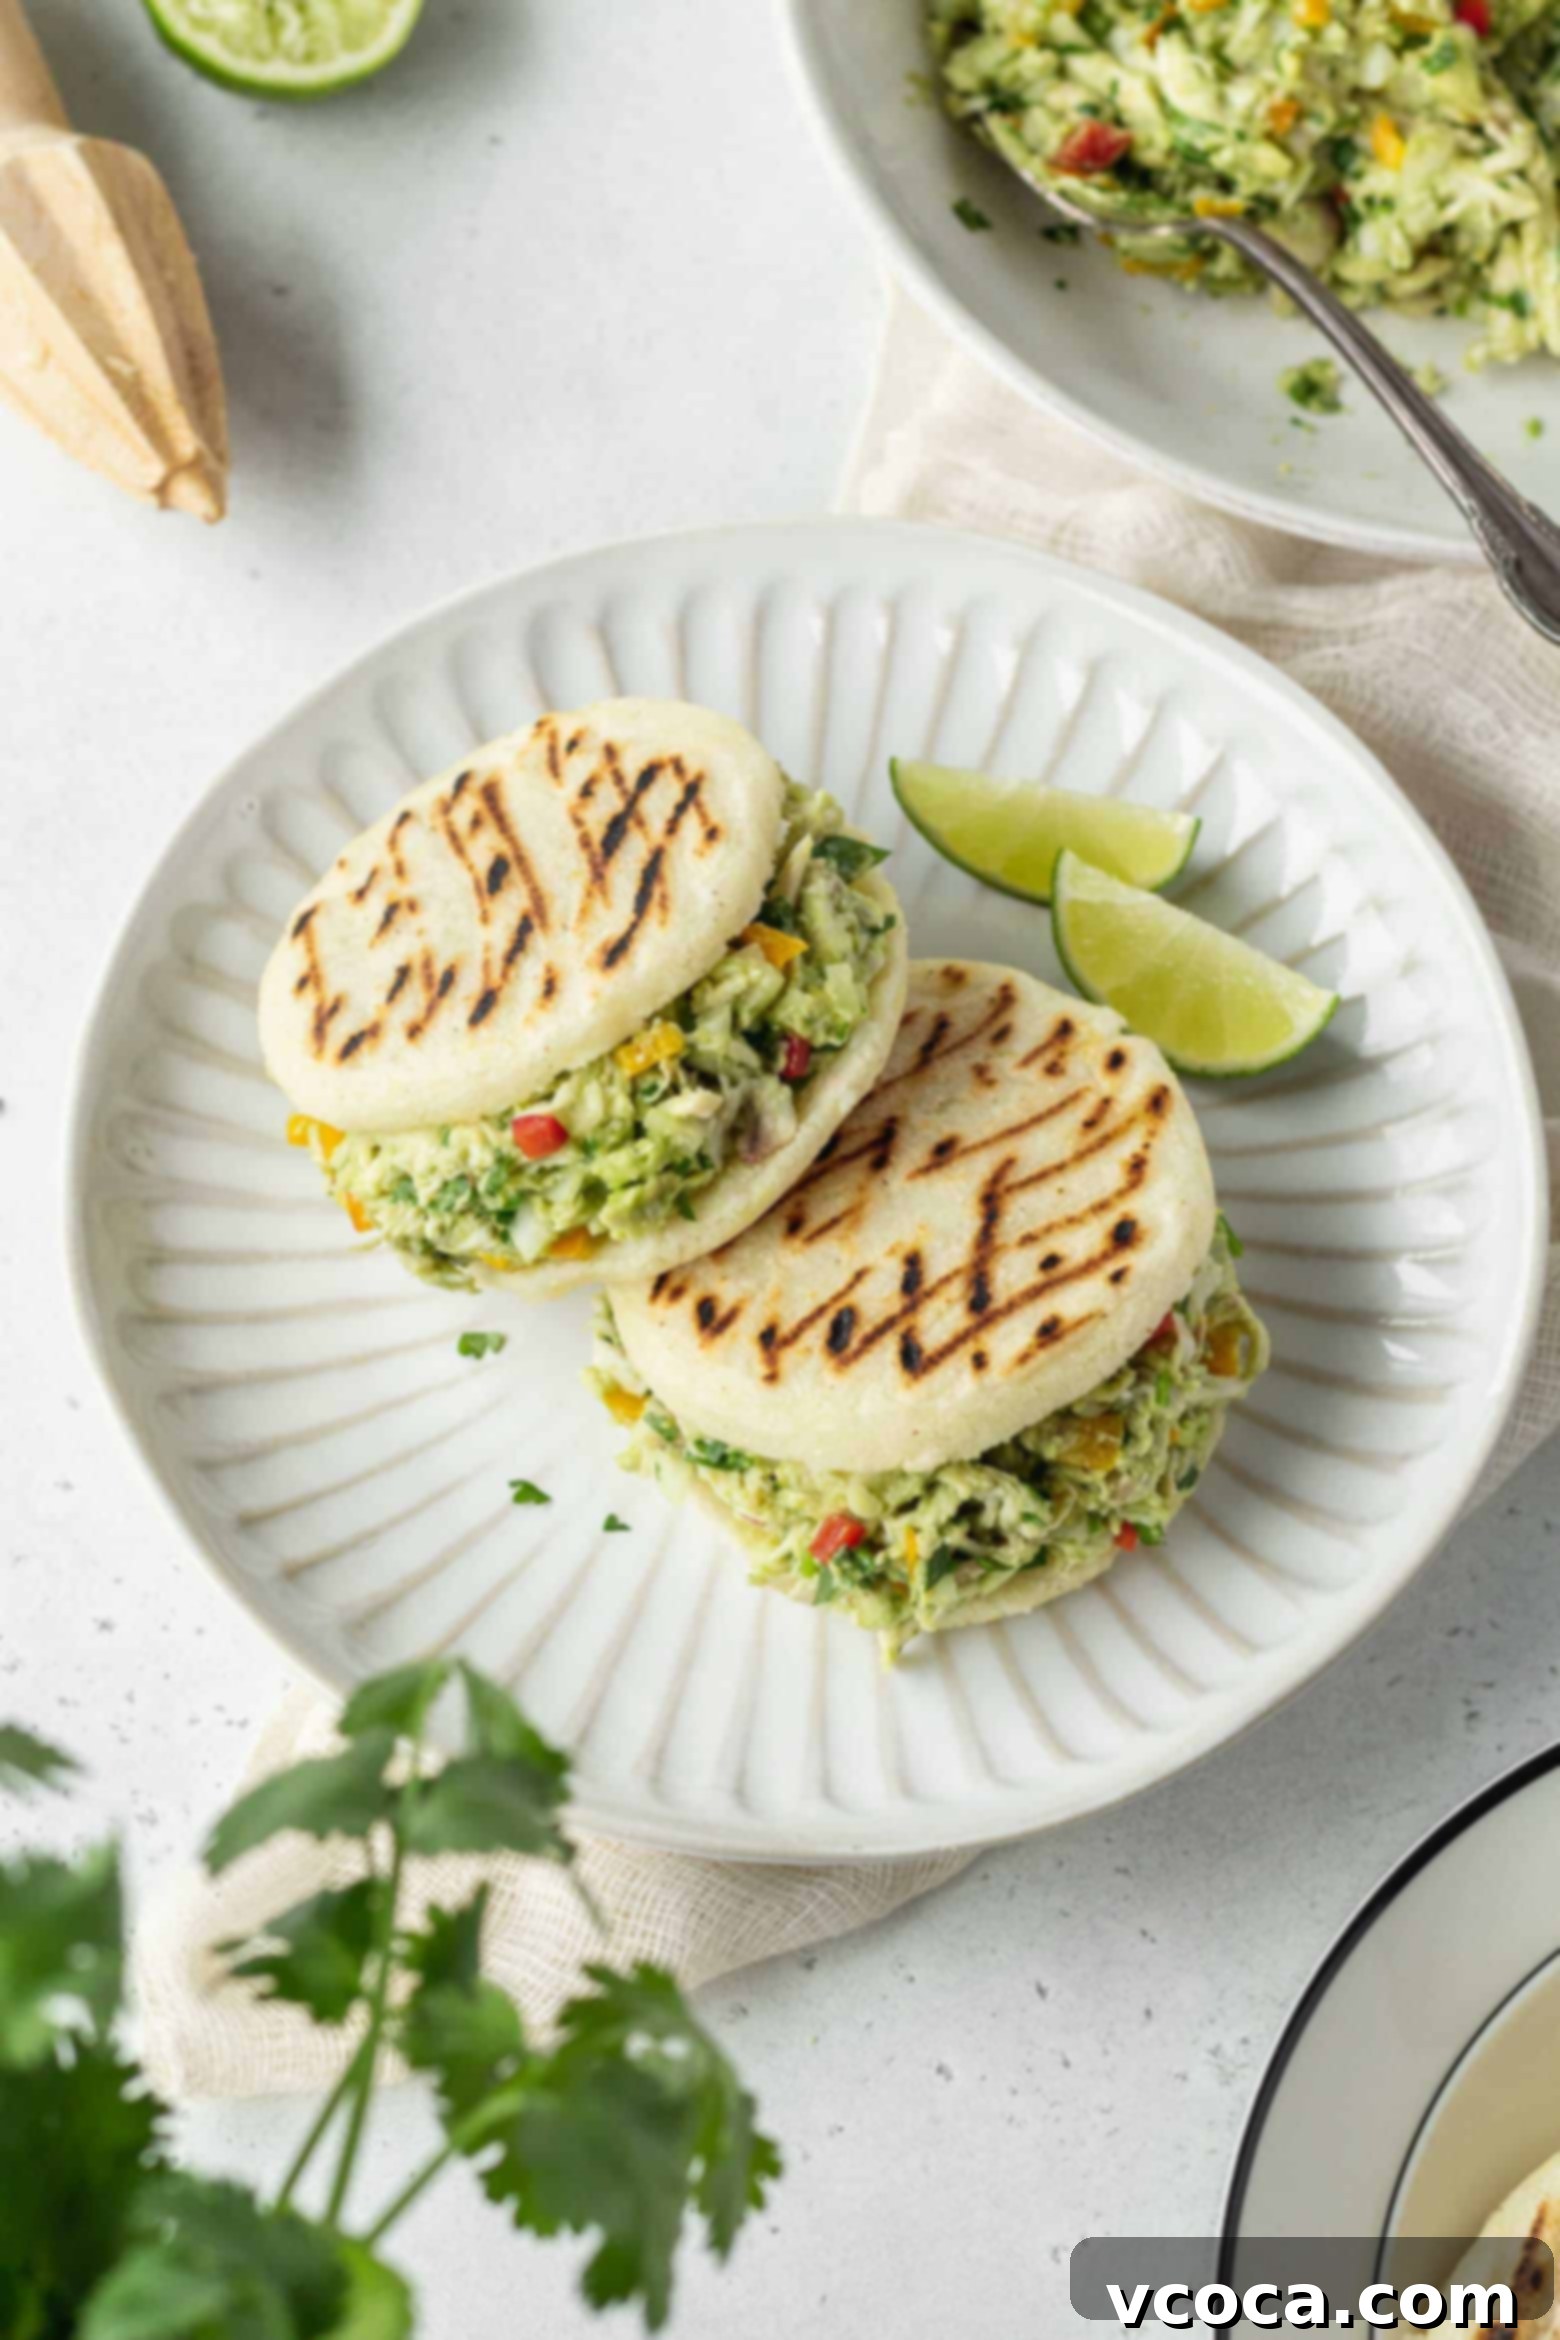
This comprehensive guide was originally published on April 2, 2019, and has been thoughtfully updated with new photos and expanded information on May 1, 2022, to bring you the very best recipe and tips for making this beloved Venezuelan dish at home.
Essential Ingredients for Perfect Homemade Arepas
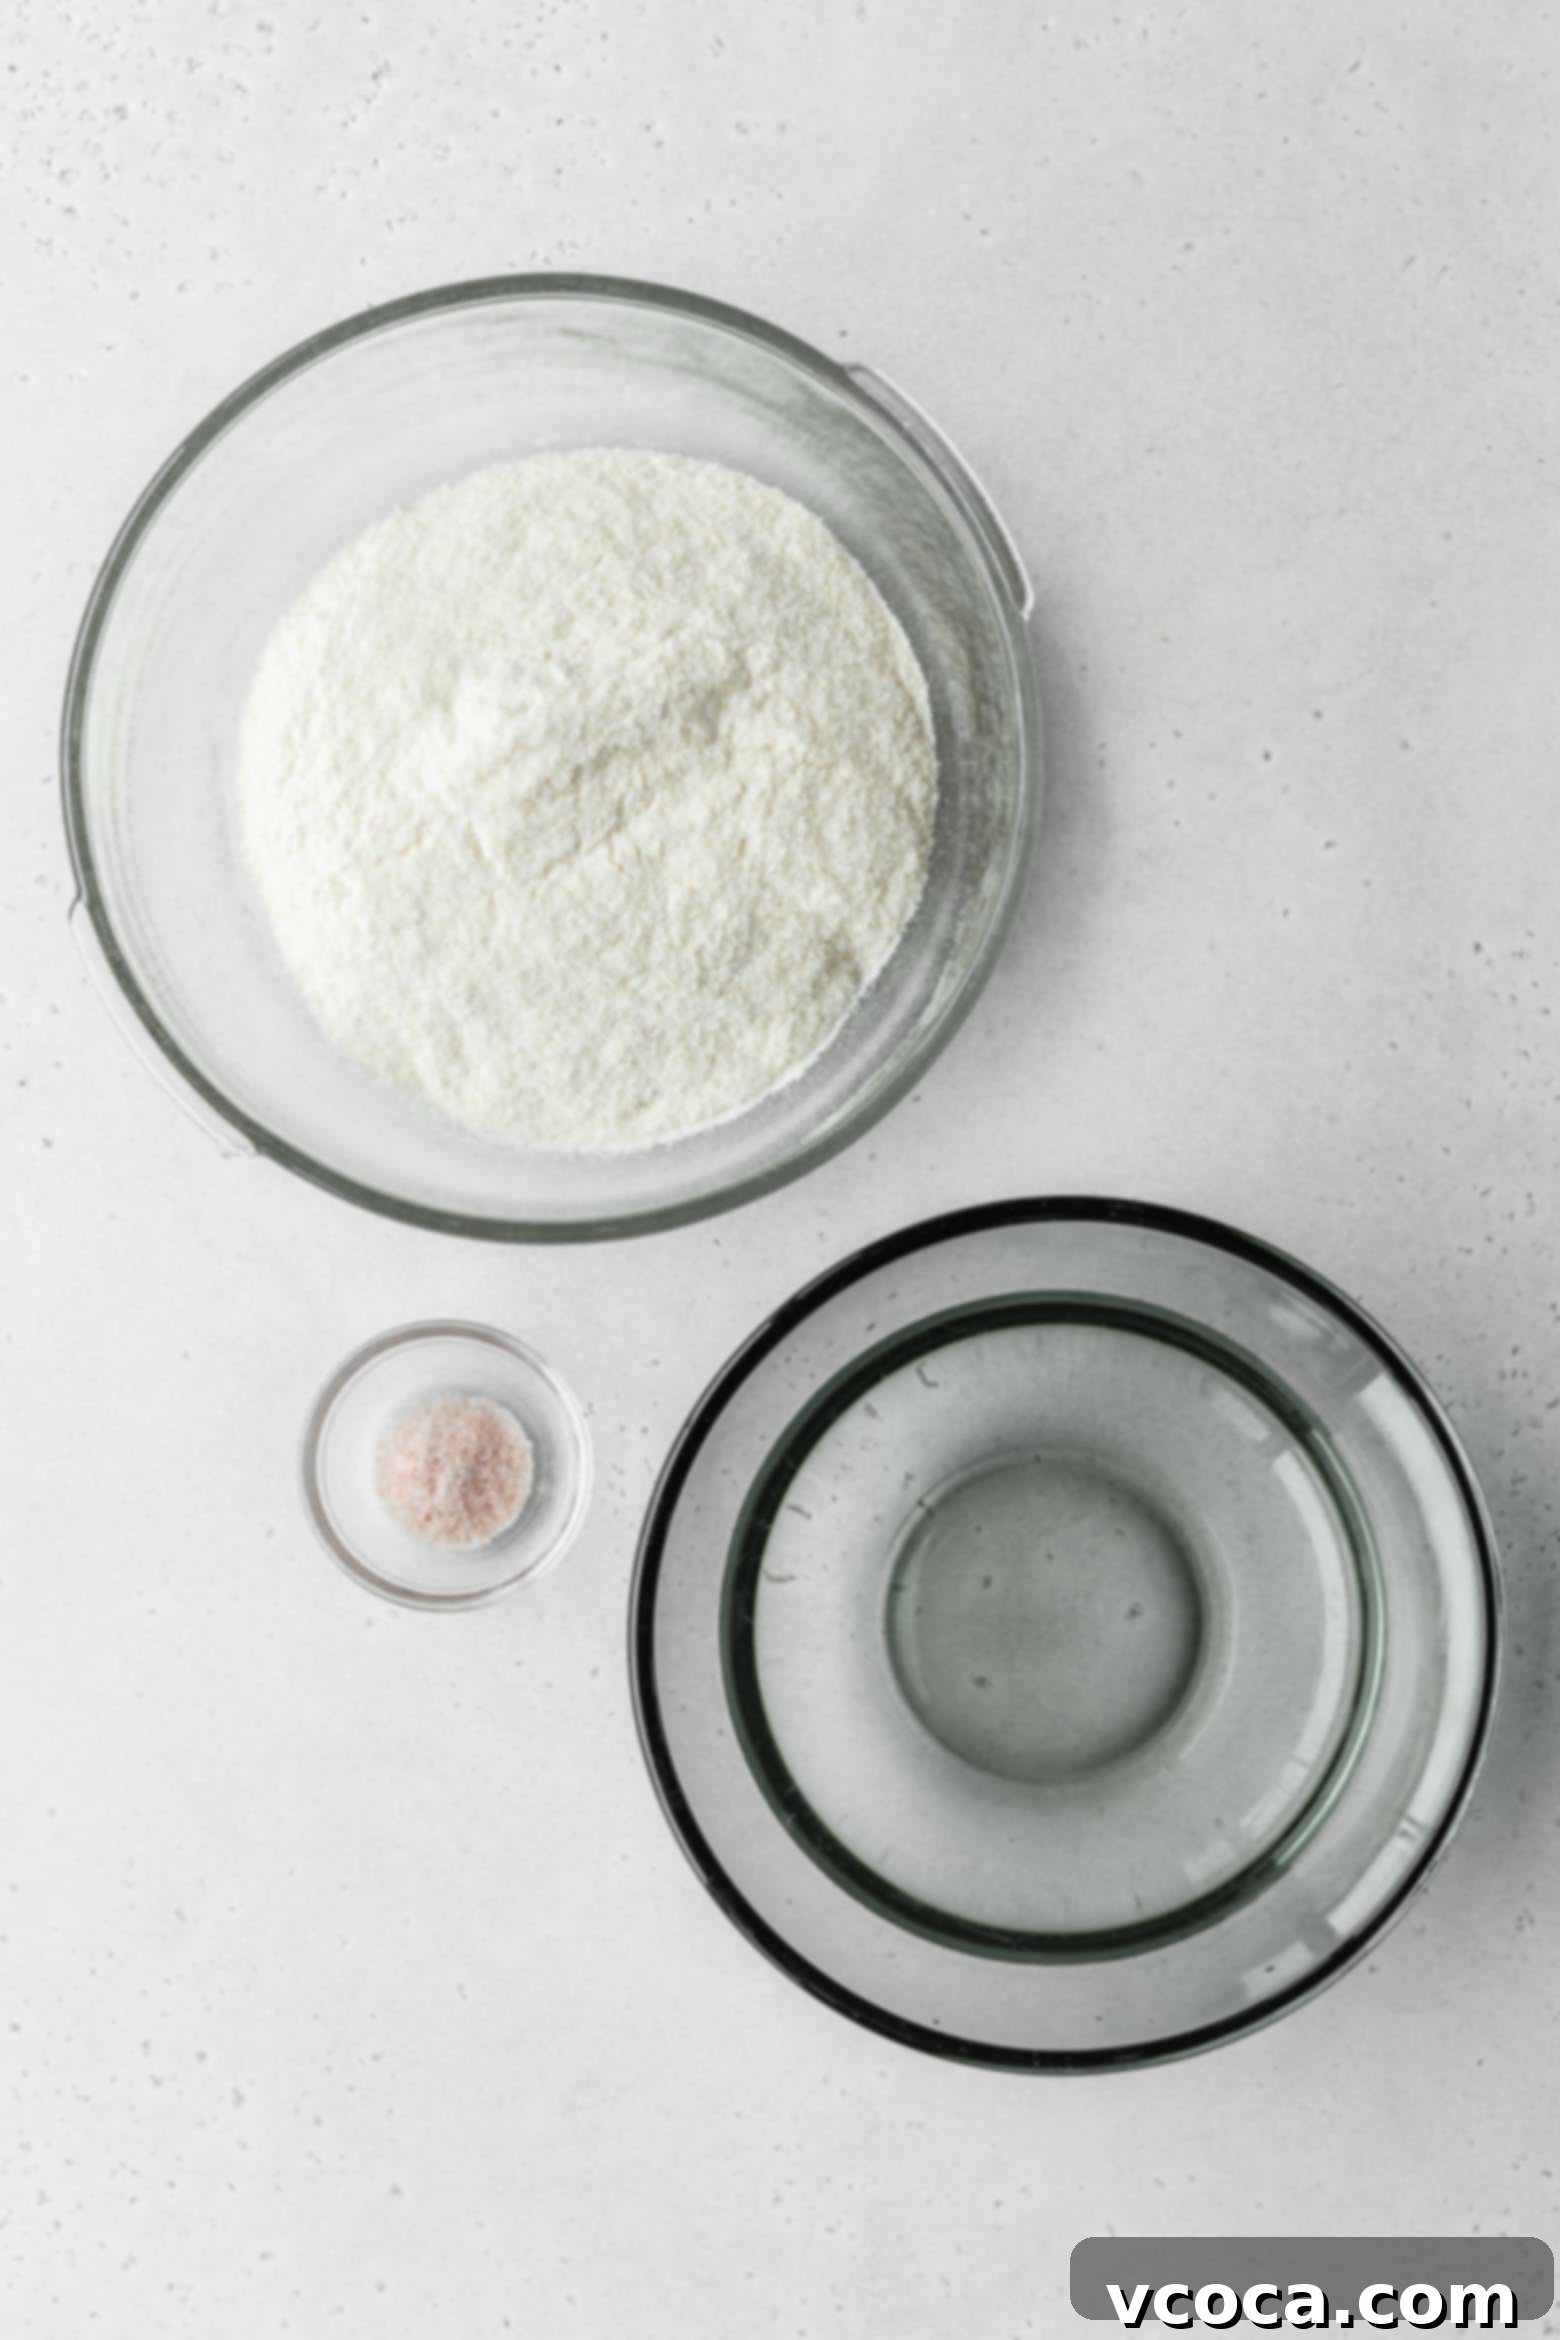
Crafting delicious arepas is the foundation of a great Reina Pepiada. You’ll need just a few simple, naturally gluten-free ingredients to make these delightful corn pockets:
- Arepa Flour: This is perhaps the most crucial ingredient. Also widely known as masarepa or Harina P.A.N. (a very popular brand), arepa flour is a special type of pre-cooked, finely ground cornmeal. Unlike regular cornmeal, masarepa is hydrated, cooked, and then dried, which gives it its unique texture and allows it to form a cohesive dough perfect for arepas. Do not substitute with regular cornmeal or cornstarch, as the results will not be the same. Look for it in the international aisle of larger grocery stores or specialty Latin American markets.
- Fine Salt: A pinch of fine salt is essential to enhance the natural flavor of the corn and bring balance to the arepa dough. Adjust to your personal preference.
- Warm Water: Warm water is key for properly hydrating the arepa flour. It helps the dough come together smoothly and ensures a tender interior once cooked. The amount may vary slightly depending on your specific brand of masarepa and ambient humidity, so always start with the recommended amount and add more if needed, a tablespoon at a time.
Key Ingredients for the Zesty Reina Pepiada Filling
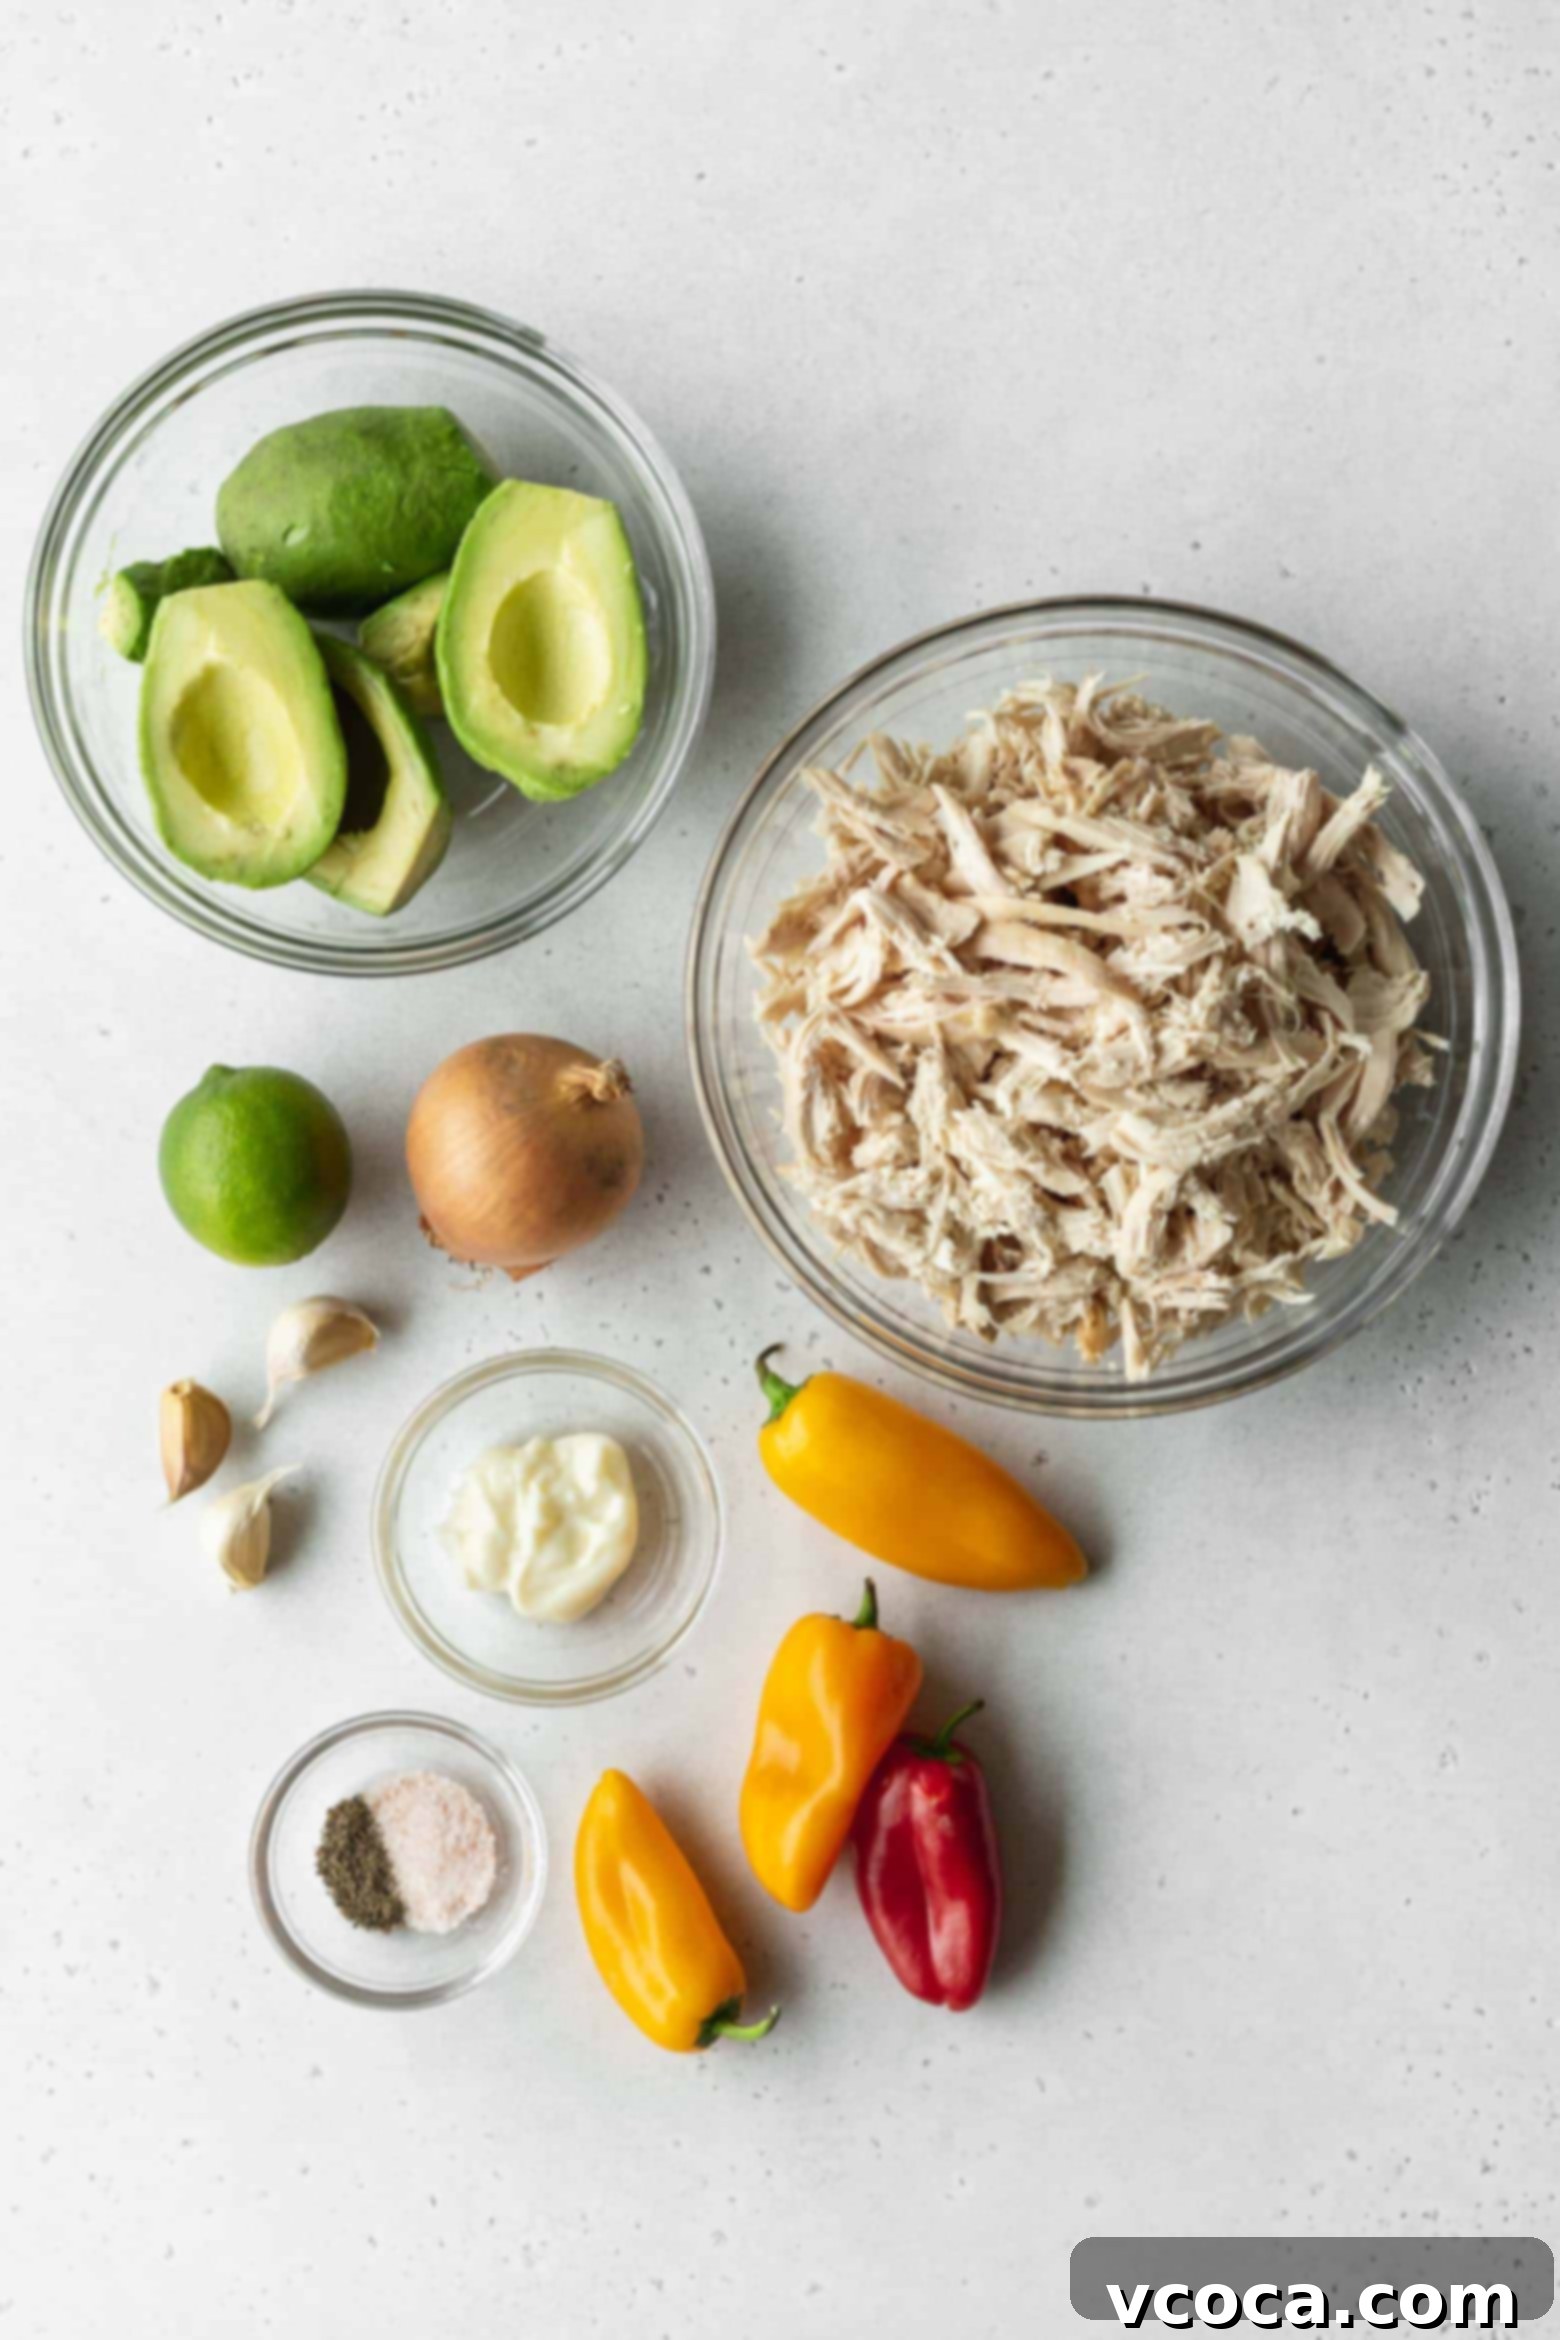
The heart of our Arepa Reina Pepiada is its rich and creamy chicken and avocado salad. Here’s a detailed look at the ingredients you’ll need to create this incredibly flavorful filling:
- Chicken Breast: For the most tender and juicy chicken, poaching is highly recommended. This method gently cooks the chicken, keeping it moist and allowing it to absorb subtle flavors from the cooking liquid. While chicken breast is traditional, you can substitute it with boneless, skinless chicken thighs for an even richer flavor and more forgiving texture. For a delightful twist, if chicken isn’t your preference, try making a “Reina Pepiada de Atún” (tuna Reina Pepiada) using canned tuna instead. Leftover rotisserie chicken or roasted chicken also works wonderfully for a quicker preparation.
- Ripe Avocados: The star of the creamy texture! Ensure your avocados are perfectly ripe – soft to the touch but not mushy. Ripe avocados will mash easily and contribute significantly to the filling’s luxurious consistency and vibrant green color.
- Onion: You can use either white or yellow onion for the filling. Finely chopped onion adds a subtle pungency and sweetness that brightens the overall flavor profile.
- Bell Pepper: Red bell pepper is traditionally used for its sweet flavor and beautiful color contrast. If red isn’t available, yellow or orange bell peppers make excellent substitutes, offering similar sweetness and a pop of color.
- Garlic: Freshly minced or grated garlic is a must! It provides an aromatic depth that is irreplaceable. Avoid garlic powder if possible for the best results.
- Fine Salt: Used to season both the chicken during poaching and the final avocado mixture, balancing all the flavors.
- Freshly Ground Black Pepper: Freshly ground black pepper offers a superior aroma and flavor compared to pre-ground pepper, adding a subtle kick to the creamy filling.
- Mayonnaise: This binds the chicken and avocado, contributing to the signature creamy texture of Reina Pepiada. I’ve experimented with both classic North American mayonnaise and the slightly sweeter, richer Japanese Kewpie mayo, and both yield delicious results. Choose your favorite!
- Fresh Lime Juice: Absolutely crucial for that signature zesty tang! Freshly squeezed lime juice brightens the entire filling, cuts through the richness of the avocado and mayonnaise, and also helps to prevent the avocado from browning too quickly. Lemon juice can be used as a substitute if lime is unavailable.
- Cilantro: Fresh, minced cilantro adds a burst of herbaceous flavor and a beautiful aroma. However, cilantro can be polarizing, so if you’re not a fan (or have the gene that makes it taste like soap!), feel free to omit it entirely. The Reina Pepiada will still be incredibly flavorful.
For those who love a bit of heat, consider adding some finely chopped jalapeños to the filling. Alternatively, to make “Reina Pepiada con Queso,” you can fold in some shredded or diced white cheese (like a mild mozzarella or a fresh queso blanco) for an extra layer of texture and flavor.
Step-by-Step Guide: How to Make Reina Pepiada Arepas from Scratch
Follow these detailed steps to create your own mouth-watering Reina Pepiada arepas, combining a perfectly cooked chicken and avocado filling with freshly made corn arepas.
Preparing the Flavorful Chicken and Avocado Filling
Step 1: Poach the Chicken for Tenderness. Begin by placing the raw chicken breast in a pot. Add the sliced onion, a generous pinch of salt, and a dash of black pepper to the pot. These aromatics will infuse flavor into the chicken as it cooks. Pour in enough water to ensure the chicken breasts are completely submerged by about an inch or two. Bring the water to a rolling boil over medium-high heat, then immediately reduce the heat to a gentle simmer. Cook for 10 to 15 minutes, or until the chicken is thoroughly cooked through and no longer pink in the center. Carefully remove the chicken from the pot and allow it to cool completely. Once cool enough to handle, use two forks or your hands to shred the chicken into bite-sized pieces. Set the shredded chicken aside.
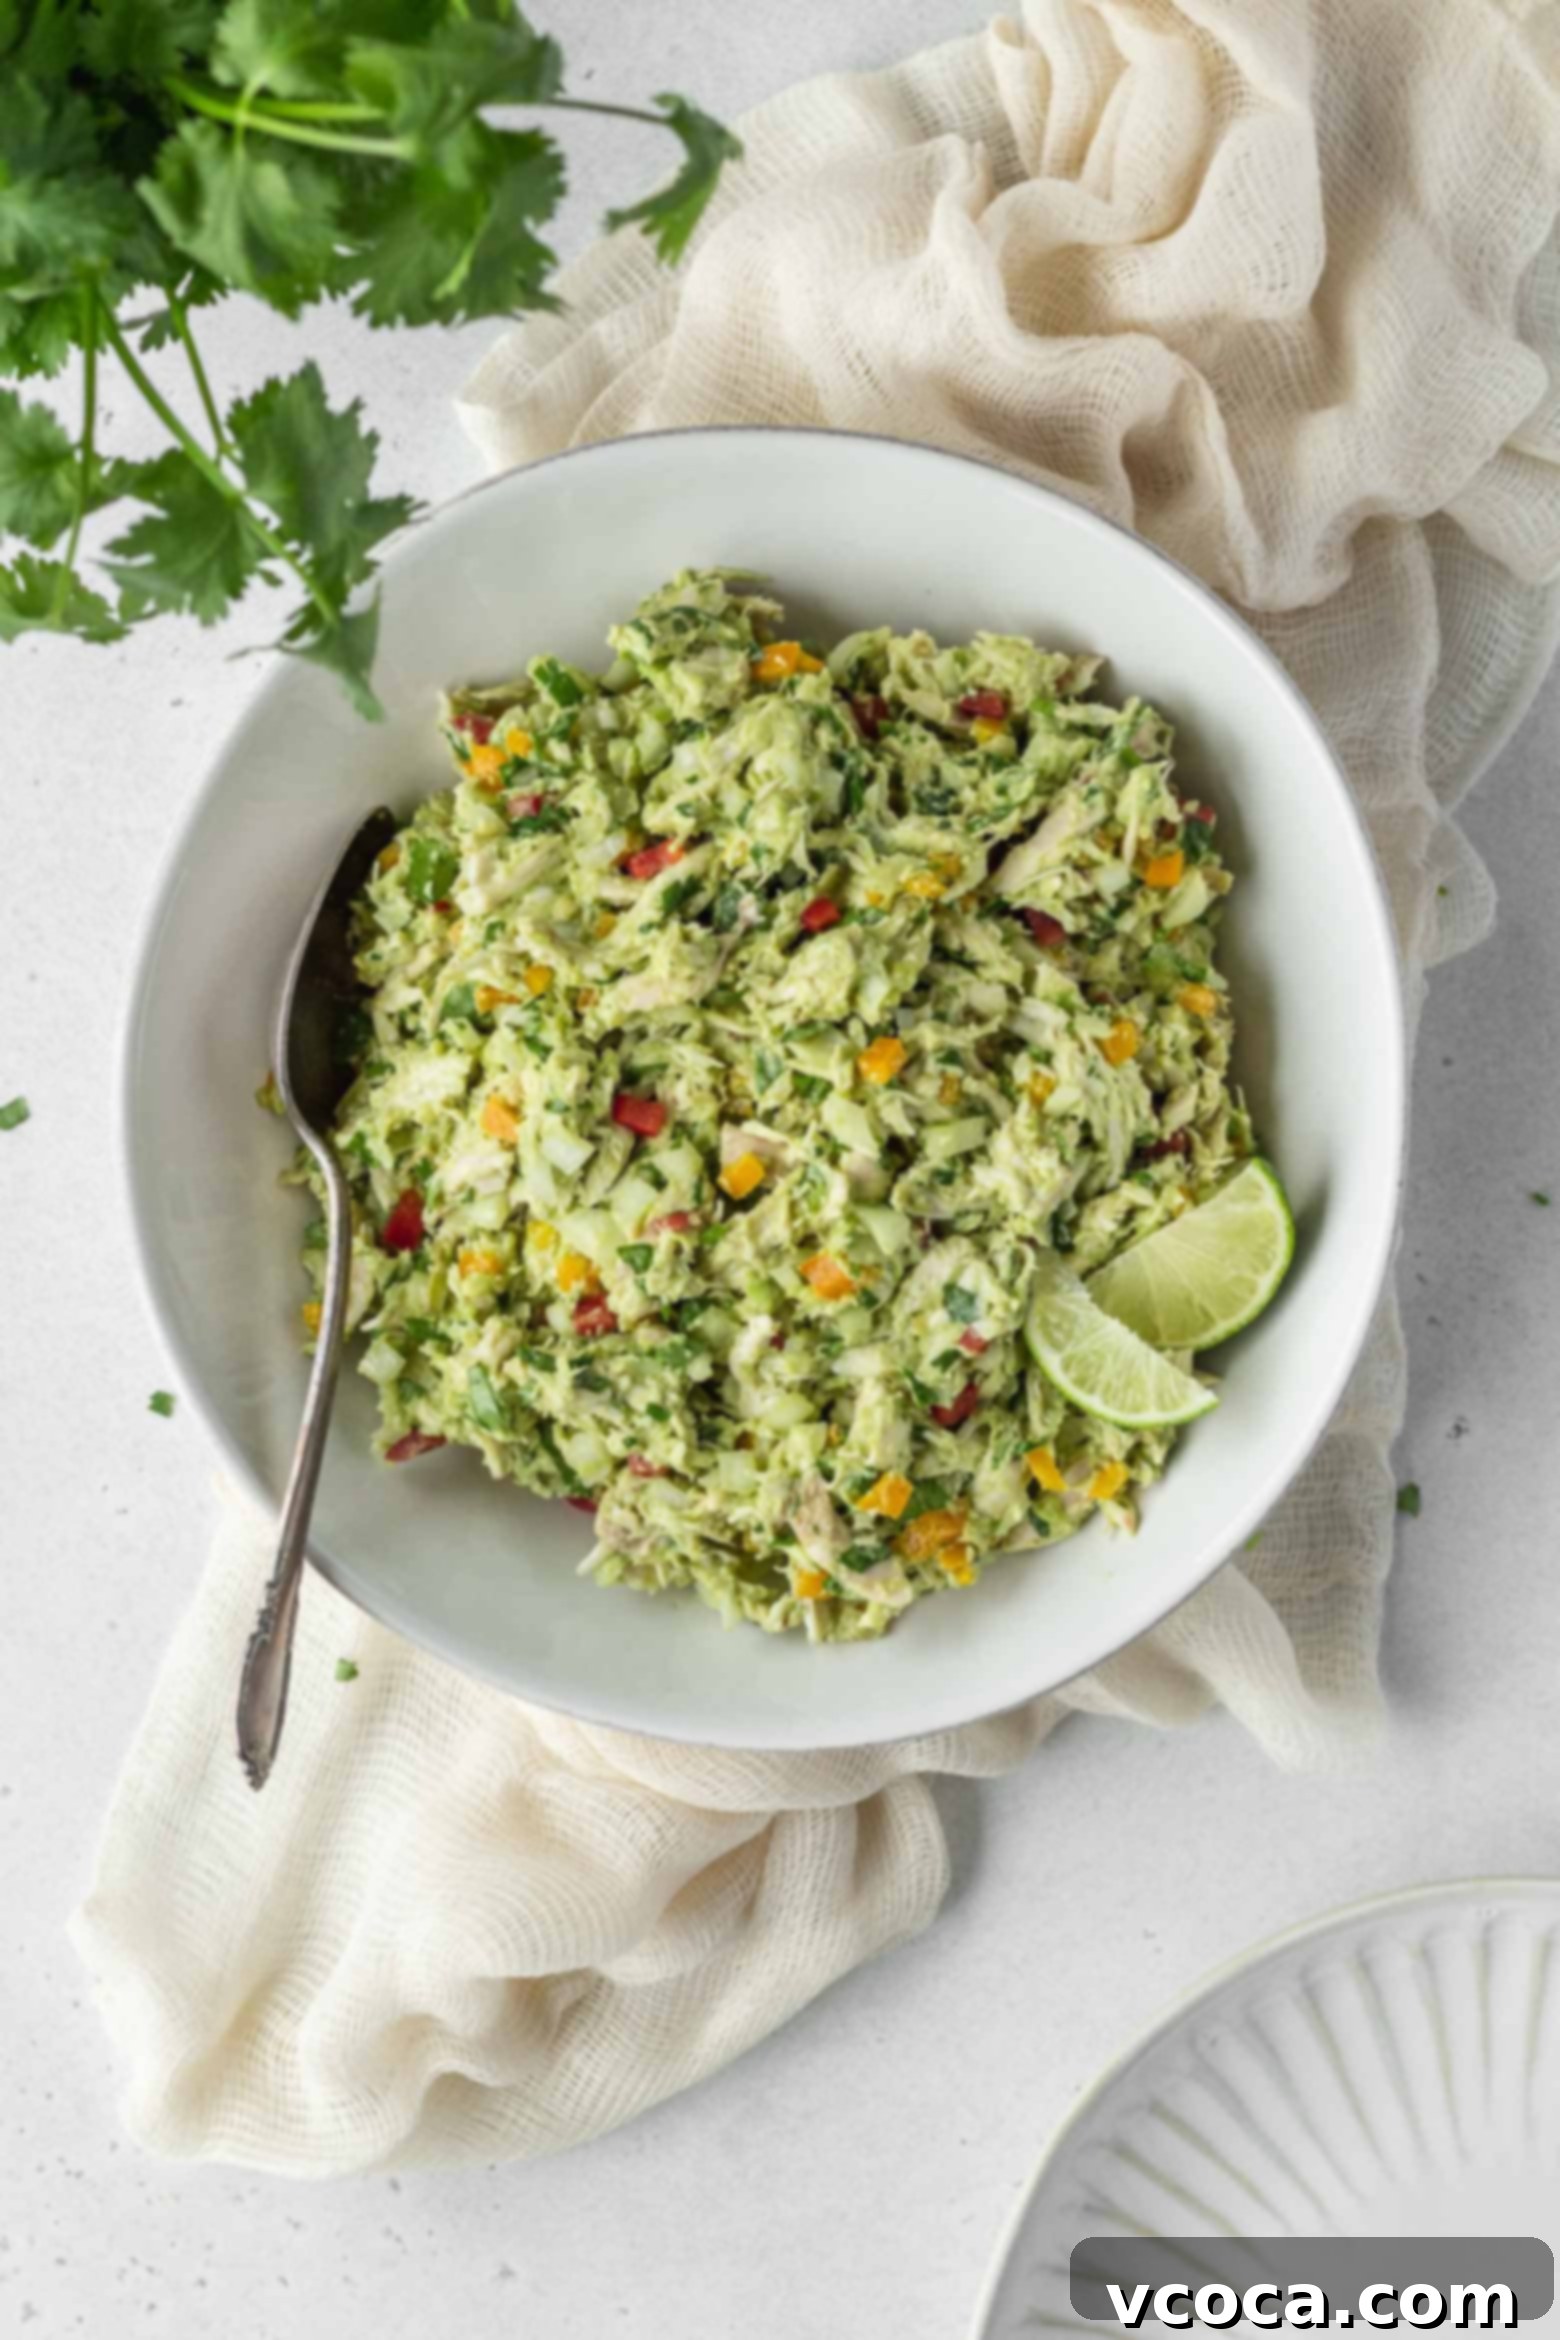
Step 2: Assemble the Creamy Avocado Salad. In a large mixing bowl, scoop out the flesh of the ripe avocados and mash them gently with a fork or potato masher, leaving some small chunks for texture. To the mashed avocado, add the minced garlic, diced bell pepper, finely chopped onion, fresh cilantro (if using), mayonnaise, and the bright, zesty lime juice. Mix these ingredients until they are well combined. Finally, fold in the shredded chicken. Toss everything together until the chicken is evenly coated with the creamy avocado mixture. Taste and adjust the seasoning with additional salt and black pepper as needed. Cover the bowl tightly with plastic wrap to prevent browning and keep the filling in the refrigerator until you’re ready to assemble your arepas.
Crafting the Perfect Arepas
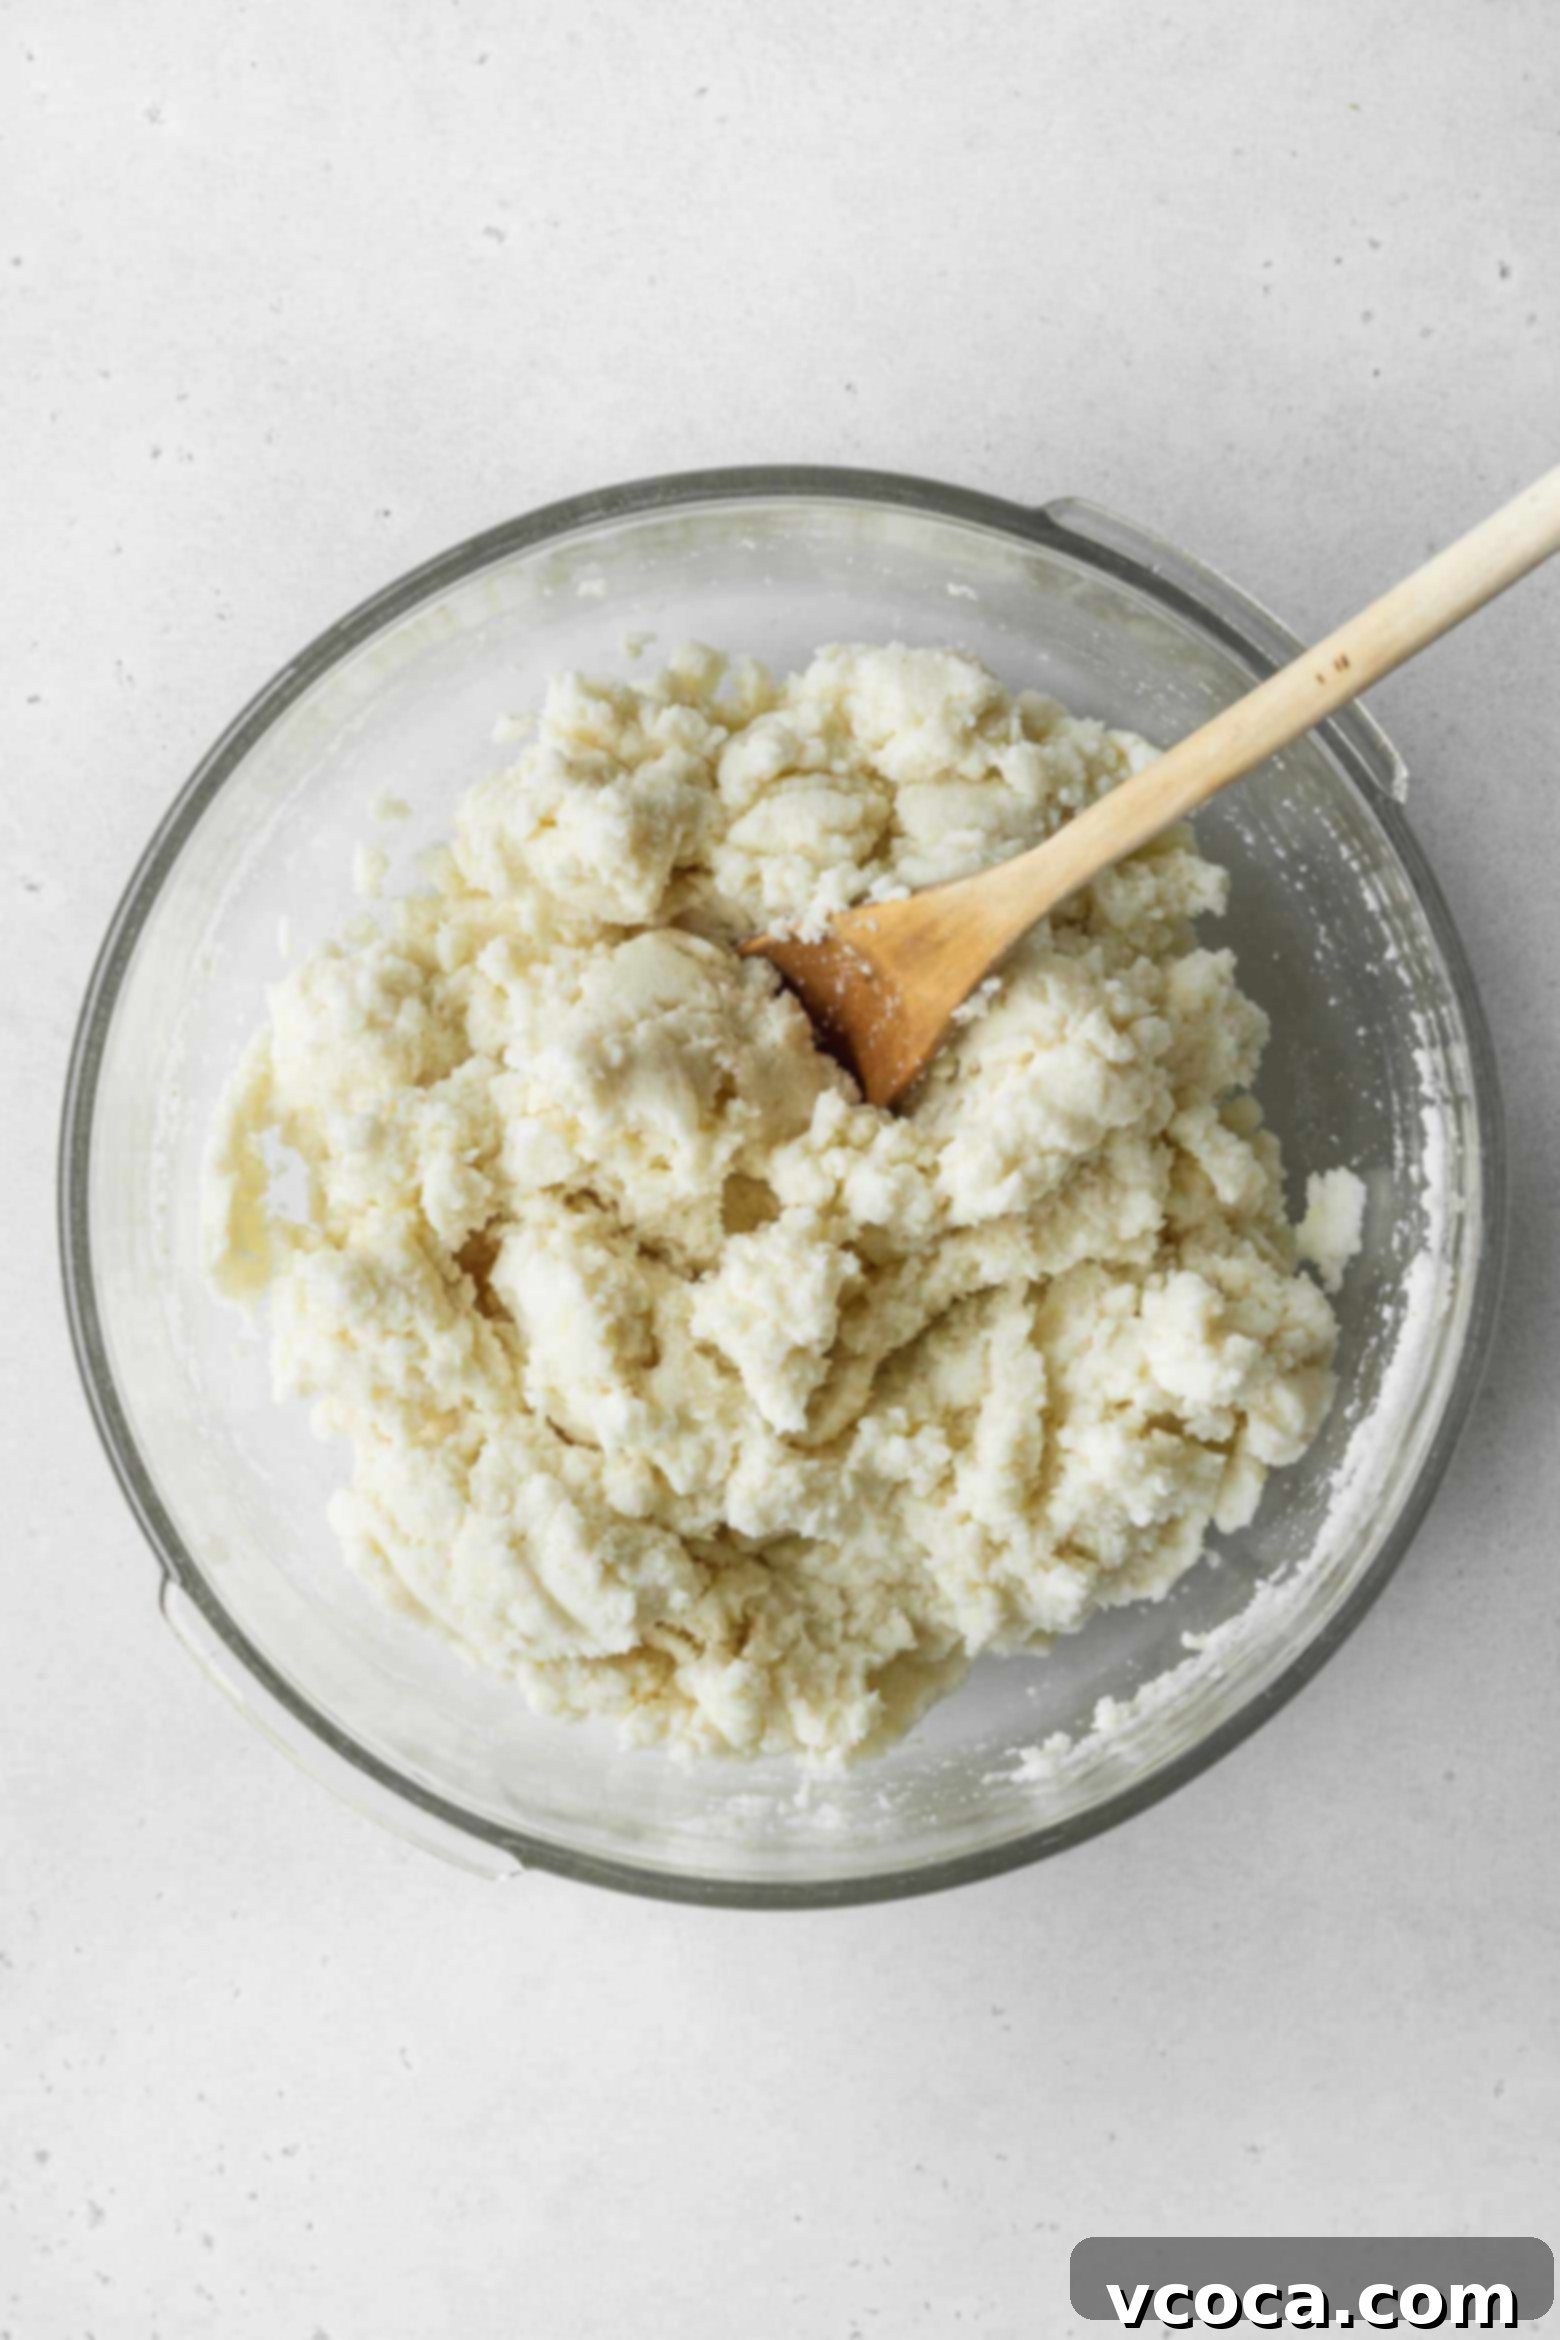
Step 3: Prepare the Arepa Dough. In a separate large mixing bowl, combine the arepa flour (masarepa) and salt. Gradually pour in the warm water, stirring continuously with your hands or a spoon until a smooth, cohesive dough forms. The dough should be soft but not sticky. Once mixed, let the dough rest for about 5 to 10 minutes. This resting period is crucial as it allows the arepa flour to fully hydrate and thicken, resulting in a perfectly pliable dough that’s easy to work with.
Step 4: Shape the Arepas. Divide the rested dough into eight equal portions. For consistent size, you can use a kitchen scale. Roll each portion into a smooth ball, then gently flatten it using the palms of your hands to form a disc, approximately 3.5 to 4 inches (9-10 cm) in diameter and about half an inch (1.5 cm) thick. Ensure the edges are smooth and crack-free.
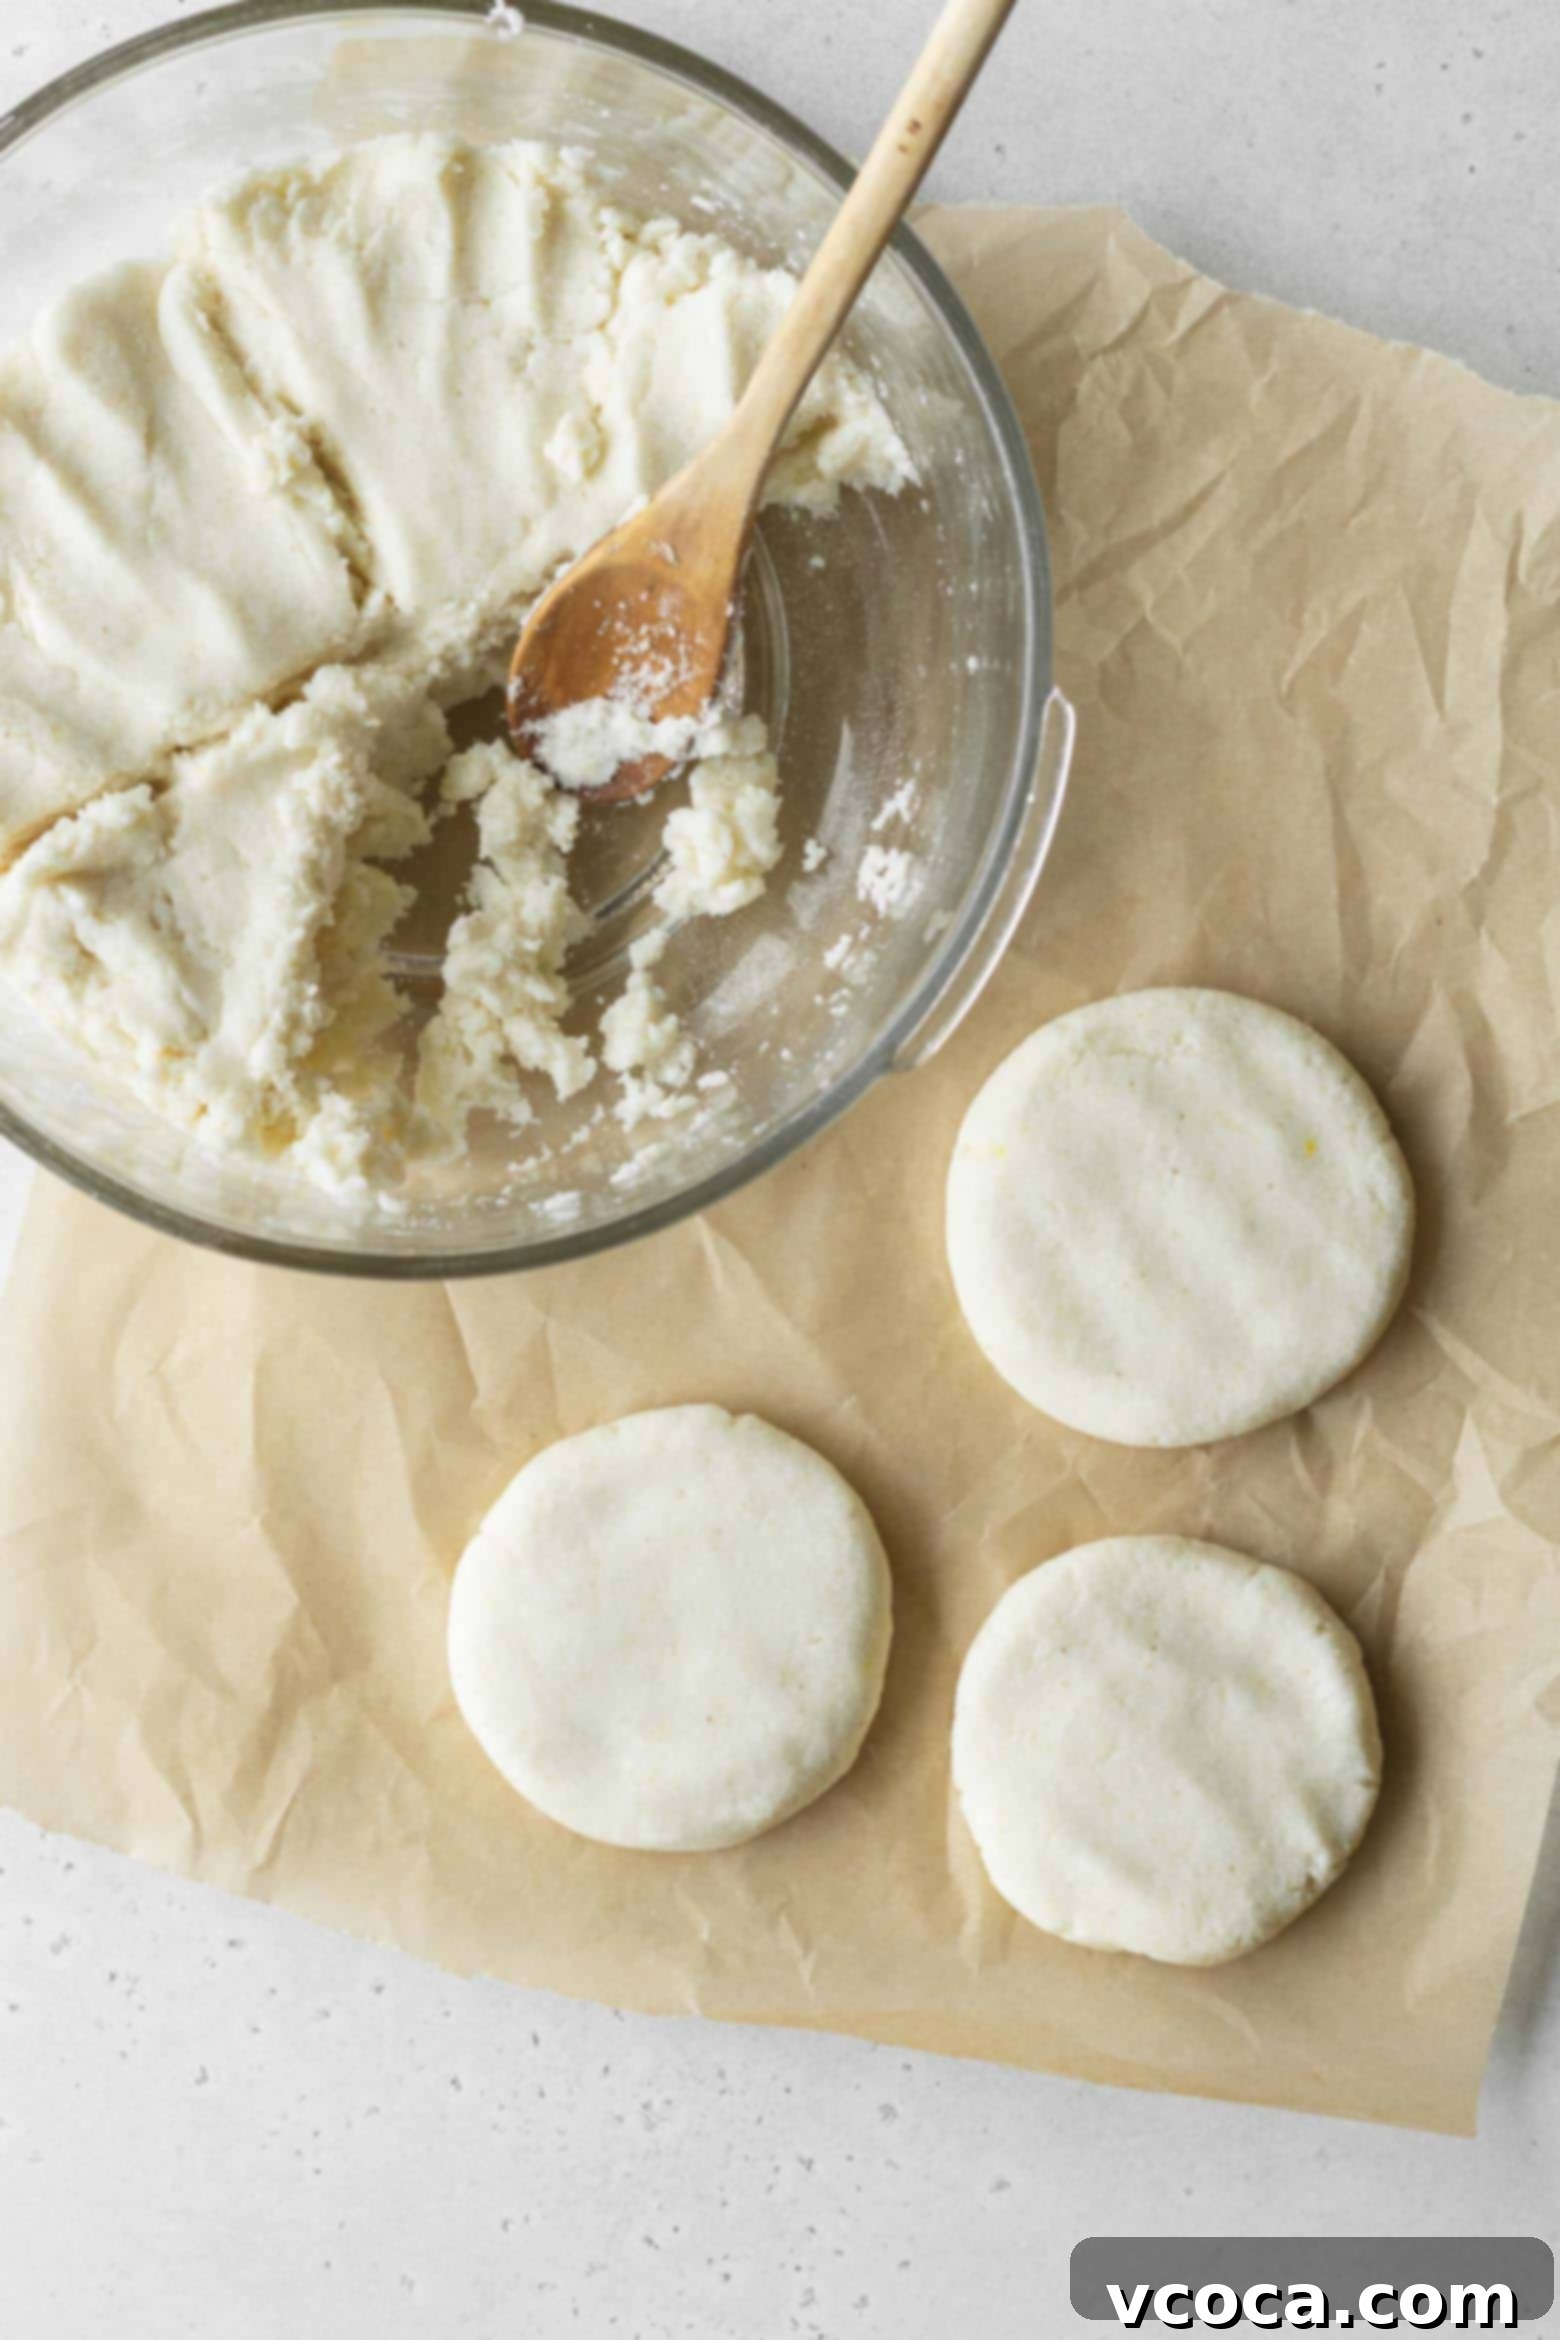
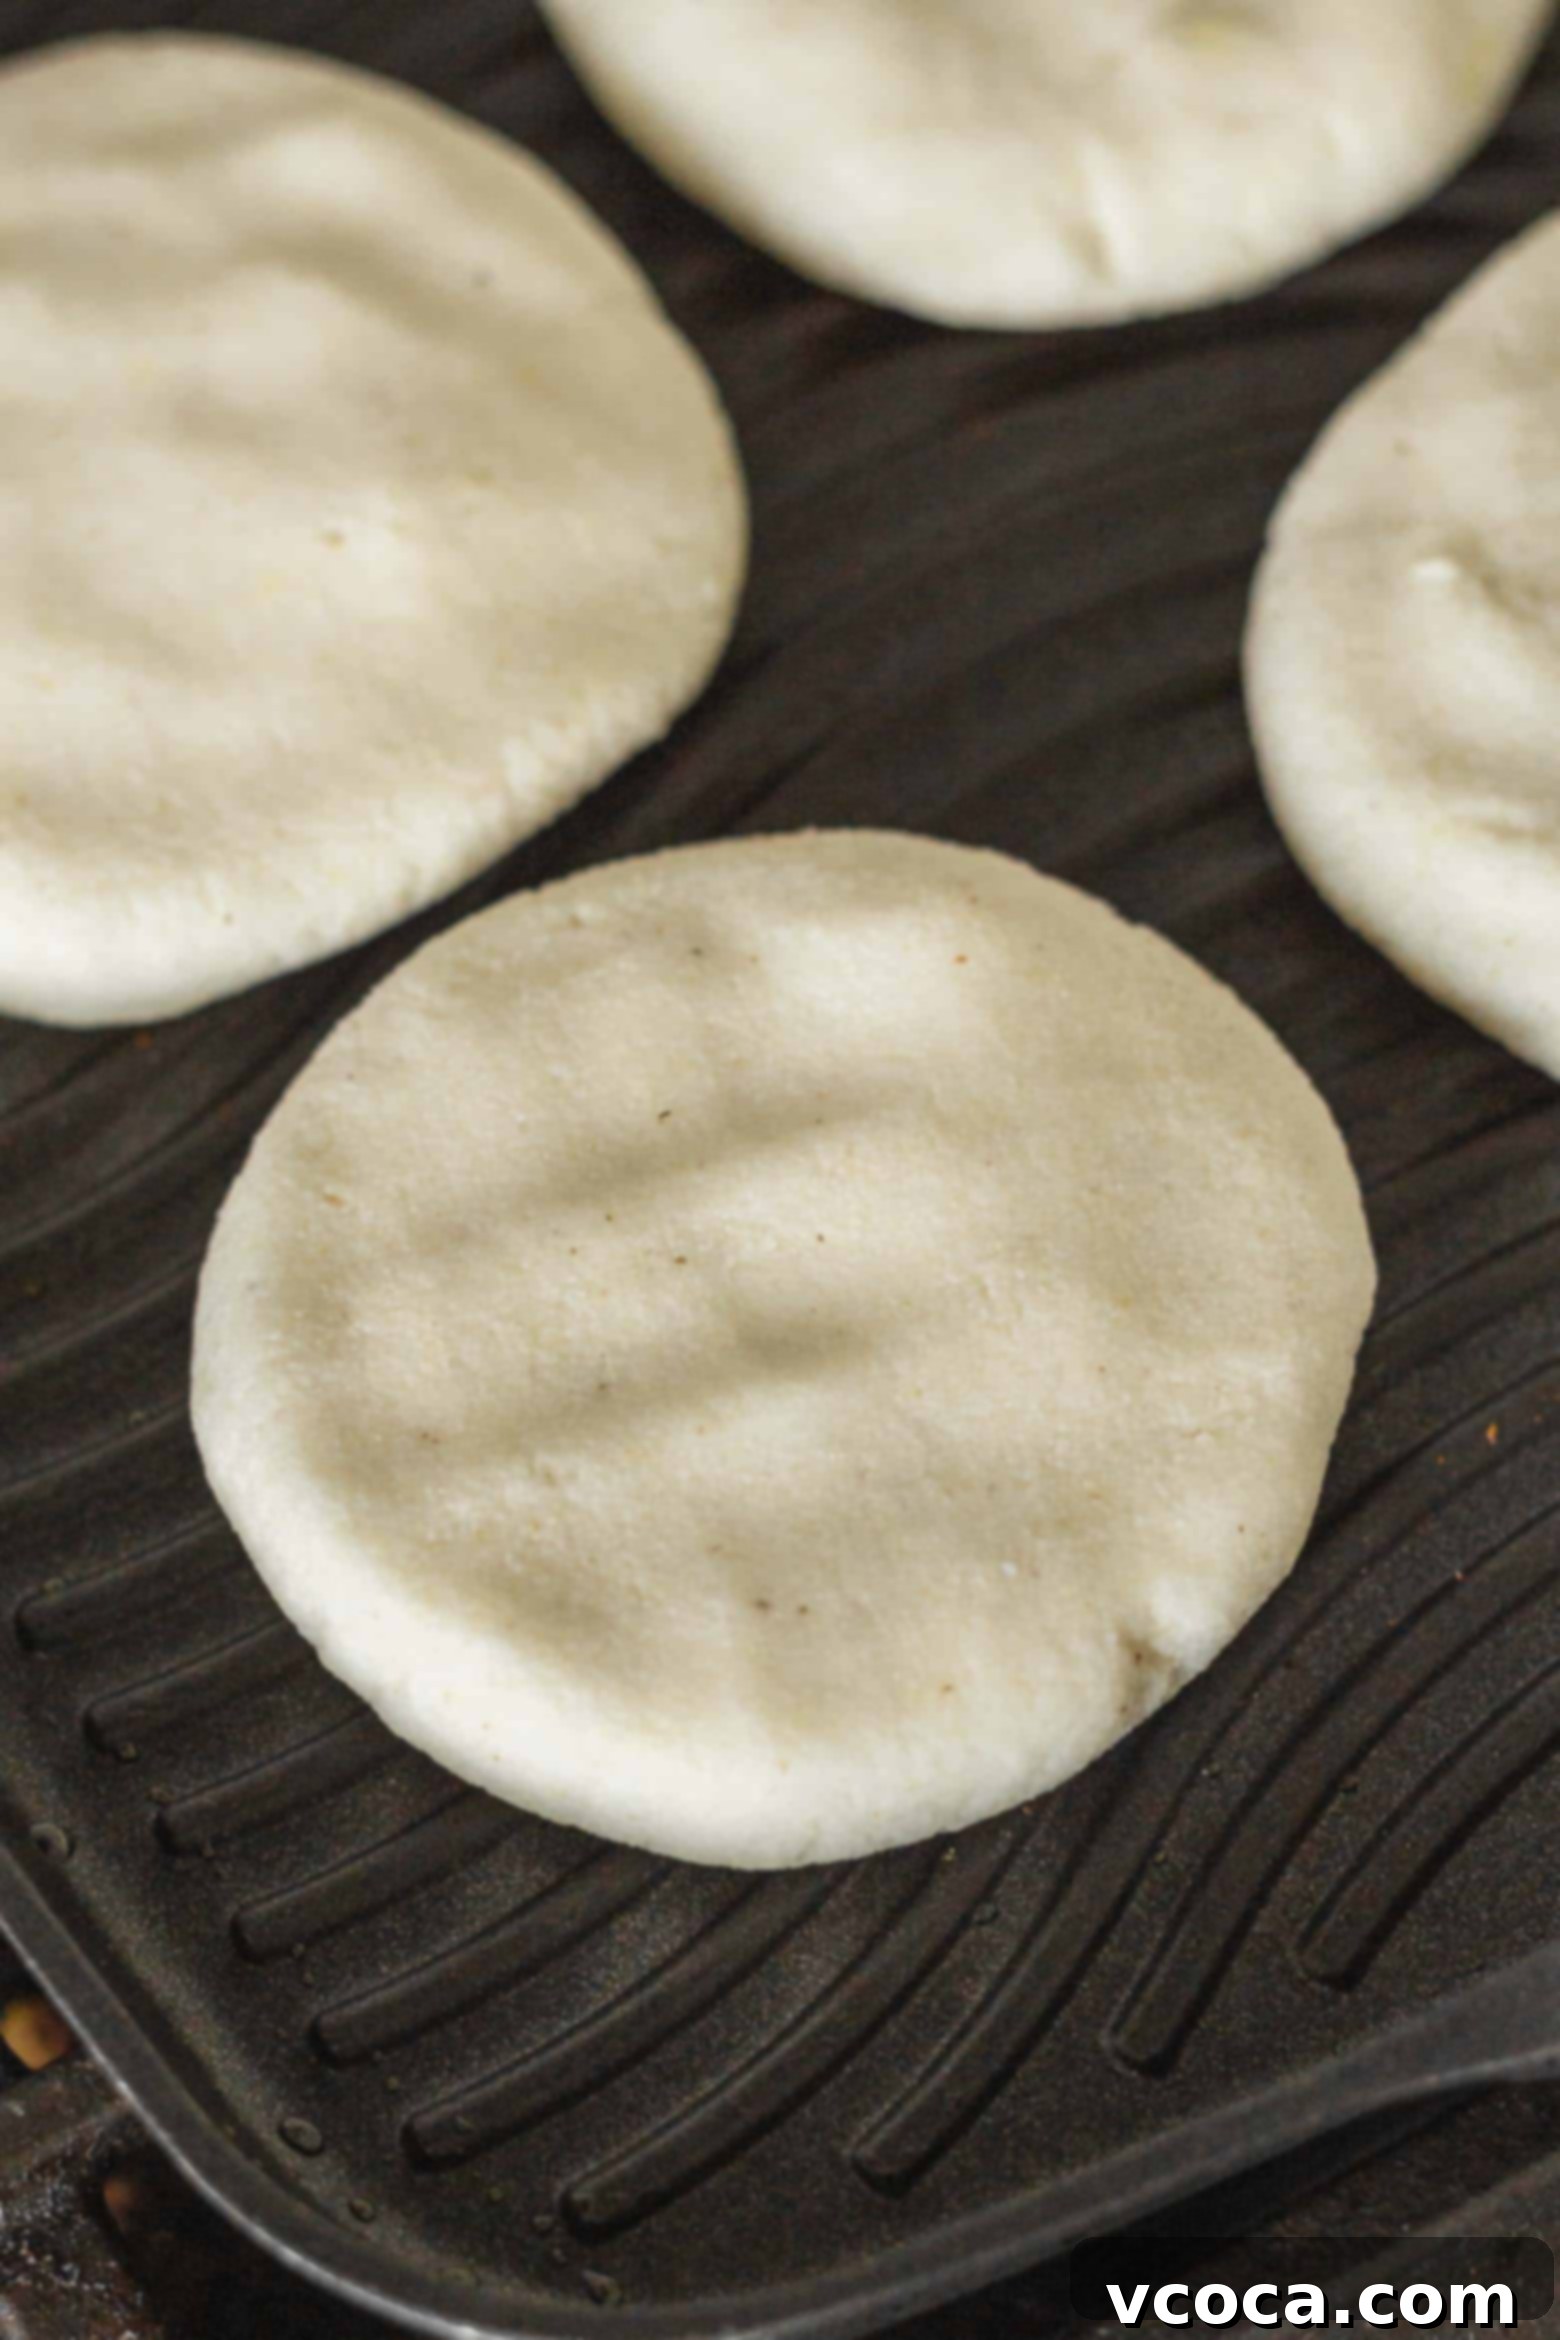
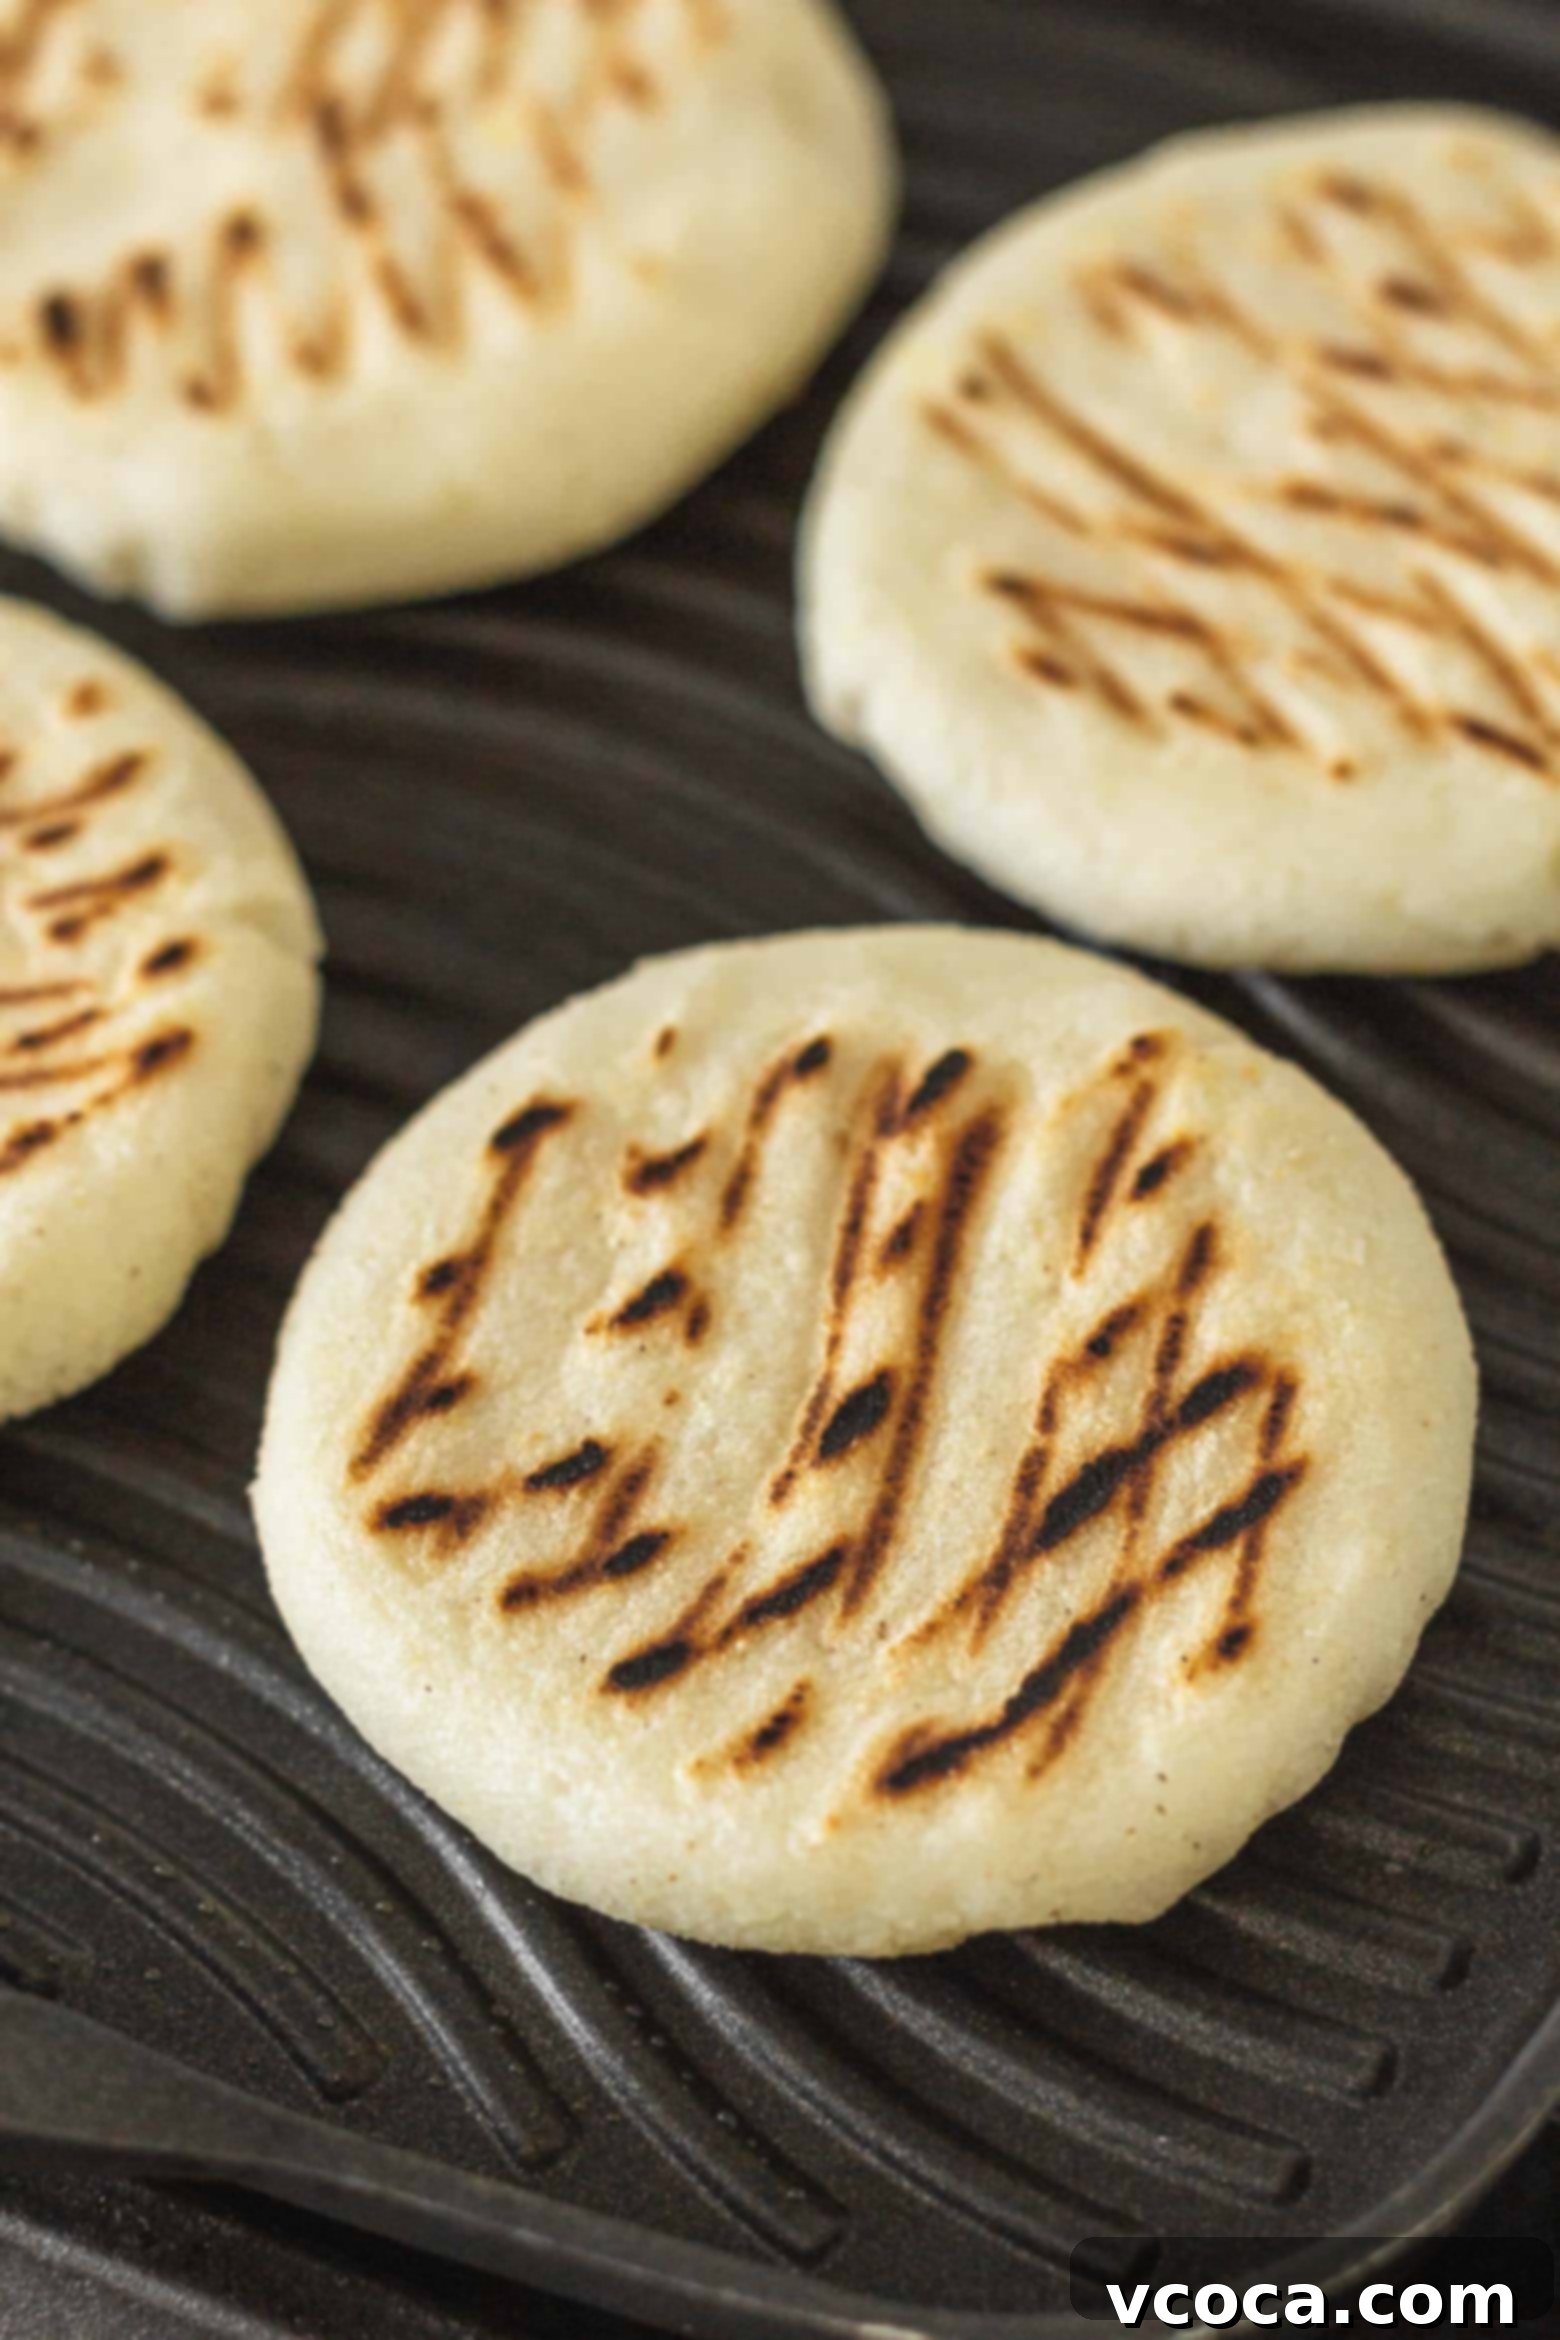
Step 5: Cook the Arepas to Golden Perfection. Heat a nonstick pan or a griddle over medium heat. You can add a very thin layer of oil or butter for extra crispiness, though it’s not strictly necessary with a good nonstick surface. Place the shaped arepas on the hot surface and cook for approximately 5-7 minutes per side, or until they develop a beautiful golden-brown crust and sound hollow when tapped. The arepas should also puff up slightly, indicating they are cooked through. Once cooked, transfer the arepas to a wire rack to cool slightly until they are ready for serving.
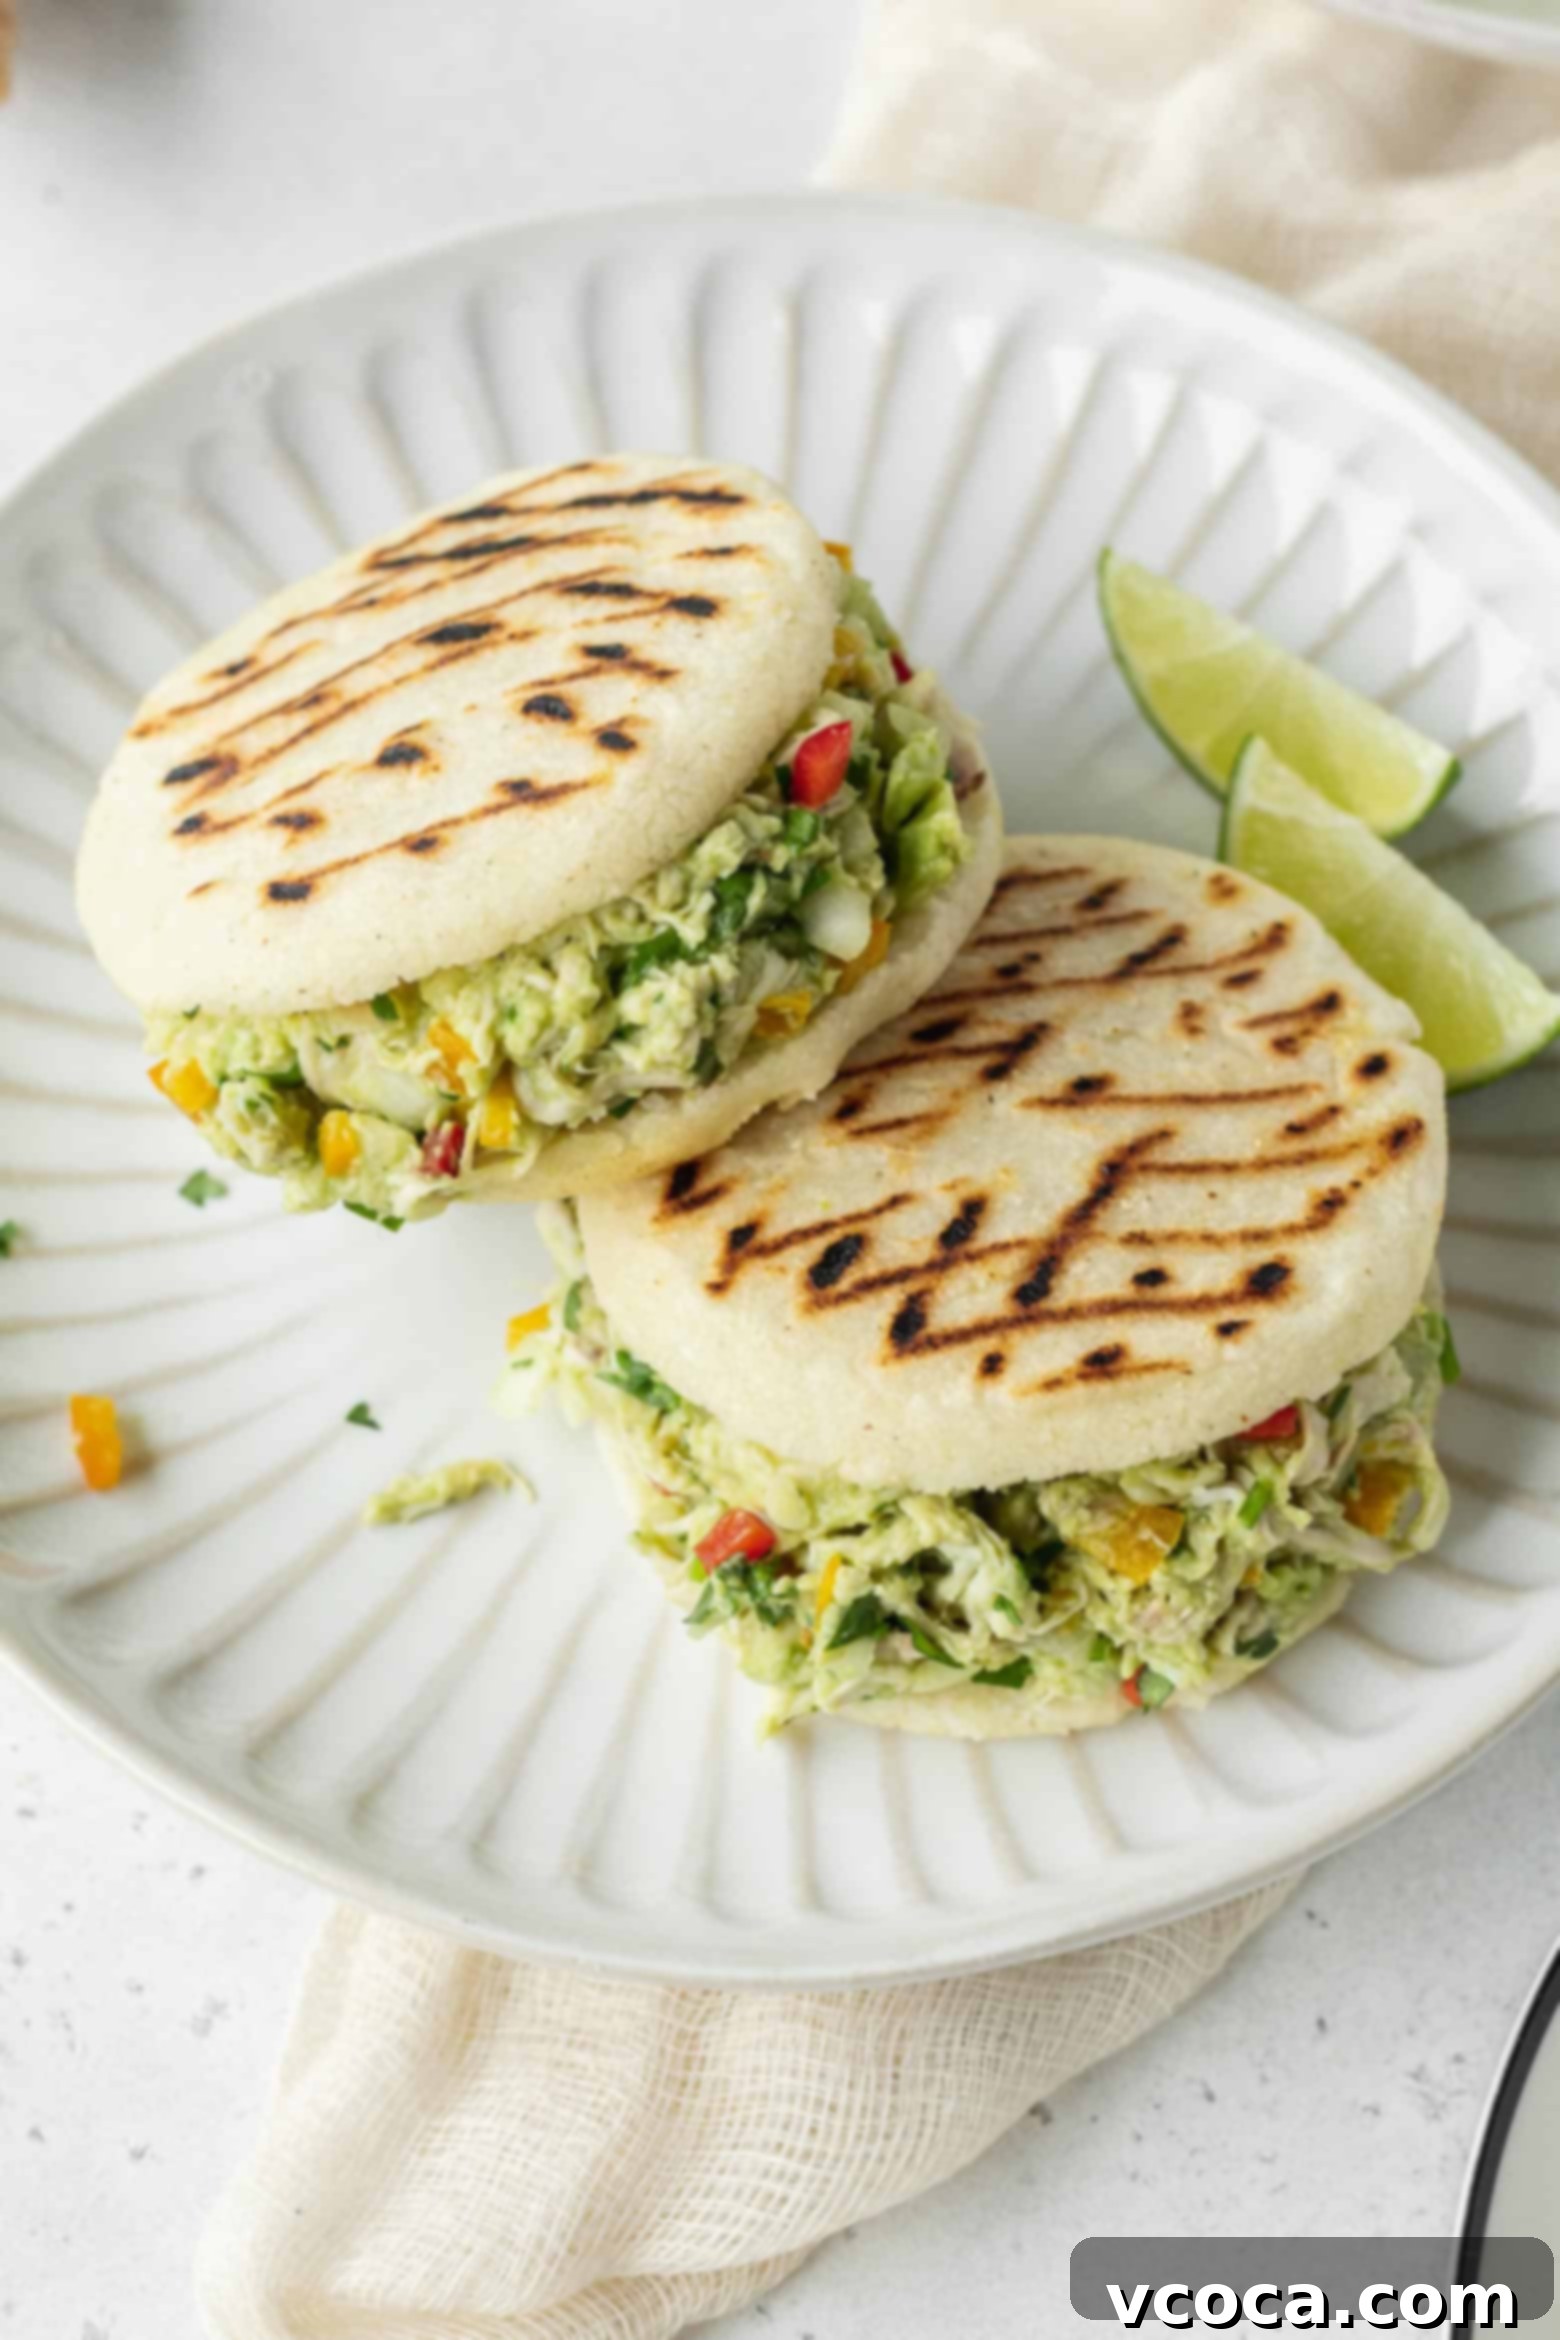
Step 6: Assemble Your Reina Pepiada. While the arepas are still warm (this makes them easier to cut and creates a lovely contrast with the cool filling), carefully slice each one horizontally almost all the way through, creating a pocket like a pita bread. Be careful not to cut all the way through! Using a spoon, generously fill each warm arepa with as much of the chilled Reina Pepiada chicken and avocado filling as your heart desires. Don’t be shy – the more filling, the better the experience! Serve immediately and prepare for a burst of authentic Venezuelan flavors.
Reina Pepiada Recipe Pro-Tips for Success
Achieve truly exceptional Reina Pepiada arepas with these expert tips:
- Rest the Arepa Dough Adequately: This step is critical! After mixing the masarepa, salt, and water, let the dough rest for at least 5-10 minutes. This allows the pre-cooked cornmeal to fully hydrate and absorb the water, resulting in a pliable, smooth dough that won’t crack when you shape it. If your dough feels too loose or crumbly initially, resist the urge to add more flour right away. The rest period will work its magic.
- Achieve Uniform Arepas by Portioning: To ensure all your arepas cook evenly and look consistent, it’s best practice to divide the dough into equal portions before you start flattening. You can eyeball it, or for precision, use a kitchen scale. Rolling each portion into a smooth ball before flattening helps prevent cracks and ensures a perfect disc shape.
- Poaching is Key for Moist Chicken: Chicken breast can notoriously become dry if overcooked. Poaching is the best method to keep the chicken moist and tender for your Reina Pepiada. The gentle simmering allows the chicken to cook through without losing its juices, and adding aromatics to the poaching liquid infuses it with flavor from the start.
- Don’t Be Shy with the Filling: An authentic Reina Pepiada is generously stuffed! While it might get a little messy, load up your arepas with more of that creamy chicken and avocado mixture than you think is necessary. The rich, vibrant filling is the star, and a full arepa is a happy arepa. Embrace the delicious mess and take big, satisfying bites!
- Preheat Your Cooking Surface: Whether you’re using a griddle, a nonstick pan, or even an arepa maker, ensure it’s properly preheated before placing the arepas on it. A hot surface ensures a beautiful golden crust forms quickly, trapping moisture inside and creating that delightful crispy exterior.
- Warm Water for Dough: Using warm (not hot!) water when mixing your masarepa dough can help activate the cornmeal faster and lead to a smoother, more pliable dough, making it easier to shape your arepas.
Storage and Reheating Directions for Your Reina Pepiada Arepas
Planning ahead or have leftovers? Here’s how to properly store and reheat your delicious Reina Pepiada components:
- Storing Cooked Arepas: Cooked arepas can be stored in an airtight container in the refrigerator for up to 2-3 days. For best results, allow them to cool completely before storing.
- Reheating Cooked Arepas: To bring them back to life, reheat refrigerated arepas on a dry skillet over medium heat for a few minutes per side until warmed through and the crust is crisp again. Alternatively, you can warm them in a toaster oven or a preheated oven (around 350°F / 175°C) for about 8-10 minutes until hot and slightly crispy. Avoid microwaving, as it tends to make them soft and chewy.
- Freezing Cooked Arepas: For longer storage, cooked arepas can be frozen. Wrap each cooled arepa individually in plastic wrap, then place them in a freezer-safe bag or container. They can be stored in the freezer for up to 1-2 months.
- Reheating from Frozen: To reheat frozen arepas, you can place them directly in a preheated oven at 375°F (190°C) for about 15-20 minutes, or until thoroughly heated and crispy. You can also toast them directly from frozen on a griddle on medium-low heat, turning frequently.
- Storing the Reina Pepiada Filling: The chicken and avocado filling can be prepared a couple of days in advance and stored in an airtight container in the refrigerator. The lime juice helps significantly in preventing the avocado from browning, but some slight discoloration on the surface is natural and harmless. Give it a good stir before serving.
Frequently Asked Questions About Reina Pepiada Arepas
Arepa flour, also known as masarepa or harina P.A.N., is a staple in Latin American cuisine. You can usually find the popular P.A.N. brand (or sometimes Goya brand) in the international or Latin American foods aisle of well-stocked grocery stores. Many specialty grocery stores and ethnic markets will also carry it. If you’re having trouble locating it locally, it’s readily available for purchase online through retailers like Amazon. Common brand names to look for include P.A.N. (Venezuelan, often in a yellow or white bag) and Maseca (Mexican, often in a white bag).
Absolutely! Arepas are fantastic for meal prep. You can make and cook the arepas ahead of time. Once cooled, store them in an airtight container in the refrigerator for up to 2-3 days. When you’re ready to eat, simply reheat them on a skillet, in a toaster oven, or a conventional oven until they are hot and have a slightly crispy exterior. This makes assembling fresh Reina Pepiada incredibly quick and convenient!
Yes, the creamy chicken and avocado filling can be prepared a day or two in advance. Store it in an airtight container in the refrigerator. While avocado naturally tends to oxidize and discolor, the generous amount of lime juice in this recipe works wonders to preserve its vibrant green color and fresh taste. Give it a good stir before filling your arepas.
Yes, traditional arepas are naturally gluten-free! They are primarily made from just three simple ingredients: pre-cooked cornmeal (masarepa), salt, and water. This makes them a wonderful and safe option for individuals with gluten sensitivities or those following a gluten-free diet.
You certainly can! Using leftover roasted chicken, grilled chicken, or even rotisserie chicken is a fantastic shortcut that saves a lot of time without sacrificing flavor. Just shred the cooked chicken and proceed with mixing it into the avocado salad as directed in the recipe. This makes Reina Pepiada an excellent way to repurpose leftovers!
What is Reina Pepiada: A Culinary Icon
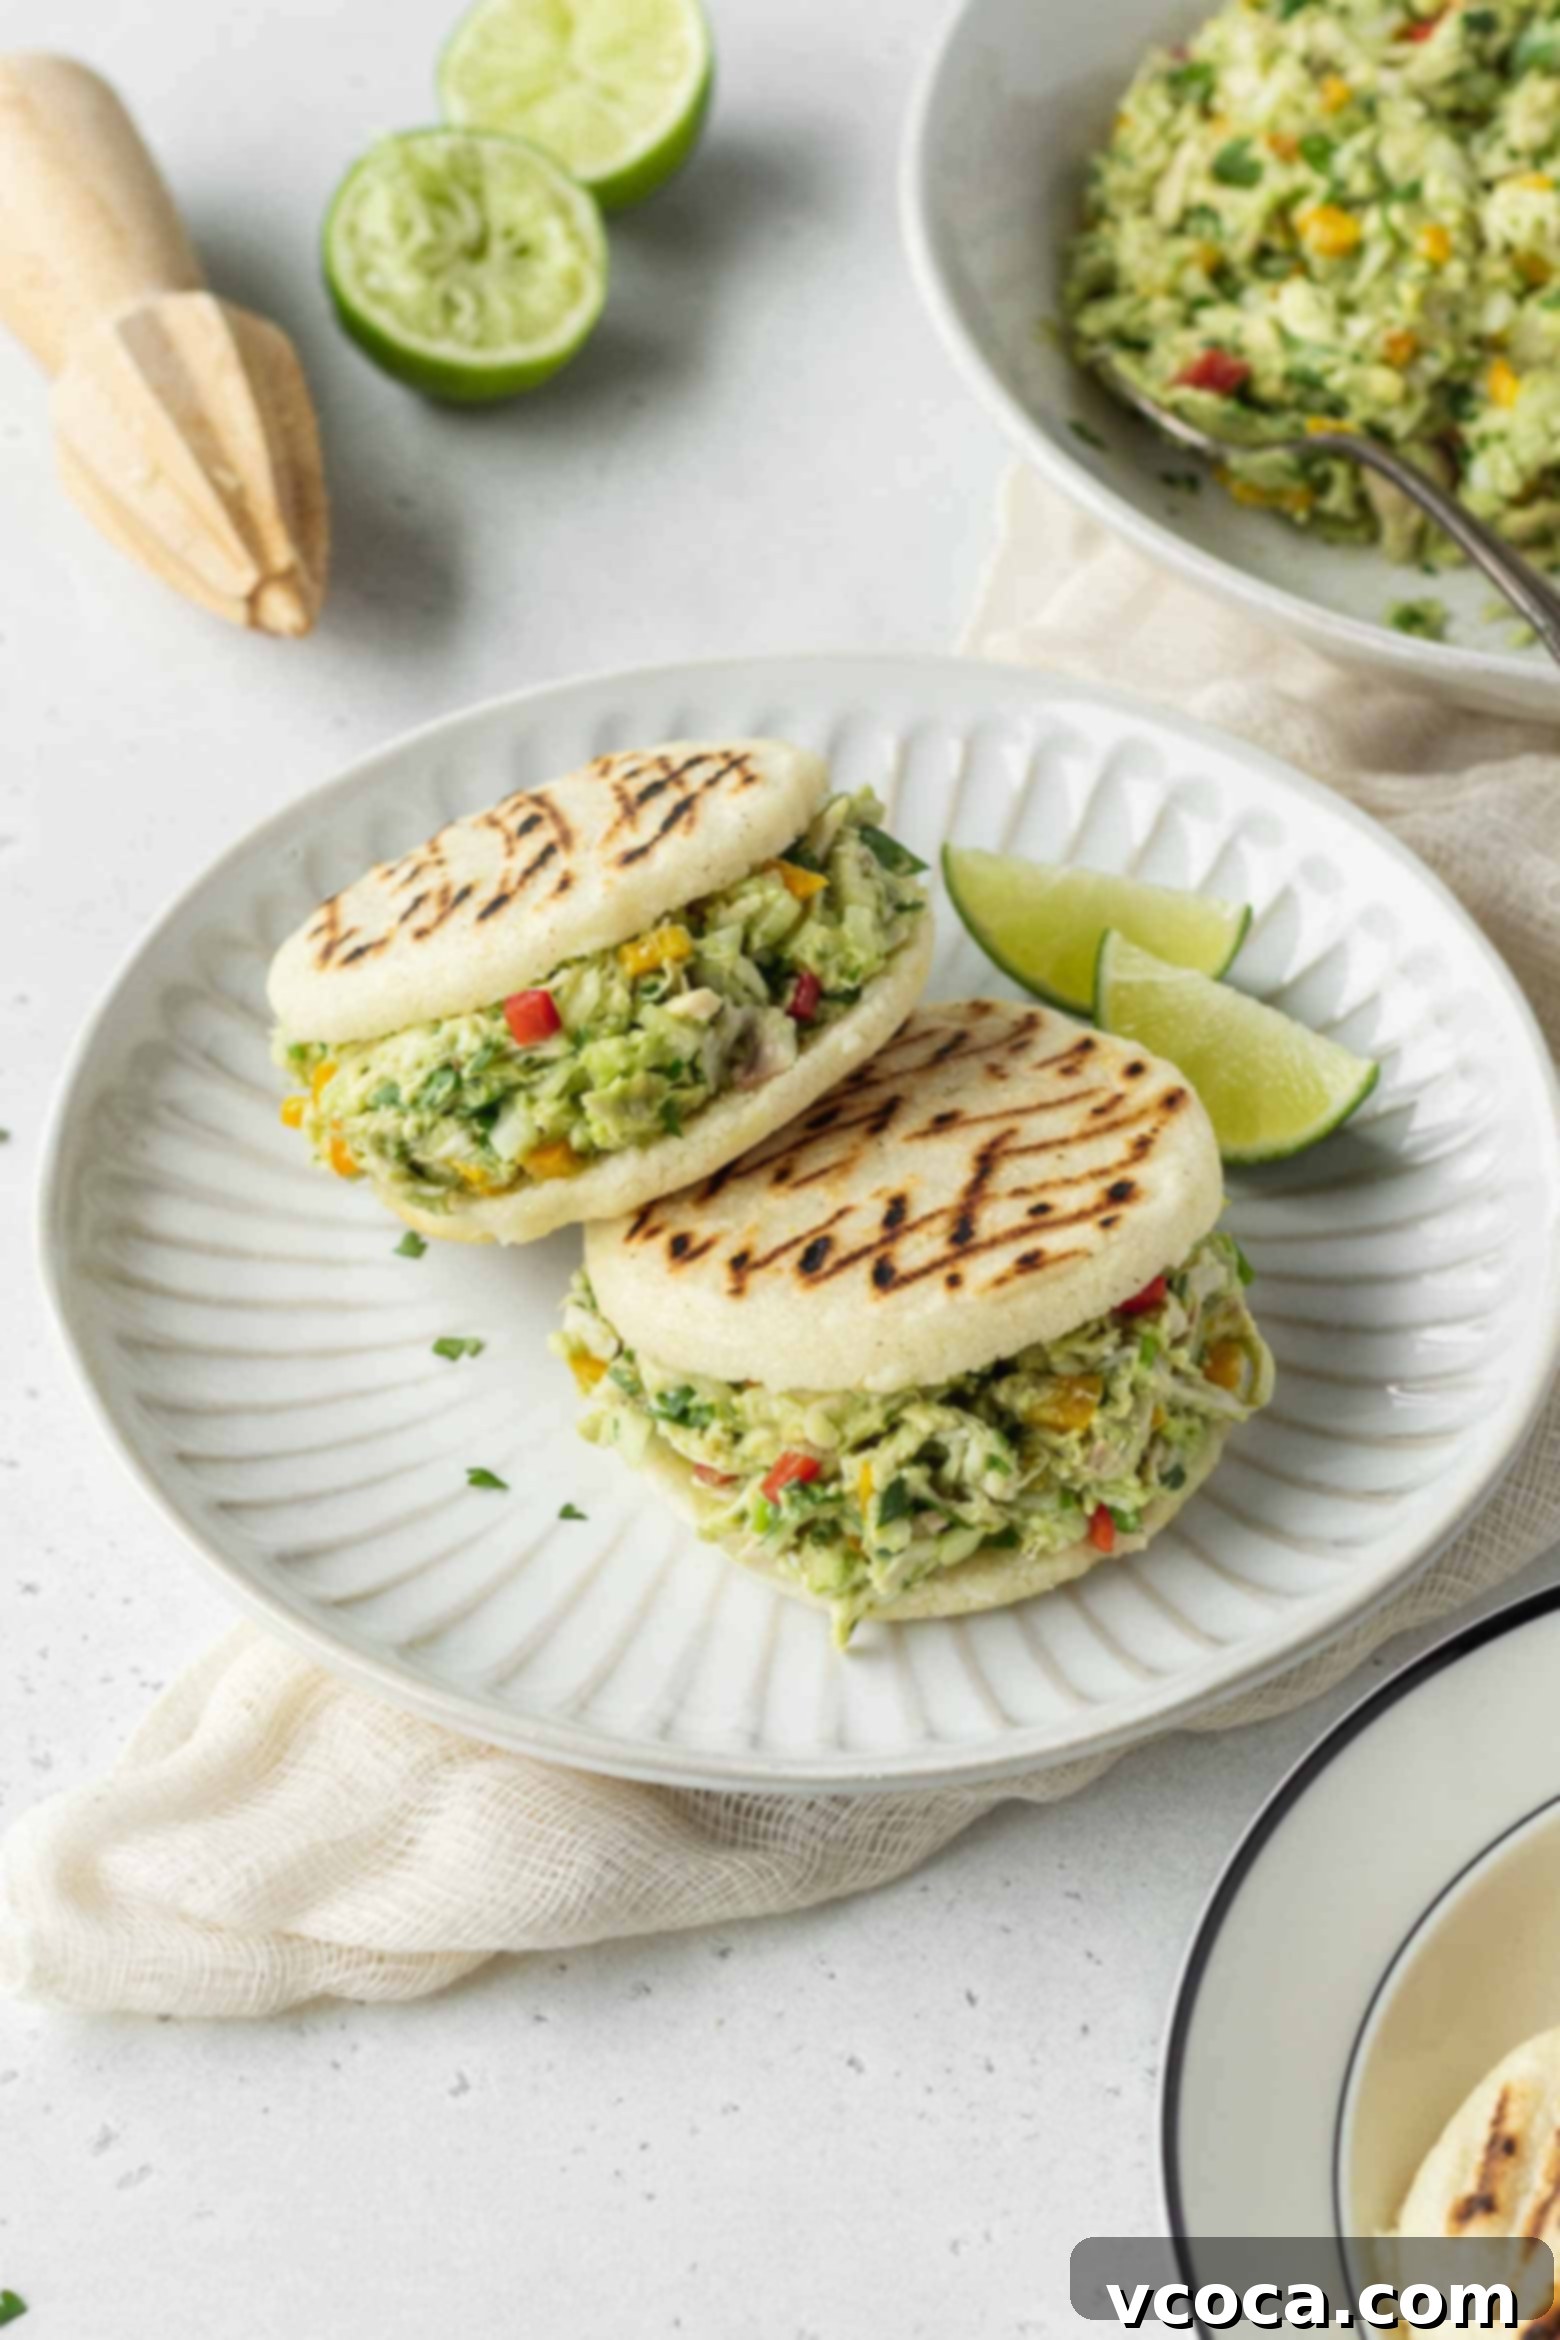
Reina Pepiada is not just a dish; it’s a beloved culinary institution in Venezuela, representing comfort food at its finest. It’s the most famous and arguably the most delicious of all arepa fillings! At its core, Reina Pepiada is a vibrant, zesty chicken and avocado salad, brought to life with the bright tang of lime juice and the fresh aroma of cilantro. This creamy, savory, and incredibly satisfying mixture is then generously stuffed into warm, crispy, homemade arepas, creating a perfect handheld meal. If you’re tired of basic avocado toast, this Venezuelan masterpiece is an exciting and flavor-packed way to enjoy chicken and avocado in a completely new and exciting form.
The Fascinating History and Name Behind Arepa Reina Pepiada
Beyond its incredible taste, Reina Pepiada carries a charming story that adds to its appeal. Want some interesting facts to share when you serve these delightful treats?
- The name “Reina Pepiada” literally translates to “curvy queen” or “pepiada queen” in English. The term “pepiada” is a Venezuelan colloquialism that can refer to someone with an hourglass figure or plump, beautiful curves, often associated with a healthy, well-nourished look.
- This iconic dish was named in honor of Susana Duijm, a national hero who made history as the first Venezuelan to be crowned Miss World in 1955. To pay homage to her groundbreaking achievements and beauty, a family-owned “arepera,” or arepa stand, in Caracas created this special filling and named it after her. The dish quickly gained popularity, cementing its place in Venezuelan culinary culture and becoming synonymous with pride and national identity. It’s a delicious tribute to a remarkable woman!
Reina Pepiada Recipe
Main Course, Snack
Venezuelan
15
minutes
30
minutes
45
minutes
8
arepas
361
kcal
Ai Willis
Print
Pin
Rate
Metric
Ingredients
Arepas
-
2
cups
arepa flour -
1
teaspoon
fine salt
-
2½
cups
water
Chicken and avocado filling
-
21
ounces
chicken breast -
1
small onion, sliced -
pinch of salt
- pinch of black pepper
- water
-
2½
ripe avocados -
3
cloves
garlic, minced -
1
bell pepper, diced -
1
small onion, finely chopped -
1
bunch of cilantro, minced -
1
tablespoon
mayonnaise -
2
tablespoons
lime juice
about 1 lime - salt
- black pepper
Instructions
Chicken and avocado filling
-
If poaching the chicken, add the chicken breast, sliced onion, salt, and black pepper to a pot and cover with water by an inch or two. Bring it to a boil, then lower the heat and simmer for 10-15 minutes until the chicken is cooked through. Remove the chicken and set aside to cool.
-
In a large bowl, mash the avocados and add the garlic, bell pepper, onion, cilantro, mayonnaise, and lime juice. Shred the chicken and add it to the bowl. Season with salt and black pepper to taste. Cover and keep it in the fridge.
Arepas
-
In a large bowl, combine the arepa flour and salt. Add the water and stir until combined. Knead until a smooth dough forms and let it rest for a couple of minutes to let the arepa flour hydrate and thicken.
-
Separate the dough into eight portions and roll them into balls. Flatten each ball into 3.5in/10cm disks. Cook on a griddle or skillet over medium heat until golden on both sides, about 5-7min per side.
-
Take the arepas off the heat and slice them. Fill with as much filling as you like.
Love this recipe?
Snap a photo and share tagging @aimadeitforyou or tag #aimadeitforyou!
Nutrition
Serving:
1
arepa
|
Calories:
361
kcal
|
Carbohydrates:
329
g
|
Protein:
20
g
|
Fat:
14
g
|
Sodium:
403
mg
|
Fiber:
5
g
|
Sugar:
2
g
