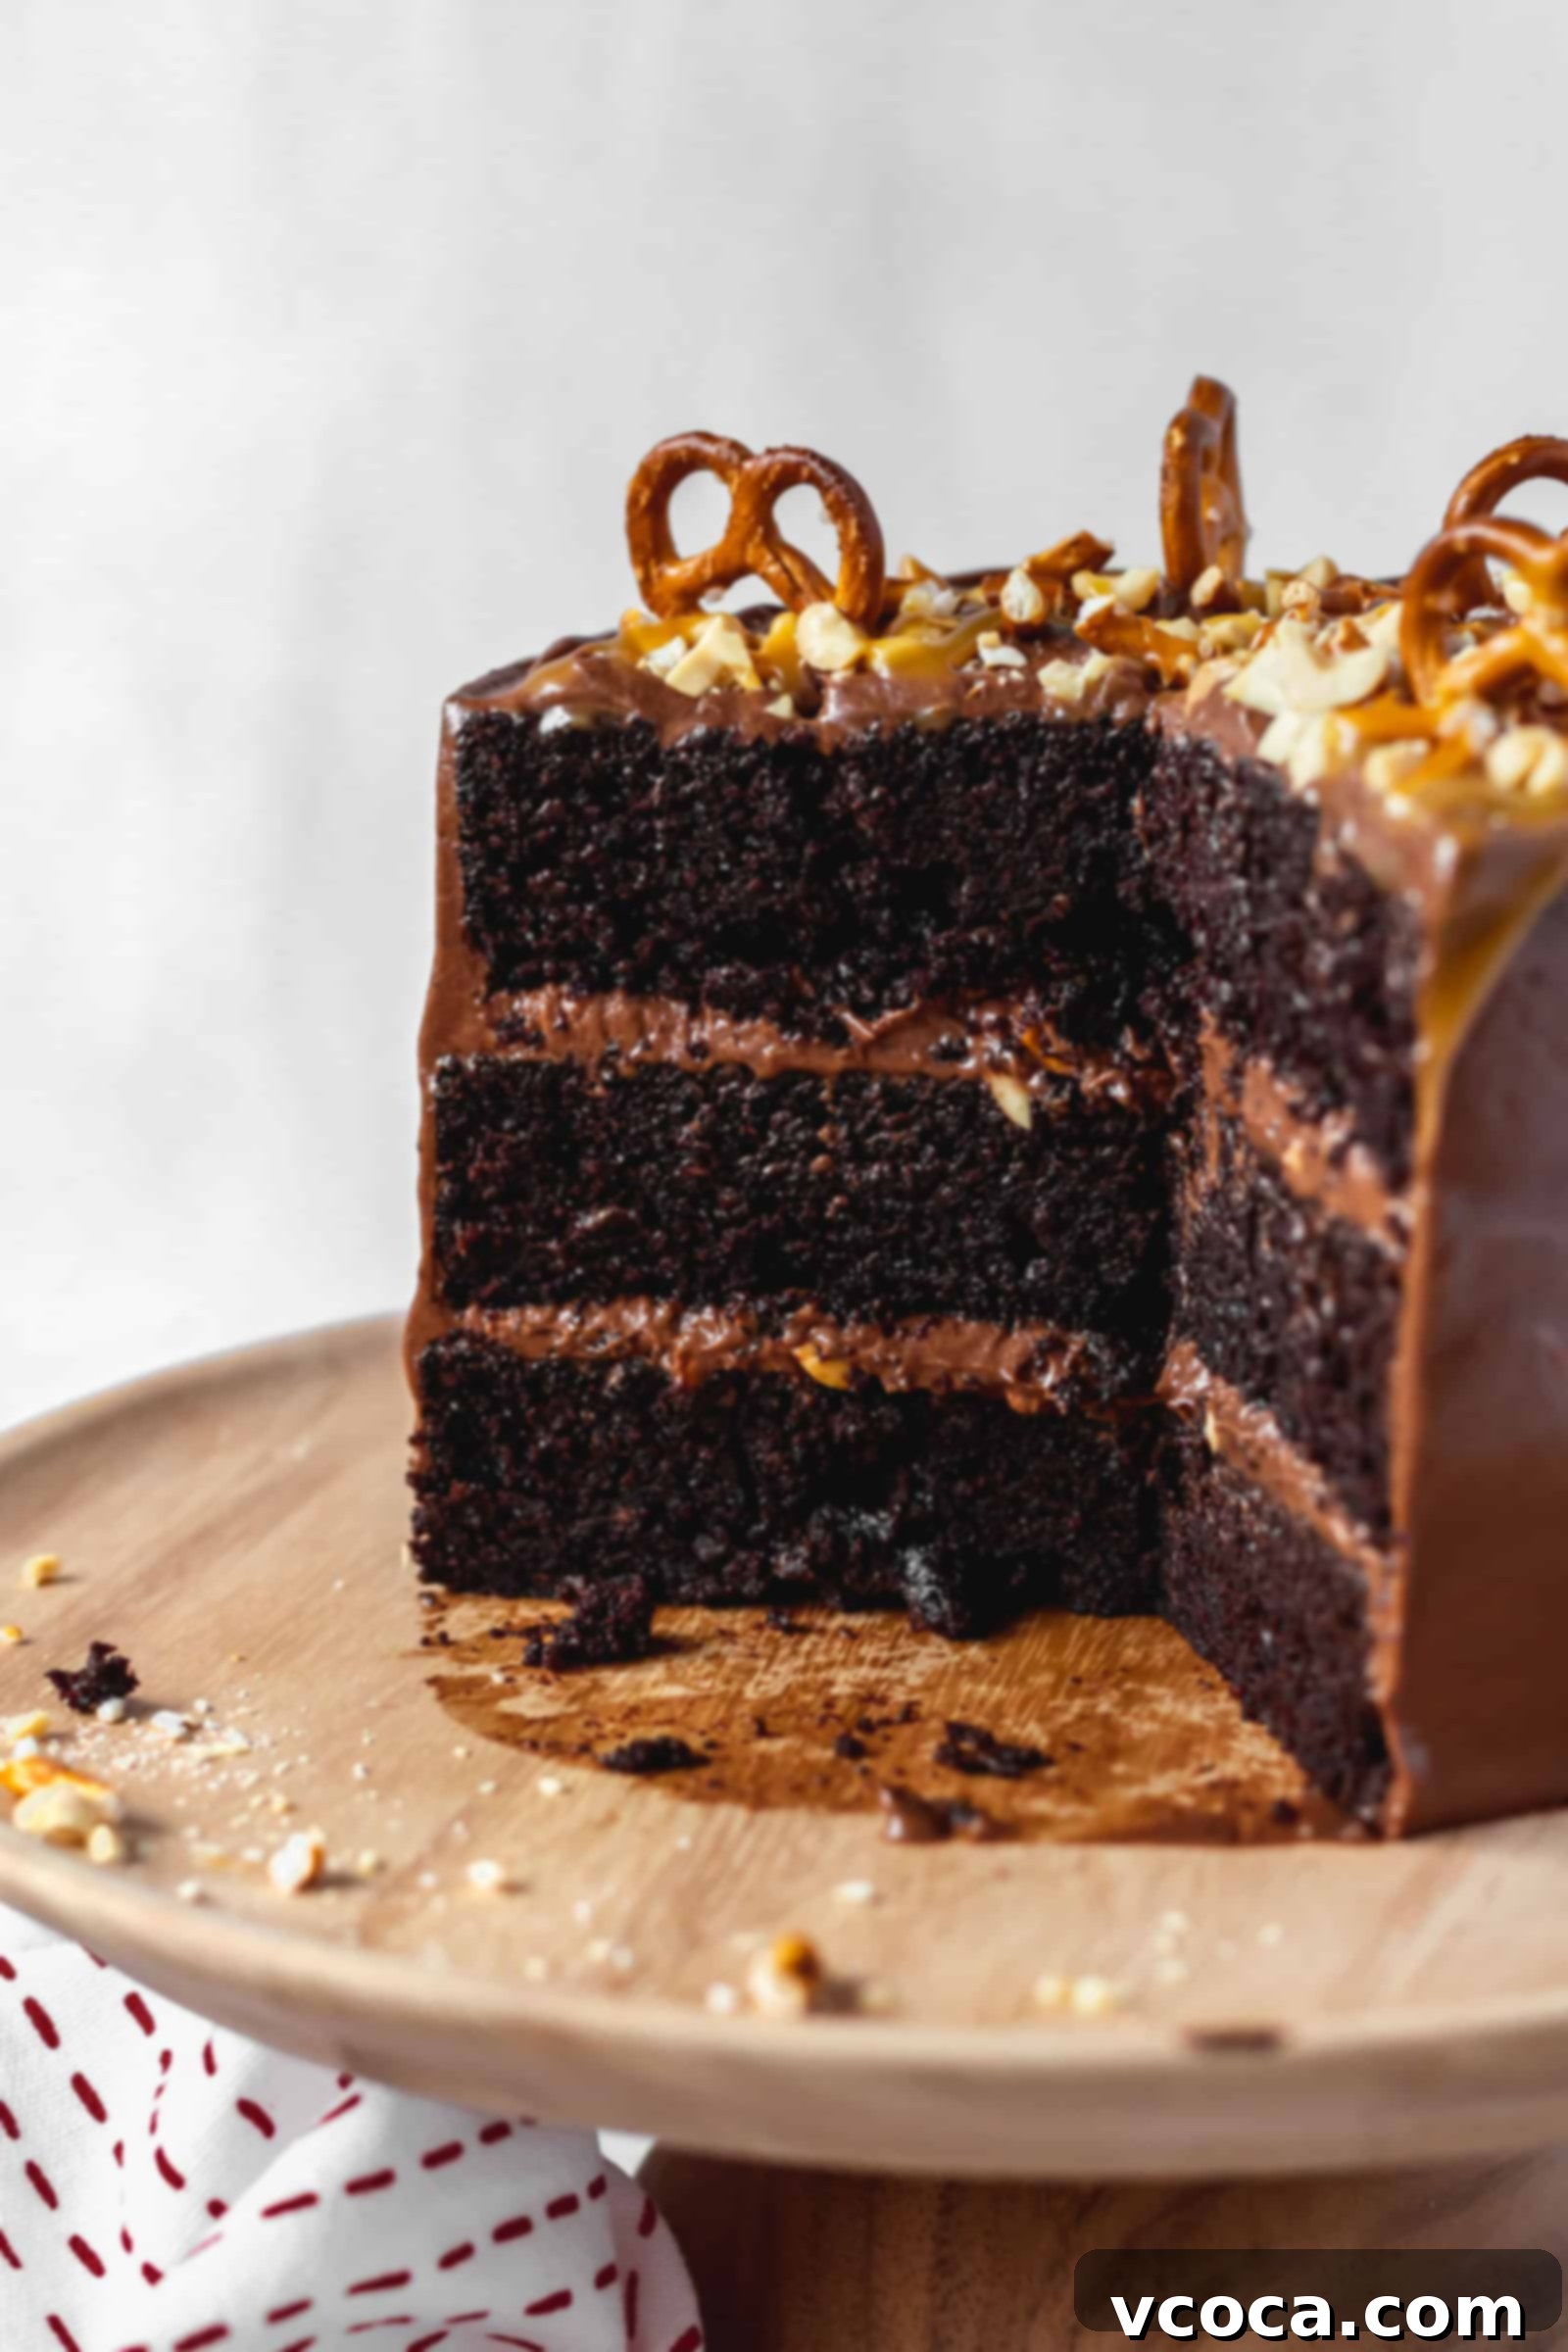
Indulge in the Ultimate Moist Chocolate Cake with Salty Peanuts and Pretzels: A Masterpiece of Sweet & Salty Flavors
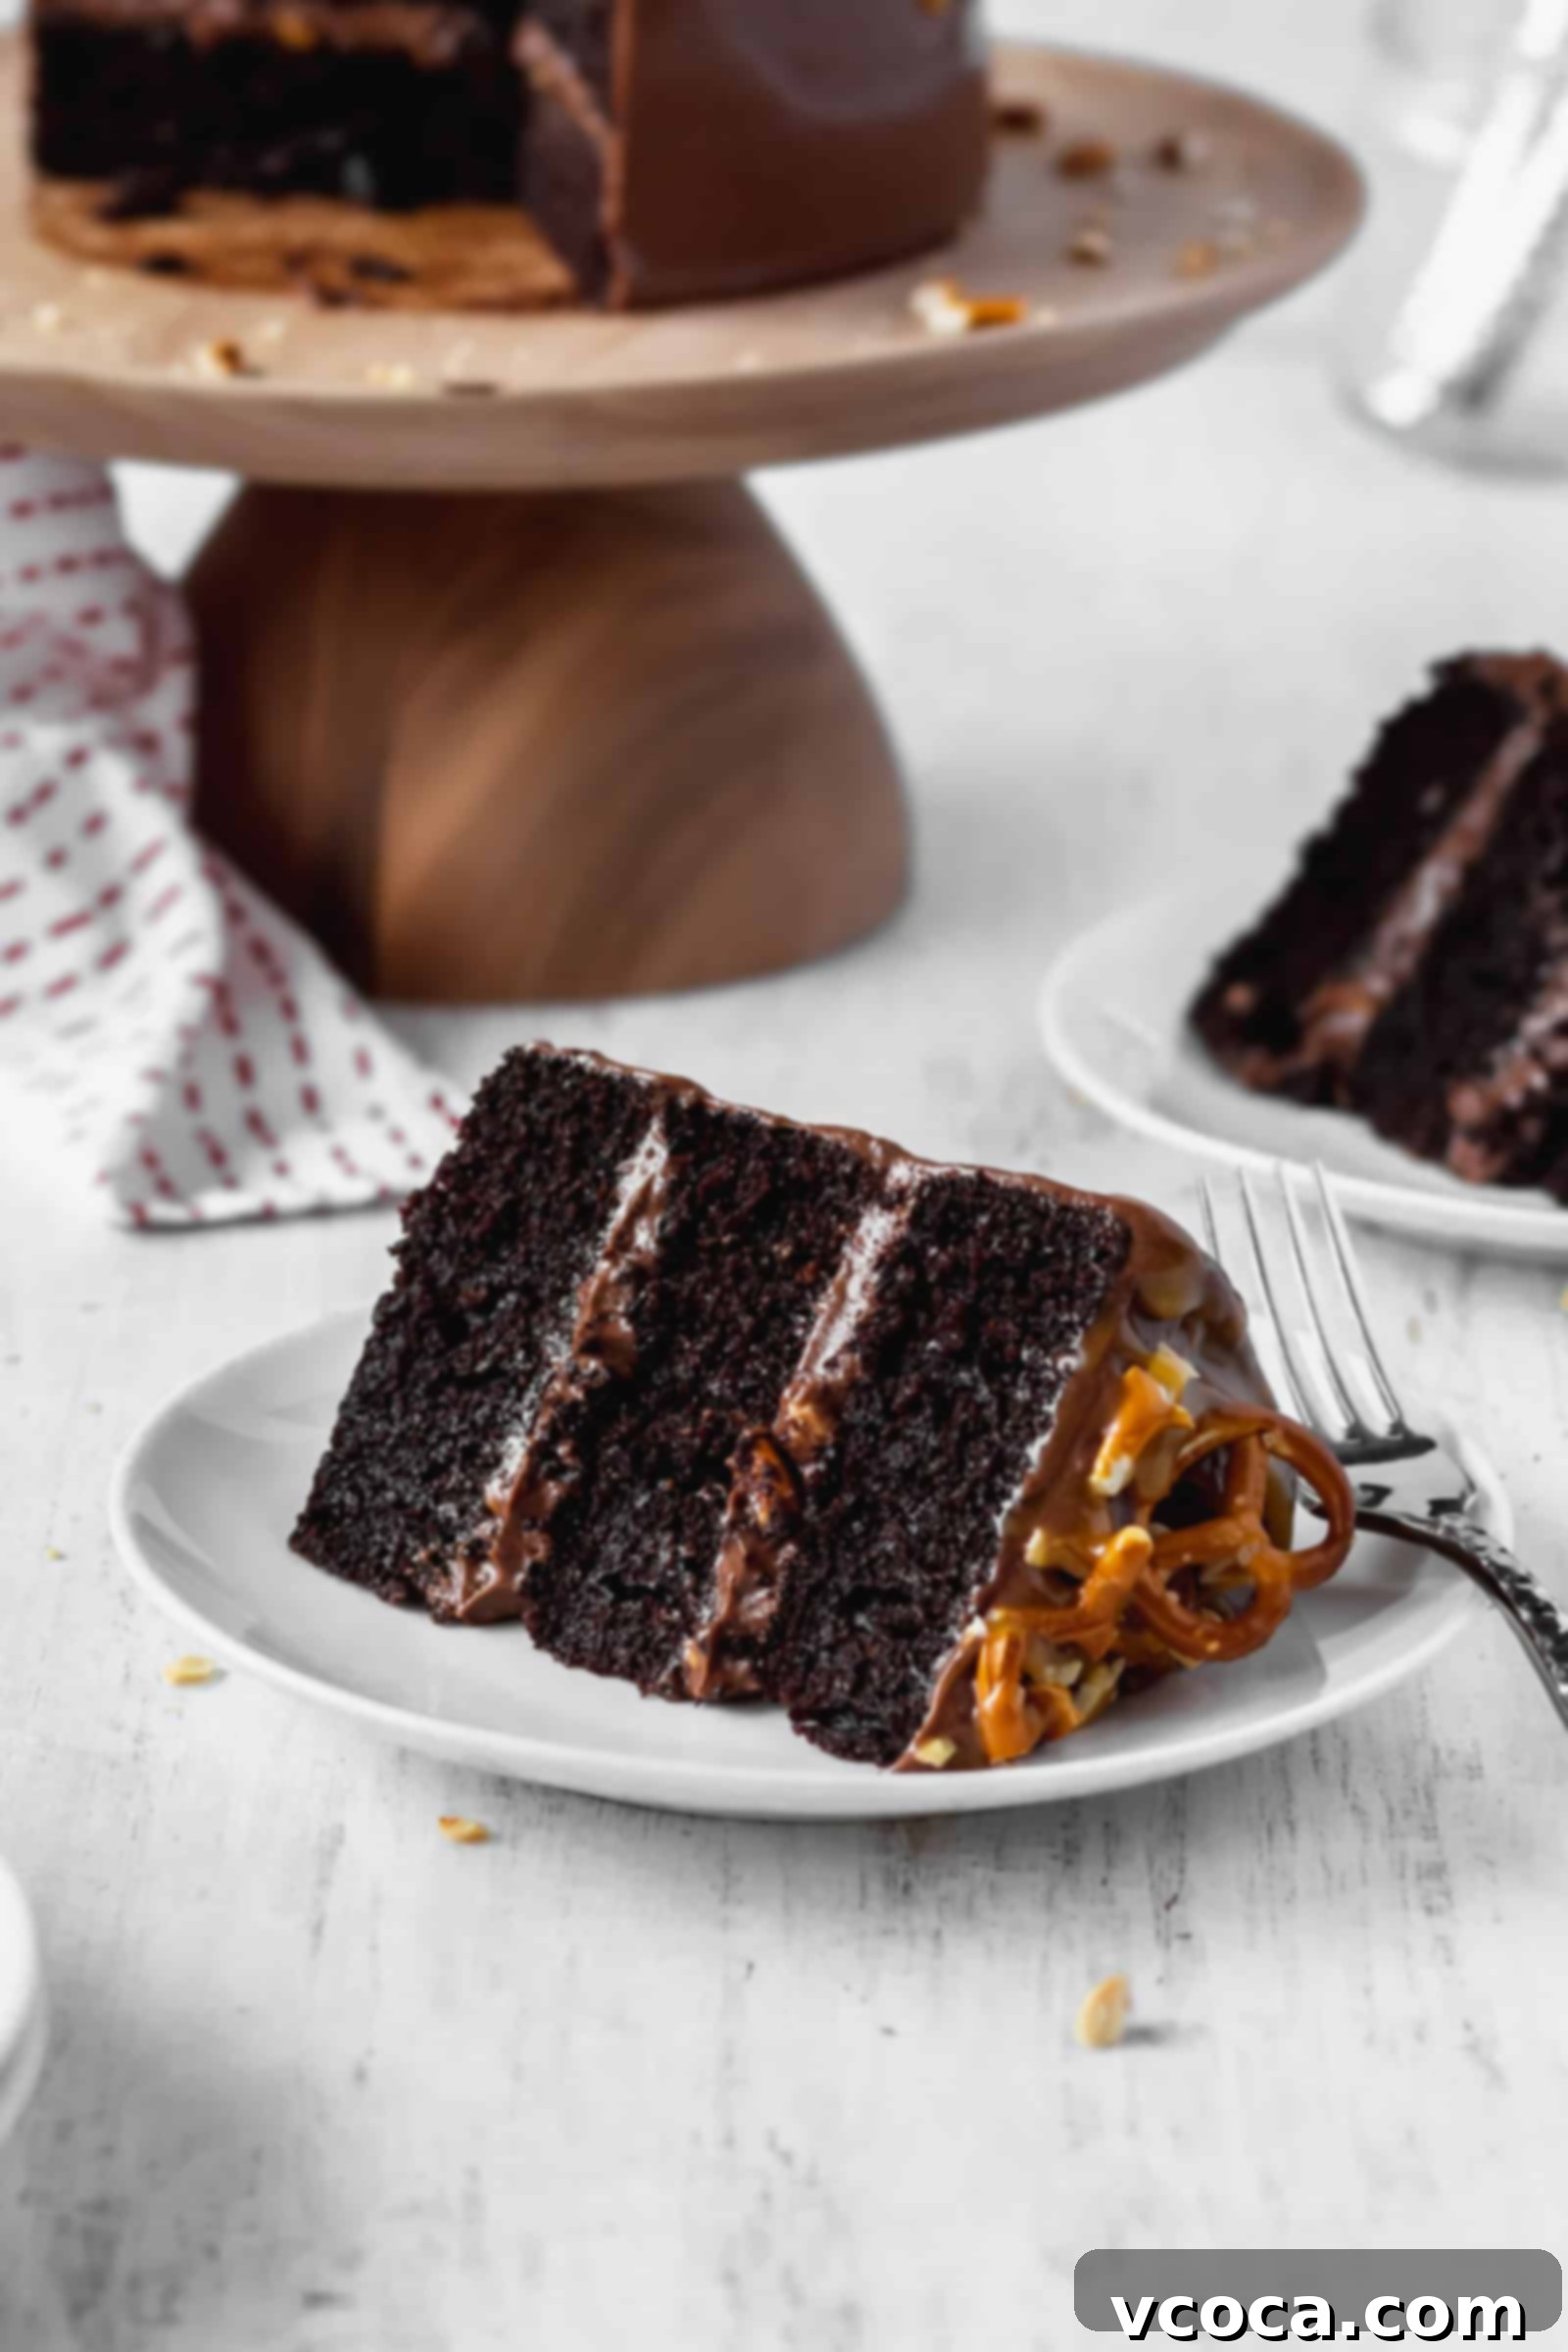
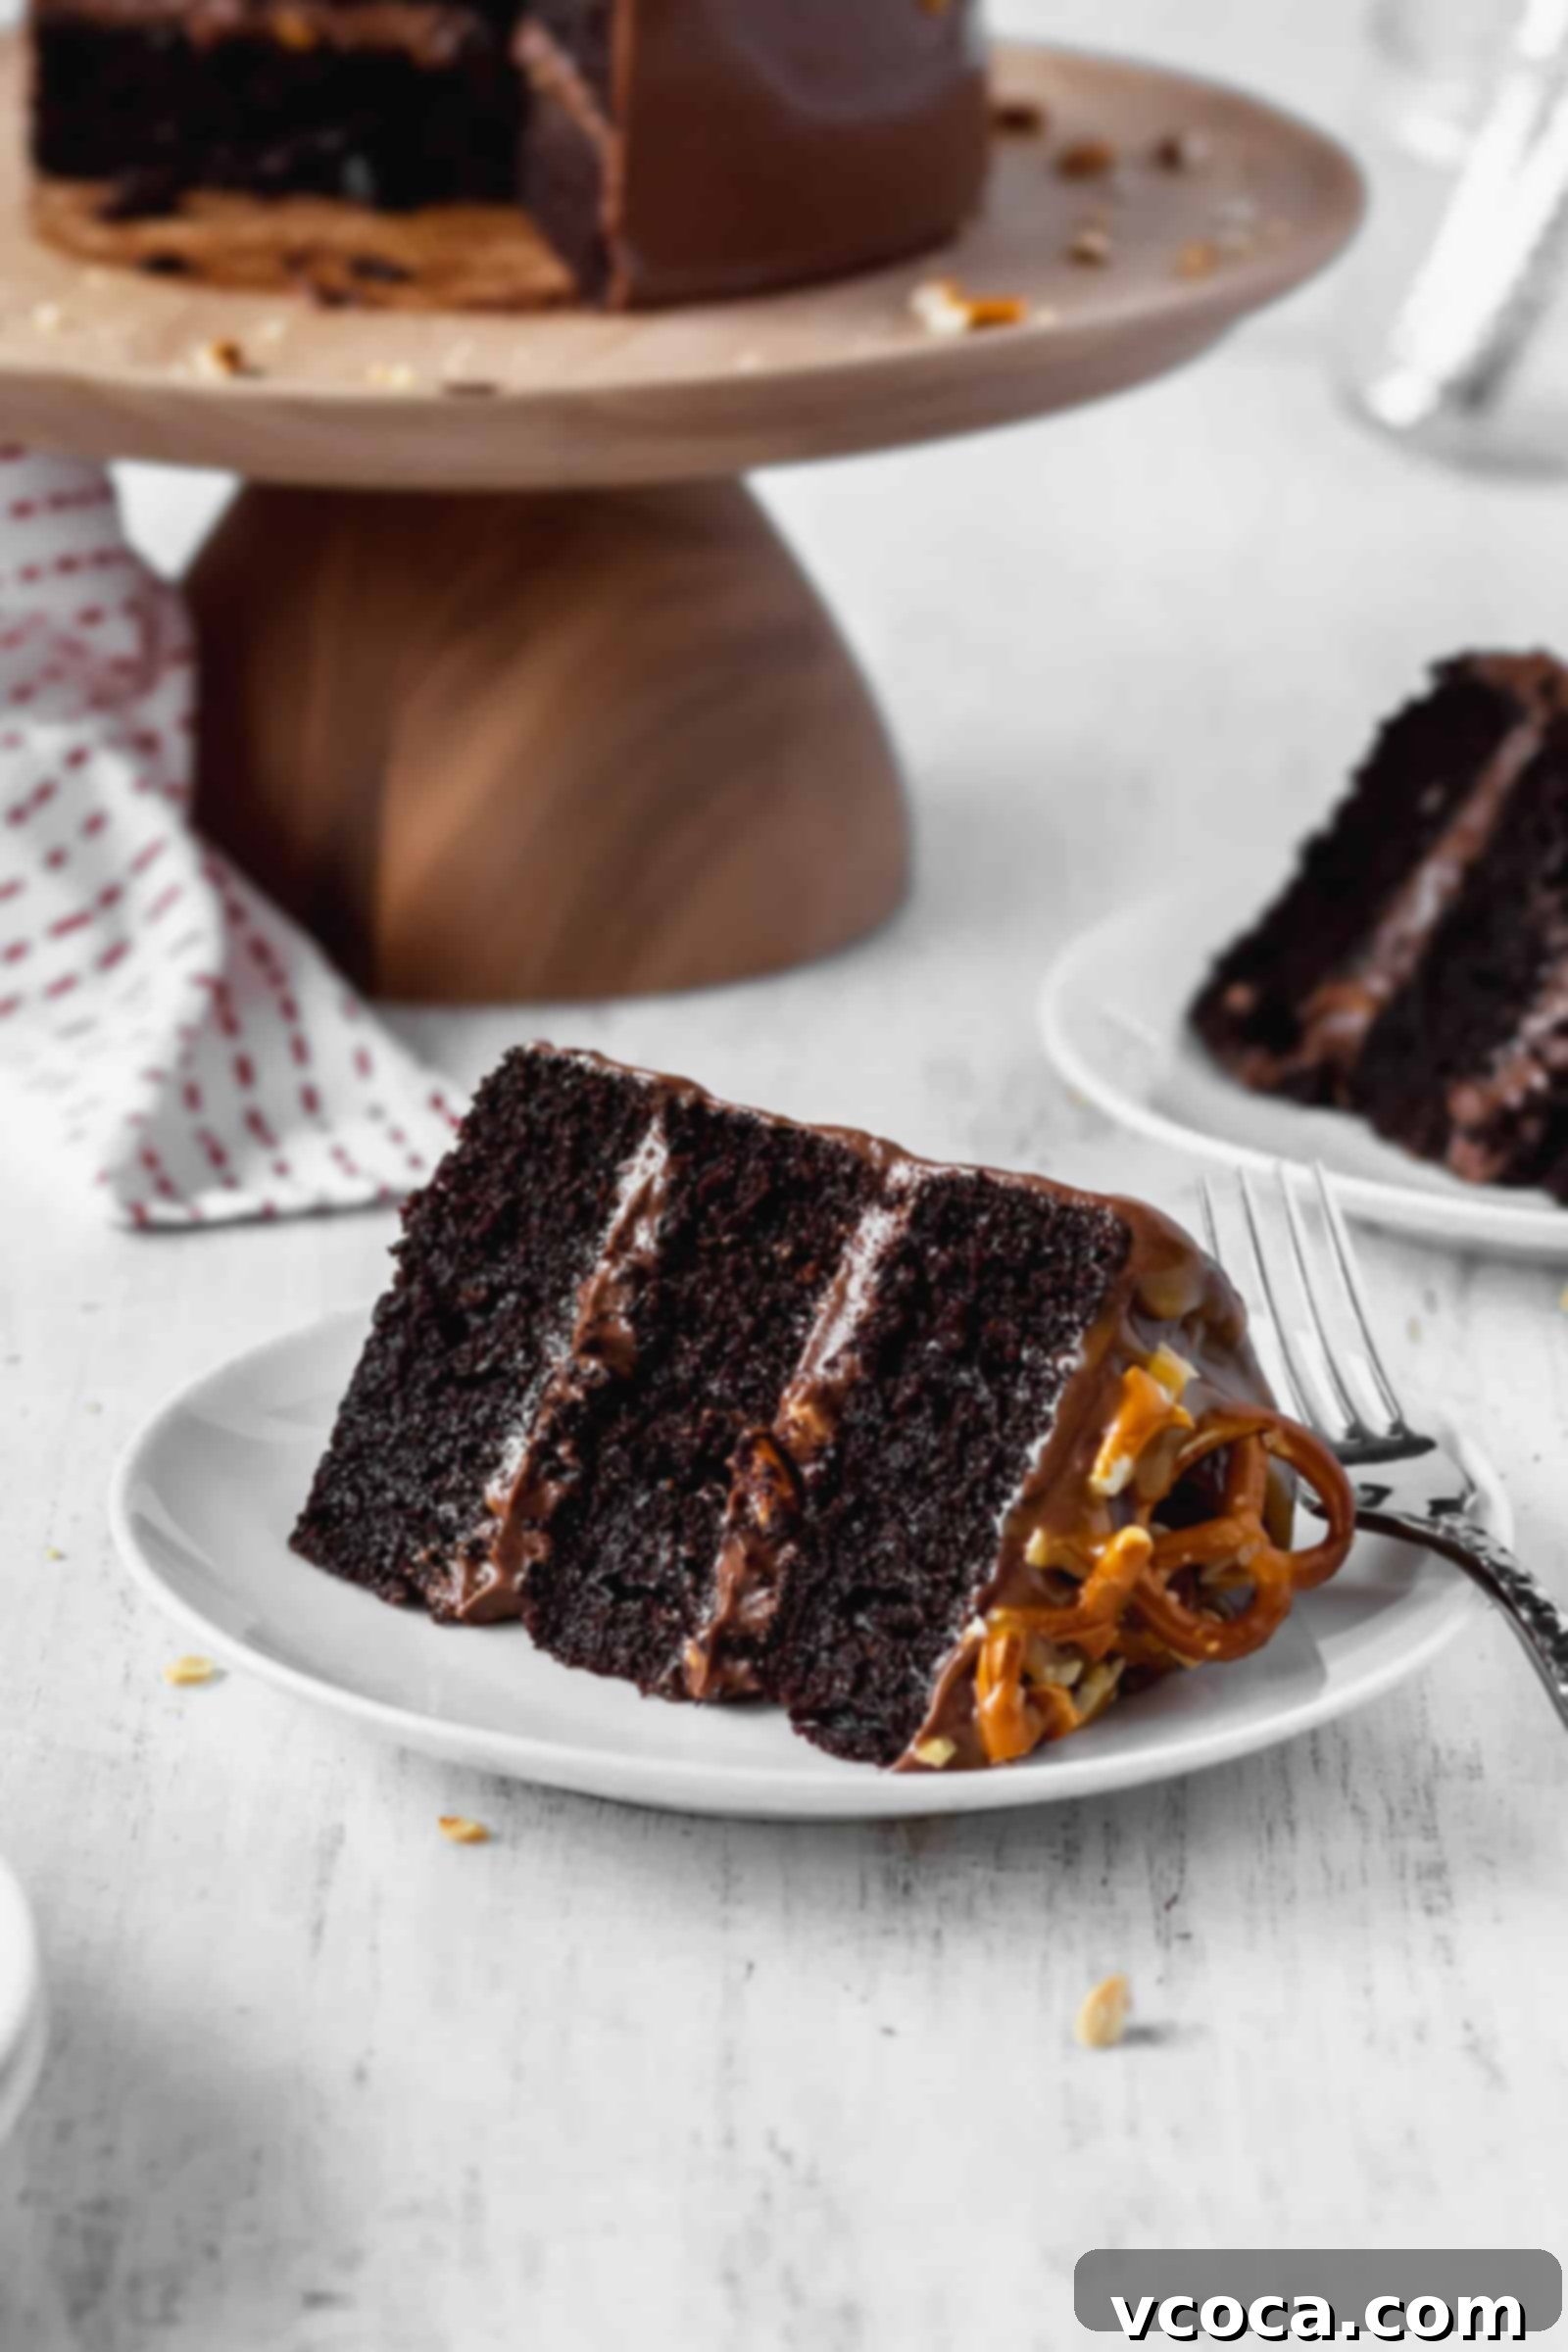
There’s a special joy that comes from baking your own birthday cake. It’s not just about the delicious outcome; it’s about the creative process, the anticipation, and the absolute guarantee that every single element will be precisely to your liking. For me, that means one thing: an irresistibly moist chocolate cake. This year, I elevated my personal tradition to new heights, crafting a rich, deeply chocolatey, and incredibly moist chocolate cake, generously slathered with a luscious chocolate cream cheese frosting, then artfully crowned with a delightful mix of salty peanuts and crunchy pretzels. Oh, and for that final touch of decadent perfection? A generous drizzle of gooey caramel!
That’s right. I truly went all out to create a cake that hits every note – sweet, salty, rich, and utterly unforgettable. It’s a celebration in every bite, a symphony of textures and flavors designed to bring pure bliss.
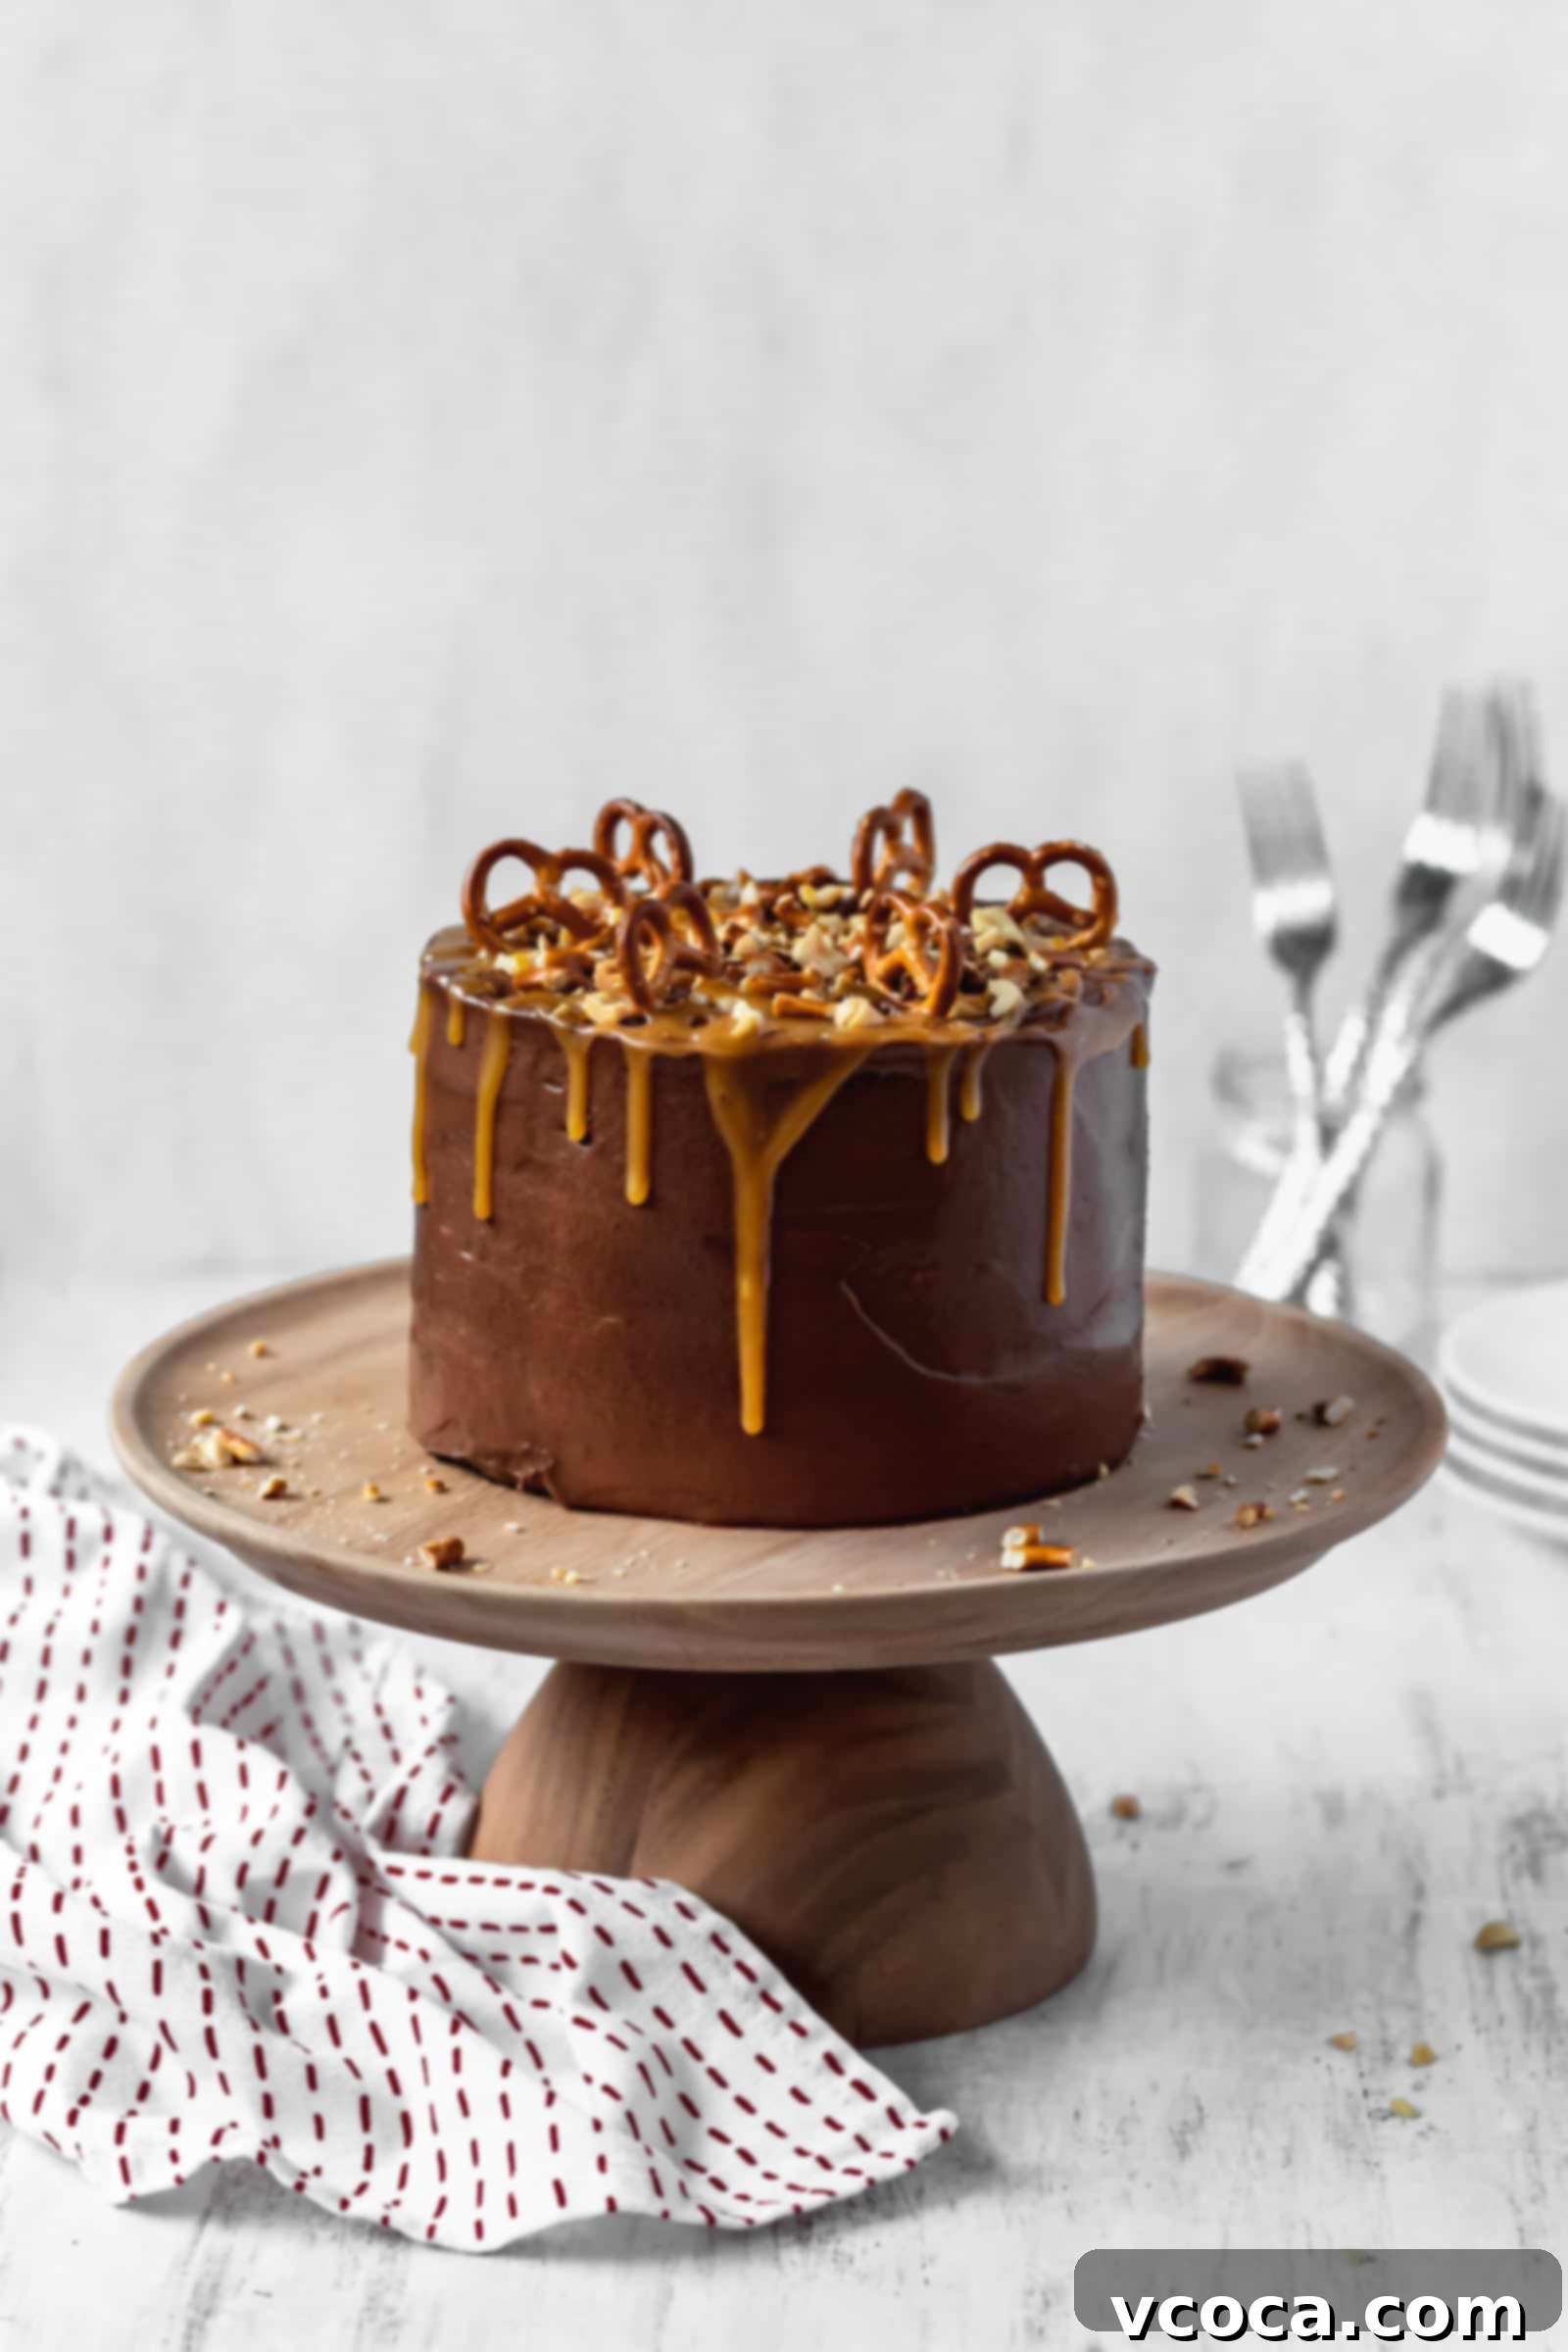
The Perfect Chocolate Cake Base: Fluffy, Moist, and Unforgettable
The foundation of this show-stopping layer cake is none other than my all-time favorite chocolate cake recipe. What makes it so extraordinary? It’s a harmonious blend of being wonderfully fluffy, intensely moist, and deeply chocolatey without being overly sweet – a common pitfall in many chocolate cake recipes. The secret lies in a carefully selected combination of ingredients: high-quality Dutch processed cocoa powder and a touch of instant espresso. These two ingredients don’t just add a subtle chocolate flavor; they work in tandem to amplify and deepen the chocolate notes, creating a complex and robust taste that truly satisfies.
But the cake is only half the story. I paired this incredible base with a silky-smooth chocolate cream cheese frosting, adding a delightful tang that complements the rich chocolate beautifully. While this is undoubtedly a rich dessert, the genius touch comes from the toppings: the irresistible saltiness of the peanuts and the satisfying crunch of the pretzels. These elements brilliantly cut through the richness, creating a dynamic flavor profile that prevents any single bite from being overwhelming. The result? You can savor a generous slice (or maybe even two!) without feeling weighed down, enjoying every complex layer of flavor and texture.
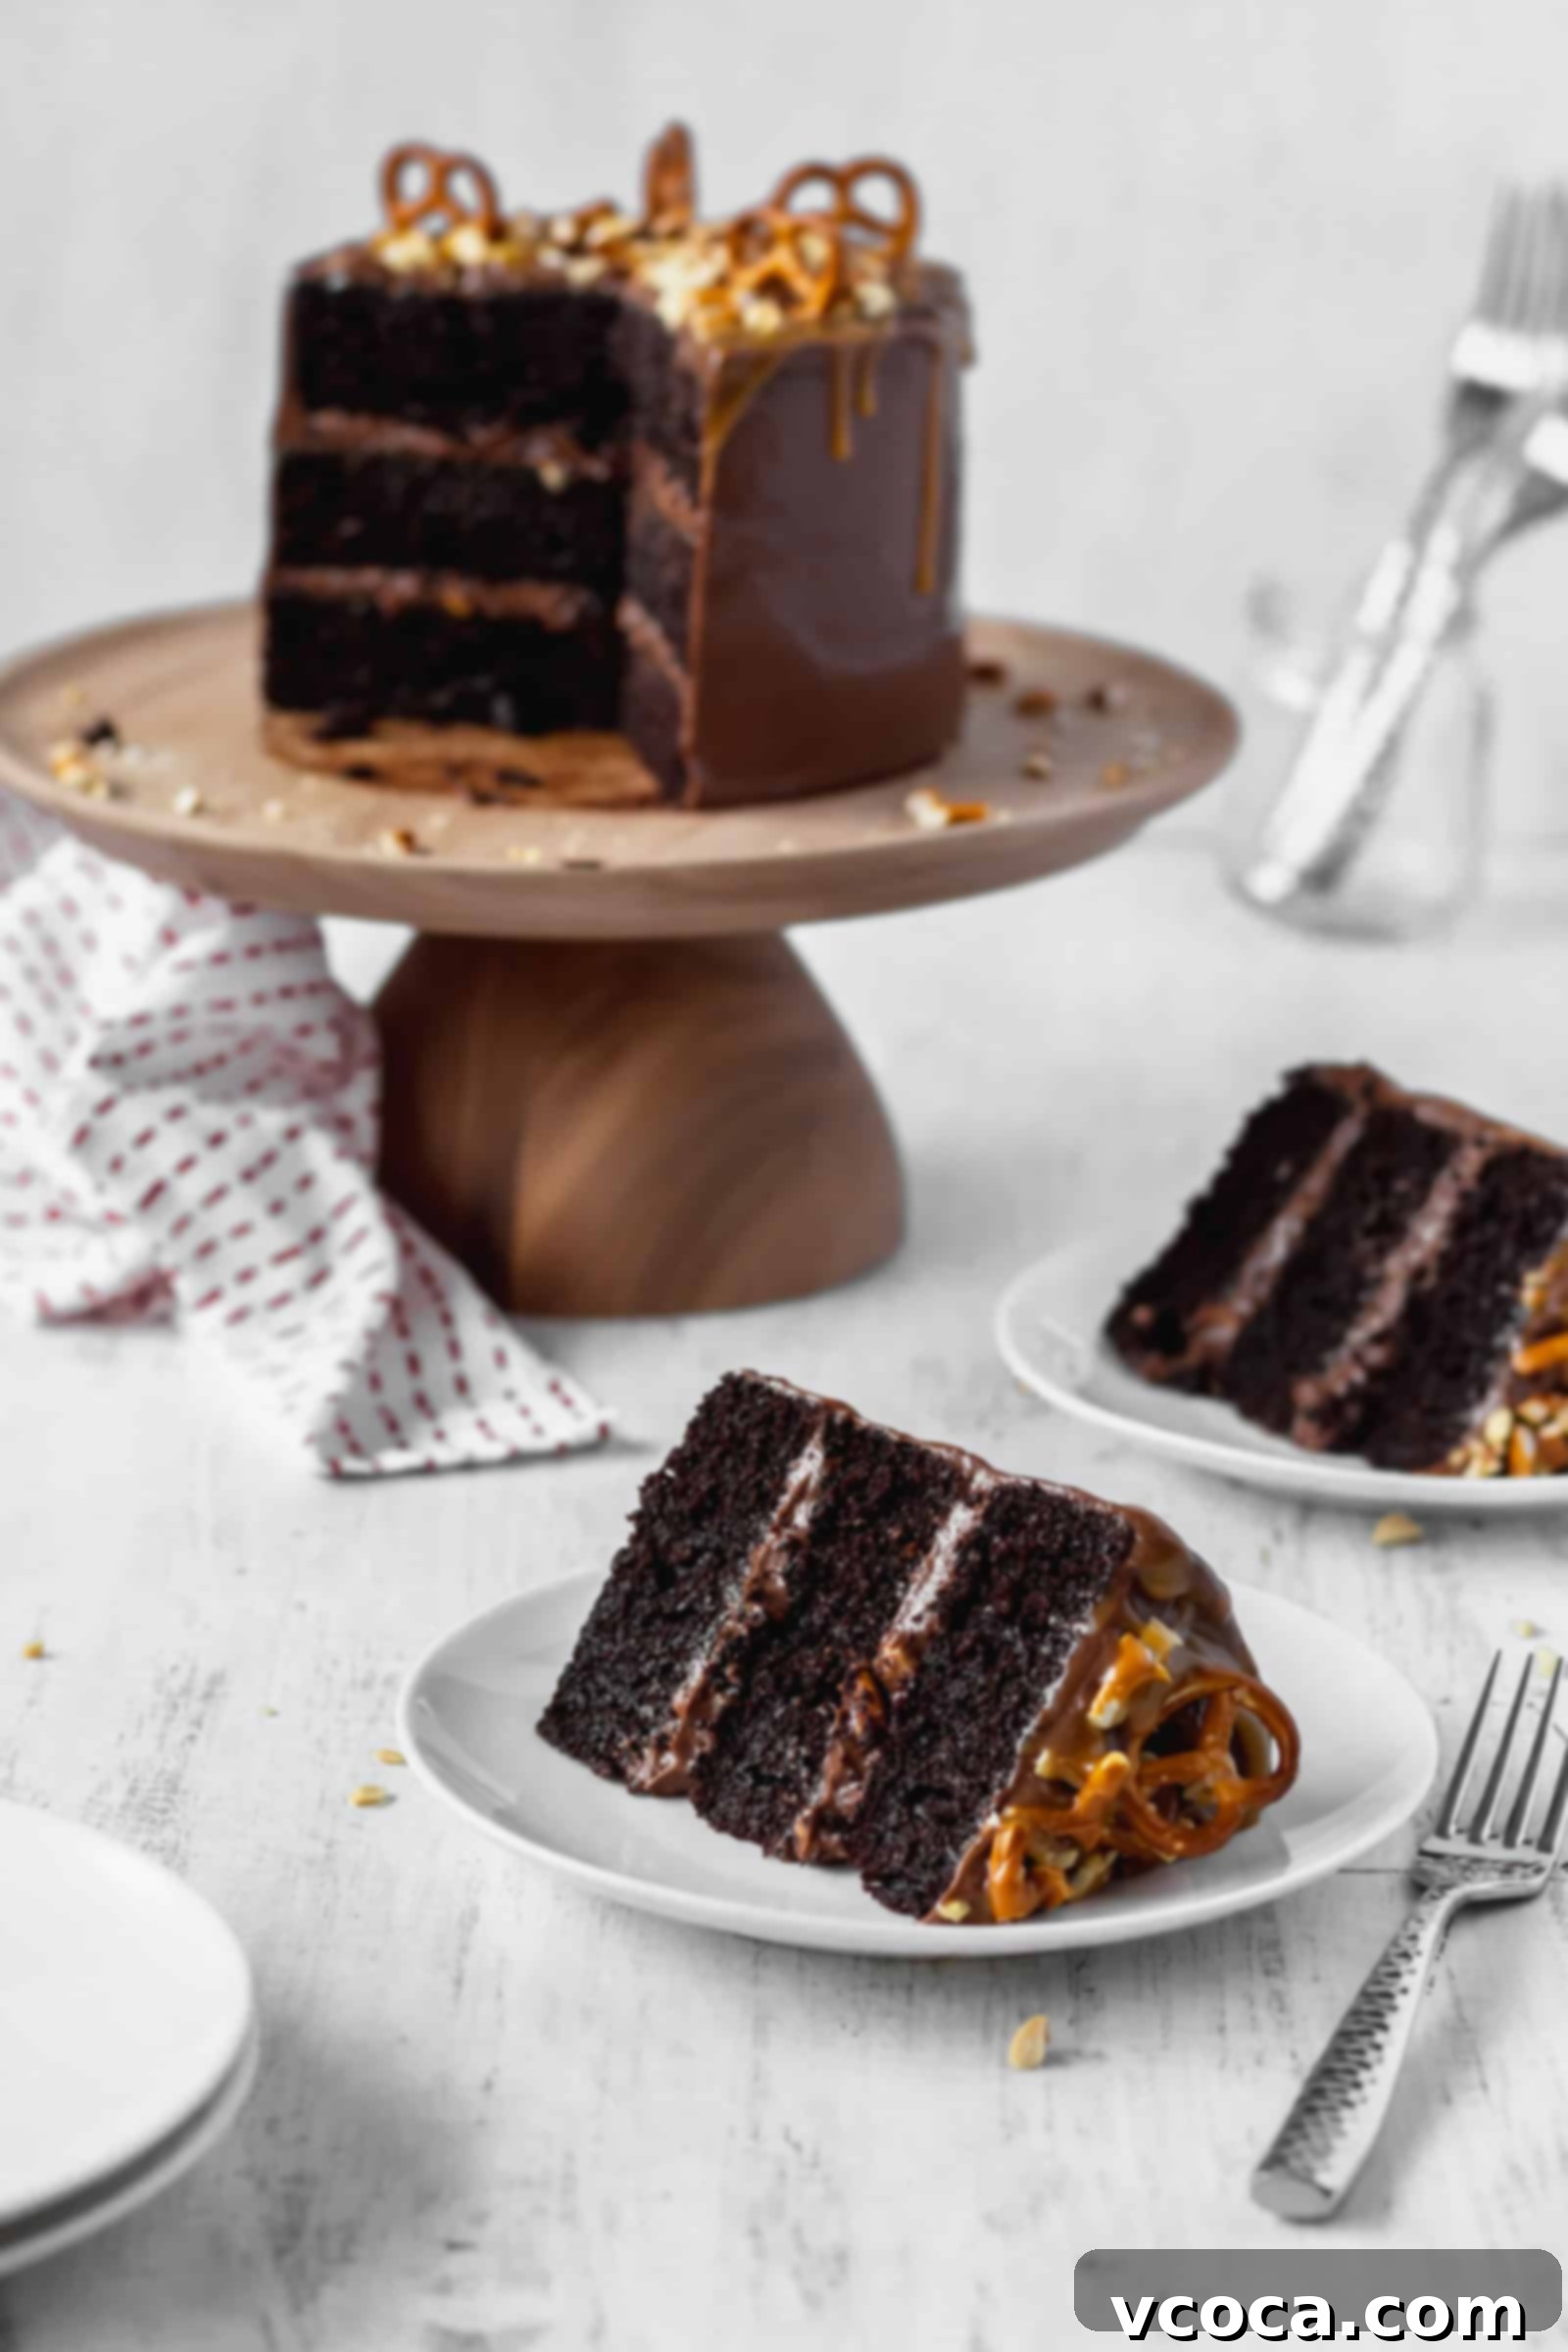
Unlocking the Secrets to an Unbelievably Moist and Fluffy Chocolate Cake
Dry, crumbly chocolate cake is a baker’s worst nightmare. If you’ve ever found yourself asking why your homemade chocolate cake turns out less than perfectly moist, you’re not alone. The good news is, achieving that coveted soft, tender, and incredibly moist texture is entirely possible with the right ingredients and techniques. My chocolate cake recipe relies on a powerful trio of components to guarantee its superior texture: a combination of milk and sour cream, oil instead of butter, and cake flour in place of all-purpose flour. Let’s delve into why these ingredients are game-changers.
First, the dynamic duo of milk and sour cream. Milk provides essential liquid, while sour cream adds richness, moisture, and a subtle tang. The acidity in sour cream also helps activate the baking soda, contributing to a lighter, fluffier crumb. It tenderizes the cake, ensuring it stays moist for days. If you don’t have sour cream on hand, don’t worry! Greek yogurt makes an excellent 1:1 substitute, offering similar acidity and richness. For those without either, or simply looking for an alternative, you can substitute both the milk and sour cream with buttermilk. Instead of adding ½ cup (120g) each of sour cream and milk, simply use 1 cup (240g) of buttermilk instead. The lactic acid in buttermilk works wonders for tenderizing and moistening cakes.
Next, the choice of fat: oil instead of butter. While butter offers a distinct flavor, oil is a superior choice for moisture. Butter contains water, which evaporates during baking, potentially leading to a drier cake. Oil, on the other hand, is 100% fat and remains liquid at room temperature, contributing to a consistently moist texture. It also helps create a finer, more even crumb. For this recipe, I recommend using regular olive oil – not extra virgin, as its strong flavor might overpower the chocolate. The neutral flavor of regular olive oil allows the rich chocolate to shine while ensuring an incredibly tender result.
Finally, cake flour versus all-purpose flour. Cake flour has a lower protein content than all-purpose flour, which means it develops less gluten. Less gluten equates to a softer, more delicate, and fluffier cake. It creates a tender crumb that melts in your mouth, perfectly complementing the moistness provided by the other ingredients. This combination of ingredients ensures a cake that is truly soft and fluffy yet exceptionally moist.
Because this luxurious cake features a cream cheese frosting, it does need to be stored in the refrigerator. However, thanks to the use of olive oil in the cake batter, the cake layers remain beautifully tender and moist, even when chilled. This means you can enjoy a perfectly soft slice straight from the fridge. This cake stays wonderfully soft and moist for days, making it ideal for making ahead or enjoying over an extended period.
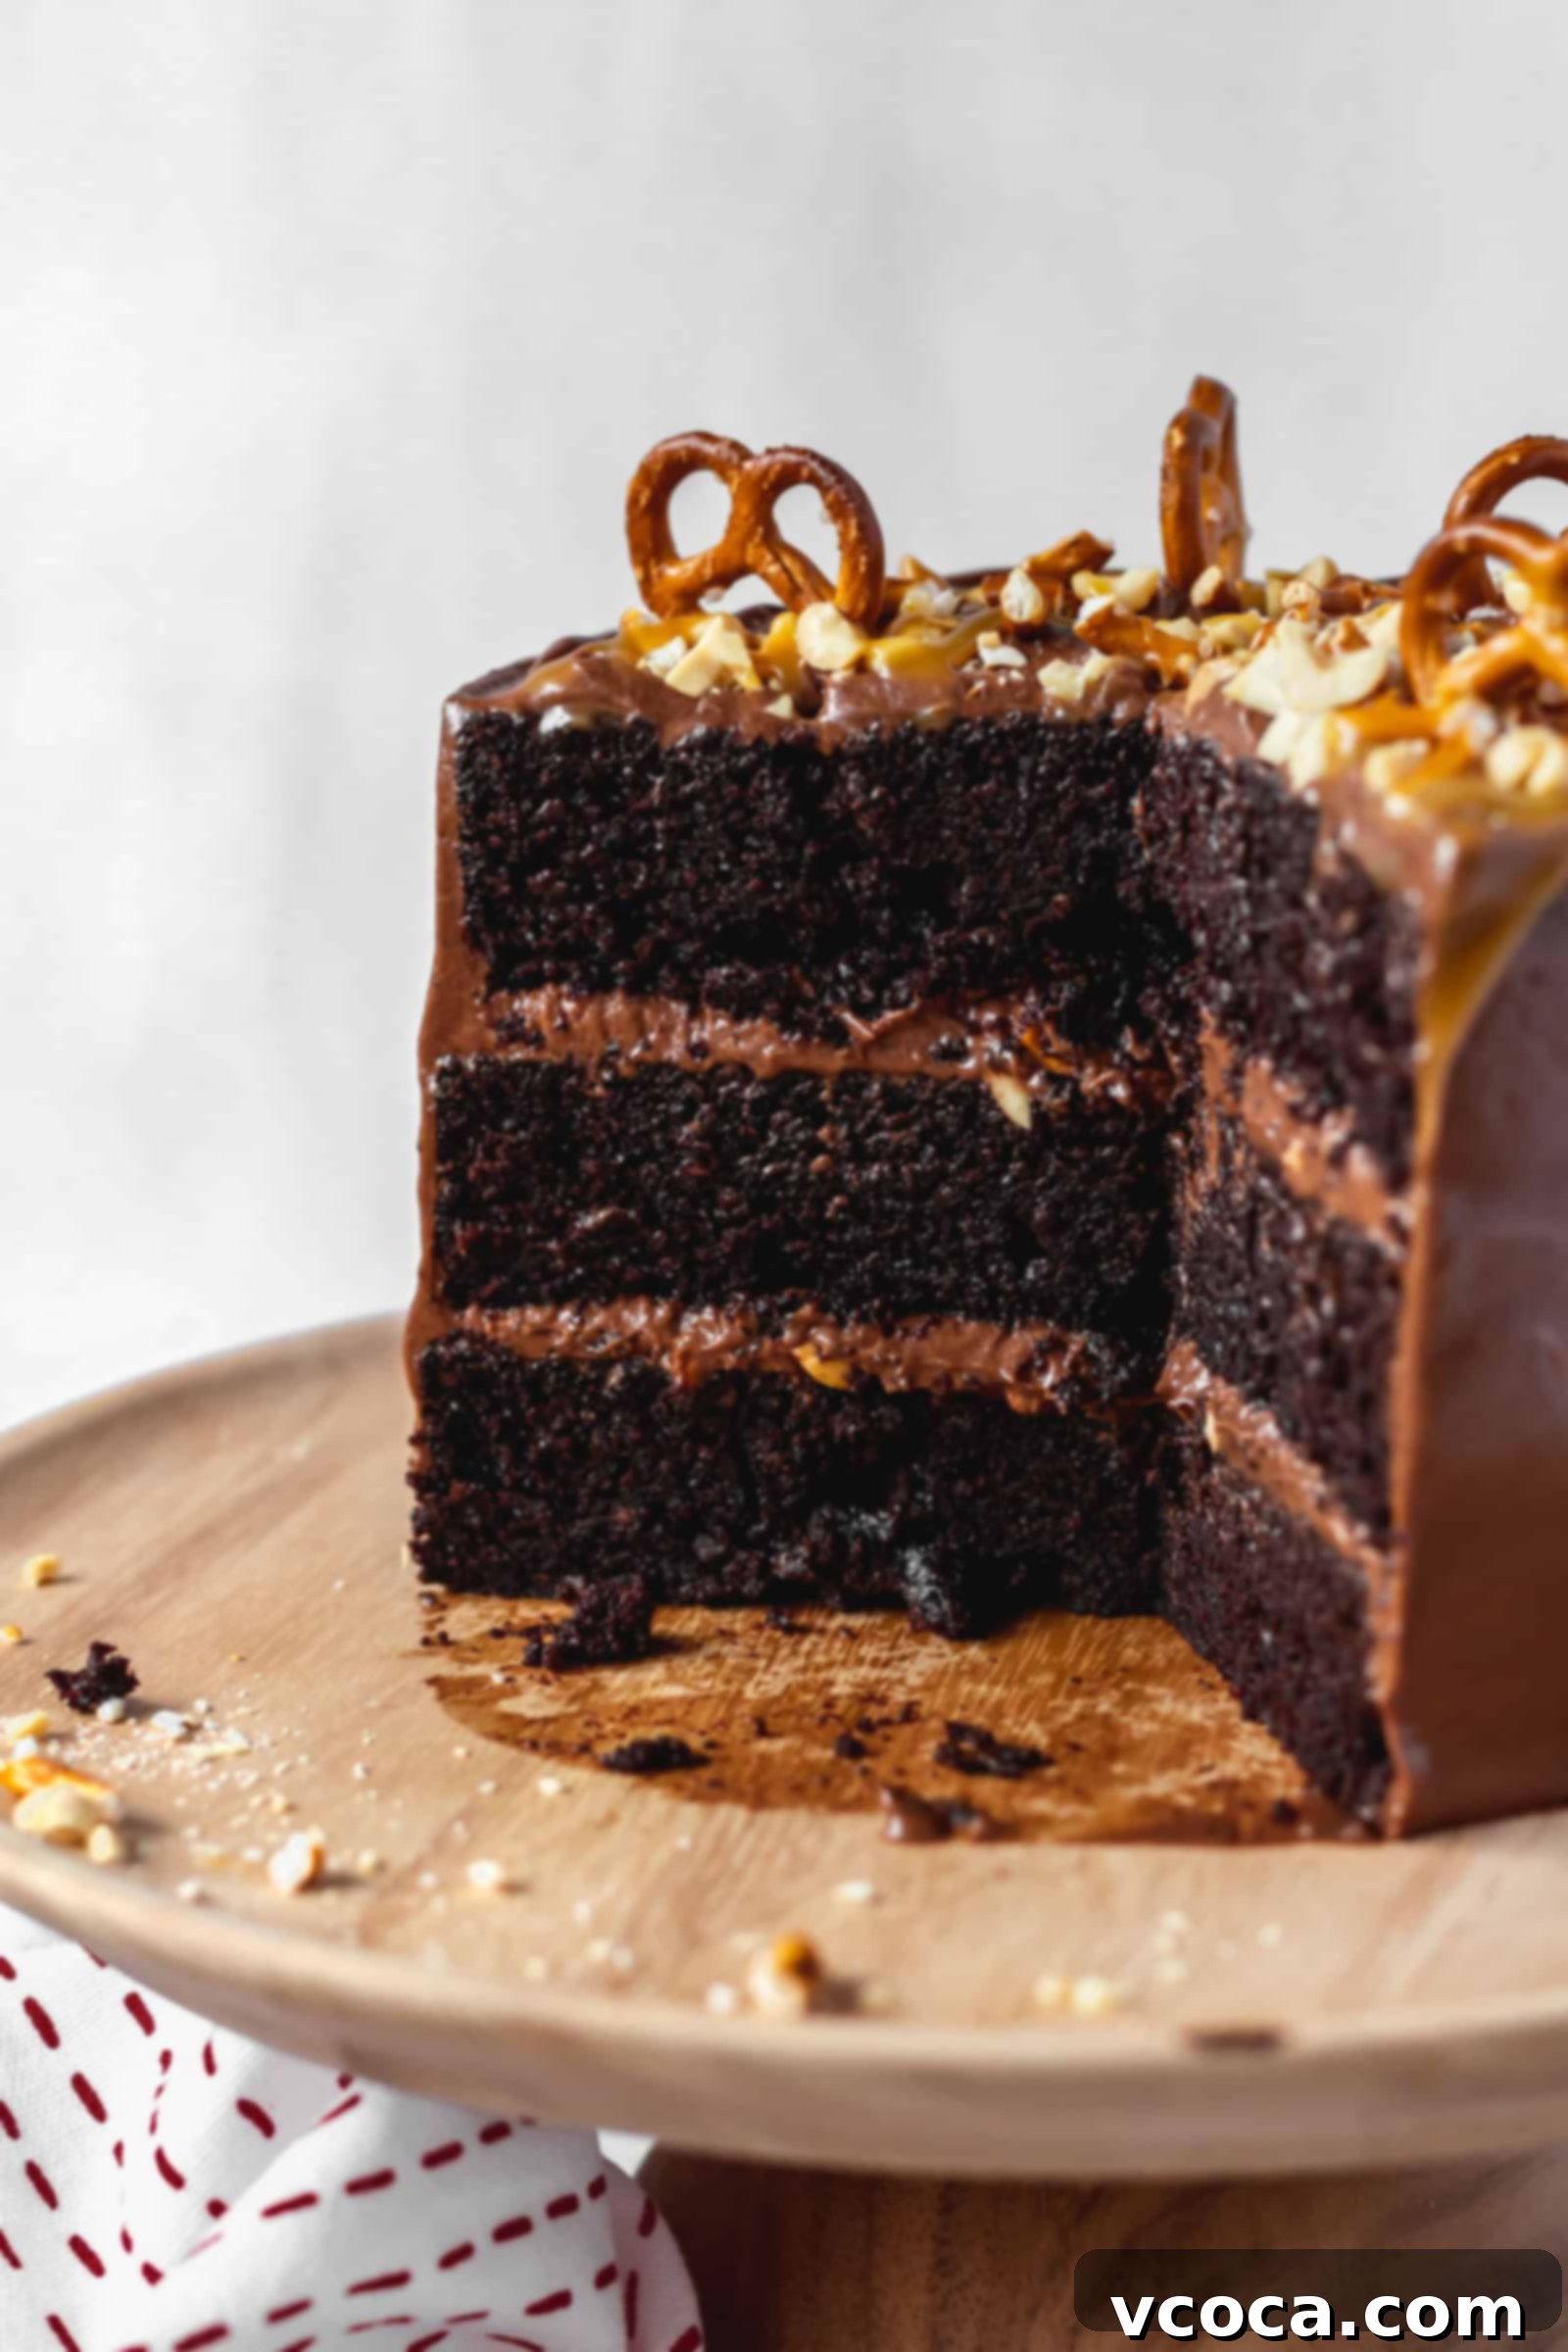
Why Chocolate Cream Cheese Frosting Reigns Supreme
When it comes to chocolate cake, the classic choice for frosting is often chocolate buttercream. It’s iconic, beloved, and undeniably delicious. However, for this particular masterpiece, I chose one of my absolute favorite frostings: chocolate cream cheese frosting. And here’s why. While buttercream is wonderfully sweet and rich, the addition of cream cheese introduces a delightful, subtle tang that perfectly balances the intensity of the chocolate. This slight acidity prevents the cake from feeling too heavy or overly sweet, allowing the nuanced chocolate flavors of the cake itself to shine through.
It creates a frosting that is undeniably chocolatey, yet surprisingly refreshing and complex. It’s the perfect counterpoint to the deep, moist chocolate cake layers. Some might ask, “Is there such a thing as ‘too much chocolate’?” While I usually argue against that notion, this frosting ensures that every element of the cake contributes to a balanced and sophisticated flavor experience, rather than just an overwhelming cocoa bomb. The cream cheese also lends a unique smoothness and a slight density that holds up beautifully, making it an ideal choice for a celebratory layer cake.
Crafting Your Masterpiece: Step-by-Step Guide to the Best Chocolate Cake
Creating this stunning and delicious layer cake is a rewarding process, and following these steps will ensure a perfect result. Precision and patience are key for baking success.
Preparing the Dry Ingredients: Sift for Success
Start by preparing your dry ingredients. In a medium-sized bowl, sift together the cake flour, cocoa powder, salt, baking soda, and baking powder. I cannot emphasize the importance of sifting enough. This isn’t just an extra step for show; it’s crucial for achieving that light, lump-free, and even crumb we’re aiming for. Sifting aerates the flour, prevents clumps of cocoa or leavening agents from ending up in your cake, and ensures that all the dry ingredients are perfectly combined. Trust me, it will be incredibly satisfying when you cut into a slice and see no unsightly lumps of unmixed flour or cocoa powder.
Combining Wet and Dry: The Gentle Touch
In a separate, larger bowl, gather all your wet ingredients. Whisk together the eggs, granulated sugar, light brown sugar, olive oil, sour cream, milk, water, instant espresso, and vanilla extract until well combined. The instant espresso, as mentioned before, doesn’t add a coffee flavor but rather intensifies the chocolate, making it even more profound. Once your wet ingredients are harmonious, gradually add the sifted flour mixture. Stir gently until just combined. Be careful not to overmix! Overmixing develops gluten, which can lead to a tough, dense cake – the opposite of what we want for a moist and fluffy texture.
Baking to Perfection: Even Layers Are Key
Divide the batter evenly among three 6-inch cake pans or two 8-inch cake pans that have been meticulously greased and lined with parchment paper. Using a kitchen scale at this stage can be incredibly helpful for ensuring equal distribution, leading to uniformly baked and level cake layers. Bake them in a preheated oven at 340°F (170°C) for 30 to 35 minutes. To check for doneness, insert a toothpick into the center of a cake; if it comes out clean, your cakes are ready. Allow the cakes to cool in their pans for about 10 minutes before carefully inverting them onto a wire rack to cool completely. Cooling completely is vital before frosting to prevent the frosting from melting.
Assembling Your Layer Cake: Building Flavors and Textures
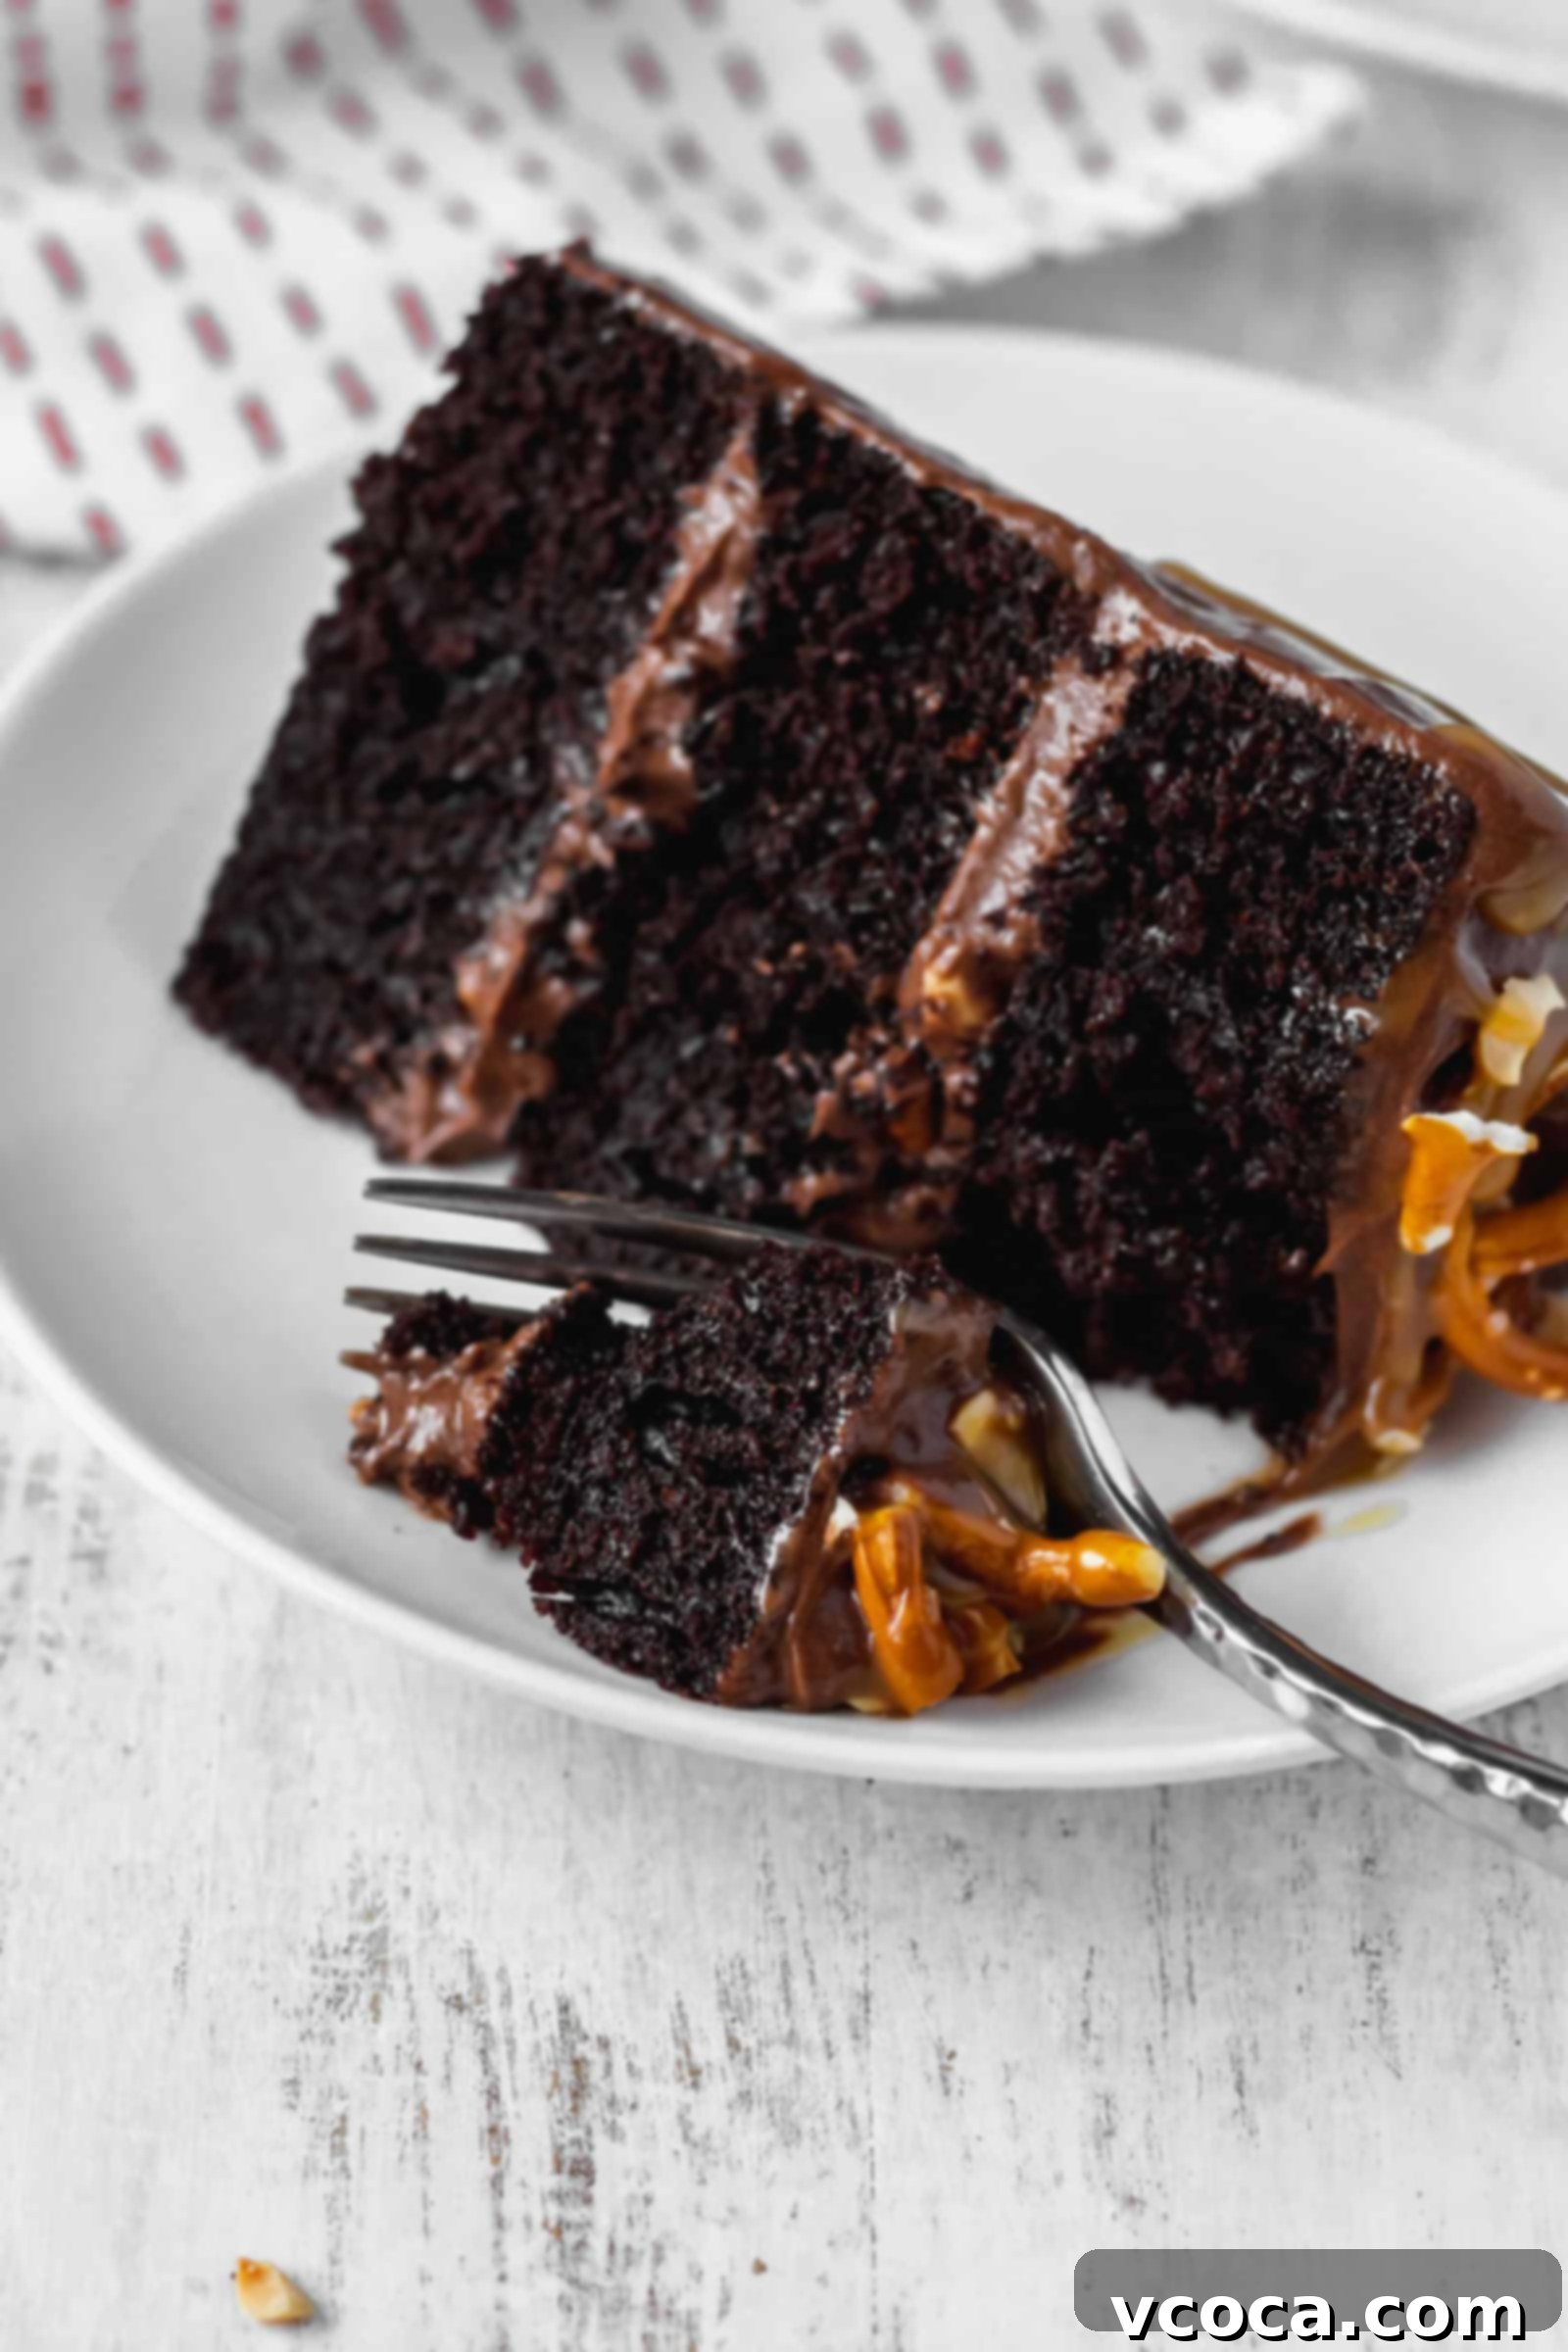
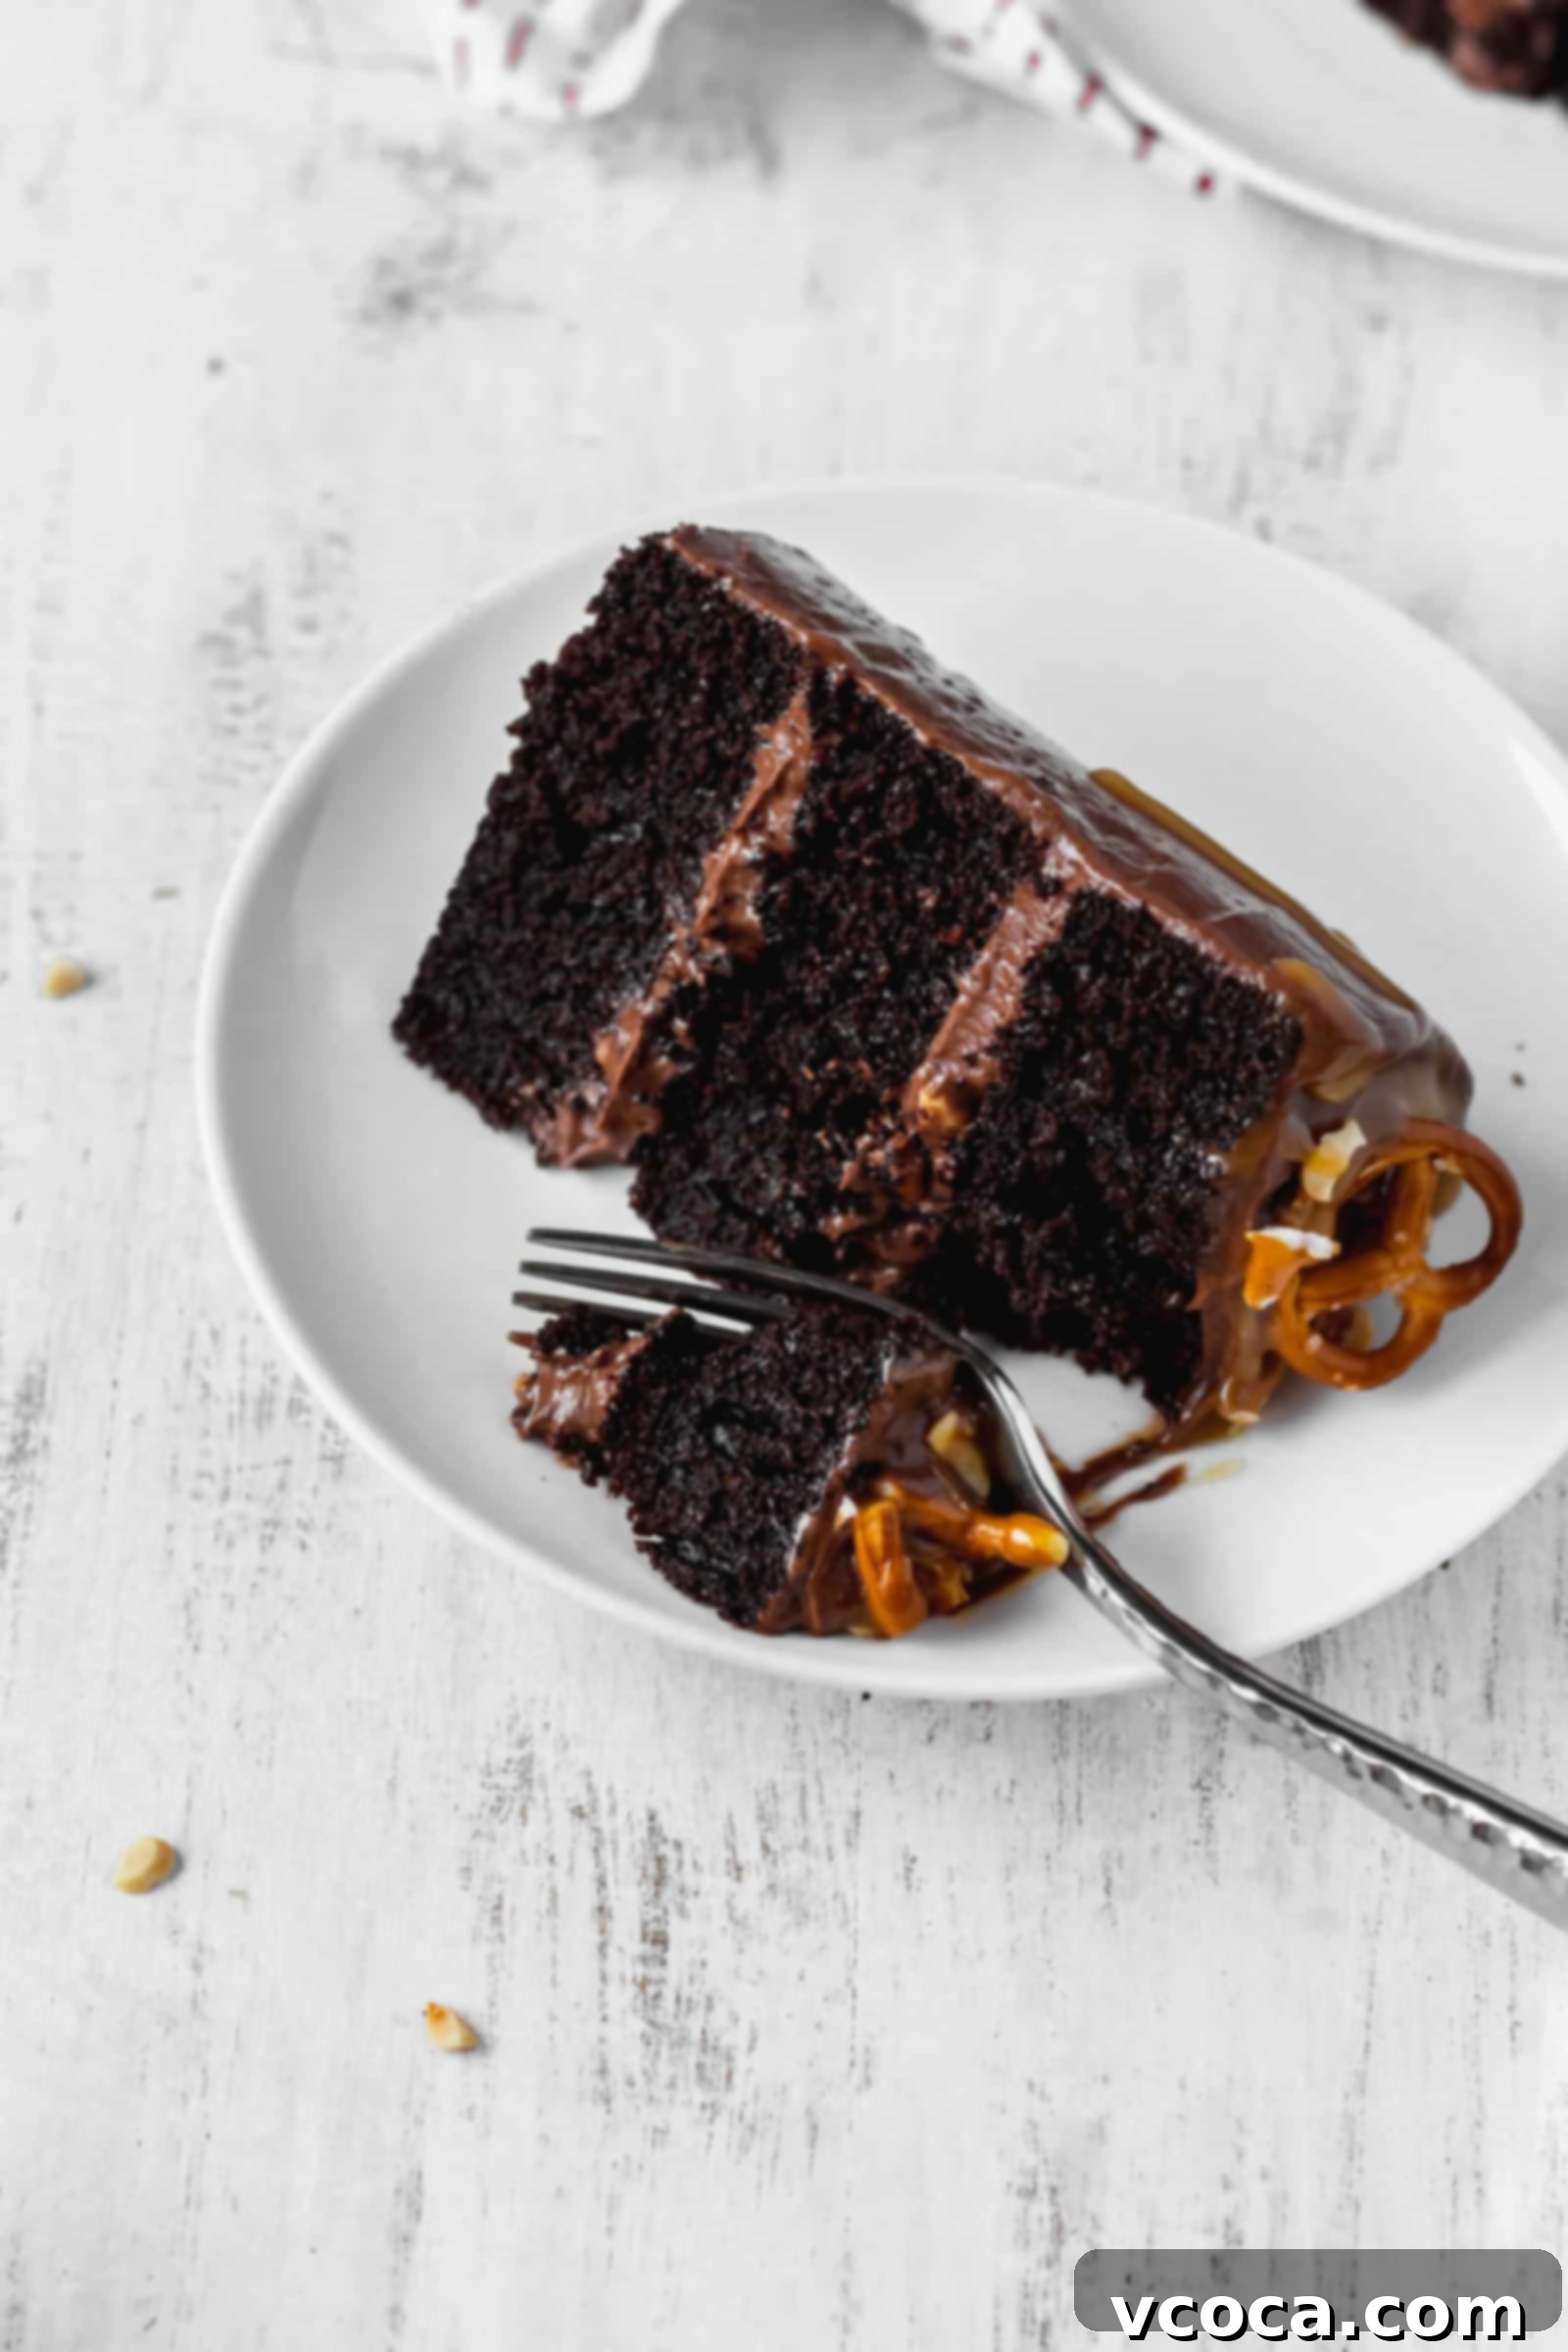
Once the cake layers are completely cool, use a serrated knife to carefully slice off any domes from the top, creating flat, even surfaces. This makes for a much more stable and aesthetically pleasing layer cake. Now for the fun part: assembly! Spread a generous layer of chocolate cream cheese frosting onto your first cake layer. Sprinkle some of the crunchy, salty peanuts and pretzels over the frosting. Top with another cake layer and repeat the frosting and topping process. If you’re making a three-layer cake, add the final cake layer.
The Crumb Coat and Final Decoration: Professional Finish
To achieve a professional, smooth finish, cover the entire cake with a thin layer of chocolate cream cheese frosting – this is known as a “crumb coat.” This thin layer traps any loose crumbs, preventing them from mixing into your final coat of frosting. Place the cake in the fridge to chill for at least an hour, allowing the crumb coat to firm up. Once chilled, take the cake out and apply the remaining chocolate cream cheese frosting, creating a smooth and elegant outer layer. Finally, decorate your masterpiece with more salty peanuts and pretzels, and finish with a luxurious drizzle of caramel sauce. The combination of sweet, salty, and crunchy elements makes every bite an experience.
Achieving Perfection: Essential Tips for a Stunning Layer Cake
Creating a visually appealing and structurally sound layer cake is an art, but it’s also a science that benefits from a few simple tools and techniques. These tips will help you elevate your baking game and achieve a professional-looking result every time.
- Embrace the Kitchen Scale: Precision is Power!
A kitchen scale is not just for weighing out ingredients accurately for consistent results, though it’s indispensable for that. It’s also an incredible asset when dividing your cake batter among multiple pans. By ensuring each cake pan receives the exact same amount of batter, you guarantee that all your cake layers will bake evenly and in the same amount of time. This eliminates guesswork and ensures perfectly level layers, which are the foundation of any beautiful layer cake. - Your Ruler is Your Best Friend: The Secret to Even Layers!
This might sound a little obsessive, but I consider my ruler one of my most essential tools when assembling a layer cake. I use it to mark the sides of the cooled cake layers before I slice off any domes to create perfectly flat tops. This precision ensures that each layer is of equal height, resulting in a stack that looks incredibly neat and professional. Is it worth the extra minute or two? Absolutely! There’s a profound satisfaction in slicing into a beautifully frosted cake and revealing three (or more!) perfectly even layers within. It speaks to the care and craftsmanship you put into your creation. - The Humble Ice Cream Scoop: For Perfectly Even Frosting!
If you’ve gone to the trouble of ensuring your cake layers are perfectly even, why stop there? You’ll want your frosting layers to be equally consistent. An ice cream scoop is a fantastic, simple tool for this. Use it to portion out the same amount of frosting onto each layer before you begin spreading with an offset spatula. This helps maintain uniform frosting thickness throughout your cake, contributing to both its appearance and the delightful balance of cake-to-frosting in every bite. - The Art of the Crumb Coat and Chill: Your Path to a Flawless Finish!
If you’re familiar with Yolanda Gampp’s incredible “How to Cake It” videos on YouTube, you’ll know exactly what I mean by “crumb coat and chill.” This technique is a game-changer for achieving a smooth, professional finish on your frosted cakes. After assembling your cake layers, apply a very thin layer of frosting to the entire cake – top and sides. This “crumb coat” effectively traps any loose crumbs, preventing them from mingling with your final, pristine layer of frosting. Once applied, chill the cake in the refrigerator for at least an hour to allow this thin layer to firm up. This hardening acts as a protective shield, ensuring that when you apply your final, thicker coat of frosting, you get a clean, crumb-free, and perfectly smooth exterior. It makes all the difference in the final presentation of your beautiful dessert.
Explore More Delicious Layer Cake Recipes
If you’ve enjoyed mastering this chocolate cake, or if you’re looking for new baking adventures, here are some other fantastic layer cake recipes from my collection that I highly recommend:
- Chocolate Mocha Cake: This decadent mocha cake utilizes the same incredibly moist chocolate cake base, but it’s beautifully complemented by a creamy, aromatic coffee buttercream. It’s a coffee lover’s dream!
- Gluten-Free Chocolate Delights: For those with dietary restrictions, fear not! You don’t have to miss out on exceptional chocolate cake. Try this unbelievably delicious gluten-free chocolate cake or indulge in this rich gluten-free German chocolate cake. Both are so flavorful and moist, that no one will ever guess they’re gluten-free!
- Bright and Zesty Lemon Curd Cake: Not always a fan of chocolate? My refreshing lemon curd cake is a must-try. It features tender cake layers frosted with vibrant lemon buttercream and boasts delightful hidden layers of silky, homemade lemon curd for a burst of citrusy goodness.
- Ethereal Matcha Cake: As a true matcha fanatic, this matcha cake is one of my absolute favorite creations. The delicate matcha cake layers are incredibly fluffy, subtly earthy, and utterly delicious, offering a unique and sophisticated flavor profile.
Chocolate Cake with Salty Peanuts and Pretzels
Print
Pin
Rate
Ingredients
Chocolate Cake
- 2 cups / 240g cake flour
- ¾ cup / 63g dutch processed cocoa powder
- 1 teaspoon / 6g fine sea salt
- 2 teaspoons / 12g baking soda
- 1 teaspoon / 4g baking powder
- 2 large eggs
- 1 cup / 200g granulated sugar
- 1 cup / 200g light brown sugar
- ½ cup / 100g olive oil
- ½ cup / 120g sour cream (can substitute greek yogurt)
- ½ cup / 120g milk
- 2 teaspoons instant espresso
- 1 cup / 240g water
- 2 teaspoons / 10g vanilla extract
Chocolate Cream Cheese Frosting
- 12oz / 340g cream cheese, room temperature
- ⅔ cup / 151g unsalted butter, room temperature
- ¾ cup / 63g dutch processed cocoa powder
- 3½ cups / 420g powdered sugar
- ¼ teaspoon fine sea salt
Garnish
- ¾ cup salted peanuts
- ¾ cup pretzels
- ½ cup caramel sauce
Instructions
Chocolate Cake
-
Preheat the oven to 340°F/170°C. Grease and line three 6-inch cake pans (or two 8-inch cake pans) with parchment paper and set aside.
-
In a bowl, sift together the cake flour, cocoa powder, salt, baking soda, and baking powder. Set aside.
-
In a separate bowl, combine the eggs, granulated sugar, light brown sugar, olive oil, sour cream, milk, water, instant espresso, and vanilla. Add the flour mixture and stir until just combined.
-
Divide the batter evenly among the cake pans and bake for 30 to 35 minutes or until a toothpick inserted into the center comes out clean. Let them cool in the pan for about 10 minutes before taking it out onto a wire rack to cool completely. After the cakes have cooled completely, slice the domes off the top.
Chocolate Cream Cheese Frosting
-
In a large bowl, beat the butter using an electric hand mixer or stand mixer until smooth and creamy. Add the cream cheese and continue to beat. Sift in the powdered sugar, cocoa powder, and salt. Mix until fully combined.
Assembly
-
Spread some frosting on one of the cake layers and sprinkle some peanuts and pretzels and top it with another layer of cake, and repeat if making a three-layer cake.
-
Cover the entire cake with a thin coating of frosting, and stick the cake in the fridge to chill for an hour to let the frosting harden. Take it out and cover the cake with the remaining chocolate cream cheese frosting and decorate with more peanuts pretzels, and a drizzle of caramel sauce.
