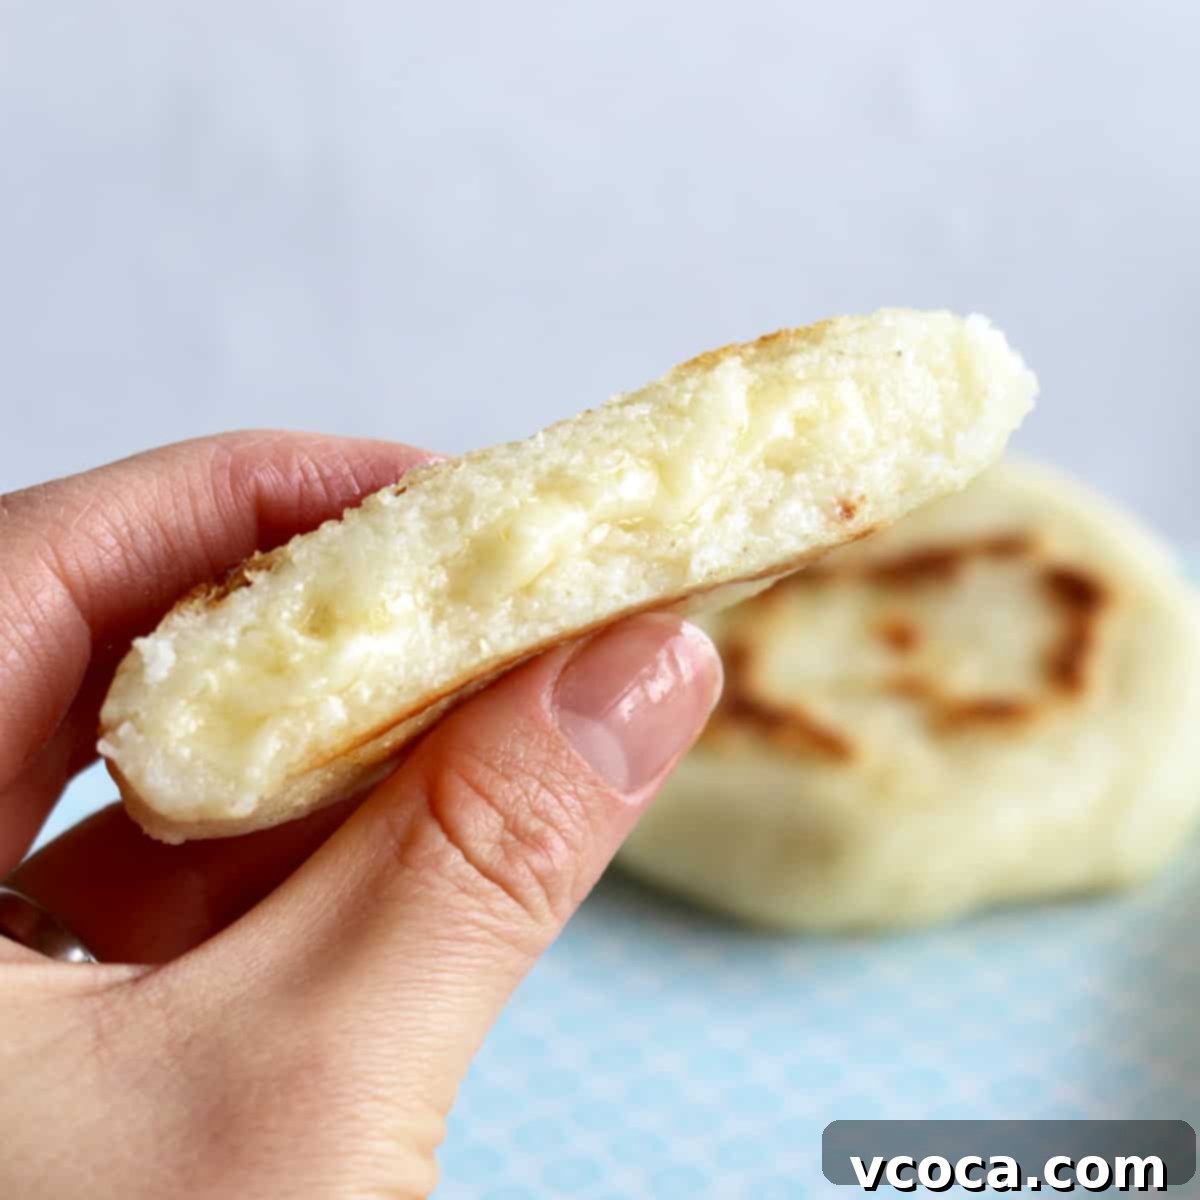
Homemade Arepas Recipe: Your Essential Guide to Crispy & Fluffy Colombian and Venezuelan Cornmeal Cakes
Arepas are truly a culinary marvel, simple yet incredibly satisfying. These delightful cornmeal cakes boast a golden, crispy exterior that gives way to a soft, moist, and fluffy interior. Their versatility knows no bounds, making them the perfect canvas for an endless array of delicious fillings, transforming them into a hearty snack, a comforting breakfast, or a complete meal. Whether you’re familiar with South American cuisine or new to its flavors, mastering the art of homemade arepas is a rewarding experience.
This recipe was originally published on March 29, 2019, and has been comprehensively updated with fresh information, detailed instructions, and new tips on October 16, 2023, to ensure the best possible results for your homemade arepas.
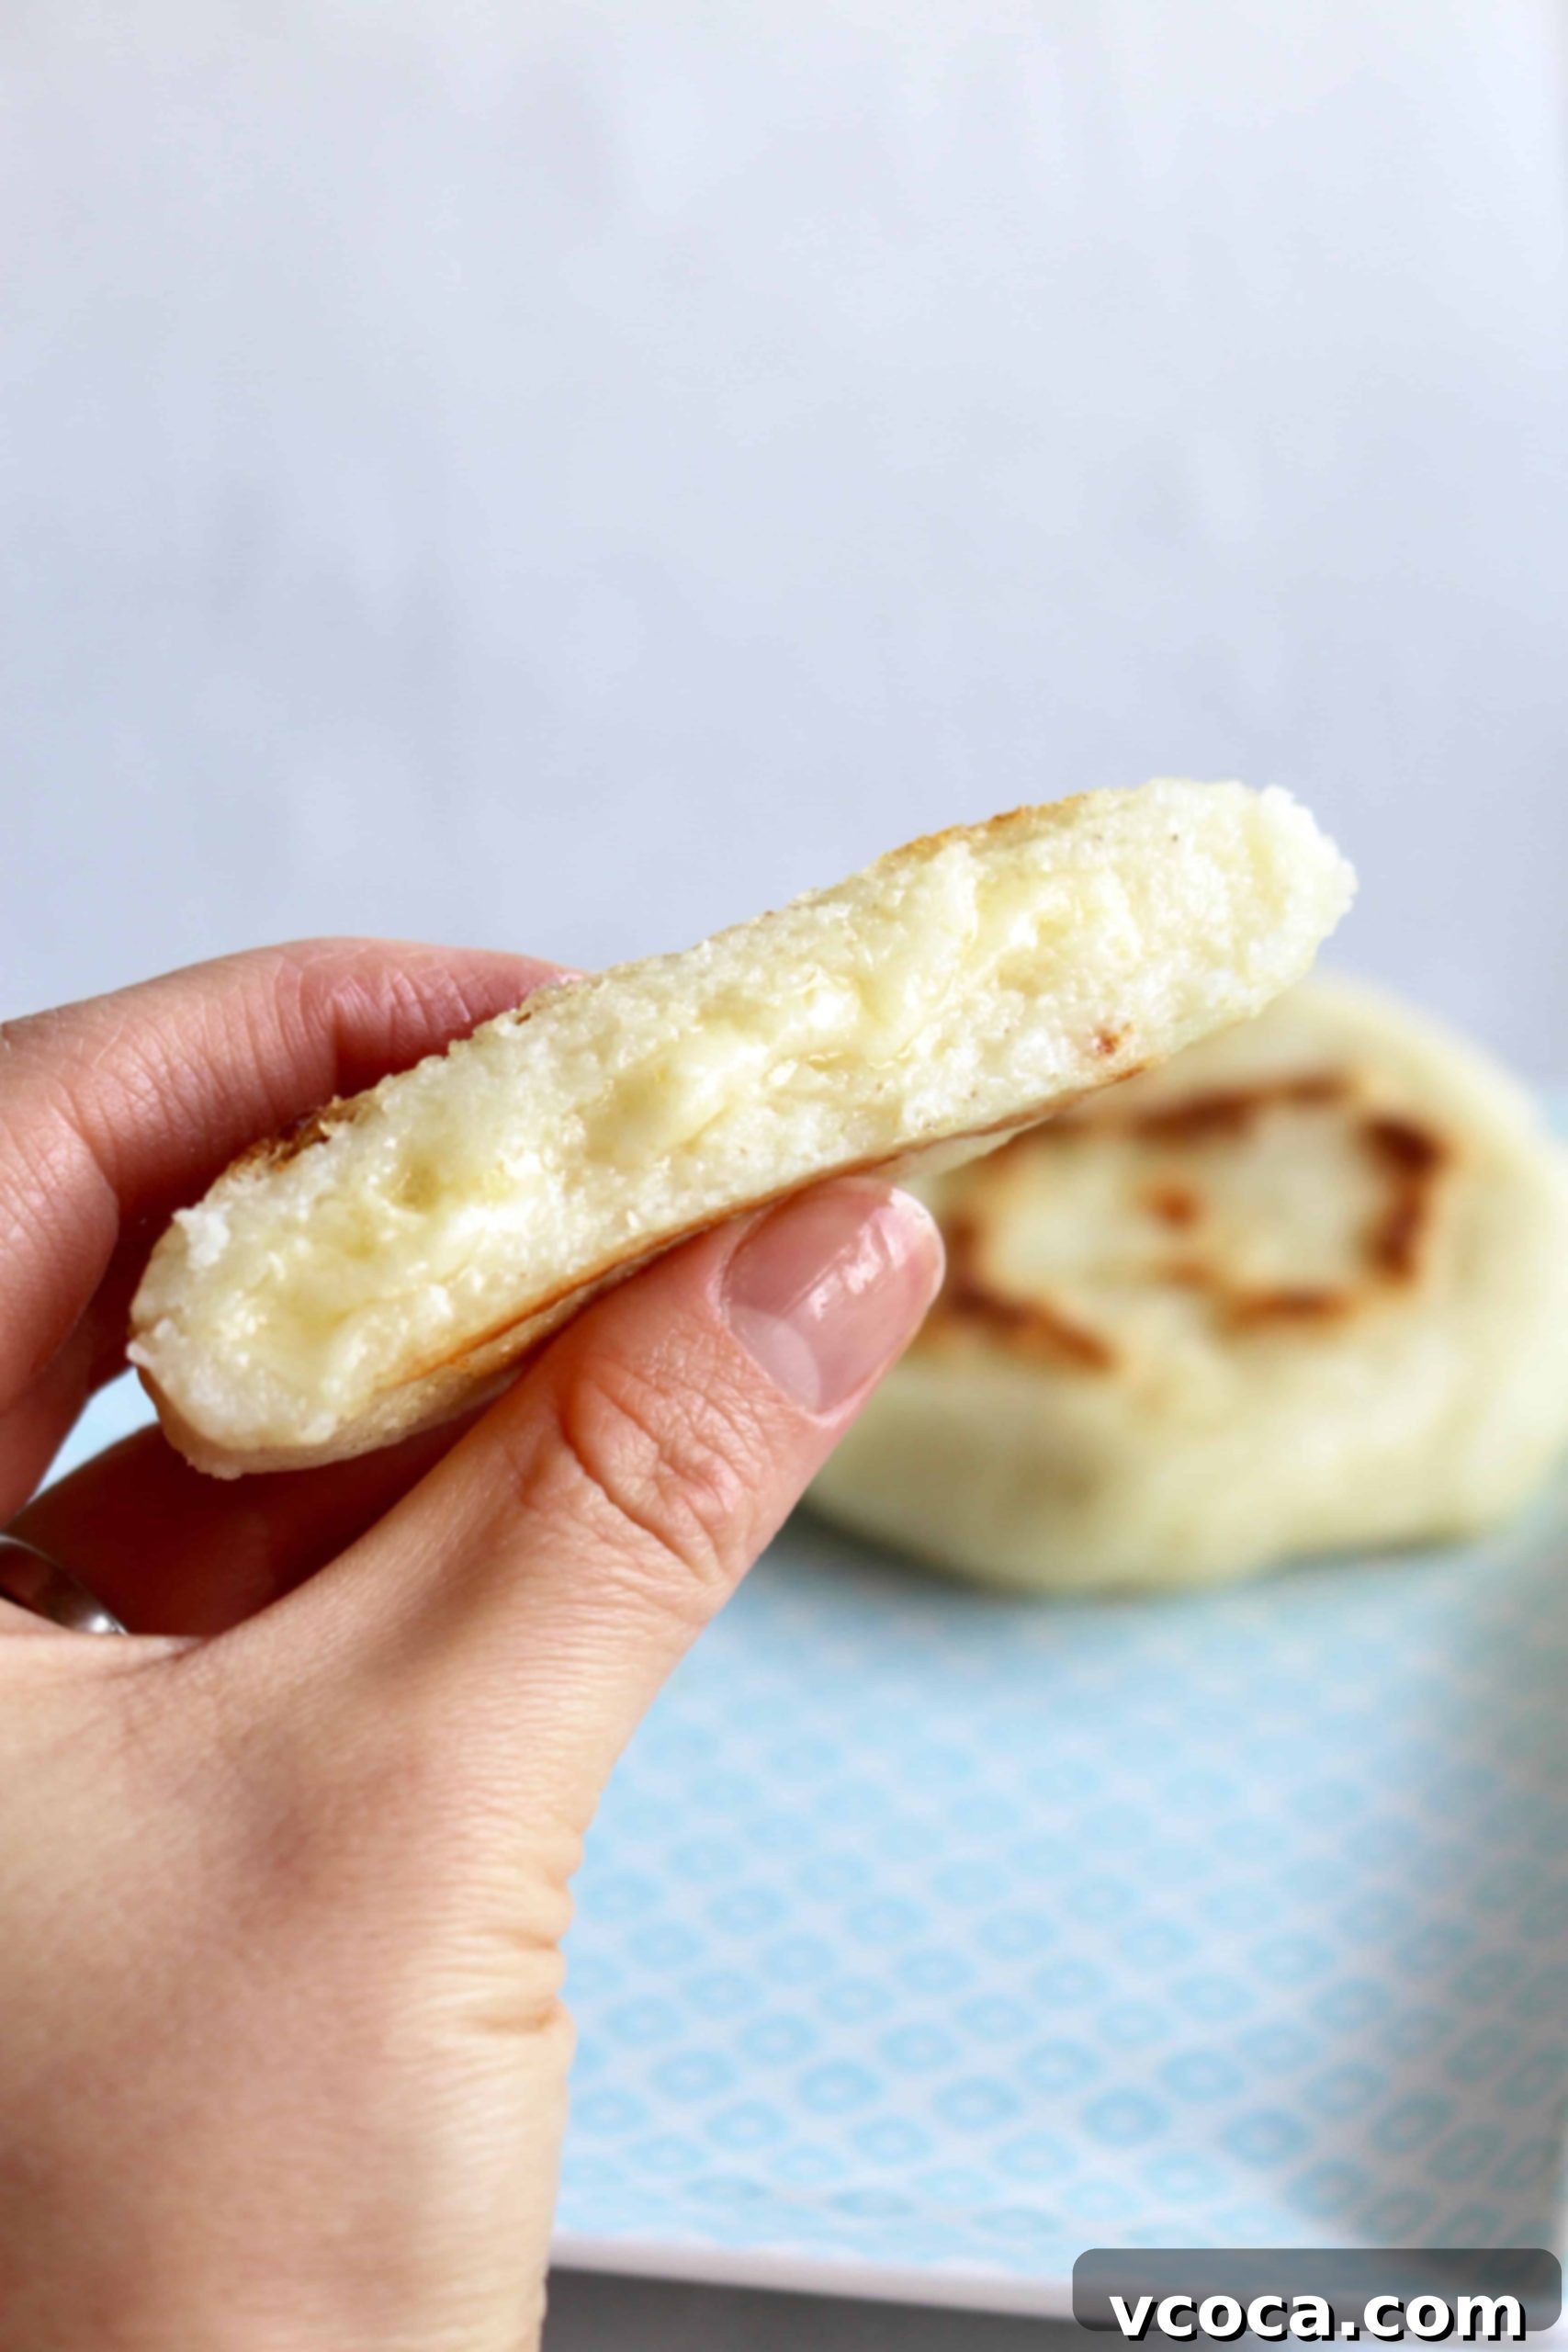
What Exactly Are Arepas? A Culinary Staple
Arepas are much more than just simple cornmeal patties; they are a cherished culinary tradition, deeply woven into the fabric of daily life in South America, particularly in Colombia and Venezuela. Imagine a perfectly shaped, round flatbread or patty, crafted from a special type of precooked cornmeal. What sets arepas apart is their incredible texture: they’re remarkably soft and moist on the inside, offering a comforting chew, while achieving a satisfyingly crispy and golden crust on the outside.
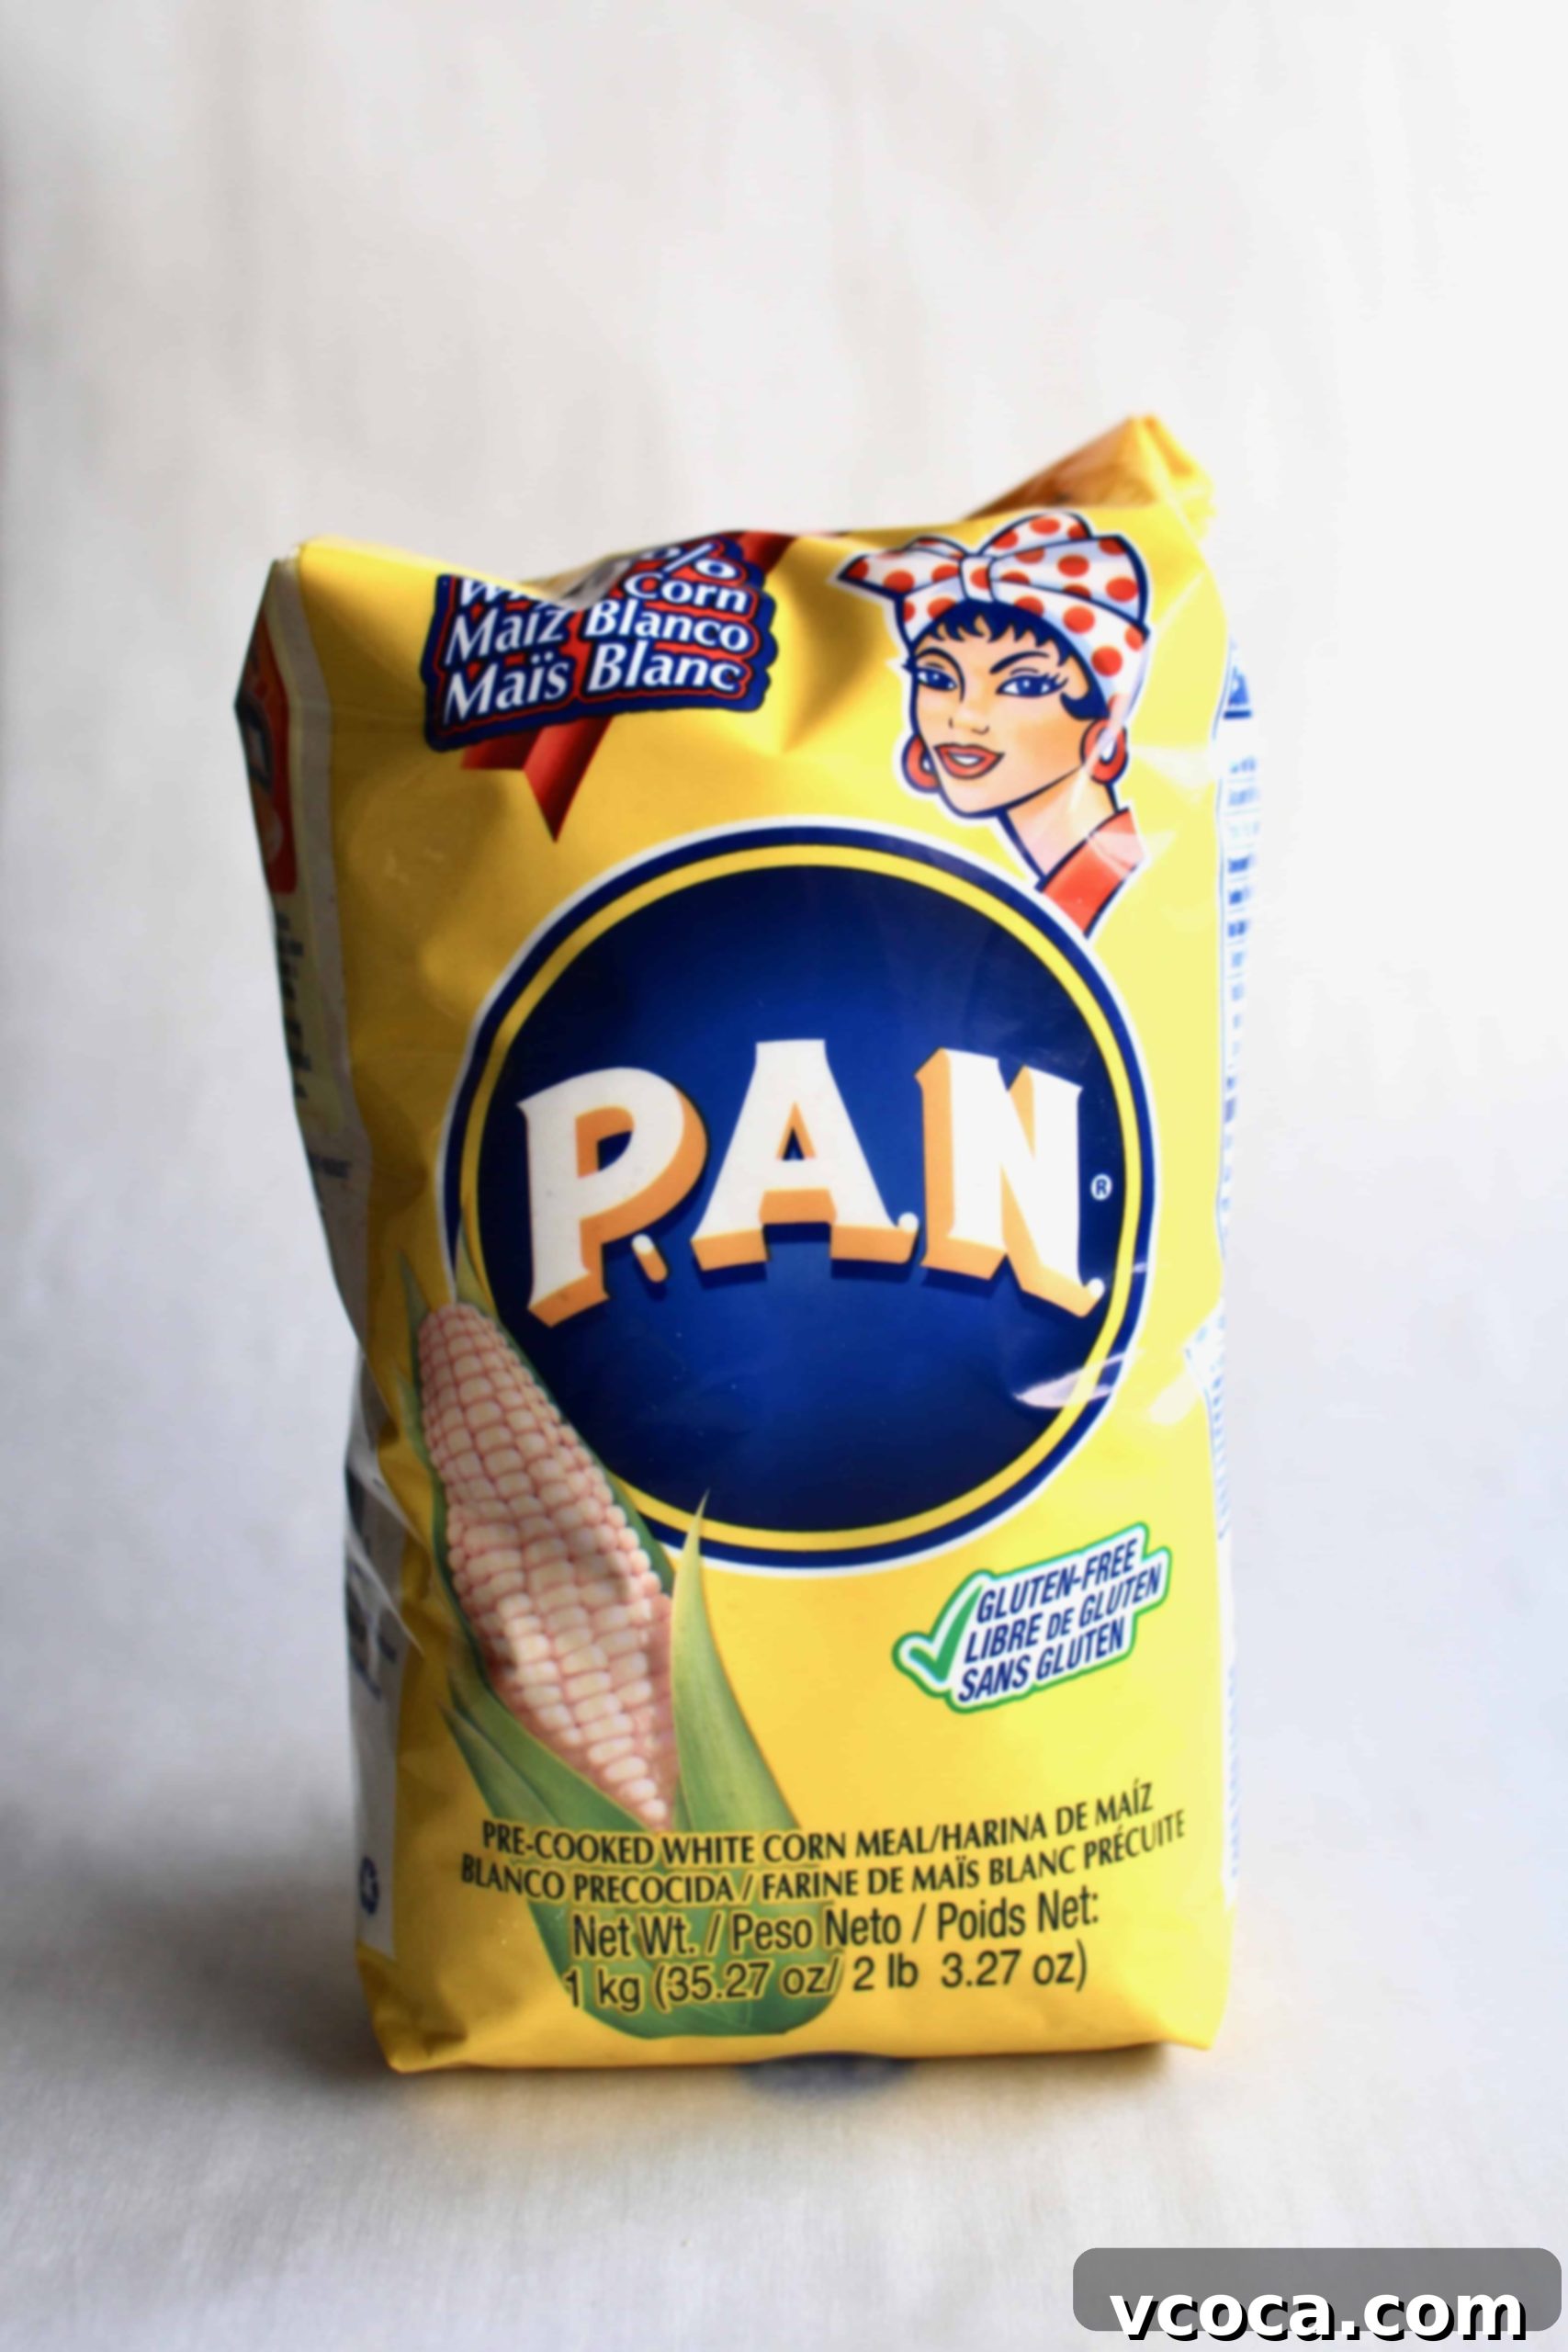
The magic behind arepas lies in their unique main ingredient: **masarepa**, also widely known by popular brand names like Harina P.A.N. This isn’t your ordinary cornmeal or masa harina; masarepa is corn that has been cooked, dried, and then ground into a fine flour. This precooking process is crucial because it allows the dough to hydrate quickly and evenly, resulting in a smooth, pliable texture that is easy to work with and cooks beautifully. Unlike masa harina, which is typically used for tortillas and tamales and requires a nixtamalization process, masarepa simplifies the preparation of these delicious corn cakes, making them accessible for home cooks.
Arepas can be enjoyed at any time of day, embodying true culinary flexibility. They can be baked, grilled, or pan-fried, each method lending a slightly different texture to the finished product. Once cooked, they are typically sliced open horizontally and generously filled with a wide array of ingredients. Common fillings range from savory cheeses and hearty black beans to tender shredded meats like beef or chicken, and even scrambled eggs for a fulfilling breakfast. This makes them a wonderfully versatile dish, capable of adapting to any meal or craving. Best of all, despite their gourmet appeal, arepas are surprisingly easy to make at home, requiring just a few basic ingredients and simple steps to create a truly authentic taste of South America.
Essential Ingredients for Perfect Arepas
One of the most appealing aspects of making arepas is the minimal ingredient list. You only need four fundamental components to bring these delightful cornmeal cakes to life. The quality and type of these ingredients, however, make all the difference in achieving the authentic taste and texture.
- Arepa Flour (Masarepa or Harina P.A.N.) – This is the star of our recipe, and selecting the correct type is paramount. You absolutely must use **precooked cornmeal**, also known as masarepa or by brand names like Harina P.A.N. I typically opt for white pre-cooked cornmeal for its classic flavor and slightly finer texture, but you can also achieve excellent results with yellow masarepa, which lends a richer color and slightly more robust corn flavor. It’s critical to avoid confusing masarepa with regular cornmeal (used for grits or cornbread) or masa harina (used for tortillas). These alternatives will not yield the correct dough consistency or the signature arepa texture. Masarepa has already been cooked, dried, and ground, which allows it to absorb water differently and cook much faster.
- Salt – While many of the delicious flavors will come from your chosen fillings, a touch of salt is essential to season the arepa dough itself. It enhances the natural sweetness of the corn and provides a balanced flavor profile, ensuring your arepas are flavorful even before they’re stuffed. Don’t skip this step, as it prevents the arepas from tasting bland.
- Water – The humble yet vital ingredient that hydrates the masarepa, transforming it into a cohesive, pliable dough. The right amount of water is key to achieving that perfectly moist and tender interior. Too little, and your arepas will be dry and crumbly; too much, and they’ll be too sticky to shape. Warm water is often preferred as it helps the flour hydrate more quickly and creates a smoother dough.
- Oil – A small amount of cooking oil (such as vegetable, canola, or corn oil) used in the pan, griddle, or skillet is crucial for developing that desirable crispy, golden-brown exterior. It helps create a beautiful crust and prevents the arepas from sticking, ensuring they cook evenly and perfectly.
With just these four simple ingredients, you’re well on your way to crafting exceptional homemade arepas!
How to Make Arepas: A Simple Step-by-Step Guide
Making homemade arepas is a surprisingly straightforward process that yields incredibly rewarding results. Follow these steps to craft perfect cornmeal cakes with a delightful crispy exterior and a tender, moist interior.
Step 1: Prepare the Dough. Begin by combining the masarepa (arepa flour) and salt in a large mixing bowl. Gradually pour in the warm water, stirring continuously with your hands or a spoon until all the flour is hydrated and a rough dough forms. Once combined, knead the dough for about 2-3 minutes until it becomes smooth and uniform. It should be firm enough to handle but still soft and pliable, not sticky. Cover the bowl with a damp cloth or plastic wrap and let the dough rest for about 5-10 minutes. This crucial resting period allows the precooked cornmeal to fully absorb the liquid, ensuring a perfectly hydrated and easy-to-shape dough.
Step 2: Form the Arepas. After the dough has rested, divide it into 8-10 equal portions, depending on your desired arepa size. Roll each portion into a smooth ball. Then, gently flatten each ball between your palms to form a disk, approximately 3.5 to 4 inches (9-10 cm) in diameter and about 0.5 to 0.75 inches (1.5-2 cm) thick. Aim for smooth edges to prevent cracking during cooking. If you’re planning to make cheese-stuffed arepas (arepas con queso), take a portion of dough, make an indentation in the center, add a generous amount of shredded cheese (such as mozzarella, white cheddar, or a blend), and then carefully enclose the cheese within the dough, reshaping it into a smooth disk. Ensure the cheese is completely sealed to prevent it from oozing out excessively during cooking.
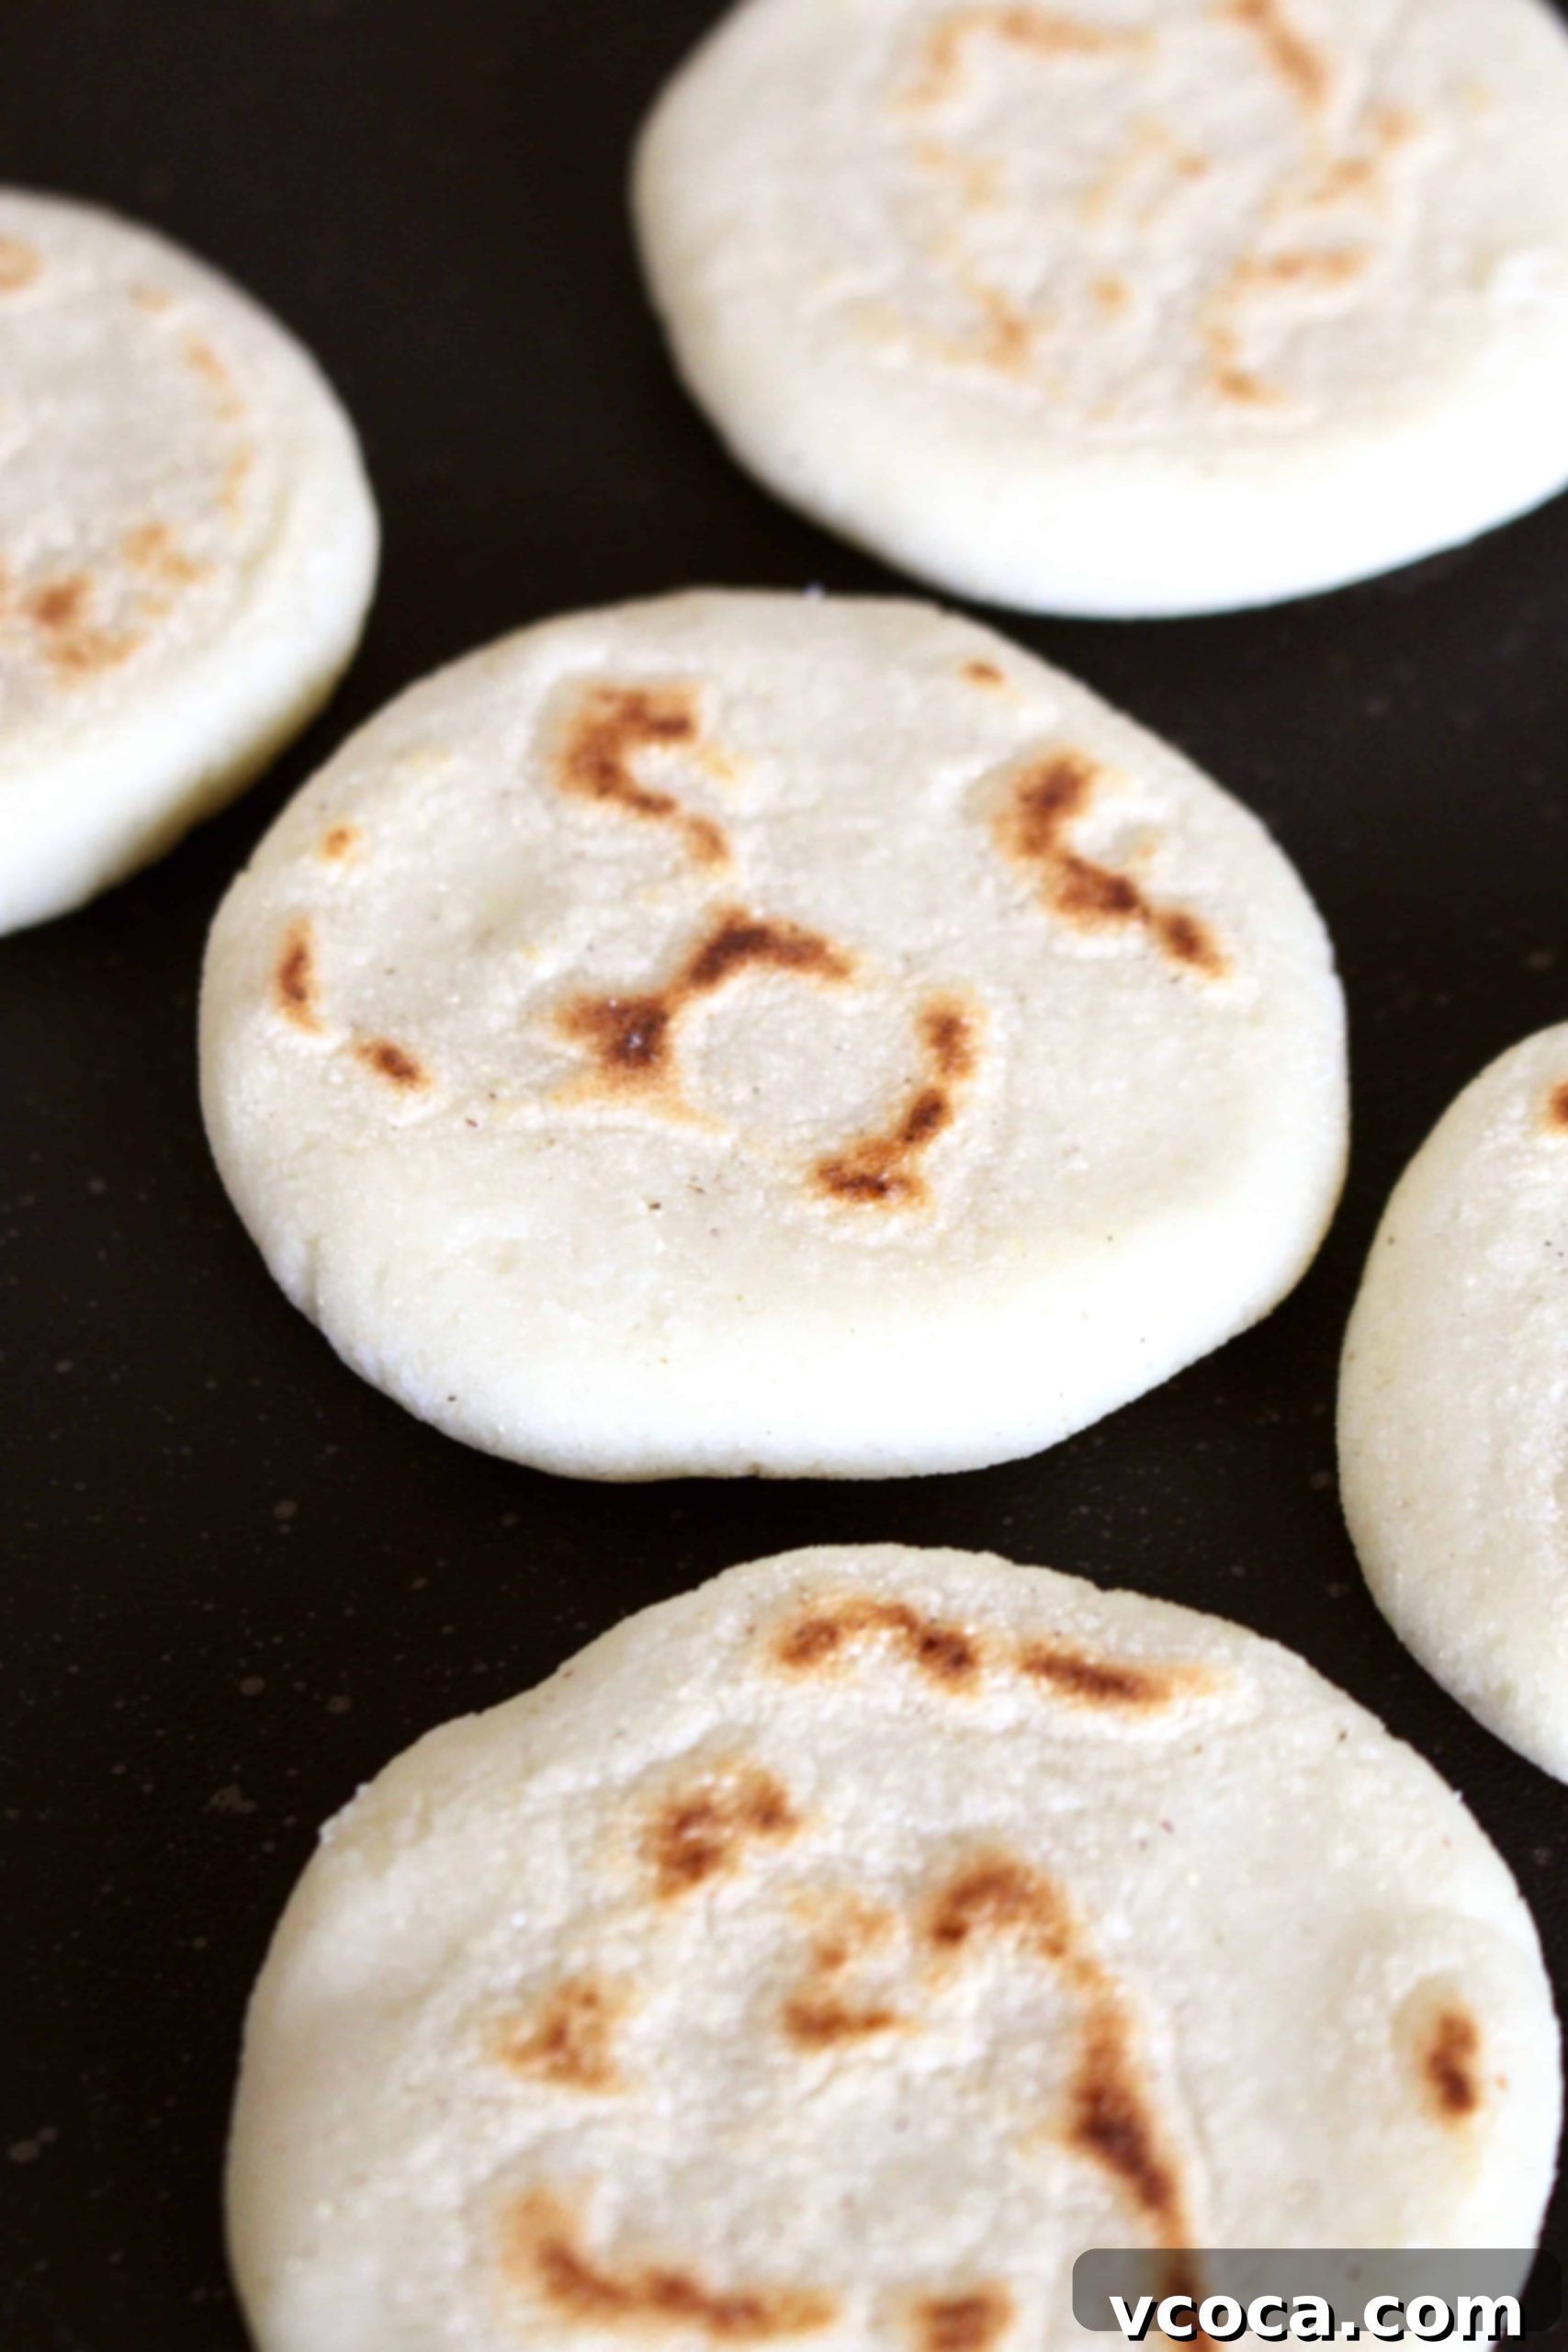
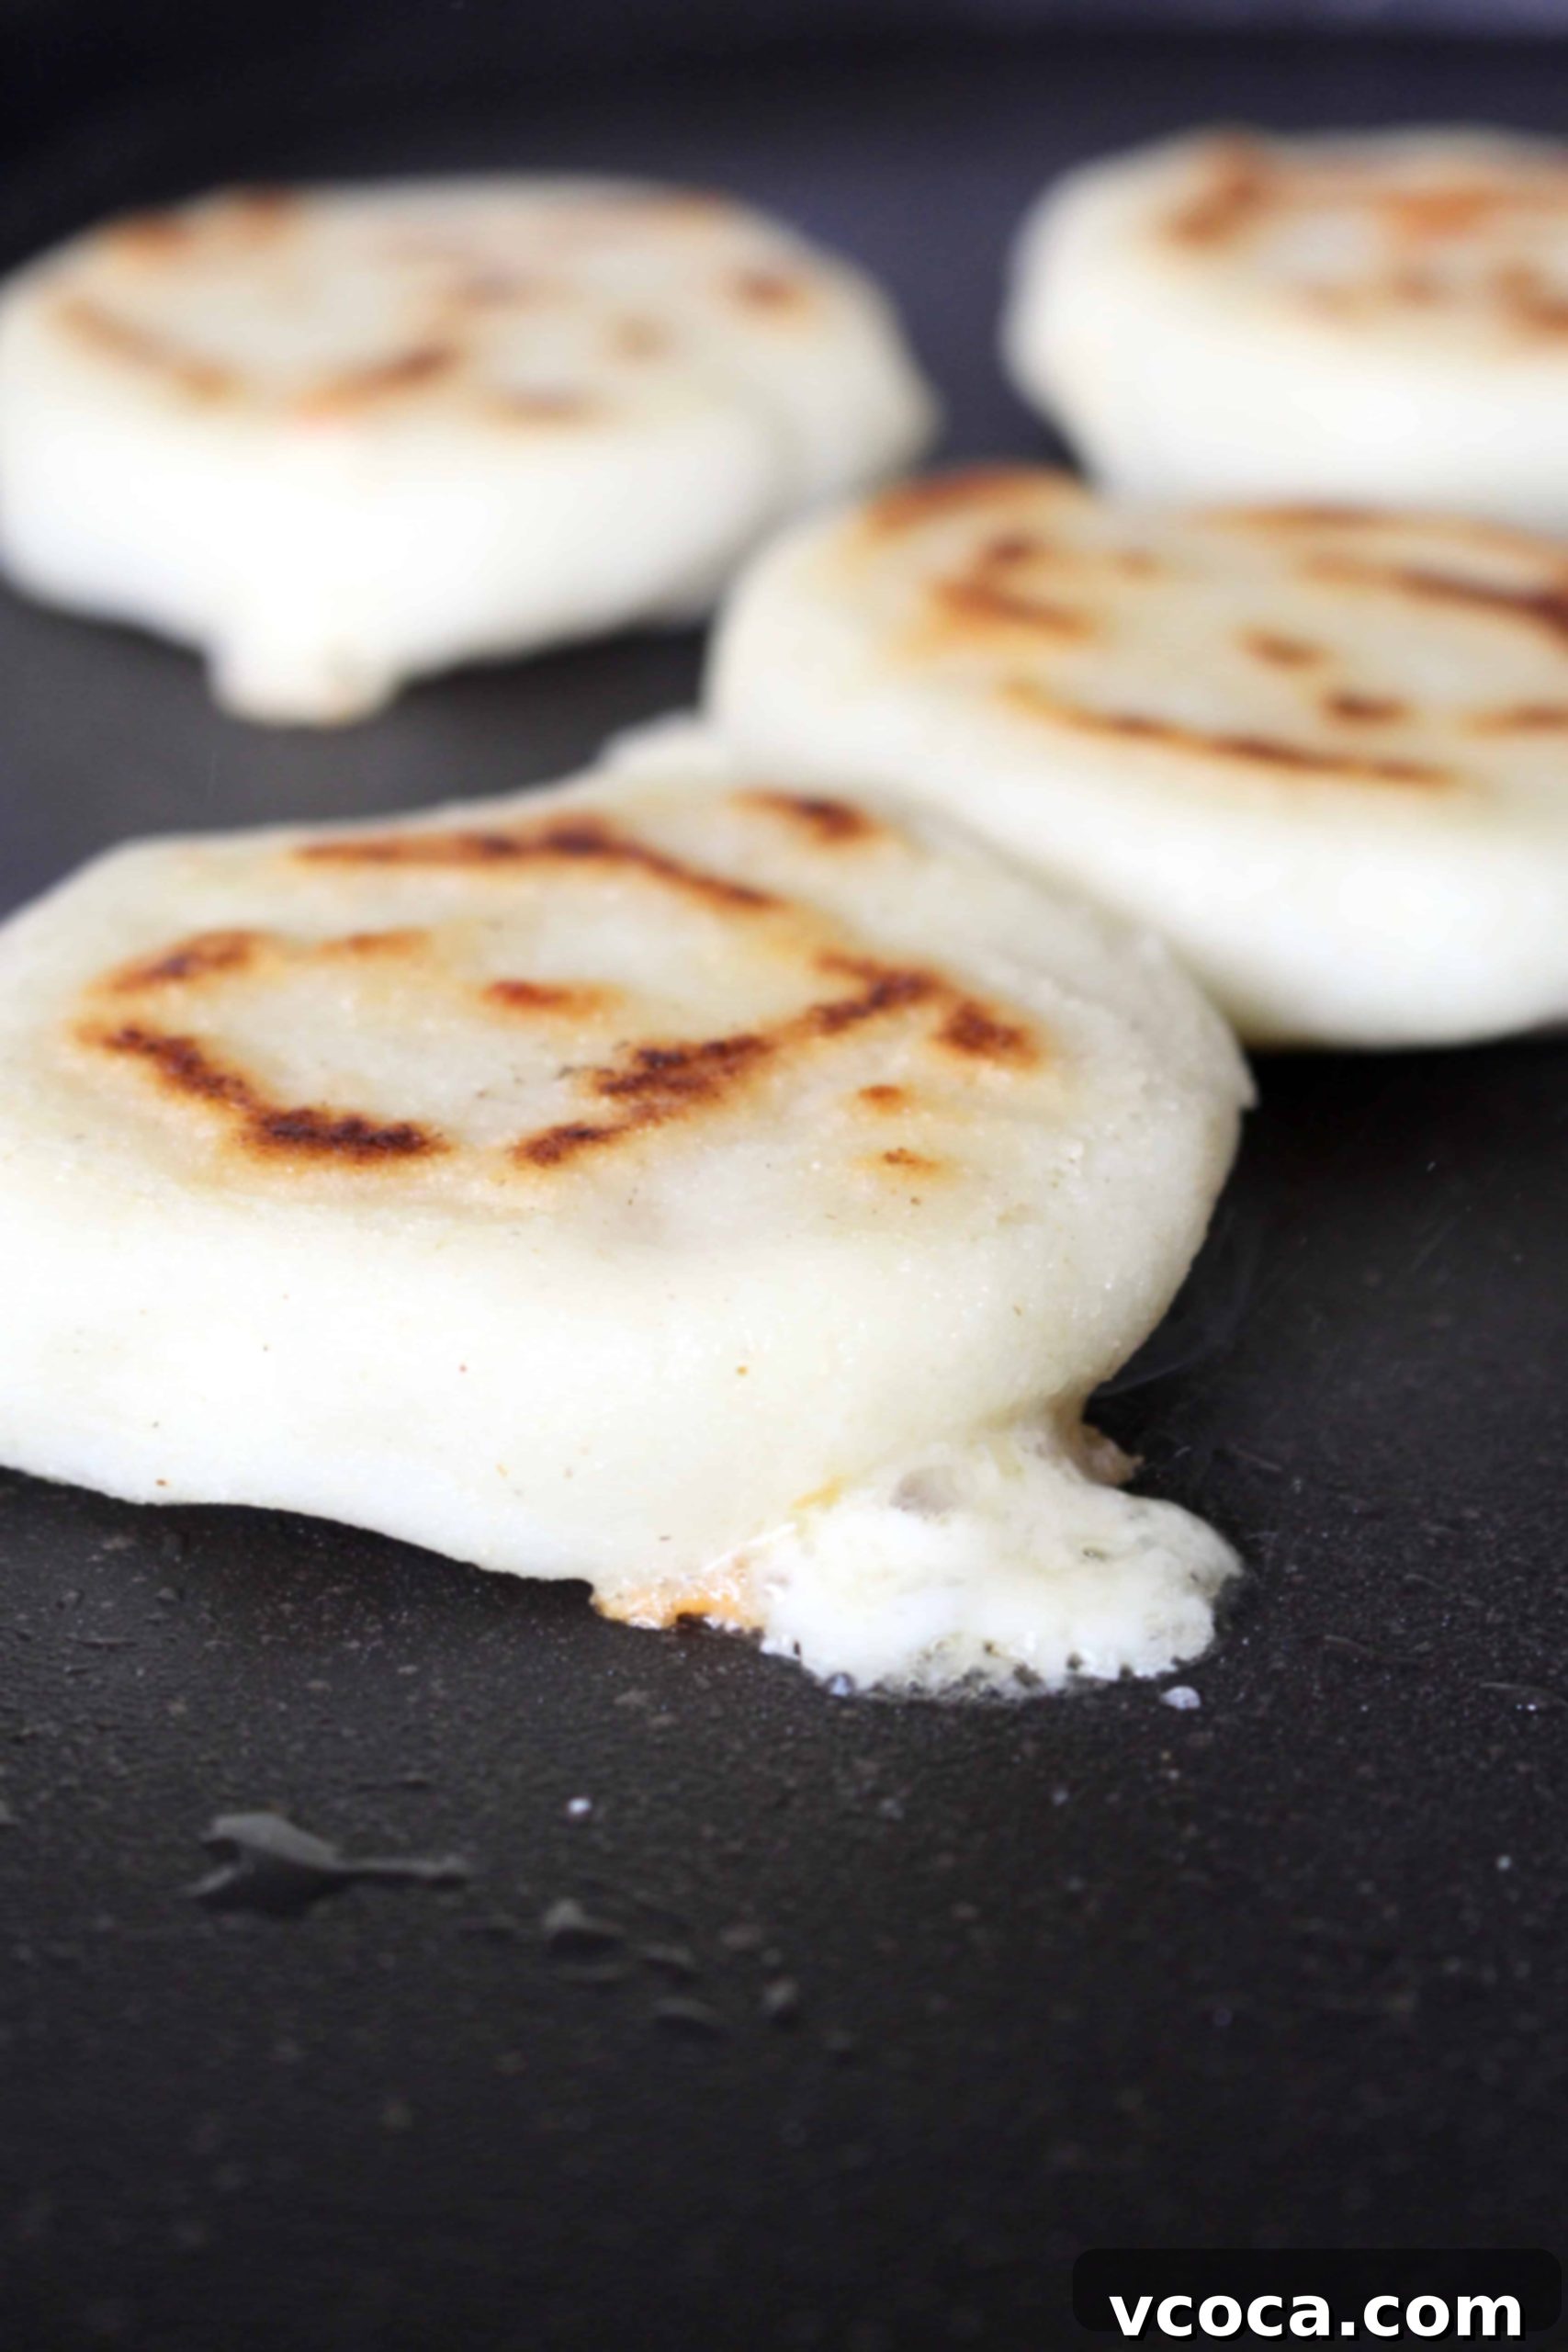
Step 3: Cook the Arepas to Perfection. Heat a cast-iron skillet, heavy-bottomed frying pan, or a griddle over medium heat. Add a tablespoon or two of oil, ensuring it coats the surface evenly. Once the pan is hot (a drop of water should sizzle instantly), carefully place the shaped arepas onto the cooking surface, making sure not to overcrowd the pan. Cook them for about 5 to 8 minutes per side, or until they develop a beautiful golden-brown and crispy crust. The exact cooking time can vary based on the thickness of your arepas and the heat of your pan. You might notice them puffing up slightly as they cook. Once both sides are golden and crispy, the arepas should feel firm to the touch. If you prefer them more thoroughly cooked through and fluffy inside, you can transfer them to a preheated oven at 350°F (175°C) for an additional 10-15 minutes after pan-frying, especially for thicker arepas.
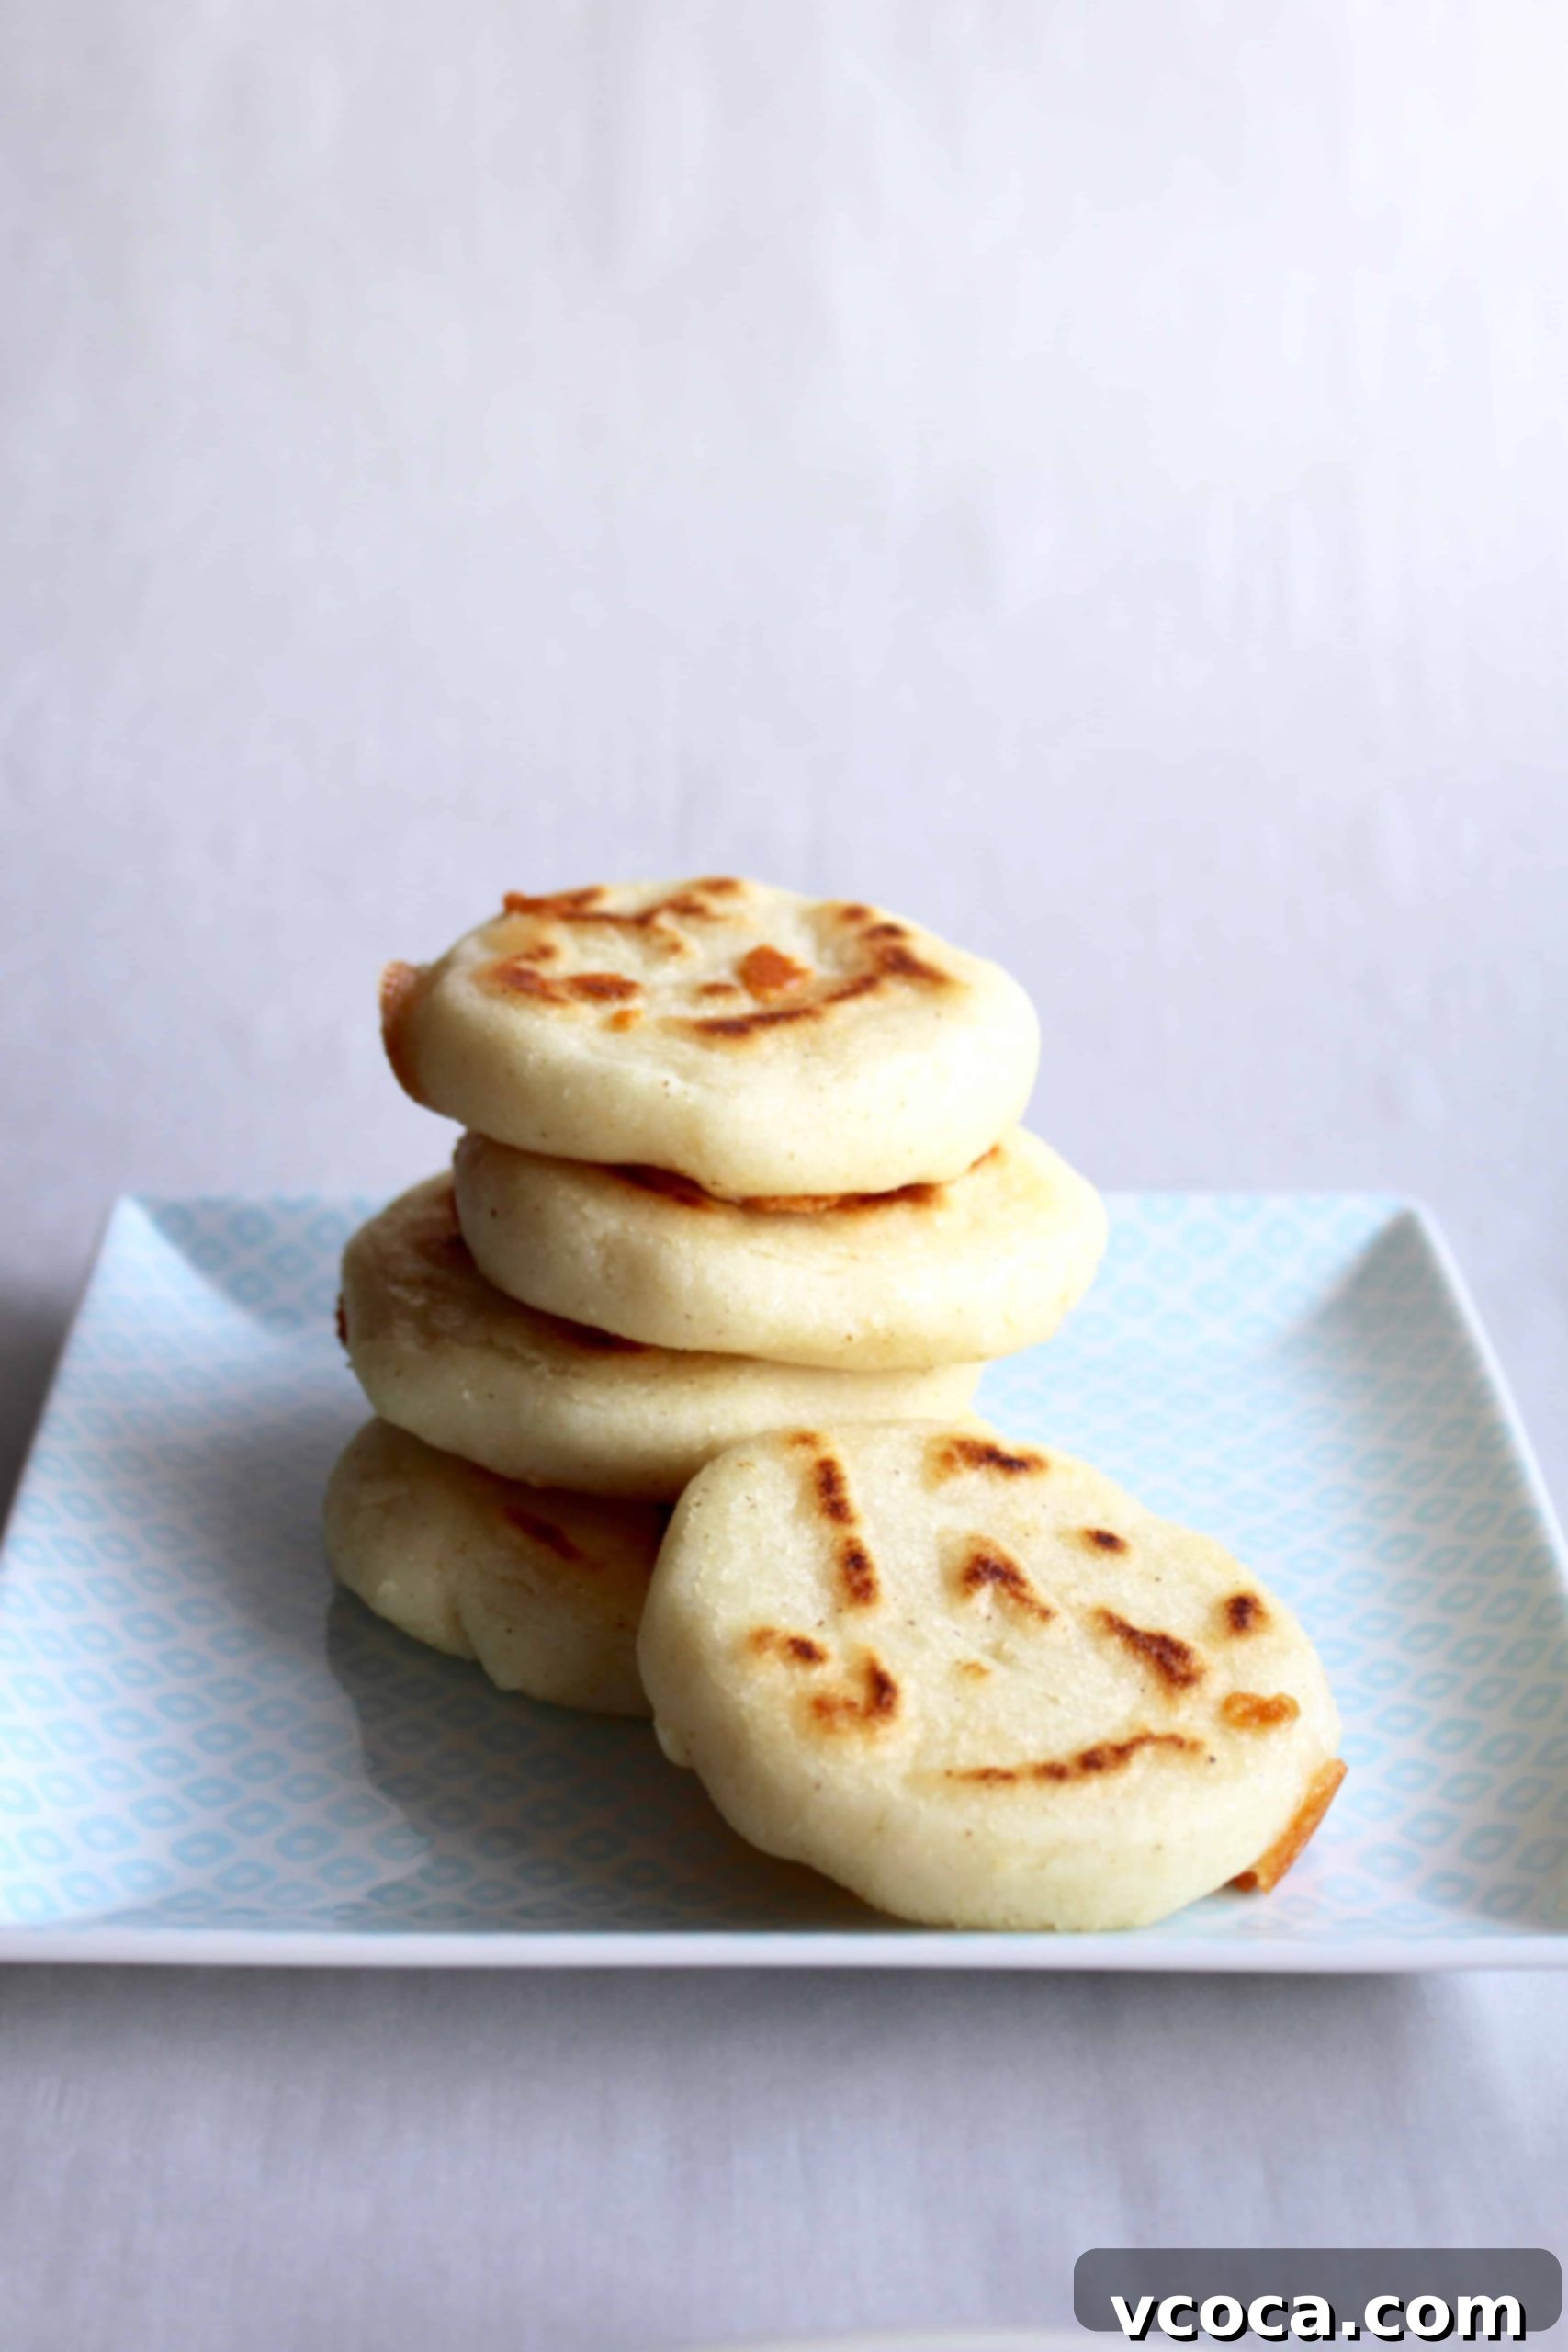
Step 4: Serve and Enjoy! Once cooked, transfer the hot arepas onto a wire rack to cool slightly. While still warm, carefully slice each arepa horizontally, creating a pocket for your chosen fillings. Fill them generously with your favorite ingredients, and serve immediately. The contrast between the warm, soft interior and the crunchy exterior, combined with flavorful fillings, makes for an unforgettable eating experience!
Delicious Serving Suggestions for Your Arepas
The beauty of arepas truly shines in their versatility, making them the perfect vessel for a myriad of fillings and accompaniments. Once you’ve mastered the art of making the perfect crispy-on-the-outside, soft-on-the-inside arepa, the real fun begins with customizing them to your taste. Here are some of my all-time favorite ways to enjoy them:
- Reina Pepiada: My absolute favorite filling for arepas is the iconic Venezuelan Reina Pepiada. This creamy, flavorful avocado chicken salad is a true classic, combining shredded chicken, mashed avocado, mayonnaise, and a hint of lime. It’s rich, satisfying, and a perfect complement to the mild corn flavor of the arepa.
- Breakfast Bliss: For a hearty and delicious start to your day, serve your arepas for breakfast. They pair wonderfully with fluffy scrambled eggs and slices of fresh avocado. Add a sprinkle of crumbled queso fresco or a dash of hot sauce for an extra kick.
- Vegetarian Delight: Arepas are incredibly friendly to vegetarian options. They are delicious when filled simply with savory black beans and plenty of melty cheese. You can also add sautéed vegetables like bell peppers and onions, or a dollop of fresh pico de gallo for a vibrant, flavorful vegetarian meal.
- Carnitas or Shredded Beef: For meat lovers, juicy and crispy carnitas (slow-cooked pork) or tender shredded beef (like carne mechada) are phenomenal choices. The richness of the slow-cooked meats perfectly contrasts with the arepa’s texture.
- Simple Cheese: Sometimes, simplicity is best. A warm arepa filled with just melty cheese, such as a mild mozzarella, Gouda, or a traditional Venezuelan queso de mano, is pure comfort food. The cheese stretches beautifully as you pull it apart.
- Sweet Touch: While typically savory, arepas can also be enjoyed with a sweet twist! Try them with a drizzle of honey, a smear of jam, or even some sweetened condensed milk for a delightful treat.
No matter how you choose to fill them, arepas offer a delightful culinary experience that celebrates flavor, texture, and cultural heritage.
Frequently Asked Questions About Arepas
Both arepas and pupusas are beloved corn-based patties made to hold delicious fillings, but they originate from different regions and use different corn flours. Arepas, primarily from Colombia and Venezuela, are made with **masarepa** (precooked cornmeal). Pupusas, a staple of El Salvador, are made with **masa harina** (corn dough treated with an alkaline solution, then dried and ground). This difference in flour gives them distinct textures and flavors. Pupusas are often thicker and typically stuffed with fillings *before* cooking, making them a sealed pocket, whereas arepas are usually cooked first and then sliced open to be filled.
While both countries share a deep love for arepas, their regional traditions have led to subtle but distinct differences. Colombian arepas tend to be larger, flatter, and are often served simply with butter and salt, or topped with ingredients like cheese. Arepas with cheese (arepas con queso) are particularly popular in Colombia, where the cheese is often incorporated into the dough or served on top. Venezuelan arepas, also known as arepas venezolanas or arepas rellenas, are typically smaller, thicker, and almost always split open and generously stuffed with a wider variety of elaborate fillings, such as shredded beef, chicken salad (Reina Pepiada), black beans, or a combination of ingredients, truly making them a complete meal.
Arepas boast a rich history dating back to pre-Columbian times. They originated in the vast region of South America that encompasses what is now Colombia, Panama, and Venezuela. Indigenous communities in this area cultivated corn and developed the method for making these versatile corn cakes, long before European colonization. Today, they remain a fundamental part of the culinary heritage and identity of both Colombia and Venezuela.
Yes, traditional arepas made solely from masarepa (precooked cornmeal), water, and salt are naturally gluten-free. Corn is a gluten-free grain, making arepas an excellent option for individuals with gluten sensitivities or celiac disease. However, it’s always important to be mindful of the fillings and any potential cross-contamination if you are preparing them for someone with strict dietary requirements. Always check the labels of your masarepa to ensure it’s certified gluten-free, as some processing facilities may handle other grains.
Arepas are definitely at their absolute best when enjoyed fresh and warm, right off the pan. However, if you have leftovers, they can be stored. Place any cooled, unfilled arepas in an airtight container and refrigerate them for up to 4 days. When reheating, avoid the microwave if possible, as it can make them soft and slightly soggy. For best results, reheat them in a toaster oven, a regular oven (at around 350°F or 175°C for 10-15 minutes), or even back on a griddle with a touch of oil. This will help restore their crispy exterior.
Absolutely! Arepas freeze beautifully, making them perfect for meal prep. Once cooked and cooled completely, place them in a single layer on a baking sheet to flash freeze for about 30 minutes. Then, transfer them to a freezer bag or an airtight container, ensuring as much air as possible is removed, and store them in the freezer for up to a month. To reheat from frozen, you can place them directly into a toaster oven, a hot oven (around 375°F or 190°C), or on a griddle until heated through and crispy again. This is a fantastic way to have homemade arepas ready whenever a craving strikes!
Achieving that perfect crispy exterior is key to a great arepa experience. The best method involves a combination of pan-frying and then potentially baking. Start by cooking your arepas on a medium-hot griddle or skillet with a little oil until both sides are deeply golden brown and firm. This develops the initial crust. For thicker arepas, or if you want an even crispier, more cooked-through interior without burning the outside, transfer them to a preheated oven at 350°F (175°C) for another 10-15 minutes after pan-frying. This two-step process ensures a perfectly crunchy exterior and a fully cooked, moist interior.
Explore More Delicious Savory Recipes
If you’ve enjoyed making and tasting these fantastic arepas, you’re likely to appreciate other savory delights. Here are a few more recipes from my kitchen that I think you’ll love, perfect for expanding your culinary repertoire:
- For a heartwarming and comforting meal, nothing beats a delicious bowl of soup. Try my rich and flavorful roasted tomato soup, perfect for any season, or dive into the creamy goodness of my creamy vegan pumpkin soup, a seasonal favorite.
- If you’re looking to impress with a substantial and aromatic rice dish, my Arroz Valenciana recipe is a must-try. This savory and richly flavored Filipino-inspired dish is packed with wonderful textures and tastes.
- And for the ultimate party appetizer or a cozy night in, you can’t go wrong with this incredibly creamy vegan spinach and artichoke dip. It’s so decadent and satisfying, your guests will never guess it’s plant-based!
Thank you so much for stopping by and trying out this authentic arepas recipe! I truly hope you loved making and eating these versatile cornmeal cakes as much as I do. For more mouth-watering recipe inspiration, culinary tips, and delightful cooking adventures, make sure to follow me on Pinterest, Facebook, and Instagram. You can also get all of my newest content and exclusive recipes delivered straight to your inbox by signing up for my email newsletter. Happy cooking!

Arepas Recipe
Print
Pin
Rate
Ingredients
- 2 cups P.A.N. arepa flour
- 1 teaspoon salt
- 2½ cups water
- 1-2 tablespoons oil (for cooking)
Instructions
-
In a large bowl, combine the arepa flour and salt. Slowly add the water and stir with your hands until well combined and a soft dough forms. Knead for a couple of minutes until smooth and let it rest for 5-10 minutes to allow the flour to fully hydrate and thicken.
-
Divide the dough into 10 equal portions and roll them into smooth balls. Flatten each ball into a disk, about 3.5-4 inches (9-10 cm) in diameter and 0.5-0.75 inches (1.5-2 cm) thick. Ensure the edges are smooth. (For cheese arepas, gently press shredded cheese into the center of a dough ball, then seal and reshape into a disk).
-
Heat 1-2 tablespoons of oil in a non-stick pan, cast-iron skillet, or griddle over medium heat. Cook the arepas for 5-8 minutes per side, until they are golden brown and crispy on both sides. They should feel firm to the touch. For thicker arepas, you can transfer them to a preheated oven (350°F / 175°C) for an additional 10-15 minutes to cook through.
-
Remove from heat, allow to cool slightly on a wire rack. Slice each arepa horizontally to create a pocket, and fill with your favorite ingredients. Serve warm and enjoy immediately!
Notes
Freezing: Cooked arepas can be frozen for up to a month. Flash freeze them on a baking sheet, then transfer to a freezer bag or airtight container. Reheat from frozen in a toaster oven, regular oven, or griddle until heated through and crispy.
Nutrition
