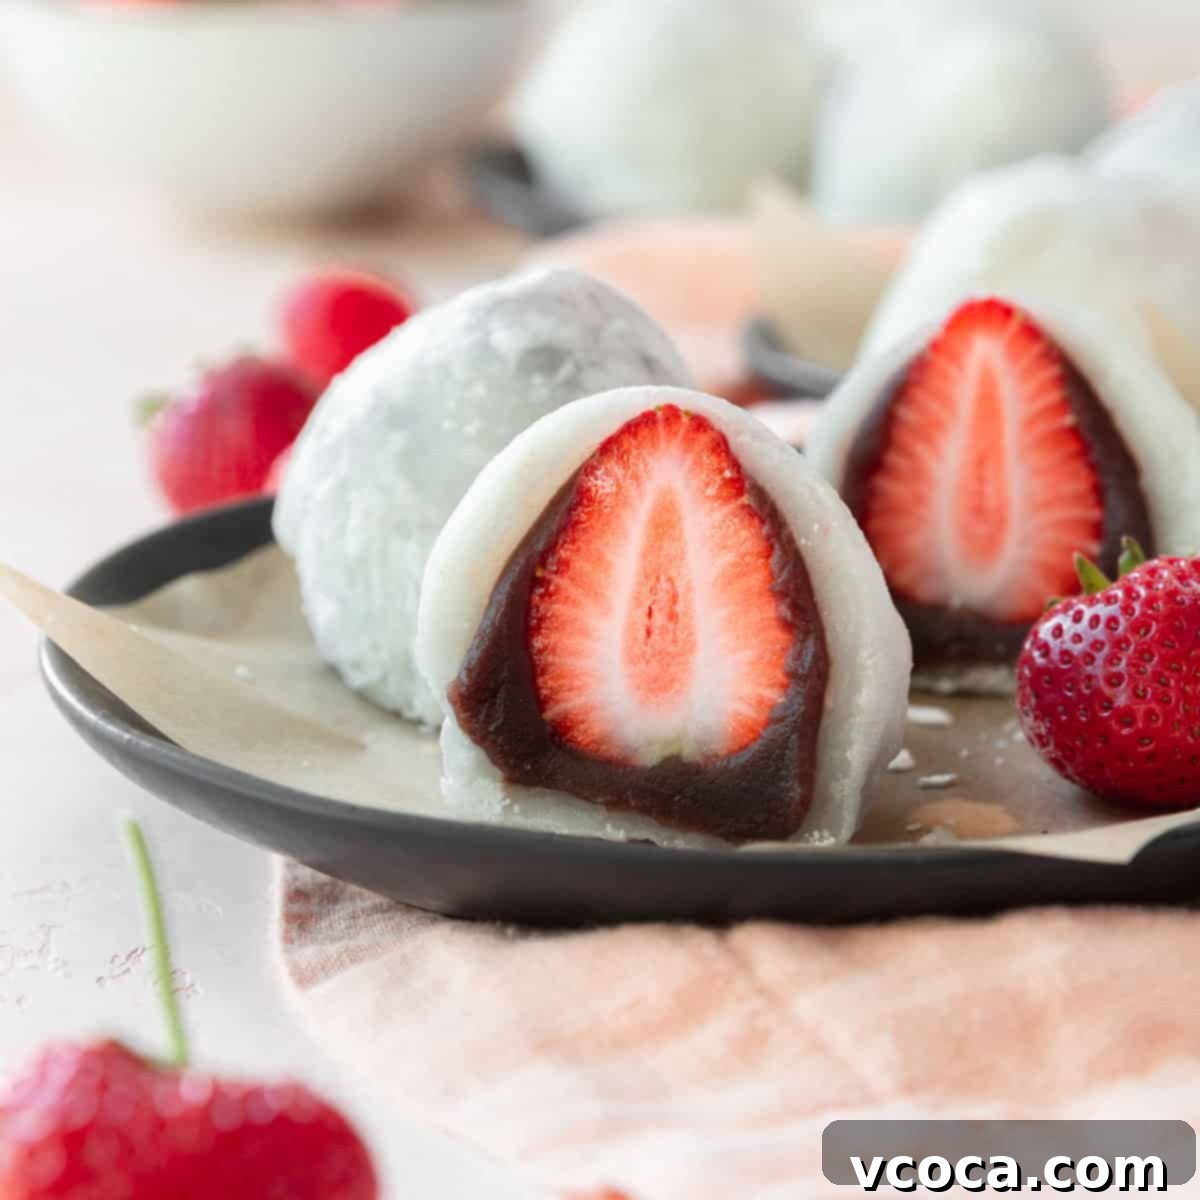
Homemade Strawberry Daifuku (Ichigo Daifuku): Authentic Japanese Mochi with Two Delicious Fillings
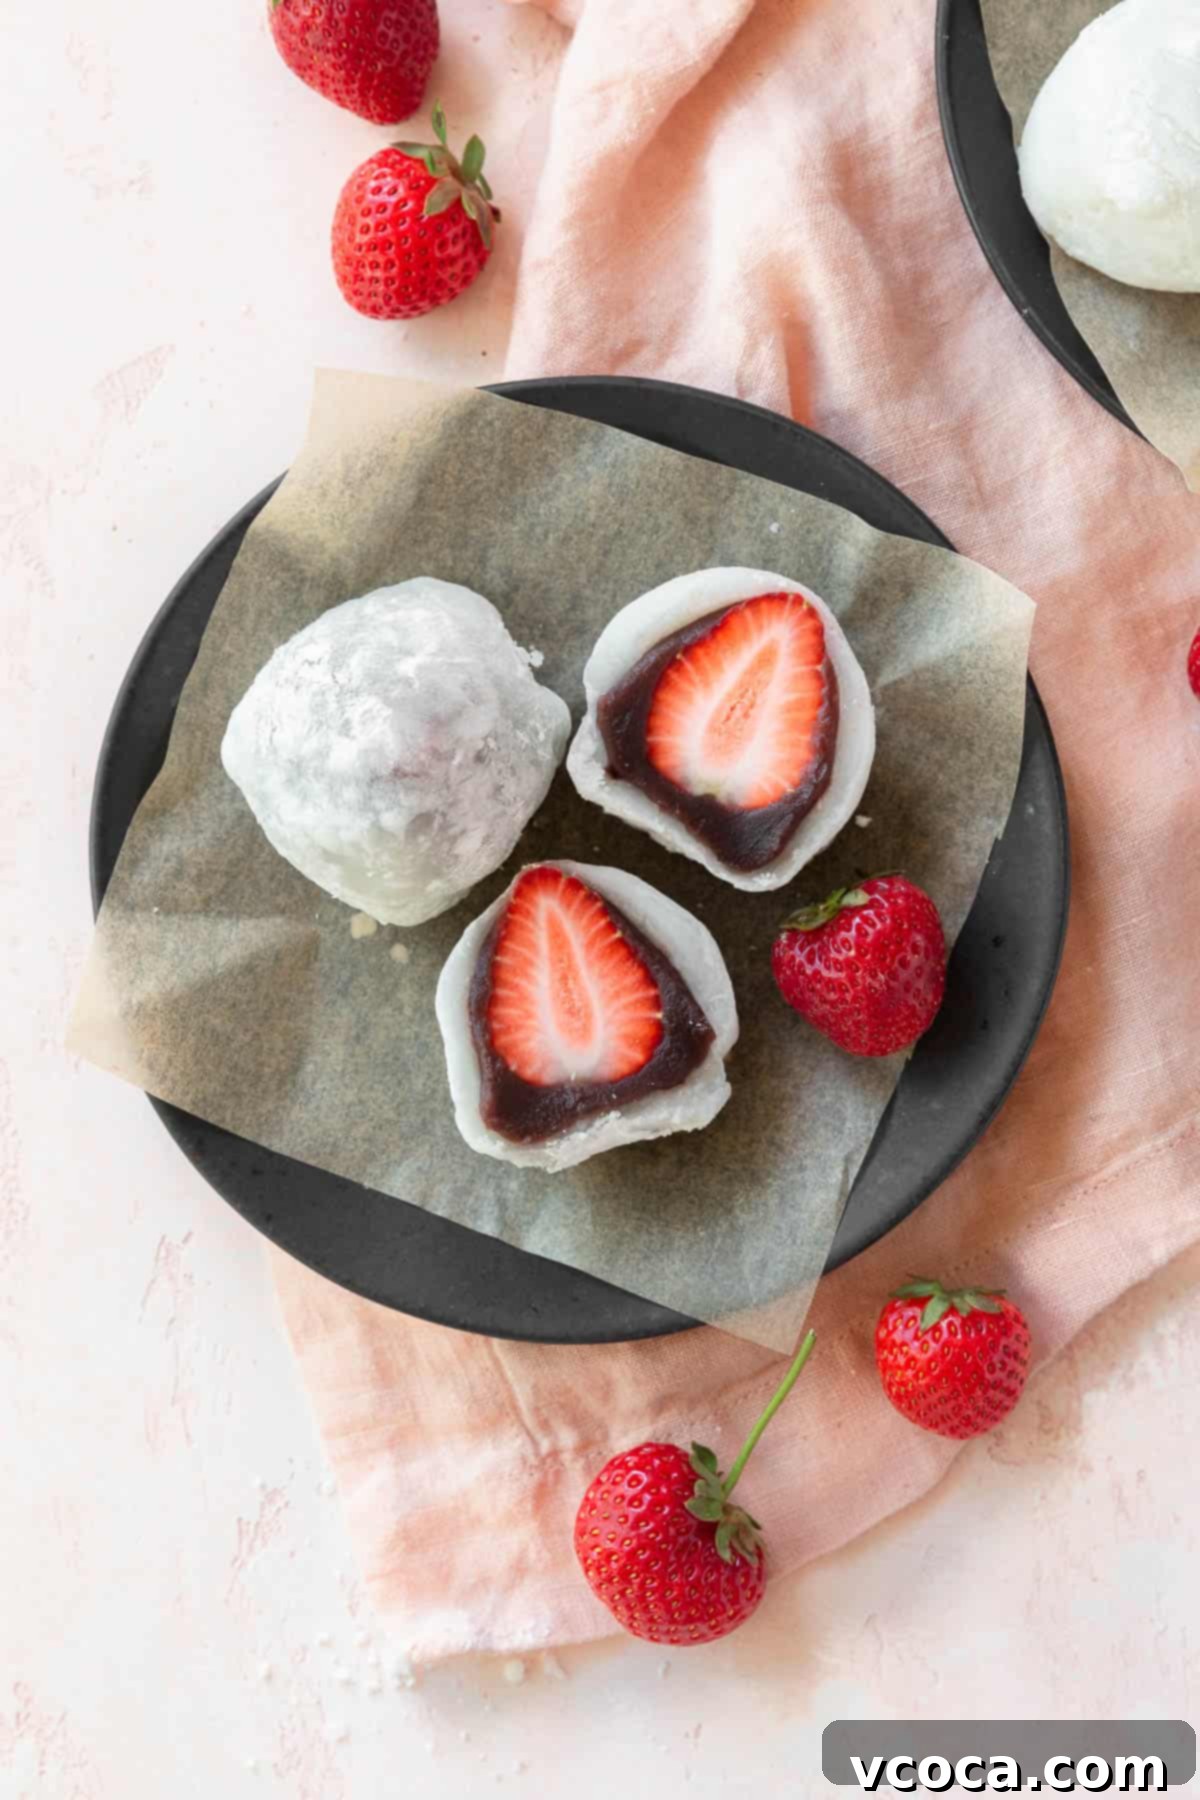
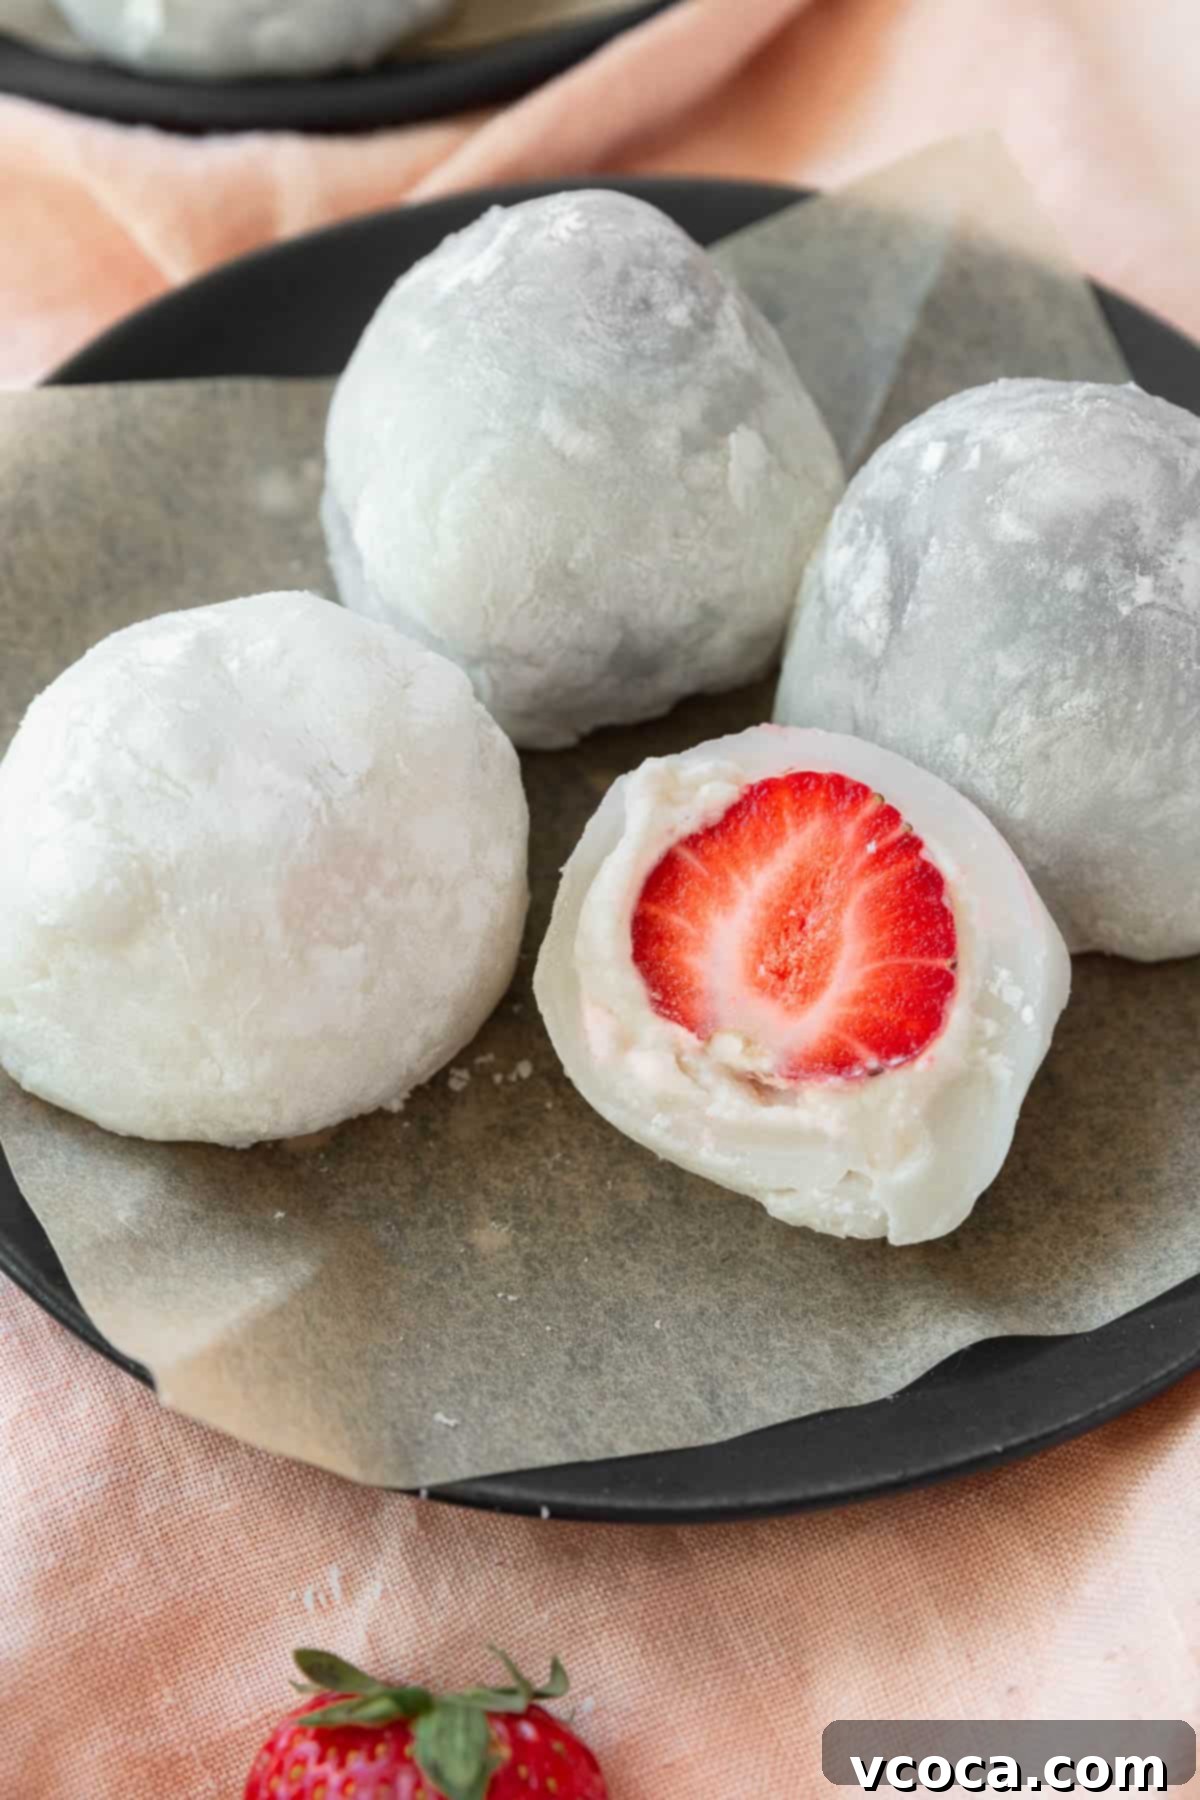
Strawberry Daifuku (Ichigo Daifuku) いちご大福: Imagine a tender, incredibly soft, and subtly sweet mochi exterior, perfectly encasing a juicy, ripe strawberry and a creamy, delectable filling. This is the magic of Ichigo Daifuku, a Japanese confection that truly embodies the dreams of any mochi lover. Whether you opt for the traditional *anko* (sweetened red bean paste) or a delightful whipped cream filling, this recipe guides you to an authentically light, refreshing, and utterly charming Japanese treat.
This post is sponsored by Nature’s Charm. All text and opinions are my own.
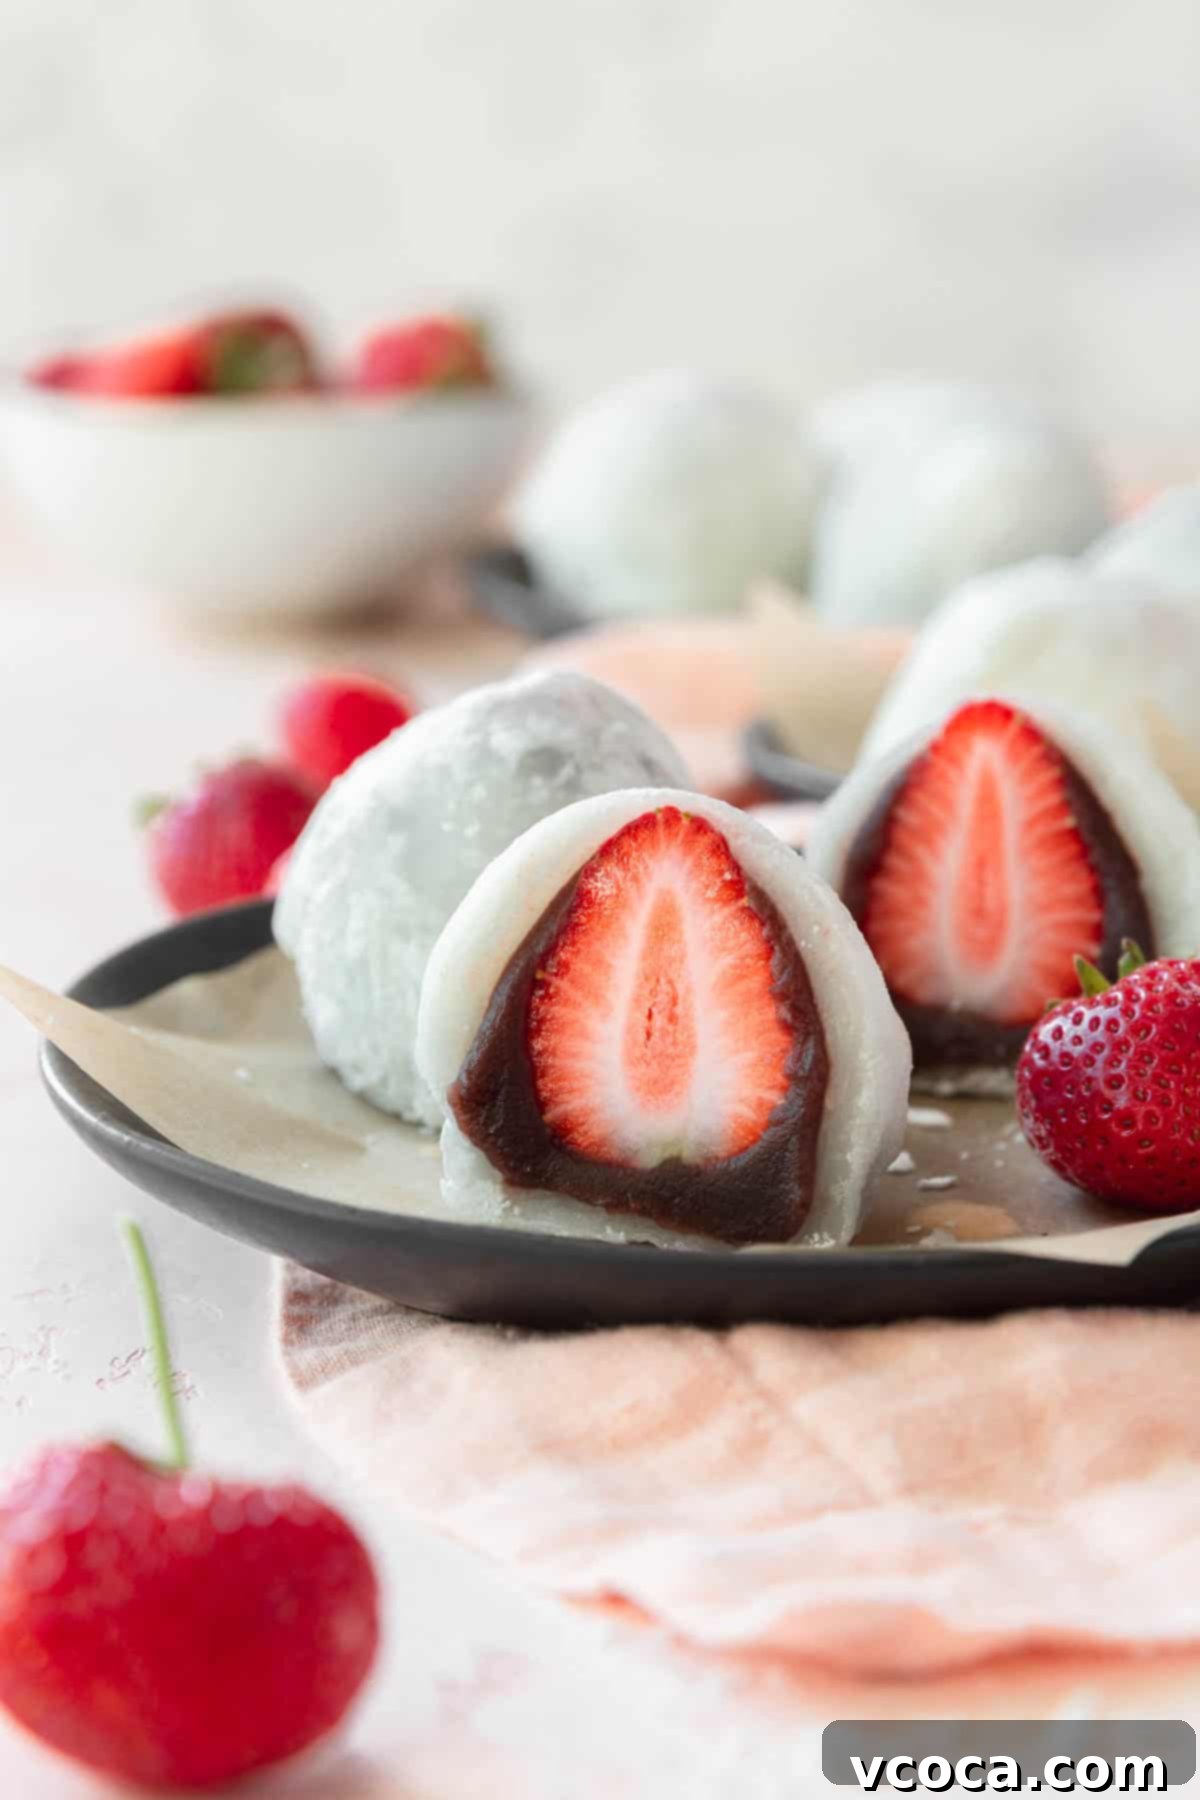
Table of Contents
- What Is Strawberry Daifuku?
- Why You’ll Love This Homemade Japanese Mochi
- Essential Ingredients for Strawberry Mochi
- How to Make Authentic Strawberry Mochi (Ichigo Daifuku)
- Variation: How to Make Whipped Cream Strawberry Mochi
- Pro Tips for Perfect Strawberry Daifuku
- Storage Directions for Fresh Daifuku
- Frequently Asked Questions About Ichigo Daifuku
- Discover More Japanese Flavors
For me, Ichigo Daifuku wasn’t just a dessert; it was a cherished part of my childhood growing up in Osaka, Japan. The moment spring arrived, these delightful sweets would start appearing in the windows of local *wagashiya* (traditional Japanese sweet shops), displayed meticulously in glass cases, much like delicate pastries in a European bakery. The combination of the incredibly soft mochi, the vibrant burst of a fresh strawberry, and the comforting sweetness of red bean paste was simply irresistible.
These sweet mochi treats weren’t just for everyday enjoyment. We’d eagerly pick up strawberry mochi throughout the year for special occasions, and a particularly fond memory involves them on New Year’s Day. After visiting the shrine to pray for health and good fortune, we’d always stop at the food stalls, where Ichigo Daifuku was a popular offering. The delightful tradition of enjoying these beautiful treats after a sacred visit truly cemented their place in my heart as a symbol of joy and good luck.
What Is Strawberry Daifuku?
Strawberry Daifuku, known as Ichigo Daifuku (いちご大福) in Japanese, is a modern and popular variation of Daifuku mochi. At its core, Daifuku is a traditional Japanese confection made from *mochi* – a sweet, glutinous rice cake – typically stuffed with a sweet filling. The word “Daifuku” itself translates to “great luck,” making these treats not just delicious but also symbolic.
What sets Ichigo Daifuku apart is the inclusion of a whole, fresh strawberry within its sweet embrace. The strawberry is most commonly surrounded by *anko* (sweetened red bean paste), which provides a rich, earthy sweetness that beautifully complements the fruit’s tartness. However, a delightful alternative, gaining popularity, is a light and fluffy whipped cream filling. In this comprehensive recipe, I’ll guide you through making both the classic red bean paste version and the airy whipped cream variety, allowing you to choose your favorite or even make both to compare!
While Ichigo Daifuku focuses on strawberries, the world of Daifuku is vast and creative. Other variations can feature fillings like sweetened Japanese apricots, rich crème caramel, refreshing ice cream, or even savory *anko* (though this is less common for Daifuku). The beauty of making your own is the freedom to experiment and discover new favorite combinations, but we’ll stick to the beloved strawberry for today.
Why You’ll Love This Homemade Japanese Mochi
Crafting your own Strawberry Daifuku at home is a rewarding experience that offers numerous benefits:
- Two Irresistible Filling Options. This recipe gives you the flexibility to prepare your Ichigo Daifuku with either the deeply satisfying sweet red bean paste (*anko*) or a lighter, airier whipped cream. This means you can tailor this exquisite dessert to perfectly match your current cravings or offer a delightful variety to guests. Each filling offers a unique textural and flavor profile that pairs wonderfully with the fresh strawberry and soft mochi.
- Perfectly Light and Sweet. The combination of juicy, naturally sweet strawberries, the delicate pillowy texture of the mochi, and your chosen filling creates a dessert that is never too heavy. It’s an “angelic” treat that feels indulgent yet refreshing, perfect for any time of day, whether as a snack, dessert, or a special pick-me-up.
- Authentic Japanese Experience. Drawing from my own childhood memories and experiences growing up in Japan, this recipe provides genuine techniques and insights that ensure you are recreating an authentic *wagashi*. You’ll taste the true essence of Japanese confectionary tradition, bringing a piece of Osaka right into your kitchen.
- Naturally Gluten-Free & Dietary Friendly. A significant advantage of this traditional dessert is that the sweet rice flour (*shiratamako*) used to make the mochi is naturally gluten-free. This makes homemade Strawberry Daifuku an excellent and safe option for anyone with gluten sensitivities or those following a gluten-free diet, without compromising on taste or texture.
- Fun and Rewarding to Make. While it might seem intricate, the process of making mochi is surprisingly straightforward and incredibly satisfying. There’ll be a sense of accomplishment as you transform simple ingredients into these beautiful, professional-looking Japanese sweets. It’s also a wonderful activity to do with family or friends.
Essential Ingredients for Strawberry Mochi
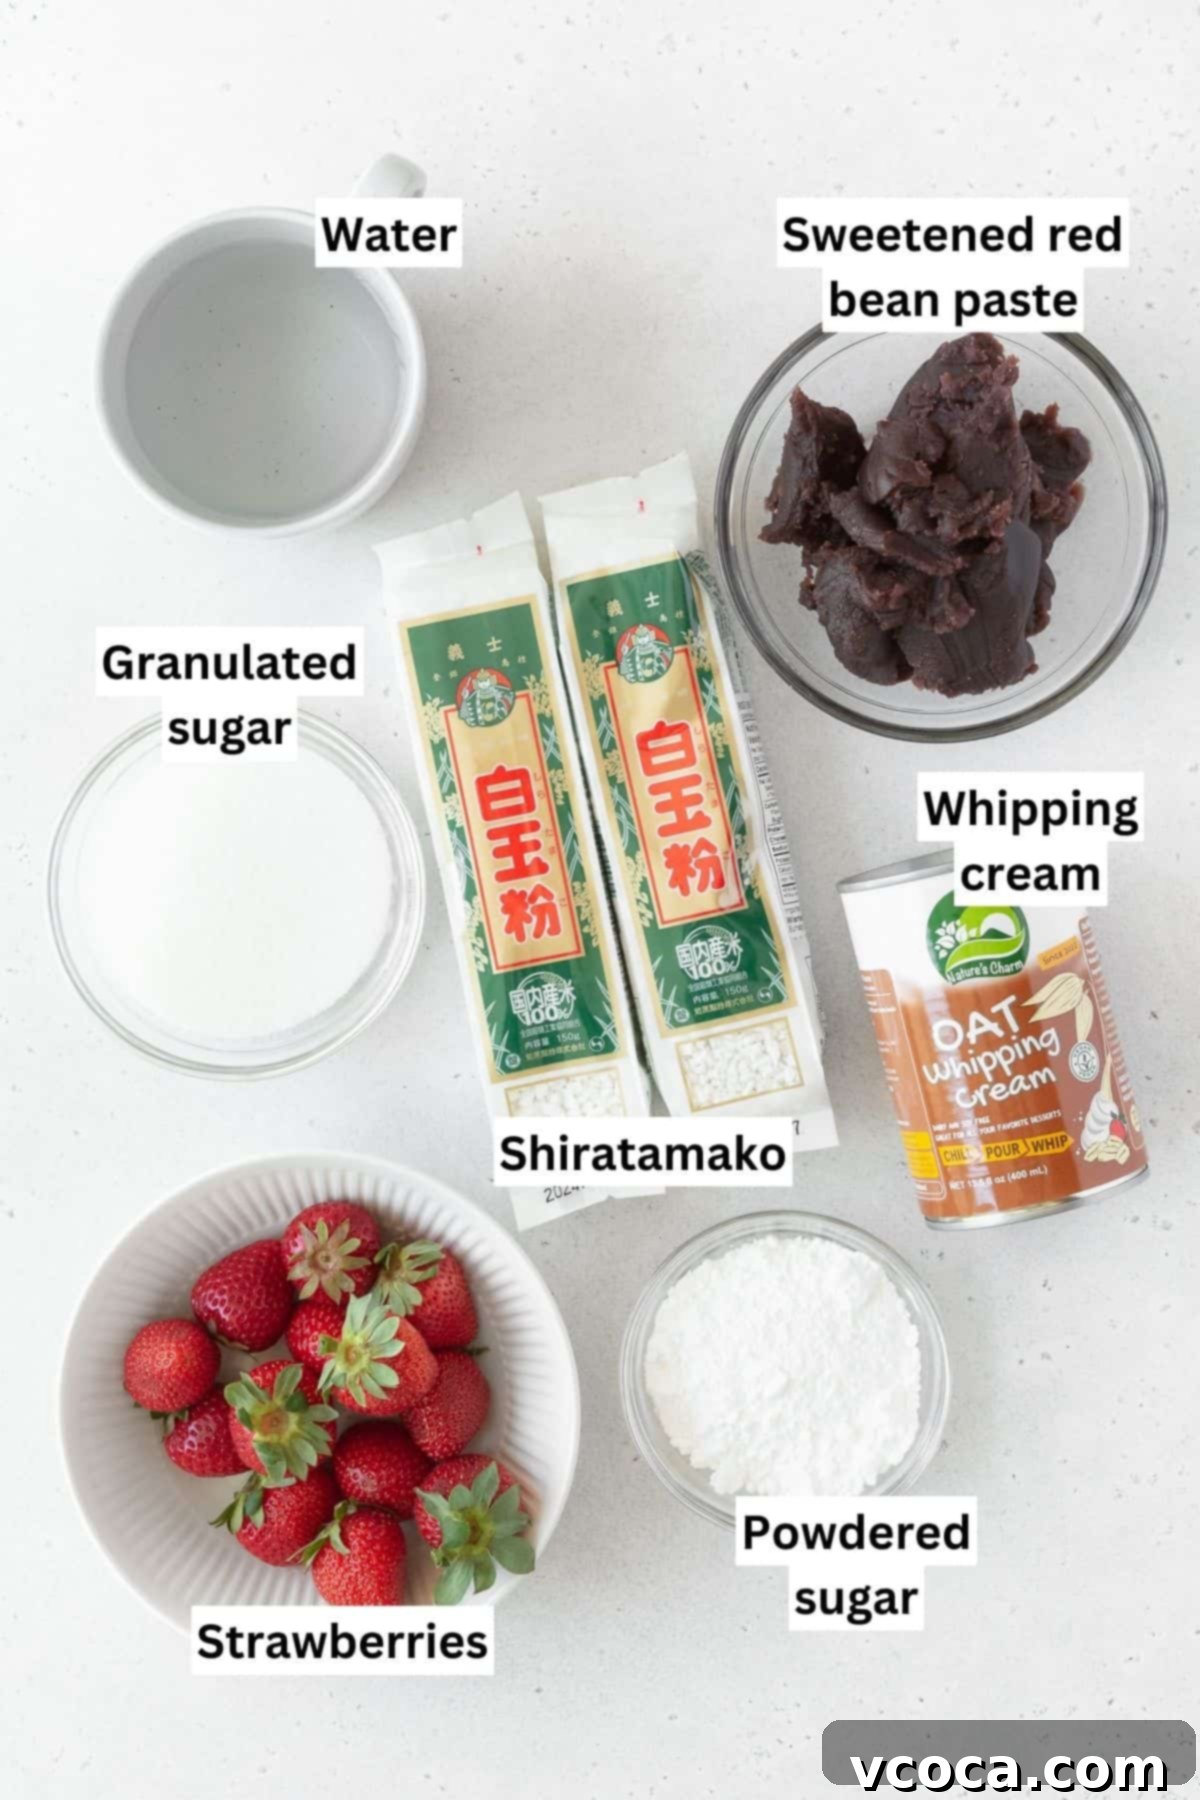
Gathering your ingredients is the first step to making these delightful Strawberry Daifuku. Most can be found at your local grocery store, a well-stocked Asian market, or conveniently online. Here’s a detailed look at what you’ll need:
- Strawberries – The star of our show! Select strawberries that are deep ruby red, firm, and heavy for their size, indicating peak ripeness and juiciness. Organic strawberries are often preferred for their intense flavor. Before using them in your fresh fruit mochi, be sure to wash them thoroughly and hull them (remove the green leafy cap and a small core).
- Shiratamako – This is Japanese sweet rice flour, crucial for achieving the signature soft and tender mochi texture. Shiratamako is a type of glutinous rice flour, distinct from mochiko (which is often coarser) or regular rice flour. Its unique granular structure ensures a smooth, stretchy, and chewy dough when cooked. You can typically find shiratamako in the international aisle of larger grocery stores, specialty Asian markets, or easily purchase it online on Amazon. Do not substitute with other rice flours if you want the authentic mochi texture.
- Granulated Sugar – Essential for sweetening the mochi dough itself and also plays a vital role in keeping the cooked mochi soft and pliable over time. Sugar helps retain moisture, preventing the mochi from drying out and becoming too firm.
- Water – The liquid base for our mochi dough, helping to create the perfect consistency when mixed with shiratamako and sugar.
- Potato Starch or Arrowroot Flour – These are indispensable for dusting your work surface and hands. Mochi dough is notoriously sticky, and a generous dusting of either of these flours will prevent it from adhering to everything. Both potato starch and arrowroot flour are naturally gluten-free, maintaining the integrity of our recipe for those with dietary restrictions. Cornstarch can be used as an alternative if neither is available, but potato starch or arrowroot are preferred for their texture.
- Sweet Red Bean Paste (Anko) – Also affectionately known as *anko*, this traditional Japanese filling is made from sweetened azuki beans. It offers a unique savory-sweet and subtly nutty flavor that perfectly balances the fresh fruit and sweet mochi. Anko comes in two main varieties: *Tsubu-an* (chunky, with visible bean skins) and *Koshi-an* (smooth, paste-like). For Daifuku, a smooth *koshi-an* is often preferred, but *tsubu-an* offers a delightful textural contrast. You can purchase ready-made anko online or find it in cans or pouches at your local Asian market.
- Whipping Cream – For the whipped cream variation, I chose Nature’s Charm oat milk whipping cream to keep this recipe dairy-free and vegan-friendly, without sacrificing any of the delicious creaminess. This provides a wonderfully light contrast to the mochi and strawberry. If dairy is not a concern, traditional heavy whipping cream can certainly be used (check my recipe notes below for specific instructions).
- Powdered Sugar – Used to sweeten the whipping cream, powdered sugar dissolves quickly and effortlessly, ensuring a smooth and light cream without a grainy texture.
How to Make Authentic Strawberry Mochi (Ichigo Daifuku)
While making this Strawberry Daifuku recipe might involve a few distinct steps, each one is straightforward and manageable. The delightful taste and unique texture of homemade mochi, paired with fresh strawberries, make every moment of effort incredibly worthwhile! Here’s how to create the traditional *anko*-filled strawberry mochi; for the whipped cream variation, please see the section that follows.
Step 1: Prepare the Strawberries. Begin by thoroughly washing your strawberries under cool running water and gently patting them completely dry with a paper towel. This is crucial to prevent excess moisture from affecting your filling. Next, hull each strawberry by carefully removing the green leafy cap and a small cone of the white core with a paring knife. Set them aside on a plate.
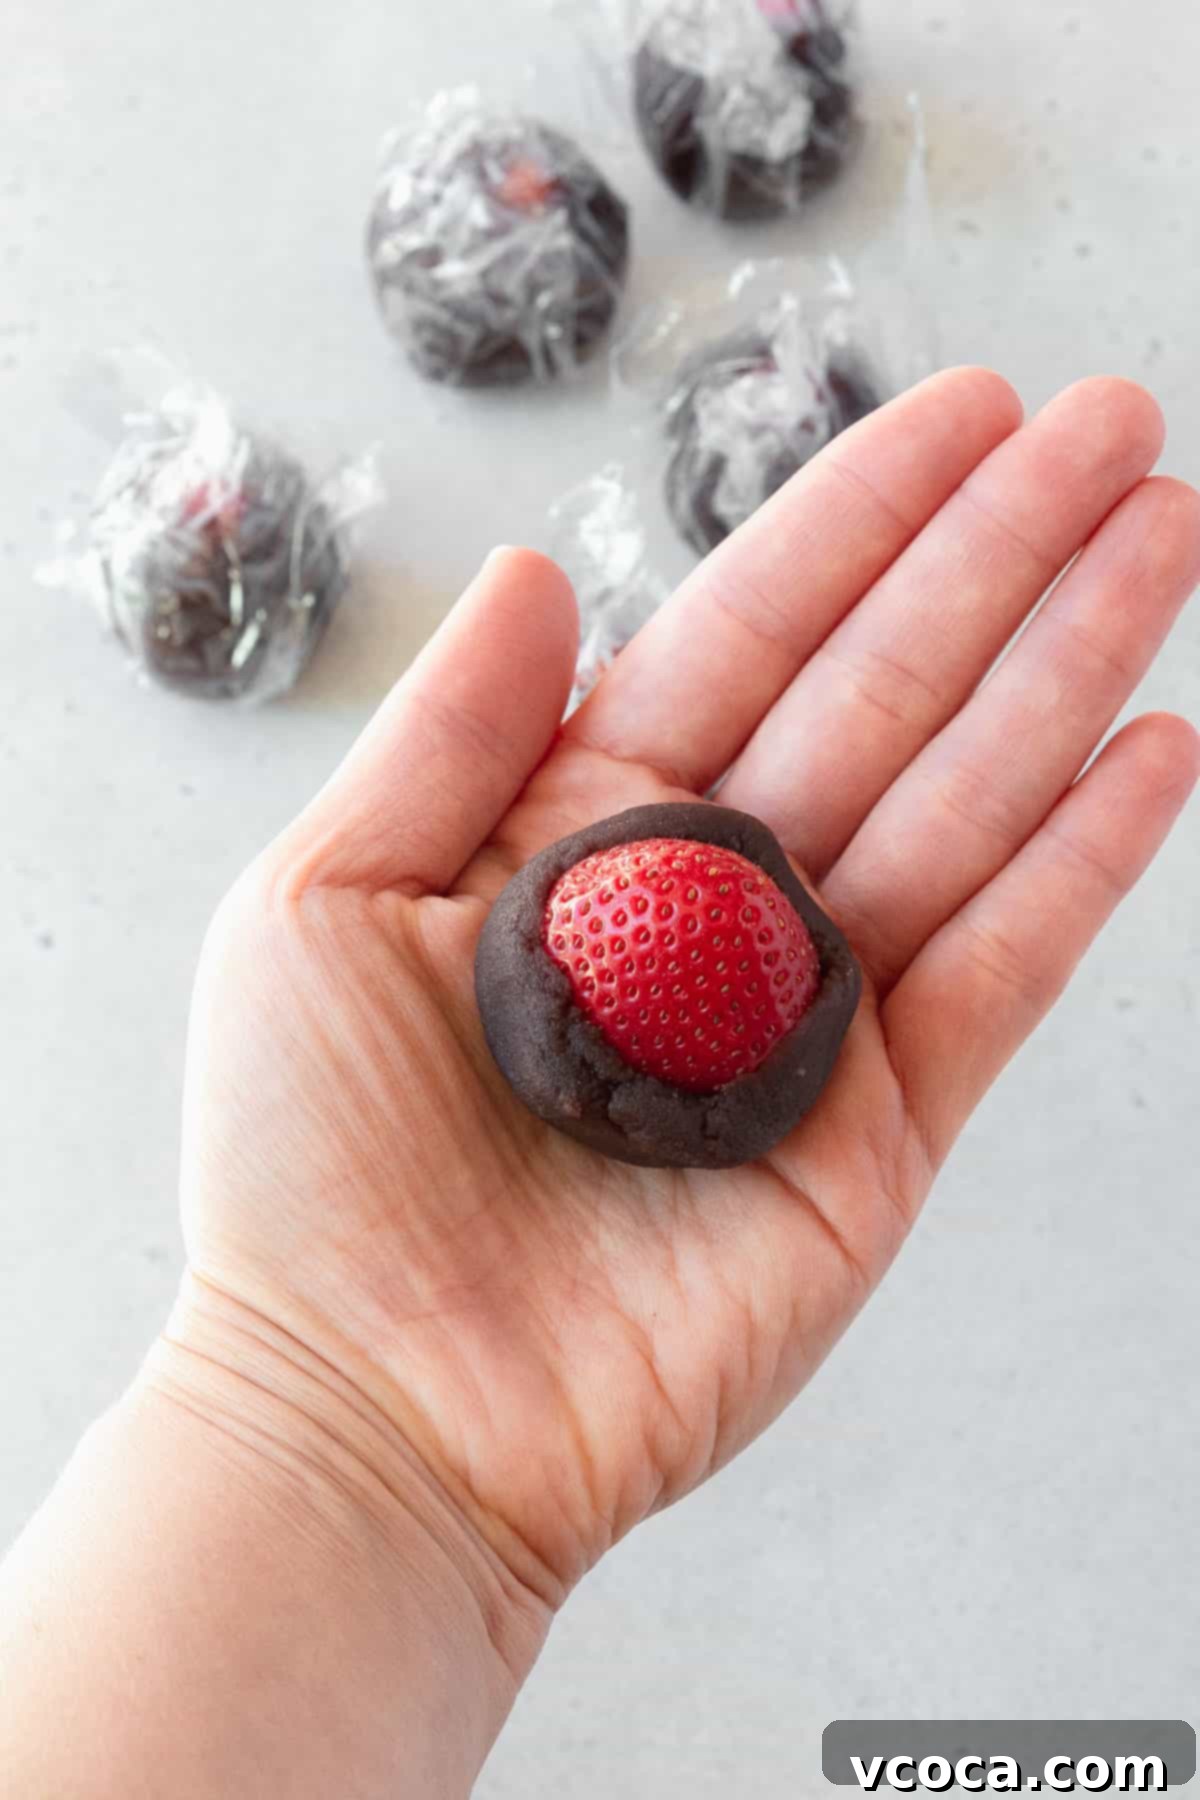
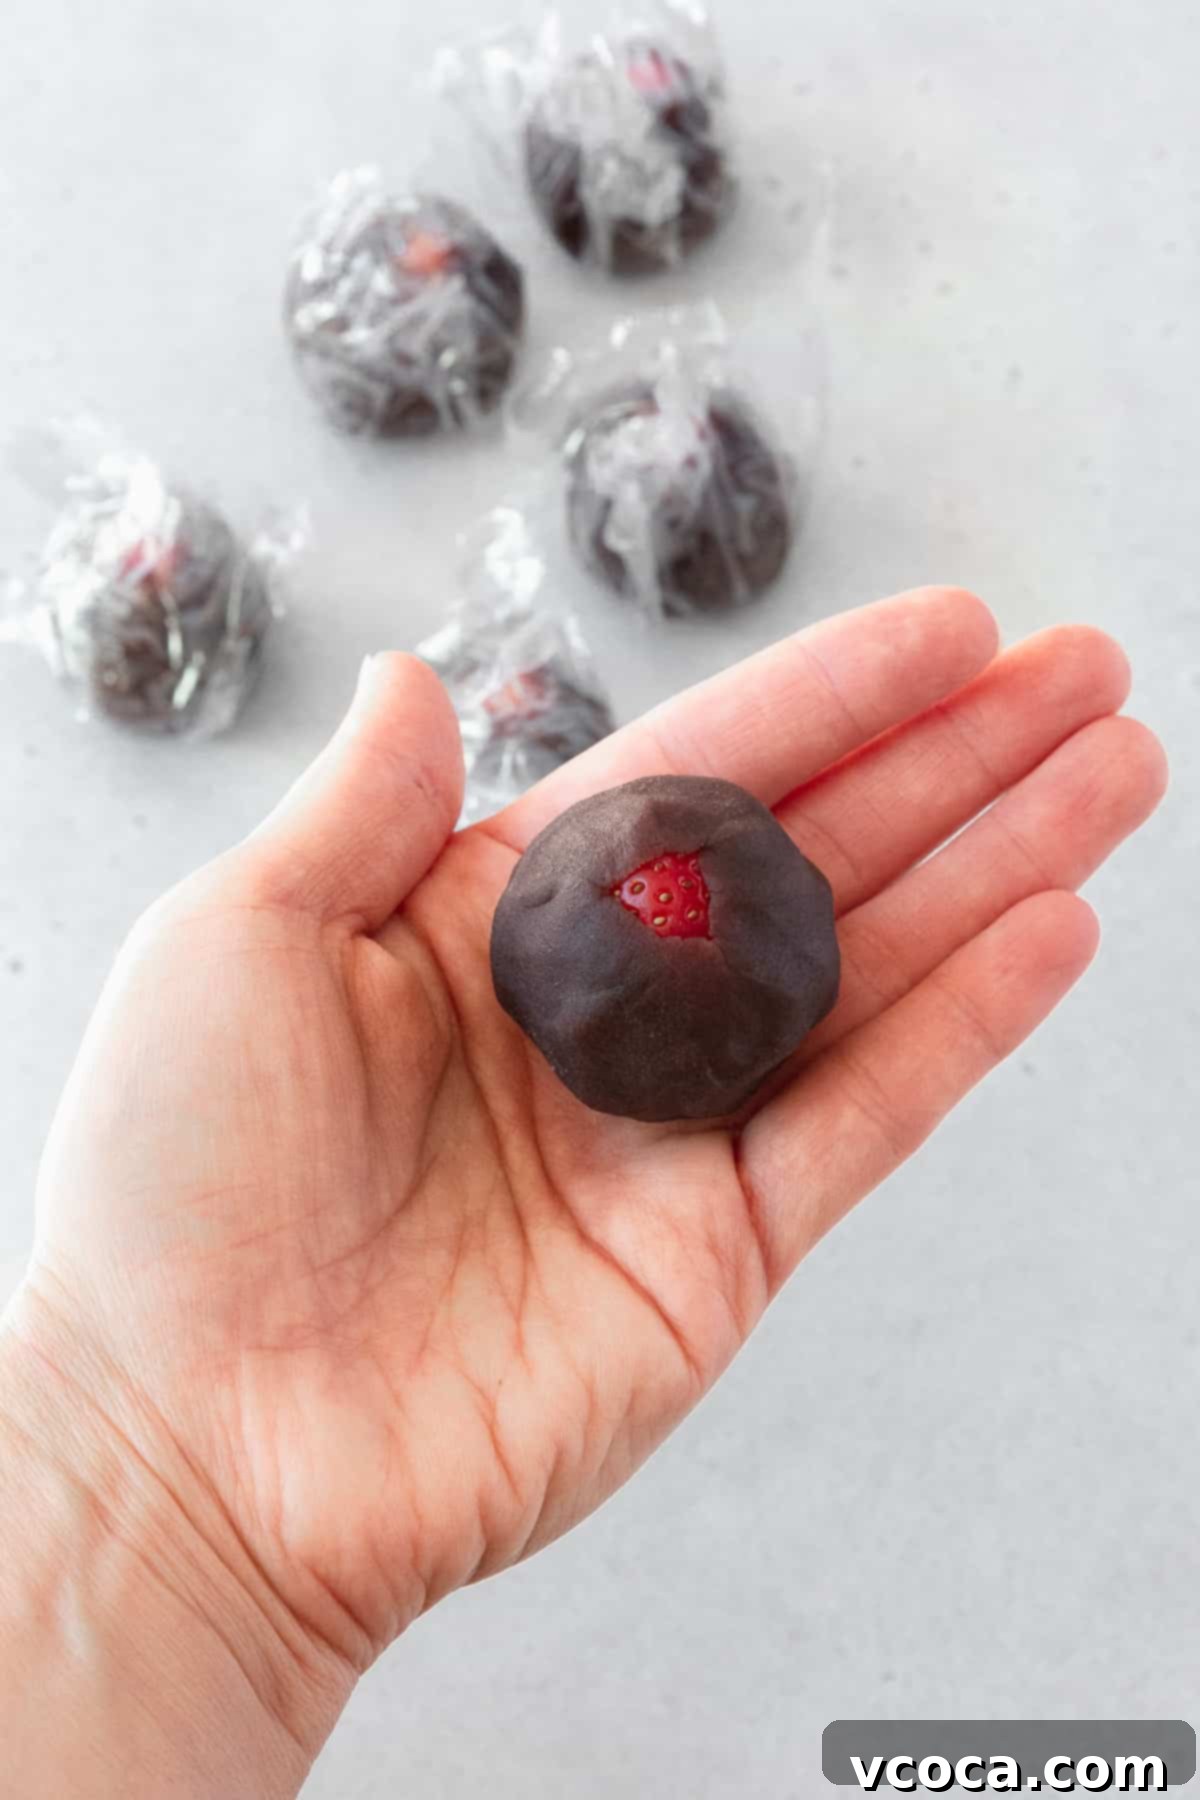
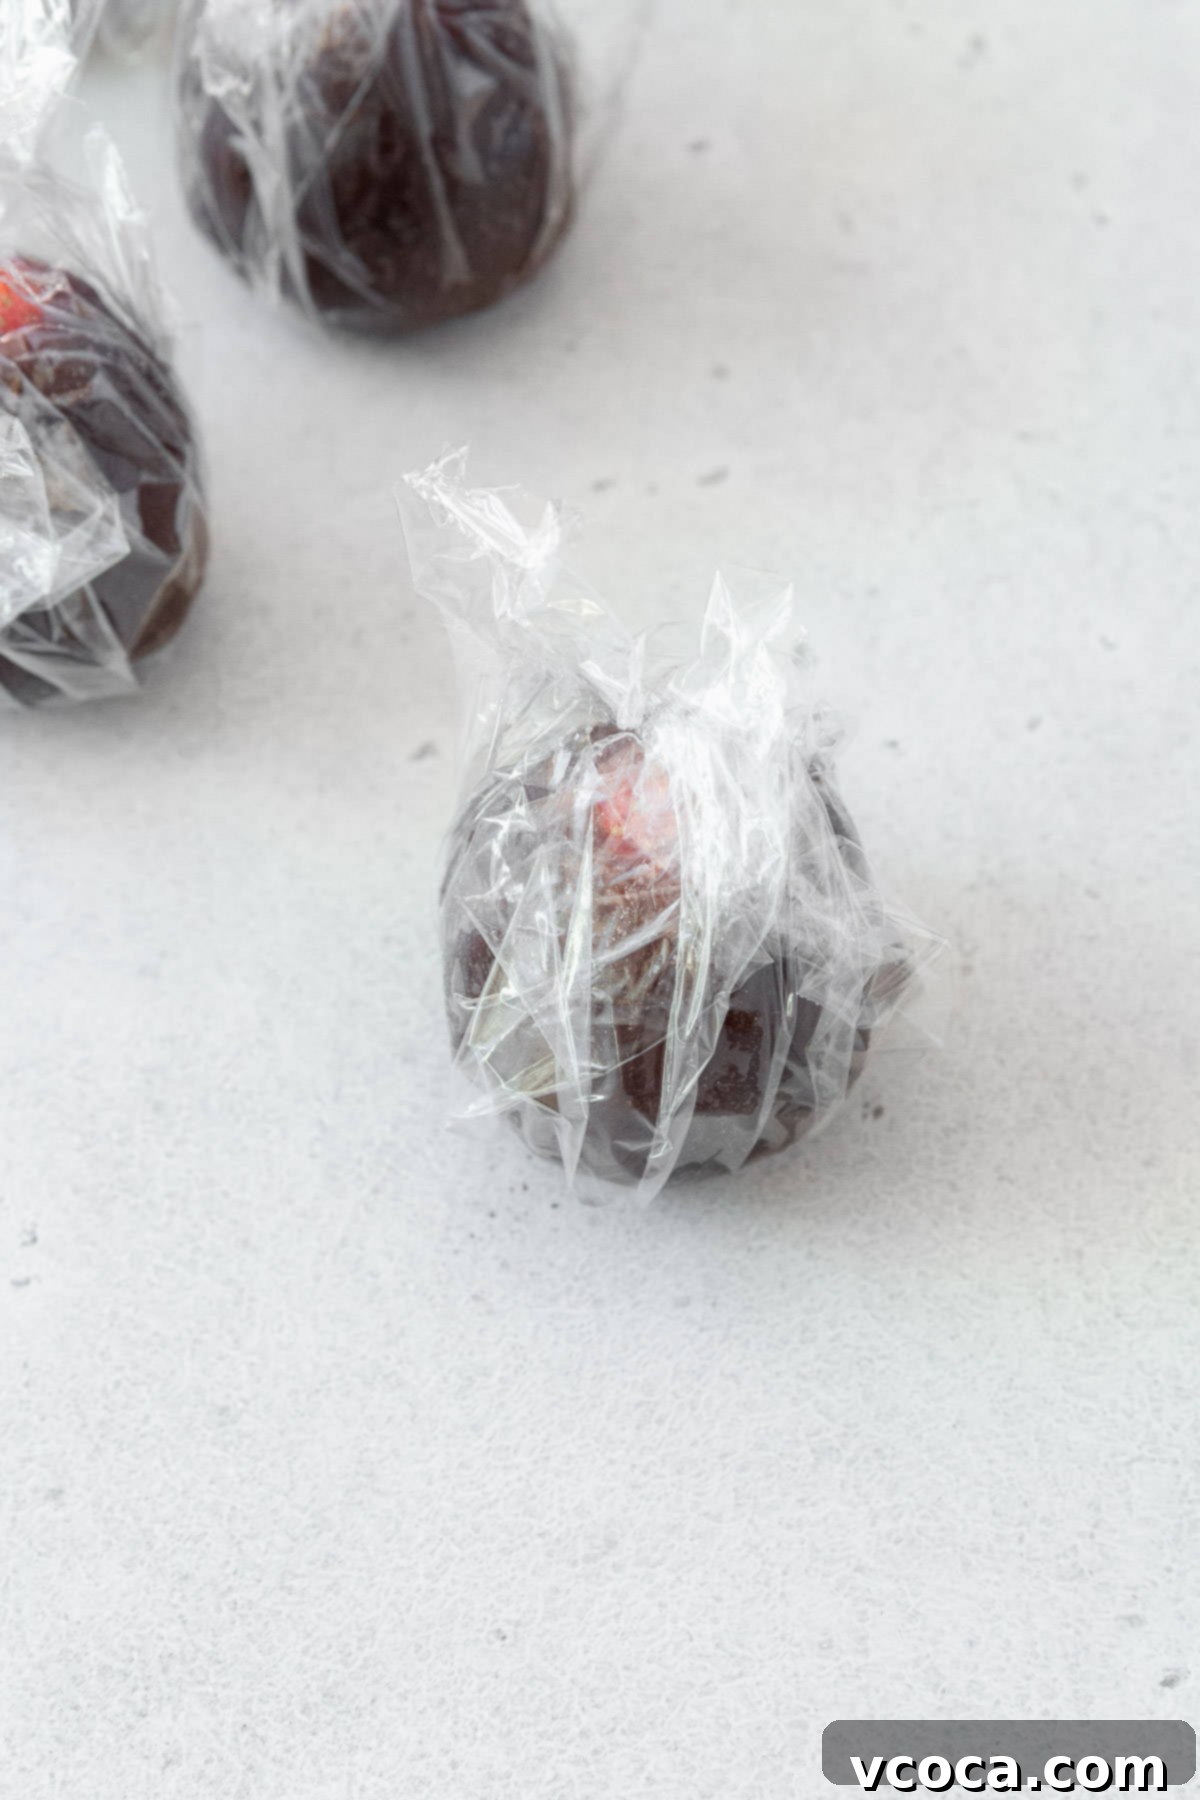
Step 2: Wrap Strawberries with Anko. Take your sweet red bean paste (*anko*) and divide it into 12 equal portions. A kitchen scale can help ensure even portions, leading to consistently sized daifuku. For each strawberry, flatten a portion of anko in your palm, then carefully wrap it around the strawberry, making sure to leave the very tip of the strawberry exposed for a beautiful presentation. This creates a protective, sweet layer around the fruit. Once wrapped, gently cover these anko-wrapped strawberries with plastic wrap to prevent them from drying out while you prepare the mochi dough. You can also place them in the refrigerator for a few minutes to firm up slightly, making them easier to handle.
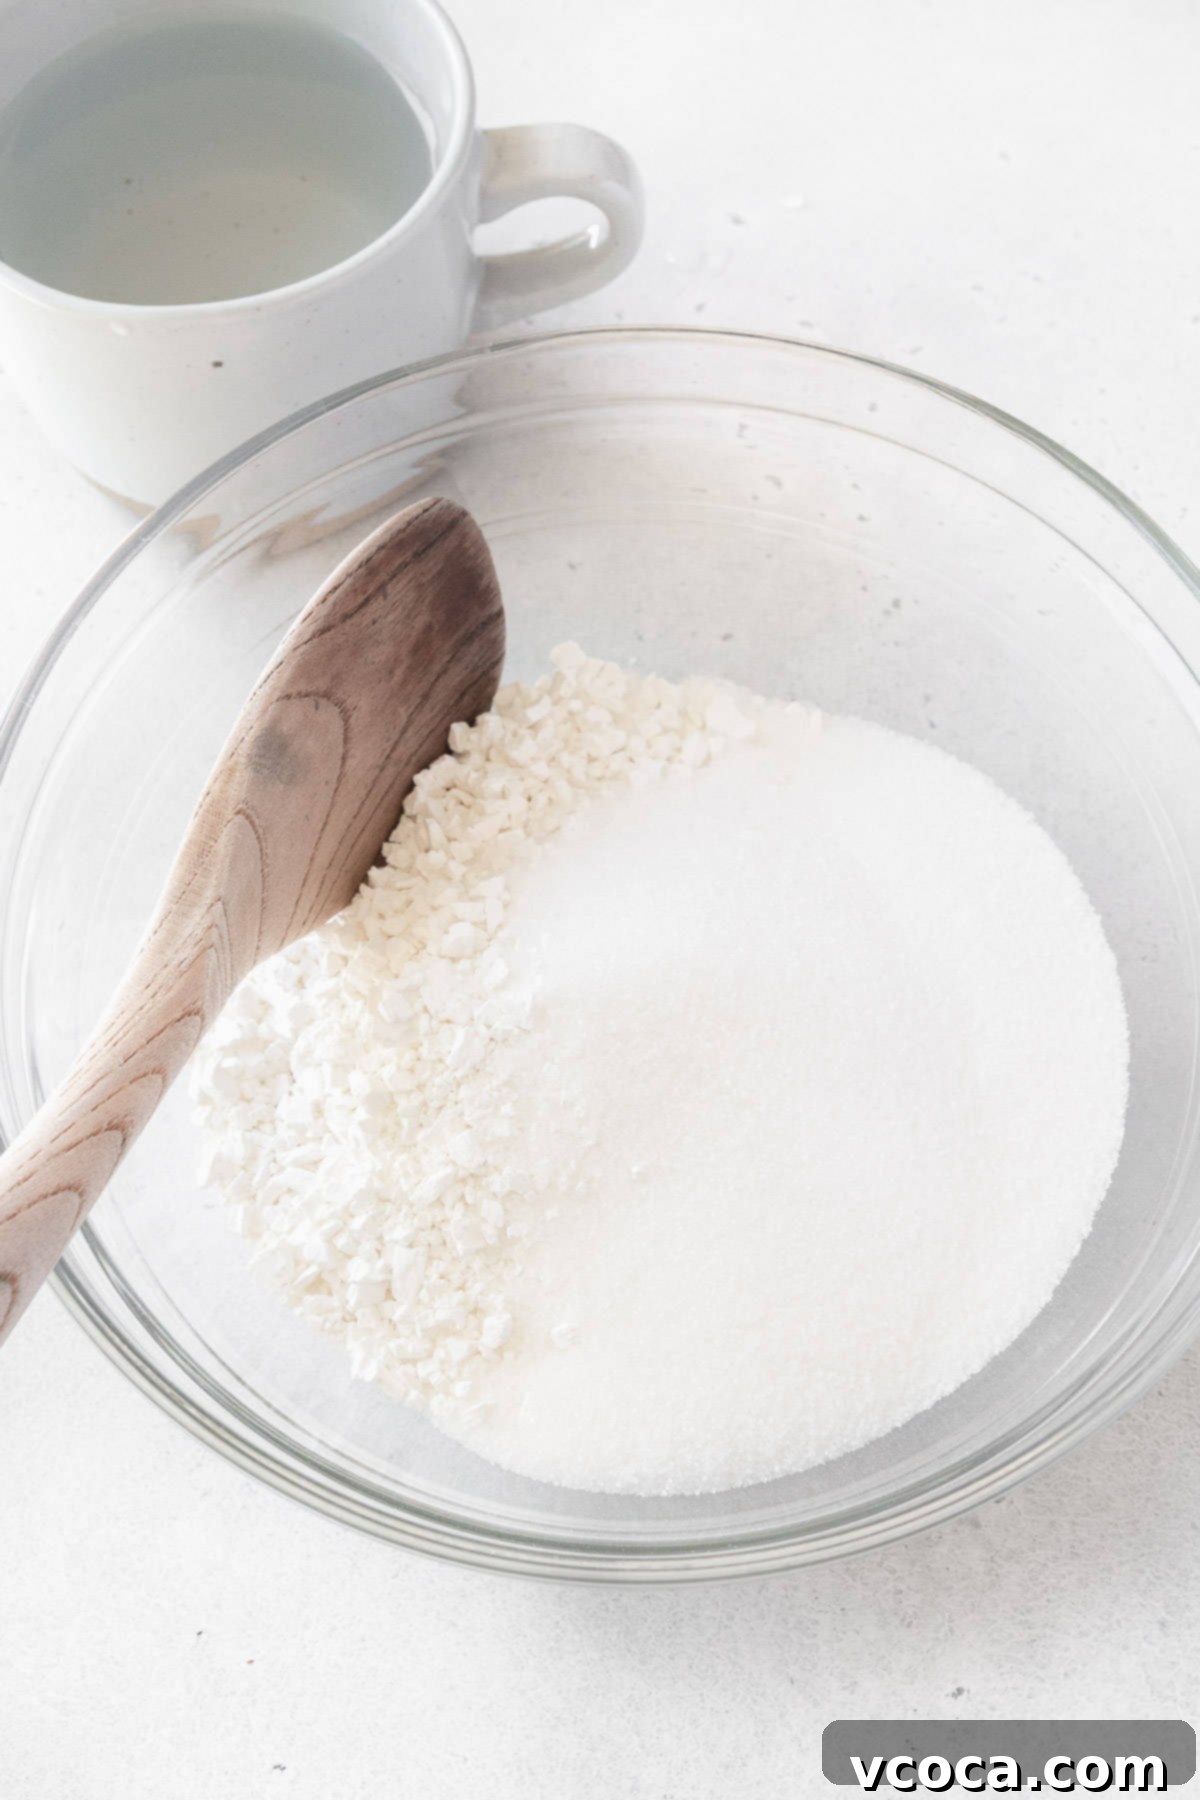
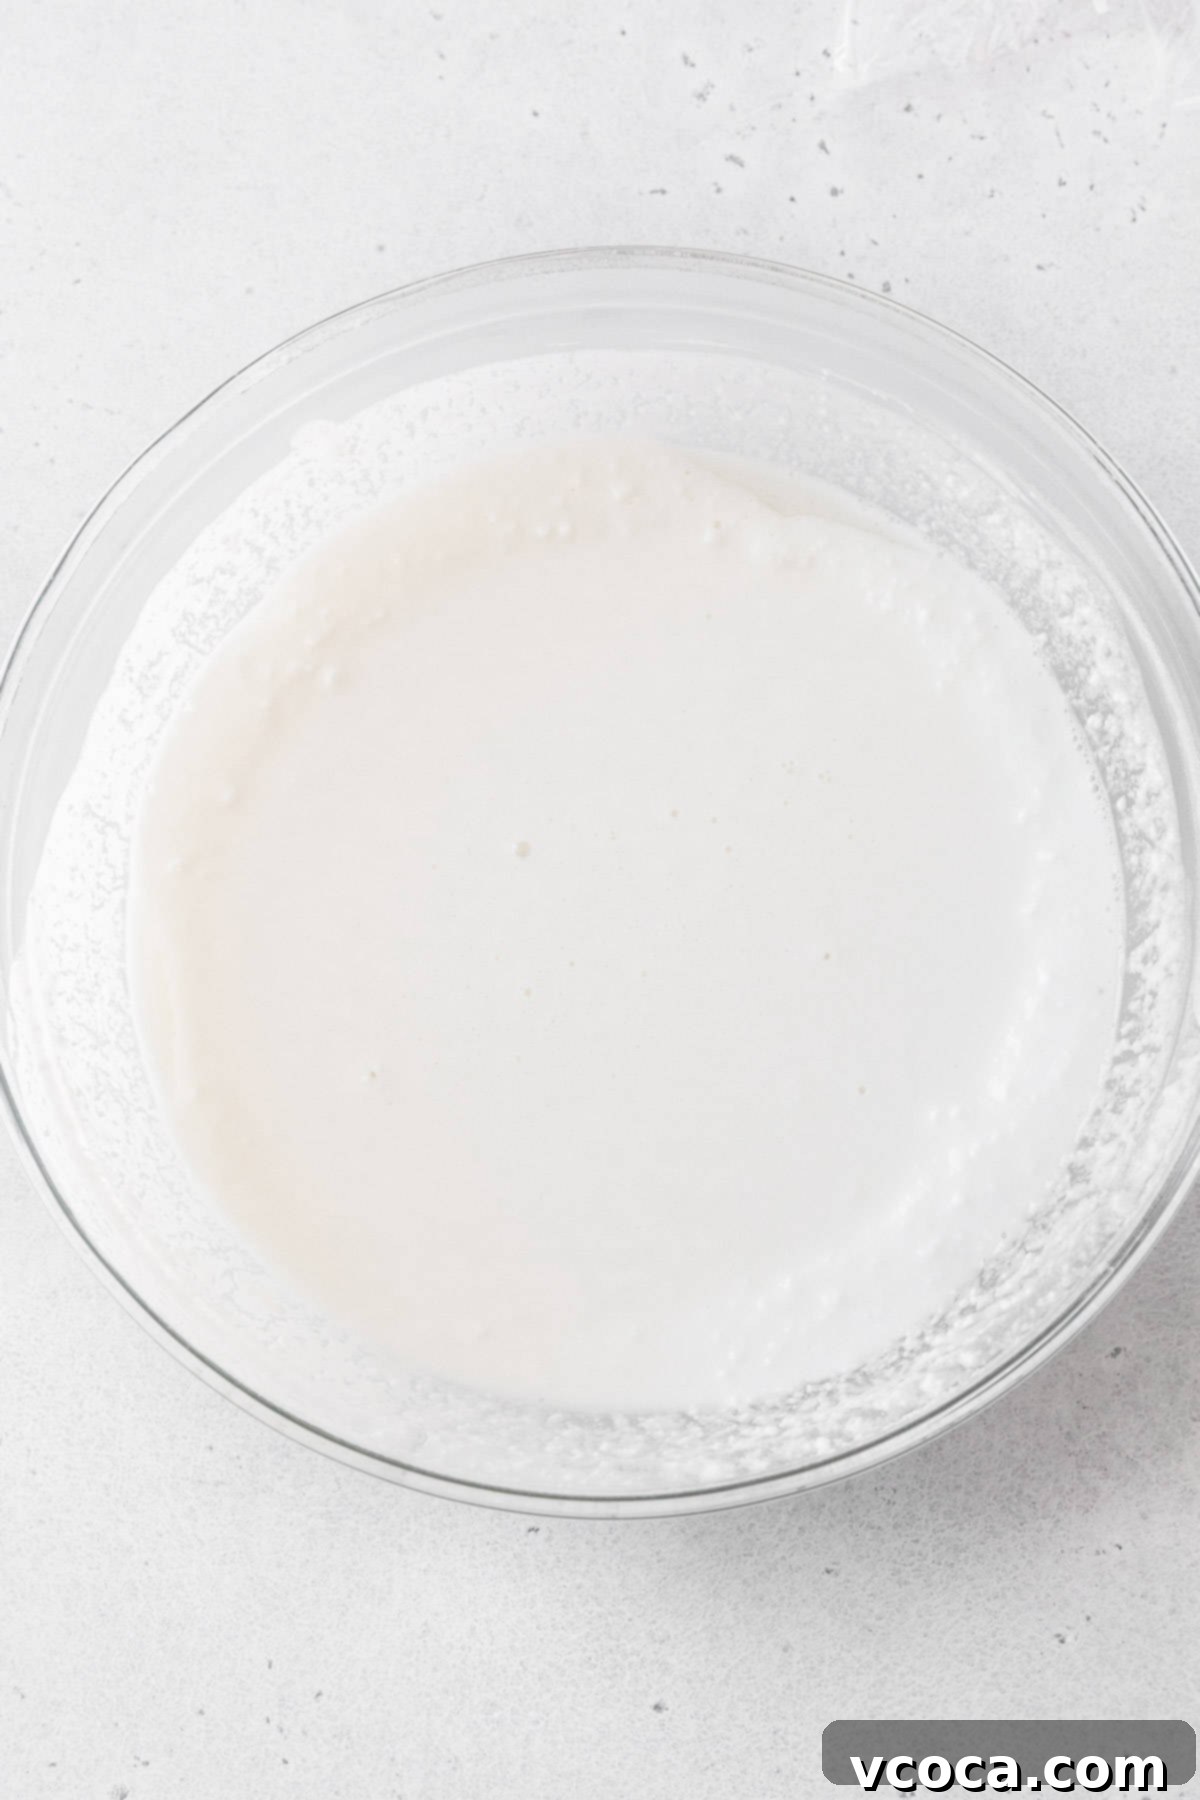
Step 3: Begin Mochi Dough Preparation (First Microwave Stage). In a microwave-safe bowl, combine the shiratamako (sweet rice flour), granulated sugar, and water. Stir these ingredients thoroughly with a whisk or spatula until no dry clumps of flour remain and the mixture is smooth. Cover the bowl tightly with plastic wrap, ensuring a small gap for steam to escape, or use a microwave-safe lid. Heat the bowl in the microwave on high for 1 minute. Carefully remove the bowl (it will be hot!), unwrap it, and stir the mixture vigorously with a sturdy wooden spoon or heat-resistant spatula until it’s well combined. The mixture will still be quite liquid but will have started to thicken around the edges.
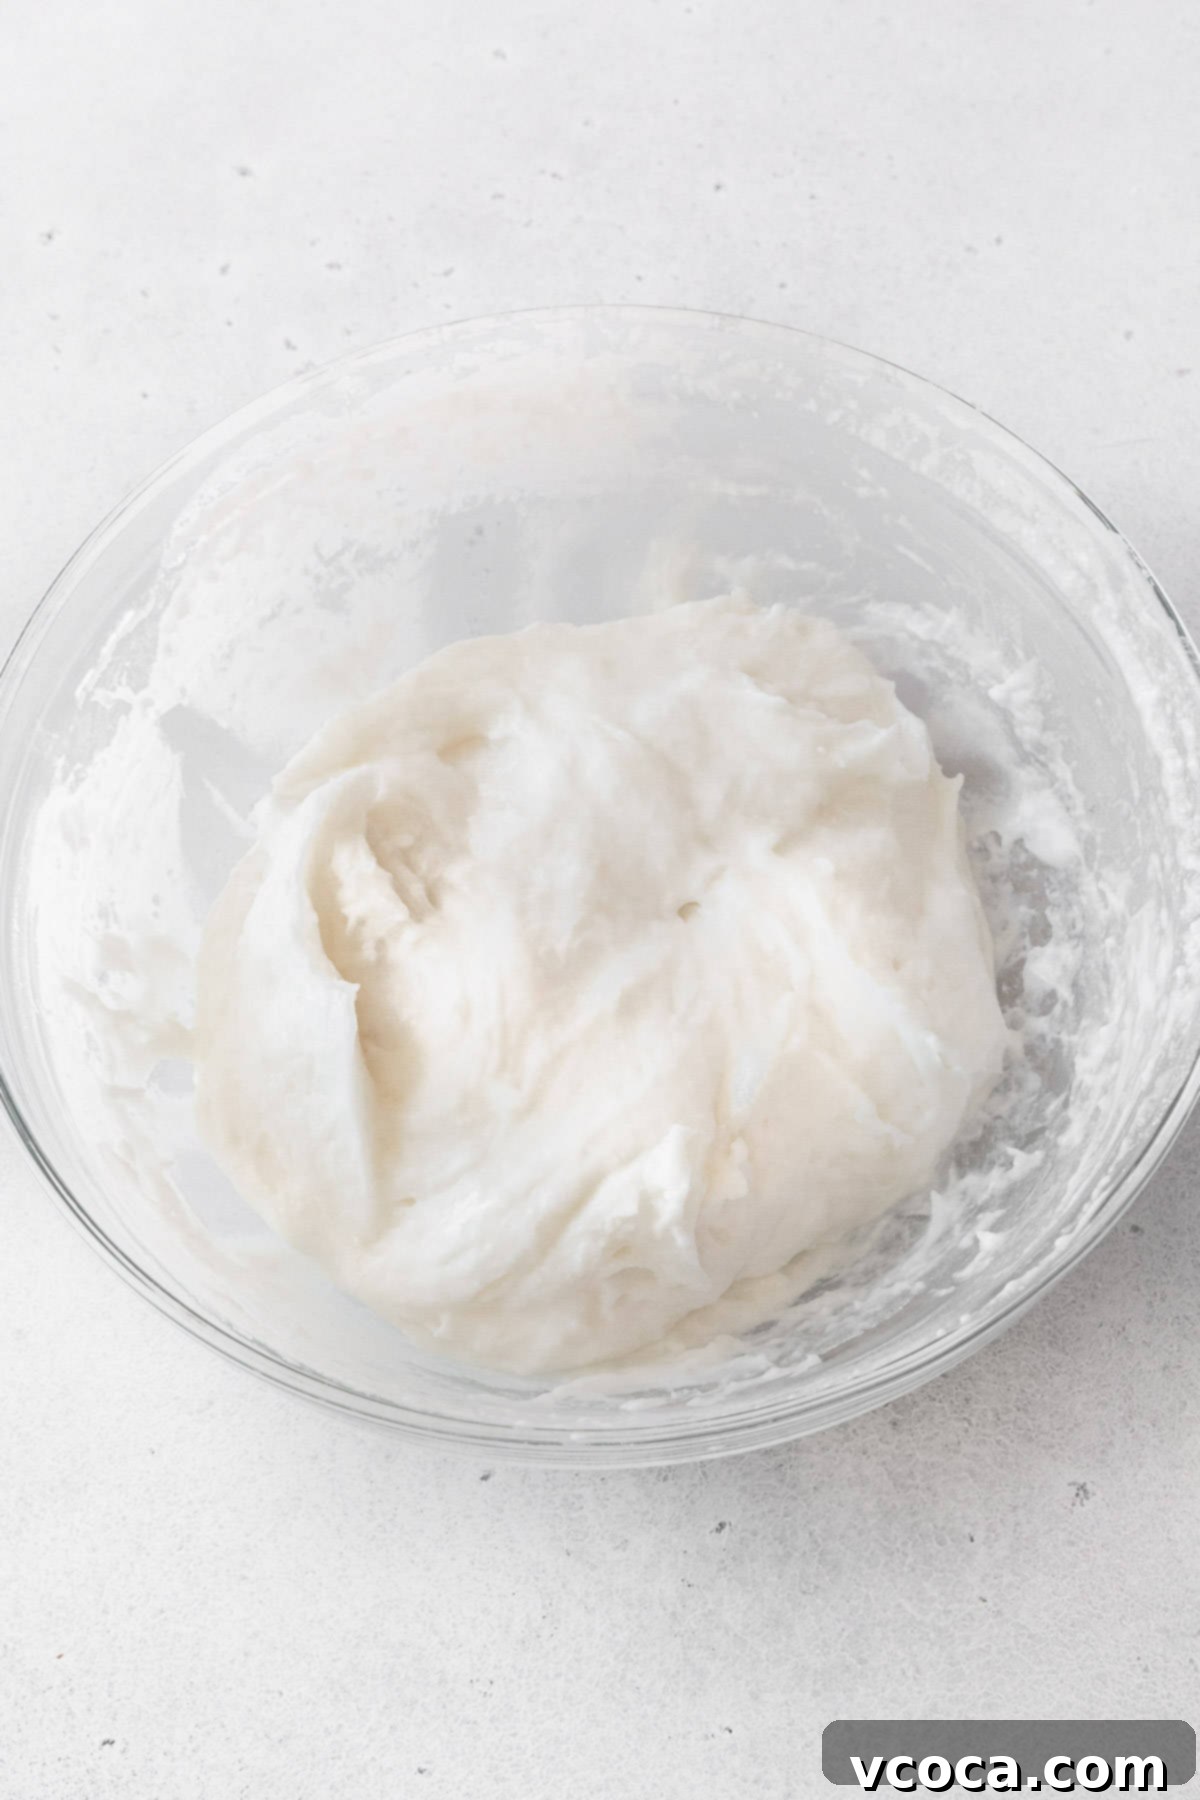
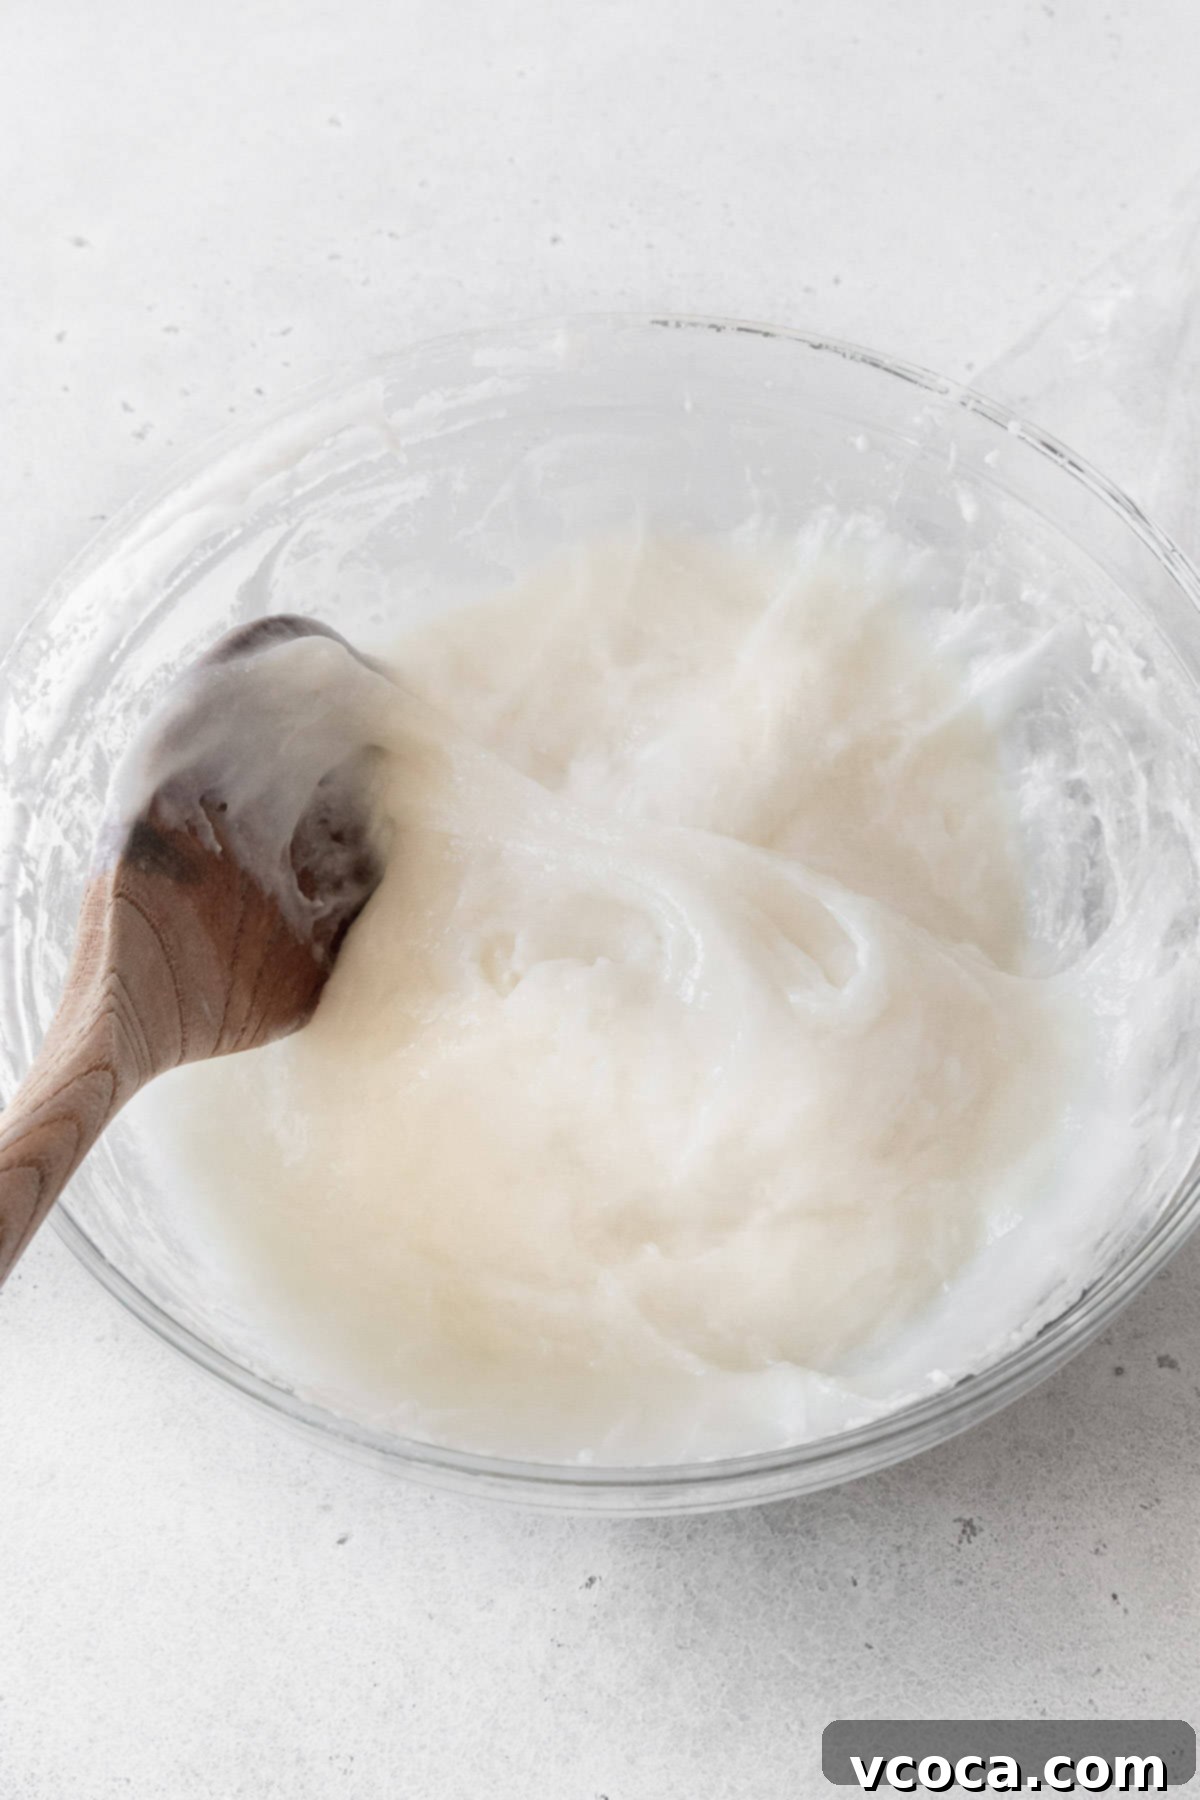
Step 4: Continue Cooking Mochi (Second Microwave Stage). Re-cover the bowl with plastic wrap or its lid and return it to the microwave for another 1 minute on high. After this second heating, remove the bowl and stir the mixture extremely well again. At this point, the mochi dough should have significantly thickened, becoming very sticky and more translucent with a creamy, almost pearlescent color. You might still observe a few small white, opaque spots, which is normal.
Step 5: Final Mochi Cooking (Third Microwave Stage). Cover the bowl once more and heat it for a shorter duration of 30 seconds. Remove and give it a final, thorough stir. If any small, white, uncooked patches of flour remain, repeat this 30-second heating and stirring process one more time until the entire mochi dough is consistently translucent, glossy, and very sticky. It should look like a cohesive, elastic mass.
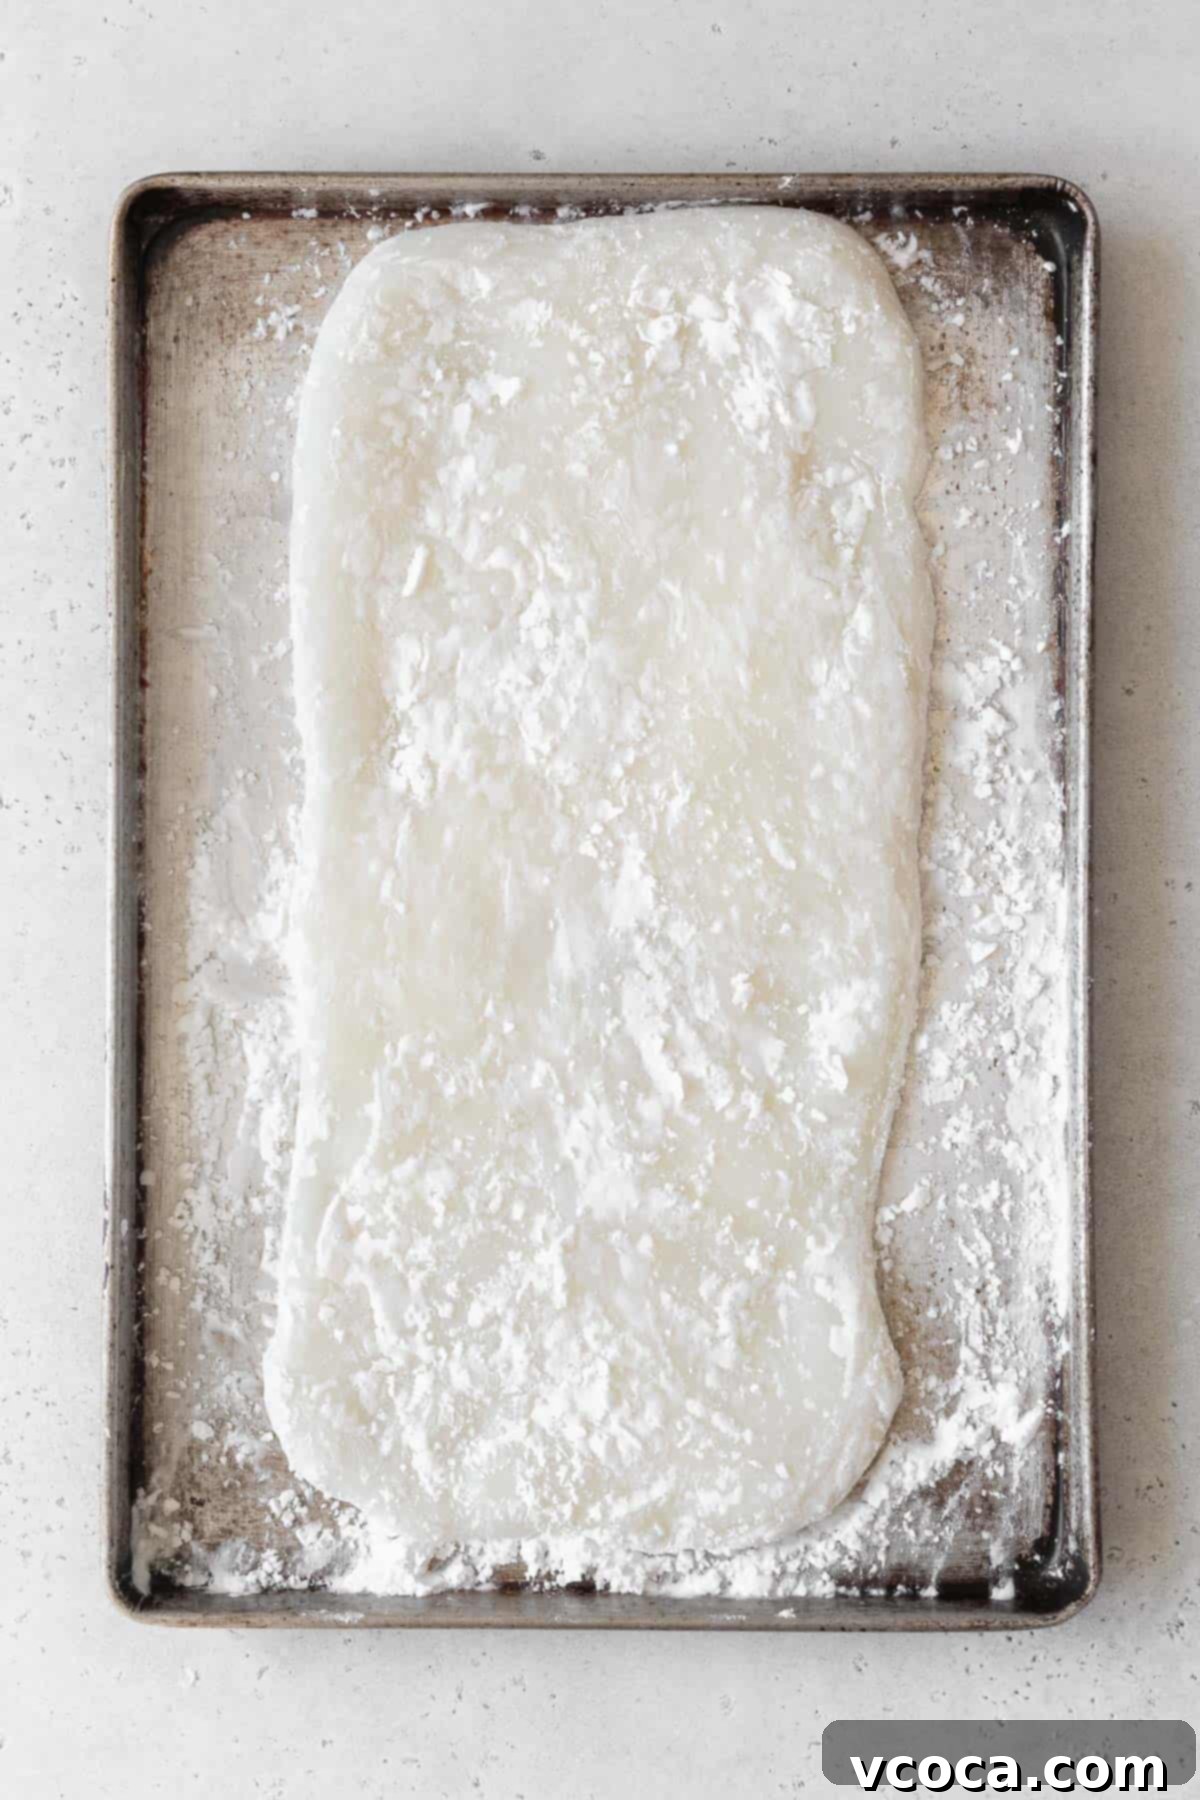
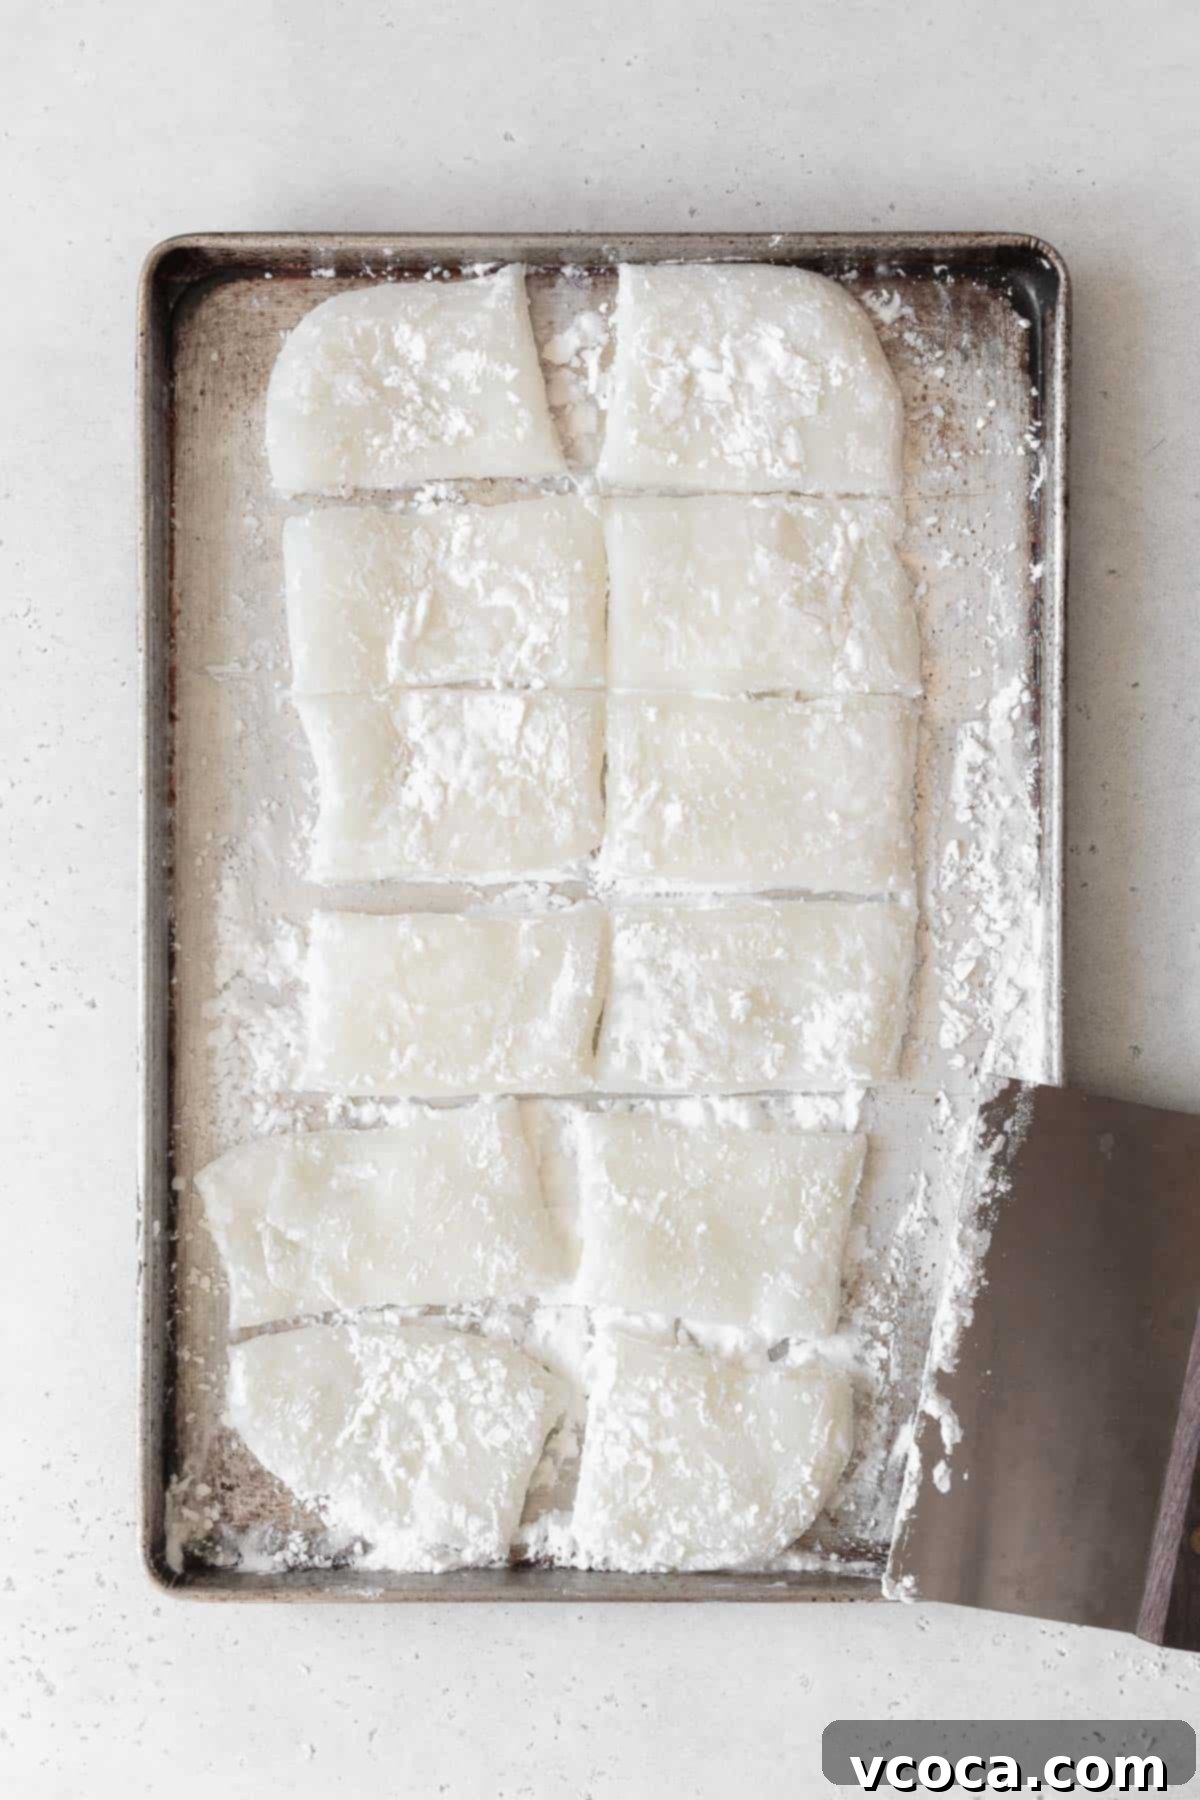
Step 6: Prepare the Mochi for Shaping. Generously dust a clean baking sheet or a large, flat tray with potato starch or arrowroot flour. This dusting is crucial to prevent the extremely sticky mochi from adhering. Carefully scrape the cooked mochi dough out of the bowl onto the prepared surface. Dust more starch on top of the mochi and lightly on your hands. Using your hands, gently flatten the mochi out into a roughly rectangular shape, aiming for a thickness of about ¼ to ⅓ inch (about 0.6-0.8 cm). If any part of the mochi feels too sticky, add a little more starch to that area and to your hands.
Step 7: Portion the Mochi Dough. Using a sharp knife or a bench scraper, carefully cut the flattened mochi dough into 12 relatively equal pieces. The exact shape doesn’t need to be perfect circles or squares at this stage, as you’ll be stretching and shaping them. Aim for pieces that are large enough to fully encase your prepared strawberries.
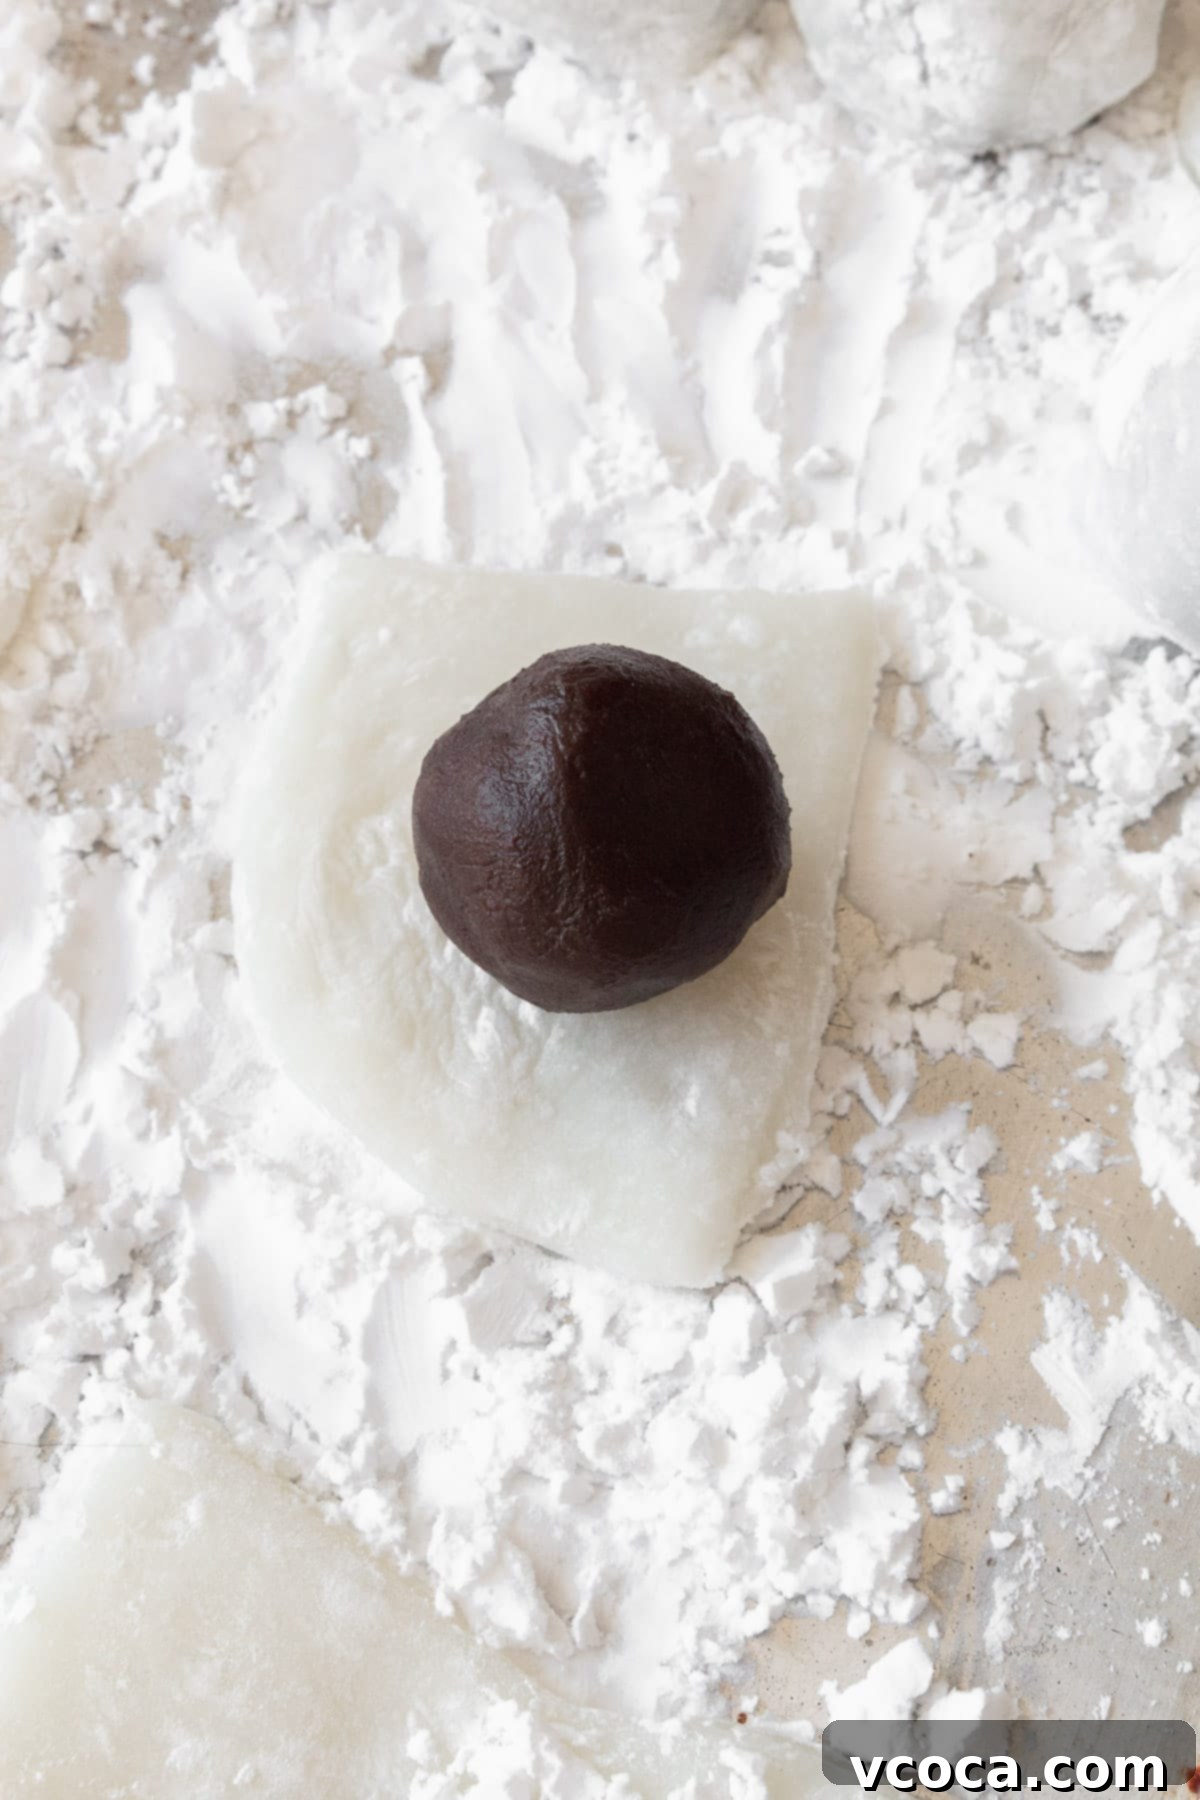
Step 8: Position the Filling. Take one portion of your mochi dough and gently stretch it into a round or oval shape. Place one of your anko-wrapped strawberries onto the center of the mochi, ensuring the pointy tip of the strawberry is facing downwards. Remember to remove the plastic wrap from the strawberry before placing it on the mochi!
Step 9: Wrap and Seal the Daifuku. Carefully bring the edges of the mochi dough up and around the anko-wrapped strawberry. Gently pinch the edges of the mochi together at the bottom of the daifuku, sealing them completely. Ensure that the entire filling (strawberry and anko) is fully covered by the mochi, leaving no gaps. If you notice any excess mochi at the bottom, you can neatly trim it off with a knife or kitchen shears to create a perfectly round and smooth daifuku. Lightly dust your hands with potato starch as needed to prevent sticking during this process. Repeat for all 12 portions, and admire your beautifully crafted homemade Strawberry Daifuku!
Variation: How to Make Whipped Cream Strawberry Mochi
For a lighter, creamier twist on Daifuku mochi with strawberries, you can easily substitute the red bean paste filling. Instead of following Step 2 above, use these alternative steps for preparing your delicious whipped cream filling. This variation offers a delightful contrast in texture and a different kind of sweetness that many find irresistible.
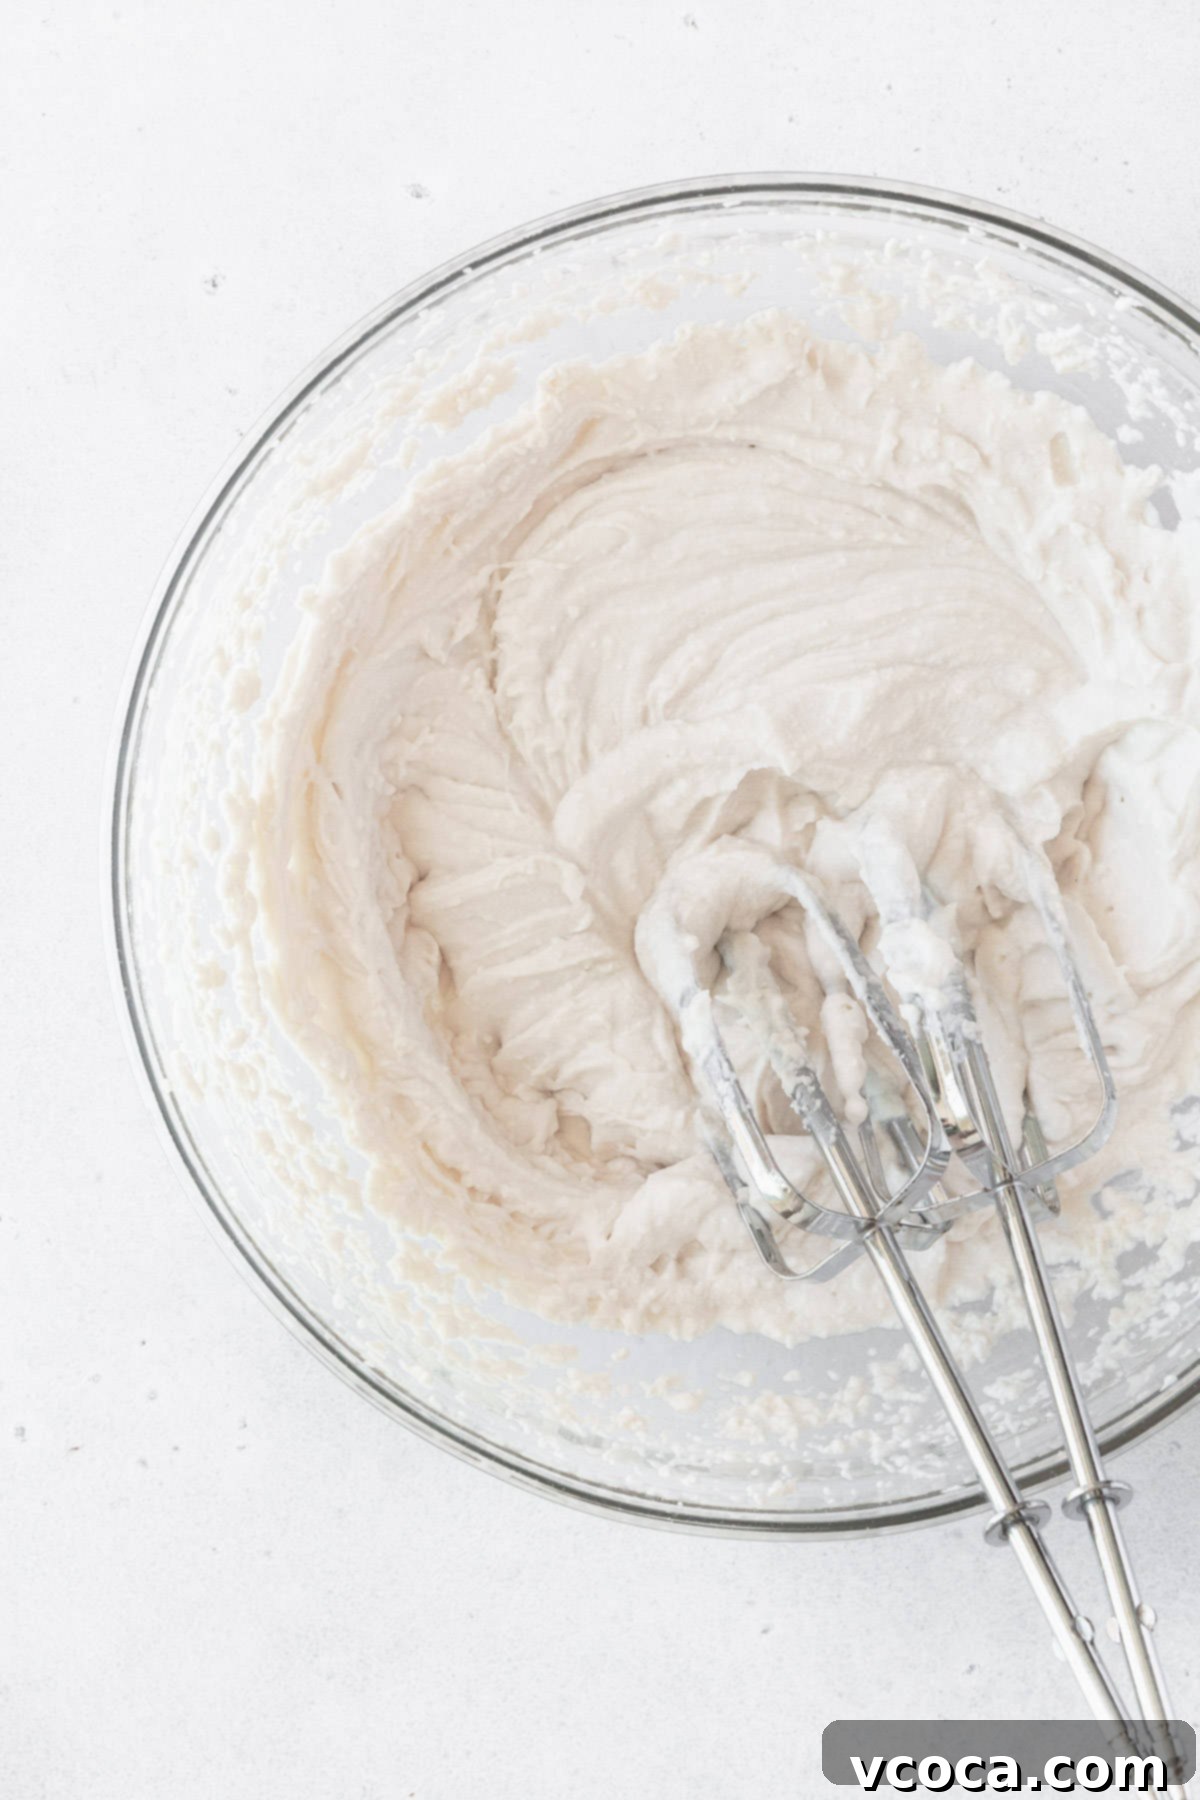
Whip the Cream: In a large, chilled mixing bowl, combine the cold whipping cream (whether dairy or non-dairy, like Nature’s Charm oat milk whipping cream) and the powdered sugar. Using a hand mixer or a stand mixer with a whisk attachment, beat the mixture on medium-high speed for 3-5 minutes, or until stiff peaks form. The cream should be light, airy, and hold its shape. Be careful not to over-whip, as it can separate.
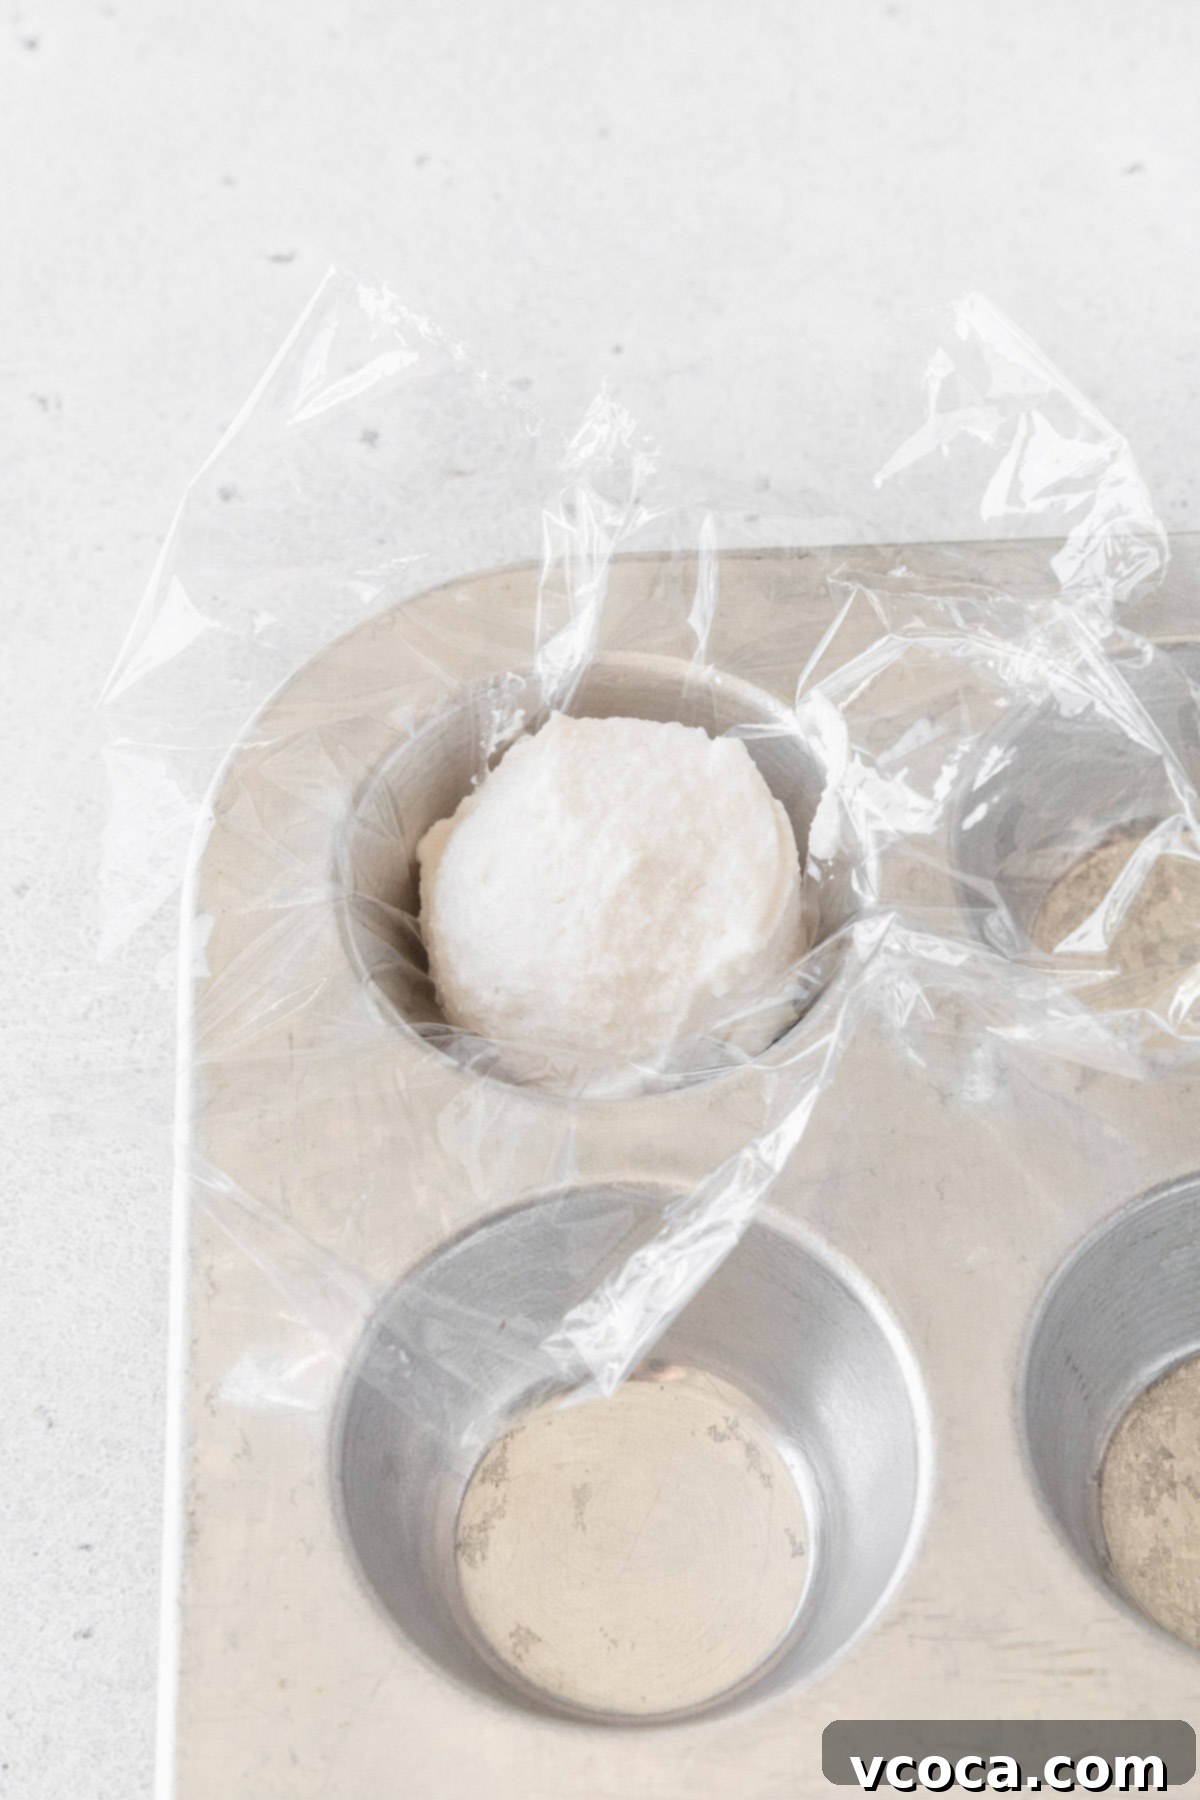
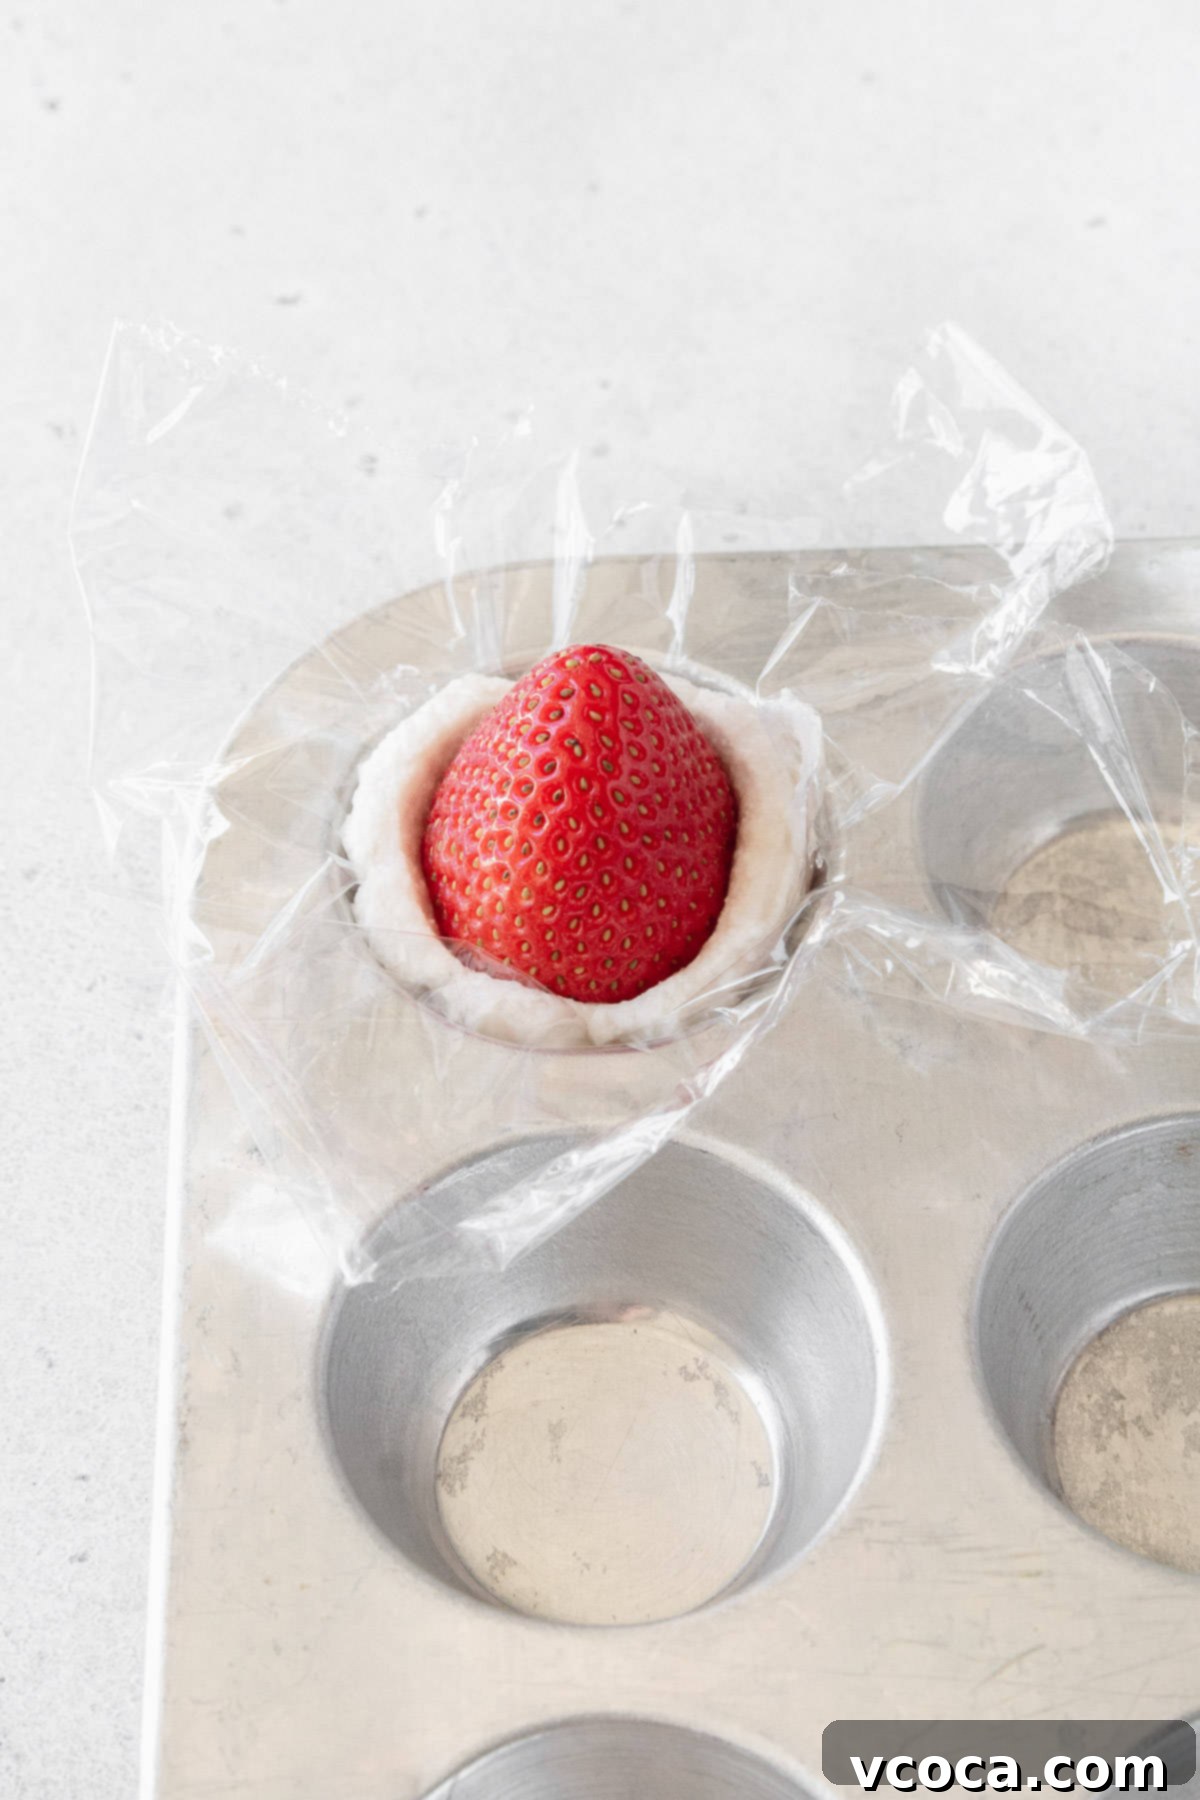
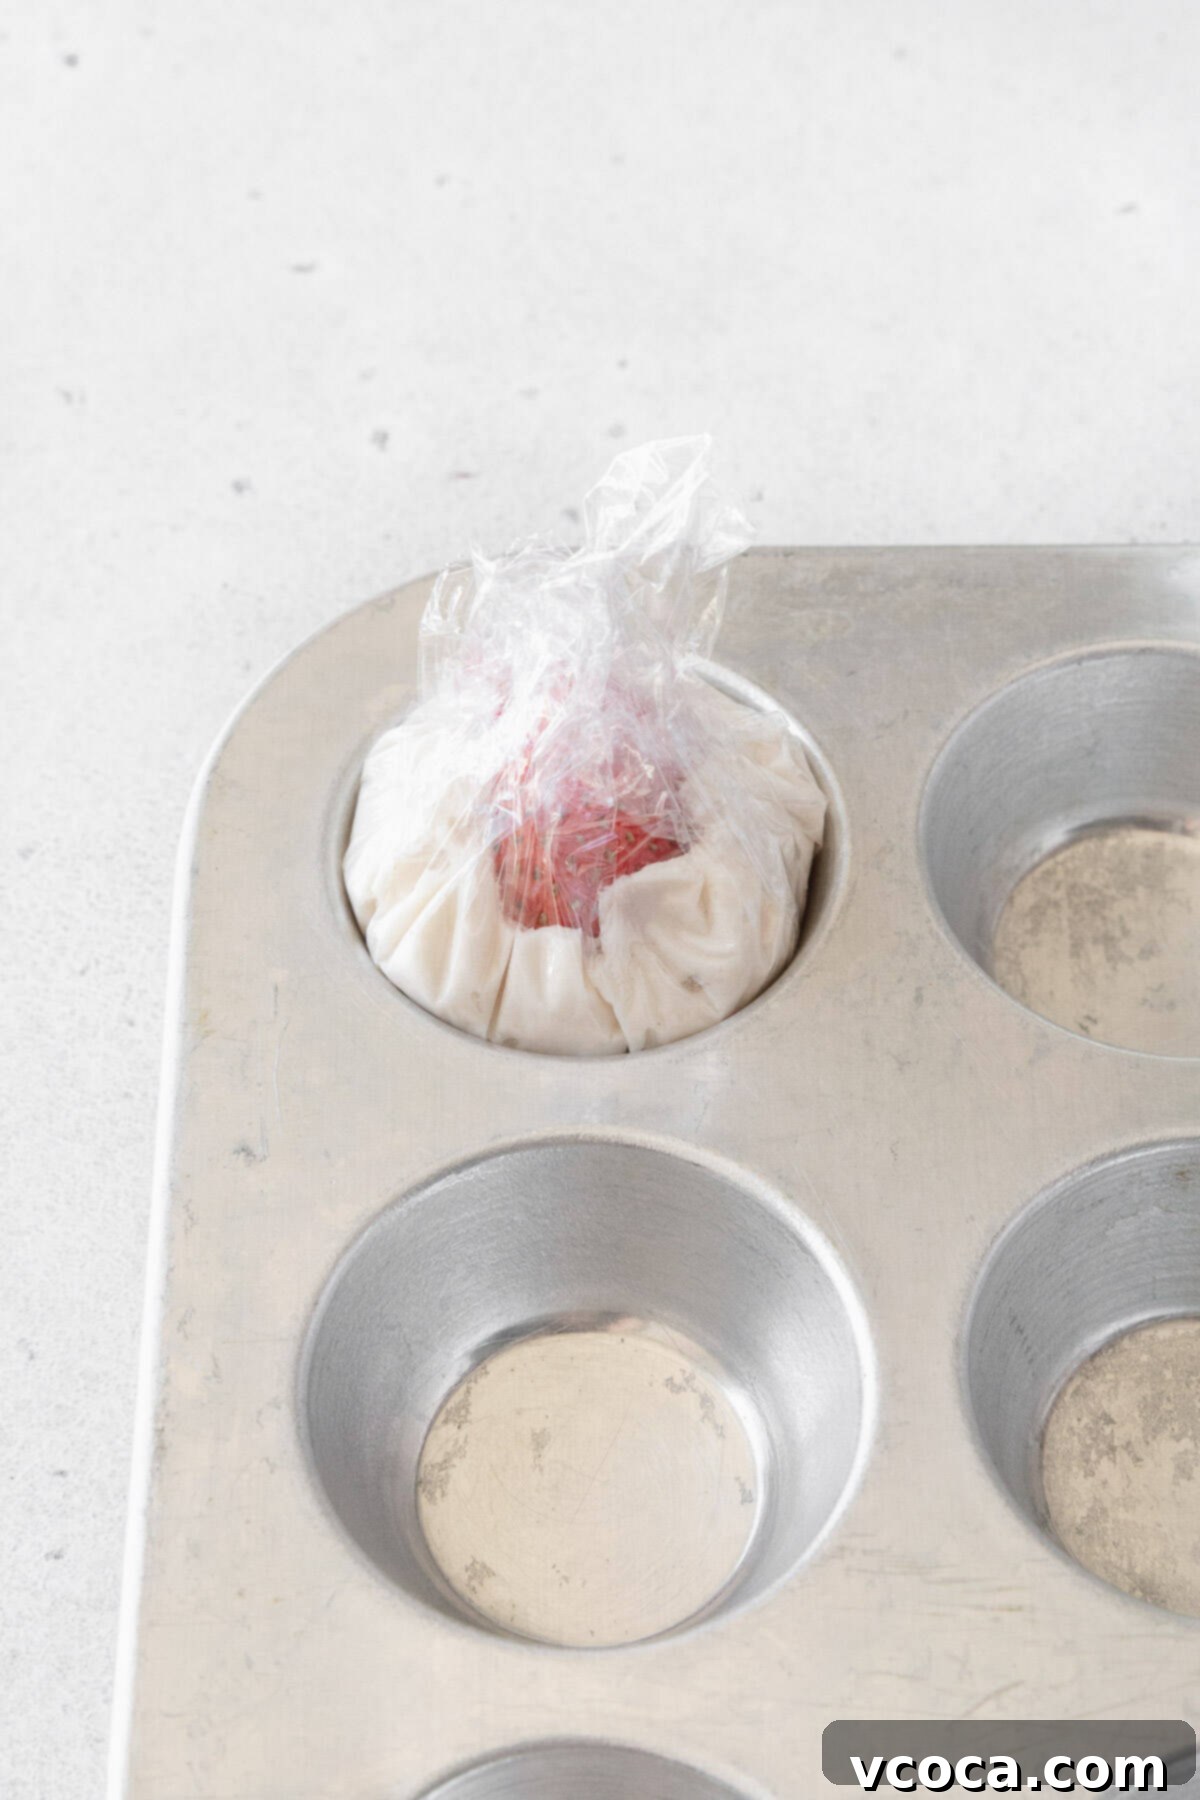
Separate and Chill the Whipped Cream: To make individual portions easier to handle, line a mini muffin pan with small squares of plastic wrap. This will serve as a mold and make wrapping less messy. Carefully spoon or pipe the whipped cream mixture into the prepared muffin pan, dividing it into 12 equal portions. Place one prepared strawberry into the center of each cream portion, ensuring the pointy tip of the strawberry is facing upwards. Gently twist the plastic wrap around the cream and strawberry to form a tight, spherical bundle. Place the entire muffin tray in the freezer for about 10-15 minutes. This brief freezing period will firm up the whipped cream, making it much easier to handle and wrap with the mochi dough without it melting or losing its shape. Once chilled, proceed with the mochi dough instructions from Step 3 onwards, and enjoy this delightful variation!
Pro Tips for Perfect Strawberry Daifuku
To ensure your homemade Strawberry Daifuku turn out perfectly soft, chewy, and absolutely delicious, keep these expert tips in mind:
- Don’t Roll the Mochi Too Thin. While you want the mochi to be pliable enough to stretch around the filling, making it too thin will significantly increase the risk of it tearing during assembly. Aim for a thickness of about ¼ to ⅓ inch (0.6-0.8 cm) when flattening the dough. This provides enough strength to hold the filling without being overly thick or gummy.
- Consider Reducing the Sugar for a Milder Sweetness. If you prefer a less sweet dessert, you have the option to reduce the amount of granulated white sugar in the mochi dough to ¼ cup. Be aware that sugar contributes to the mochi’s soft, tender texture by holding moisture. Reducing it slightly might make the mochi firmer upon storage. However, the overall flavor profile will still be wonderfully delicious and more balanced for those who enjoy a less intense sweetness.
- Always Dust Your Work Surface and Hands Generously. Mochi dough is incredibly sticky, especially when warm. To prevent frustration and ensure smooth handling, liberally dust your work surface, your rolling pin (if using), and your hands with potato starch or arrowroot flour. This creates a non-stick barrier, making the daifuku mochi much easier to work with, stretch, and shape without it clinging to everything. Don’t be shy with the starch – you can always brush off any excess later.
- Make the Daifuku with Dairy Whipped Cream (If Preferred). If you don’t have dietary restrictions regarding dairy, you can absolutely make the whipped cream variation using traditional heavy whipping cream. To do so, simply whip 1 cup of well-chilled heavy whipping cream with 2 tablespoons of powdered sugar until stiff peaks form. Then, continue with the recipe directions as listed for the whipped cream filling, chilling it briefly before wrapping.
- Work Quickly While the Mochi is Warm. Mochi is easiest to handle and shape when it’s still warm and pliable. As it cools, it becomes firmer and less elastic, making it harder to stretch without tearing. Have your strawberries and filling prepped and ready to go before you start cooking the mochi.
- Seal the Mochi Properly. When wrapping the filling, ensure the edges of the mochi are completely sealed at the bottom. A good seal prevents the filling from escaping and helps maintain the daifuku’s round shape. Pinch firmly but gently.
- Choose Perfectly Ripe Strawberries. The quality of your strawberries will significantly impact the final taste. Overly ripe strawberries can be too soft and watery, while underripe ones may be too tart. Look for firm, bright red strawberries that smell sweet.
Storage Directions for Fresh Daifuku
Proper storage is key to maintaining the delicate texture and freshness of your homemade Strawberry Daifuku. Here’s how to keep them at their best:
Refrigeration:
- Red Bean Paste (Anko) Daifuku: Leftover strawberry daifuku made with red bean paste can be stored in an airtight container at cool room temperature for up to 1 day. For longer freshness, or in warmer climates, it’s best to store them in an airtight container in the refrigerator for up to 2 days. The mochi will firm up slightly in the cold, but will still be enjoyable.
- Whipped Cream Daifuku: Due to the dairy or plant-based cream, daifuku made with whipped cream must be kept in an airtight container in the refrigerator. They are best enjoyed within 1-2 days.
Freezing: This recipe, unfortunately, is not suitable for freezing. The delicate texture of fresh strawberries breaks down significantly upon freezing and defrosting, resulting in a mushy consistency that detracts from the overall enjoyment of the daifuku. The mochi itself also tends to become very hard and lose its desirable chewiness when frozen and thawed. For the best experience, consume your Strawberry Daifuku fresh within the recommended storage times.

Frequently Asked Questions About Ichigo Daifuku
The word “Daifuku” in Japanese literally translates to “great luck” or “great fortune,” an auspicious name for a sweet treat. “Ichigo” translates to “strawberry.” Therefore, Ichigo Daifuku collectively refers to a delightful and fortunate sweet mochi confection that is traditionally stuffed with fresh strawberries. It’s a specific type of *wagashi*, or traditional Japanese dessert, that brings together the chewy texture of mochi with the juicy sweetness of fruit.
The key difference lies in their preparation and purpose. “Mochi” is a broad term for sweet rice cakes made from glutinous rice that has been pounded into a chewy, often round, ball or block. While mochi can be used in savory dishes (like *zoni* soup) or enjoyed simply grilled with soy sauce, it also forms the base for many sweets. “Daifuku mochi,” on the other hand, specifically refers to small, round mochi cakes that are *stuffed* with a sweet filling. This filling is typically *anko* (sweet red bean paste), but as we’ve seen with Ichigo Daifuku, it can also include fruit, cream, or other sweet components. So, all Daifuku are mochi, but not all mochi are Daifuku!
No, it’s highly recommended to use *shiratamako* (Japanese sweet rice flour) for this recipe. Regular rice flour (non-glutinous) will not give you the desired chewy, elastic, and soft texture that is characteristic of authentic mochi. Shiratamako is made from glutinous short-grain rice and processed in a way that results in a superior texture for mochi. While *mochiko* (another type of glutinous rice flour) can sometimes be substituted, shiratamako generally produces a smoother, more tender, and less sticky mochi.
The best way to prevent mochi from sticking to your hands and work surface is to generously dust them with potato starch or arrowroot flour. These starches create a barrier that prevents the sticky mochi dough from adhering. Keep a small bowl of starch nearby and re-dust your hands and surface as needed throughout the wrapping process. A light dusting on the mochi itself also helps. Avoid using too much water on your hands, as this can make the mochi gummy.
Discover More Japanese Flavors
If you’ve enjoyed making these delightful Strawberry Daifuku, you’re in for a treat with more authentic Japanese recipes. Explore these other traditional sweets and modern Japanese-inspired creations:
- Sakura Mochi is another deeply cherished childhood favorite of mine, especially during springtime. Each beautiful pink mochi is artfully wrapped in a salt-pickled cherry blossom leaf, offering a unique blend of sweet and subtly salty flavors that evoke the beauty of Japan’s cherry blossom season.
- For a wonderfully simple yet satisfying Japanese dessert, try Shiratama Dango. These soft, chewy rice dumplings are incredibly versatile. After they’re boiled, you can top them with anything you like, from sweet kinako (roasted soybean flour) and black sugar syrup to fresh fruit and *anko*.
- Kashiwa Mochi is a classic springtime treat in Japan, traditionally served on Children’s Day (Kodomo no Hi). These mochi cakes are filled with sweet bean paste and wrapped in an oak leaf (*kashiwa*), which symbolizes prosperity and continuity.
- If you love Japanese flavors but aren’t always in the mood for the chewy texture of mochi, explore these delectable alternatives. Indulge in rich and aromatic Matcha Cupcakes with White Chocolate Frosting, which perfectly blend the earthy notes of green tea with sweet, creamy frosting. Or, try this vibrant and zesty Yuzu Cheesecake Recipe, offering a refreshing citrus twist on a classic dessert.

Strawberry Mochi (Ichigo Daifuku)
Ingredients
Ichigo Daifuku
- 1 ½ cup shiratamako (glutinous sweet rice flour)
- ½ cup granulated sugar
- 1 ¼ cup water
- 12 strawberries
- potato starch or arrowroot flour to dust the work surface and your hands
Traditional filling (for 12)
- 12 oz sweetened red bean paste
Cream filling (for 12)
- ½ can Nature’s Charm oat whipping cream chilled overnight
- 2 tablespoons powdered sugar
Instructions
Prep
-
Wash the strawberries and pat them dry. Hull them and set them aside.
Filling
-
Traditional: Separate the red bean paste into 12 equal portions. Wrap each strawberry with the bean paste, leaving the tip of the strawberry uncovered. Wrap the strawberries with plastic wrap to prevent them from drying out while making the mochi.
-
Cream: Add the whipping cream and powdered sugar to a large bowl and beat with a hand mixer for 3-5 minutes. Separate the filling into 12 portions using a mini muffin pan lined with squares of plastic wrap. Put a strawberry into each portion of cream with the tip of the strawberry pointing up. Twist the plastic wrap at the top. Put the muffin tray in the freezer for 10 minutes.
Mochi
-
In a bowl, add the shiratamako, sugar, water, and stir until combined. Cover the bowl with plastic wrap and heat it in the microwave for 1 minute. Take it out and stir it well with a wooden spoon or spatula.
-
Cover the bowl and heat it again for 1 minute. Mix it well again. The mixture should now be sticky, more of a creamy translucent color, with some white parts left.
-
Cover and heat for 30 seconds, and mix again. If there are any white parts left, repeat one more time, heating for 30 seconds.
-
Take the mochi out onto a baking sheet or large tray dusted with potato starch or arrowroot flour. Dust more starch on top of the mochi and use your hands to flatten it out. If there are any spots that are sticky, add more starch.
-
Using a knife or bench scraper, cut the mochi into 12 even pieces.
-
Add either an anko-wrapped or cream-wrapped strawberry pointy side down, removing the plastic wrap from the berries. Bring the edges of the mochi to the bottom of the anko/cream and pinch them together so they stick. Be sure that the entire filling is covered in mochi and nothing is showing. If there’s any excess mochi, you can trim it off with a knife or kitchen shears.
