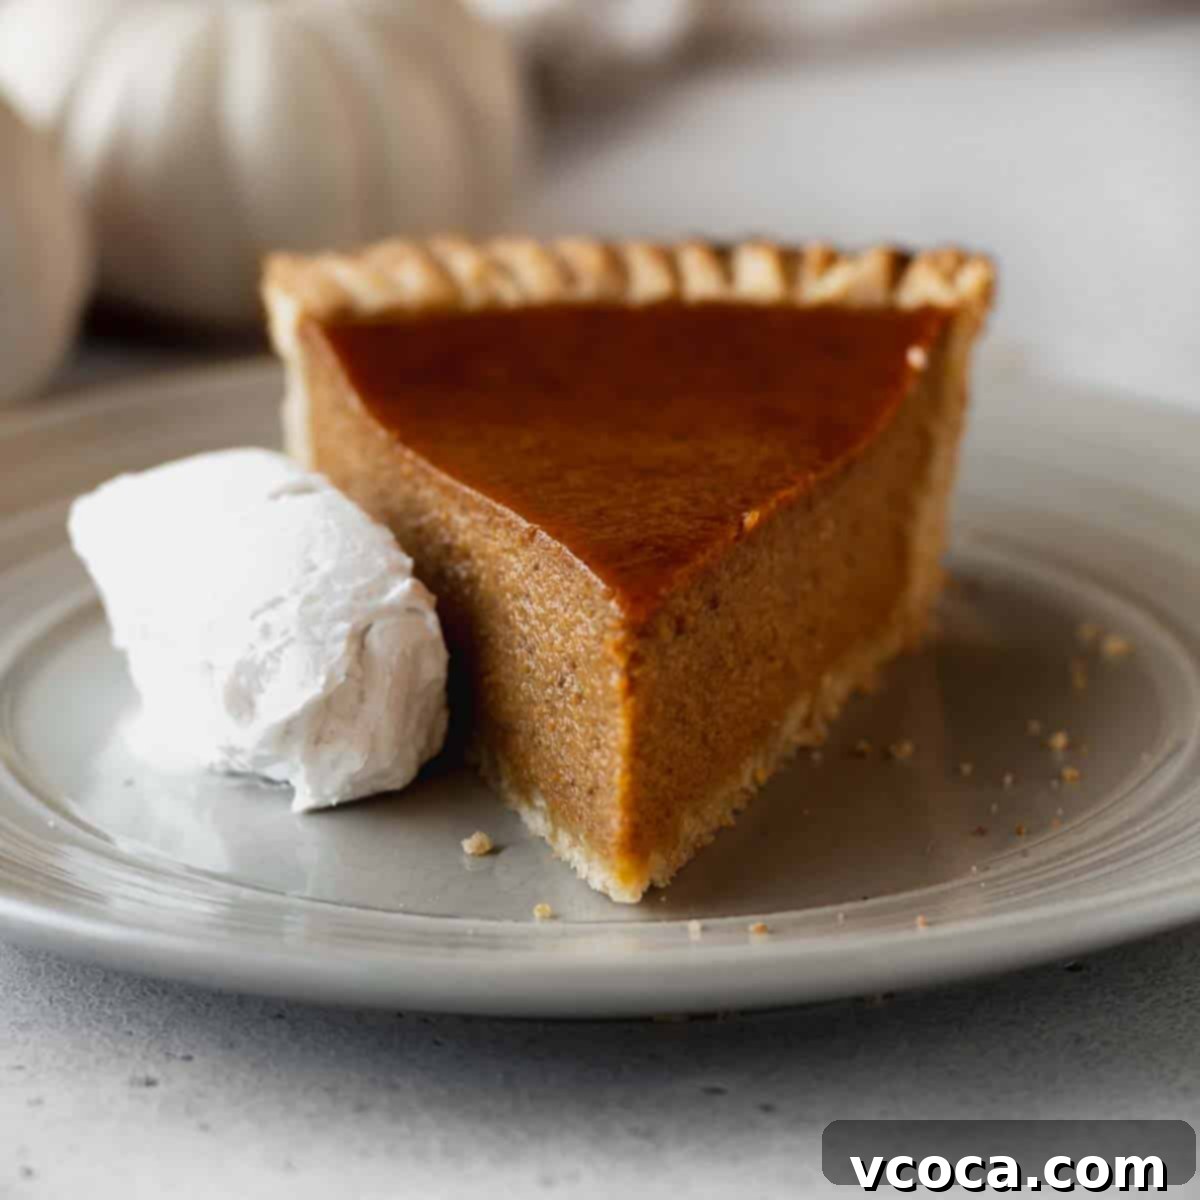
The Ultimate Creamy Dairy-Free Pumpkin Pie: A Must-Try Fall & Thanksgiving Dessert
Calling all pumpkin pie enthusiasts! Get ready to fall in love with this incredibly delicious and creamy dairy-free pumpkin pie. It’s the perfect autumn dessert, guaranteed to impress at any gathering, from cozy family dinners to grand Thanksgiving feasts. This recipe offers all the beloved flavors and silky texture of traditional pumpkin pie, without any dairy, making it a fantastic option for those with lactose intolerance or simply seeking a plant-based alternative. Prepare for your fuzzy socks to be knocked right off!
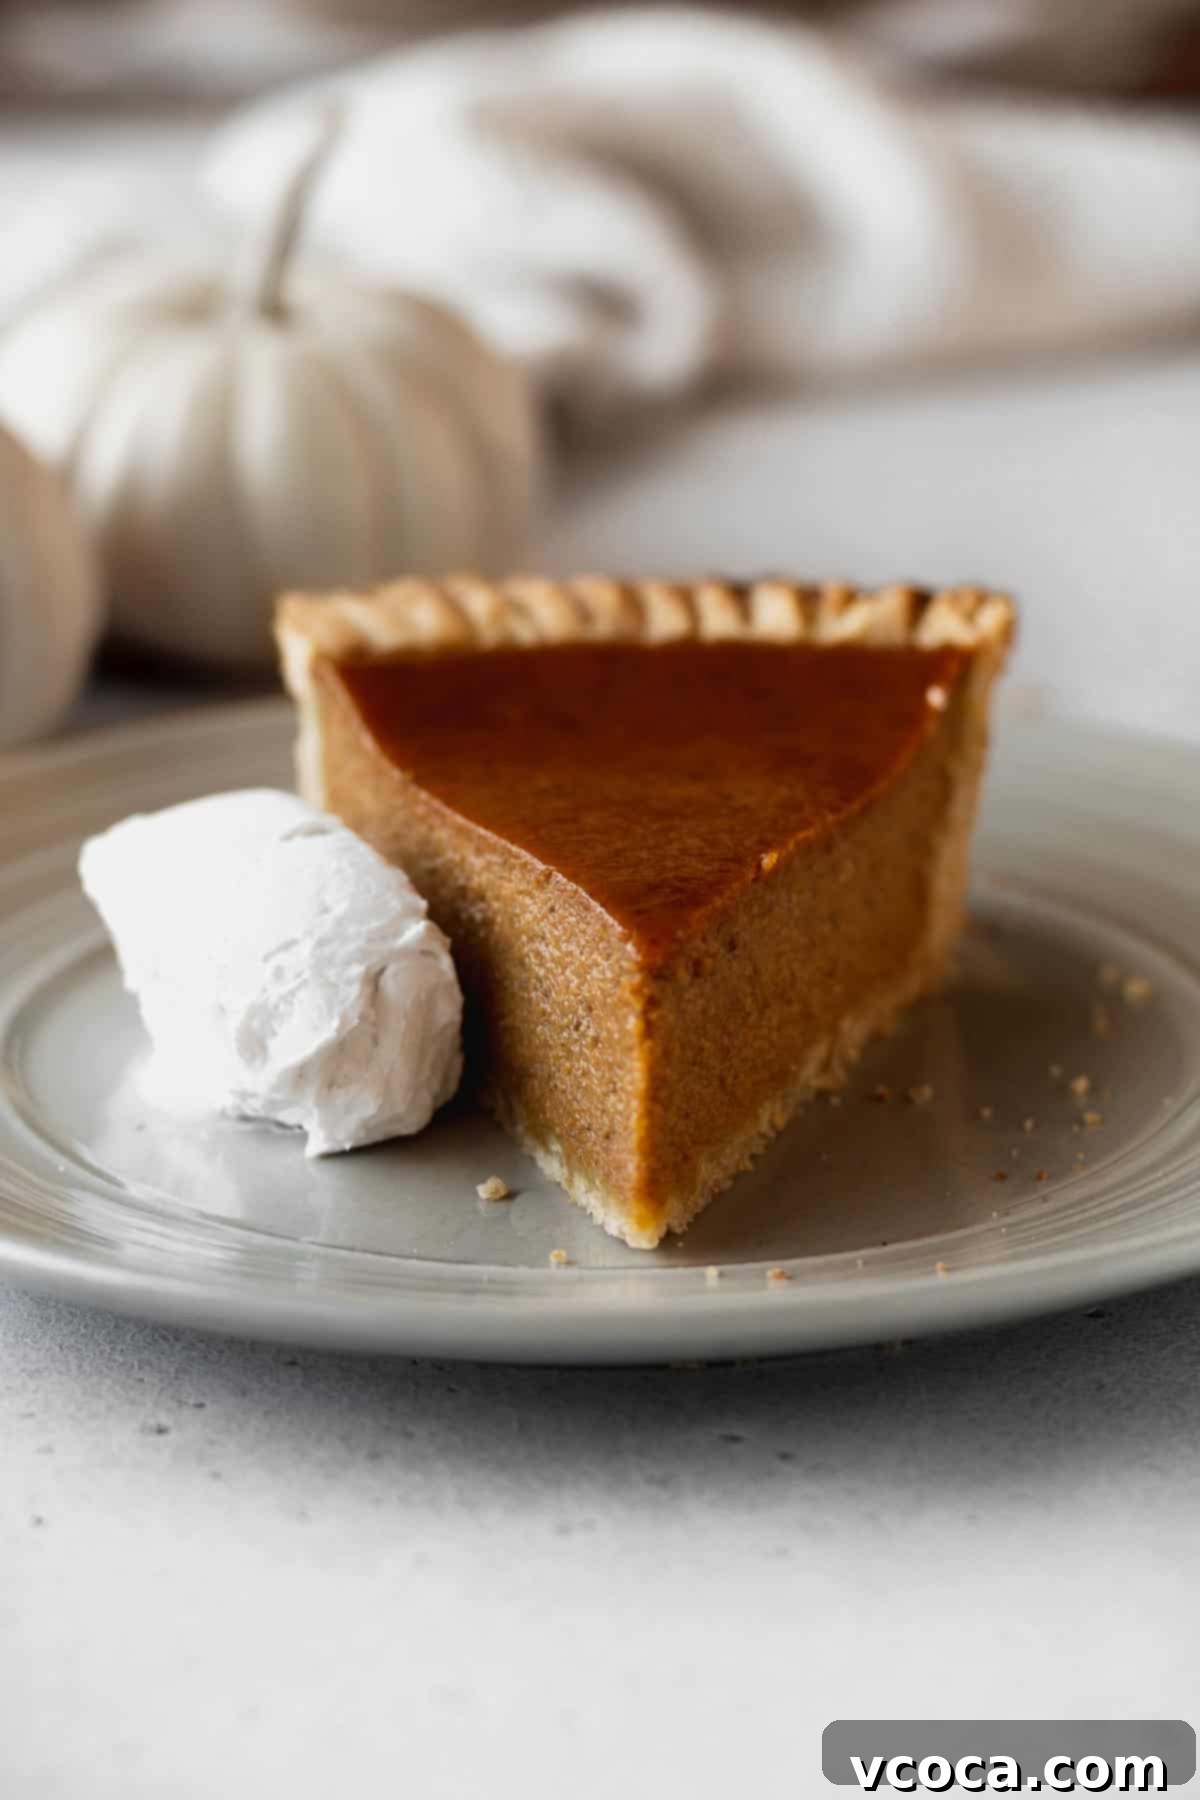
This recipe was originally published on November 7, 2021. It was updated with new information on August 10, 2024, to ensure the best possible baking experience for you!
Key Ingredients for Your Delicious Dairy-Free Pumpkin Pie
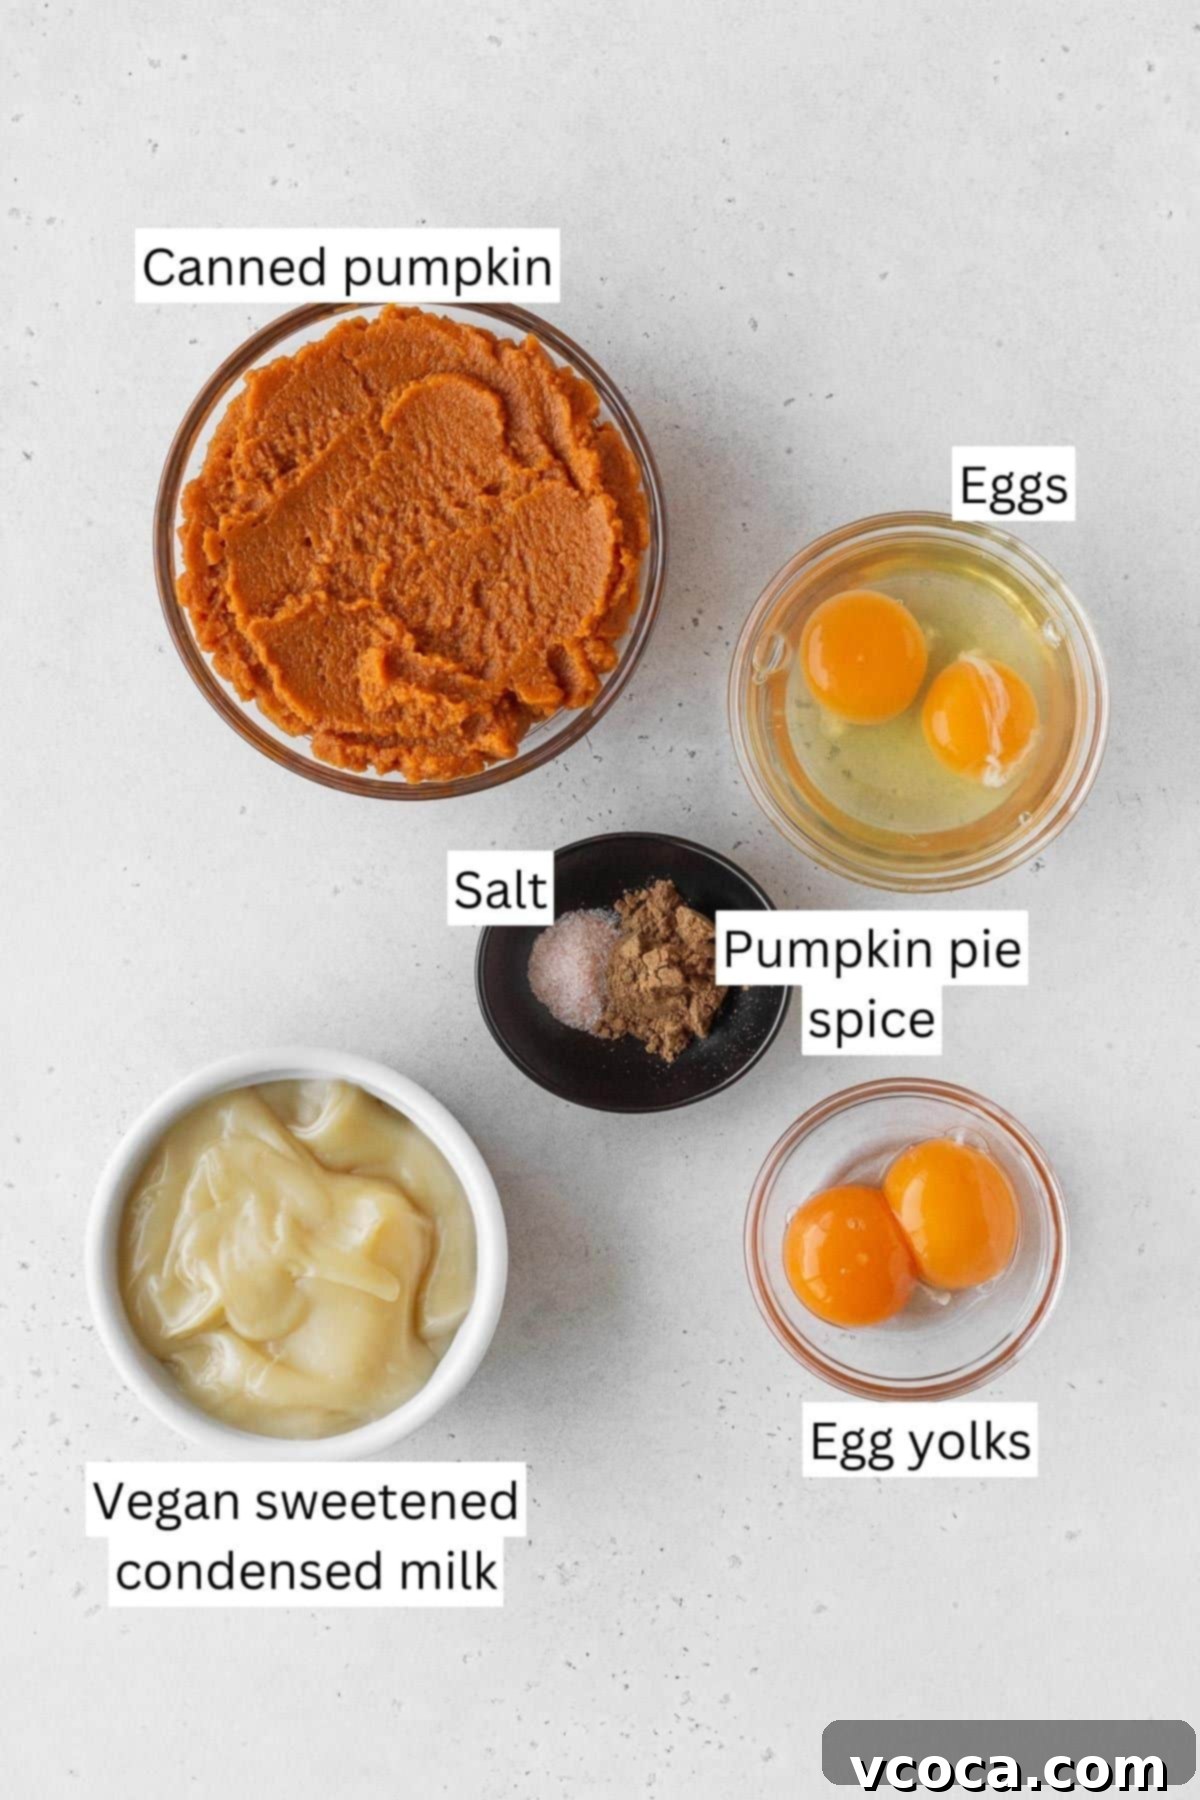
Crafting a truly delicious dairy-free pumpkin pie doesn’t require a long list of obscure ingredients. In fact, the beauty of this recipe lies in its simplicity. We’re using everyday items that come together to create a rich, warmly spiced, and incredibly satisfying pie. Here’s a closer look at what you’ll need to gather:
- Dairy-Free Pie Crust: This forms the foundational crispness of your pie. You have options here! While a store-bought vegan pie crust offers convenience, making your own from scratch truly elevates the pie’s flavor and texture. My homemade recipe uses a blend of all-purpose flour for structure and almond flour for a subtle nutty flavor and tender crumb. Cornstarch helps with tenderness, sugar adds a touch of sweetness, and cold vegan butter ensures flakiness. The key is using truly cold fats and ice water for that perfect, flaky result.
- Canned Pumpkin Purée: This is the heart of your pumpkin pie! It’s crucial to use a can of pure pumpkin purée, not pumpkin pie filling. Pumpkin pie filling is already spiced and sweetened, which will throw off the carefully balanced flavors of this recipe. Look for cans labeled “100% Pure Pumpkin” for the best results.
- Vegan Sweetened Condensed Milk: This dairy-free alternative is the secret to achieving that rich, creamy texture and delightful sweetness typically found in traditional pumpkin pies. I personally recommend Nature’s Charm sweetened condensed oat milk, which I’ve found works beautifully. I’ve also successfully tested this dairy-free pumpkin pie recipe using sweetened condensed coconut milk, and it yields equally fantastic results. Choose your favorite non-dairy option!
- Eggs: You’ll need two whole large eggs and two additional egg yolks. The whole eggs provide structure and help the pie set, while the extra egg yolks contribute significantly to the filling’s luxurious richness and velvety smoothness. Don’t skip these for the ultimate creamy texture!
- Pumpkin Pie Spice: This spice blend brings all the classic autumn flavors to life. Ensure your pumpkin pie spice is fresh for the most vibrant aroma and taste. If it’s been sitting in your spice cabinet since last year’s holidays, it might be time for a fresh batch. A fresh spice blend makes a noticeable difference!
- Salt: A pinch of fine salt is essential! It doesn’t just add its own flavor but acts as a powerful enhancer, heightening all the other warm spices and balancing the sweetness of the condensed milk and pumpkin. It’s a small addition with a big impact on the overall taste.
How to Bake the Perfect Dairy-Free Pumpkin Pie
This recipe guides you through making both a flaky dairy-free pie crust and a rich, creamy pumpkin filling from scratch. When undertaking any pie recipe with a homemade crust, it’s always best to start with the crust first, as it requires crucial chilling time before it’s ready for baking. This ensures a tender and flaky base for your exquisite pie.
Crafting Your Flaky Dairy-Free Pie Crust
A homemade pie crust is a labor of love that truly pays off with a superior texture. Follow these steps carefully to create a perfectly flaky base:
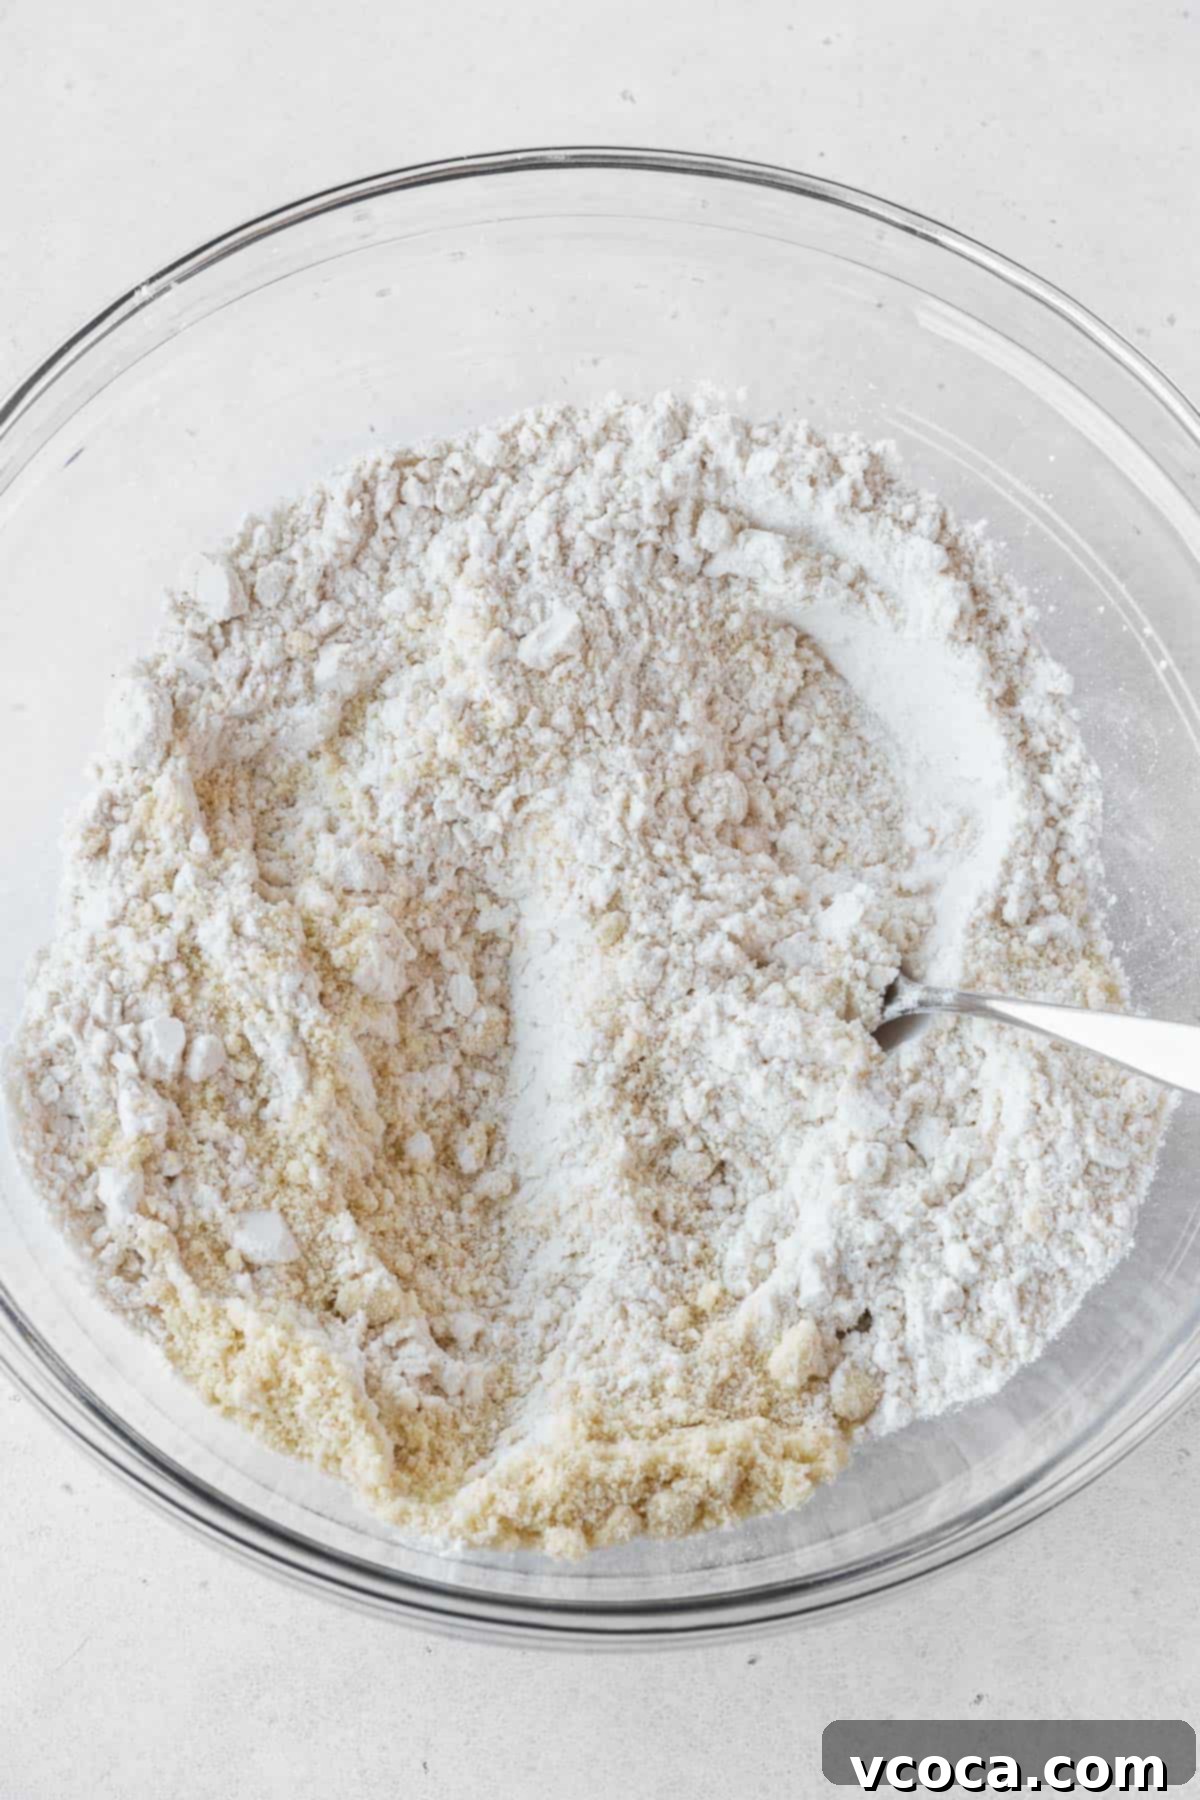
Step 1: In a large mixing bowl, combine the dry ingredients for your crust: all-purpose flour, almond flour, cornstarch, granulated sugar, fine salt, and baking powder. Whisk them together thoroughly to ensure even distribution.
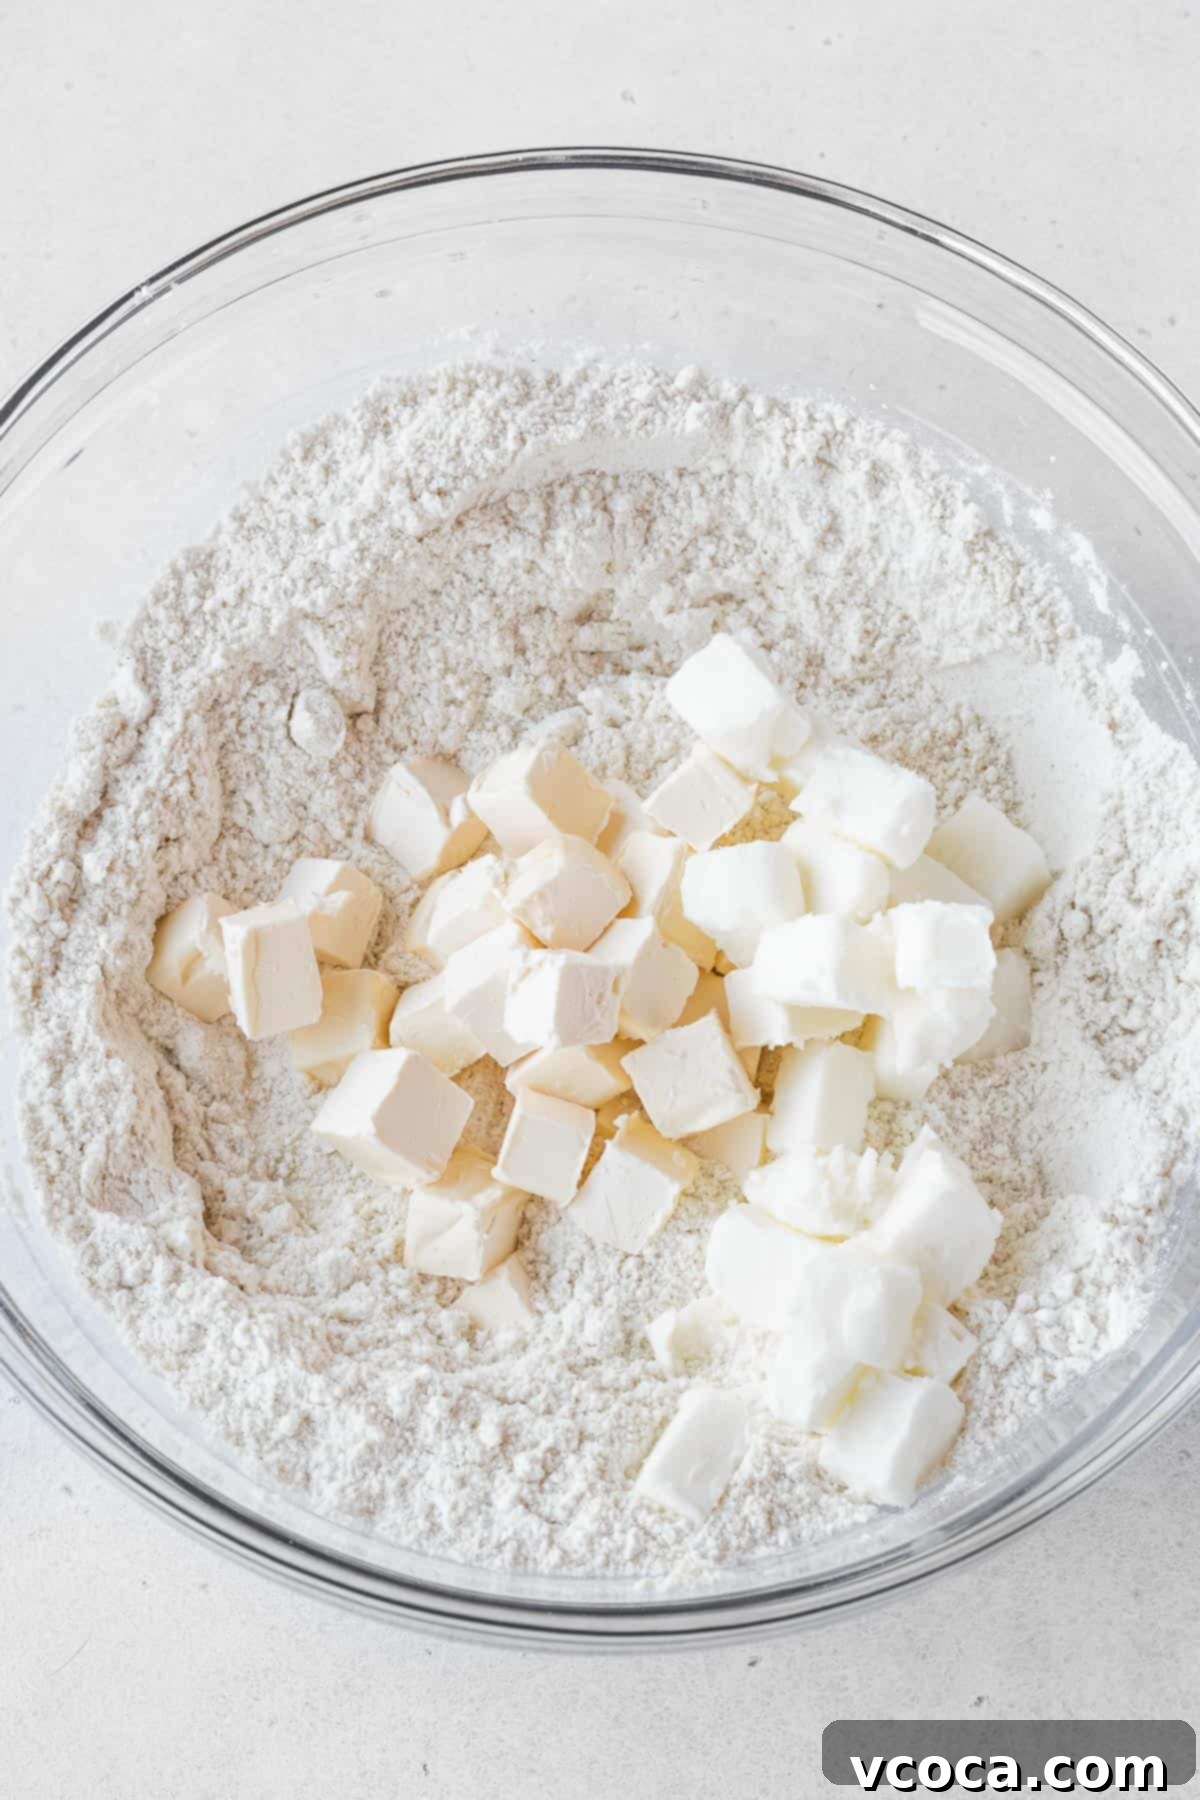
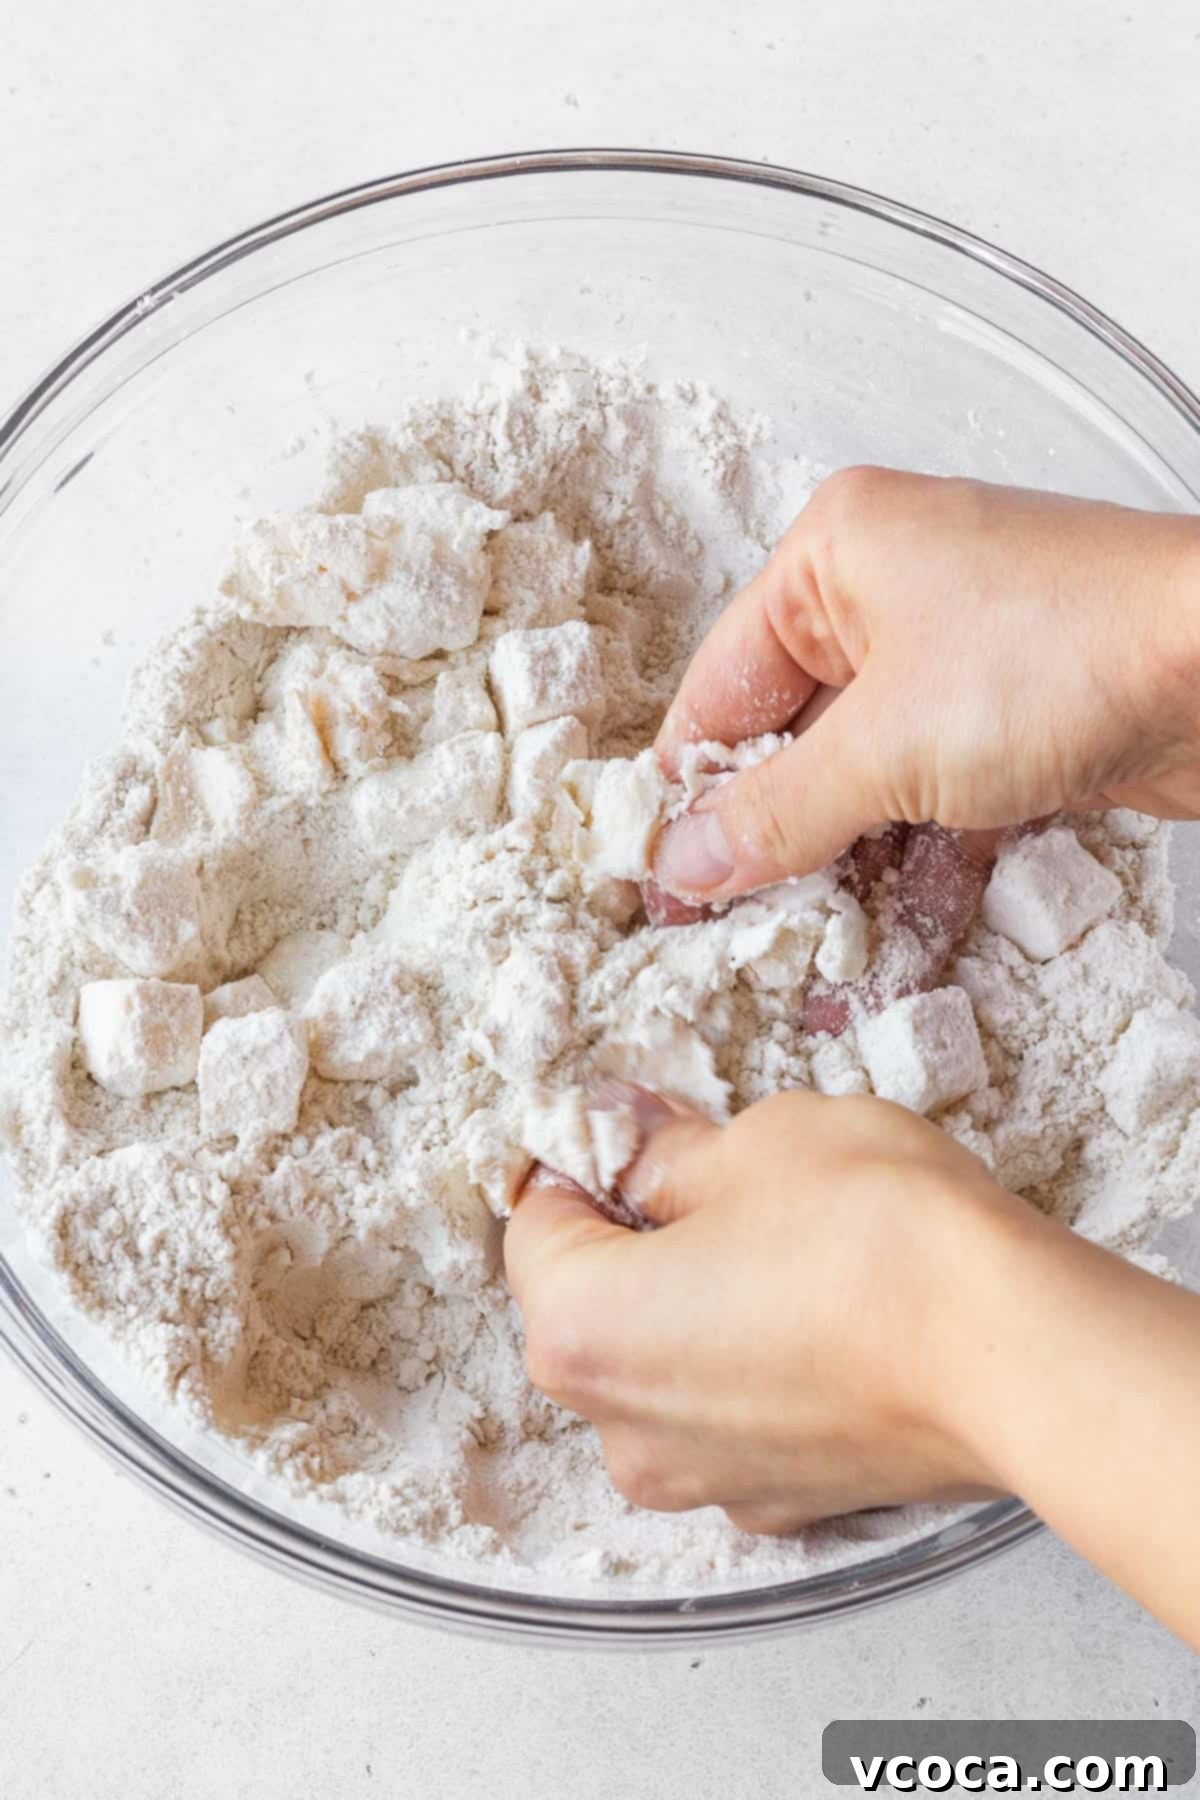
Step 2: Add the cold, cubed vegan butter and shortening to the flour mixture. Using your fingertips, pinch and work the fats into the flour. The goal is to break the fats down until the mixture resembles coarse meal with some pea-sized pieces of butter and shortening still visible. Avoid overworking the dough, as warmth from your hands can melt the fats, leading to a tough crust.
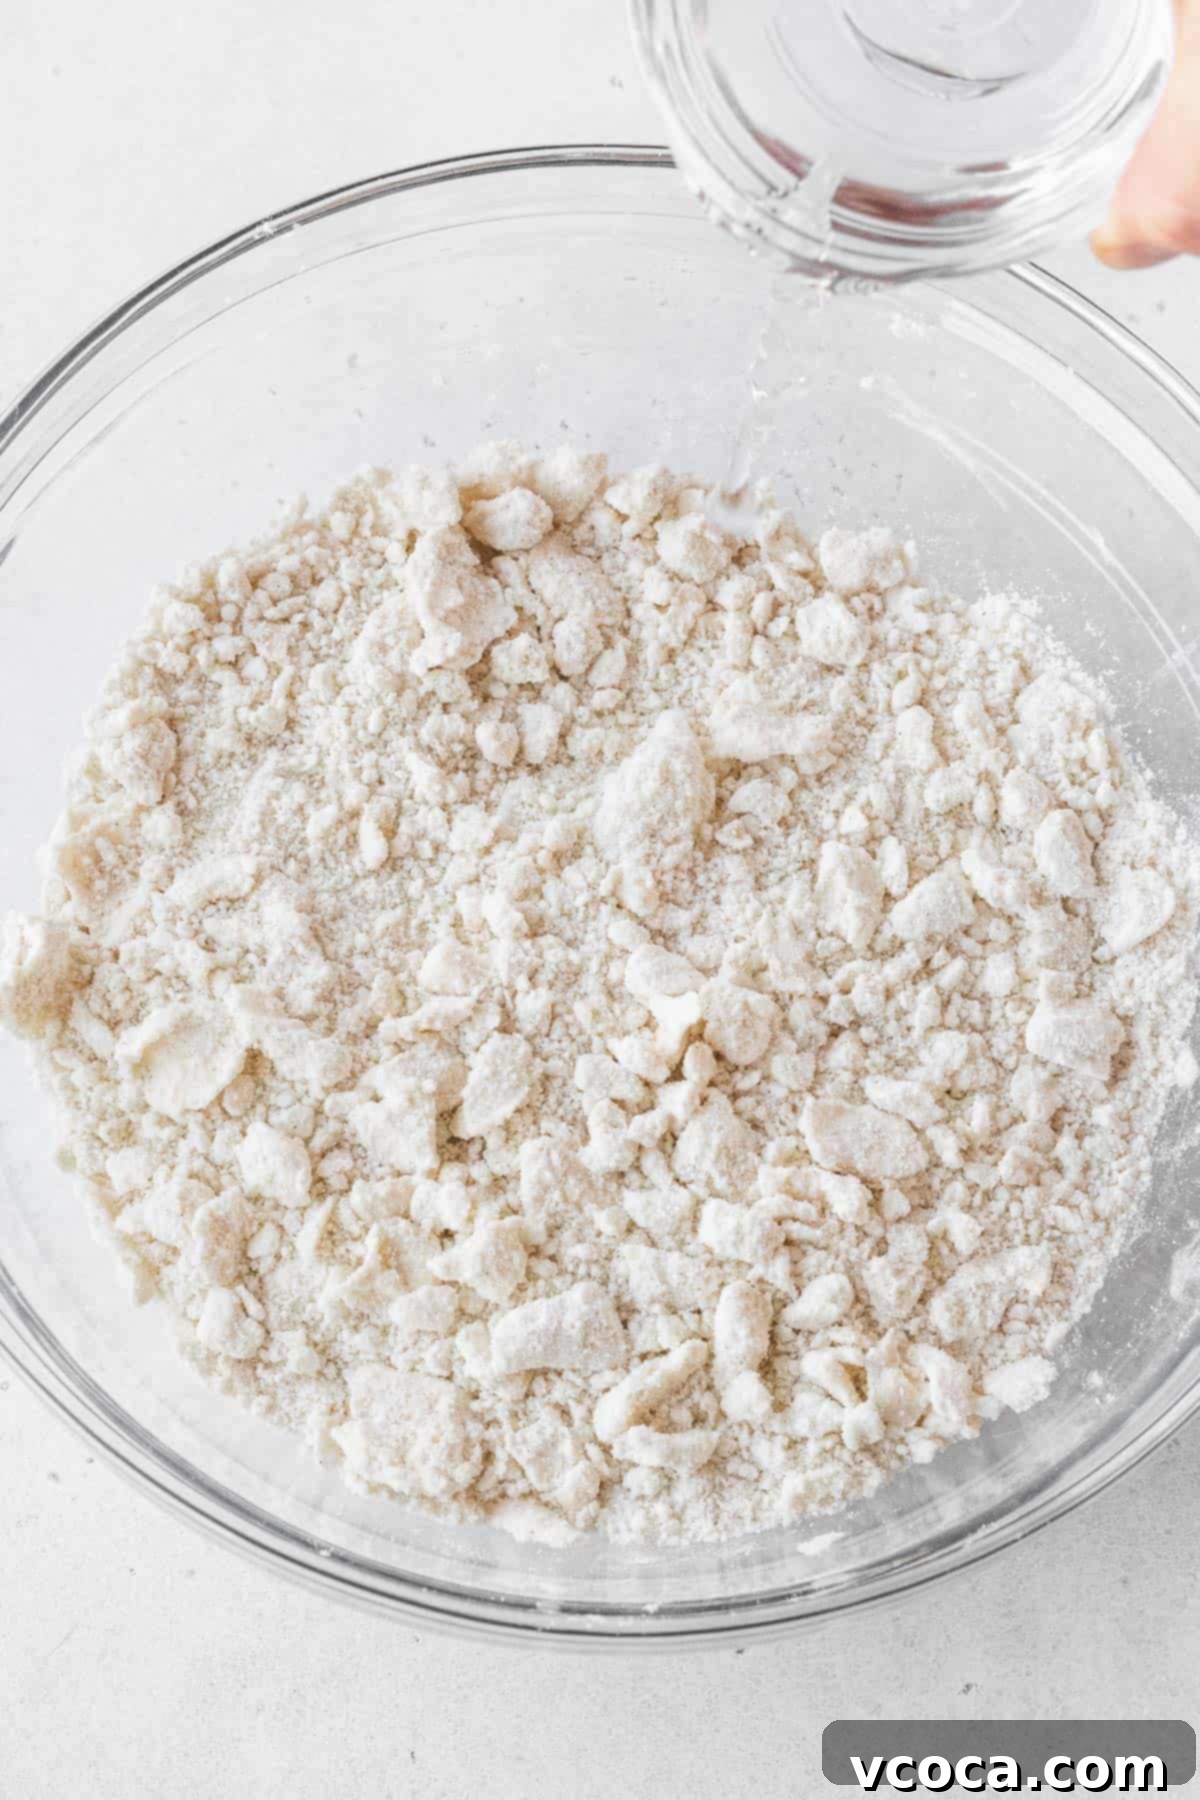
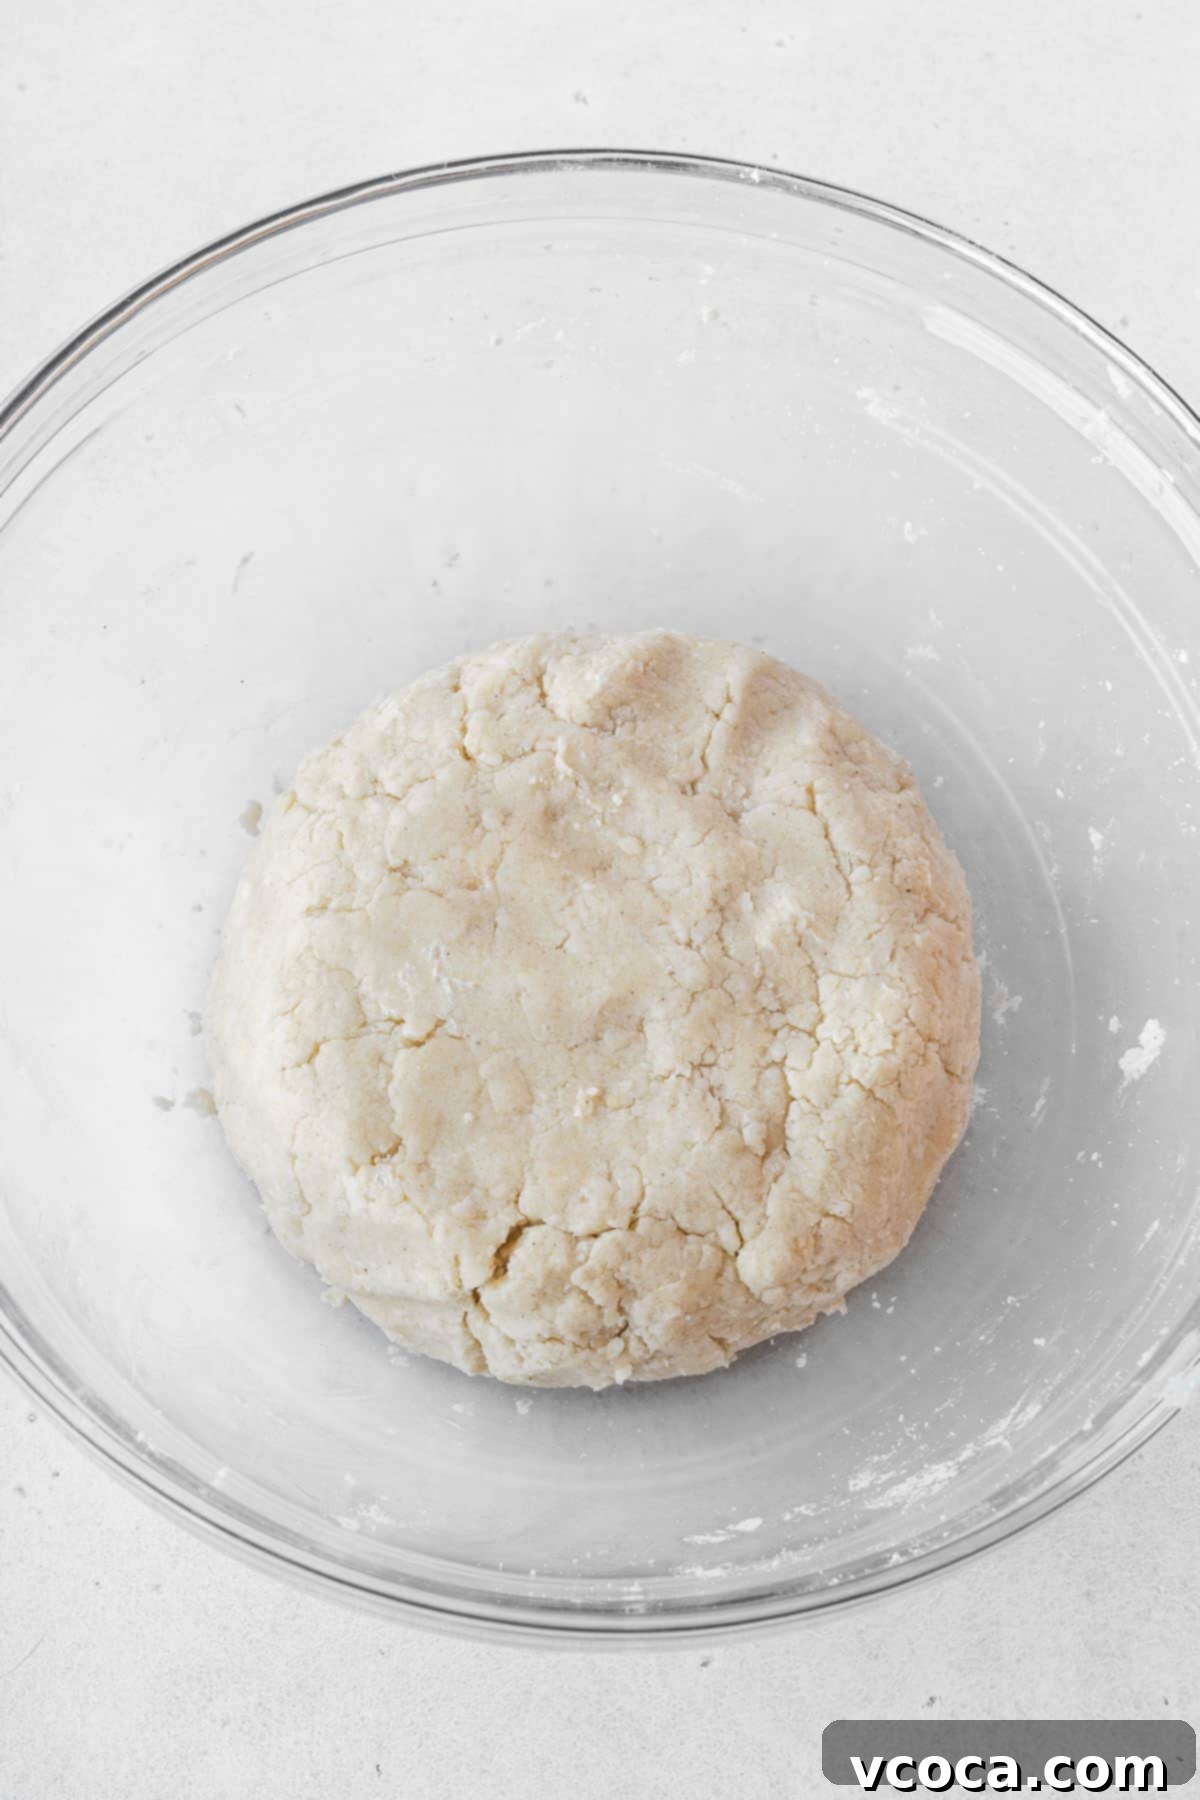
Step 3: Gradually add the ice-cold water, one tablespoon at a time. Mix gently after each addition until the dough just comes together. Be careful not to add too much water; the dough should be cohesive but not sticky. Stop as soon as it forms a ball.
Step 4: Gently shape the dough into a circular disk. Wrap it tightly in plastic wrap and allow it to rest and chill in the refrigerator for at least one hour. This chilling period is crucial for hydrating the flour, relaxing the gluten, and firming up the fats, all of which contribute to a tender, flaky crust.
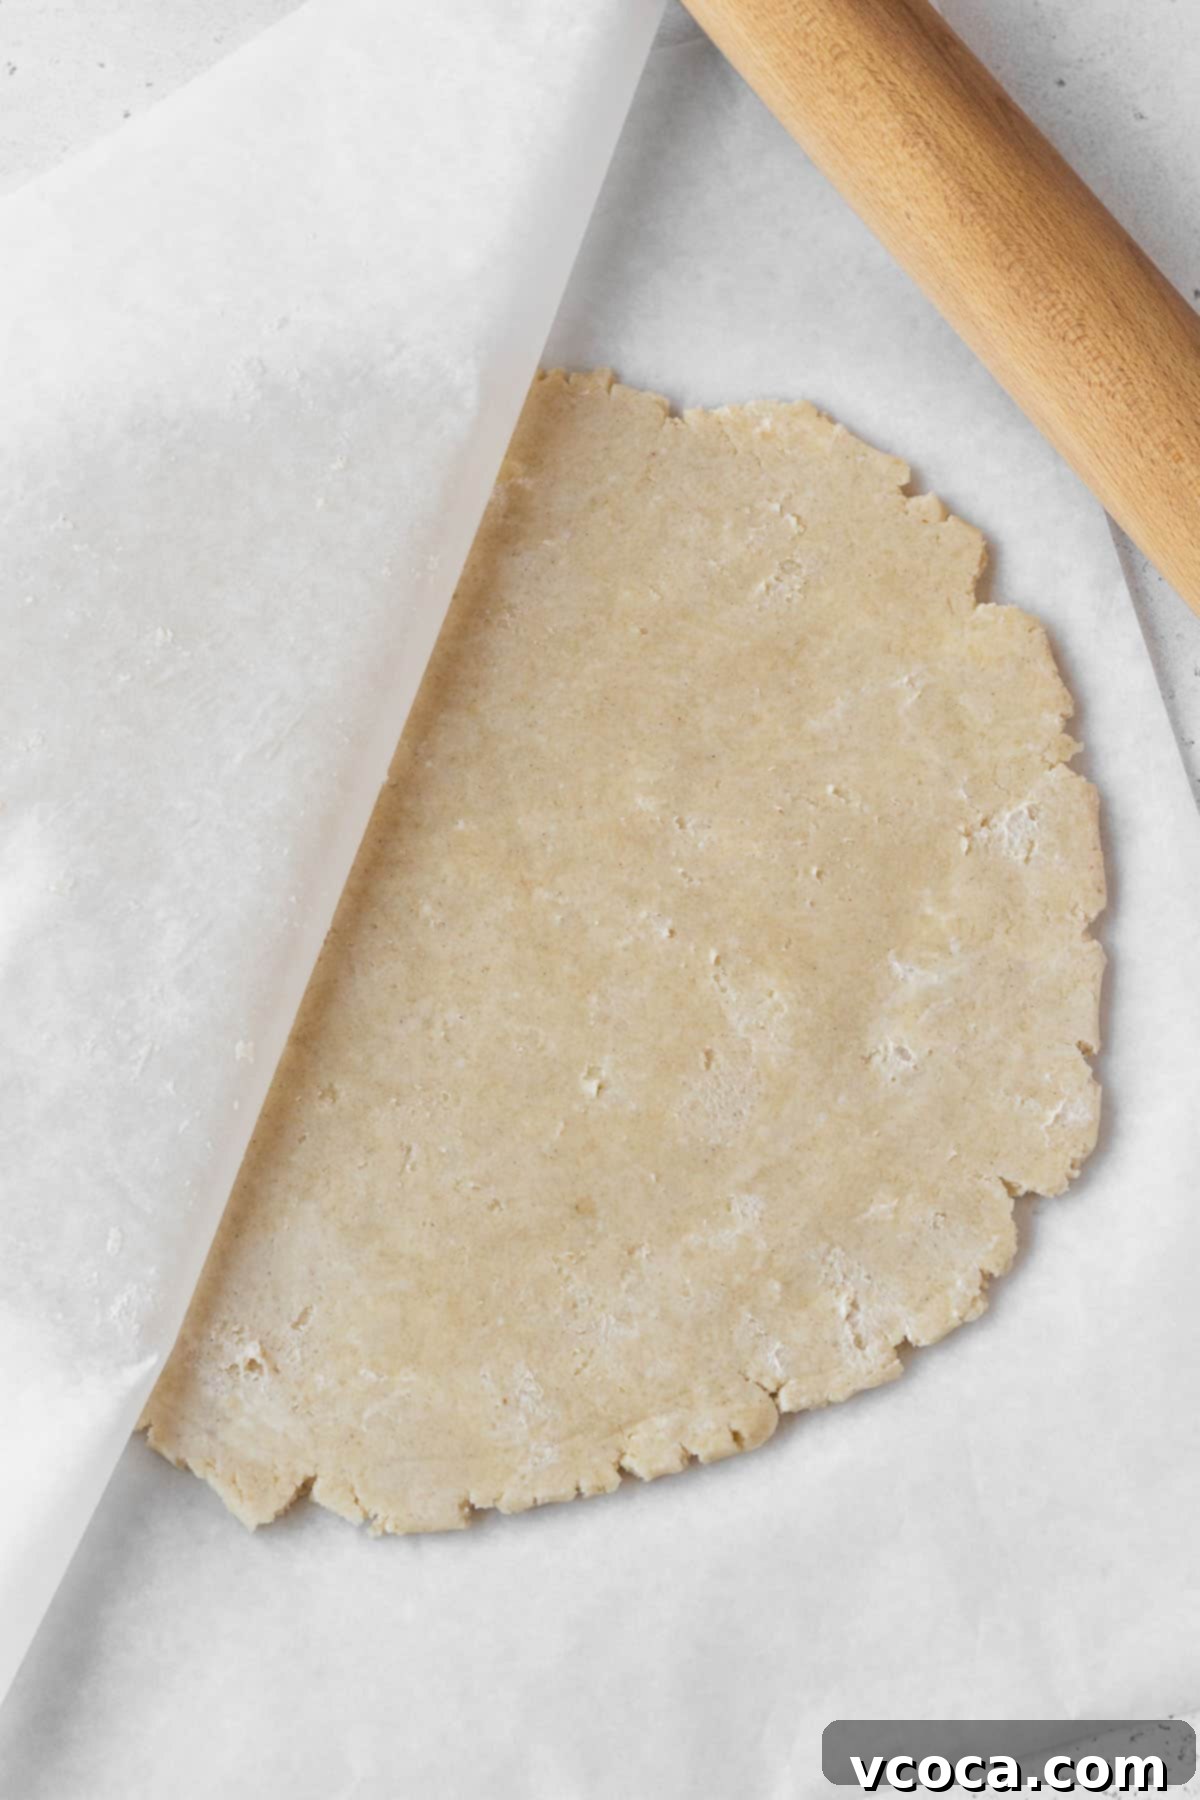
Step 5: Once rested, transfer the dough onto a lightly floured piece of parchment paper. Sprinkle a little more flour on top of the dough or place another layer of parchment paper over it. Using a rolling pin, carefully roll the dough out into a roughly 12-inch circle. The parchment paper prevents sticking and makes transfer easier.
Step 6: Gently transfer the rolled-out dough into a 9-inch glass pie plate. Carefully lift the edges of the dough and settle it into the contours of the pie plate, pressing it down to remove any air bubbles between the dough and the plate. This ensures a clean, even crust.
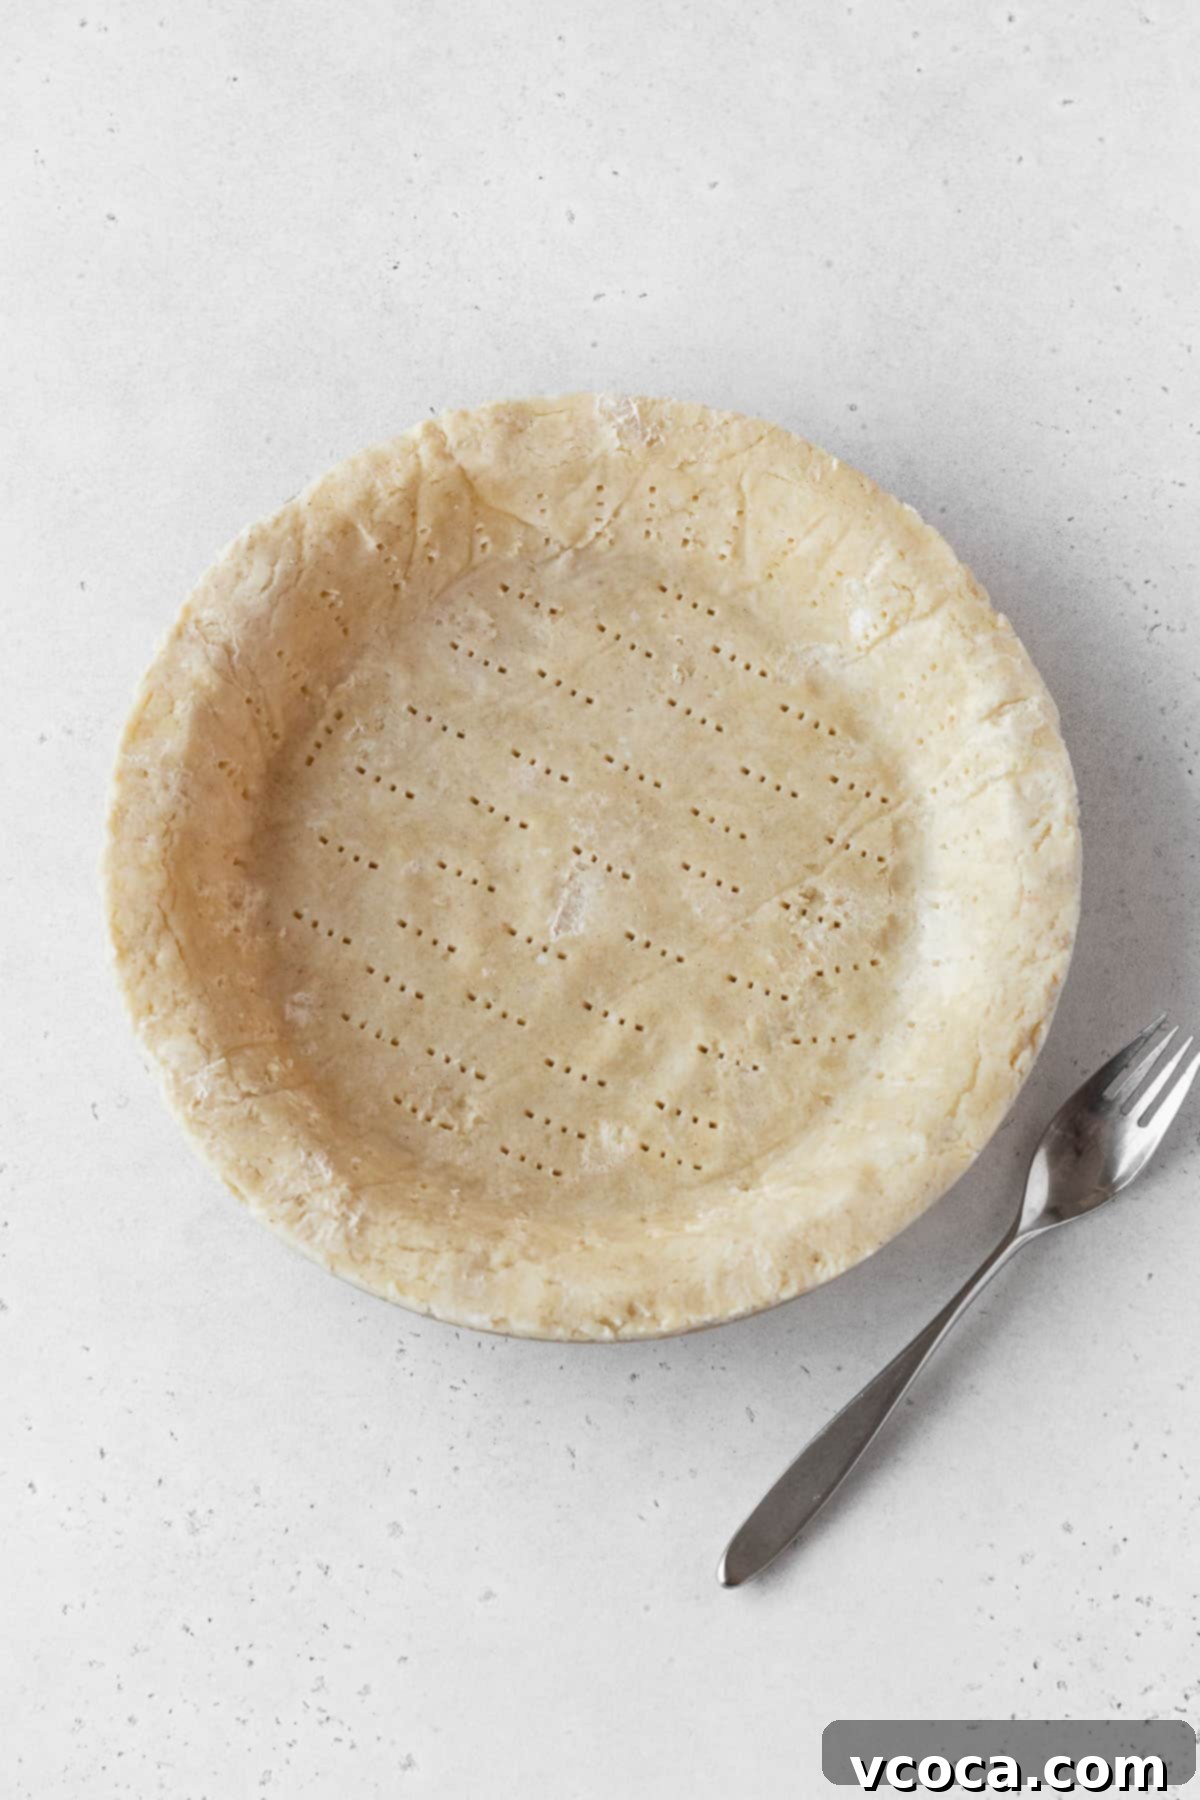
Step 7: Use kitchen scissors or a knife to trim off any excess pie crust, leaving about a 1-inch overhang. You can then decorate the edges of your pie crust as desired (fluting, crimping, etc.). Prick the bottom and sides of the pie crust generously with a fork. This prevents the crust from puffing up during blind baking. Place the pie plate into the freezer for 10-15 minutes, allowing it to firm up while your oven preheats.
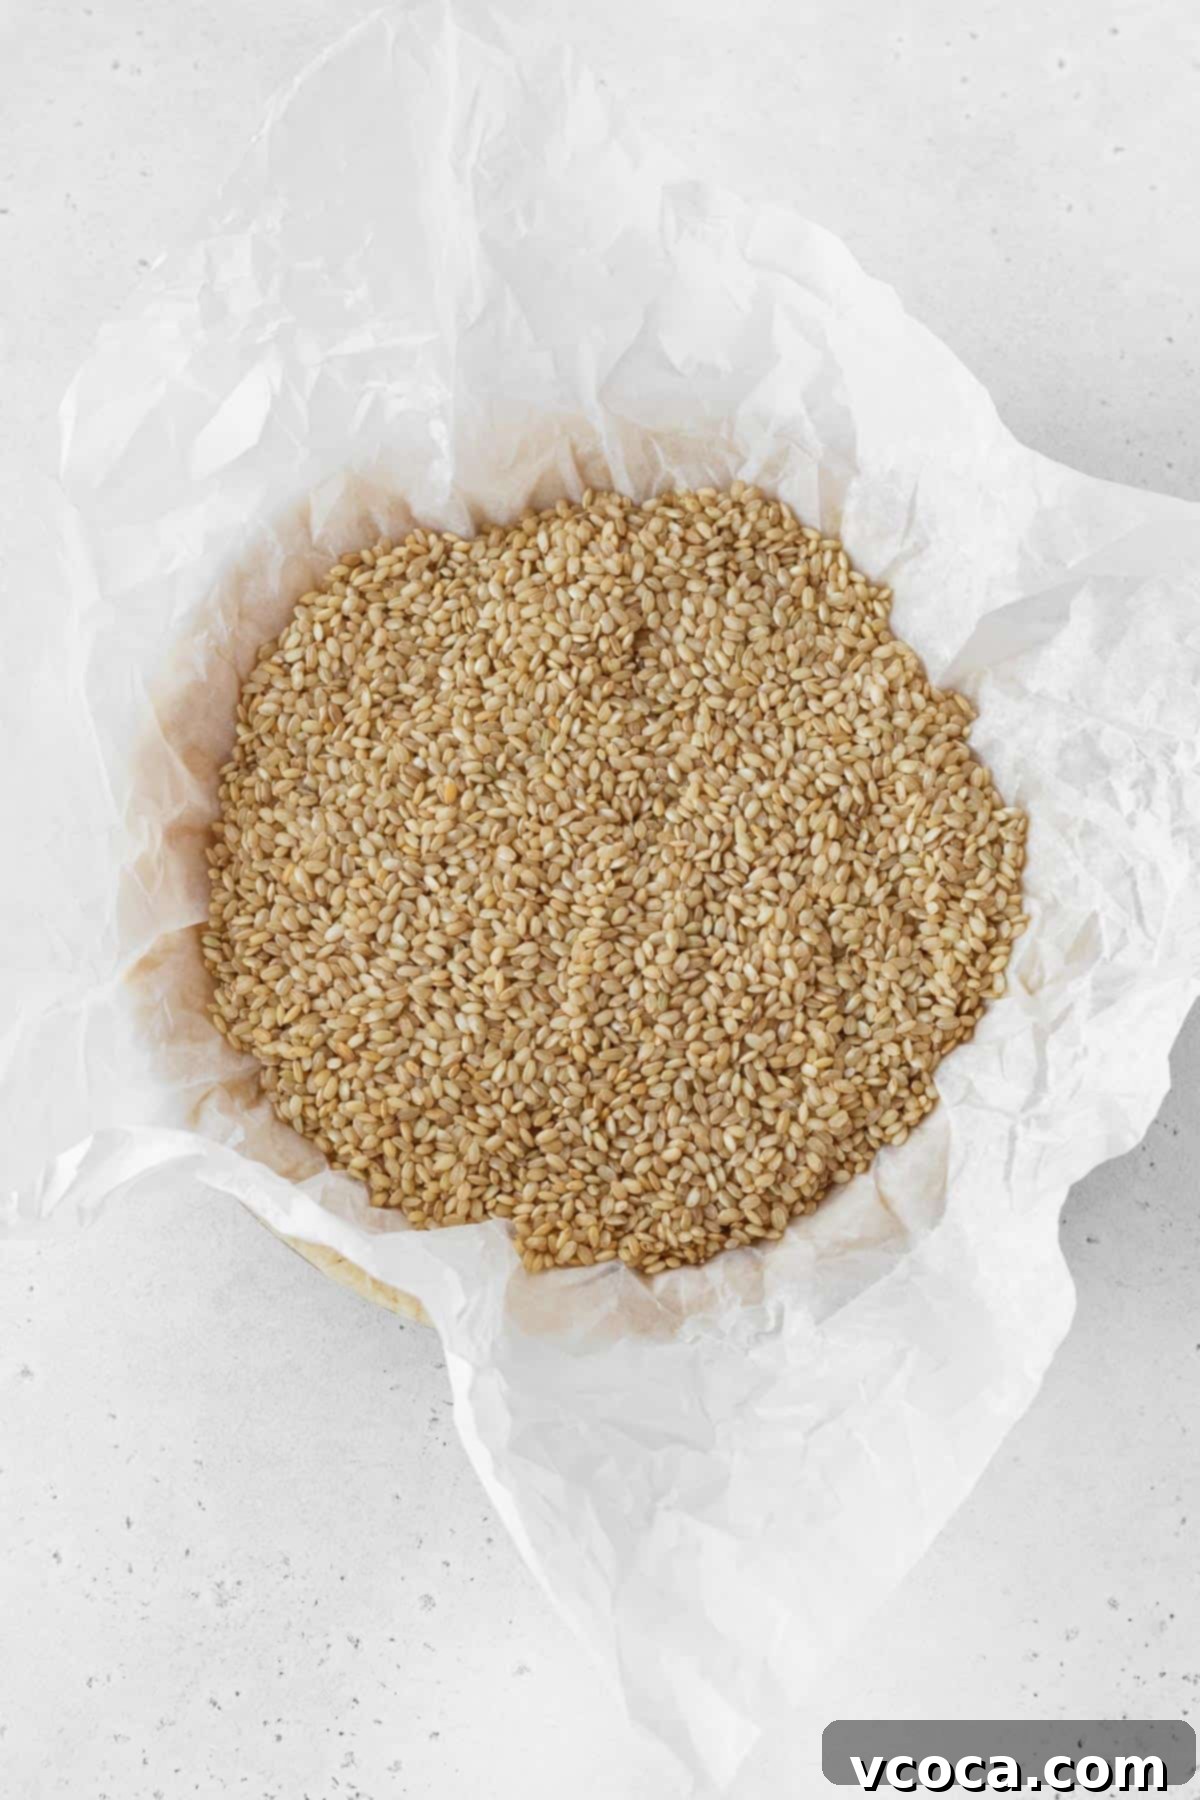
Step 8: Preheat your oven to 425°F (220°C). Once the oven is ready, retrieve the chilled pie plate from the freezer. Line the pie crust with a large piece of crumpled parchment paper, then fill it to the brim with pie weights. Dry beans or uncooked rice make excellent and cost-effective alternatives if you don’t have ceramic pie weights.
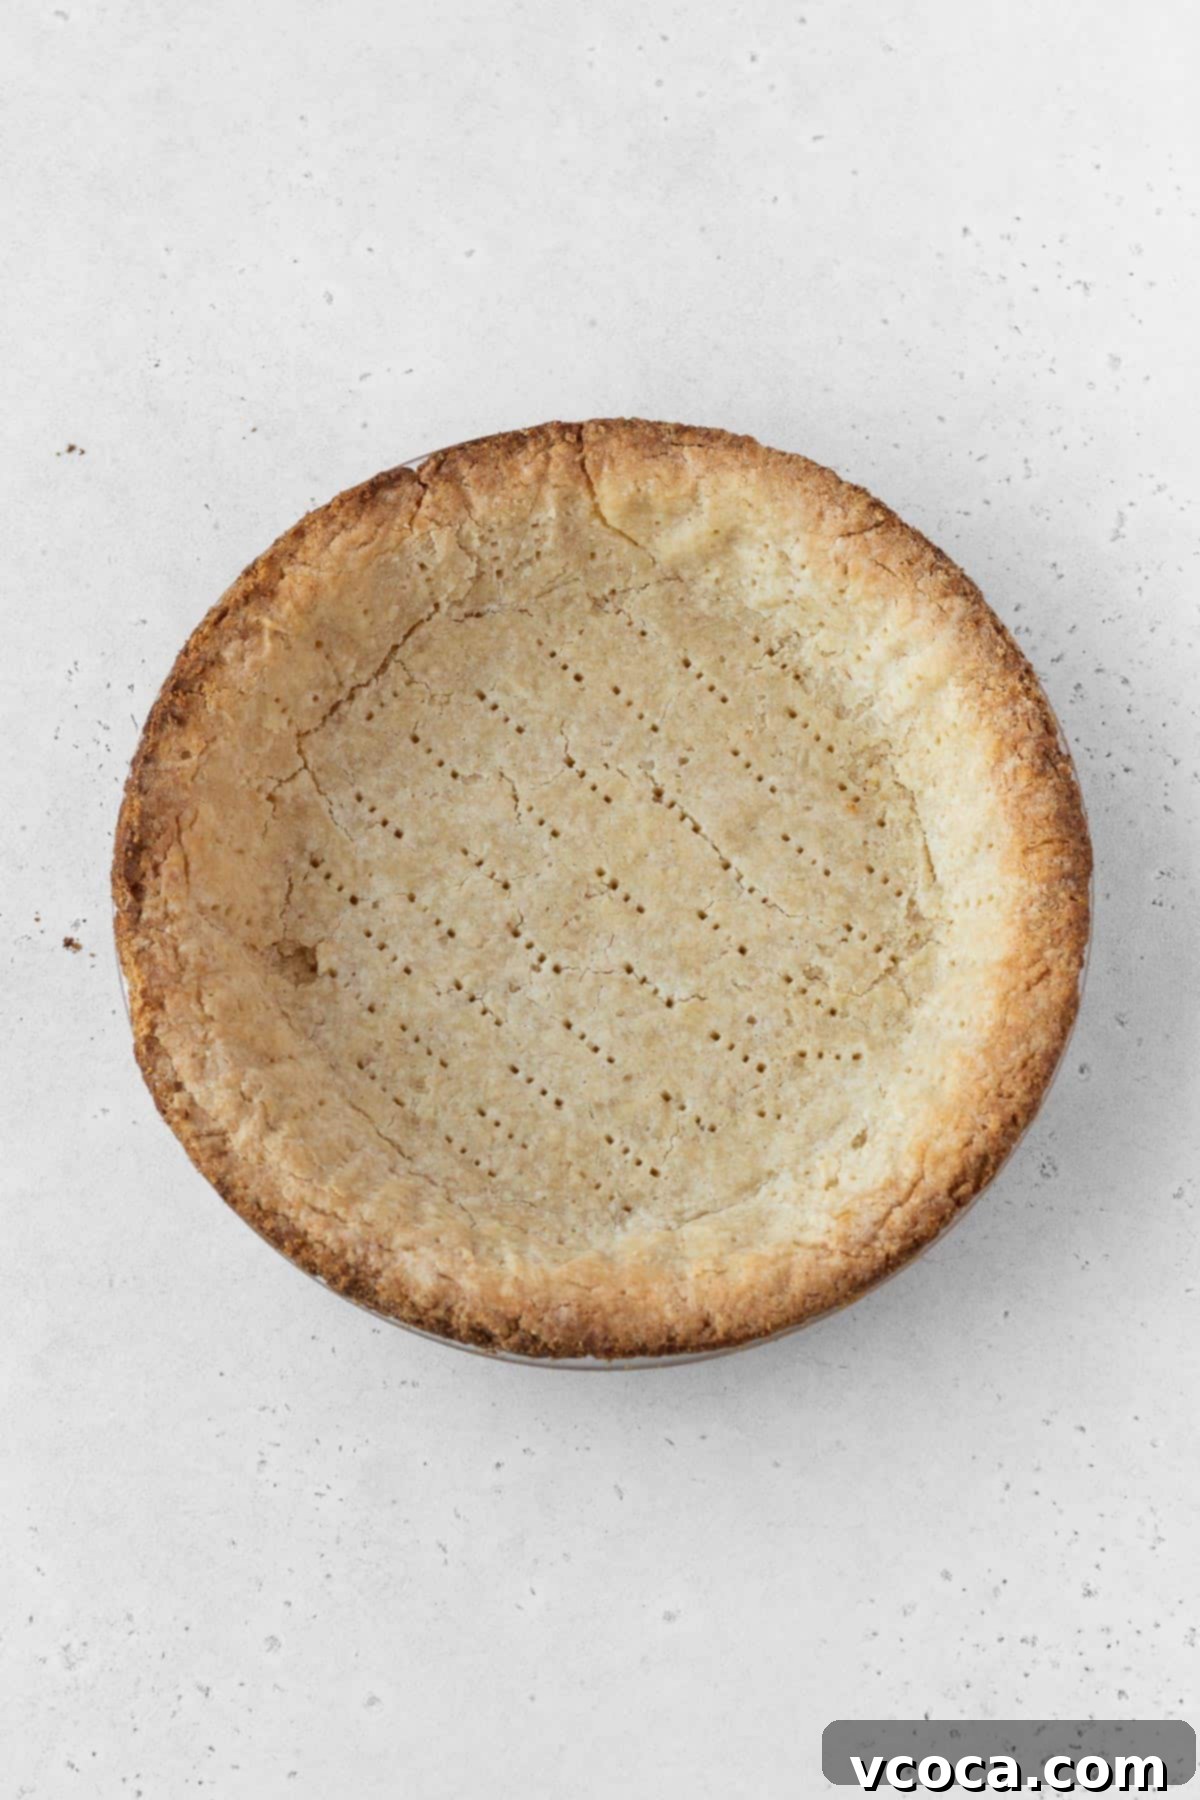
Step 9: Place the pie crust into the preheated oven and blind bake for 15 minutes. This initial bake helps the crust set and prevents it from getting soggy later. After 15 minutes, carefully remove the pie from the oven, lift out the parchment paper and pie weights, and return the crust to the oven for another 10 minutes to crisp up further. Once golden, take it out and allow it to cool completely before adding the filling.
Creating the Creamy Pumpkin Pie Filling
With your crust cooling, it’s time to prepare the star of the show – the rich, creamy, and perfectly spiced pumpkin filling!
Step 1: While your blind-baked crust is cooling, keep your oven preheated to 425°F (220°C). This ensures a seamless transition for baking your pie.
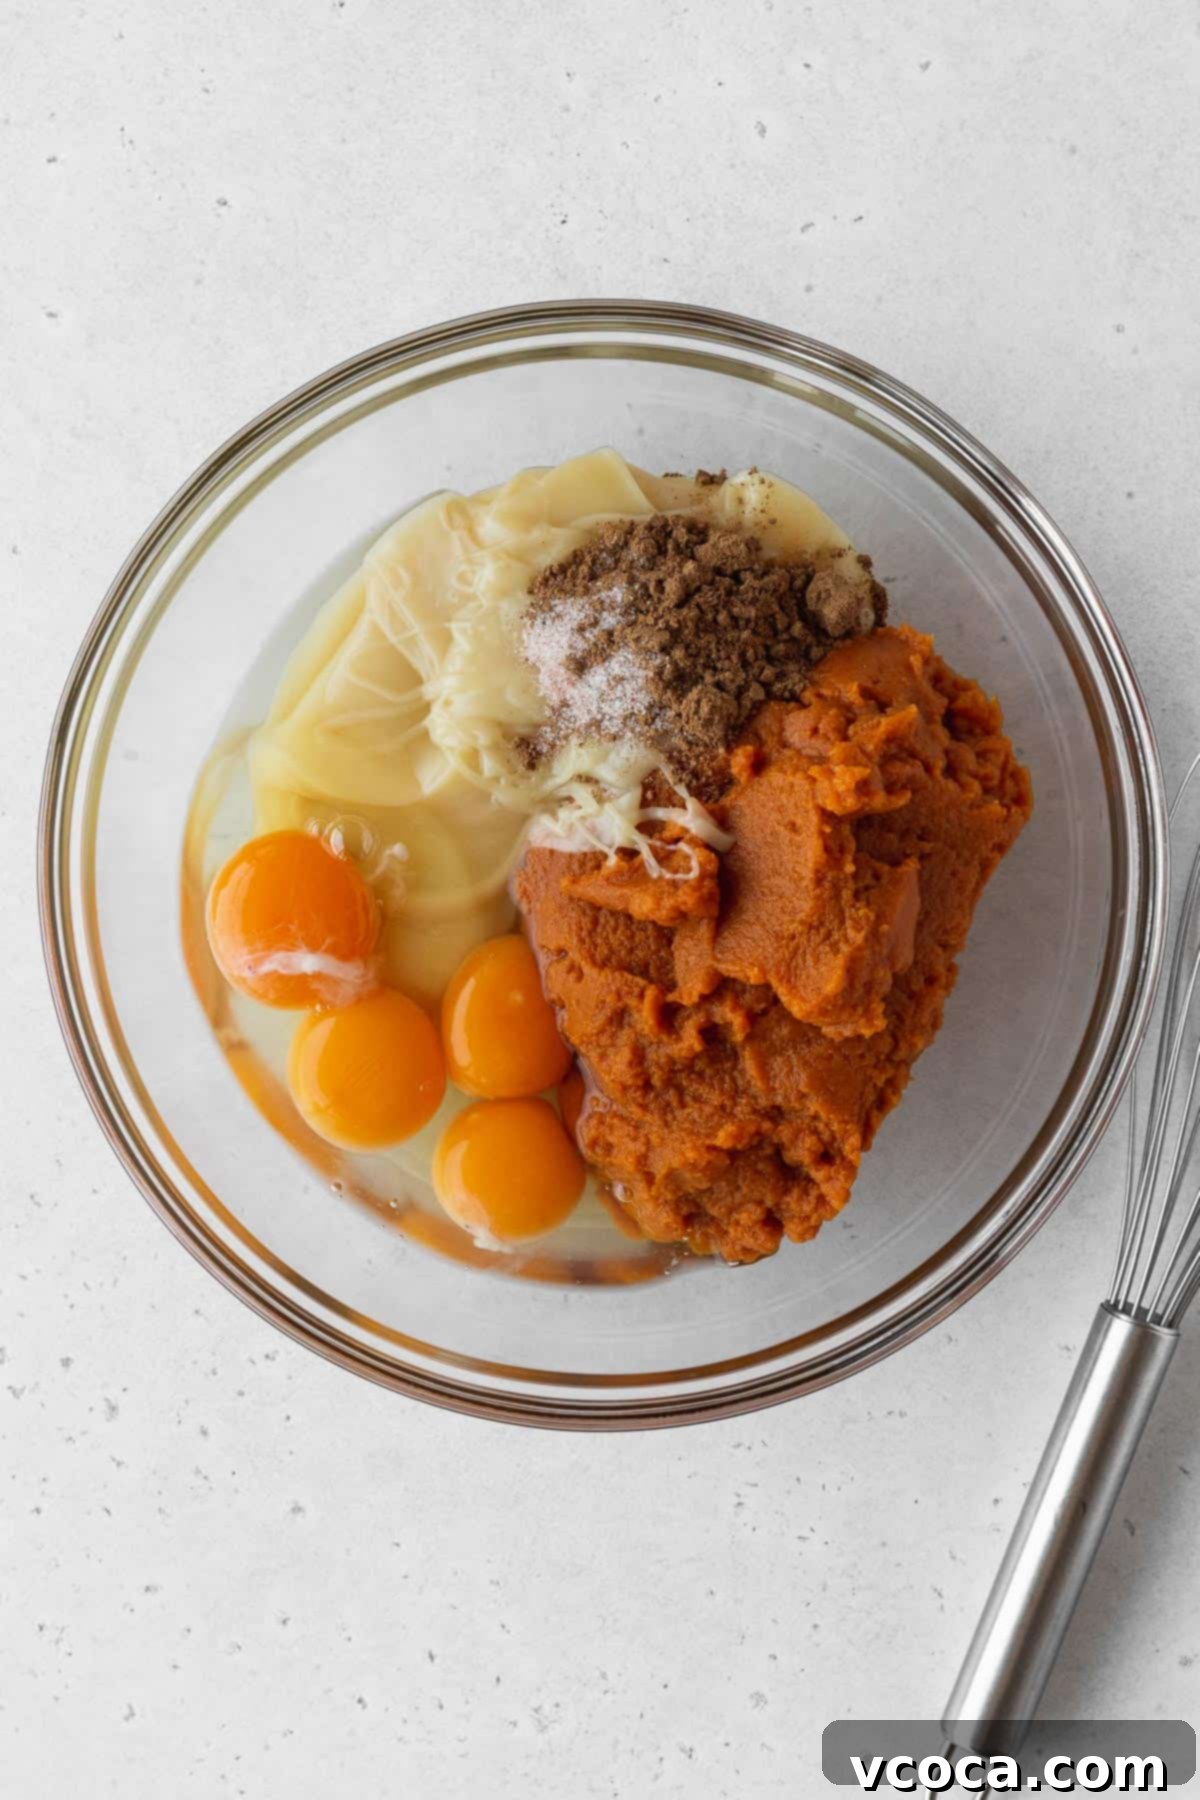
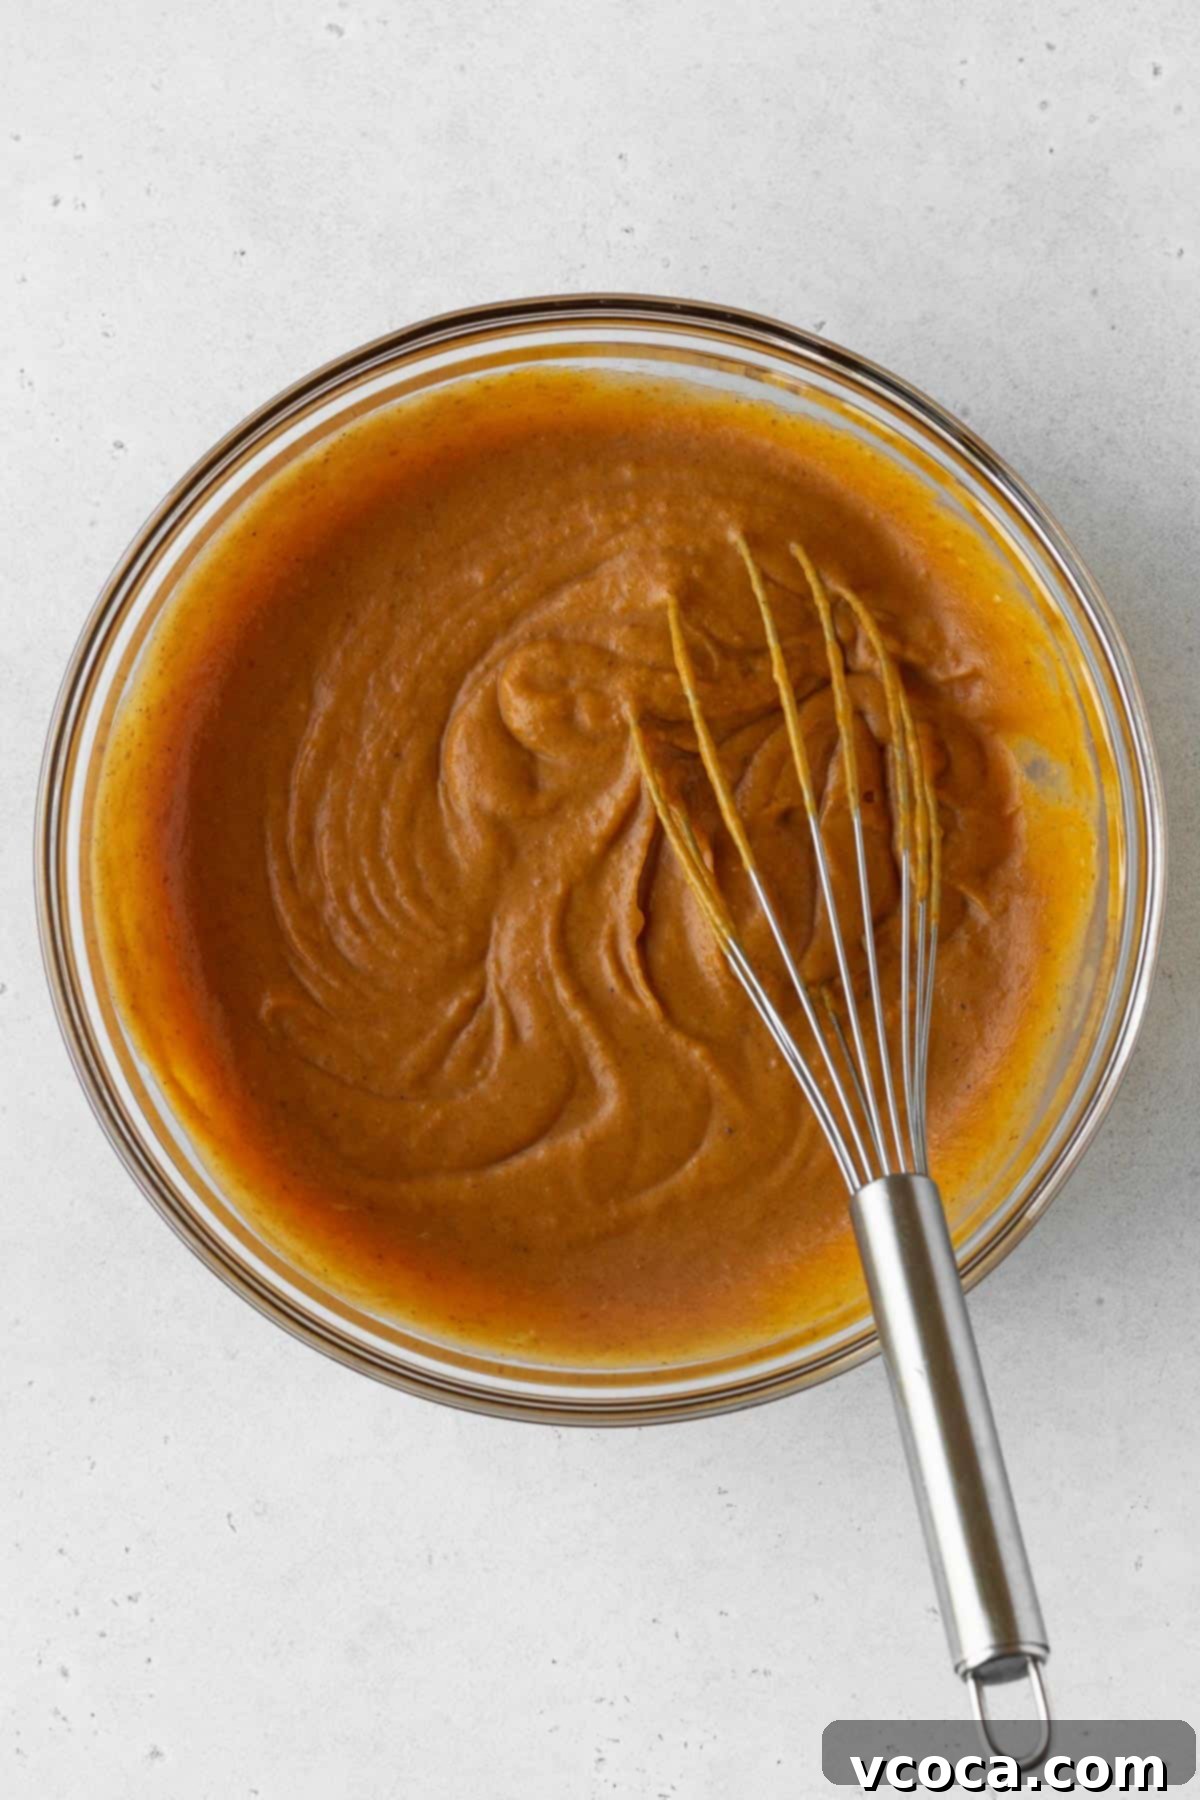
Step 2: In a large mixing bowl, combine the canned pumpkin purée, vegan sweetened condensed milk, two whole eggs, two egg yolks, pumpkin pie spice, and fine salt. Whisk all the ingredients together vigorously until the mixture is completely smooth and well combined. There should be no lumps, and the color should be uniform and vibrant orange.
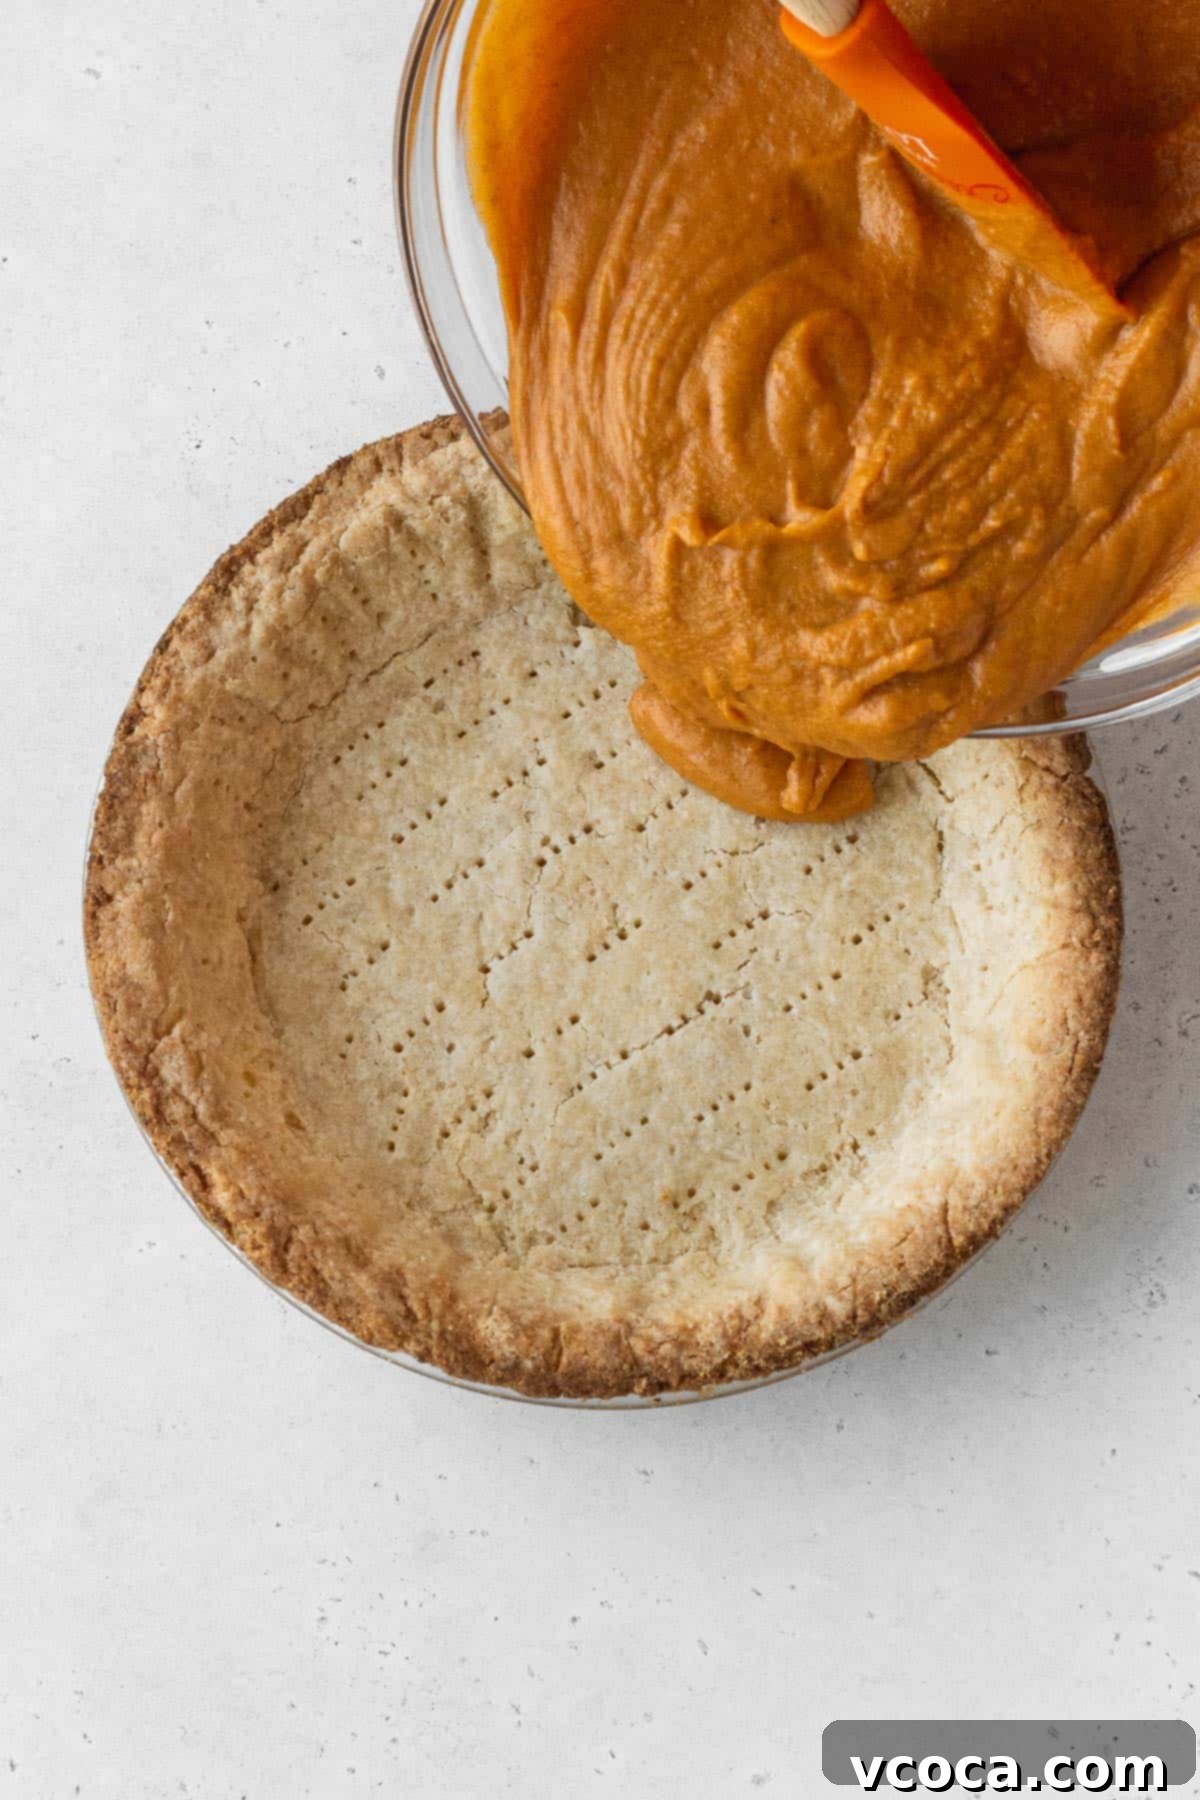
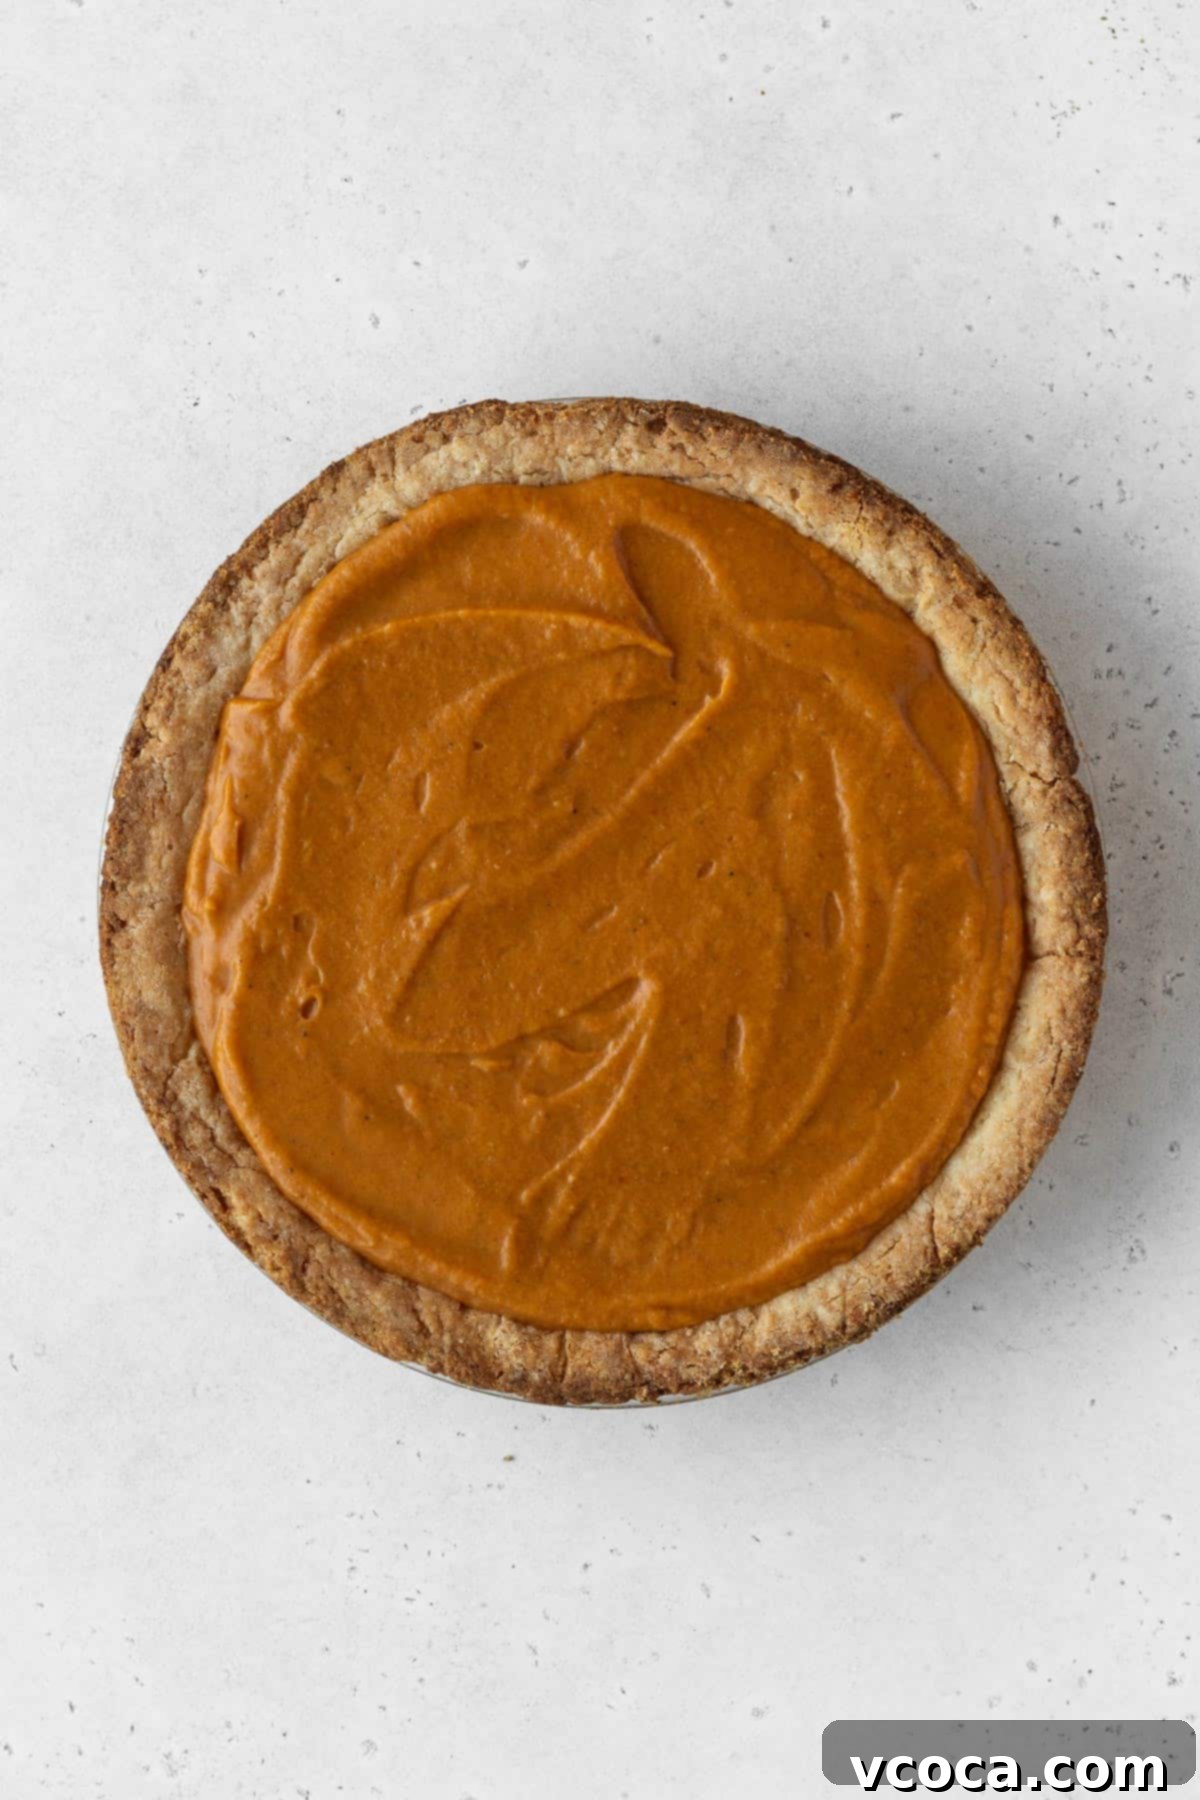
Step 3: Carefully pour the prepared pumpkin filling into the cooled, blind-baked pie crust. To prevent the crust edges from burning during baking, gently tent them with aluminum foil or a reusable silicone pie crust protector. Bake the pie for an initial 15 minutes at 425°F (220°C).
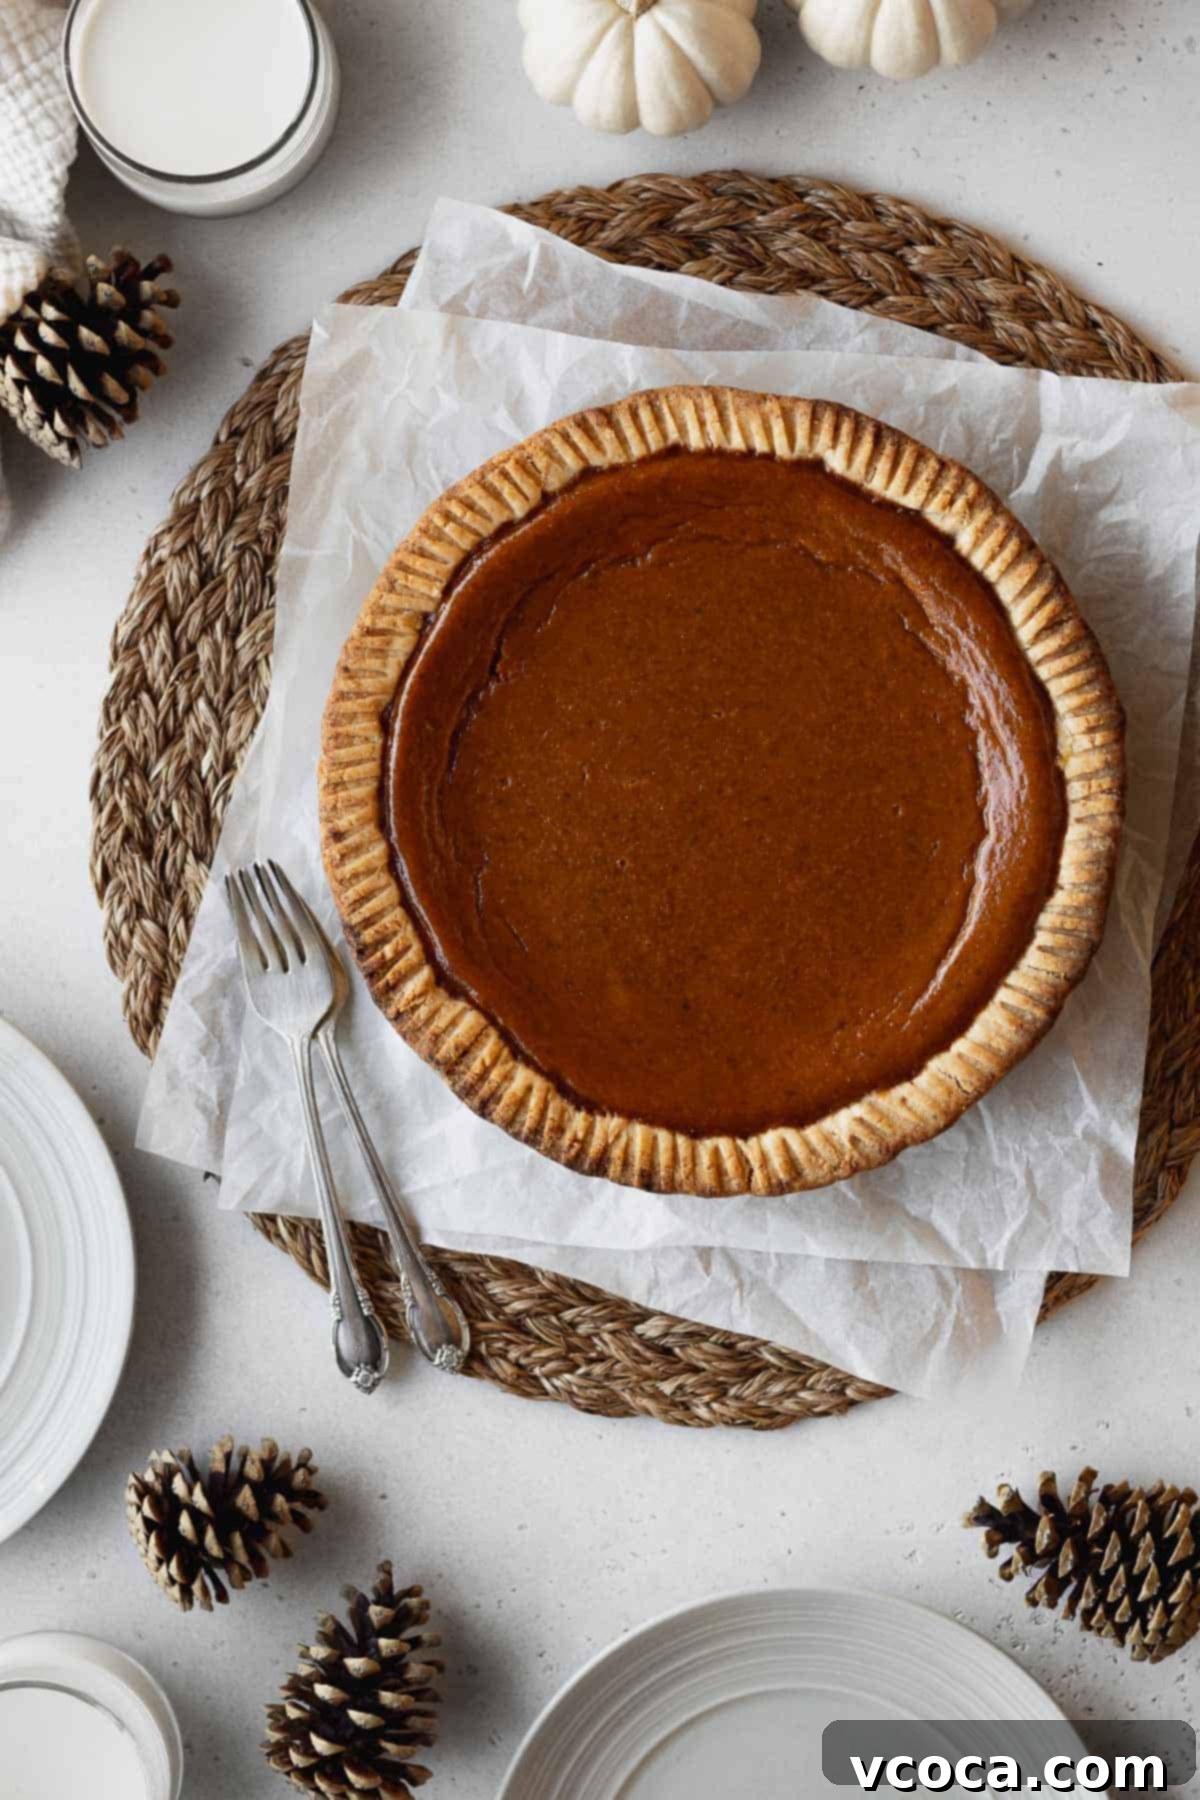
Step 4: Without opening the oven door (to avoid temperature fluctuations that can cause cracks), reduce the oven temperature to 320°F (160°C) and continue baking for another 35-37 minutes. The pie is ready when the edges are set, but the center still has a slight jiggle. To confirm doneness, insert the tip of a sharp knife about an inch from the pie crust; it should come out moist but clean. Immediately remove the pie from the oven and allow it to cool completely on a wire rack at room temperature before slicing and serving. This cooling time is essential for the filling to fully set. Store any leftovers in the fridge, preferably uncovered to prevent condensation from forming on the surface.
Expert Tips for the Best Dairy-Free Pumpkin Pie Ever
Achieving pumpkin pie perfection is easier than you think with these pro tips:
- Keep Pie Crust Ingredients Chilled: For an incredibly flaky and tender pie crust, it’s paramount to use very cold butter and shortening, along with ice water. The cold fats create steam in the oven, forming those desirable flaky layers. For extra assurance, you can even chill all your dry pie crust ingredients before mixing.
- Room Temperature for Filling Ingredients: In contrast to the crust, ensure all your filling ingredients (pumpkin, condensed milk, eggs) are at room temperature. This helps them combine smoothly and allows the pie to bake evenly, preventing any curdling or uneven texture.
- Chill Your Pie Dough Before Baking: After shaping your crust in the pie plate, pop it into the freezer for 10-15 minutes. This firms up the fats and gluten, preventing the crust from shrinking or “melting away” in the hot oven.
- Always Blind Bake the Pie Crust: Don’t skip this crucial step! Blind baking ensures that your pie crust gets fully cooked and remains wonderfully crisp, even after absorbing the moisture from the pumpkin filling. This is your secret weapon against the dreaded “soggy bottom.”
- Avoid Overbaking the Pie: Pumpkin pies are famously susceptible to cracking. The main culprit? Overcooked eggs. Keep a close eye on your pie; remove it from the oven when the edges are set but the center still has a slight, gentle jiggle. The pie will continue to cook and firm up as it cools.
- Allow for Complete Cooling: Patience is a virtue when it comes to pumpkin pie! The pie’s filling continues to set and firm up as it cools. For the cleanest slices and the best texture, let your pie cool completely at room temperature, then chill it in the fridge for at least 4 hours (or overnight) before you cut into it.
Storage and Freezing Directions for Your Dairy-Free Pumpkin Pie
Proper storage is key to enjoying your dairy-free pumpkin pie for days or even weeks to come:
Refrigerating: For immediate enjoyment, keep leftover slices in an airtight container or covered tightly with plastic wrap in the fridge for up to 2 days. It’s common for pumpkin pies to “weep” a little, meaning some moisture might rise to the surface. If this happens, simply blot away any excess moisture with a clean paper towel before serving.
Freezing a Whole Pie: If you’re planning to bake ahead or save a whole pie for later, consider baking it in a disposable pie pan. Once the pie is completely cooled, wrap it very tightly in a couple of layers of plastic wrap, followed by a layer of aluminum foil. For maximum protection against freezer burn, place the wrapped pie in a large freezer bag. When you’re ready to enjoy it, transfer the pie to the refrigerator and let it defrost for 24 hours.
Freezing Individual Slices: This is a great option for meal prep or single servings. Wrap each individual slice tightly in a couple of layers of plastic wrap, then an additional layer of aluminum foil. Place the wrapped slices in a freezer bag or an airtight container. To defrost, simply place a slice in the fridge for at least 12 hours before enjoying.
Frequently Asked Questions About Dairy-Free Pumpkin Pie
Yes, traditional pumpkin pie recipes typically include dairy, most commonly in the form of evaporated milk or sometimes heavy cream. This dairy provides richness and a creamy texture. To make a delicious dairy-free pumpkin pie, like this recipe, we ingeniously substitute these ingredients with vegan sweetened condensed milk, ensuring all the creaminess without any of the dairy.
My absolute favorite and most recommended substitute for evaporated milk in a dairy-free pumpkin pie is vegan sweetened condensed milk. It’s already sweetened and wonderfully thick, eliminating the need to adjust sugar levels. Brands like Nature’s Charm (oat milk based) or sweetened condensed coconut milk work perfectly. You can also use equal amounts of canned lite coconut milk for a slightly less sweet option, or look for specific dairy-free evaporated milk brands if available in your local store.
Absolutely! The pumpkin filling itself is naturally gluten-free, so the main adjustment needed is to the pie crust. You can either opt for a convenient store-bought gluten-free pie crust, usually found in the freezer aisle of most grocery stores, or easily adapt the homemade crust recipe. Simply substitute the all-purpose flour with an equal amount of a high-quality gluten-free 1-to-1 flour blend (ensure it contains xanthan gum for structure) and follow the same preparation steps for a delicious gluten and dairy-free pumpkin pie.
Yes, this lactose-free pumpkin pie is an excellent make-ahead dessert! You can bake the entire pie a day in advance and store it in the refrigerator until you’re ready to serve. Alternatively, if you want to get a head start even further, you can prepare just the pie dough up to a month ahead of time. Wrap the dough tightly in a few layers of plastic wrap and store it in an airtight freezer bag in the freezer. When you’re ready to bake, simply defrost the dough in the fridge for 12-24 hours before rolling it out and proceeding with the recipe.
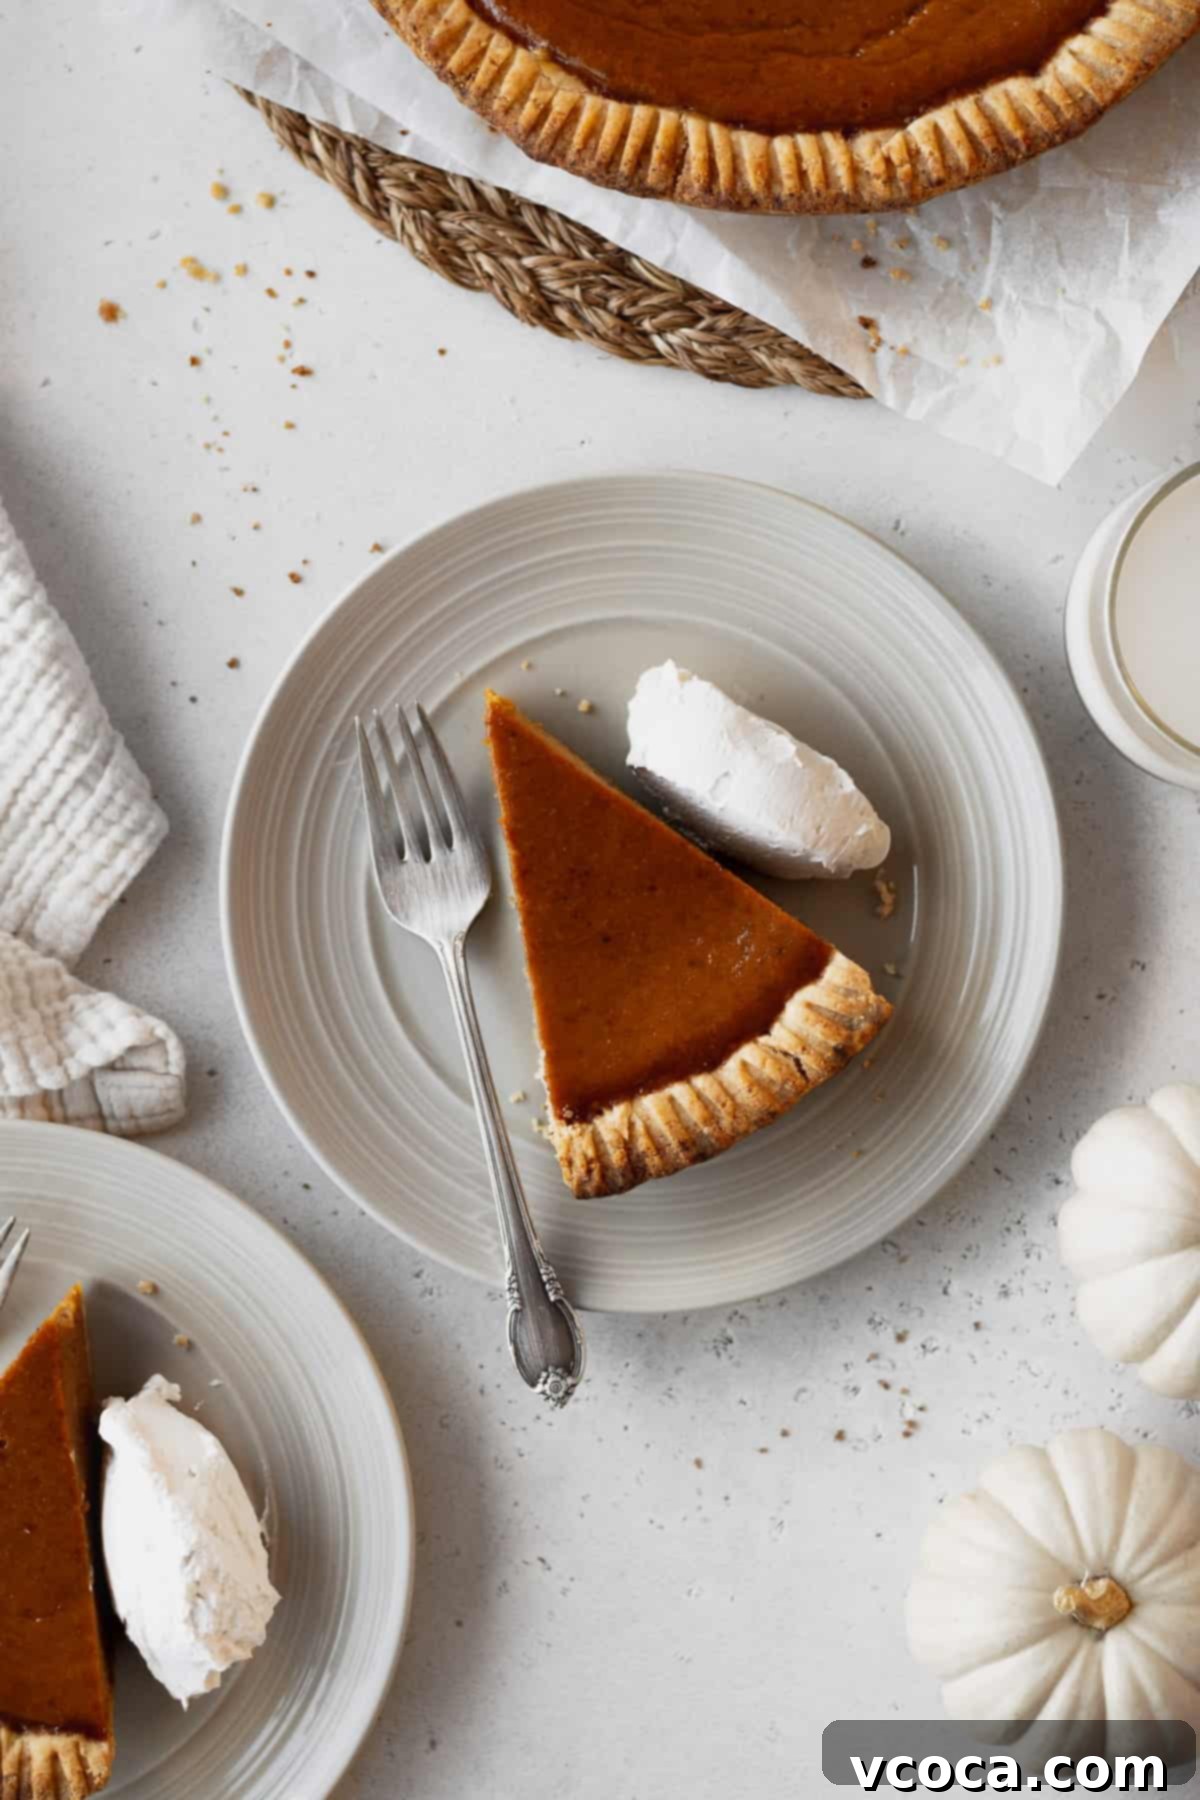
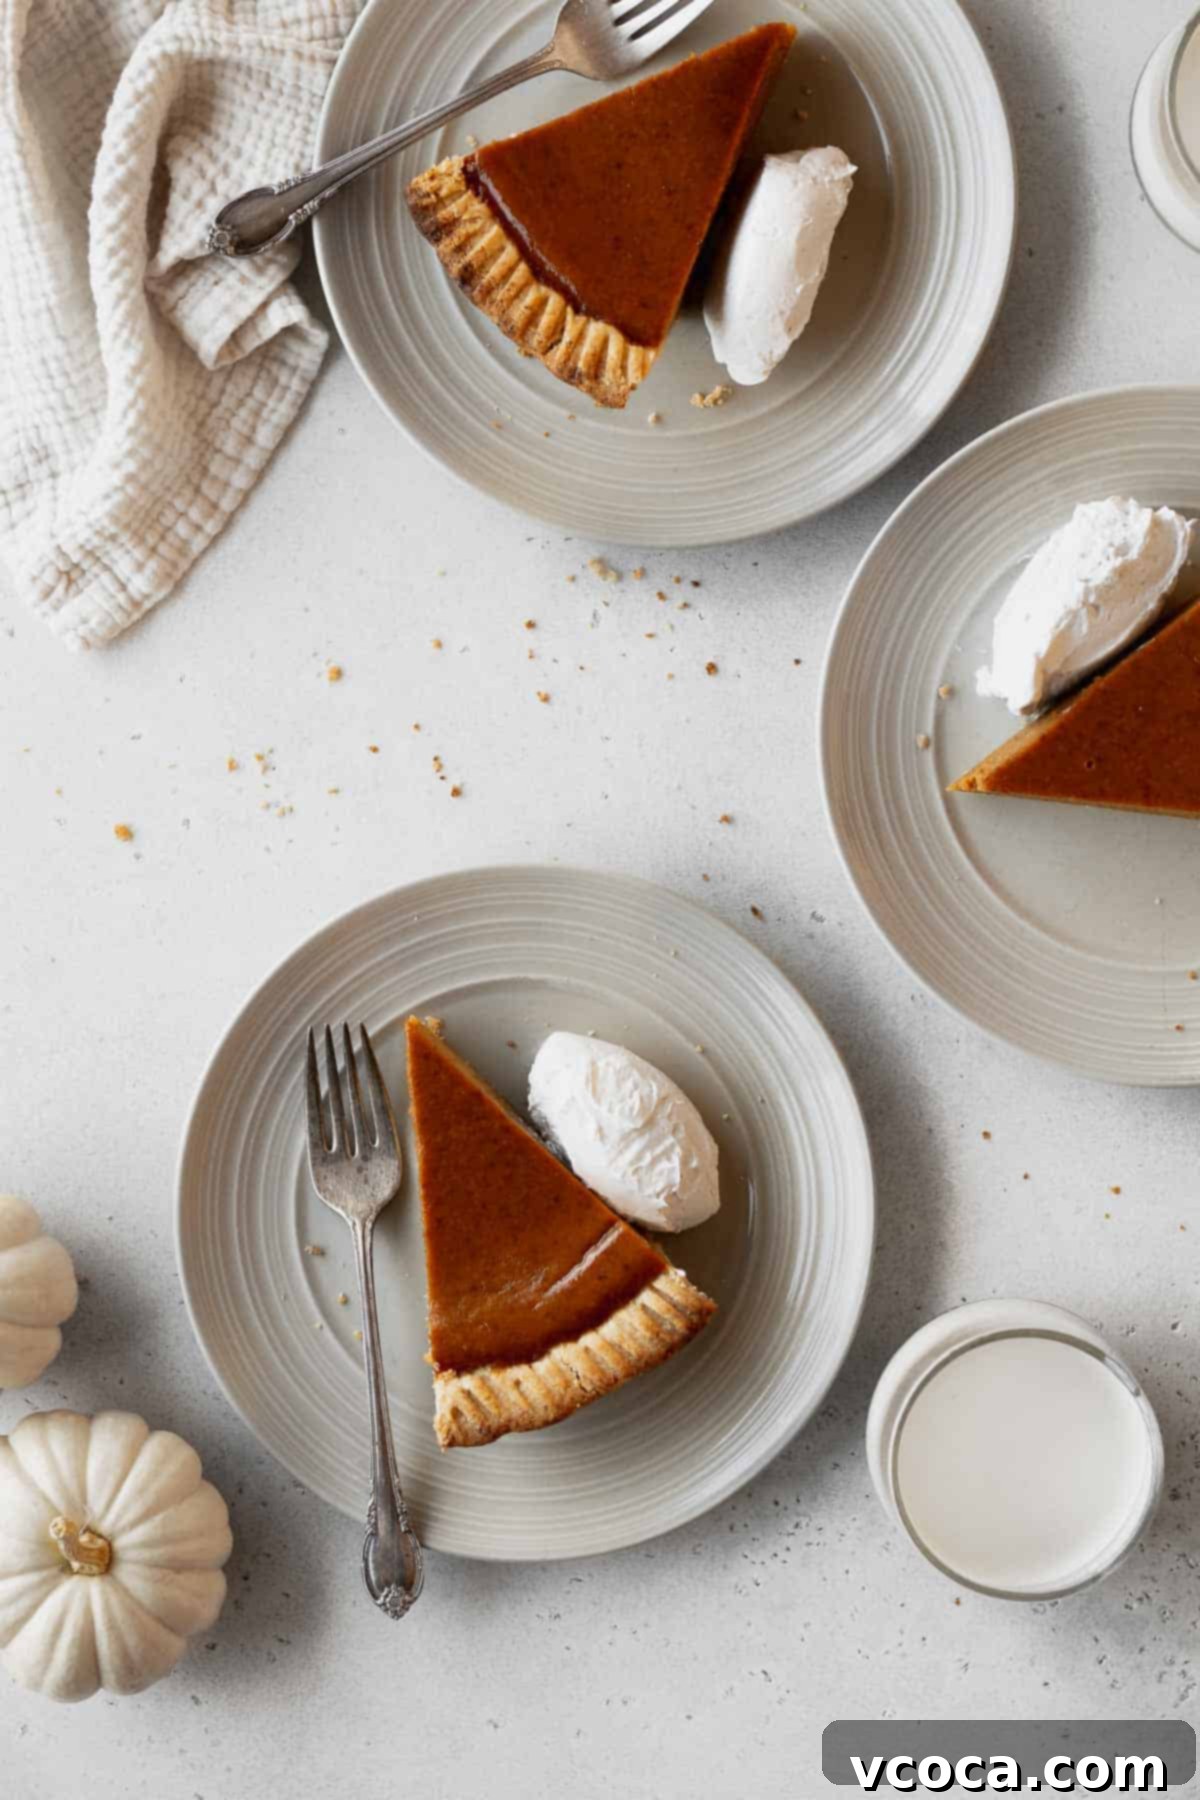
To truly complete the experience, serve your dairy-free pumpkin pie with a generous dollop of creamy coconut whipped cream! Its light, airy texture and subtle sweetness perfectly complement the rich pumpkin. Another fantastic option is a scoop of your favorite dairy-free vanilla ice cream, which creates a delightful hot-and-cold contrast. For an extra touch of indulgence, consider a drizzle of dairy-free caramel sauce or a sprinkle of toasted pecans.
More Dairy-Free & Gluten-Free Thanksgiving Recipes You’ll Love
If you’re looking for more delicious recipes that cater to dairy-free or gluten-free diets, especially for the Thanksgiving holiday, explore these fantastic options:
- Craving more pumpkin desserts? You absolutely must try this gluten-free pumpkin bread! It’s incredibly moist, perfectly spiced, and just as comforting as pie.
- If soup is your comfort food, then my creamy vegan pumpkin soup is a must-make! It’s rich, flavorful, and even better when topped with crunchy cornbread croutons.
- Thanksgiving wouldn’t be complete without a hearty side of cornbread. My gluten-free cornbread is moist, fluffy, subtly sweet, and wonderfully “corny”—the ideal accompaniment to any holiday meal.
- Are you a fellow Brussels sprouts fanatic? My roasted Brussels sprouts recipe is elevated with savory bacon, crunchy pecans, and sweet dried cranberries, making it a truly irresistible side dish!
- For something delightfully unconventional yet packed with flavor, give my vegan rice stuffing with jackfruit a try! It’s a fantastic plant-based alternative that doesn’t skimp on taste.
I genuinely hope you cherish this Dairy-Free Pumpkin Pie Recipe and make it a staple in your fall and holiday baking. For even more delectable dairy-free and gluten-free recipe inspirations and ideas, be sure to follow me on Instagram, Pinterest, or Facebook. You can also sign up for my exclusive email newsletter to have all my latest content and culinary adventures delivered directly to your inbox!
Dairy-Free Pumpkin Pie Recipe
Print
Pin
Rate
Ingredients
Pie crust
- 2 cups all-purpose flour
- ½ cup almond flour
- 2 tablespoons cornstarch
- 2 tablespoons granulated sugar
- 1 teaspoon fine salt
- ½ teaspoon baking powder
- ½ cup vegan butter cubed and chilled
- ½ cup shortening cubed and chilled
- 6 tablespoons ice cold water
Filling
- 15 oz canned pumpkin (not pumpkin pie filling)
- 11.25 oz non-dairy sweetened condensed milk
- 2 large eggs
- 2 egg yolks
- 2 teaspoons pumpkin pie spice
- ½ teaspoon fine salt
Instructions
Make the pie crust
-
In a bowl, combine all-purpose flour, almond flour, cornstarch, sugar, salt, and baking powder.
-
Add the cold cubes of butter and shortening. Use your fingers, pinch the butter and shortening, and work them into the flour mixture.
-
Add the ice-cold water in 1 tablespoon at a time, until the dough comes together.
-
Shape the dough into a circular disk, wrap it up, and let it rest in the fridge for at least an hour.
-
Take the rested dough out onto a floured piece of parchment paper. Sprinkle more flour on the dough or add another layer of parchment paper on top and use a rolling pin to roll it out into a roughly 12-inch circle.
-
Take the dough and fit it into a 9-inch glass pie plate. Lift the edges of the dough, settle it into the pie plate, and press it down. Check the bottom of the pie plate and make sure there are no air bubbles between the pie plate and the dough.
-
Use scissors or a knife to trim off the edges of the pie crust. You can decorate the edges of the pie however you like. Prick the bottom and sides of the pie crust using a fork. Put the pie plate into the freezer for 10-15 minutes (it should be the same amount of time it takes for the oven to preheat).
-
Preheat the oven to 425°F (220°C). Take the pie plate out of the freezer, put a large piece of crumpled parchment paper into the pie crust, and fill it to the top with pie weights (use dry beans or uncooked rice as a cheap alternative).
-
Bake the crust in the preheated oven for 15 minutes. Take the pie out of the oven, remove the pie weights out of the crust by lifting the parchment paper, and put the pie crust back into the oven for another 10 minutes. Take it out of the oven and let it cool.
Make the filling
-
Preheat the oven to 425°F (220°C).
-
In a large bowl, whisk together the pumpkin, condensed milk, eggs, egg yolks, pumpkin pie spice, and salt.
-
Pour the mixture into the cooled pie crust. Tent the edges of the pie crust with aluminum foil or a silicone protector to avoid burning. Bake the pie for 15 minutes. Without opening the oven door, lower the temperature to 320°F (160°C) and bake for another 35-37 minutes, until the center is jiggly but not loose. You can check for doneness by inserting the tip of a sharp knife into the filling about an inch from the pie crust. It should come out moist but clean.
-
Let the pie cool completely on the counter before serving. Store in the fridge.
Notes
Refrigerating: You can keep leftover slices in an airtight container or covered with plastic wrap in the fridge for up to 2 days. Pumpkin pies have a tendency to “weep”, where the moisture rises to the surface. If your pumpkin pie starts to weep, just blot the excess moisture with a clean paper towel.
Freezing a whole pie: If you’re planning to freeze the whole pie, bake the pie in a disposable pie pan. Cool the pie completely, and wrap it tightly in a couple of layers of plastic wrap followed by a layer of aluminum foil. Put the pie in a large freezer bag for extra protection against freezer burn. Put the pie in the fridge for 24 hours to let it defrost.
Freezing individual slices: You can wrap each slice tightly in a couple of layers of plastic wrap followed by a layer of aluminum foil before putting it in a freezer bag or airtight container. Let it defrost in the fridge for at least 12 hours.
Nutrition
